Articles
How To Reseal Marble Countertops
Modified: October 20, 2024
Learn the step-by-step process of resealing your marble countertops with our informative articles. Ensure their longevity and maintain their beautiful appearance.
(Many of the links in this article redirect to a specific reviewed product. Your purchase of these products through affiliate links helps to generate commission for Storables.com, at no extra cost. Learn more)
Introduction
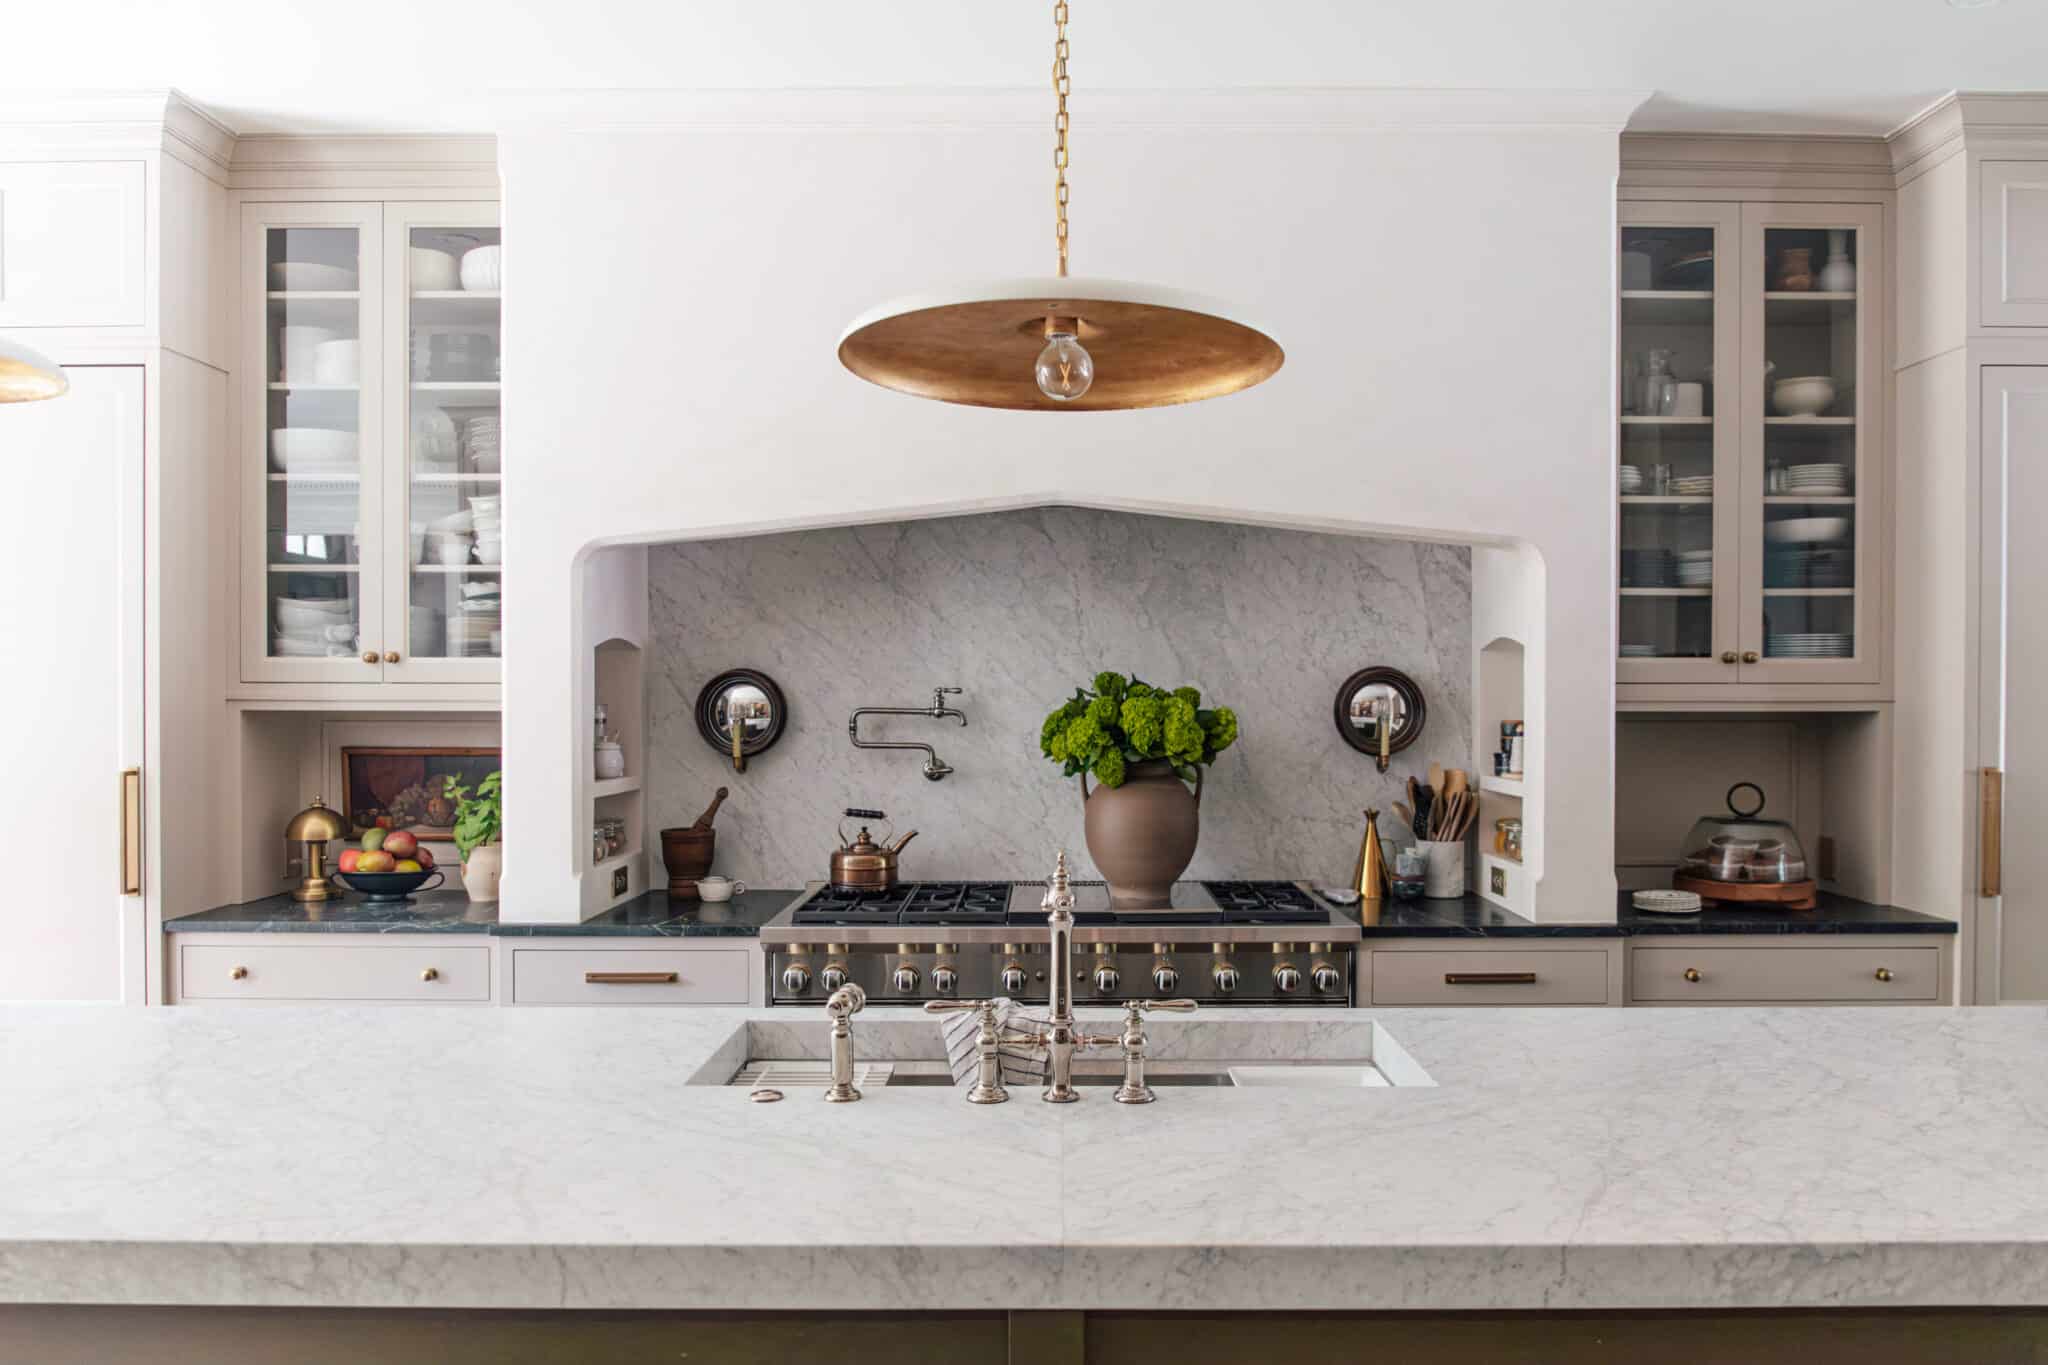
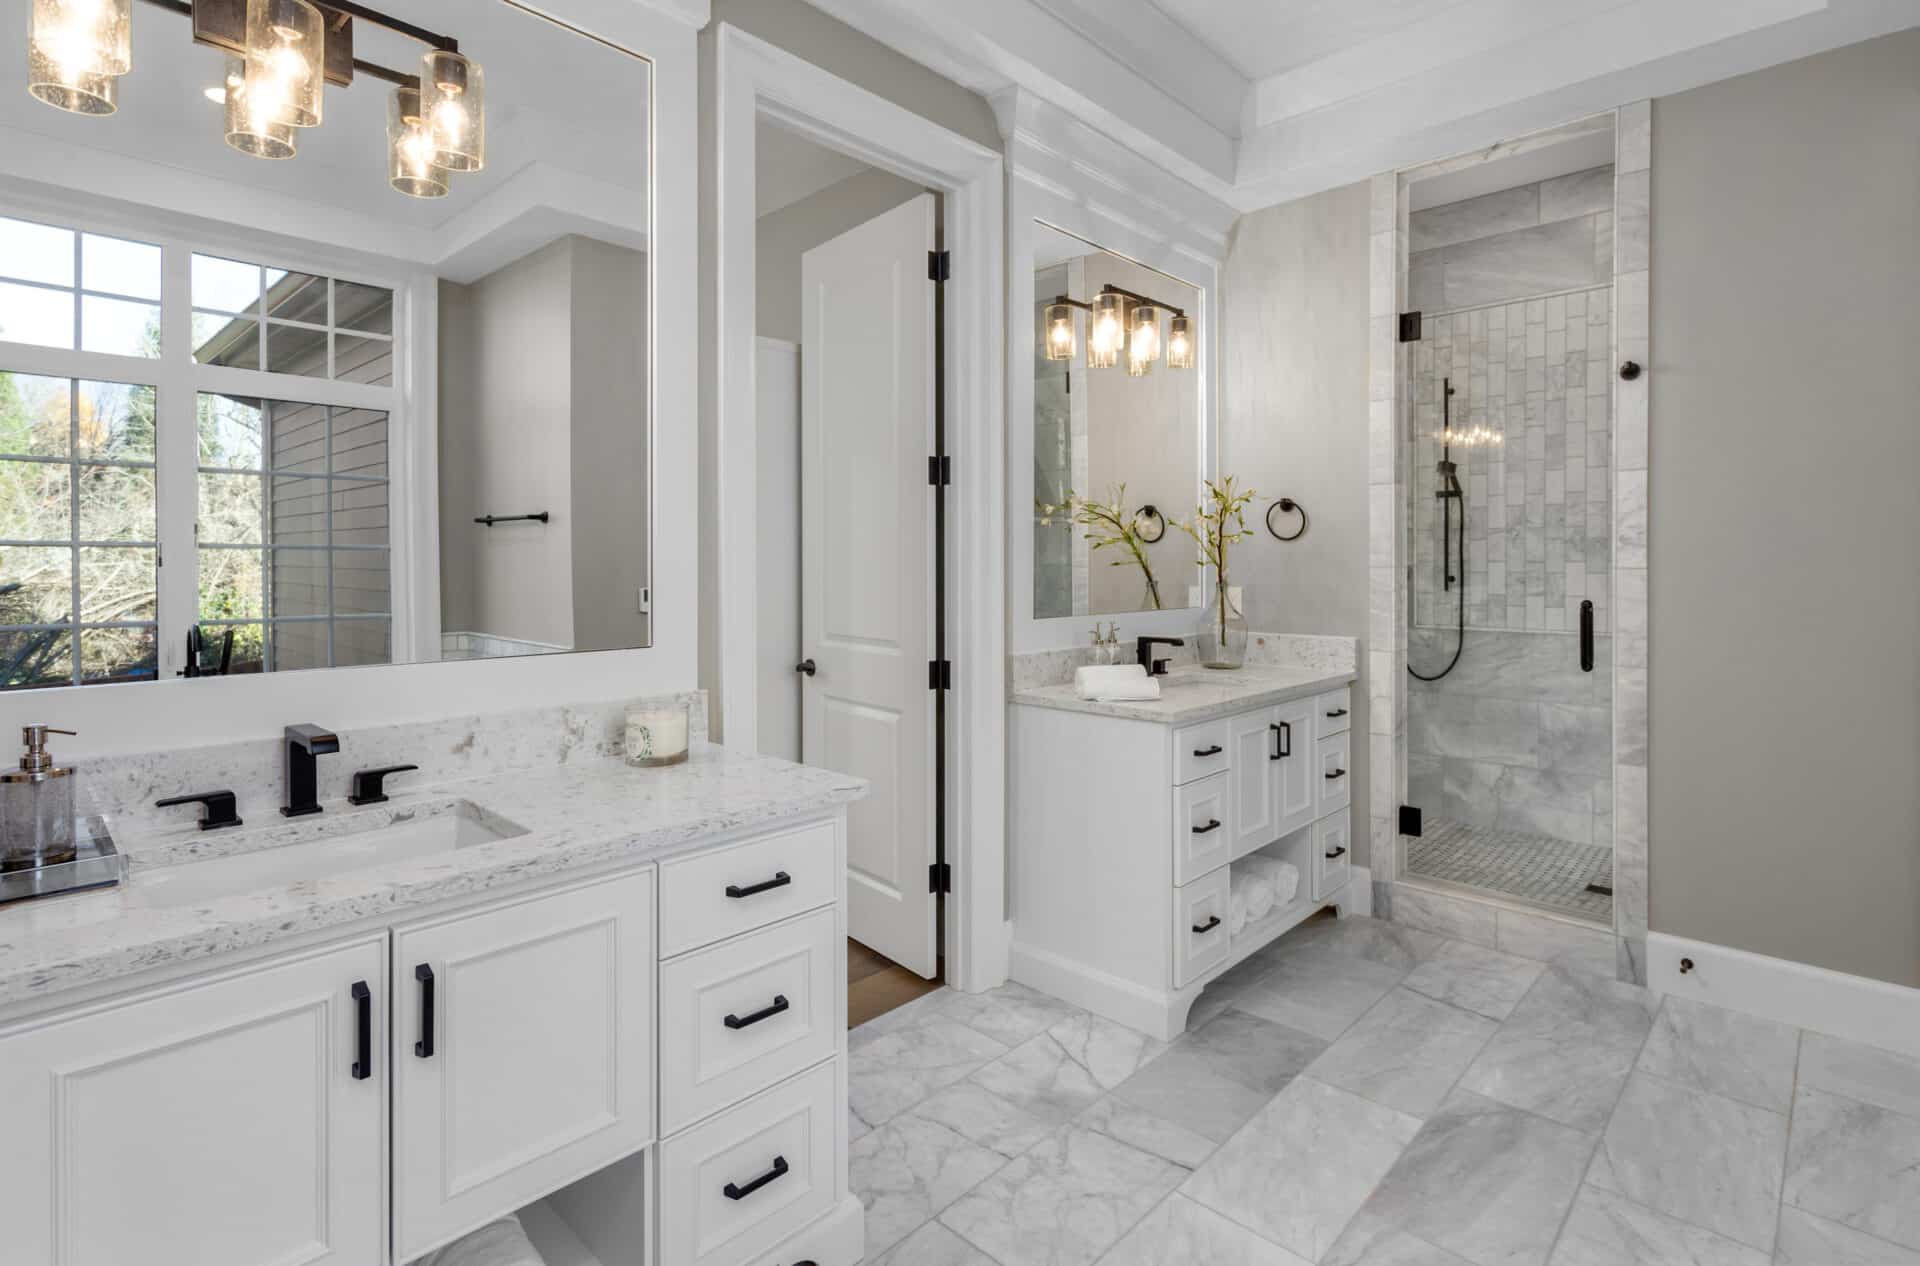
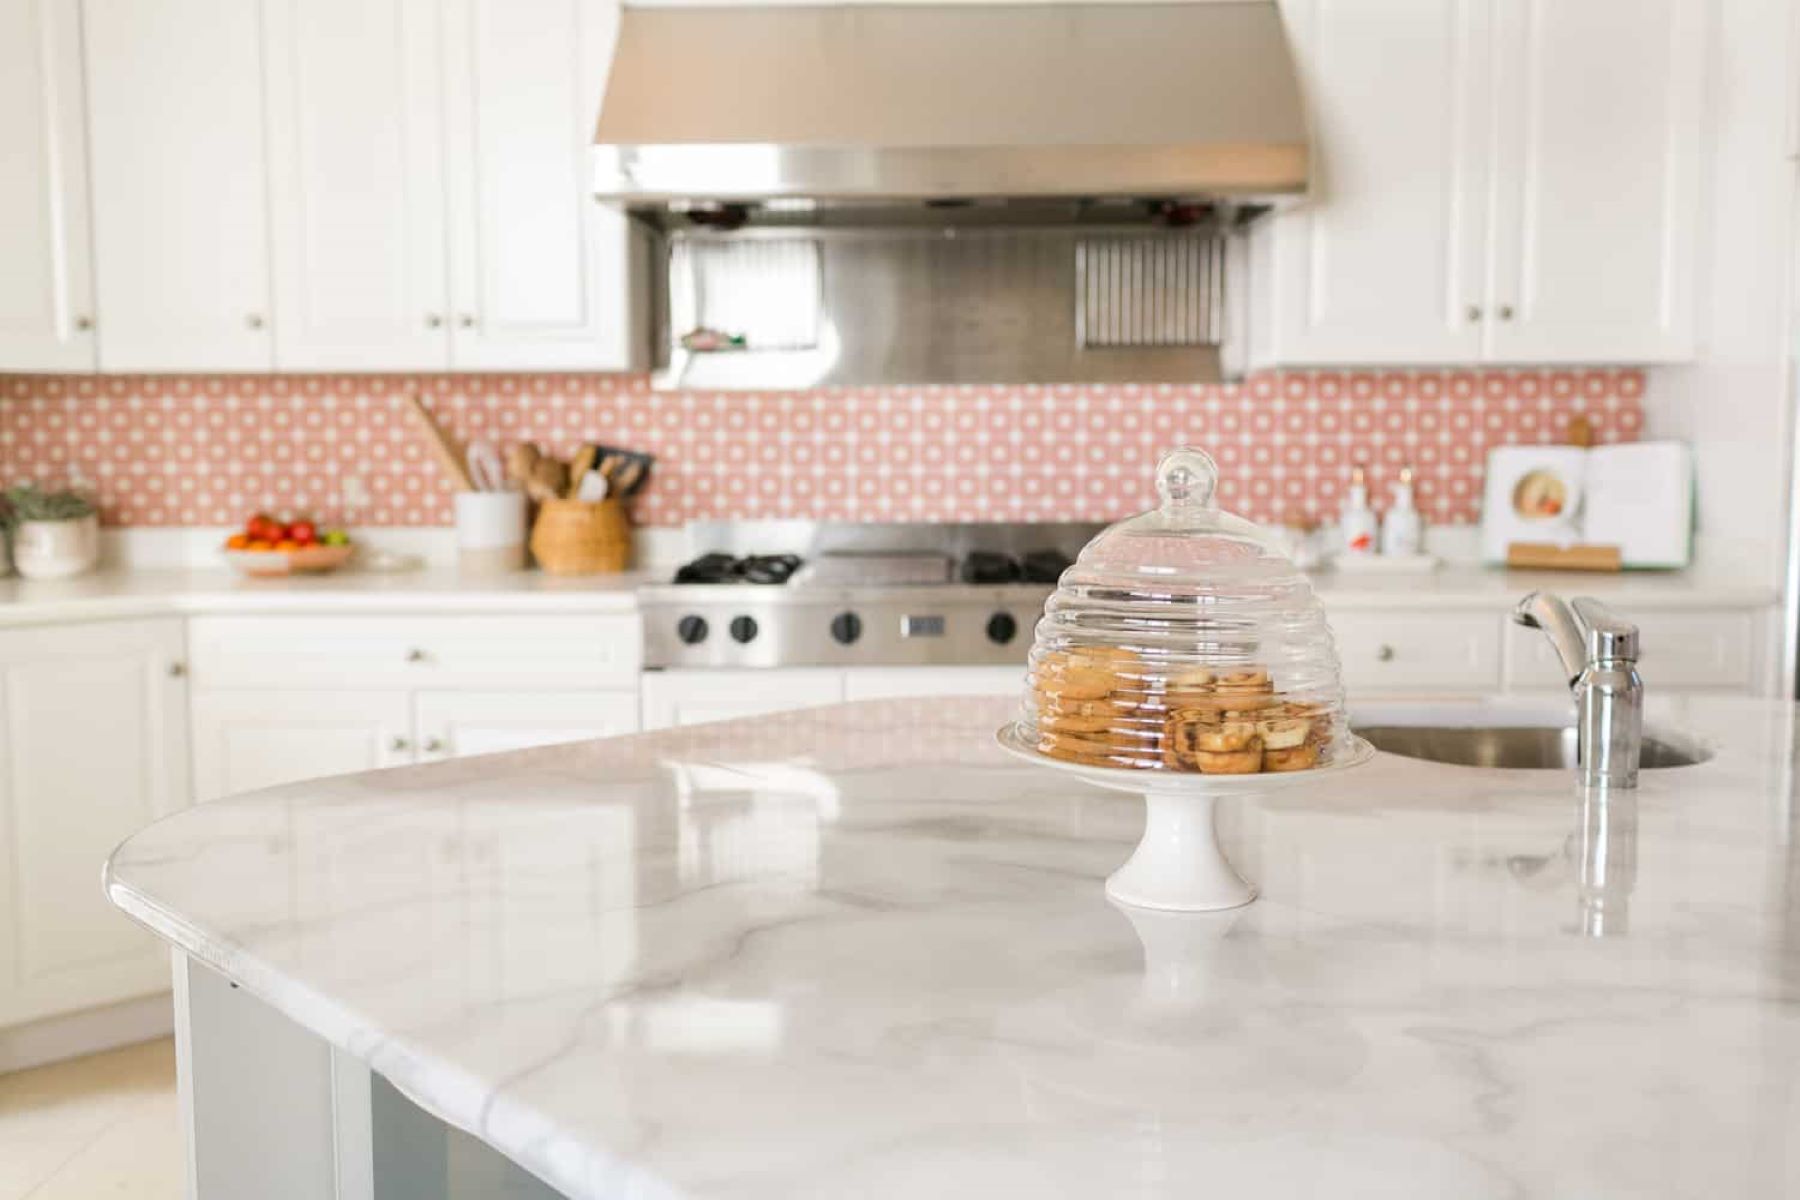
Marble countertops are a beautiful and elegant addition to any kitchen or bathroom. The natural veining and color variations of marble create a unique and timeless look that can enhance the aesthetic appeal of any space. However, to ensure that your marble countertops stay in pristine condition, it is important to properly maintain and protect them.
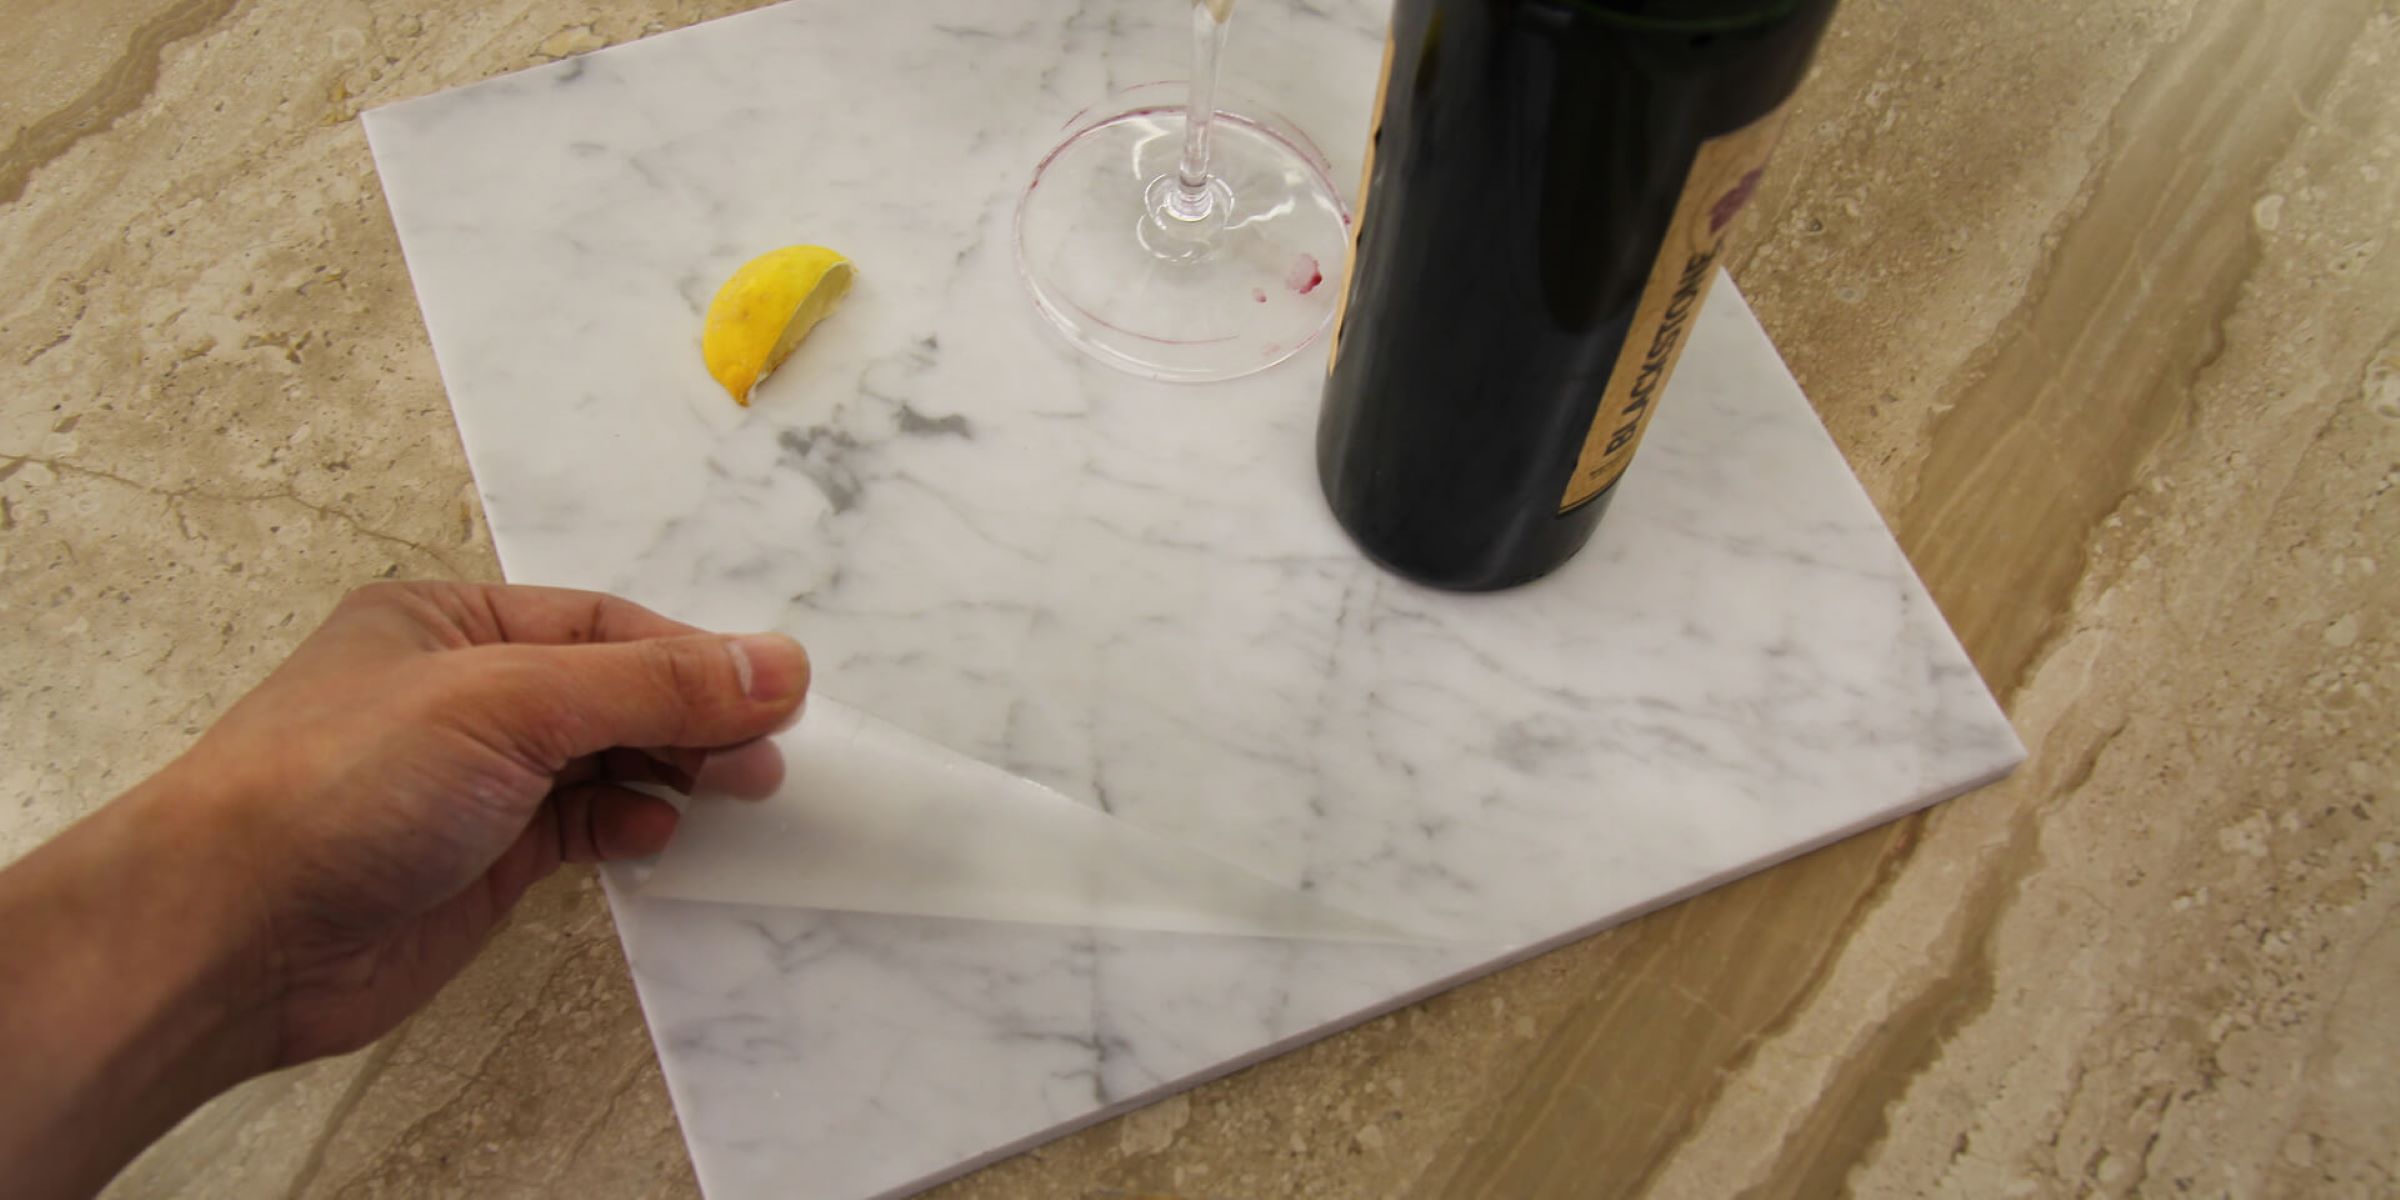
One crucial step in maintaining marble countertops is resealing them periodically. Marble is a porous stone, which means it can absorb liquids, resulting in stains and damage. Resealing the countertops creates a protective barrier that prevents liquids from seeping into the stone and preserves its original beauty.
Resealing marble countertops may sound like a daunting task, but with the right guidance and materials, it can be a simple and rewarding DIY project. In this article, we will walk you through the step-by-step process of resealing your marble countertops to keep them looking as good as new.
Key Takeaways:
- Keep your marble countertops looking pristine by resealing them every 1-2 years. Follow the step-by-step guide to ensure thorough cleaning, proper sealer application, and a beautiful, protected finish.
- Remember to use gentle cleaners, avoid harsh chemicals, and take precautions to prevent damage. Resealing your marble countertops is a simple DIY project that can maintain their beauty for years to come.
Read more: What Are Marble Countertops
Materials Needed
Before you start resealing your marble countertops, make sure you have the following materials handy:
- Marble sealer: Choose a high-quality marble sealer specifically designed for resealing countertops. Look for a sealer that is non-toxic, low-odor, and suitable for your specific type of marble.
- Protective gear: Wear gloves and eye protection to ensure your safety while working with the sealer.
- Clean, lint-free cloths: You will need these to clean the countertops, apply the sealer, and buff the surface.
- Mild dish soap: Use a gentle dish soap to clean the countertops before applying the sealer. Avoid using harsh chemicals or abrasive cleaners that can damage the marble.
- Warm water: You will need warm water to mix with the dish soap for cleaning the countertops.
- Sponge or soft brush: Use a sponge or soft brush to apply the cleaning solution and gently scrub the surface of the countertops.
- Marble polish (optional): If your countertops have become dull or scratched, you may want to use a marble polish to restore their shine before resealing.
- Drop cloths or plastic sheets: Use these to protect surrounding areas from any accidental spills or drips.
Ensure that you have all the necessary materials before you begin the resealing process. This will make the task more efficient and help achieve the best possible results.
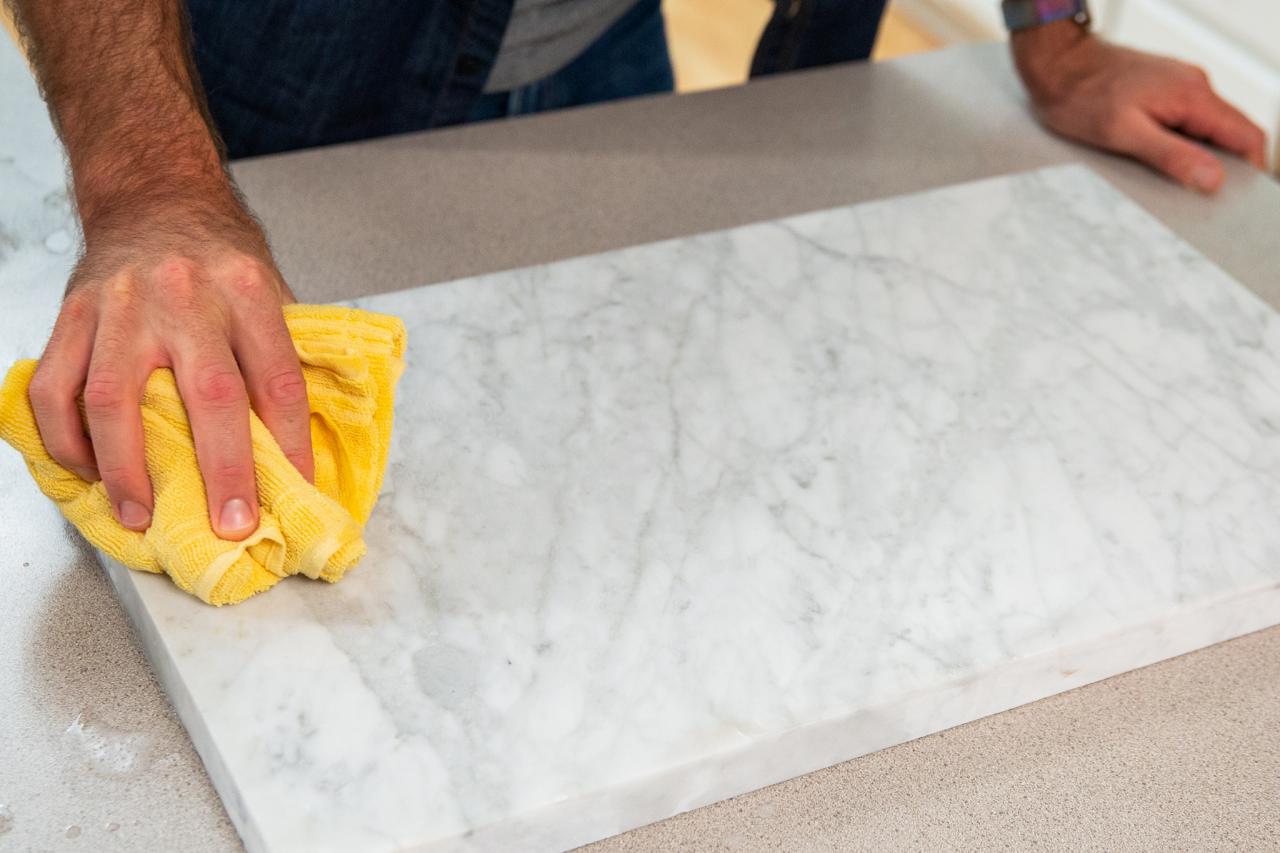
Step 1: Clean the Countertop
The first step in resealing your marble countertops is to thoroughly clean them. This ensures that any dirt, grime, or residues are removed, allowing the sealer to adhere properly to the surface.
To clean the countertops, follow these steps:
- Mix warm water with a few drops of mild dish soap in a bucket or sink.
- Dip a sponge or soft brush into the cleaning solution and wring out any excess liquid.
- Gently scrub the surface of the countertops, paying attention to any stained or dirty areas. Use circular motions to avoid streaks.
- Rinse the sponge or brush frequently and continue cleaning until the entire surface is clean.
- Once you have cleaned the countertops, rinse them thoroughly with clean water to remove any soap residue.
- Use a clean, lint-free cloth to dry the countertops completely.
It is important to avoid using harsh chemicals or abrasive cleaners on marble countertops, as they can damage the stone. Stick to mild dish soap and warm water for the cleaning process.
Step 2: Prepare the Sealer
Once your marble countertops are clean and dry, it’s time to prepare the sealer. Follow these steps:
- Read the instructions on the marble sealer carefully to ensure proper usage.
- If required, shake or stir the sealer gently to mix any sediment or settling.
- Pour a small amount of sealer into a clean, shallow container. Avoid using the original bottle or container to prevent contaminating the rest of the sealer.
- Make sure you are working in a well-ventilated area or open the windows to allow fresh air in during the application process.
It’s important to note that some sealers require dilution with water before application. If this is the case, follow the instructions on the sealer packaging to determine the correct ratio of sealer to water.
Preparing the sealer properly ensures that it will be applied effectively and evenly to the marble surface.
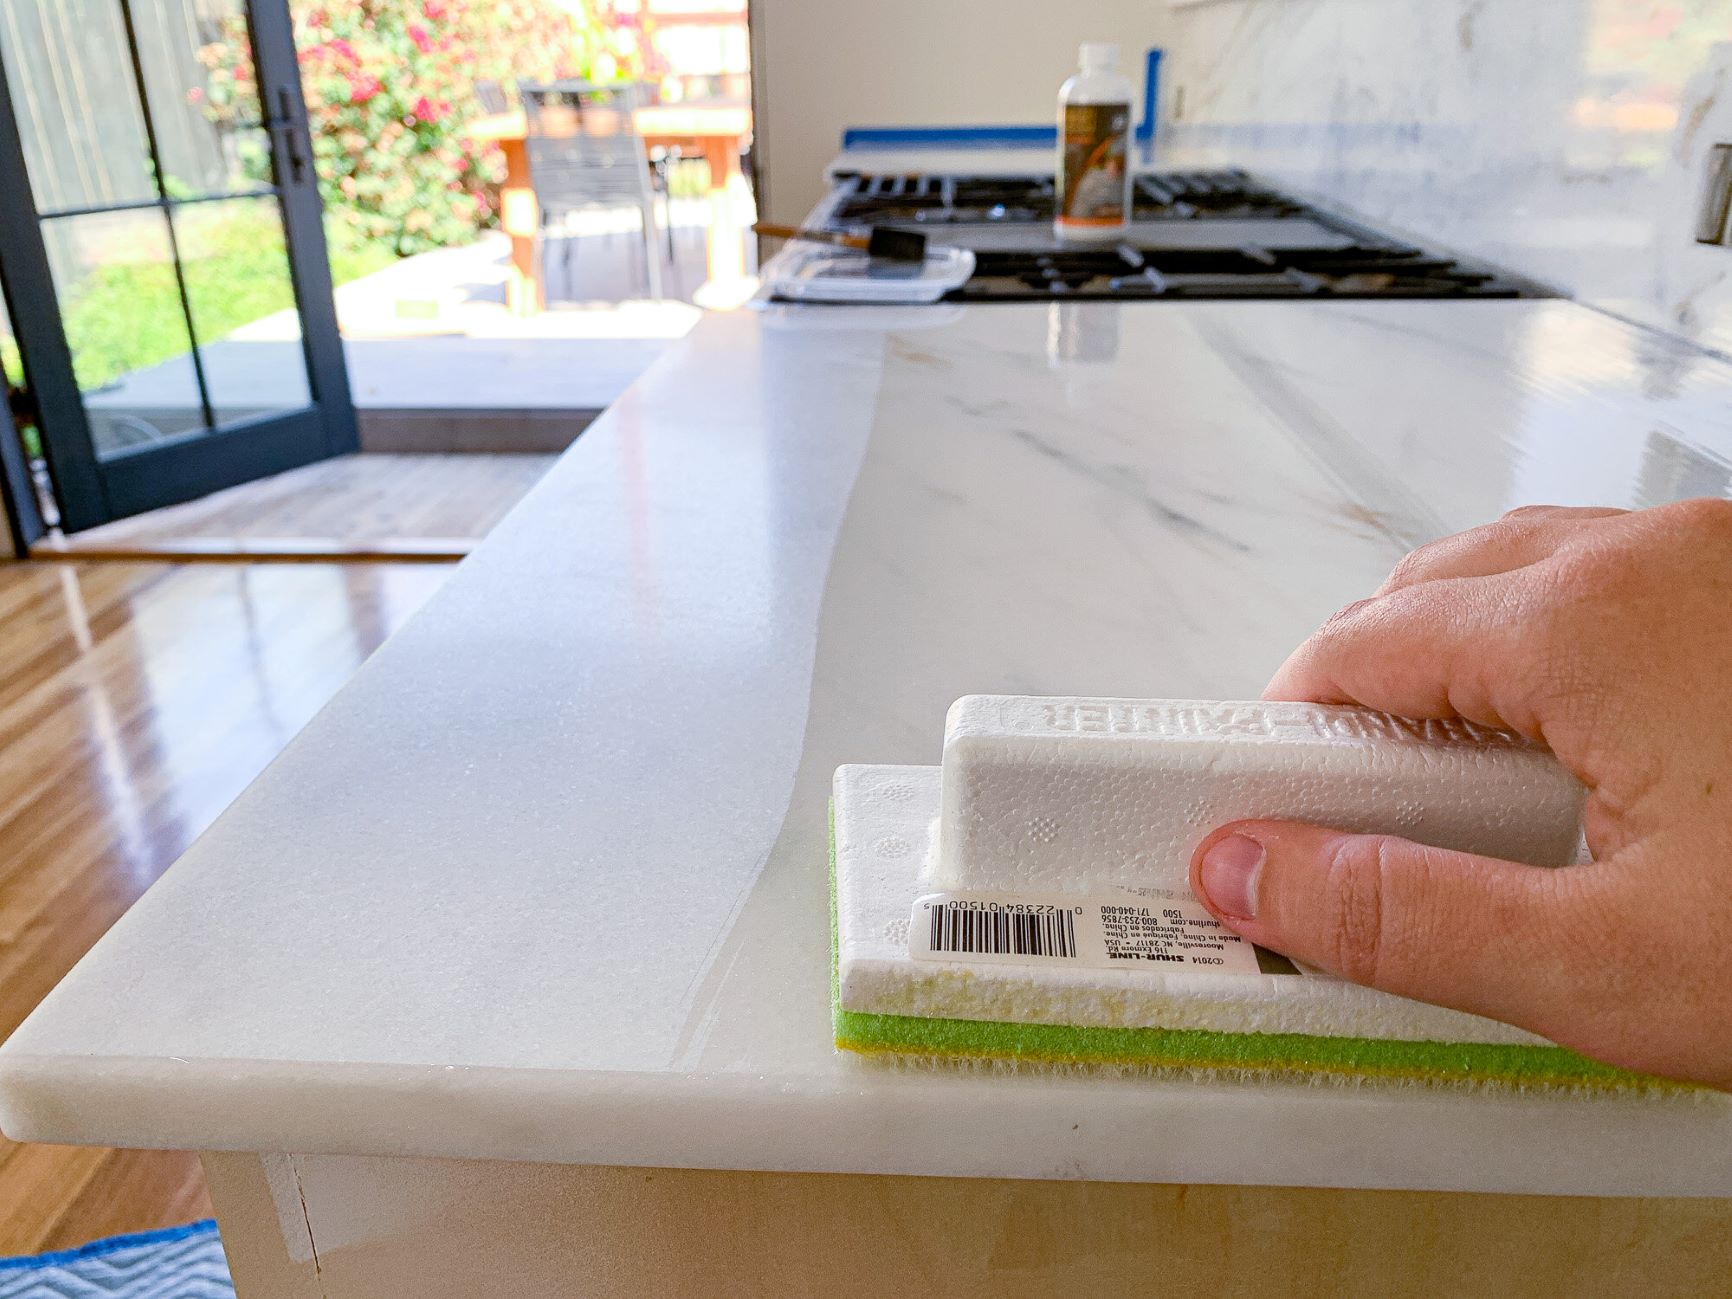
Step 3: Apply the Sealer
Now that you have prepared the sealer, it’s time to apply it to your marble countertops. Follow these steps for a thorough and effective application:
- Start by pouring a small amount of sealer onto the countertop.
- Using a clean, lint-free cloth or a soft brush, spread the sealer evenly across the surface of the marble.
- Work in small sections, focusing on one area at a time.
- Apply the sealer in thin, even coats, ensuring complete coverage.
- Avoid applying too much sealer in one go, as this can result in streaks or an uneven finish.
- Pay special attention to areas that are more porous or have heavy usage, as they may require an extra coat.
- If needed, refer to the manufacturer’s instructions for recommended drying time between coats.
- For vertical surfaces such as backsplashes, apply the sealer from top to bottom to prevent drips or streaks.
Take your time during this step to ensure that you cover every inch of the countertop surface with the sealer. Proper application will help create a strong protective barrier for your marble countertops.
After cleaning the marble countertop, use a high-quality marble sealer to reseal the surface. Apply the sealer evenly and allow it to fully dry before using the countertop.
Read more: How To Shine Marble Countertops
Step 4: Allow the Sealer to Dry
After applying the sealer to your marble countertops, it is crucial to allow it sufficient time to dry and cure. This ensures that the sealer bonds properly with the stone and provides maximum protection. Follow these steps to allow the sealer to dry:
- Check the manufacturer’s instructions for the recommended drying time of the sealer you are using.
- Avoid touching or using the countertops during the drying period to prevent any smudging or disrupting the sealer.
- Keep the area well-ventilated to aid in the drying process.
- It is recommended to give the sealer at least 24 hours to dry completely.
- Ensure that the countertops are kept free from any moisture or spills during this time.
Resist the temptation to touch or use the countertops until the sealer is fully dry. Rushing this step can compromise the effectiveness of the sealer and potentially impact its longevity.
Once the sealer has dried, you can proceed to the final step of the resealing process.
Step 5: Buff the Countertop
The final step in resealing your marble countertops is to buff them to a beautiful shine. This step not only helps remove any excess sealer but also enhances the overall appearance of the countertops. Follow these steps to achieve a polished finish:
- Take a clean, lint-free cloth and gently buff the surface of the countertops in circular motions.
- Apply light pressure to ensure the sealer is evenly distributed and any residue is removed.
- Continue buffing until the countertops feel smooth to the touch and have a natural sheen.
- Inspect the countertops for any streaks or unevenness. If necessary, go over those areas again with the cloth until the desired finish is achieved.
- Stand back and admire your beautifully resealed marble countertops!
Buffing the countertops not only enhances their appearance but also helps ensure that the sealer is evenly distributed across the surface. This step adds the finishing touch to the resealing process and leaves you with a glossy, protected surface.
Remember, regular maintenance and periodic resealing are vital for keeping your marble countertops in top condition for years to come.
Additional Tips and Precautions
Resealing marble countertops requires careful attention to detail. Here are some additional tips and precautions to keep in mind during the process:
- Always read and follow the instructions provided by the sealer manufacturer.
- Test a small, inconspicuous area of the countertop with the sealer before applying it to the entire surface. This will help ensure compatibility and avoid any unexpected reactions.
- Avoid using acidic or abrasive cleaners on marble countertops, as they can etch or scratch the surface. Stick to gentle, pH-neutral cleaners.
- Regularly clean spills and stains promptly to minimize the risk of permanent damage to the marble.
- Consider resealing your marble countertops every 1 to 2 years, or sooner if you notice the sealer wearing off or the stone becoming more porous.
- Use coasters, trivets, and cutting boards to prevent direct contact between hot pots, pans, and sharp utensils and the marble surface.
- Avoid placing heavy objects or excessive pressure on the countertops, as this can lead to cracks or damage.
- Keep in mind that resealing your marble countertops is a preventive measure, but it does not make them completely impervious to stains or damage. It is important to still practice caution and maintain regular cleaning habits.
By following these tips and taking proper precautions, you can extend the life of your marble countertops and keep them looking stunning for years to come.
Conclusion
Resealing your marble countertops is a crucial step in maintaining their beauty and protecting them from stains and damage. By following the steps outlined in this guide and taking proper care, you can keep your marble countertops looking as good as new for years to come.
Remember to start by cleaning the countertops thoroughly using a mild dish soap and warm water. This ensures that the surface is free from dirt and grime, allowing the sealer to adhere effectively.
Preparation is key, so make sure to read and follow the instructions provided by the sealer manufacturer. Shake or stir the sealer gently if necessary, and pour a small amount into a clean container for application.
Applying the sealer requires patience and attention to detail. Work in small sections, applying thin, even coats of sealer to ensure complete coverage. Focus on more porous areas and avoid applying excessive sealer that can result in streaks or an uneven finish.
Allow the sealer to dry for the recommended time, typically at least 24 hours. During this period, avoid touching or using the countertops to prevent any smudging or disrupting the sealer’s bonding process.
Finally, buff the countertops using a clean, lint-free cloth to remove any excess sealer and achieve a polished finish. This step enhances the appearance of your marble countertops, leaving them with a beautiful shine.
Remember to maintain regular cleaning habits, promptly clean spills, and consider resealing your countertops every 1 to 2 years to ensure long-lasting protection.
With proper care and maintenance, your marble countertops will continue to be a stunning focal point in your kitchen or bathroom, adding a touch of elegance and sophistication to your space.
Frequently Asked Questions about How To Reseal Marble Countertops
Was this page helpful?
At Storables.com, we guarantee accurate and reliable information. Our content, validated by Expert Board Contributors, is crafted following stringent Editorial Policies. We're committed to providing you with well-researched, expert-backed insights for all your informational needs.


0 thoughts on “How To Reseal Marble Countertops”