Articles
How To Resurface Marble Countertops
Modified: February 17, 2024
Learn the step-by-step process of resurfacing marble countertops with our informative articles. Achieve a beautiful and polished finish for your kitchen or bathroom surfaces.
(Many of the links in this article redirect to a specific reviewed product. Your purchase of these products through affiliate links helps to generate commission for Storables.com, at no extra cost. Learn more)
Introduction
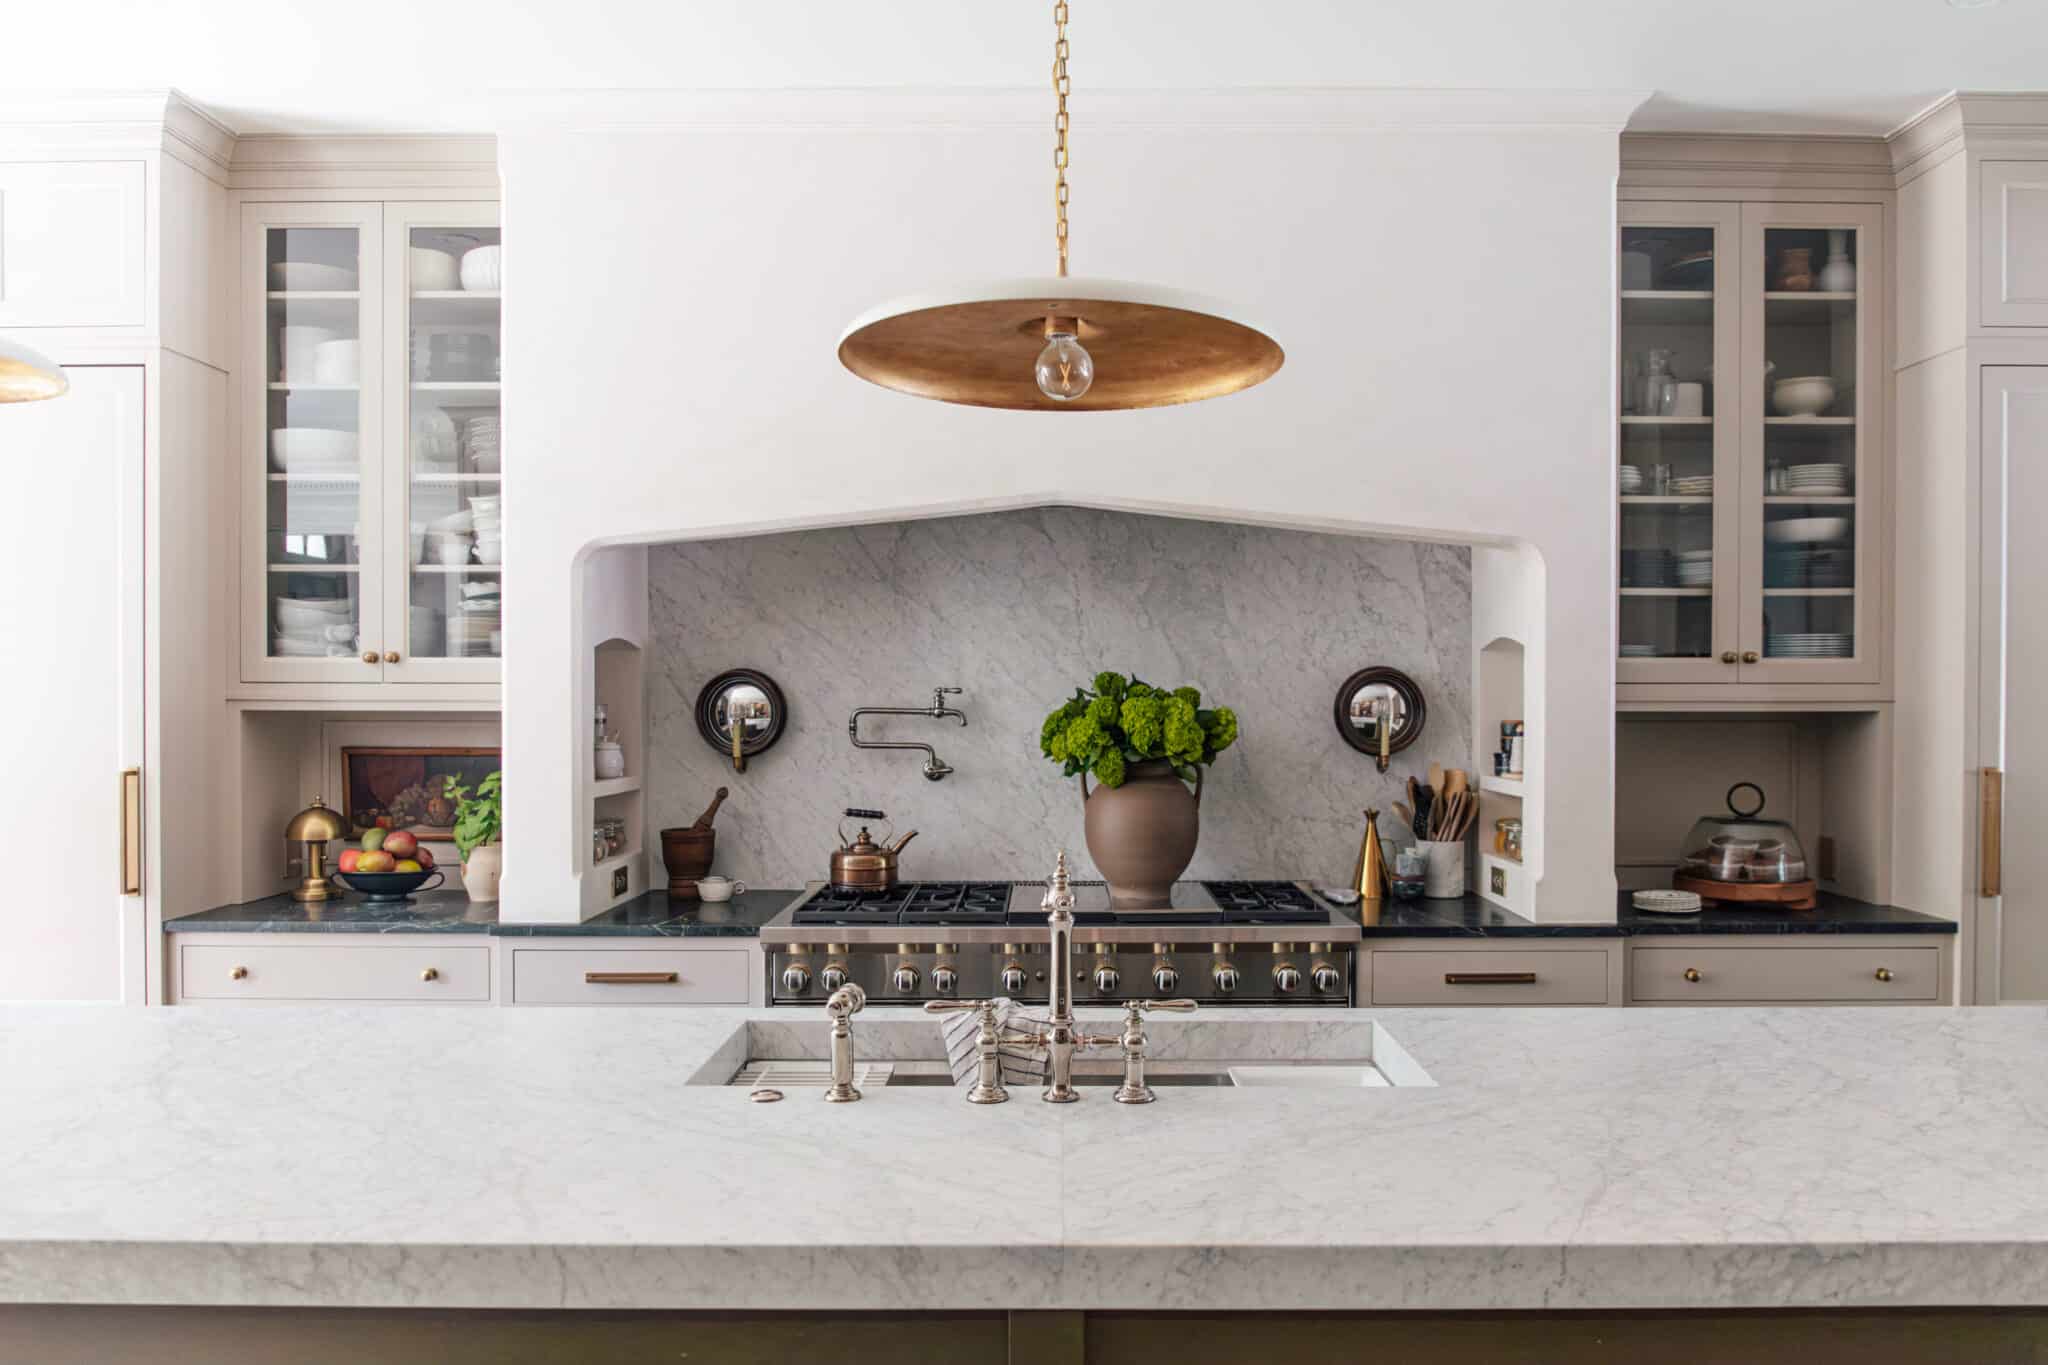
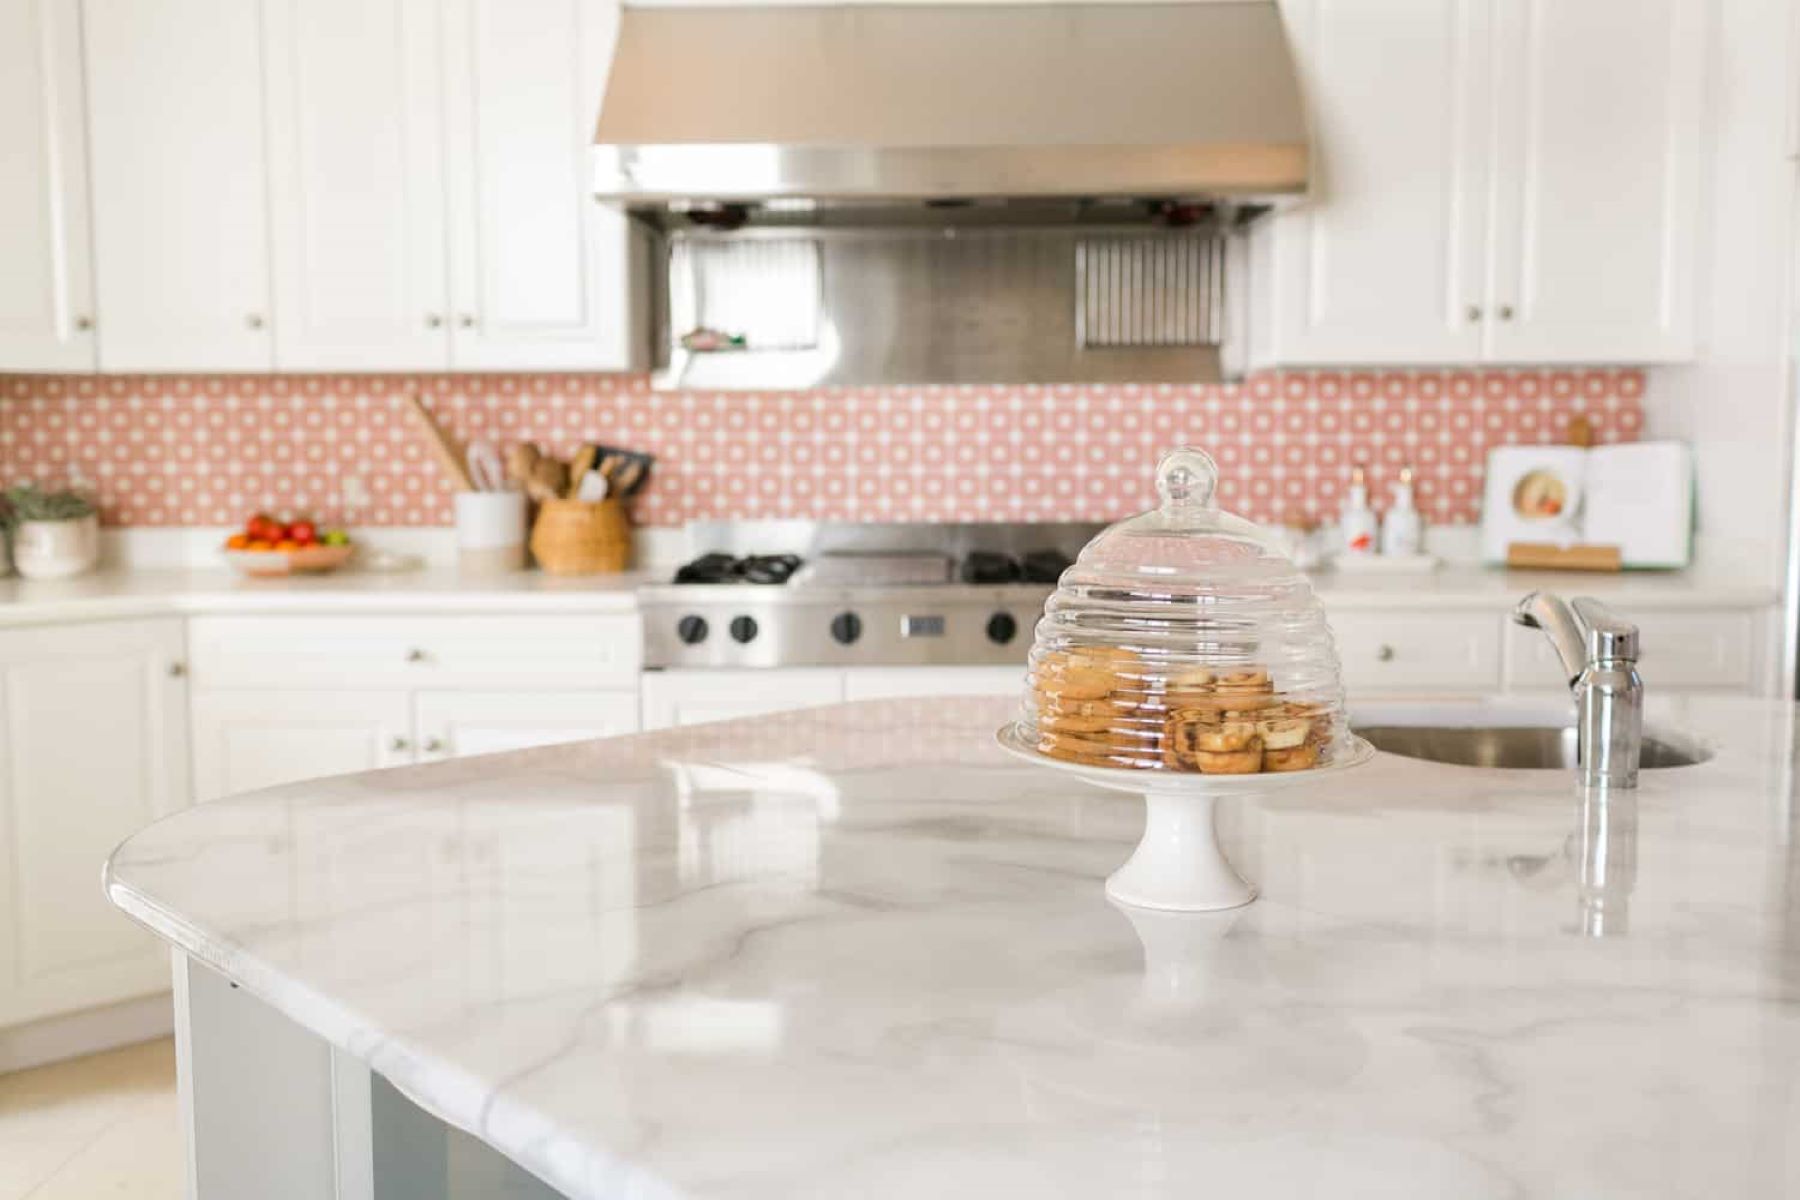
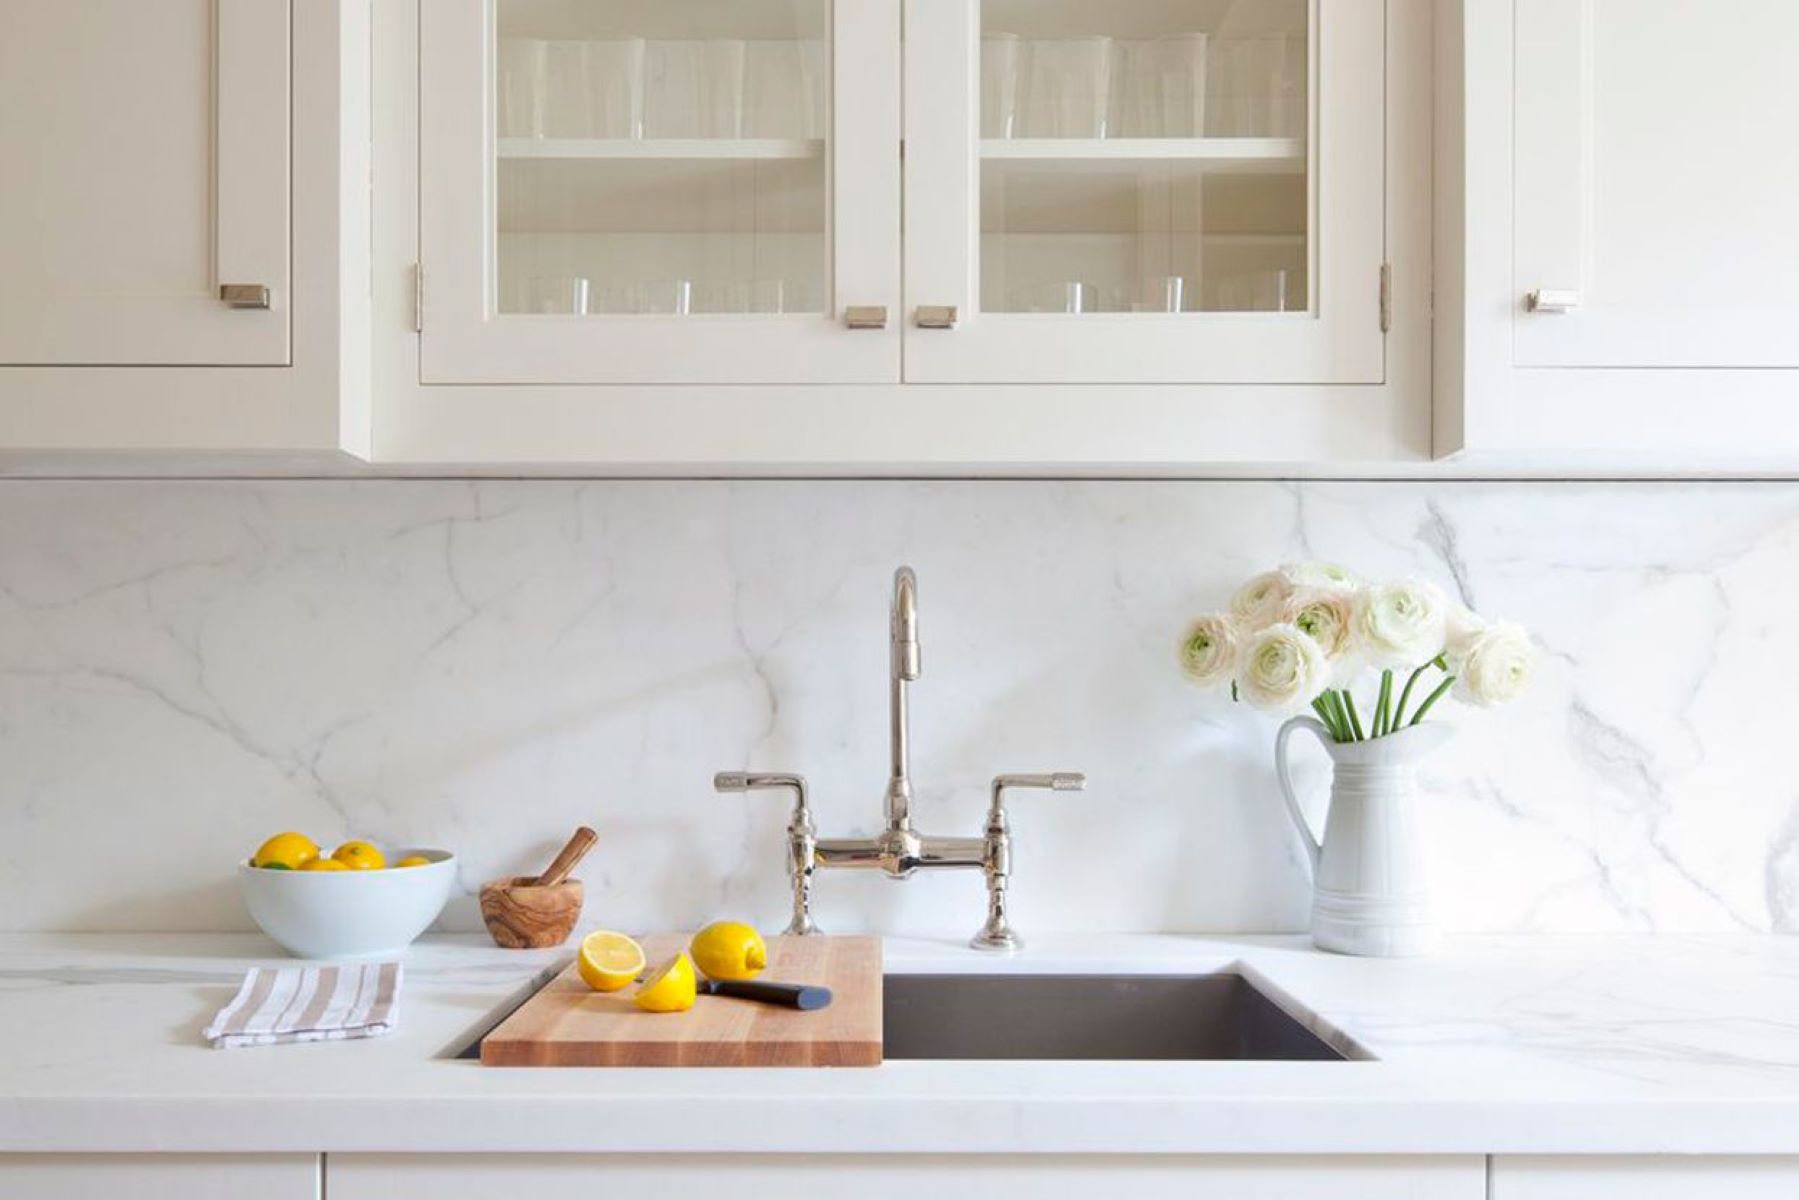
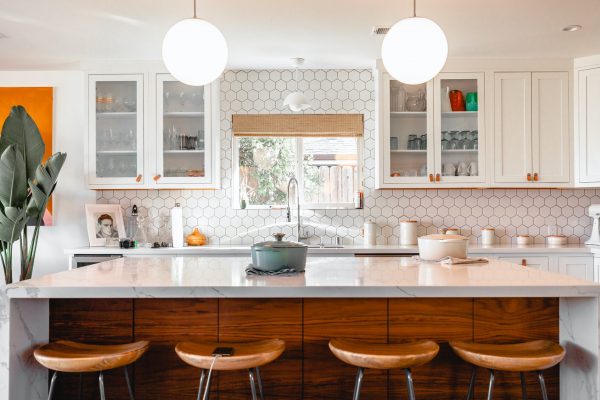
Marble countertops are a luxurious addition to any home. They exude elegance and timeless beauty, instantly elevating the aesthetic appeal of your kitchen or bathroom. However, over time, these surfaces can become dull, scratched, or stained due to daily use and exposure to various elements. Resurfacing your marble countertops can help restore their original luster and make them look brand new again.
In this article, we will guide you through the process of resurfacing your marble countertops, providing step-by-step instructions and essential tips to ensure a successful outcome. With the right tools and materials, you can revive your countertops without spending a fortune on replacement or professional services.
Before we begin, it’s important to note that resurfacing marble countertops requires some level of DIY skills and attention to detail. If you’re not comfortable with undertaking this project, it’s best to consult a professional to avoid damaging your countertops further. However, if you’re ready for the challenge, let’s dive in!
Key Takeaways:
- Revive the beauty of your marble countertops with DIY resurfacing. Follow step-by-step instructions and essential tips to achieve professional-looking results without breaking the bank.
- Proper preparation, meticulous repair, and precise application of resurfacing compound are key to restoring the luster of your marble countertops. Seal the deal with protective sealing for long-lasting beauty.
Read more: What Are Marble Countertops
Materials Needed
Before you start resurfacing your marble countertops, gather the following materials:
- Protective gear: Safety goggles, gloves, and a dust mask
- Marble cleaner: Choose a gentle, pH-neutral cleaner specifically formulated for marble surfaces
- Soft cloths or sponges
- 220-grit sandpaper: For smoothing out any imperfections or scratches
- Resurfacing compound: Look for a high-quality, epoxy-based compound designed for marble surfaces
- Putty knife: Used for applying the resurfacing compound
- Plastic wrap: Helps in achieving a smooth finish
- Sanding block or orbital sander: Optional, for larger countertops or more extensive repairs
- Marble sealer: A protective layer to prevent future damage and enhance shine
- Lint-free cloth or foam brush: For applying the sealer
Make sure to gather all the necessary materials before you begin, as it will save you time and allow for a smoother workflow.
Step 1: Preparing the Countertop
The first step in resurfacing your marble countertops is to properly prepare the surface. Follow these steps:
- Clean the countertop: Start by thoroughly cleaning the countertop with a marble cleaner and a soft cloth or sponge. Remove any dirt, grease, or stains to ensure a clean and smooth surface for the resurfacing process.
- Protect the surrounding area: Use plastic sheets or drop cloths to cover and protect the surrounding cabinets, appliances, and floors from any accidental spills or drips. This will make the cleanup process easier.
- Mask off edges and fixtures: Apply painter’s tape along the edges of the countertop and any fixtures, such as sinks or faucets, to prevent the resurfacing compound from getting on them. This will ensure a neat and professional-looking finish.
- Sand the surface: If there are any deep scratches, chips, or imperfections on the countertop, you may need to use 220-grit sandpaper or an orbital sander to smooth them out. Be gentle and avoid applying too much pressure, as marble is a soft stone and can be easily damaged.
- Clean the countertop again: After sanding, wipe away any dust or debris from the countertop using a clean, damp cloth. This will ensure a clean surface for the resurfacing compound to adhere to.
By properly preparing the countertop, you create a clean and smooth foundation for the resurfacing process. This step is crucial for achieving a high-quality and long-lasting result.
Step 2: Repairing Any Damage
Before applying the resurfacing compound, it’s important to address any visible damage on your marble countertops. Follow these steps to repair any chips, cracks, or deep scratches:
- Fill in chips and cracks: Use a marble repair kit or a high-quality marble epoxy filler to fill in any small chips or cracks on the countertop. Follow the manufacturer’s instructions for mixing and applying the filler. Use a putty knife to evenly distribute the filler and smooth out the surface. Allow it to dry and cure as recommended.
- Sand down excess filler: Once the filler has dried, use 220-grit sandpaper or a sanding block to gently sand down any excess filler, making sure it blends seamlessly with the surrounding marble. Be careful not to sand too aggressively or you may damage the countertop.
- Buff the repaired areas: After sanding, use a soft cloth or sponge to gently buff the repaired areas, making them smooth and level with the rest of the countertop. This will help create a seamless appearance after the resurfacing process.
- Inspect for any remaining damage: Take a close look at the countertop to ensure that all chips, cracks, or scratches have been properly repaired. If you notice any remaining damage, repeat the above steps until the surface is smooth and free of any imperfections.
Repairing any damage on the countertop before resurfacing is crucial for achieving a flawless end result. Take your time with this step to ensure that the repaired areas blend seamlessly with the rest of the marble surface.
Use a mild, non-abrasive cleaner and a soft cloth to clean marble countertops. Avoid using acidic or abrasive cleaners, as they can damage the surface.
Step 3: Applying the Resurfacing Compound
Once the countertop is properly prepared and any visible damage has been repaired, it’s time to apply the resurfacing compound. Follow these steps to ensure a successful application:
- Prepare the resurfacing compound: Read the instructions provided with the resurfacing compound and follow them carefully. Mix the compound according to the recommended ratio and in a well-ventilated area. Use a clean container and stir thoroughly to ensure a consistent mixture.
- Apply the resurfacing compound: Using a putty knife or a trowel, apply a thin layer of the resurfacing compound onto the countertop. Start from one edge and work your way across the surface, creating an even layer of the compound. Make sure to cover the entire countertop, including the repaired areas.
- Smooth the compound: After applying the compound, use the putty knife or a plastic wrap to smooth out the surface. Gently press down on the compound, moving from one end to the other to remove any air bubbles or inconsistencies. This will result in a smoother and more uniform finish.
- Allow the compound to cure: Follow the manufacturer’s instructions regarding the curing time for the resurfacing compound. Typically, it takes several hours or overnight for the compound to fully cure and harden. Avoid using the countertop during this time to ensure optimal results.
Applying the resurfacing compound requires precision and attention to detail. Take your time to ensure an even application and a smooth surface for the next step.
Read more: How To Resurface Kitchen Countertops
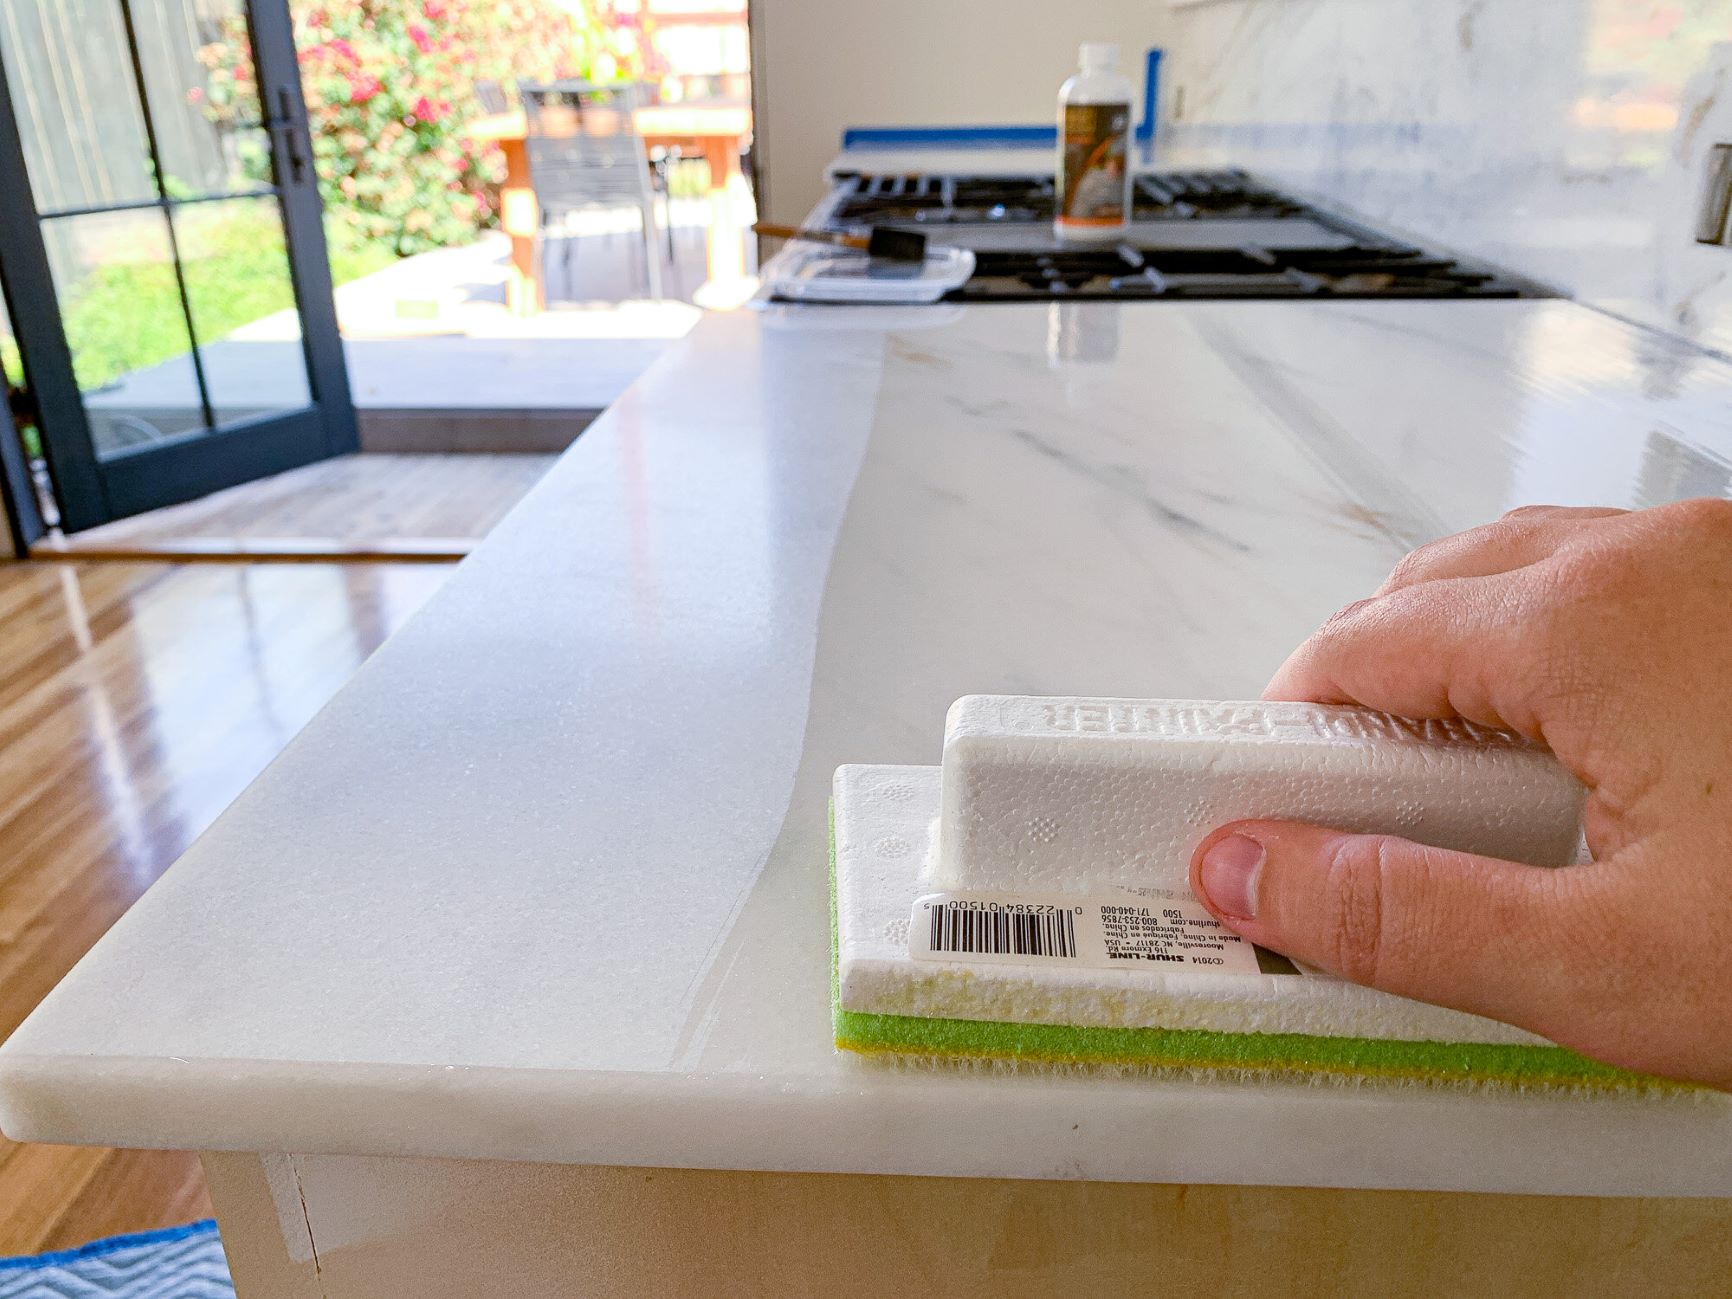
Step 4: Smoothing the Surface
Once the resurfacing compound has cured, it’s time to smooth out the surface of the countertop. Follow these steps to achieve a polished and flawless finish:
- Sand the countertop: Use 220-grit sandpaper to gently sand the surface of the countertop. This will help smooth out any rough edges or uneven areas. Be cautious not to apply too much pressure or sand for too long in one spot, as it can damage the resurfacing compound or the marble surface.
- Progress to finer grits: After initial sanding, switch to a higher grit sandpaper, such as 400 or 600, to further refine the surface. This will help create a smoother and more polished appearance.
- Wipe away dust: After sanding, use a clean, damp cloth to remove any dust or debris from the countertop. This step is essential to ensure a clean surface for the final sealing process.
- Inspect for imperfections: Take a close look at the countertop to check for any remaining imperfections, such as scratches or uneven areas. If necessary, repeat the sanding process, starting with a coarser grit and gradually progressing to finer grits, until the surface is smooth and flawless.
Smoothing the surface of the countertop is crucial for achieving a professional and refined look. Take your time and be diligent during this step to ensure a smooth and polished finish.
Step 5: Sealing the Countertop
The final step in resurfacing your marble countertops is to apply a protective sealant. Sealing the countertop will help prevent future damage and maintain its appearance. Follow these steps to seal your newly resurfaced countertop:
- Choose a marble sealer: Select a high-quality marble sealer that is specifically formulated for use on countertops. Read the instructions provided by the manufacturer to ensure you are using the product correctly.
- Apply the sealer: Using a lint-free cloth or a foam brush, apply the sealer to the entire surface of the countertop. Work in small sections to ensure even coverage. Allow the sealer to penetrate the marble for the recommended amount of time specified by the manufacturer.
- Wipe off excess sealer: After the recommended dwell time, use a clean, dry cloth to gently wipe off any excess sealer from the countertop. Pay close attention to any areas where excess sealer may have accumulated, such as edges or corners.
- Allow the sealer to dry: Give the sealer sufficient time to dry and cure according to the manufacturer’s instructions. This typically ranges from a few hours to a full day. Avoid placing any objects on the countertop during this time to prevent smudging or damaging the freshly applied sealer.
- Buff the countertop: Once the sealer has dried, use a soft cloth to gently buff the countertop, bringing out its natural shine. This step will give your resurfaced marble countertop a radiant and polished appearance.
Sealing the countertop is an essential step in maintaining its beauty and protecting it from stains and moisture. By following these steps, you can ensure that your resurfaced marble countertop stays looking pristine for years to come.
Conclusion
Resurfacing marble countertops can breathe new life into your kitchen or bathroom, providing a cost-effective way to restore their beauty and elegance. By following the steps outlined in this guide and using the right materials and tools, you can achieve professional-looking results without the need for expensive replacements or professional services.
Properly preparing the countertop, repairing any damage, applying the resurfacing compound, smoothing the surface, and sealing the countertop are all crucial steps in the resurfacing process. Taking your time, paying attention to detail, and following the manufacturer’s instructions will ensure that your marble countertops look stunning and remain protected for years to come.
Remember, resurfacing marble countertops is a DIY project that requires some level of skill and caution. If you don’t feel confident in undertaking this task, it’s always best to consult a professional to avoid any potential damage to your countertops.
With the right care and maintenance, your resurfaced marble countertops will continue to be a beautiful centerpiece in your home. Regularly clean and wipe them with a soft cloth, use cutting boards and trivets to protect the surface, and avoid using harsh chemicals or abrasive cleaners that can damage the marble. By following these simple practices, you can enjoy the natural beauty and durability of your marble countertops for years to come.
So, roll up your sleeves, gather your materials, and give your marble countertops the makeover they deserve. With a little effort and the right techniques, you can transform your countertops from dull and worn to stunning and rejuvenated.
Frequently Asked Questions about How To Resurface Marble Countertops
Was this page helpful?
At Storables.com, we guarantee accurate and reliable information. Our content, validated by Expert Board Contributors, is crafted following stringent Editorial Policies. We're committed to providing you with well-researched, expert-backed insights for all your informational needs.


0 thoughts on “How To Resurface Marble Countertops”