Articles
How To Reset A Skylight Frame
Modified: December 7, 2023
Learn how to reset a Skylight Frame in just a few easy steps. Our articles provide detailed instructions to help you troubleshoot and fix any issues with your Skylight Frame.
(Many of the links in this article redirect to a specific reviewed product. Your purchase of these products through affiliate links helps to generate commission for Storables.com, at no extra cost. Learn more)
Introduction
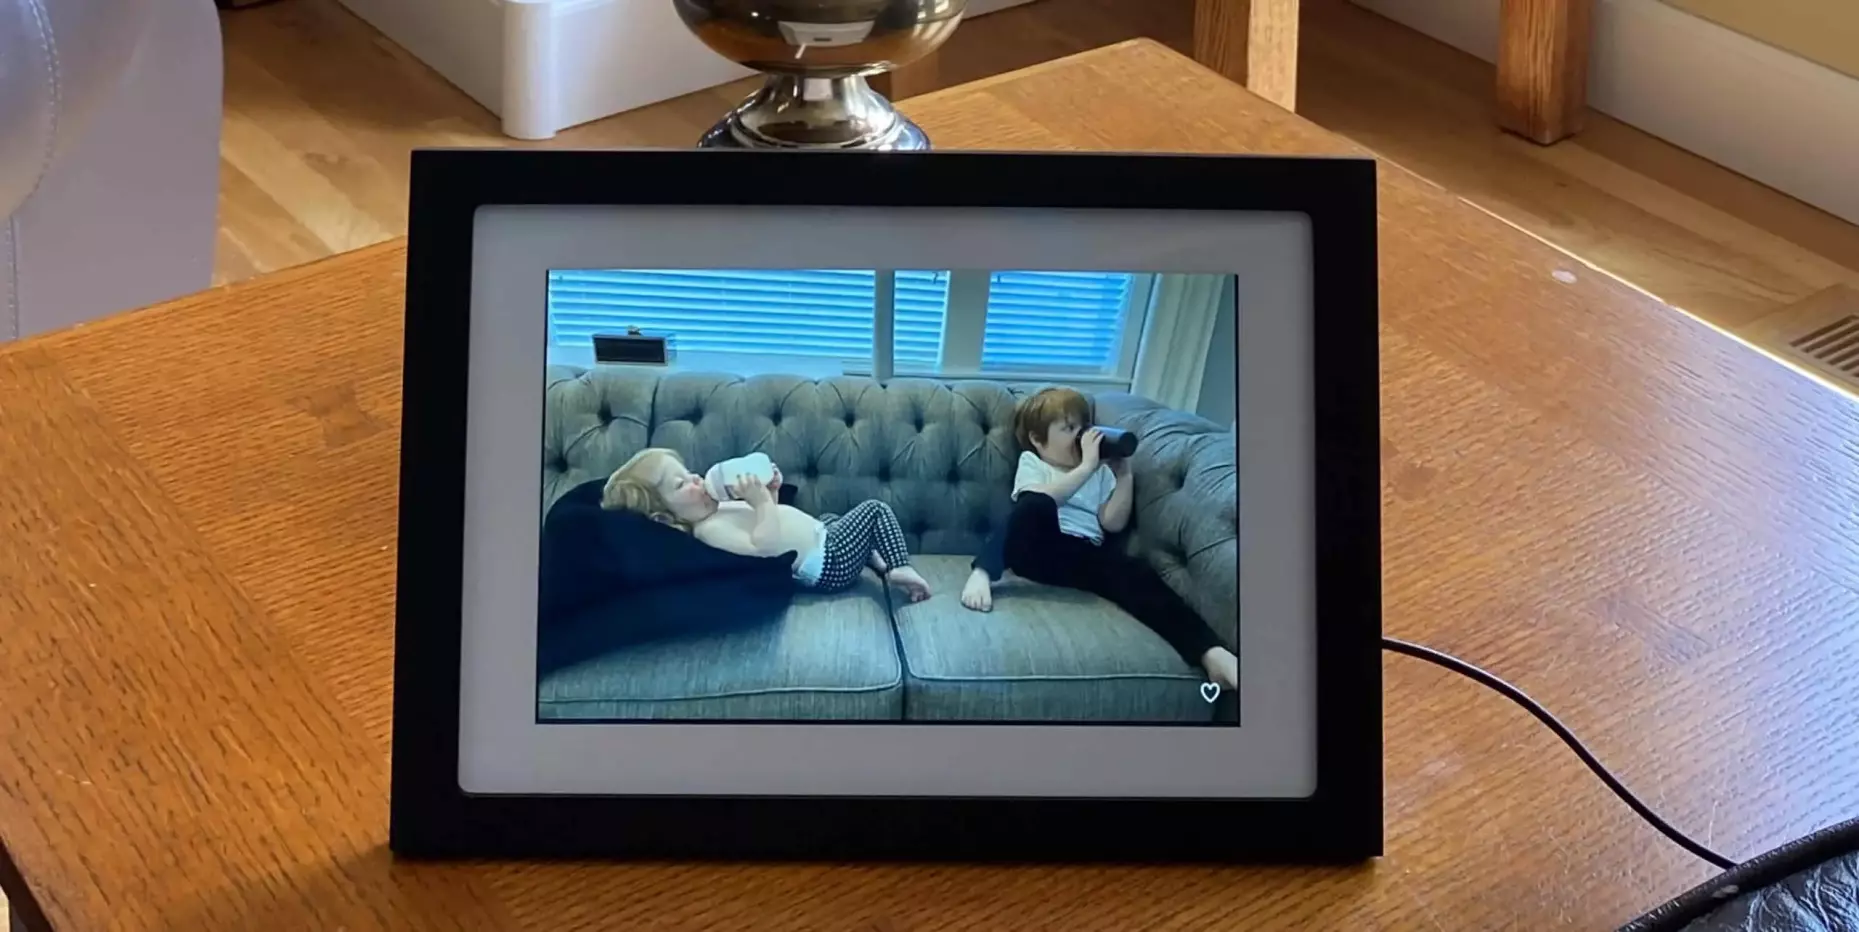
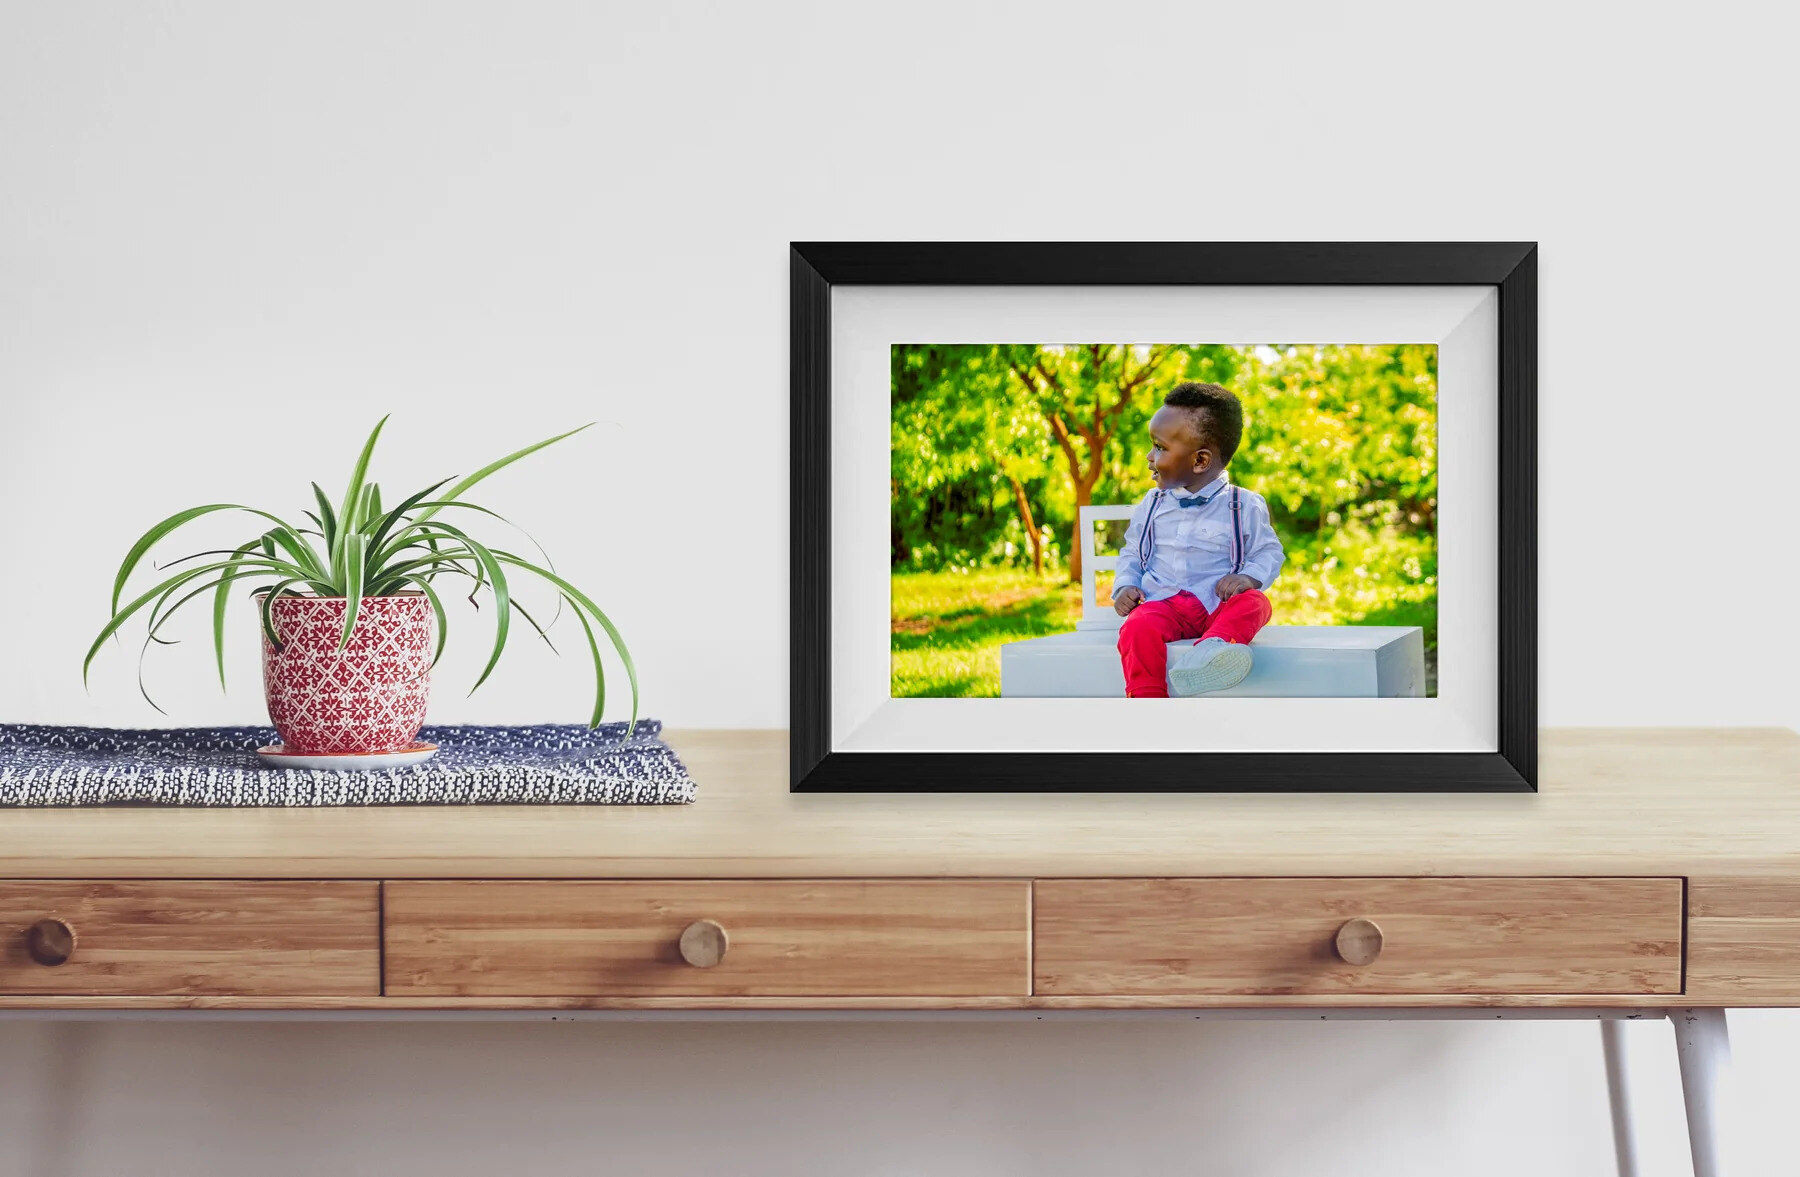
Welcome to our guide on how to reset a Skylight Frame. Skylight Frame is a modern and stylish digital photo frame that allows you to display and share your favorite photos with ease. However, there may be occasions where you encounter issues or want to start fresh with your frame. In such cases, performing a reset is a straightforward solution that can resolve most problems.
In this article, we will walk you through the step-by-step process of resetting a Skylight Frame, ensuring that you can easily troubleshoot any issues you may encounter. Whether you need to fix a frozen frame or simply want to erase all the content and start over, this guide will provide you with all the necessary information to reset your Skylight Frame.
Key Takeaways:
- Easily troubleshoot and reset your Skylight Frame by following simple steps to power off, locate the reset button, initiate the reset process, and personalize the frame again for a seamless photo display experience.
- Ensure a successful reset of your Skylight Frame by backing up important data, customizing settings, and adding favorite photos after the reset process. Keep your frame fresh and engaging with periodic updates and feature exploration.
Read more: How To Add Pictures To Skylight Frame
Step 1: Powering off the Skylight Frame
Before you begin the reset process, it is important to ensure that your Skylight Frame is powered off properly. Follow these steps to power off the frame:
- Locate the power button on the side or back of the frame.
- Press and hold the power button for a few seconds.
- The screen will display a message indicating that the frame is shutting down.
- Once the screen goes completely blank and the frame is powered off, you can move on to the next step.
It is crucial to power off the frame correctly to avoid any potential issues during the reset process. By following these steps, you will ensure that the frame is completely powered down and ready for the next step.
Step 2: Locating the Reset Button
The next step in resetting a Skylight Frame is to locate the reset button. The reset button is usually located at the back or bottom of the frame, and it is designed to restore the frame to its factory settings. To find the reset button, follow these instructions:
- Take a close look at the back or bottom of your Skylight Frame.
- Look for a small, pin-sized button labeled “Reset” or a similar indication.
- Use a thin, pointed object, such as a paperclip or a toothpick, to press and hold the reset button.
- Keep holding the reset button for about 10-15 seconds.
It is important to note that the location of the reset button may vary slightly depending on the specific model of your Skylight Frame. However, most frames have the reset button conveniently placed for easy access and use.
Once you have located and pressed the reset button, you can proceed to the next step to initiate the reset process.
Step 3: Resetting the Skylight Frame
After locating the reset button, you are ready to reset your Skylight Frame. Follow these steps to initiate the reset process:
- While still holding the reset button, press the power button to turn on the frame.
- Continue holding the reset button until you see a message or indicator on the screen confirming that the frame is being reset.
- Release the reset button once the reset process has started.
- Wait for the reset process to complete. This may take a few minutes, during which the frame may restart multiple times.
The reset process is designed to erase all the previous settings and content on your Skylight Frame, restoring it to its original factory state. By following these steps, you can ensure a successful reset and a clean slate for your frame.
It’s worth mentioning that resetting your Skylight Frame will remove all your photos, settings, and personalized configurations. Therefore, it’s advisable to back up any important data or photos before proceeding with the reset process.
To reset a skylight frame, start by removing the trim and checking for any damage. Then, realign the frame and secure it in place before replacing the trim.
Step 4: Powering on the Skylight Frame
Once the reset process is complete, you can power on your Skylight Frame and prepare it for the setup process. Follow these steps to power on the frame:
- Make sure the frame is connected to a power source.
- Press the power button to turn on the frame.
- Wait for the frame to boot up and display the initial setup screen.
After powering on the frame, you will be greeted with the initial setup screen. This screen will guide you through the steps required to configure your frame, connect to Wi-Fi, and start adding photos. Follow the on-screen prompts to complete the setup process.
It is important to note that the setup process may vary slightly depending on the specific model of your Skylight Frame. However, the basic steps remain consistent across different models.
Once you have completed the setup process, your Skylight Frame will be ready to display and share your favorite photos once again.
However, it is recommended to customize and personalize your frame settings according to your preferences before adding the photos back.
Read more: How To Reset Velux Skylight
Step 5: Setting up the Skylight Frame again
After the reset and power-on process, it’s time to set up your Skylight Frame again. Follow these steps to ensure a smooth and personalized experience:
- Connect your Skylight Frame to your Wi-Fi network. Go to the settings menu and select the Wi-Fi option. Follow the on-screen instructions to connect to your desired network.
- Customize your frame settings. Explore the settings menu to adjust options such as display brightness, slideshow speed, and sleep timer. Customize these settings according to your preference to enhance your viewing experience.
- Add your favorite photos to the frame. You can do this by utilizing the Skylight mobile app or by uploading photos from your computer. Follow the prompts and instructions provided by the frame or app to add and organize your photo collection.
- Organize your photos into albums or folders. This will allow you to easily navigate through your photo collection and showcase specific memories or themes.
- Set up additional features. Depending on the model of your Skylight Frame, you may have access to features such as video playback, music playback, and calendar integration. Explore these options and set up any additional features that interest you.
By following these steps, you can ensure that your Skylight Frame is fully set up and customized to suit your preferences and needs. Personalizing your frame with your favorite photos and adjusting the settings will enhance the overall experience and ensure that you enjoy your digital photo frame to the fullest.
Remember to periodically update your photo collection and explore new features offered by Skylight Frame to keep your frame fresh and engaging.
Conclusion
Resetting a Skylight Frame is a straightforward process that can help resolve various issues or provide a fresh start for your digital photo frame. By following the steps outlined in this guide, you can easily reset your frame and get it back up and running in no time.
Remember to power off the frame properly before initiating the reset process and locate the reset button on your specific model. Once you have reset the frame, you can power it back on and go through the setup process to personalize your frame and add your favorite photos.
Taking the time to customize your frame settings, organize your photos, and explore additional features will ensure that your Skylight Frame becomes a personalized and enjoyable experience for showcasing your cherished memories.
If you encounter any issues during the reset process, it is always a good idea to consult the user manual or reach out to Skylight Frame customer support for further assistance.
With these steps and tips in mind, you are now equipped to confidently reset your Skylight Frame and continue enjoying the seamless display of your favorite photos for years to come.
Frequently Asked Questions about How To Reset A Skylight Frame
Was this page helpful?
At Storables.com, we guarantee accurate and reliable information. Our content, validated by Expert Board Contributors, is crafted following stringent Editorial Policies. We're committed to providing you with well-researched, expert-backed insights for all your informational needs.


0 thoughts on “How To Reset A Skylight Frame”