Articles
How To Blackout Skylight
Modified: February 23, 2024
Learn how to effectively blackout a skylight with our informative articles. Gain valuable insights and step-by-step guides to ensure complete light blockage.
(Many of the links in this article redirect to a specific reviewed product. Your purchase of these products through affiliate links helps to generate commission for Storables.com, at no extra cost. Learn more)
Introduction
Sunlight can be a beautiful and invigorating addition to any living space, but there are times when you may want to control the amount of light entering through your skylight. Whether it’s for privacy, reducing glare, or creating a serene atmosphere for sleep, blackout skylight covers are a practical solution.
In this article, we will guide you through the process of blacking out your skylight, step by step. We will explore different methods you can use, provide a checklist of materials you’ll need, and offer maintenance tips to keep your skylight covering in excellent condition.
Before we begin, it’s important to note that skylight blackout covers have become increasingly popular due to their versatility and effectiveness. Whether you have a fixed skylight, a ventilating skylight, or a tubular skylight, there is a blackout solution for every type. Let’s dive into the process of assessing your skylight and choosing the right blackout method for your specific needs.
Key Takeaways:
- Takeaway 1: Assessing your skylight’s size, type, and condition is crucial before choosing a blackout method. Proper preparation, installation, and testing ensure effective light control and a serene living space.
- Takeaway 2: Regular maintenance and cleaning of your skylight blackout covering are essential for longevity and optimal performance. Follow manufacturer’s guidelines, inspect for damage, and keep the surrounding area clean for continued effectiveness.
Read more: How To Make Skylight
Assessing the Skylight
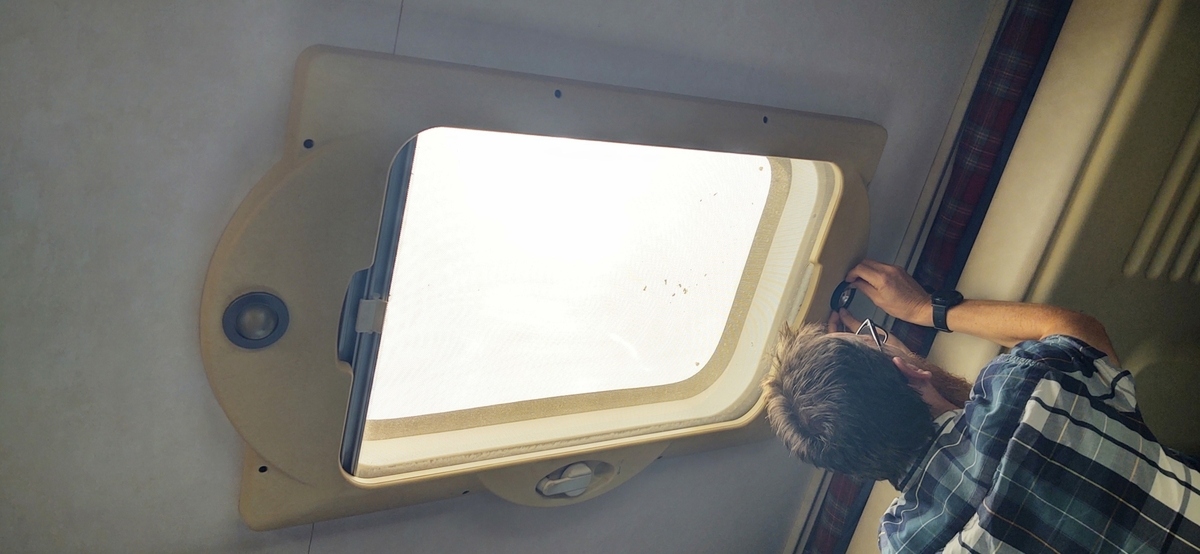
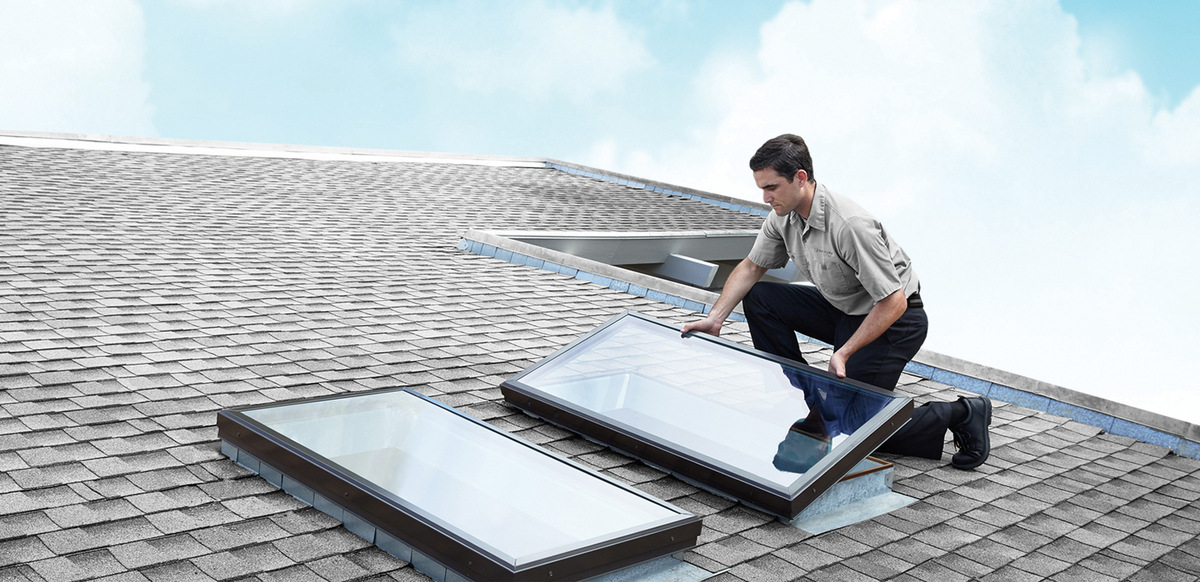
Before you begin the process of blackout skylight installation, it’s essential to assess your skylight to determine its size, type, and any potential challenges you may encounter. Here are some steps to follow when assessing your skylight:
- Measure the size of your skylight: Use a tape measure to determine the exact dimensions of your skylight. Measure both the width and height, as this will help you choose the right size of blackout covering.
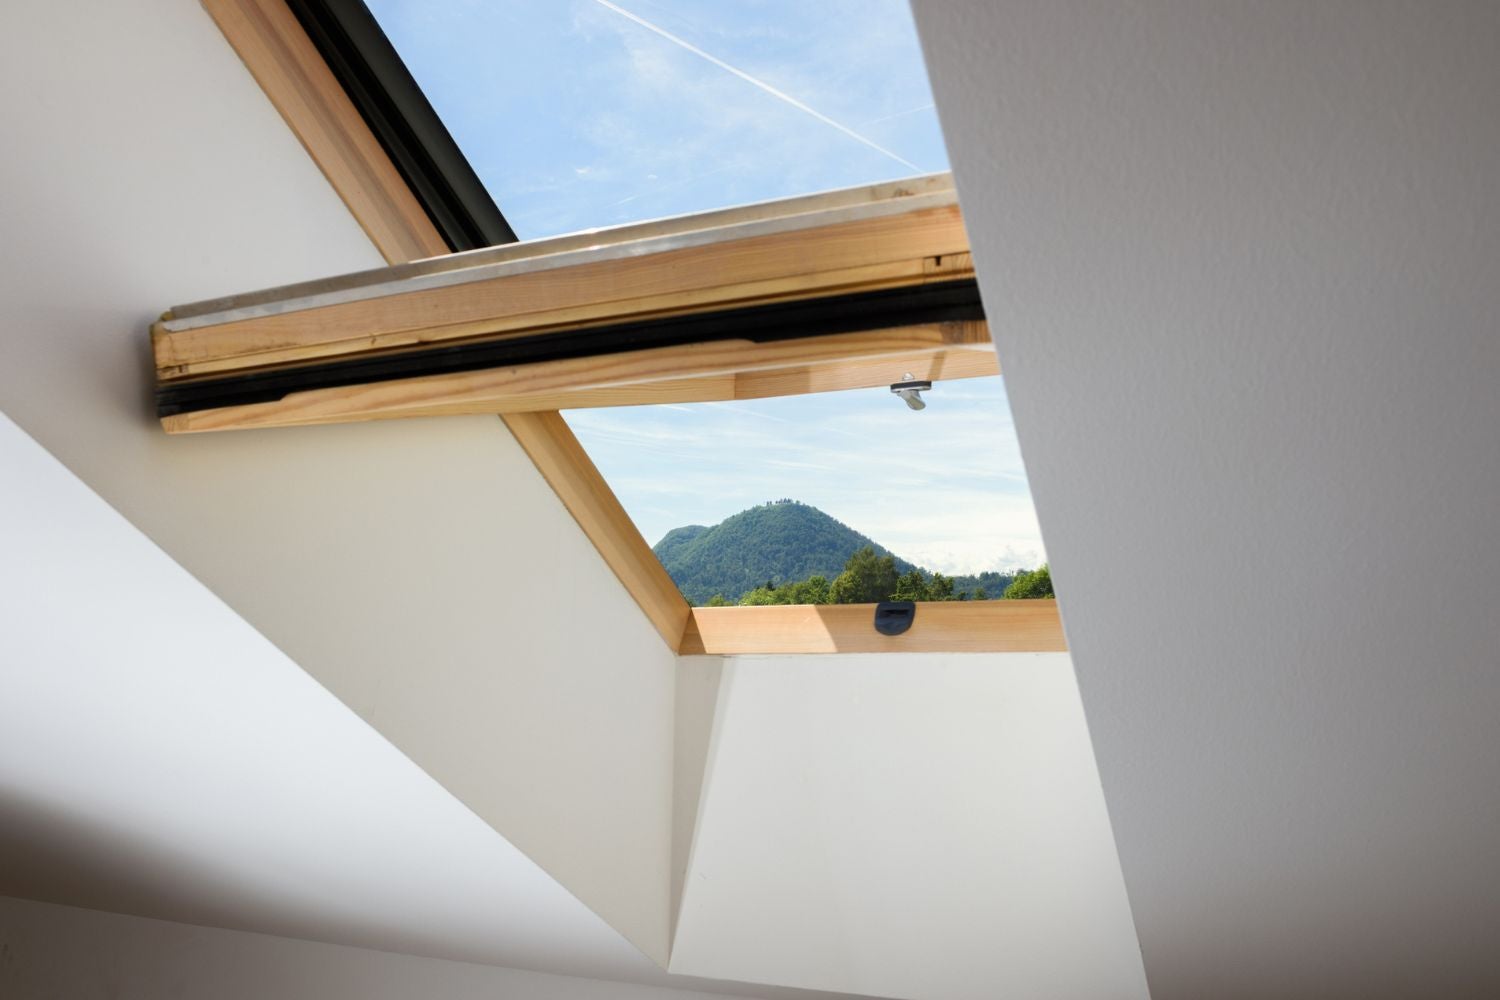
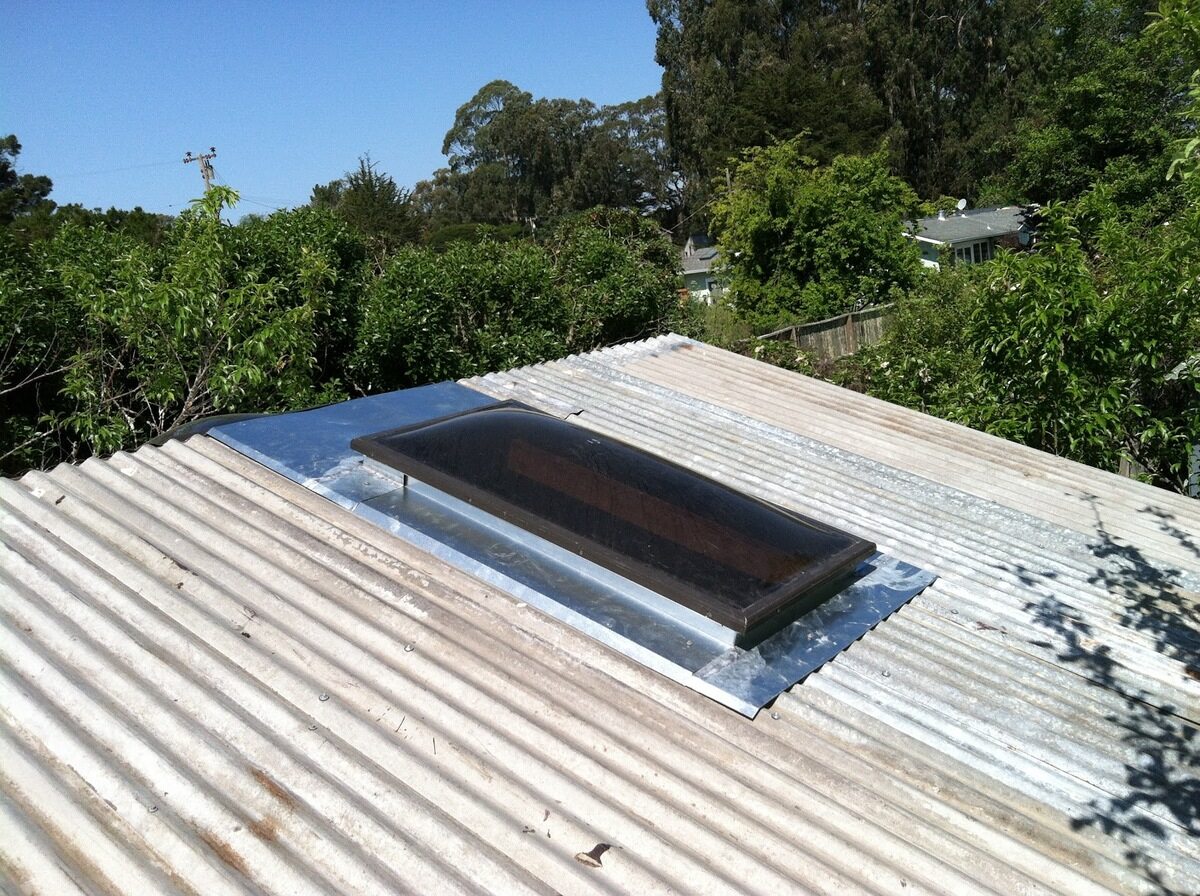
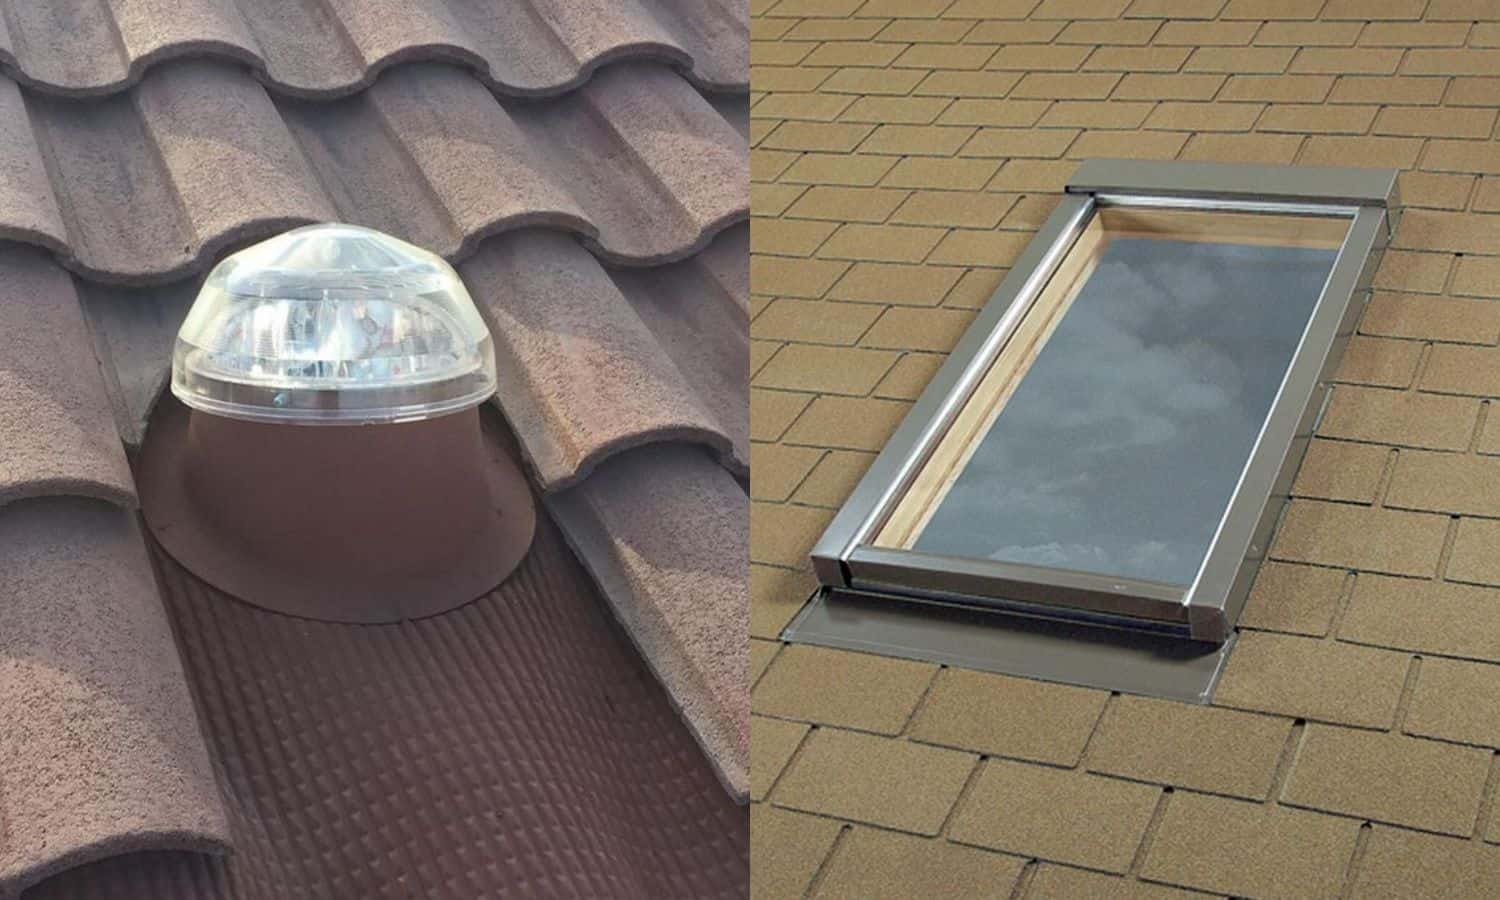
- Identify the type of skylight: Skylights come in various types, including fixed, ventilating, and tubular skylights. Each type requires a different approach when it comes to blackout solutions. Understanding the type of skylight you have will help you choose the most suitable method.
- Consider any existing coverings: If your skylight already has a covering, such as blinds or shades, you may need to remove them before installing the blackout cover. Take note of any attachments or fixtures that need to be removed or adjusted.
- Check for obstructions: Look for any obstructions around your skylight, such as light fixtures, vents, or structural components. These obstructions may affect the installation process and might require additional adjustments.
- Evaluate the skylight’s condition: Examine the condition of your skylight for any cracks, leaks, or damage. It’s important to address any necessary repairs before proceeding with the blackout installation process.
By thoroughly assessing your skylight, you will have a better understanding of its specifications and condition, allowing you to choose the most appropriate blackout method and prepare accordingly. Now that you have assessed your skylight, let’s move on to selecting the blackout covering method that best fits your needs.
Choosing the Blackout Method
When it comes to blacking out a skylight, there are several methods to choose from. The method you select will depend on the type of skylight you have, personal preferences, and your desired level of blackout. Here are some common blackout methods to consider:
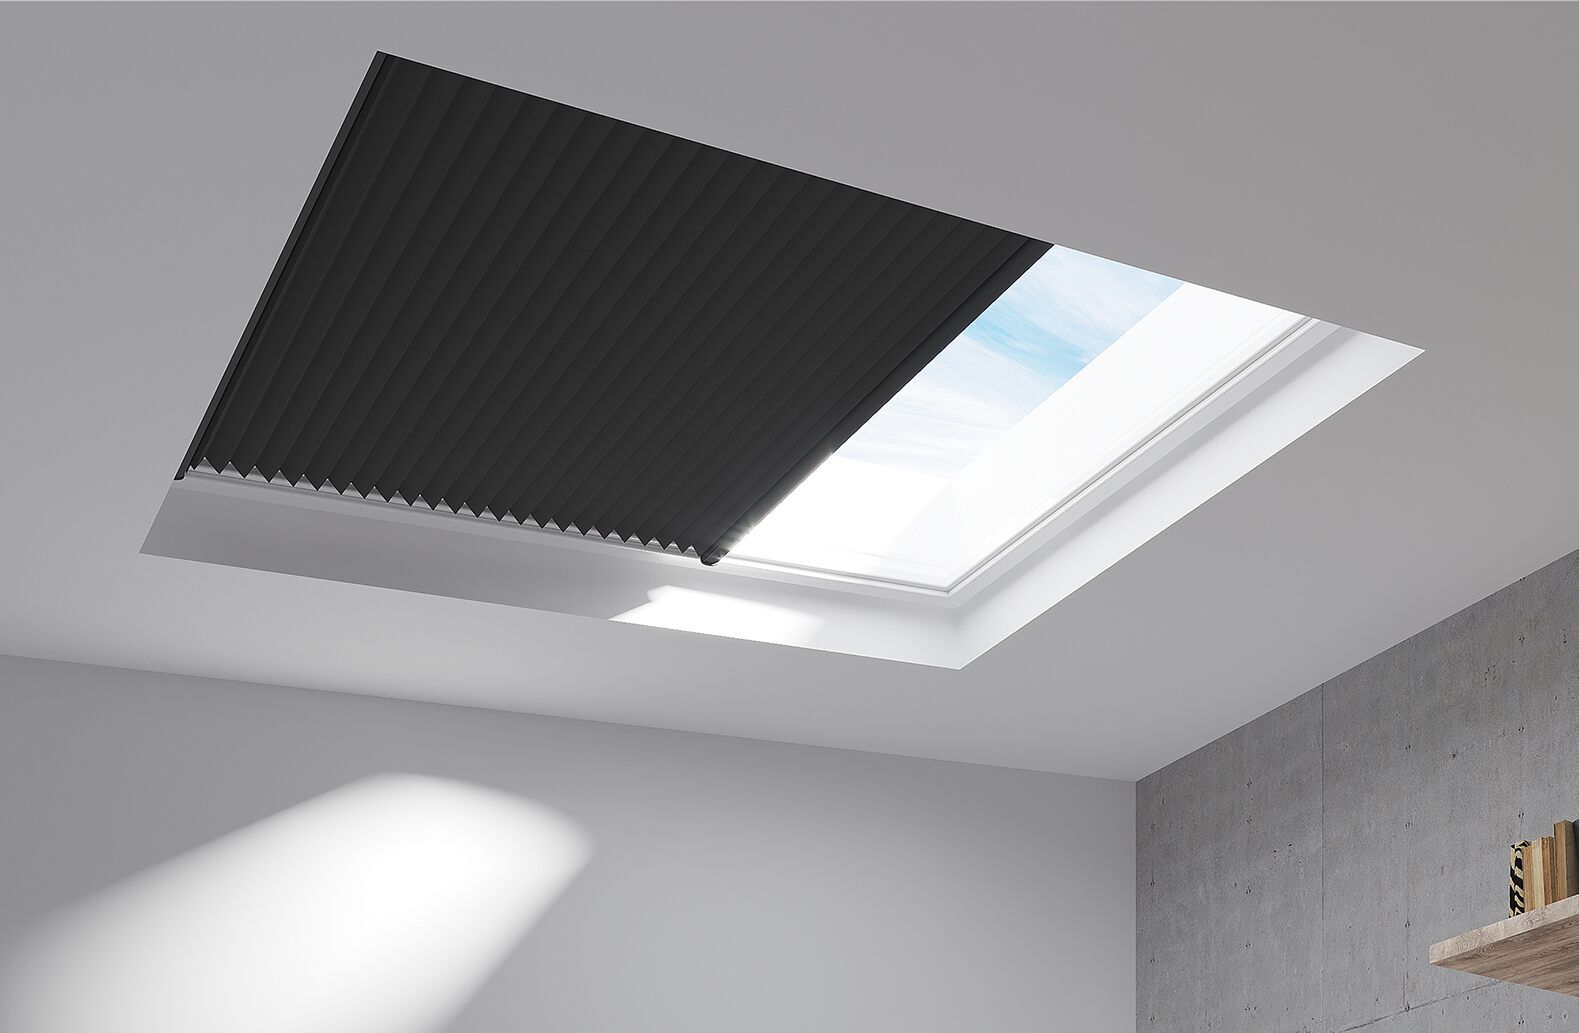
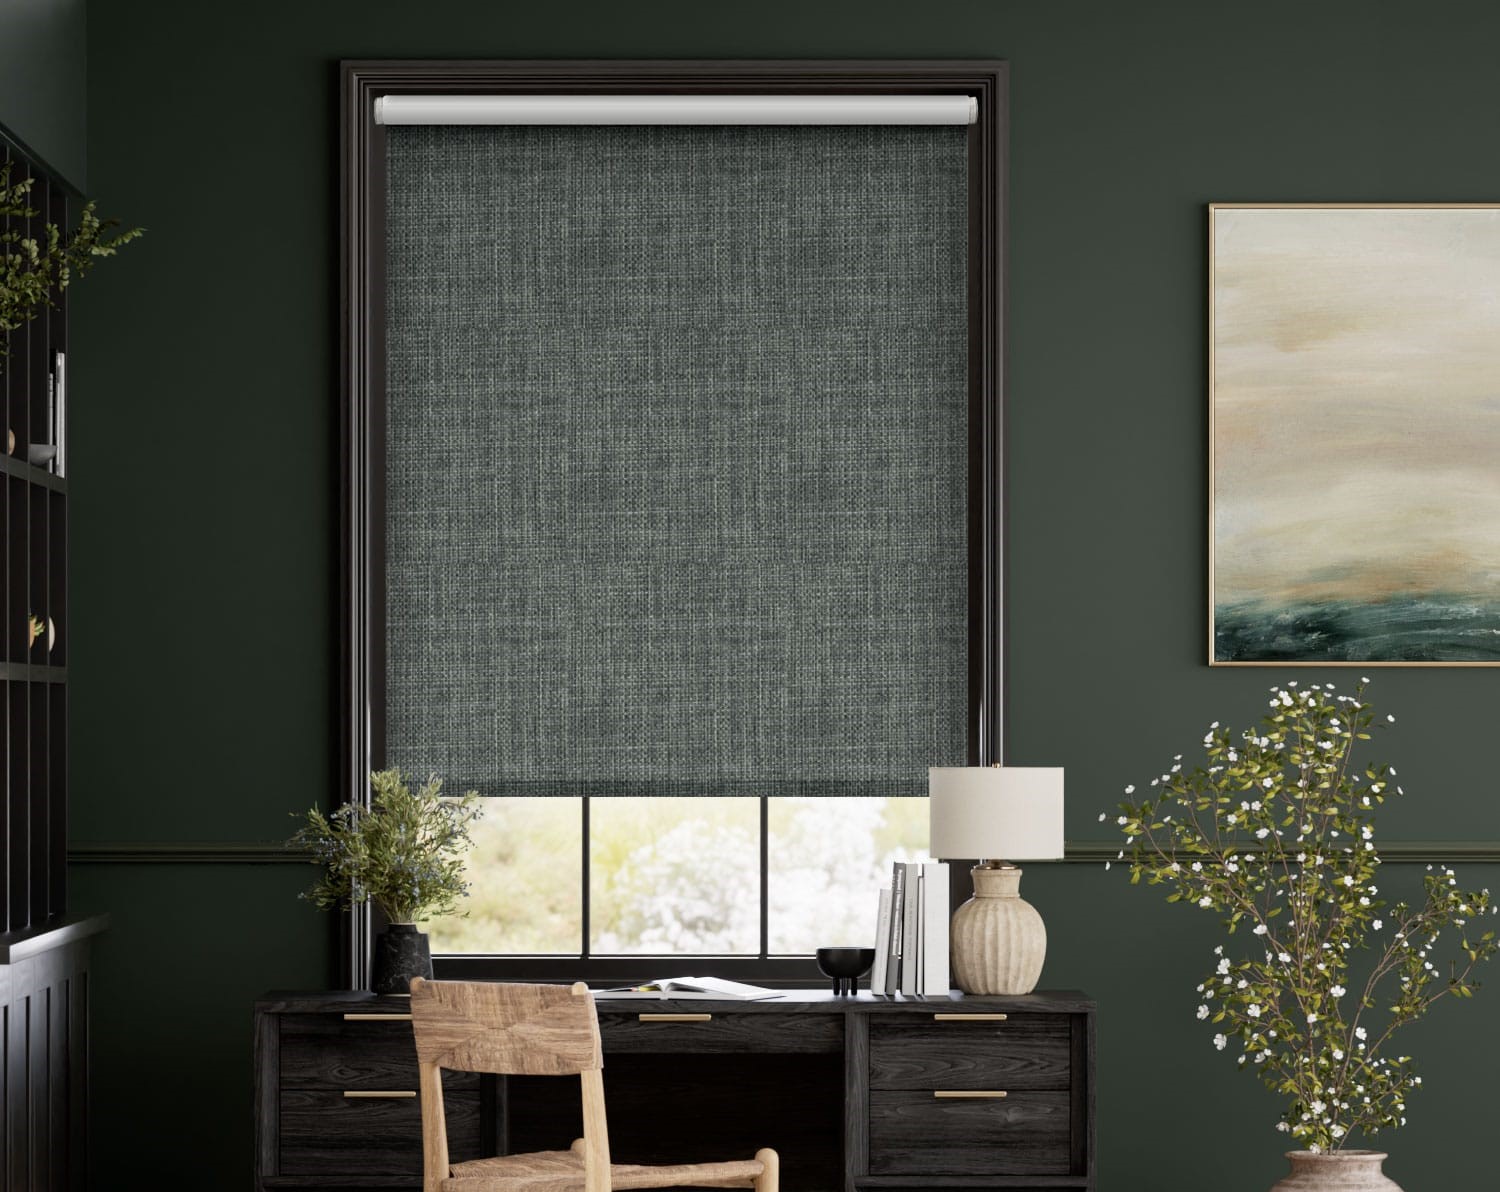
- Roller Shades: Roller shades are a popular choice for skylight blackout, offering easy installation and adjustable light control. These shades can be operated manually or motorized, allowing you to effortlessly block out sunlight whenever desired.
- Blackout Blinds: Blackout blinds are another effective option for skylight blackout. They come in various styles, such as vertical blinds or honeycomb shades, offering insulation properties in addition to light control.
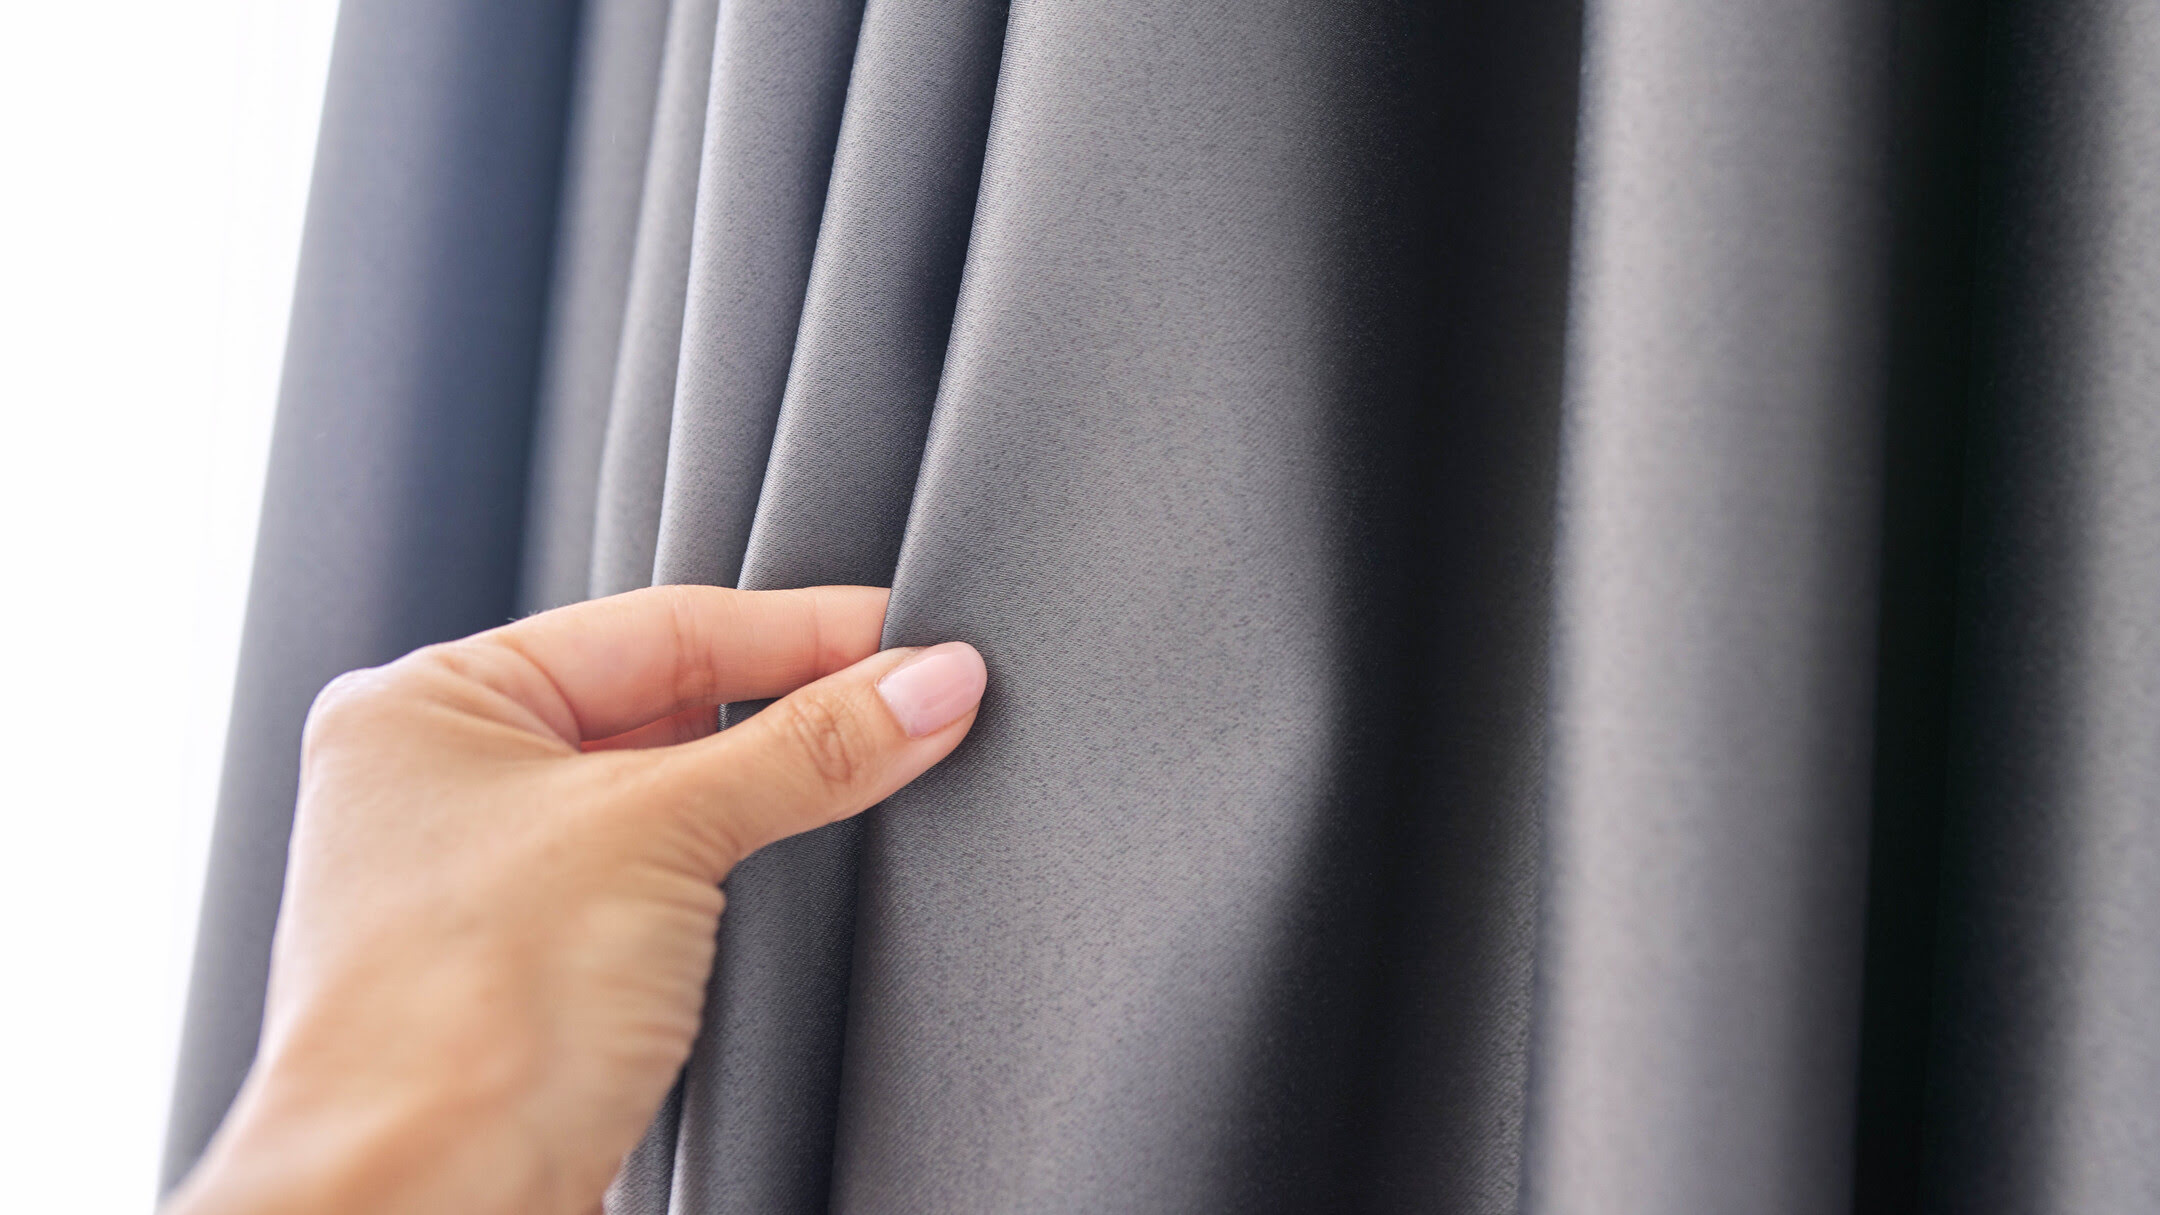
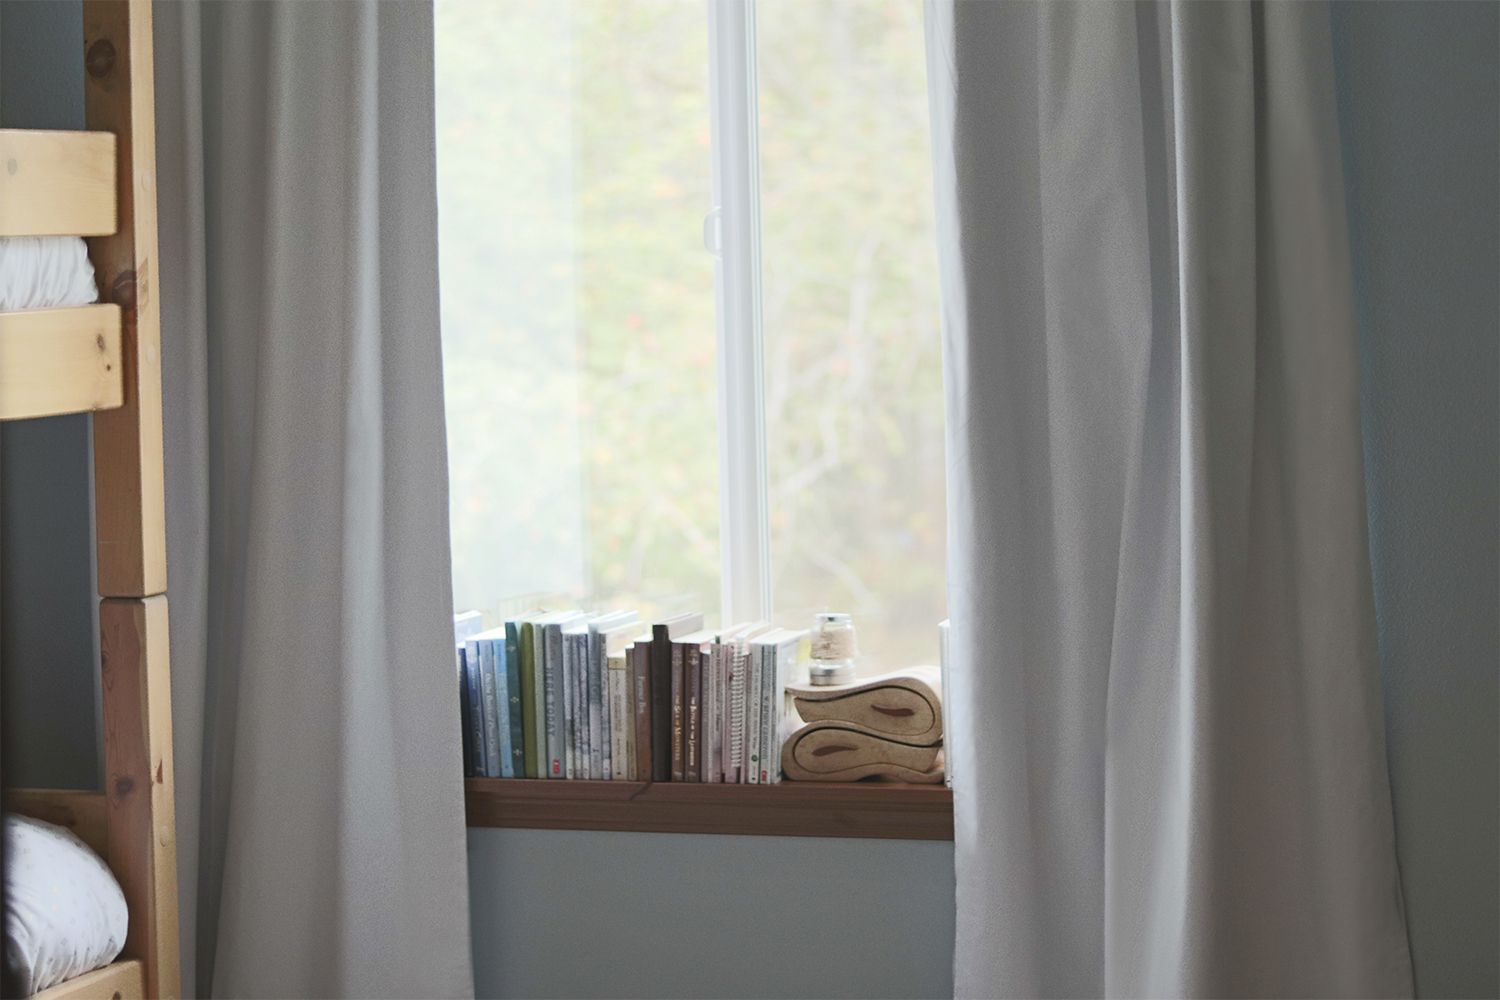
- Blackout Curtains: Blackout curtains are thick, light-blocking curtains that can be hung over a skylight to ensure complete darkness. They are available in a wide range of colors and designs, allowing you to add a decorative touch to your space while achieving blackout functionality.
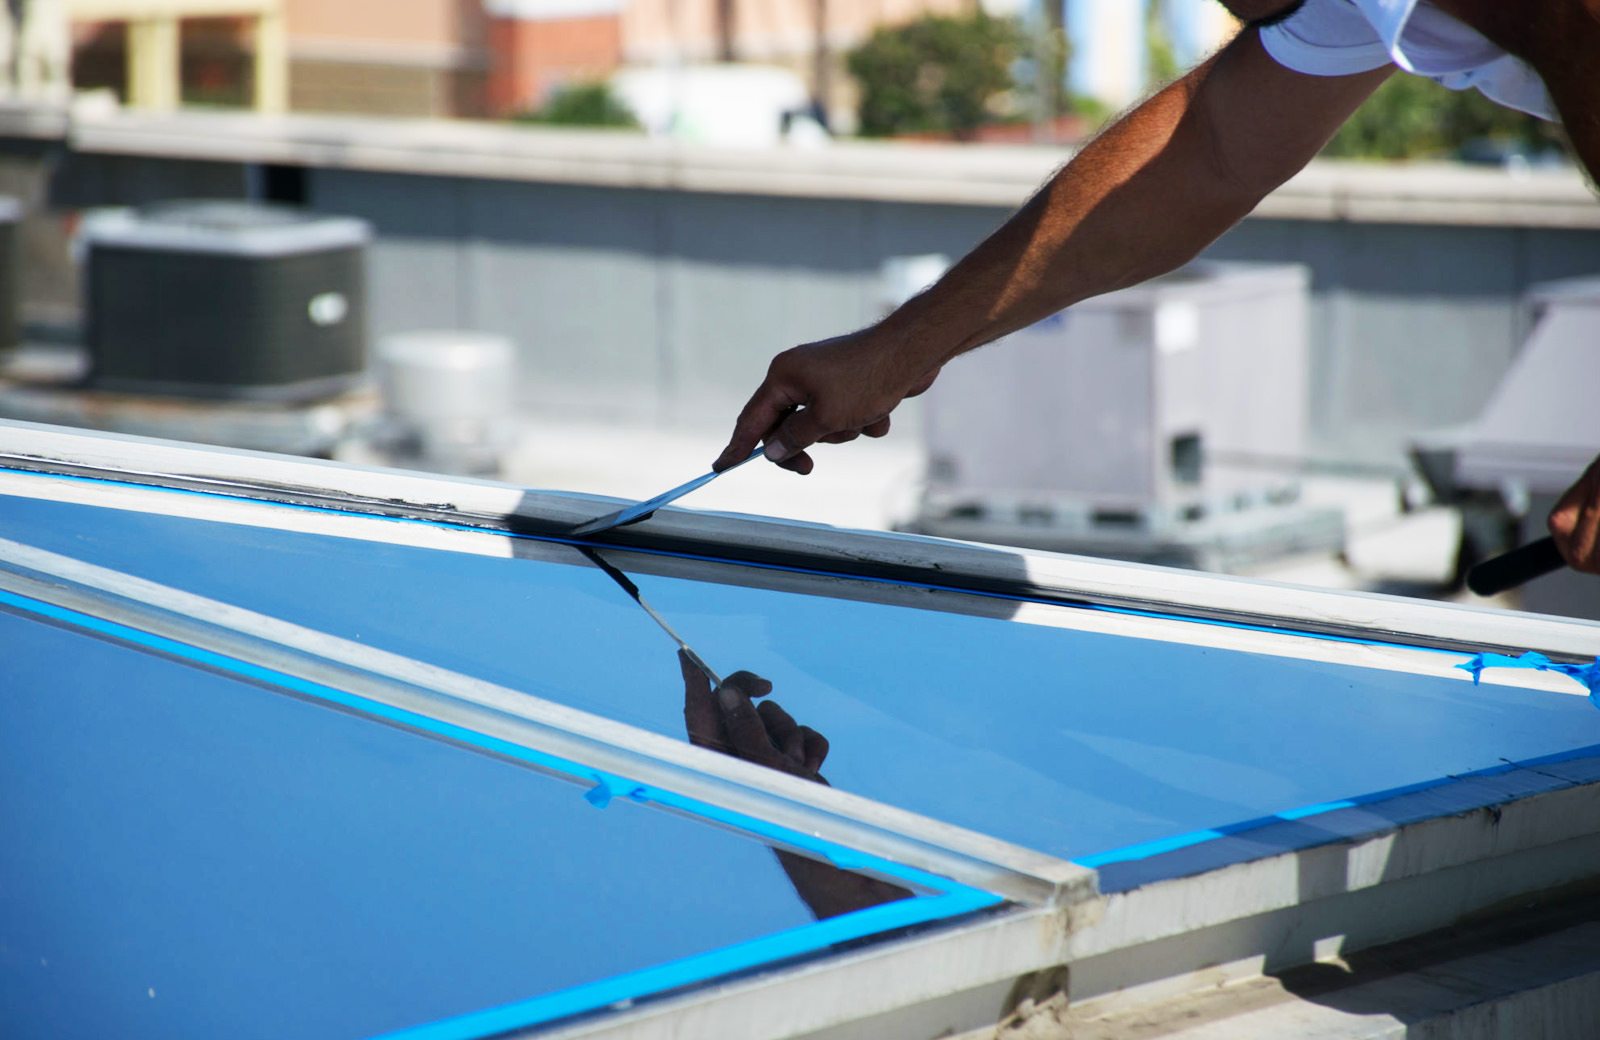
- Spray-on Blackout Coating: If you prefer a more temporary solution or have a unique skylight shape, a spray-on blackout coating can be an ideal choice. This coating can be applied to the skylight glass, creating an opaque finish that blocks out light effectively.
- Dome Covers or Skylight Shades: For tubular skylights or domed skylights, specially designed dome covers or skylight shades are available. These covers fit over the skylight and provide complete blackout while still allowing natural light to filter through when desired.
Consider the size, type, and functionality of your skylight when choosing a blackout method. Additionally, take into account your budget, aesthetics, and ease of installation. Research different options, read customer reviews, and consult with professionals if needed. Once you have chosen the blackout method, it’s time to gather the necessary materials before starting the installation process.
Gathering the Necessary Materials
Before you begin the installation of a blackout skylight cover, it’s important to gather all the necessary materials. Having everything you need on hand will save time and ensure a smooth installation process. Here is a list of commonly required materials:
- Blackout Covering: Depending on the method you’ve chosen, you will need the appropriate blackout covering. This could be roller shades, blackout blinds, blackout curtains, a spray-on blackout coating, or a dome cover/skylight shade.
- Mounting Hardware: Most blackout coverings require mounting hardware to secure them in place. This may include brackets, screws, clips, or adhesive strips. Make sure to check the specifications of your chosen blackout covering to determine the necessary mounting hardware.
- Measuring Equipment: A tape measure or ruler is essential for accurately measuring the dimensions of your skylight. This will help you select the correct size of blackout covering and ensure a proper fit.
- Cleaning Supplies: Before installing the blackout cover, it’s a good idea to clean the skylight glass to remove any dust or dirt. Gather some glass cleaner, a soft cloth, and any other cleaning supplies you may need for this task.
- Tools: Depending on the type of installation required, you may need tools such as a screwdriver, drill, level, or ladder. Check the instructions provided with your chosen blackout covering to determine the tools needed.
- Additional Accessories: Depending on the method you’ve chosen, you may require additional accessories such as remote controls for motorized coverings, curtain rods for blackout curtains, or a sprayer for the spray-on blackout coating.
Ensure that you have all the necessary materials ready before you start the installation process. This will help you complete the installation efficiently, minimizing any delays or interruptions. Once you have gathered all the materials, you can move on to the next step: preparing for installation.
Preparing for Installation
Before you begin installing the blackout cover for your skylight, it’s important to properly prepare the area and ensure you have a clear plan of action. By following these steps, you’ll set yourself up for a successful installation:
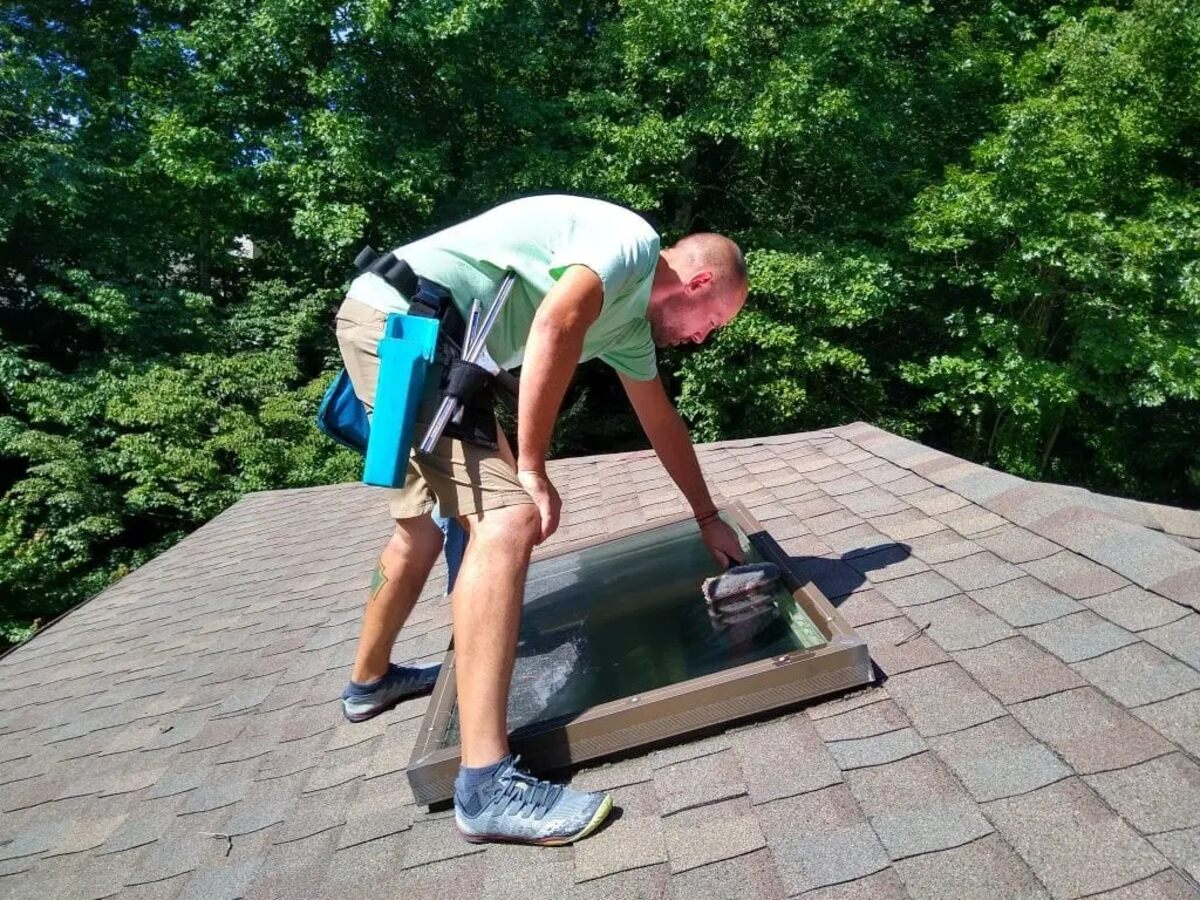
- Clean the Skylight: Start by cleaning the skylight glass to remove any dirt, dust, or debris. This will ensure a clear surface for the blackout cover to adhere to and enhance its effectiveness.
- Read the Instructions: Carefully review the instructions provided with your chosen blackout covering. Familiarize yourself with the installation process, any specific requirements, and recommended techniques for a smooth installation.
- Organize the Materials: Lay out all the materials you gathered during the previous step, ensuring everything is easily accessible. This will save time during the installation process and reduce the risk of misplacing essential components.
- Clear the Area: Remove any furniture or obstacles that may interfere with the installation process. Create an open and safe working space around the skylight to facilitate easy access and maneuverability.
- Protect the Surrounding Area: Cover the floor or surrounding surfaces with drop cloths or plastic sheets to protect them from any potential damage or debris during the installation process.
- Enlist Help if Needed: Depending on the size and complexity of the blackout cover and the skylight, you may need assistance during the installation. If necessary, ask a friend or family member to lend a helping hand to ensure a smooth and safe installation process.
By properly preparing the skylight and the surrounding area, you’ll create a conducive environment for the installation process. Taking the time to read the instructions and organizing your materials will also help streamline the installation process and reduce the chances of errors or delays. With everything in order, you’re ready to move on to the next step: installing the blackout covering.
Consider using blackout roller shades or blinds specifically designed for skylights. These can be easily installed and provide effective light blocking for skylight windows.
Read more: How To Open A Skylight
Installing the Blackout Covering
With the preparation complete, it’s time to install the blackout covering for your skylight. The specific steps will vary depending on the type of covering you’ve chosen, so be sure to refer to the instructions provided with your particular product. Here are some general guidelines to help you with the installation process:
- Follow the Instructions: Start by carefully reading the installation instructions provided with your blackout covering. Familiarize yourself with the recommended installation techniques, any specific hardware or tools required, and any safety precautions you need to take.
- Attach the Mounting Hardware: If your blackout covering requires mounting hardware, proceed to attach it according to the manufacturer’s instructions. This may involve drilling holes, screwing in brackets, or applying adhesive strips, depending on the type of covering you’ve chosen.
- Hang the Blackout Covering: Once the mounting hardware is in place, proceed to hang the blackout covering over the skylight. Follow the specific instructions provided with your chosen covering to ensure a proper fit and alignment.
- Adjust and Secure: Once the blackout covering is hung, make any necessary adjustments to ensure a snug fit and proper coverage. Secure the covering in place using the recommended methods, whether it’s tightening screws, aligning hooks, or rolling down shades.
- Test the Functionality: Once the blackout covering is installed, test its functionality to ensure it effectively blocks out light. Open and close the covering, adjust any controls or mechanisms, and observe how well it provides the desired level of blackout.
- Make Final Adjustments: If needed, make any final adjustments to the blackout covering to improve its fit or functionality. This may involve tightening or loosening screws, adjusting tension, or optimizing the position of the covering.
Every blackout covering installation is unique, so it’s important to carefully follow the provided instructions. If you encounter any challenges or uncertainties during the installation process, consult the manufacturer’s customer support or seek professional assistance. With the blackout covering successfully installed, it’s time to move on to the next step: testing its effectiveness.
Testing the Effectiveness
After installing the blackout covering for your skylight, it’s important to test its effectiveness to ensure that your desired level of darkness and light control is achieved. Testing the effectiveness of the blackout covering will allow you to make any necessary adjustments or modifications for optimal results. Here are some steps to follow when testing the effectiveness:
- Close the Blackout Covering: Fully close or activate the blackout covering to block out as much light as possible. This may involve pulling down the roller shades, closing the blinds, or drawing the curtains.
- Observe the Skylight Area: Once the blackout covering is closed, observe the skylight area to assess the level of darkness achieved. Look for any signs of light leakage around the edges or corners of the covering.
- Test for Light Penetration: To test for any potential light penetration, dim the lights or wait until nighttime to simulate a dark environment. Look for any areas where light may still enter through the covering, such as gaps or seams.
- Check for Glare Reduction: If reducing glare is one of your objectives, assess whether the blackout covering effectively minimizes glare from sunlight. Position yourself in different angles or positions relative to the skylight to observe any differences in glare levels.
- Adjust or Modify as Needed: Based on your observations, make any necessary adjustments or modifications to improve the effectiveness of the blackout covering. This may involve tightening screws, adding additional layers, or repositioning the covering to eliminate any light leakage.
- Ensure Ease of Use: Beyond effectiveness, ensure that the blackout covering is easy to open, close, and adjust as needed. Test any controls or mechanisms to ensure they function properly and smoothly.
By carefully testing the effectiveness of the blackout covering, you can fine-tune its performance to effectively block out light, reduce glare, and create the desired atmosphere in your space. Keep in mind that adjustments may be necessary over time as the covering settles or as your needs change. Regularly reassess the effectiveness of the blackout covering and make any necessary modifications to maintain optimal results.
Now that you have tested the effectiveness and made any required adjustments, let’s explore some maintenance and cleaning tips to keep your skylight covering in excellent condition over time.
Maintenance and Cleaning Tips
Regular maintenance and cleaning of your skylight blackout covering will help ensure its longevity and optimal performance. Here are some maintenance and cleaning tips to keep in mind:
- Follow Manufacturer’s Guidelines: Always refer to the manufacturer’s guidelines and instructions when it comes to maintenance and cleaning. Different types of blackout coverings may have specific care requirements, so it’s important to follow their recommendations.
- Regularly Dust and Vacuum: Dust and debris can accumulate on the surface of your blackout covering over time, affecting its effectiveness. Use a soft brush attachment on your vacuum cleaner or a duster to gently remove any dust or dirt from the covering.
- Spot Clean as Needed: If you notice any stains or spills on your blackout covering, spot clean them immediately using a mild detergent or cleaning solution recommended by the manufacturer. Follow the instructions provided for spot cleaning and avoid using harsh chemicals or abrasive materials.
- Avoid Excessive Force: Handle your blackout covering with care to avoid unnecessary wear and tear. Avoid pulling or tugging on the covering forcefully and be gentle when opening and closing it to prevent any damage.
- Inspect for Damage: Regularly inspect your blackout covering for any signs of damage, such as tears, frays, or loose components. If you notice any issues, address them promptly to prevent further damage and ensure the continued effectiveness of the covering.
- Keep the Surrounding Area Clean: In addition to cleaning the blackout covering itself, it’s important to keep the surrounding area clean as well. Regularly dust and clean the skylight glass, remove any debris or obstructions from the area, and check for any signs of mold or mildew that may affect the covering or the skylight frame.
- Schedule Professional Maintenance: If you’re unsure about any aspect of maintaining or cleaning your skylight blackout covering, consider scheduling professional maintenance. Professional cleaners or technicians can provide deep cleaning, inspection, and maintenance services to ensure your covering remains in top condition.
By following these maintenance and cleaning tips, you can extend the life of your skylight blackout covering and ensure its optimal performance over time. Regular maintenance will help preserve the effectiveness of the covering, allowing you to continue enjoying the benefits of a dark and controlled environment in your living space.
With proper maintenance and cleaning covered, let’s conclude our guide to blackout skylights.
Conclusion
Blackout skylight covers offer a practical solution for controlling the amount of light entering through your skylight. Whether you’re seeking privacy, reducing glare, or creating a serene atmosphere for sleep, installing a blackout covering is a simple and effective way to achieve your desired level of darkness.
In this article, we discussed the importance of assessing your skylight and choosing the right blackout method for your specific needs. We explored various blackout methods, such as roller shades, blackout blinds, blackout curtains, spray-on blackout coating, and dome covers/skylight shades, each offering unique features and benefits.
We also emphasized the significance of gathering the necessary materials and adequately preparing for the installation process. By following the instructions provided with your chosen blackout covering, you can ensure a smooth and successful installation that fits your skylight perfectly.
To maximize the effectiveness of your blackout covering, we discussed the importance of testing its performance and making any necessary adjustments. Regular maintenance and proper cleaning techniques were also highlighted to keep your skylight blackout covering in excellent condition over time.
Remember, each skylight and its blackout covering may have unique requirements, so always consult the manufacturer’s guidelines for specific instructions and recommendations.
By following the steps outlined in this guide, you can enjoy the benefits of a dark and controlled environment whenever you desire. Say goodbye to unwanted sunlight and hello to personalized light control with a blackout skylight covering.
Now it’s time to enhance the comfort and ambiance of your living space by installing a blackout skylight cover. Enjoy the serenity and privacy that comes with having full control over the natural light that enters your home.
Frequently Asked Questions about How To Blackout Skylight
Was this page helpful?
At Storables.com, we guarantee accurate and reliable information. Our content, validated by Expert Board Contributors, is crafted following stringent Editorial Policies. We're committed to providing you with well-researched, expert-backed insights for all your informational needs.


0 thoughts on “How To Blackout Skylight”