Articles
How To Remove Skylight
Modified: January 8, 2024
Learn effective techniques and tips to safely remove skylights from your home in our informative articles. Make your DIY project a success with our expert guidance.
(Many of the links in this article redirect to a specific reviewed product. Your purchase of these products through affiliate links helps to generate commission for Storables.com, at no extra cost. Learn more)
Introduction
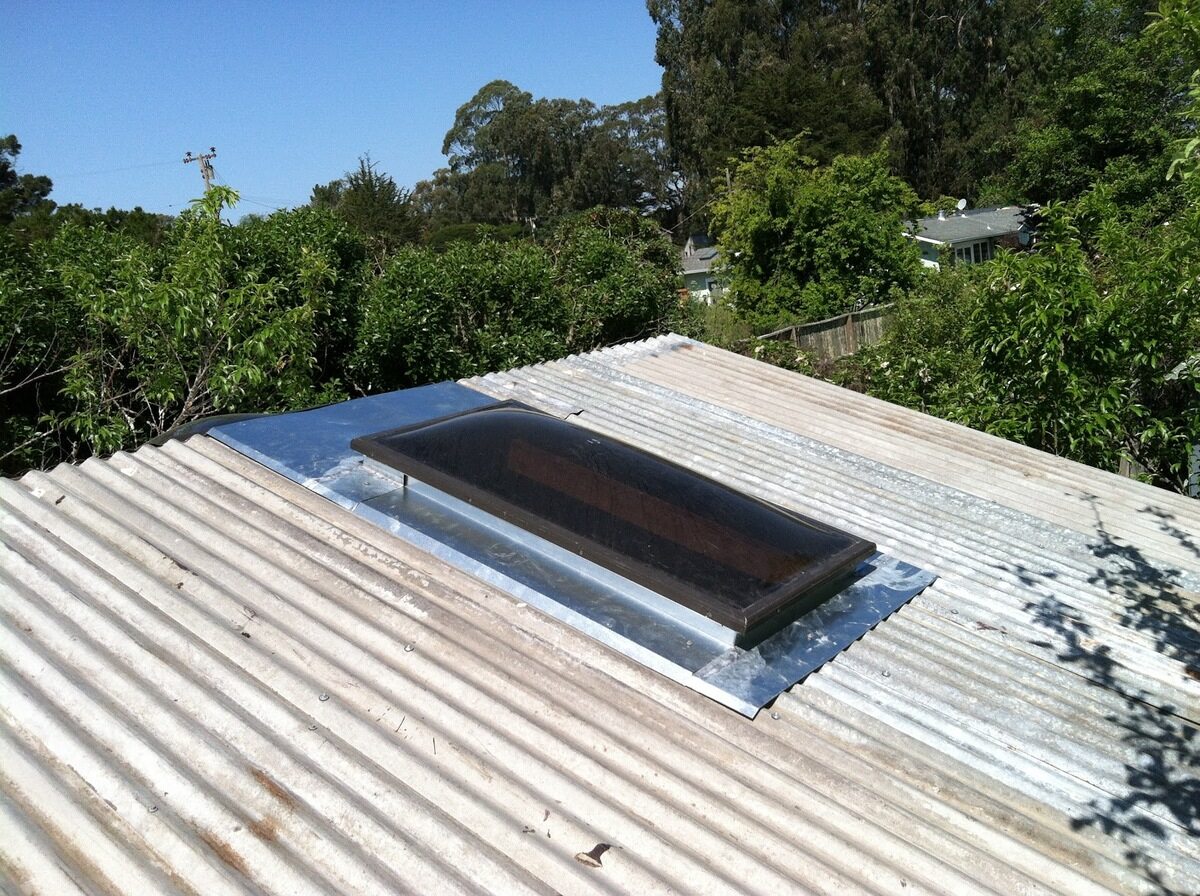
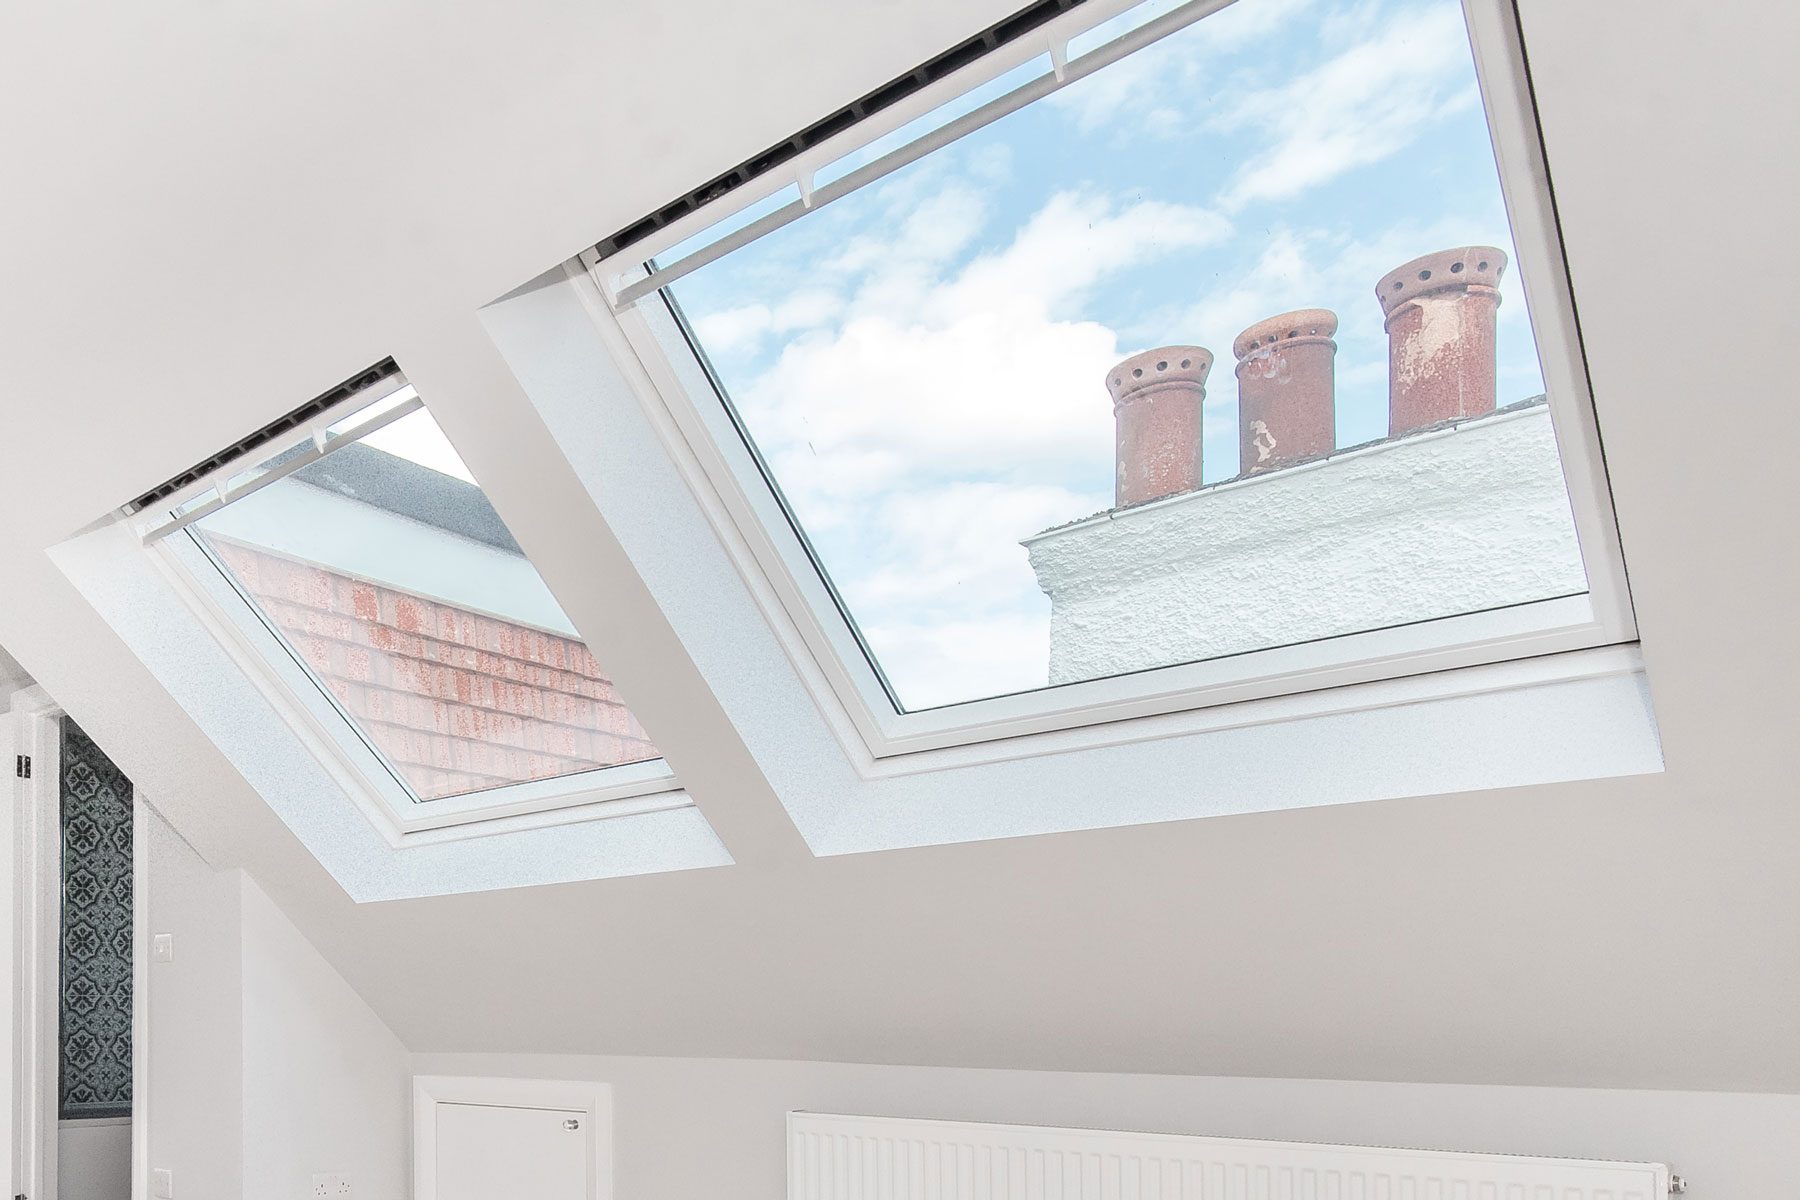
Welcome to our guide on how to remove a skylight. Skylights are a great addition to any home, allowing natural light to brighten up your space. However, there may come a time when you need to remove a skylight for various reasons, such as replacing it with a new one or to address any maintenance or repair needs.
In this article, we will take you through a step-by-step process on how to safely and effectively remove a skylight. We will provide you with the necessary tools and equipment, as well as guide you through each stage of the removal process.
Before we begin, it’s important to note that skylight removal can vary depending on the type and installation of the skylight. It is always recommended to consult the manufacturer’s instructions or seek professional assistance if you are uncertain about any step.
Now, let’s dive into the details of removing a skylight.
Key Takeaways:
- Safely remove a skylight by gathering tools, preparing the work area, disconnecting electrical connections, and lifting the skylight with caution. Inspect for damage and consider sealing the roof opening or installing a new skylight.
- Prioritize safety, follow step-by-step instructions, and consider professional assistance if unsure. Whether sealing the roof opening or installing a new skylight, ensure proper cleaning, measurements, and adherence to manufacturer’s guidelines.
Read more: How To Make Skylight
Step 1: Gather the necessary tools and equipment
Before removing a skylight, it’s crucial to gather all the necessary tools and equipment. This will ensure that you have everything you need to complete the task smoothly. Here are the essential items you will need:
- Safety goggles or glasses: Protect your eyes from any debris or dust that may be dislodged during the removal process.
- Gloves: Keep your hands safe and protected from sharp edges or any potential hazards.
- Ladder or scaffolding: Depending on the height of your skylight, you might need either a ladder or scaffolding to access the roof safely.
- Screwdriver set: A set of screwdrivers with different sizes and types (such as flathead and Phillips) will be required to remove screws and fasteners holding the skylight in place.
- Utility knife: A utility knife will assist you in cutting through any sealants or adhesives that may be securing the skylight.
- Caulk gun: If you plan to seal the roof opening after removing the skylight, a caulk gun will be necessary for applying a new layer of sealant.
- Plastic sheeting or tarp: To protect the interior of your home from debris or water during the removal process, lay down plastic sheeting or a tarp beneath the skylight.
- Trash bags: Keep some trash bags handy to dispose of any rubbish or fragments that may be produced during the removal.
By ensuring that you have all the necessary tools and equipment before starting the skylight removal, you can avoid any unnecessary delays or interruptions during the process. Now that you have gathered everything you need, let’s move on to preparing the work area.
Step 2: Prepare the work area
Preparing the work area is an important step before removing the skylight. By taking the time to properly prepare, you can ensure a safer and more efficient removal process. Follow these steps to prepare the work area:
- Clear the area: Start by removing any furniture, decorations, or obstructions near the skylight. This will create a clear and open space to work in.
- Protect the surrounding area: Use plastic sheeting or tarp to cover the floor and any nearby surfaces. This will prevent any debris or dust from damaging or dirtying the area.
- Secure the ladder or scaffolding: If you are using a ladder or scaffolding to access the skylight, make sure it is stable and secure. Double-check the footing and ensure that it is on a level surface.
- Turn off the power: If your skylight has any electrical connections, it is crucial to turn off the power before proceeding. This will prevent any accidents or electrical shocks during the removal.
- Notify others: If there are other people in the house, inform them about the skylight removal and advise them to stay clear of the work area for their safety.
Ensuring that the work area is properly prepared will help prevent accidents and ensure a smooth removal process. Once you have completed these preparatory steps, you are ready to move on to the actual removal of the skylight.
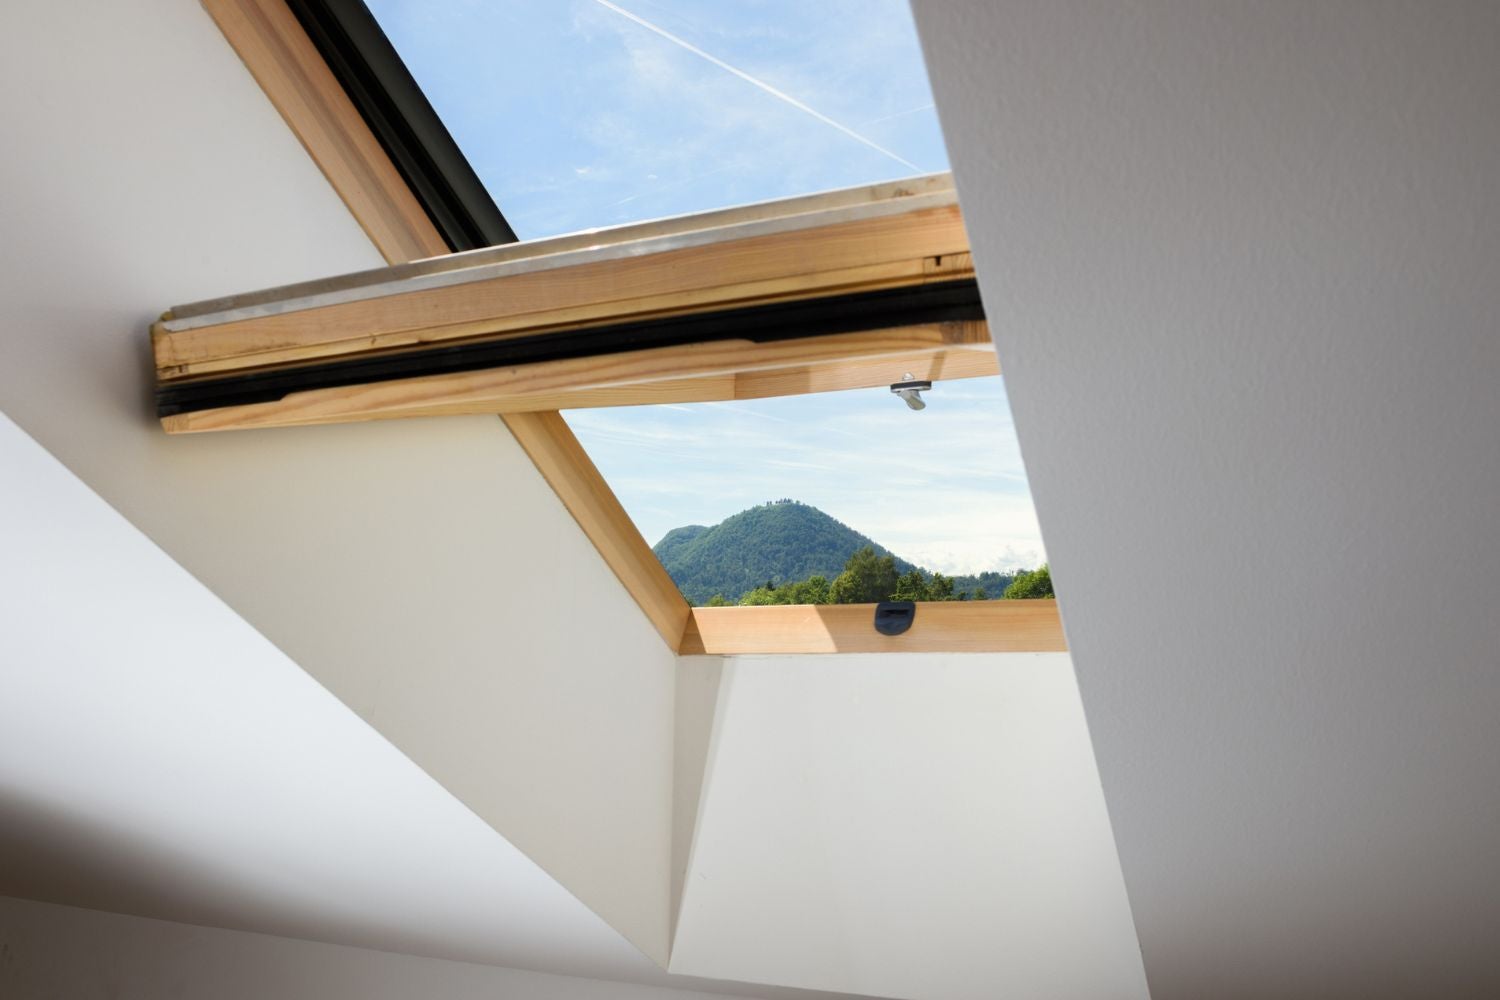
Step 3: Remove the trim around the skylight
Removing the trim around the skylight is the next step in the skylight removal process. The trim is the decorative molding or framing that surrounds the skylight. Follow these steps to remove the trim:
- Inspect the trim: Carefully examine the trim to identify any screws, nails, or adhesive holding it in place.
- Remove the screws or nails: If there are visible screws or nails, use a screwdriver or hammer to remove them. Be cautious not to damage the surrounding area.
- Loosen any adhesive: If the trim is secured with adhesive, gently pry it away from the skylight frame using a putty knife or pry bar.
- Work your way around: Starting from one corner, continue working your way around the skylight, applying gentle pressure to detach the trim until it is completely loose.
- Set the trim aside: Once the trim is removed, set it aside in a safe place for reinstallation or disposal, depending on its condition.
By removing the trim, you will expose the screws or fasteners that hold the skylight in place. Before moving on to the next step, ensure that the trim is fully detached and there are no remaining obstructions around the skylight.
With the trim removed, you are now ready to disconnect any electrical connections (if applicable) as part of the skylight removal process.
Step 4: Disconnect the electrical connections (if applicable)
If your skylight has electrical connections, it is necessary to disconnect them before proceeding with the removal process. This step ensures your safety and prevents any damage to the electrical components. Follow these steps to disconnect the electrical connections:
- Identify the electrical connections: Locate the wiring or cables that are connected to the skylight. They may be concealed within the trim or visible from inside the skylight well.
- Turn off the appropriate circuit: Go to your electrical panel and find the circuit that powers the skylight. Switch it off to minimize the risk of electrical shock.
- Remove the wire nuts: If the electrical connections are joined with wire nuts, use a pair of pliers to twist and remove them. Be gentle to avoid damaging the wires.
- Disconnect other types of connections: If there are other types of electrical connections, carefully detach them according to their respective connectors or fasteners.
- Secure the wires: Once the electrical connections are disconnected, it is recommended to secure and protect the exposed wires using wire nuts, electrical tape, or wire caps. This prevents accidental contact and keeps the wires organized.
It’s crucial to exercise caution when working with electrical connections. If you’re unsure about the process or if it seems complex, consulting with a qualified electrician is highly recommended.
With the electrical connections safely disconnected, you can now move on to the next step, which involves unscrewing and removing the screws or fasteners holding the skylight in place.
Read more: How To Open A Skylight
Step 5: Unscrew and remove the screws holding the skylight in place
Now that you have disconnected the electrical connections, it’s time to focus on removing the skylight itself. This step involves unscrewing and removing the screws or fasteners that hold the skylight in place. Follow these steps:
- Identify the screws or fasteners: Locate the screws or fasteners securing the skylight to the roof or frame. They are typically positioned around the perimeter of the skylight.
- Choose the correct tool: Depending on the type of screws or fasteners used, select the appropriate tool, such as a screwdriver or drill with the corresponding bit.
- Begin unscrewing: Using your chosen tool, start removing the screws or fasteners in a systematic manner. Make sure to keep track of the screws or fasteners for reinstallation or disposal.
- Work your way around: Start at one corner and gradually work your way around the skylight, loosening and removing each screw or fastener until they are all removed.
- Double-check for any remaining attachments: After removing the screws or fasteners, ensure that there are no additional attachments still holding the skylight in place. Sometimes there may be additional adhesive or caulk that needs to be addressed.
By unscrewing and removing the screws or fasteners, you are preparing the skylight for removal from the roof opening. However, it’s important to note that skylights can be heavy, so exercise caution when proceeding to the next step.
In the next step, you will learn how to safely lift and remove the skylight from the roof opening.
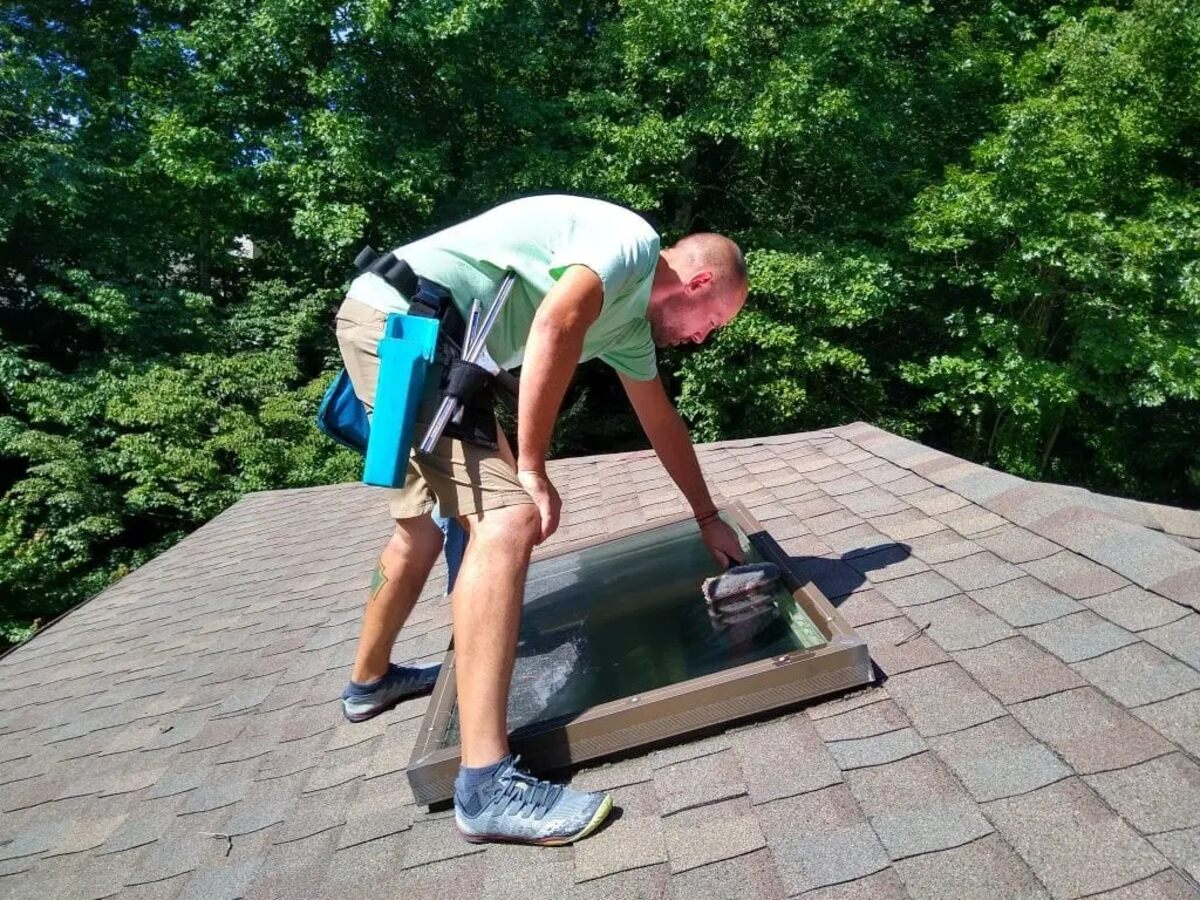
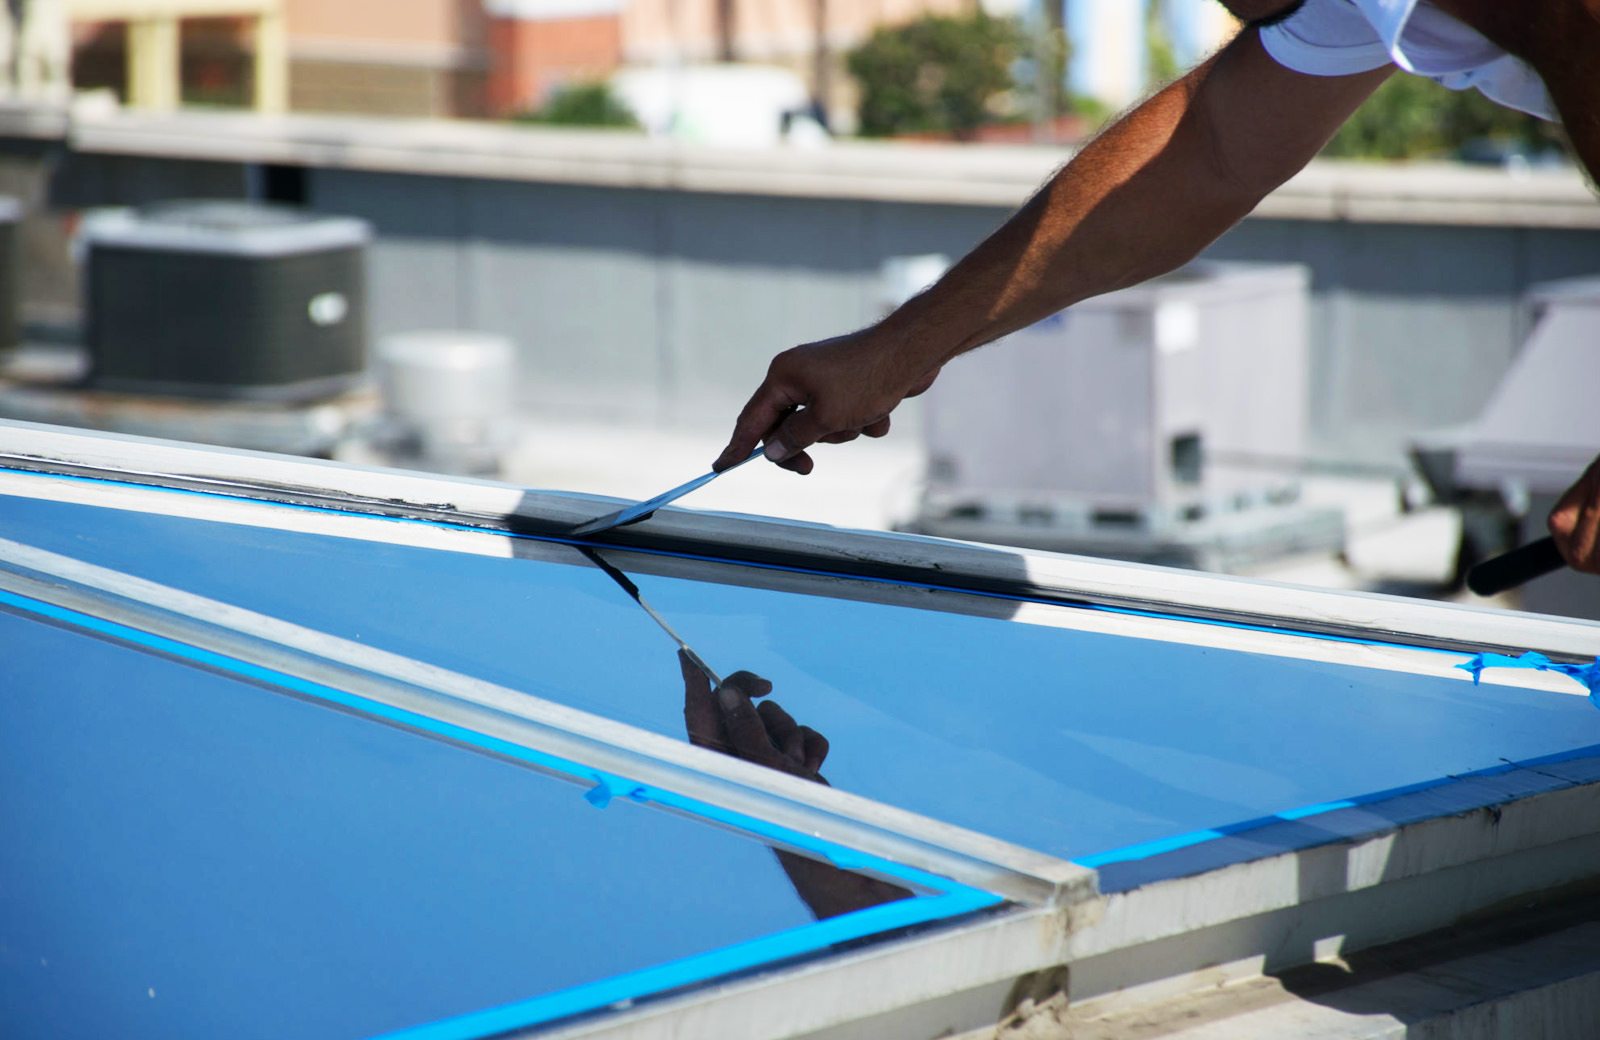
Use a putty knife to carefully remove the old sealant around the skylight. This will make it easier to lift the skylight out of its frame for replacement or maintenance.
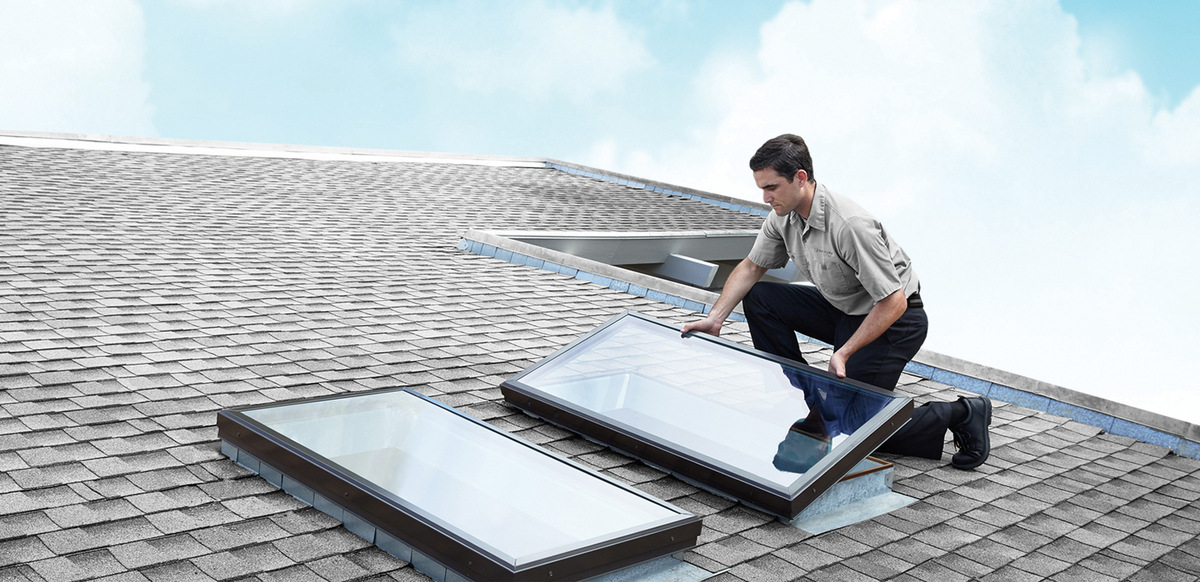
Step 6: Lift and remove the skylight from the roof opening
With the screws or fasteners removed, it’s time to lift and remove the skylight from the roof opening. This step requires caution and proper lifting techniques to ensure a safe removal process. Follow these steps:
- Enlist a helper: Skylights can be heavy and awkward to handle, so it’s advisable to have an extra pair of hands to assist you with the lifting and removal.
- Position yourself and your helper: Stand on opposite sides of the skylight to ensure balanced lifting. Communicate with your helper to coordinate your movements.
- Lift the skylight: Using proper lifting techniques, simultaneously lift the skylight upwards, keeping it level and stable. Take care not to strain your back or apply excessive force.
- Clear the skylight from the opening: Once the skylight is lifted, carefully maneuver it to clear it from the roof opening. Be mindful of any obstructions or obstacles in the surrounding area.
- Lower the skylight to the ground: Lower the skylight to the ground slowly and gently with the assistance of your helper. Take care not to drop or damage the skylight during this process.
It is important to note that skylights vary in size and weight, so the lifting and removal process may require additional precautions or equipment. If you encounter any difficulties or feel unsure about handling the skylight, it’s recommended to seek professional assistance.
With the skylight successfully removed from the roof opening, the next step involves cleaning the surrounding area and inspecting for any signs of damage.
Step 7: Clean the surrounding area and inspect for any damage
After removing the skylight, it’s important to clean the surrounding area and inspect it for any signs of damage. This step ensures that the roof opening is clear and ready for any further action. Follow these steps:
- Remove any debris: Clear away any debris, loose screws, or fragments that may have accumulated around the roof opening during the skylight removal process. Use a broom or vacuum to clean the area thoroughly.
- Inspect for damage: Carefully examine the area around the roof opening for any signs of damage, such as cracks, water damage, or deterioration. Take note of any issues that may require repair or further attention.
- Address any damage: If you discover any damage, decide on the appropriate course of action. This may involve repairing the existing structure, replacing damaged materials, or consulting with a professional contractor or roofer for further assistance.
- Check for leaks: Perform a visual inspection and, if possible, use a hose to simulate rainwater and ensure there are no leaks or gaps around the roof opening. Address any leaks promptly to prevent further damage or moisture penetration.
- Prepare for the next steps: Depending on your plans, whether it’s sealing the roof opening or installing a new skylight, ensure that you have all the necessary materials and tools ready for the next stages.
By cleaning the area and inspecting for damage, you can identify any issues early on and address them promptly. This will help maintain the integrity of your roof and ensure a smooth progression to the next steps of your skylight removal project.
Now, let’s move on to the optional steps of sealing the roof opening or installing a new skylight.
Step 8: Optional: Seal the roof opening or install a new skylight
Once you have removed the skylight and inspected the surrounding area, you have the option to seal the roof opening or install a new skylight. Depending on your preferences and needs, follow the appropriate steps:
Read more: How To Insulate Skylight
Option 1: Seal the roof opening
If you no longer wish to have a skylight in that particular location, sealing the roof opening is a practical solution. Here’s how you can seal the roof opening:
- Clean and prepare the roof surface: Ensure that the area around the roof opening is clean and free from any debris or loose materials.
- Apply roofing sealant: Use a roofing sealant that is compatible with your roof material to create a watertight seal around the roof opening. Follow the manufacturer’s instructions for proper application.
- Smooth and level the sealant: Use a putty knife or trowel to smooth and level the sealant, ensuring that it adheres securely to the roof surface.
- Allow time to cure: Give the sealant ample time to cure and dry according to the manufacturer’s recommendations. This will ensure its effectiveness and longevity.
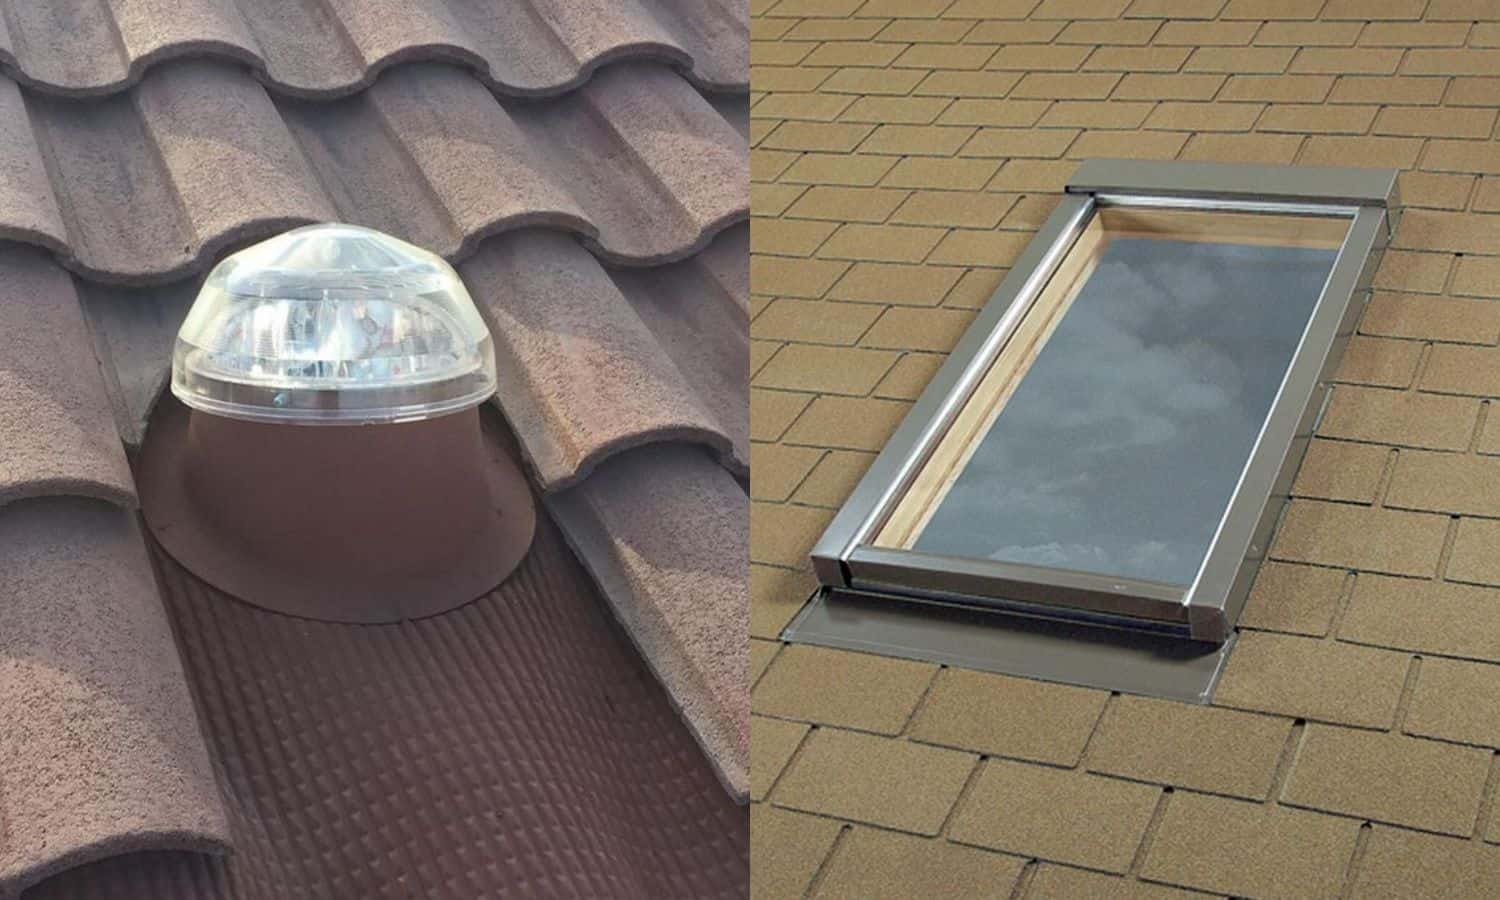
Option 2: Install a new skylight
If you wish to replace the removed skylight or install a new one, follow these general steps:
- Measure the roof opening: Accurately measure the dimensions of the roof opening to ensure a proper fit for the new skylight.
- Purchase the new skylight: Choose a skylight that meets your desired specifications and quality standards. Consider factors such as size, material, energy efficiency, and warranty.
- Install the new skylight: Follow the manufacturer’s instructions for the specific skylight model you have purchased. This may involve attaching the skylight frame, flashing, and ensuring a secure and weatherproof installation.
- Connect electrical components (if applicable): If your new skylight has electrical connections, consult the manufacturer’s instructions or hire a professional electrician to properly connect the wiring.
- Apply sealant and weatherproofing: Use roofing sealant and appropriate flashing materials to create a tight and weatherproof seal around the skylight, preventing any potential leaks.
Whether you choose to seal the roof opening or install a new skylight, ensure that all work is done with proper safety measures in place and follow all applicable building codes and regulations.
Congratulations! You have successfully removed the skylight and completed the optional steps of sealing the roof opening or installing a new skylight. By following these steps, you have taken the necessary measures to address your skylight needs and ensure the integrity of your home’s roof.
Remember, if you are unsure about any aspect of the skylight removal or installation process, it is always prudent to consult with professionals who specialize in roofing or skylight services.
Conclusion
Removing a skylight can be a manageable task when approached with careful planning and proper execution. By following the step-by-step guide presented in this article, you can safely and effectively remove a skylight from your home. Remember, if you are ever unsure or uncomfortable with any aspect of the removal process, it is wise to consult with professionals who can provide expert guidance.
Starting with gathering the necessary tools and equipment, preparing the work area, and removing the trim and electrical connections (if applicable), you can then proceed to unscrewing and lifting the skylight from the roof opening. It is important to clean the surrounding area and inspect for any damage, taking appropriate actions to address any issues.
Furthermore, you have the option to seal the roof opening or install a new skylight according to your needs and preferences. Sealing the roof opening requires proper cleaning and the application of roofing sealant, while installing a new skylight involves careful measurements, purchasing the appropriate skylight, and following the manufacturer’s installation instructions.
Remember to prioritize safety throughout the skylight removal process, using protective gear and enlisting the help of a trusted companion when necessary. Additionally, always adhere to the manufacturer’s instructions and local building codes.
By following the steps outlined in this guide, you can successfully remove a skylight and address any maintenance, repair, or replacement needs. Whether you choose to seal the roof opening or install a new skylight, you will have achieved your goal of efficiently completing the skylight removal process.
We hope this guide has provided you with helpful insights and guidance for removing a skylight. Now, with this knowledge in hand, you can confidently undertake the task and achieve the desired outcome.
Frequently Asked Questions about How To Remove Skylight
Was this page helpful?
At Storables.com, we guarantee accurate and reliable information. Our content, validated by Expert Board Contributors, is crafted following stringent Editorial Policies. We're committed to providing you with well-researched, expert-backed insights for all your informational needs.


0 thoughts on “How To Remove Skylight”