Articles
How To Set A Dining Room Table
Modified: February 16, 2024
Learn the proper way to set a dining room table with expert articles. Impress your guests and create a welcoming atmosphere with our helpful tips and ideas.
(Many of the links in this article redirect to a specific reviewed product. Your purchase of these products through affiliate links helps to generate commission for Storables.com, at no extra cost. Learn more)
Introduction
When it comes to hosting a dinner party or a special occasion meal, setting a beautifully arranged dining room table can make all the difference. The table setting not only sets the tone for the meal but also creates a welcoming and inviting atmosphere for your guests. Whether you are hosting a formal dinner or a casual gathering, knowing how to set a dining room table properly is an essential skill.
Setting a dining room table may seem like a daunting task, but fear not! In this article, we will guide you through the step-by-step process of creating an elegant and well-placed table setting. From choosing the right tablecloth to arranging the silverware and positioning the glasses, we will cover everything you need to know to create a picture-perfect table setting that will impress your guests.
Setting a dining room table is not just about placing random objects on the table. It is an art form that requires attention to detail and a sense of aesthetics. Every element of the table setting, from the tablecloth to the centerpiece, plays a crucial role in creating a cohesive and visually appealing arrangement.
Not only will a well-set table elevate the overall dining experience for your guests, but it will also showcase your style and attention to detail as a host. So, whether you are hosting a formal dinner party or a casual gathering, learning how to set a dining room table is a skill that will impress your guests and make your meals feel extra special.
Now, let’s dive into the step-by-step process of setting a dining room table. By following these guidelines, you will be able to create a stunning table arrangement that will leave a lasting impression on your guests.
Key Takeaways:
- Setting a dining room table is an art form that requires attention to detail and creativity. From choosing the perfect tablecloth to arranging the silverware and positioning the glasses, each step contributes to creating a visually stunning and inviting table setting.
- A well-set dining room table not only elevates the overall dining experience but also showcases the host’s style and hospitality. By following the step-by-step process outlined in the article, anyone can create a memorable and charming table arrangement for any occasion.
Read more: What Is In A Dining Room?
Step 1: Choose a tablecloth
The tablecloth is the foundation of the table setting and sets the overall ambiance of the dining room. When choosing a tablecloth, consider the occasion, the theme of the event, and your personal style.
For formal occasions, opt for a crisp and elegant tablecloth made from high-quality fabric like linen or cotton. Choose a neutral color such as white or ivory for a classic and timeless look. If you prefer a more vibrant and festive atmosphere, you can select a tablecloth in a bold color or with an intricate pattern that complements the theme of the event.
For casual gatherings or everyday use, you can choose a more relaxed and easy-care tablecloth. Consider using a cotton or polyester blend fabric that is machine washable and durable. Select patterns or colors that reflect your personal style and add a touch of personality to the dining room.
When it comes to the size of the tablecloth, ensure that it is large enough to drape over the table with a generous overhang. A general rule of thumb is to allow for a 10-12 inch overhang on each side of the table. This will create an elegant and polished look while also protecting the table surface from spills or stains.
It’s worth mentioning that a table runner can also be used instead of a full tablecloth. A table runner is a long strip of fabric that runs down the center of the table, leaving the table surface exposed. This is a great option if you want to showcase a beautiful tabletop or if you prefer a more minimalist look.
Once you have chosen the perfect tablecloth or table runner, make sure to iron or steam it to remove any wrinkles or creases. A well-pressed tablecloth will add a touch of sophistication to your table setting.
Now that you have chosen the tablecloth or table runner, you are ready to move on to the next step: placing the placemats.
Step 2: Place the placemats
Placemats not only serve a practical purpose by protecting the tablecloth or table surface from spills and stains, but they also add an extra layer of style and sophistication to the table setting. Placemats come in a variety of materials, shapes, and designs, allowing you to choose the perfect ones to match your table decor and personal taste.
When it comes to selecting placemats, consider the overall theme and color scheme of your table setting. For a formal or elegant occasion, opt for placemats made from high-quality materials such as linen or silk. Choose neutral colors like white, ivory, or black for a timeless and sophisticated look. If you prefer a more casual or festive atmosphere, you can select placemats in bold colors or with fun patterns that complement the theme of the event.
When placing the placemats on the table, make sure they are centered within each individual place setting. The placemat should extend about 1-2 inches beyond the edge of the table on all sides. This provides a visually pleasing frame for the dinnerware and creates a cohesive look.
If you are using a table runner instead of a full tablecloth, you can choose to place the placemats directly on the table surface. In this case, make sure that the placemats align with the table runner, creating a harmonious and unified appearance.
When it comes to arranging multiple placemats for a larger table or a formal occasion, spacing is key. Ensure that there is a comfortable distance between each placemat, allowing enough room for each guest to dine in comfort. A good guideline is to leave about 12-18 inches between each placemat, depending on the size of the table and the number of guests.
Placemats can also serve as a canvas for individual place settings. Consider embellishing each placemat with a charger plate, a napkin, or a decorative element that enhances the overall table setting arrangement. This personalized touch adds an extra layer of elegance and sophistication to your dining experience.
Now that you have successfully placed the placemats, it’s time to move on to the next step: setting the dinner plates.
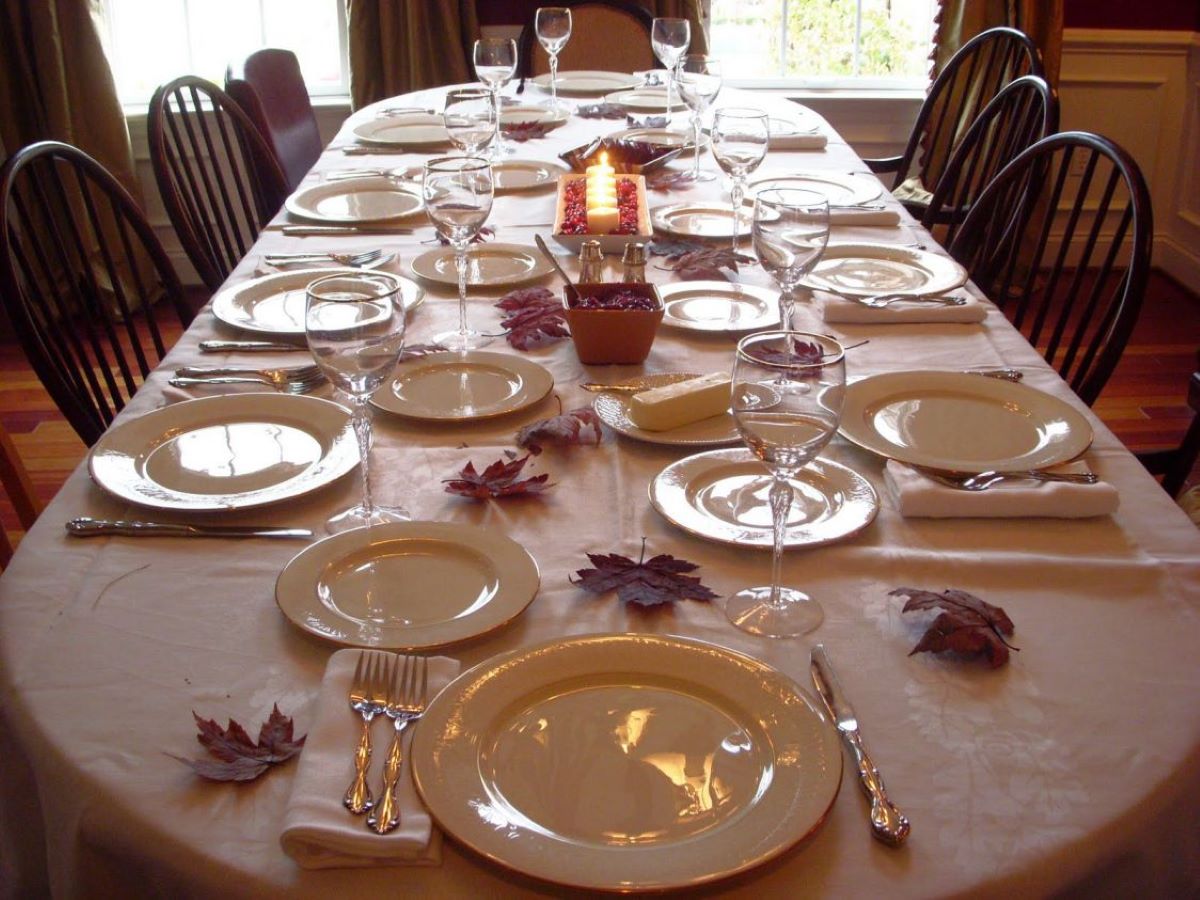
Step 3: Set the dinner plates
The dinner plates are the focal point of the table setting, as they serve as the foundation for the meal. Proper placement of the dinner plates not only enhances the visual appeal of the table but also ensures a seamless dining experience for your guests.
Start by placing the dinner plate at the center of each placemat or directly on the table if you’re not using placemats. The plate should be positioned about an inch away from the edge of the table, allowing ample room for guests to comfortably dine.
If you’re serving multiple courses, such as a salad or appetizer followed by the main course, you can consider using charger plates. Charger plates are larger decorative plates that sit underneath the dinner plates and add elegance to the table setting. Place the charger plate first, followed by the dinner plate on top.
Ensure that the dinner plates are evenly spaced across the table, maintaining a consistent distance between each plate for a balanced and organized look. Leave enough room between plates for guests to comfortably access their meals without feeling crowded.
When it comes to the orientation of the dinner plates, make sure that the rim of the plate is facing towards the guest, creating an inviting and welcoming presentation. This also allows for easy access to the food and prevents any accidental spills.
If you’re serving bread or rolls, consider placing a small bread plate or butter dish to the left of the dinner plate, slightly above the left-hand side of the placemat. This designated space for bread or butter ensures a neat and tidy table arrangement.
Remember to take into account any additional serving dishes or bowls that will be placed on the table during the meal. Leave enough space between the dinner plates to accommodate these items without overcrowding the table.
Now that the dinner plates are perfectly placed, we can move on to the next step: arranging the silverware.
Step 4: Arrange the silverware
The proper arrangement of silverware adds an elegant and polished touch to the dining table. When setting the table, it’s important to place the silverware in a specific order to ensure ease of use and a visually appealing presentation.
Start by placing the dinner fork on the left side of the dinner plate. The dinner fork should be placed approximately one inch from the edge of the table and positioned with the tines pointing upward.
Next, place the dinner knife to the right of the dinner plate with the cutting edge facing towards the plate. The blade of the knife should be positioned towards the plate, and the handle should point towards the right. To the right of the dinner knife, place the soup spoon, if needed for the meal.
To the right of the dinner knife and spoon, place the salad fork. This fork should be slightly smaller in size compared to the dinner fork. Align the tines of the salad fork with the tines of the dinner fork for a neat and organized appearance.
Above the dinner plate, position the dessert spoon and fork horizontally. The dessert spoon should be placed with the handle on the right side and the bowl facing towards the center of the table. The dessert fork should be placed to the left of the dessert spoon with the handle on the left side and the tines pointing upwards.
If you’re serving seafood, consider placing a seafood fork or cocktail fork to the right of the soup spoon. This specialized fork is smaller and designed specifically for enjoying seafood dishes.
Napkins can be placed either to the left of the forks or on the center of the dinner plate. You can fold or roll the napkins and use decorative napkin rings for an added touch of elegance.
Remember to adjust the spacing between each piece of silverware to ensure a balanced and visually appealing arrangement. Leave enough room for guests to comfortably handle the silverware without feeling cramped.
Lastly, consider adding a butter knife on the bread plate if you have placed one earlier. This knife is specifically for spreading butter or other condiments onto bread or rolls.
Now that the silverware is perfectly arranged, we can move on to the next step: positioning the glasses.
Read more: How To Clean A Dining Room
Step 5: Position the glasses
Properly positioning the glasses is essential to create an elegant and functional table setting. Whether you’re serving water, wine, or other beverages, careful placement of the glasses adds a touch of sophistication to the dining experience.
To begin, place the water glass directly above the dinner knife, slightly towards the right side of the dinner plate. The rim of the water glass should align with the top edge of the dinner knife. Alternatively, you can place the water glass slightly above and to the right of the dinner plate.
If you’re serving wine, place the wine glasses to the right of the water glass. The wine glasses should be positioned in the order they will be used, with the larger red wine glass placed first, followed by the slightly smaller white wine glass, and finally, the champagne flute, if applicable.
Ensure that the stems of the glasses align vertically for a neat and uniform appearance. This creates a visually pleasing arrangement and makes it easier for guests to locate their desired glass. Remember to leave enough space between the glasses to prevent them from touching or knocking into each other.
If you’re serving other beverage options, such as a specialty cocktail or a non-alcoholic drink, you can place those glasses to the left or right of the water glass, depending on the available space. Consider using smaller-sized glasses for these additional beverage options.
To add an extra touch of elegance, you can decorate the stem of each glass with a small charm, ribbon, or personalized label. This not only adds a decorative element but also helps guests identify their glass throughout the meal.
Remember to adjust the positioning of the glasses based on the size of the table and the number of guests. The goal is to create a visually pleasing arrangement that allows for easy access and interaction during the meal.
Now that the glasses are properly positioned, we can move on to the next step: adding napkins to the table setting.
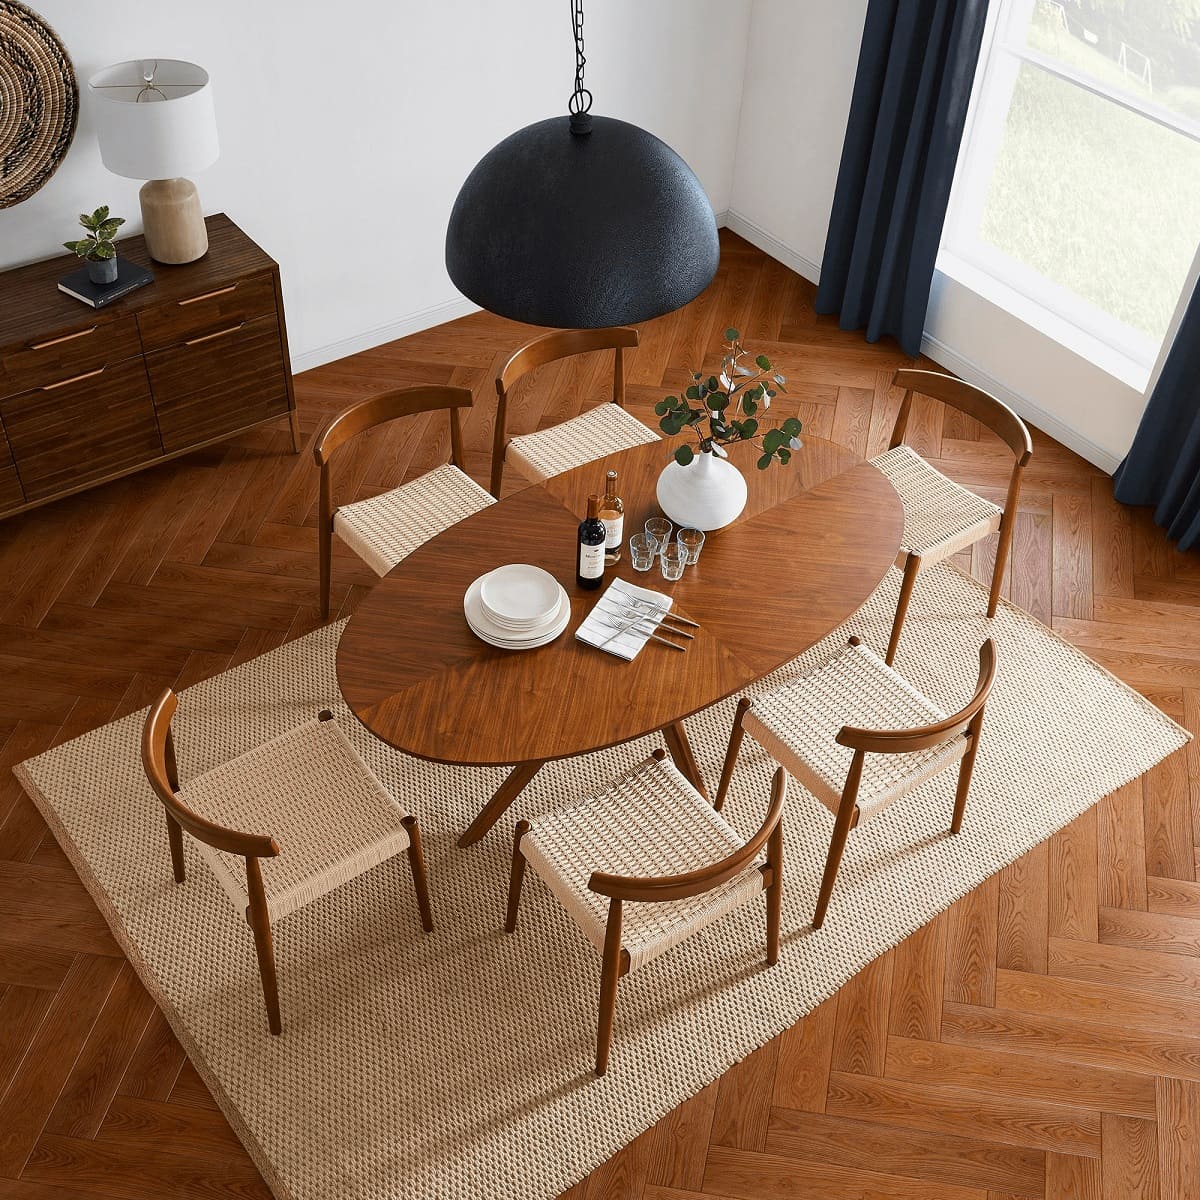
Use placemats or a tablecloth to protect the table. Start with a dinner plate in the center, then place the napkin to the left, and utensils to the right. Add a water glass above the knife and a wine glass to the right.
Step 6: Add napkins
Napkins not only serve a practical purpose but also add a touch of elegance and sophistication to the table setting. The proper placement of napkins enhances the overall aesthetic of the table and ensures a seamless dining experience for your guests.
There are various ways to incorporate napkins into the table setting, depending on your personal preference and the formality of the occasion. Here are a few suggestions for adding napkins to your table:
- Classic Placement: For a traditional and formal setting, place the napkin on top of the dinner plate. The folded or rolled napkin should be centered and aligned with the center of the plate. This placement creates a clean and elegant look.
- Napkin Ring: Use napkin rings to add a decorative element to the table setting. Fold or roll the napkin and slide it through the napkin ring. You can choose napkin rings that match the theme or color scheme of your event.
- Napkin Fold: Get creative with different napkin folding techniques to create visually appealing designs. Popular folds include the classic “square” fold, the “fan” fold, or the intricate “rose” fold. You can find tutorials online or experiment with your own unique folds.
- Side Placement: Instead of placing the napkin on top of the dinner plate, consider placing it to the left of the forks. This allows guests to easily reach for their napkin during the meal.
Regardless of the napkin placement style you choose, ensure that each napkin is clean, pressed, and free of wrinkles. Providing individual napkins for each guest adds a personalized touch to the table setting.
As a general rule, make sure to coordinate the color or design of the napkins with the overall theme or color scheme of the dining room. This creates a cohesive and visually pleasing look.
Now that the napkins are properly placed on the table, we can move on to the next step: including a centerpiece to add a focal point to the table.
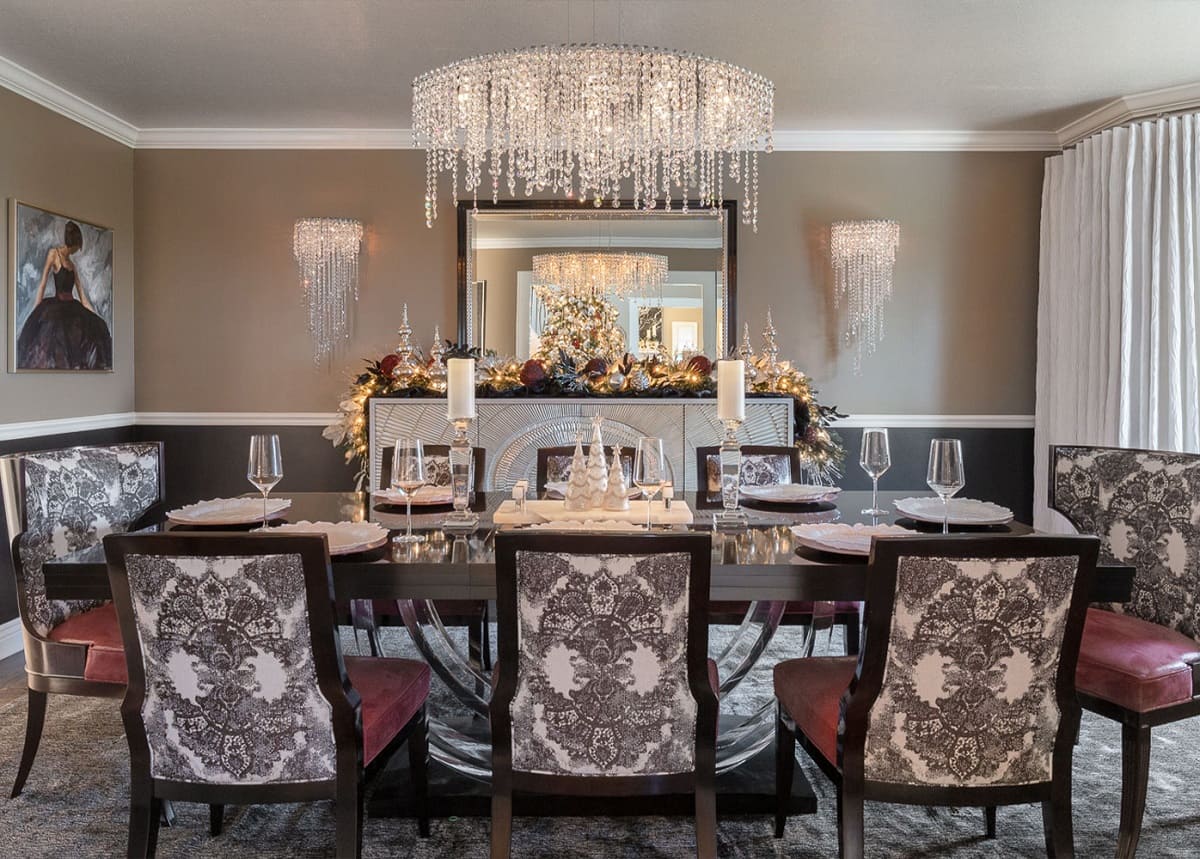
Step 7: Include a centerpiece
A centerpiece serves as the focal point of a dining room table, adding visual interest and setting the mood for the occasion. It enhances the overall aesthetic appeal, making the table feel complete and inviting.
When choosing a centerpiece, consider the size of your table, the theme or tone of the event, and your personal style. Here are a few ideas to inspire you:
- Floral arrangement: A fresh or dried flower arrangement can bring natural beauty and vibrant colors to the table. Choose flowers that complement the color scheme of your dining room or match the season. Arrange them in a vase or decorative container and place them in the center of the table.
- Candles: Candles create a romantic and intimate ambiance. Use pillar candles in varying heights or a cluster of smaller votive candles. You can place them in candle holders or on a decorative tray. Consider scented candles to add a subtle fragrance to the room.
- Seasonal decor: Incorporate elements that reflect the current season or holiday. For example, during the fall, you can use pumpkins, gourds, or pinecones. In winter, consider using ornaments, twinkling lights, or a small Christmas tree. Spring and summer can be represented by fresh fruits, seashells, or potted plants.
- Artistic centerpiece: Showcase a unique piece of artwork, a sculpture, or a statement decoration that catches the eye. This can be a conversation starter and adds a personal touch to the table.
- Edible centerpiece: As an alternative, consider a centerpiece that also serves as an appetizing treat. Use a decorative fruit bowl filled with fresh fruits, a tiered display of cupcakes, or a cheese and charcuterie platter. This adds a delicious element to the visual appeal of the table.
When placing the centerpiece, make sure it doesn’t obstruct guests’ view or hinder their ability to converse. It should be low enough to allow for easy conversation while still adding that wow factor to the table. If your table is long, consider using multiple smaller centerpieces spaced evenly along the table.
Remember to consider the height and scale of the centerpiece in relation to the table and the other elements on it. You want it to be proportionate and balanced, without overwhelming the table or obstructing the flow of the meal.
Now that the centerpiece is included, we can move on to the next step: setting up additional serving dishes to accommodate the meal.
Step 8: Set up additional serving dishes
Adding additional serving dishes to your dining room table ensures that your guests have easy access to all the delicious food you’re serving. Proper placement of these dishes not only makes it convenient for your guests but also adds to the overall aesthetic of the table setting.
Consider the menu and the number of dishes you will be serving when determining the additional serving dishes needed. Here are some key points to keep in mind:
- Buffet-style setup: If you’re serving a variety of dishes buffet-style, use separate platters or bowls for each dish. Place them in a row or in a cluster at the center of the table, allowing enough space between each dish for easy serving and access. This arrangement creates a visually appealing display and makes it easy for guests to serve themselves.
- Family-style setup: For a more intimate gathering or when serving a specific meal, such as a roast or casserole, place the main dish at the center of the table. Use serving utensils and decorative trivets to add an elegant touch. Surround the main dish with smaller serving bowls or side dishes for easy sharing and passing around.
- Condiments and sauces: If you’re serving condiments, sauces, or dressings that accompany certain dishes, place them in small decorative bowls or containers. Consider using a separate tray or section of the table for these condiments to avoid cluttering the main serving area. Ensure that there are enough small spoons, tongs, or ladles for guests to serve themselves.
- Bread and butter dishes: If you have bread or rolls as a part of the meal, place a separate bread basket or plate with individual butter dishes to accompany them. This allows guests to easily access the bread without interrupting the main serving area.
As you set up the additional serving dishes, make sure to leave enough space between each dish to prevent overcrowding and allow for easy access. Consider using decorative elements, such as garnishes or fresh herbs, to add an extra touch of flair to the serving dishes.
Remember to provide serving utensils appropriate for each dish. This can include tongs, serving spoons, ladles, or carving knives. Place the utensils in a way that is easily identifiable and accessible for your guests.
Now that the additional serving dishes are set up, we can move on to the final step: checking the table before guests arrive to ensure everything is in place and ready to be enjoyed.
Read more: How To Light A Dining Room
Step 9: Check the table before guests arrive
Before your guests arrive, it’s important to do a final check of the dining room table to ensure that everything is in place and ready for a memorable gathering. This step ensures that any last-minute adjustments or additions can be made, leaving you with a well-prepared and inviting table setting.
Take a few moments to go through the following checklist:
- Cleanliness: Ensure that the table, placemats, tablecloth, and napkins are clean and free of any dust or stains. Wipe down the table and inspect each item for any spots or spills that may have occurred during the setup process.
- Centerpiece: Double-check that the centerpiece is properly positioned and doesn’t obstruct the view or conversation between guests. Adjust any flowers, candles, or decorative elements to ensure they are secure and visually appealing.
- Silverware and glasses: Confirm that the silverware is in the correct order and properly aligned. Straighten any crooked utensils or glasses to maintain a polished appearance.
- Serving dishes: Review the arrangement of the additional serving dishes. Make sure they are properly spaced and easily accessible. Check that the appropriate serving utensils are in place for each dish.
- Napkins: Ensure that napkins are neatly folded or rolled and properly placed on the table or atop the dinner plates. Adjust any napkin rings or decorative folds as needed.
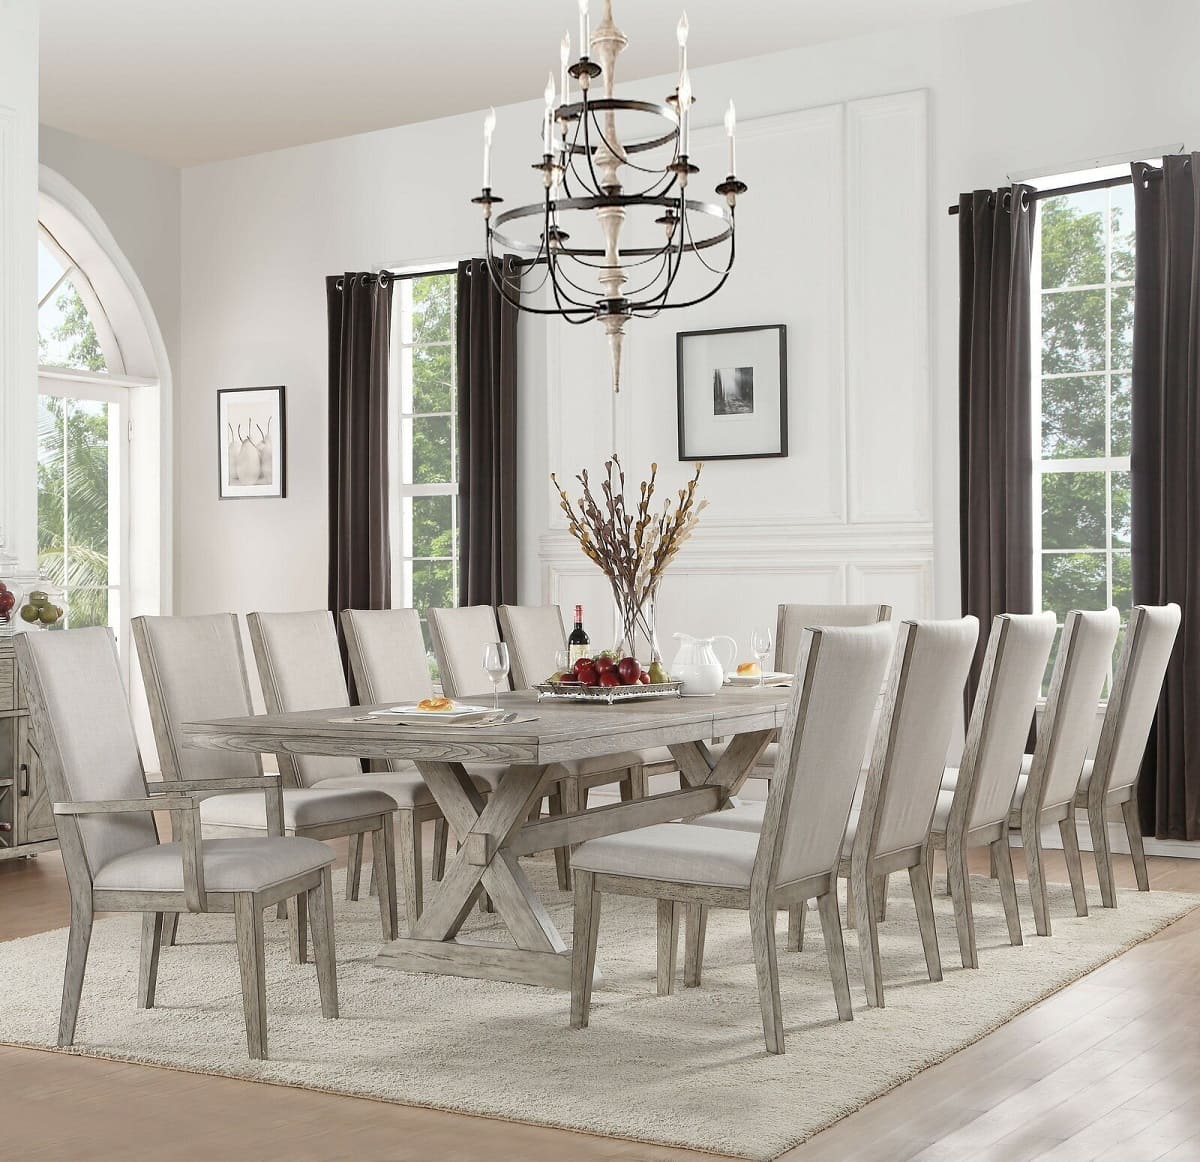
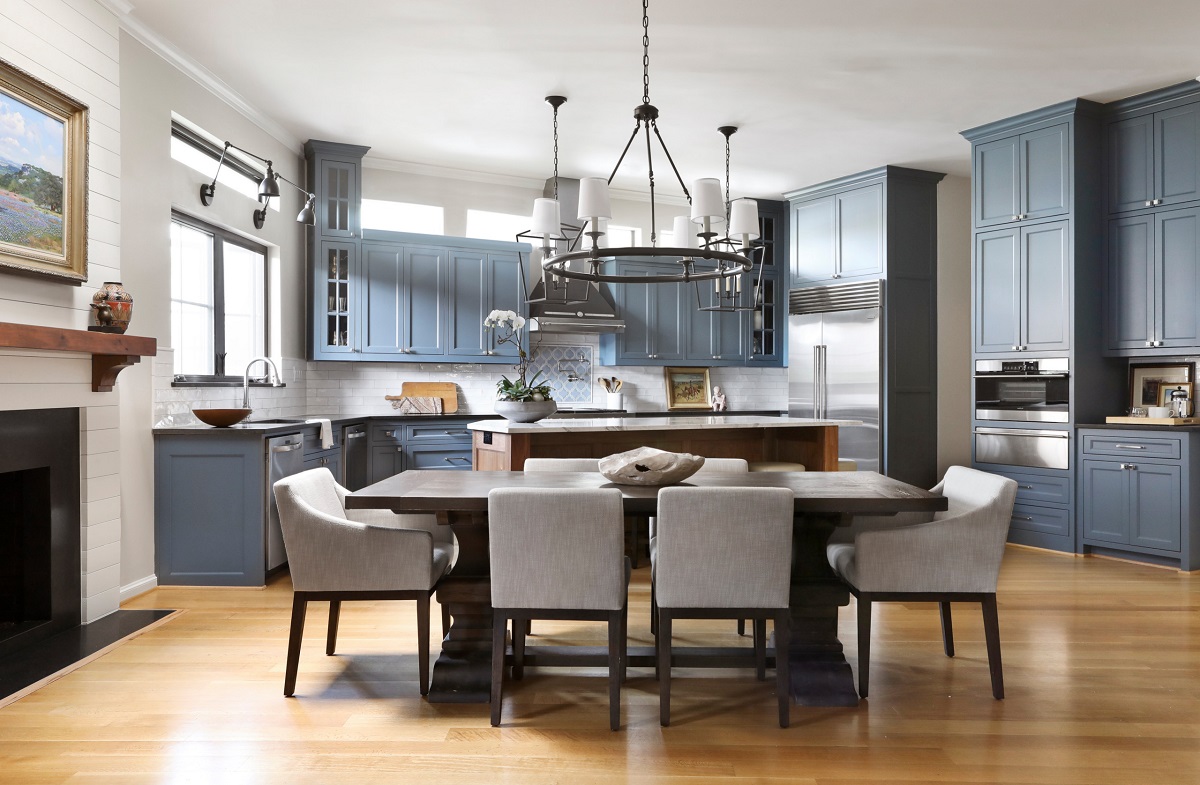
- Seating: Double-check that the chairs are clean, stable, and comfortable for your guests. Make sure there is enough seating for everyone attending the meal.
- Ambiance: Consider the lighting, music, or any additional decorative elements in the dining room. Adjust the lighting to create a warm and inviting atmosphere and play soft background music to enhance the dining experience.
By taking the time to check these details, you can ensure that your table is visually appealing, functional, and ready to impress your guests when they arrive. This final step allows you to make any necessary adjustments and create a welcoming atmosphere that sets the stage for a memorable dining experience.
Now that you have completed the final check, take a moment to appreciate your beautifully set dining room table. You are now prepared to enjoy a wonderful meal with your guests in a stylish and inviting environment.
Bon appétit!
Conclusion
Setting a dining room table may seem like a daunting task, but with the right guidance, it becomes a creative and enjoyable process. By following the steps outlined in this article, you can create a visually stunning, well-organized, and inviting table setting for any occasion.
From choosing the perfect tablecloth and placemats to arranging the silverware, positioning the glasses, adding napkins, including a centerpiece, setting up additional serving dishes, and double-checking the table before guests arrive, each step contributes to creating a memorable dining experience.
Remember that setting a dining room table is not just about arranging objects in a haphazard manner. It is an opportunity to showcase your personal style, attention to detail, and hospitality as a host. A well-set table adds charm, warmth, and sophistication to your gatherings, making your guests feel special and appreciated.
As trends and styles evolve, don’t be afraid to experiment and add your own personal touches to the table setting. Adapt the guidelines to suit your occasion, preferences, and creativity. The key is to create a harmonious and visually appealing arrangement that reflects your style and enhances the dining experience.
Whether you’re hosting a formal dinner party, a casual gathering, or a festive celebration, the art of setting a dining room table allows you to create an inviting and welcoming atmosphere for your guests. It adds a special touch to your meals and creates lasting memories.
So, don’t underestimate the power of a well-set table. Take the time to carefully plan and arrange each element, ensuring that every detail is thoughtfully considered. With practice and attention to detail, you can become a master at setting a dining room table that will impress and delight your guests.
Now, go ahead and put your newfound knowledge into practice. Set a beautiful table, gather your loved ones, and enjoy the delightful experience of sharing a meal in a truly enchanting setting.
Frequently Asked Questions about How To Set A Dining Room Table
Was this page helpful?
At Storables.com, we guarantee accurate and reliable information. Our content, validated by Expert Board Contributors, is crafted following stringent Editorial Policies. We're committed to providing you with well-researched, expert-backed insights for all your informational needs.


0 thoughts on “How To Set A Dining Room Table”