Tableware
How To Construct Dining Room Chairs
Modified: January 6, 2024
Discover how to construct dining room chairs with our comprehensive guide. Create your own unique tableware pieces that will impress your guests.
(Many of the links in this article redirect to a specific reviewed product. Your purchase of these products through affiliate links helps to generate commission for Storables.com, at no extra cost. Learn more)
Introduction
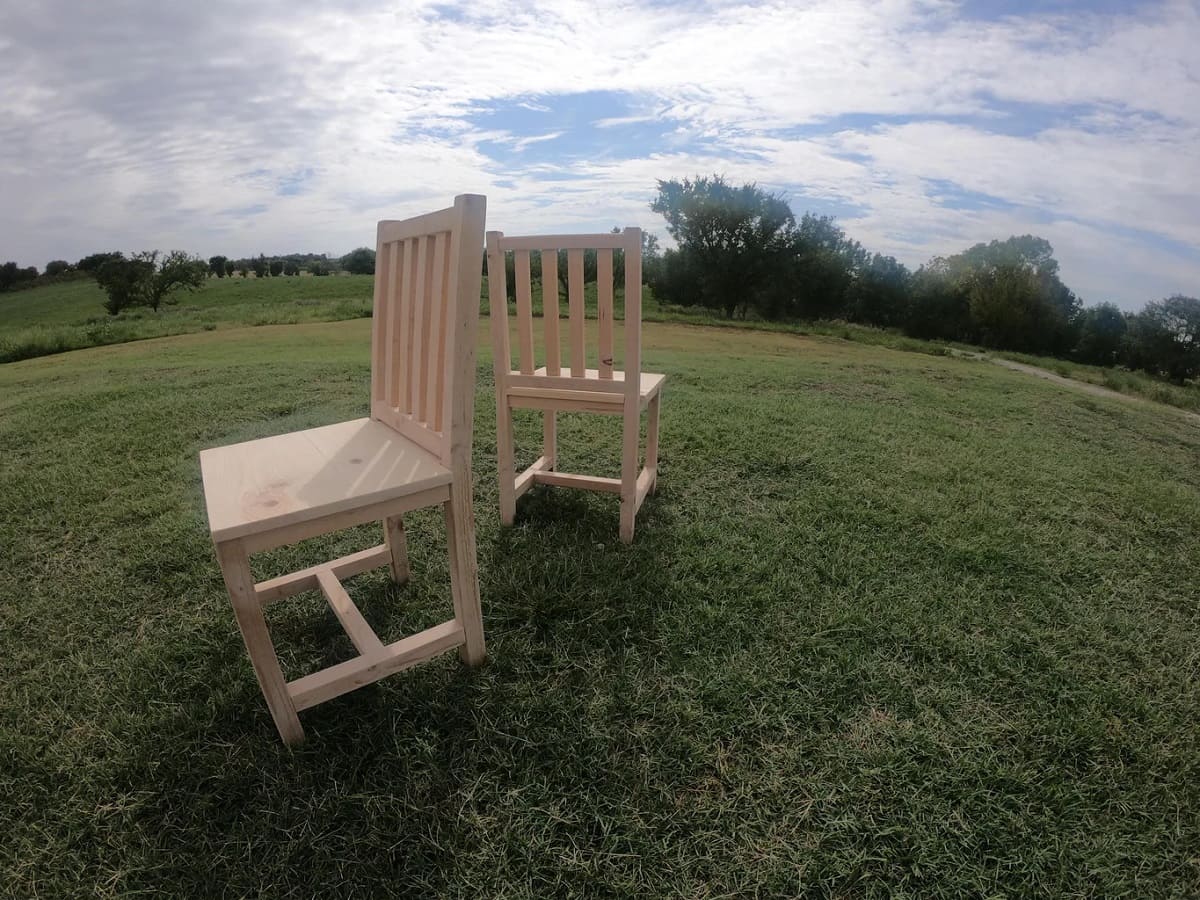
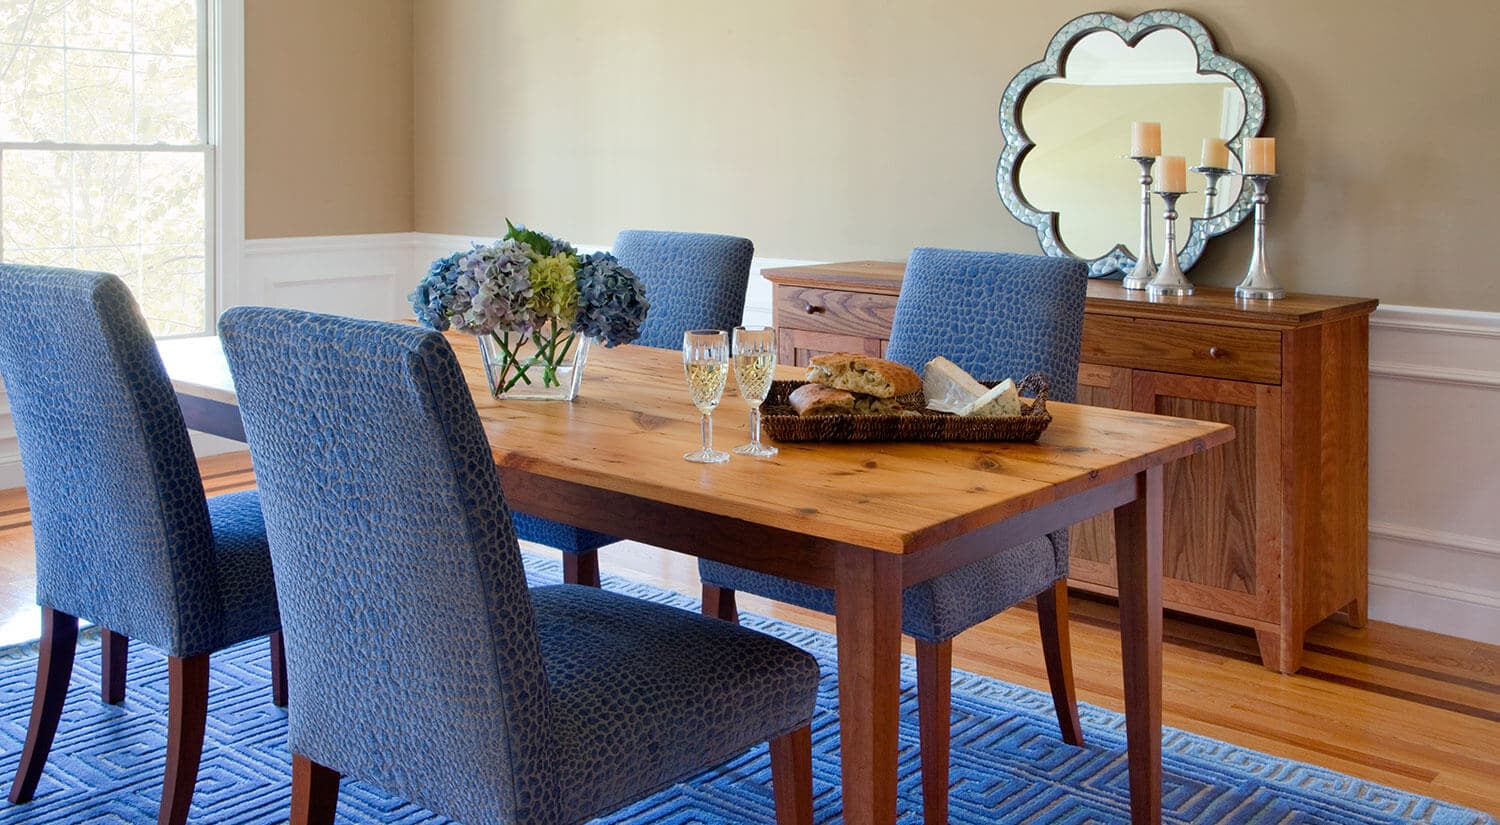
Welcome to the world of dining room chairs! Whether you are a DIY enthusiast or a seasoned woodworker, constructing your own dining room chairs can be a rewarding and satisfying project. Not only will you have the opportunity to showcase your craftsmanship, but you will also have the freedom to customize the design and materials according to your preferences.
In this comprehensive guide, we will walk you through the step-by-step process of constructing dining room chairs. From cutting the wood to upholstering the seat, we will cover every detail to ensure you have all the knowledge and skills required to create beautiful and functional chairs.
Before we dive into the construction process, let’s take a moment to discuss the materials and tools you will need. This will help you prepare and gather everything you need before getting started.
Key Takeaways:
- Create custom dining room chairs using hardwood, plywood, and essential tools. Follow step-by-step instructions to cut, assemble, upholster, and finish chairs for a personalized and rewarding woodworking experience.
- Showcase woodworking skills by constructing sturdy, comfortable, and visually appealing dining room chairs. Customize the design and finish to match personal style and elevate the dining area with handmade furniture.
Read more: How Tall Is A Dining Room Chair
Materials Needed
Before you begin constructing dining room chairs, it’s important to gather all the necessary materials and tools. Here’s a list of items you’ll need:
- Hardwood: Choose a sturdy and durable hardwood like oak, maple, or birch for the construction of the chair frame.
- Plywood: You’ll need plywood for the seat and backrest panels. Make sure to select a high-quality plywood that is suitable for furniture construction.
- Screws: Opt for screws that are specifically designed for woodworking projects. Choose different sizes, including shorter ones for joining the chair frame and longer ones for attaching the backrest.
- Wood Glue: A strong wood glue will be necessary for reinforcing the joints and ensuring the stability of the chair.
- Sanding Supplies: Sandpaper in various grits, as well as a sanding block or power sander, will be needed to smoothen the wood surfaces.
- Finish: Consider using a wood finish or stain to enhance the appearance of the chairs and protect the wood from wear and tear.
- Upholstery Materials: If you plan to upholster the seat, you’ll need fabric, foam padding, and a staple gun.
- Tools: Essential tools for this project include a saw (circular or miter), a drill with different drill bits, a chisel, a mallet, clamps, a tape measure, and a level.
Having all these materials ready before you start will ensure a smooth construction process and help you avoid any unnecessary delays.
Step 1: Cutting the Wood
The first step in constructing dining room chairs is cutting the wood to the appropriate dimensions. This will require precise measurements and accurate cuts to ensure the parts fit together seamlessly.
Start by measuring and marking the dimensions for each component of the chair, including the seat, backrest, legs, and support pieces. Use a tape measure and a pencil to make these marks.
Next, using a saw (either a circular saw or a miter saw), carefully cut the wood according to the measurements you marked. Take your time and follow the lines closely to achieve clean and accurate cuts.
Remember to wear safety goggles and gloves when operating the saw to protect yourself from any potential injuries.
Once all the pieces are cut, you can use sandpaper or a sander to smooth the edges and surfaces of the wood. This will ensure a professional finish and prevent any splinters.
It’s essential to double-check the measurements and confirm that all the pieces are cut accurately before moving on to the next step. Any slight discrepancies could affect the alignment and stability of the chair.
With the wood cut and sanded to perfection, you are now ready to move on to the next step: assembling the legs.
Step 2: Assembling the Legs
Now that you have cut the wood to the correct dimensions, it’s time to assemble the legs of the dining room chair. The legs provide support and stability to the entire structure, so it’s crucial to ensure they are securely joined.
Start by laying out the leg pieces on a flat surface, ensuring they are correctly aligned. Use clamps to hold the pieces in place, if needed.
Next, apply wood glue to the joints where the leg pieces will be joined. Make sure to spread the glue evenly to create a strong bond.
Then, using screws, carefully attach the leg pieces together. Insert the screws at the designated locations and tighten them, ensuring that they are flush with the surface of the wood. Be cautious not to overtighten, as it may cause the wood to split.
Repeat this process for each leg of the chair until all four legs are securely assembled.
Once the legs are joined, it’s recommended to reinforce the joints with corner braces or L-brackets for added stability. Measure and mark the locations for the braces, then screw them into place.
After the leg assembly is complete, check for any wobbling or instability. If necessary, make any adjustments or tighten the screws to ensure the legs are level and sturdy.
With the legs successfully assembled, you are now ready to move on to the next step: building the seat. This is where the comfort and support of the chair come into play.
Step 3: Building the Seat
In this step, you will learn how to build the seat of the dining room chair. The seat is where individuals sit, so it’s important to construct it with comfort and durability in mind.
Start by measuring and marking the dimensions for the seat panel on a piece of plywood. Use a tape measure and a pencil to ensure accurate measurements.
Once you have the measurements, use a saw to cut the plywood accordingly. Take your time and make precise cuts, ensuring that the edges are smooth and clean.
Next, if desired, you can add additional support pieces underneath the seat panel. Cut and attach these support pieces using wood glue and screws, ensuring that they are evenly spaced and provide adequate reinforcement.
After the support pieces are in place, attach the seat panel to the assembled leg frame. Apply wood glue to the top of the legs and carefully position the seat panel on top. Ensure that the edges of the seat align with the legs.
Once aligned, secure the seat panel to the leg frame using screws. Insert the screws through the bottom of the seat panel, making sure to screw them in tightly without overtightening.
Check for any wobbling or instability in the seat. If necessary, make any adjustments or tighten the screws to ensure a secure and level seat.
With the seat successfully built and attached to the leg frame, you can now move on to the next step: attaching the backrest. The backrest provides support and comfort for individuals sitting in the chair.
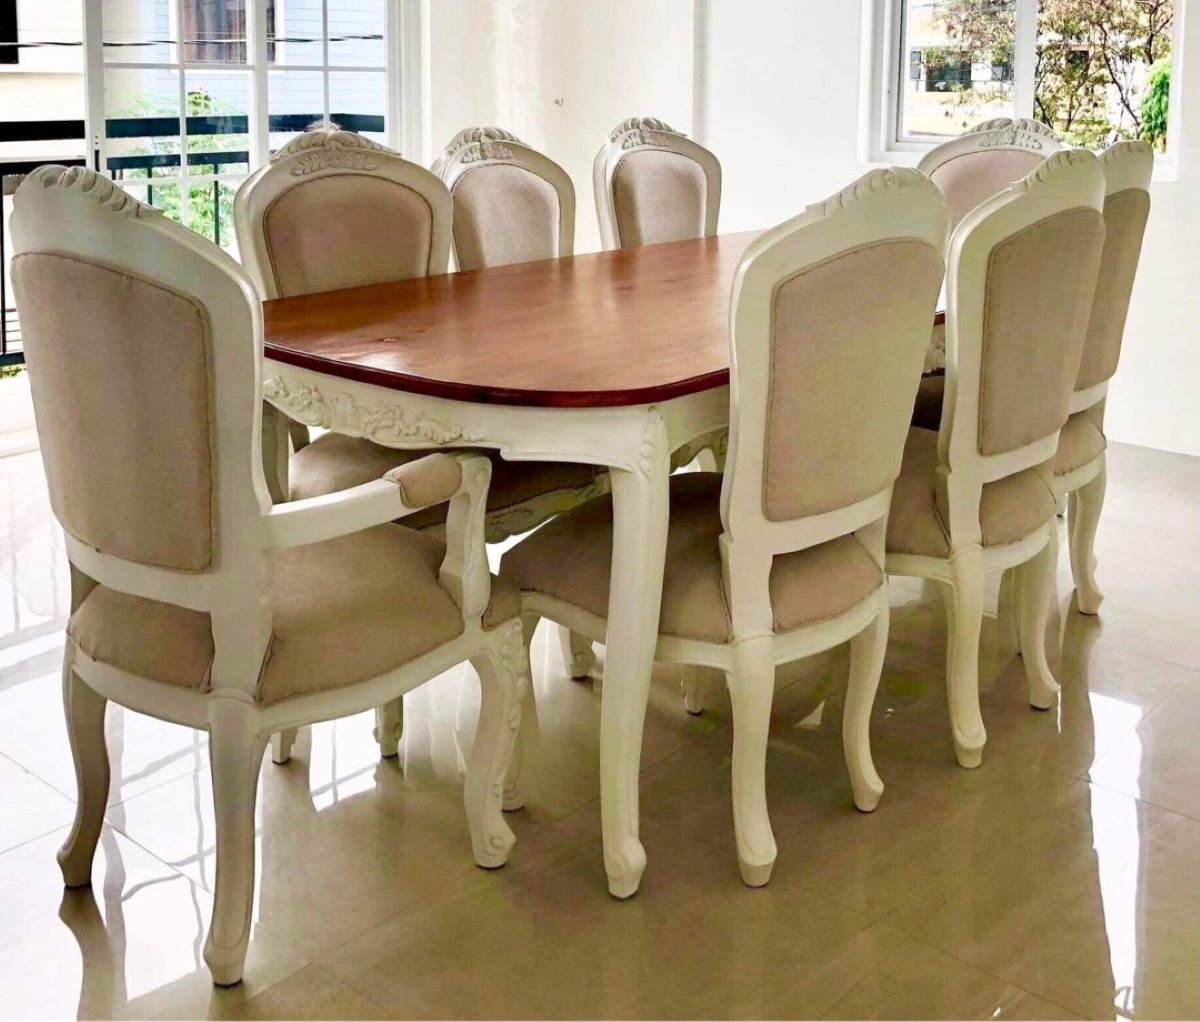
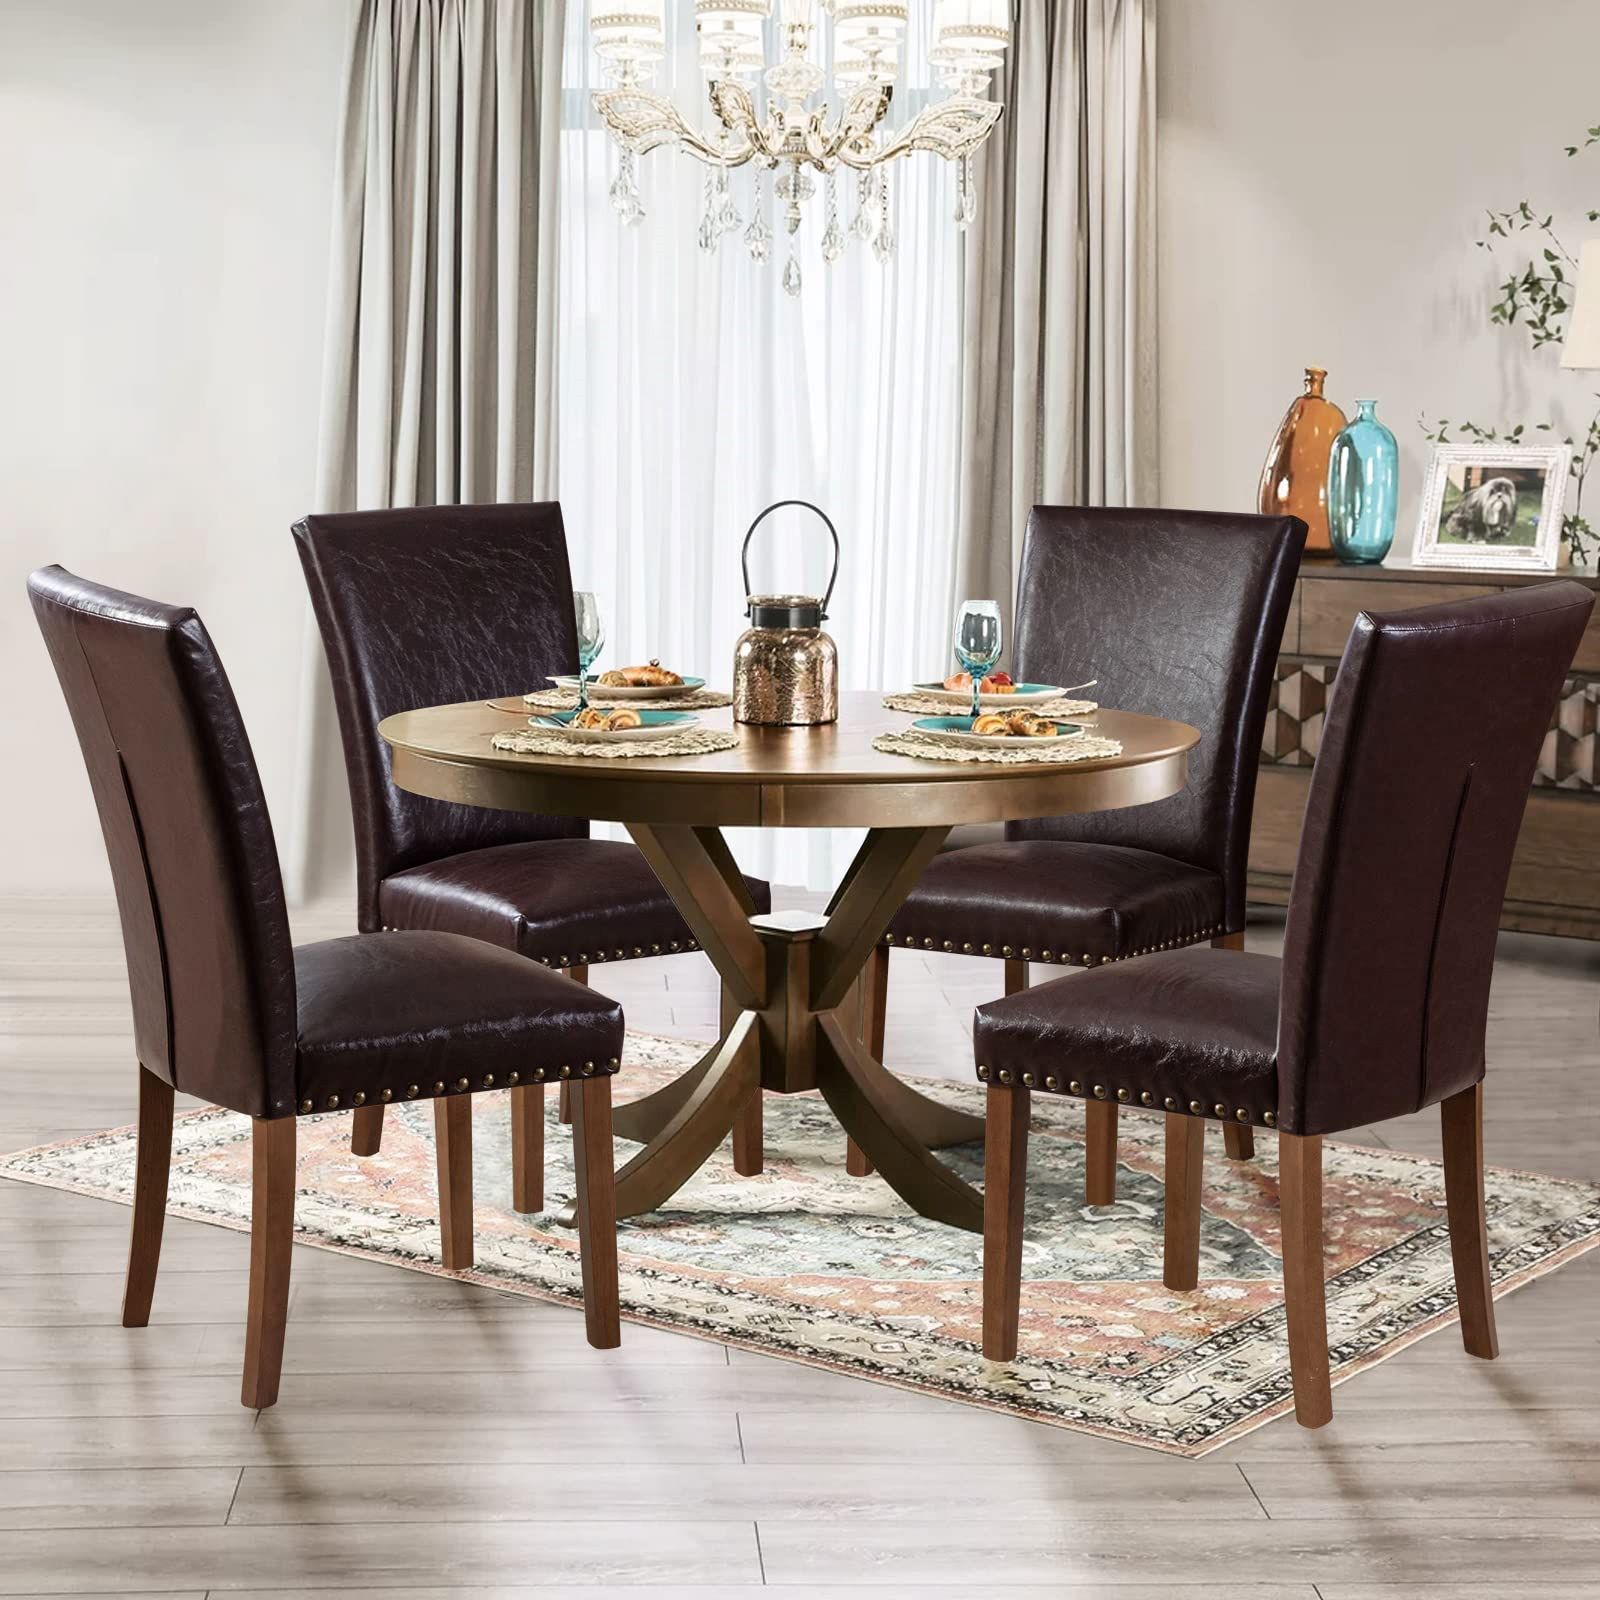
When constructing dining room chairs, make sure to use high-quality, durable materials such as hardwood for the frame and a sturdy fabric or leather for the seat. This will ensure that the chairs are not only visually appealing but also long-lasting and comfortable for your guests.
Read more: How To Reinforce Dining Room Chairs
Step 4: Attaching the Backrest
In this step, you will learn how to attach the backrest to the dining room chair. The backrest not only contributes to the overall aesthetics of the chair but also provides support and comfort for the user.
Start by measuring and marking the dimensions for the backrest panel on a piece of plywood. Use a tape measure and a pencil to ensure accurate measurements.
Once you have the measurements, use a saw to cut the plywood accordingly. Make clean and precise cuts to ensure the edges are smooth.
Next, position the backrest panel against the back legs of the chair frame. Ensure that it is centered and aligned properly.
Apply wood glue to the joints where the backrest panel will be attached to the legs. Spread the glue evenly to create a strong bond.
Now, using screws, carefully attach the backrest panel to the legs. Insert the screws at the designated locations, ensuring they penetrate both the backrest panel and the legs. Tighten the screws firmly, but be cautious not to overtighten and risk damaging the wood.
Double-check the alignment and stability of the backrest to ensure it is securely attached and level. Make any necessary adjustments or tighten the screws further if needed.
With the backrest successfully attached, take a moment to sit in the chair and test its comfort and stability. Make any adjustments if required to ensure optimal support and comfort.
Now that the backrest is in place, you can proceed to the next step: sanding and finishing. This will give your dining room chairs a polished and professional look.
Step 5: Sanding and Finishing
In this step, you will learn how to sand and finish your dining room chairs. Sanding removes any rough edges and imperfections in the wood, while finishing adds a protective and aesthetic layer.
Start by sanding the entire surface of the chairs using sandpaper or a power sander. Begin with a coarse grit sandpaper to remove any rough patches or splinters. Gradually work your way up to finer grits for a smoother finish.
Sand in the direction of the wood grain to avoid creating scratches or marks. Take care to sand all the corners, edges, and intricate details of the chair to ensure a consistent and smooth finish.
After sanding, use a damp cloth or tack cloth to remove any dust particles from the surface of the chairs. This will ensure a clean canvas for the finishing stage.
Next, choose the finish you want to use on your chairs. Options include wood stain, varnish, lacquer, or paint. Apply the chosen finish according to the manufacturer’s instructions, using a brush, sponge, or cloth.
Make sure to apply the finish evenly and in thin coats, allowing each coat to dry completely before applying the next one. This will ensure a professional-looking finish without any clumps or drips.
If desired, you can apply multiple coats of finish to achieve the desired depth and protection. Sand lightly between coats to create a smooth surface.
Once the final coat of finish is applied and dried, inspect the chairs for any touch-ups or areas that require additional attention. Make any necessary adjustments before moving on to the next step.
With the sanding and finishing complete, your dining room chairs are now taking shape. The final step is to upholster the seat, adding both comfort and style to your finished chairs.
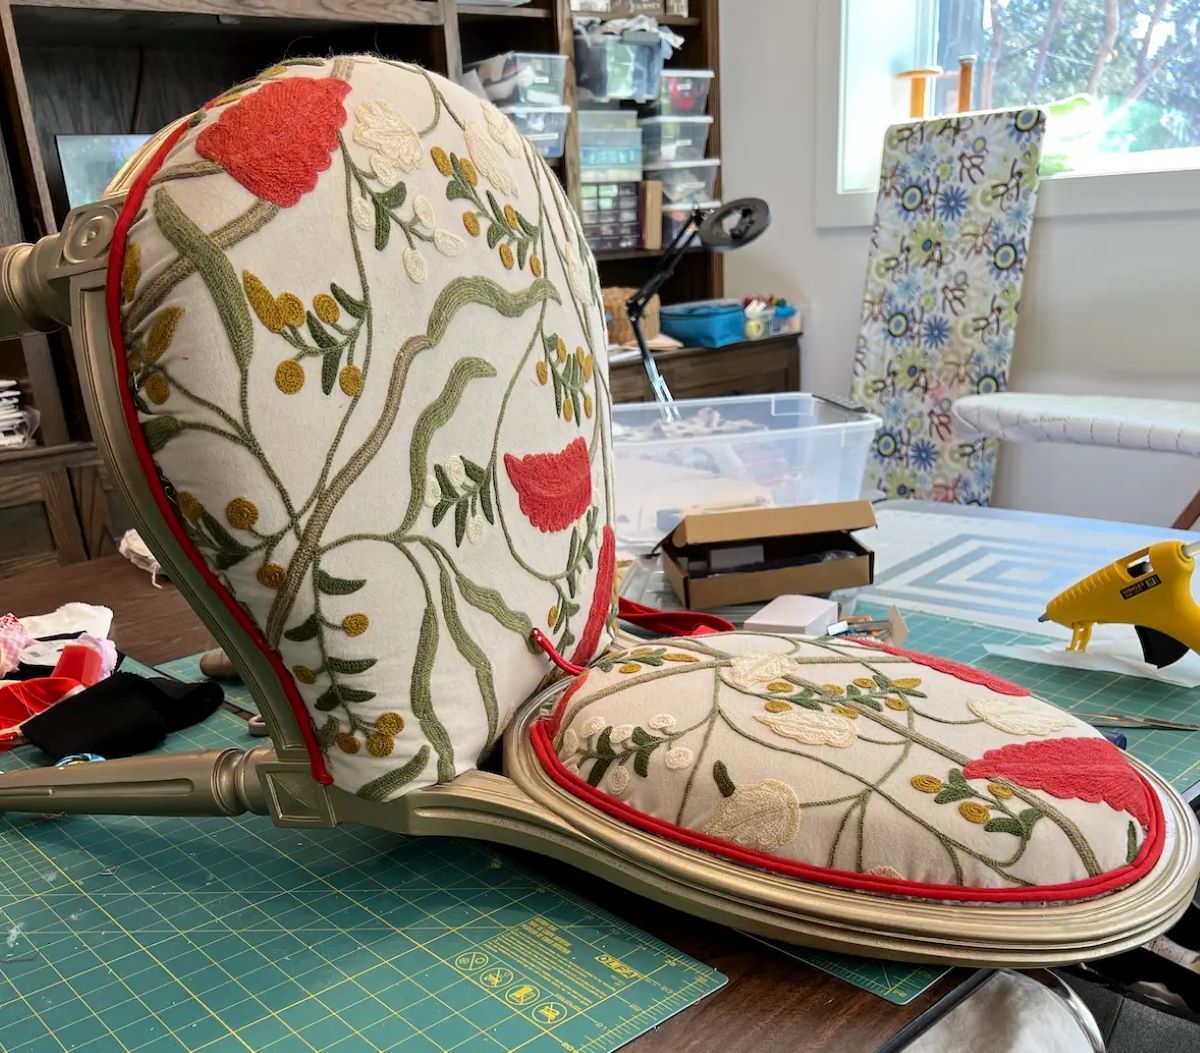
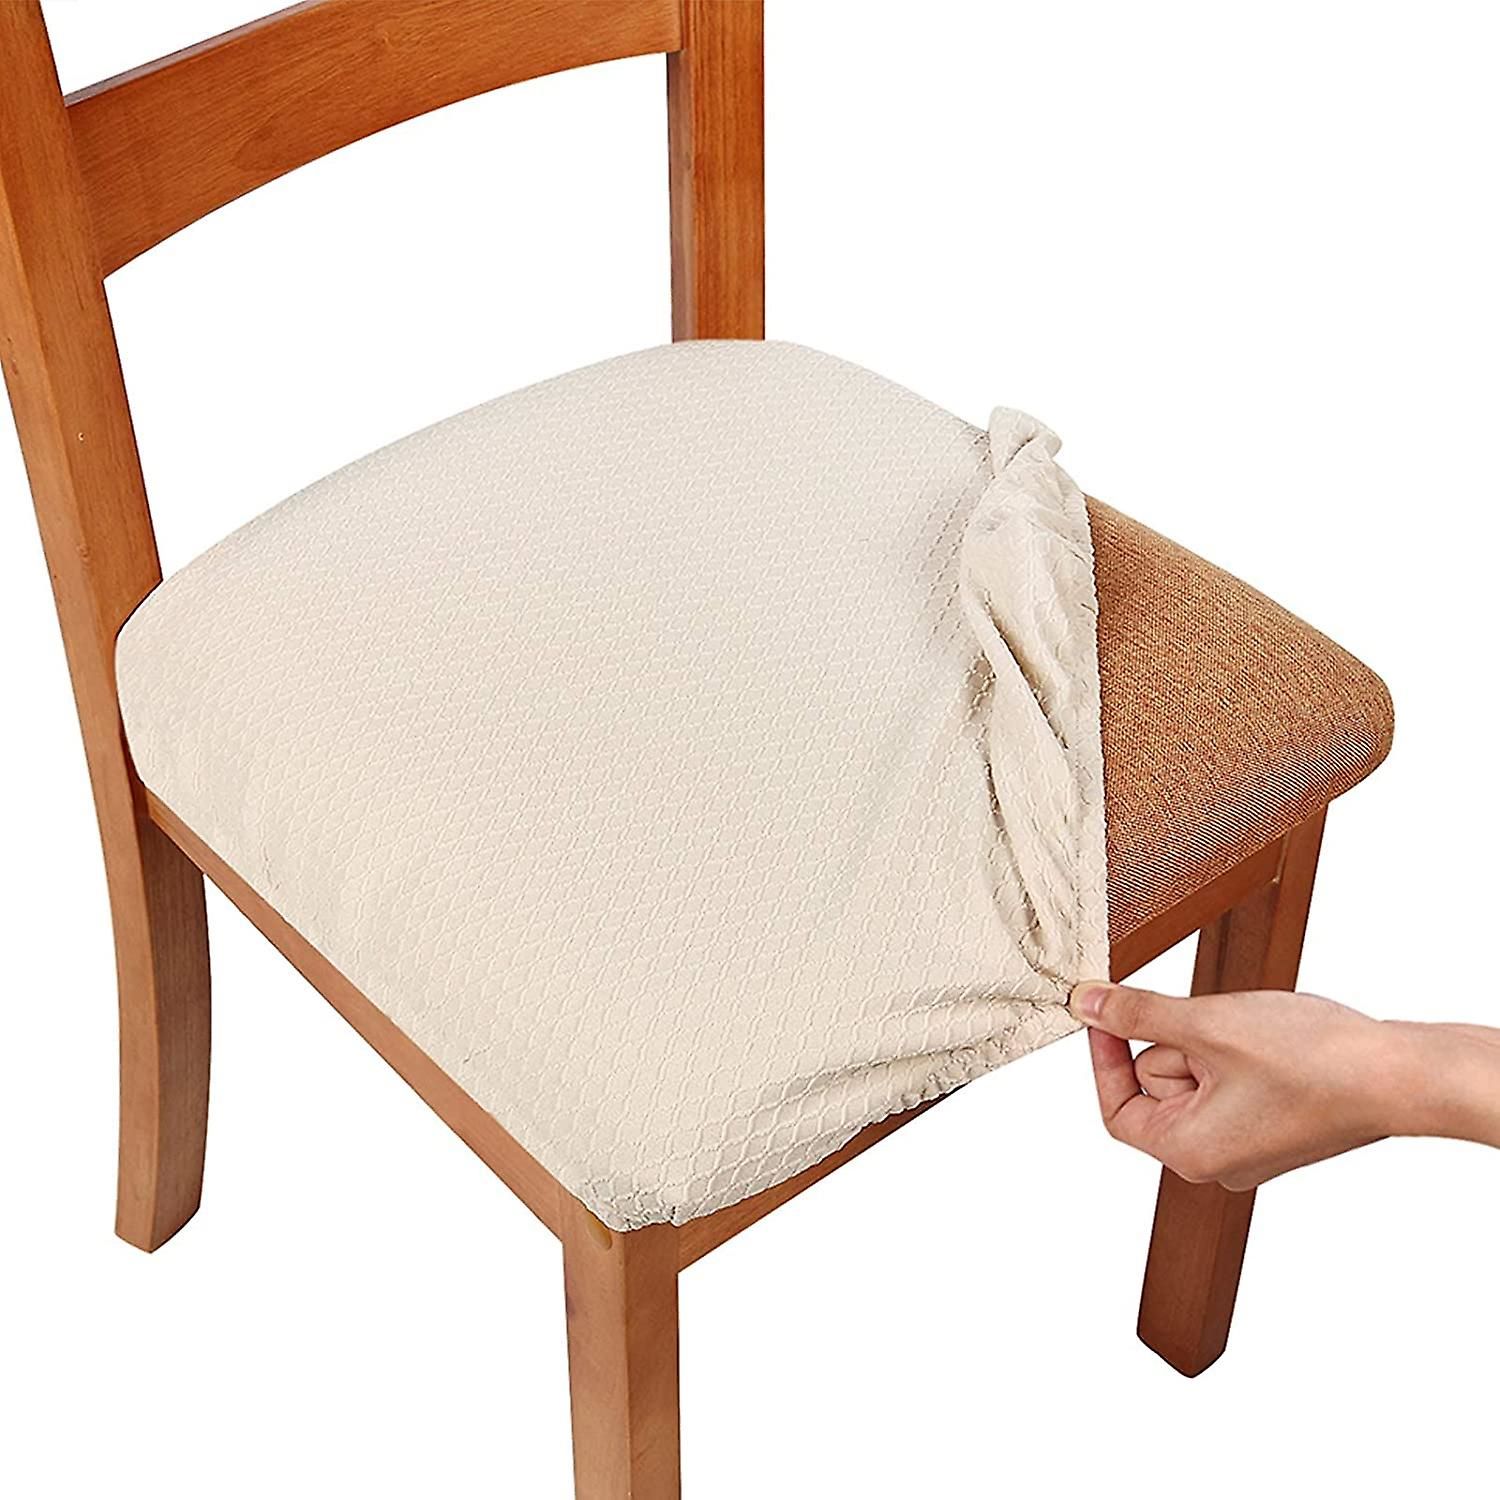
Step 6: Upholstering the Seat
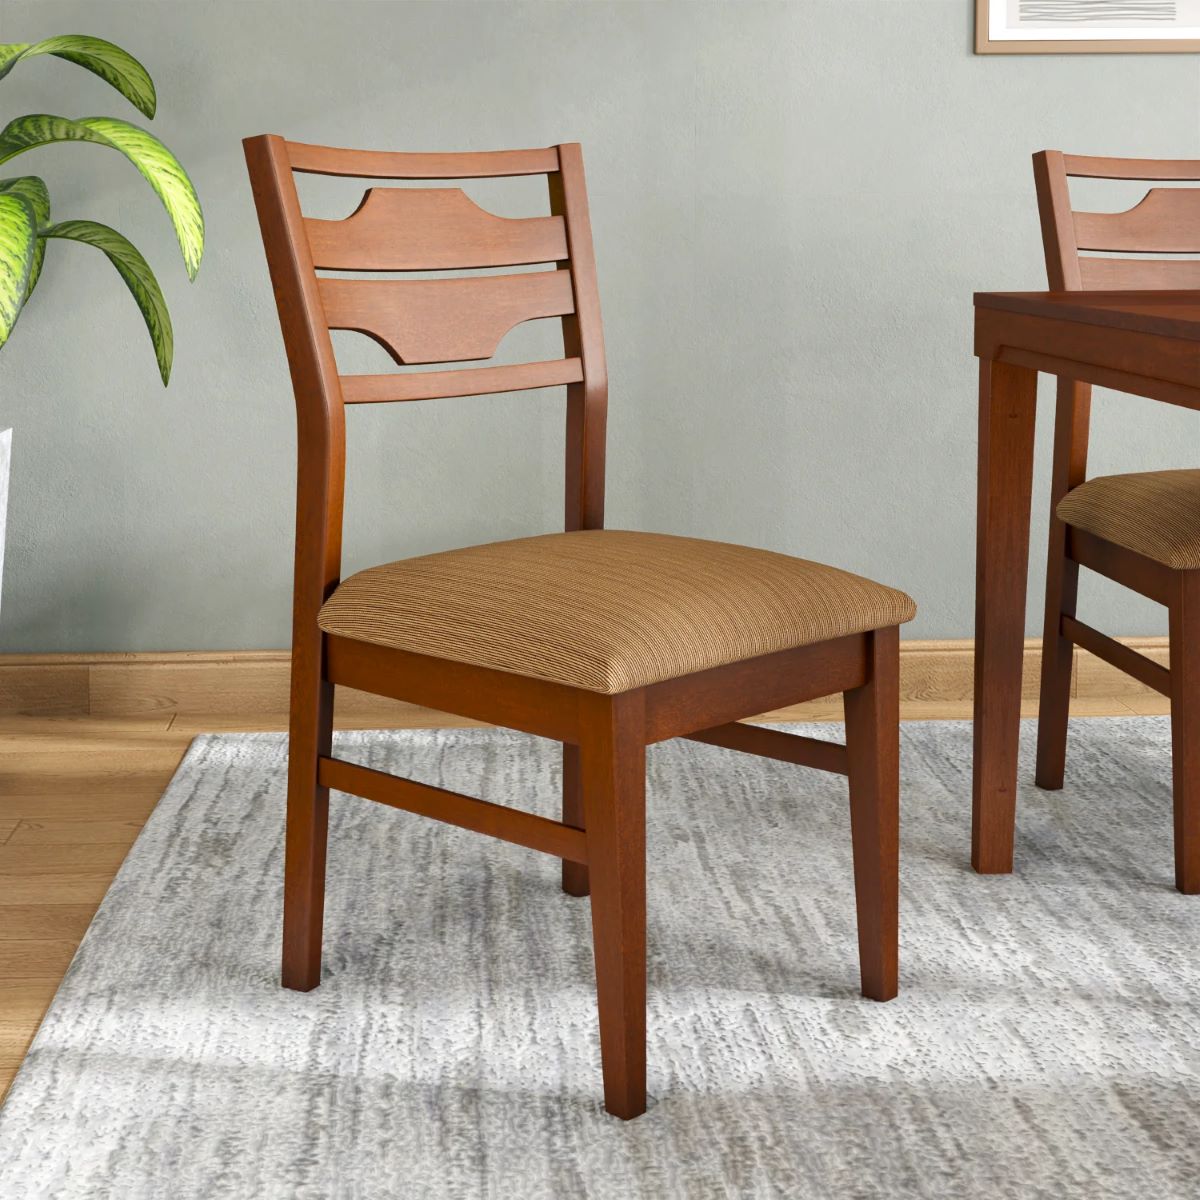
In this final step, you will learn how to upholster the seat of your dining room chairs. Upholstering adds comfort, style, and a personal touch to the chairs, enhancing their overall appeal.
Start by measuring and cutting a piece of foam padding to fit the dimensions of the seat. Use a sharp knife or electric knife to achieve clean cuts.
Place the foam padding on top of the seat panel and ensure it is centered and aligned properly. Trim any excess foam if necessary.
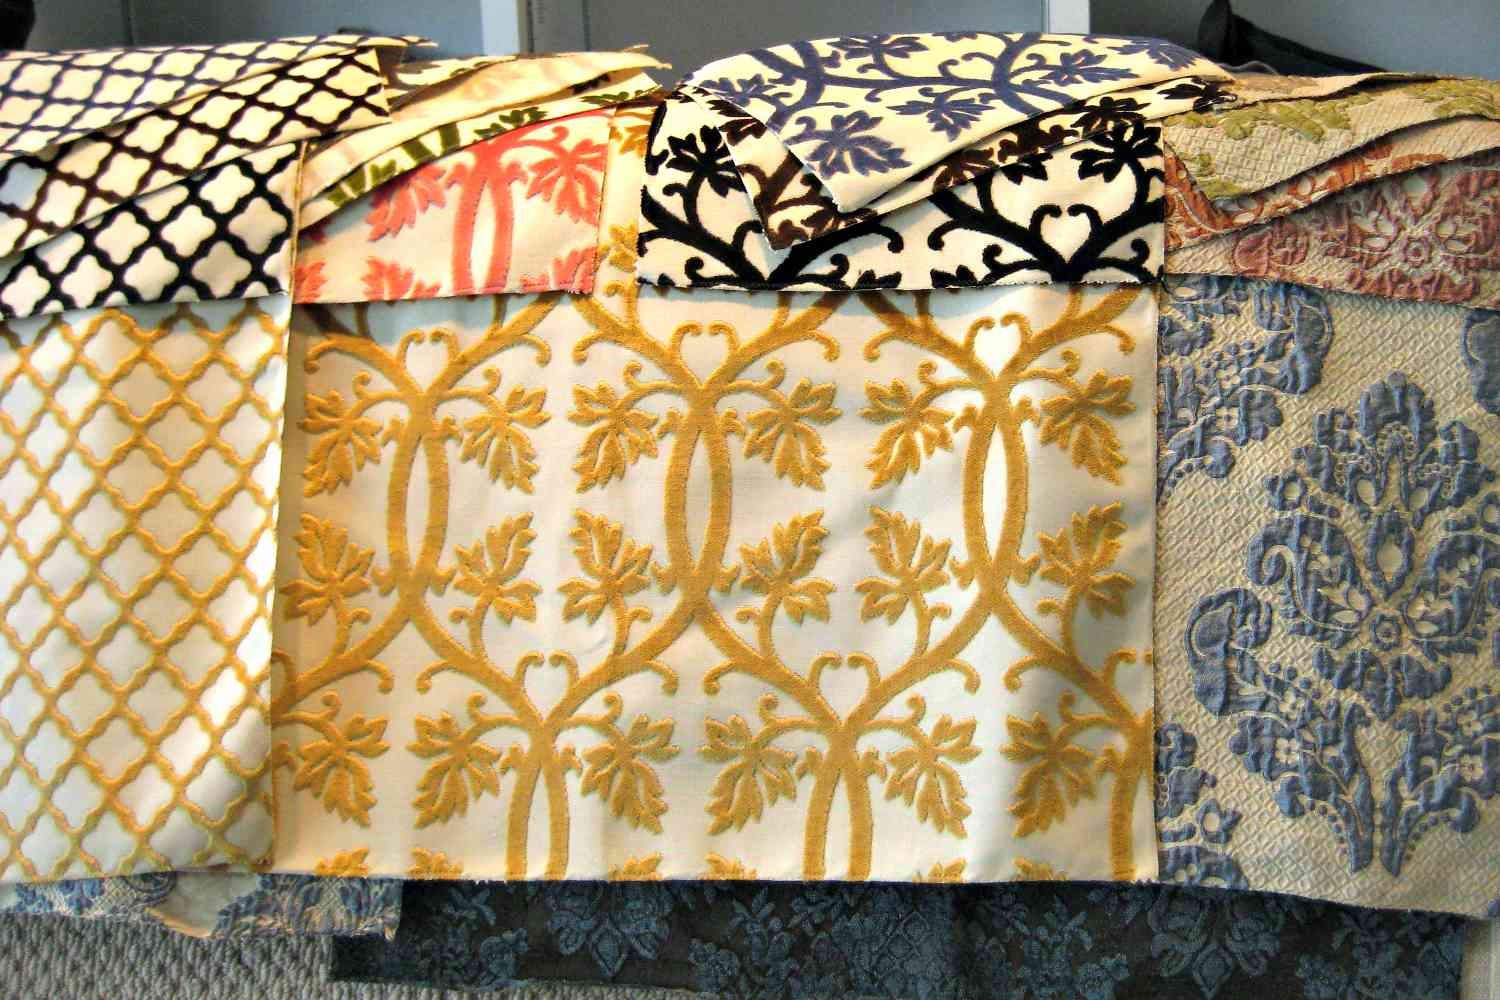
Next, choose a fabric that complements your dining room decor and style. Measure and cut the fabric, leaving a few inches of excess on all sides to ensure there is enough material to wrap around the seat panel.
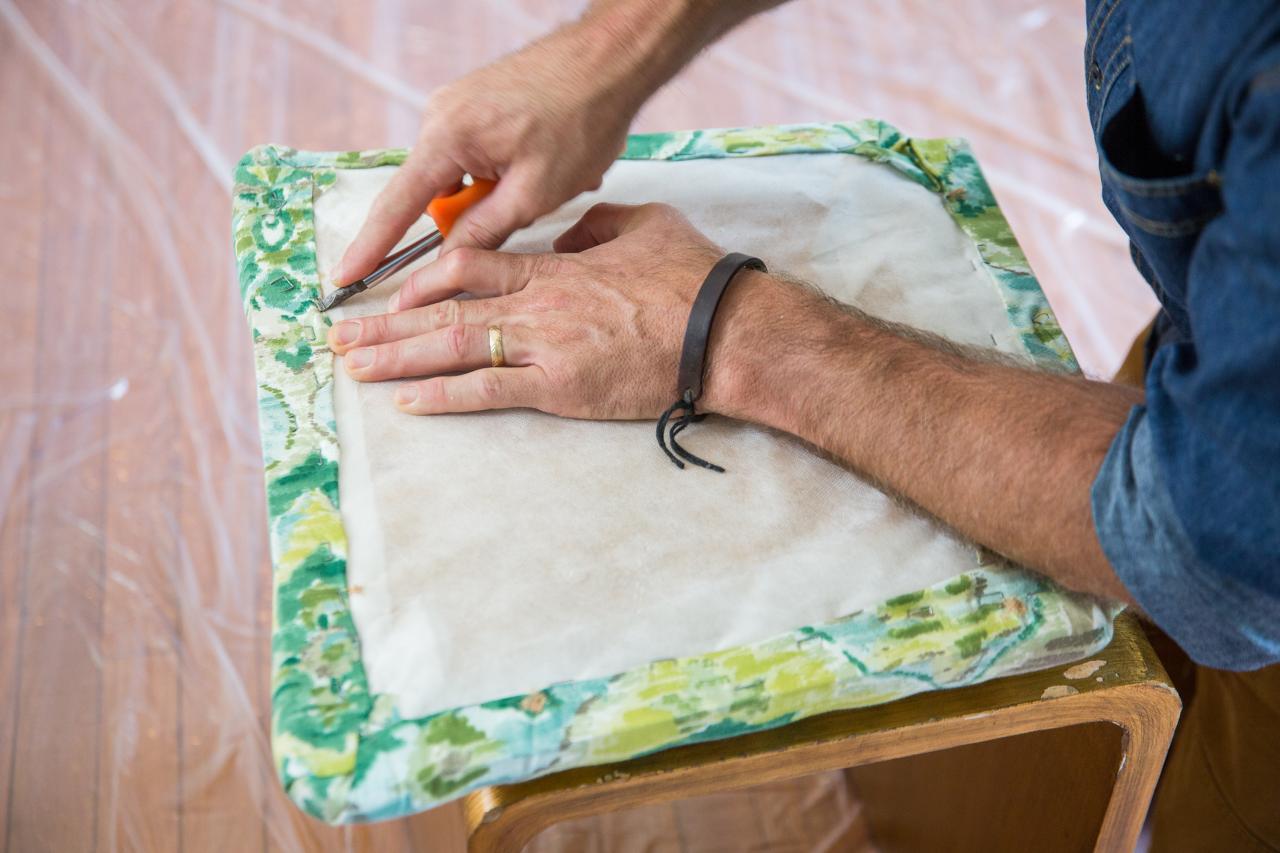
Position the fabric over the foam and seat panel, making sure it is centered and aligned. Pull the fabric taut and staple it to the underside of the seat panel using a staple gun. Begin by stapling the middle of each side and then work your way out, alternating between opposite sides to maintain an even tension.
Continue stapling the fabric, folding and pleating it neatly around the corners and edges of the seat panel. Make sure to pull the fabric tightly to create a smooth and wrinkle-free surface.
Trim any excess fabric if needed, but leave enough to ensure a secure and clean finish on the underside of the seat.
Once the fabric is securely stapled, attach a dust cover fabric or a piece of fabric over the underside of the seat panel to conceal the staples and provide a finished look.
Check the upholstered seat for any loose fabric or unevenness. Make any adjustments or tighten the fabric as needed to achieve a professional and snug upholstery job.
Repeat these steps for each chair, ensuring consistency in the foam padding, fabric choice, and upholstery technique.
With the seats upholstered, your dining room chairs are now complete! Take a moment to admire your handiwork and envision them adorning your dining area.
Congratulations on successfully constructing and upholstering your dining room chairs. You have created functional and stylish pieces of furniture that will surely be the center of attention at your dining table.
Enjoy the satisfaction of sitting on chairs that you have crafted with your own hands, showcasing your creativity, and providing comfort for family and guests.
Remember to maintain your chairs by periodically cleaning the upholstery and inspecting for any repairs or touch-ups needed. This will ensure their longevity and continued beauty for years to come.
Thank you for following this step-by-step guide. We hope you had an enjoyable and rewarding experience in constructing your dining room chairs!
Conclusion
Constructing your own dining room chairs is a fulfilling and rewarding project that allows you to showcase your woodworking skills and create custom pieces tailored to your taste and style. By following the step-by-step guide outlined in this article, you have learned how to cut the wood, assemble the legs, build the seat, attach the backrest, sand and finish the chairs, and finally upholster the seat.
Throughout the process, attention to detail and precision were crucial to ensure the chairs are sturdy, comfortable, and visually appealing. Remember to take your time, measure accurately, and use appropriate techniques and tools.
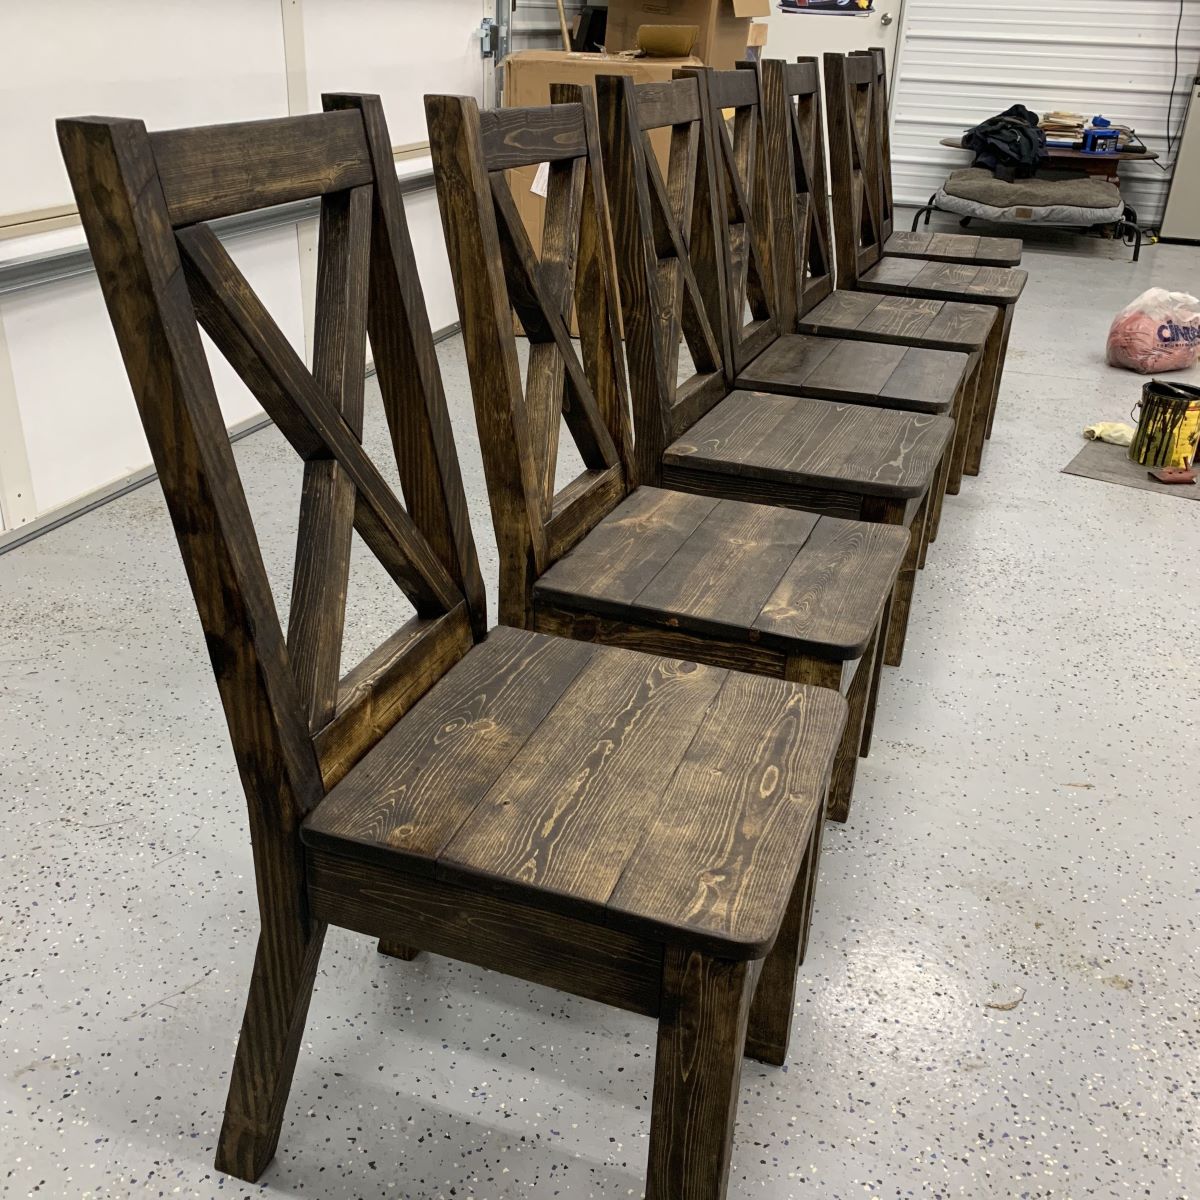
By selecting high-quality materials and using proper joinery techniques, you have created chairs that are not only functional but also beautiful. Whether you prefer a rustic, modern, or traditional style, you have the flexibility to customize the design and finish of your chairs to suit your personal preferences and match your dining room decor.
These handmade chairs will undoubtedly become the focal point of your dining area, impressing your guests and providing comfort for your family and loved ones during meals and gatherings.
As you enjoy the fruits of your labor, make sure to properly care for and maintain your chairs. Regular cleaning and inspecting for any repairs or touch-ups will help ensure their longevity and keep them looking their best for years to come.
We hope this comprehensive guide has equipped you with the knowledge and confidence to embark on your journey of constructing dining room chairs. May your woodworking endeavors continue to bring you joy and satisfaction as you create beautiful and functional pieces of furniture that can be cherished for generations.
Happy constructing!
Frequently Asked Questions about How To Construct Dining Room Chairs
Was this page helpful?
At Storables.com, we guarantee accurate and reliable information. Our content, validated by Expert Board Contributors, is crafted following stringent Editorial Policies. We're committed to providing you with well-researched, expert-backed insights for all your informational needs.


0 thoughts on “How To Construct Dining Room Chairs”