Articles
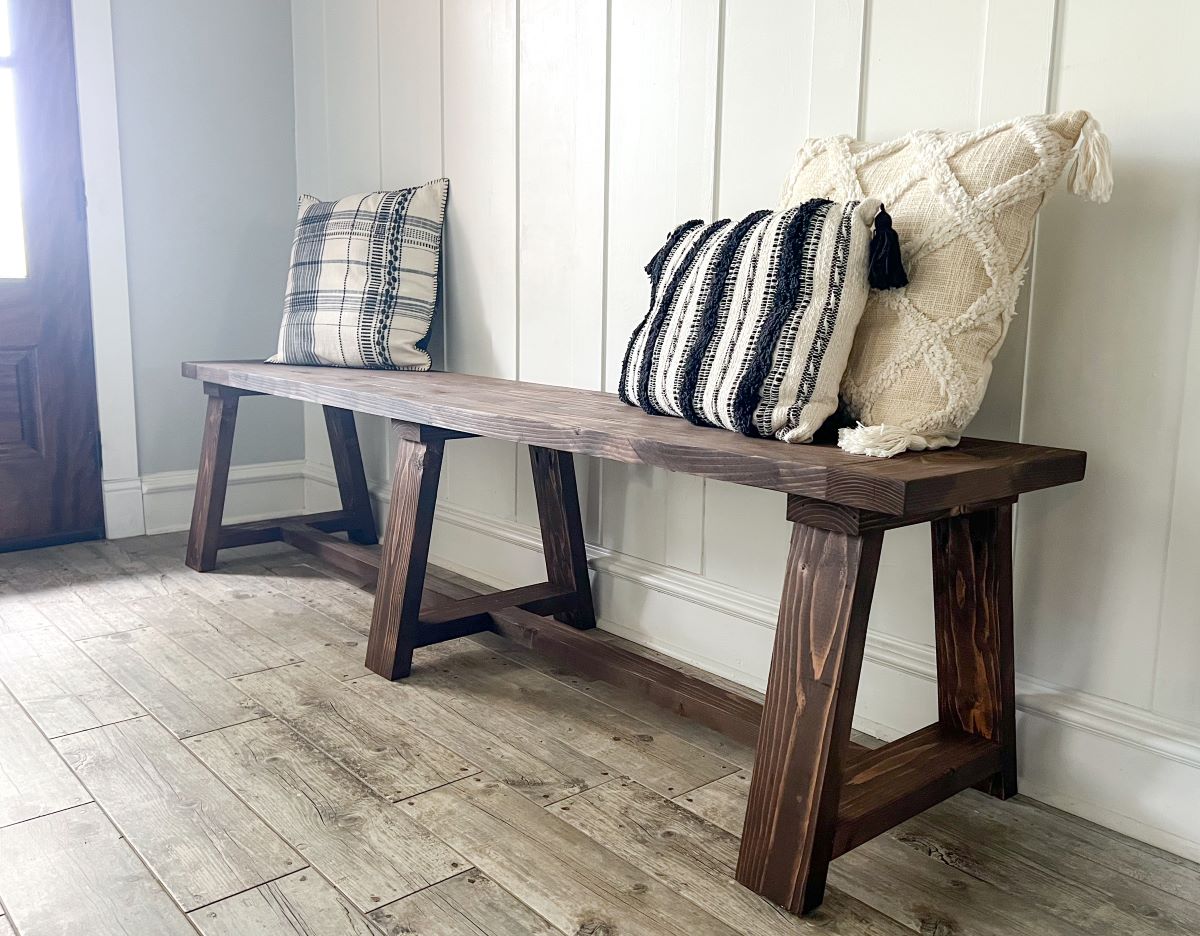
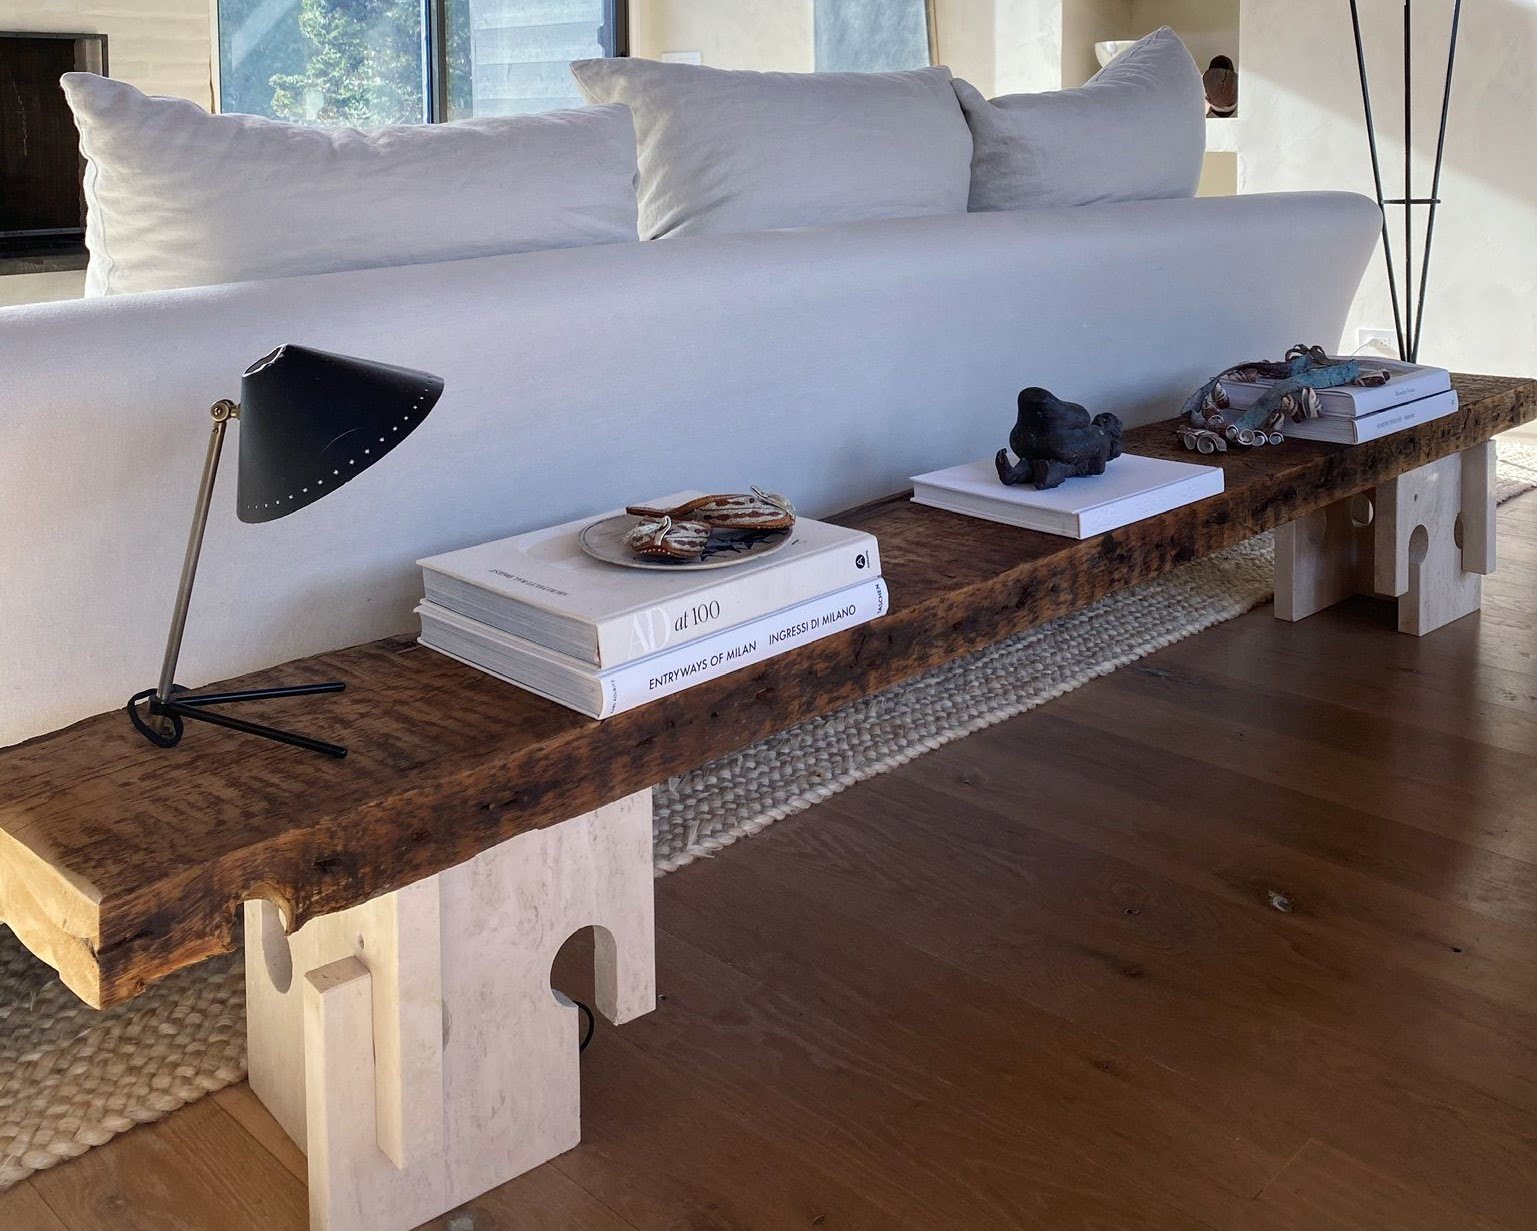
How To Build Dining Room Bench
Modified: December 7, 2023
Learn how to build a stunning dining room bench with our expert articles. Enhance your dining space with this practical and stylish addition.
(Many of the links in this article redirect to a specific reviewed product. Your purchase of these products through affiliate links helps to generate commission for Storables.com, at no extra cost. Learn more)
Introduction
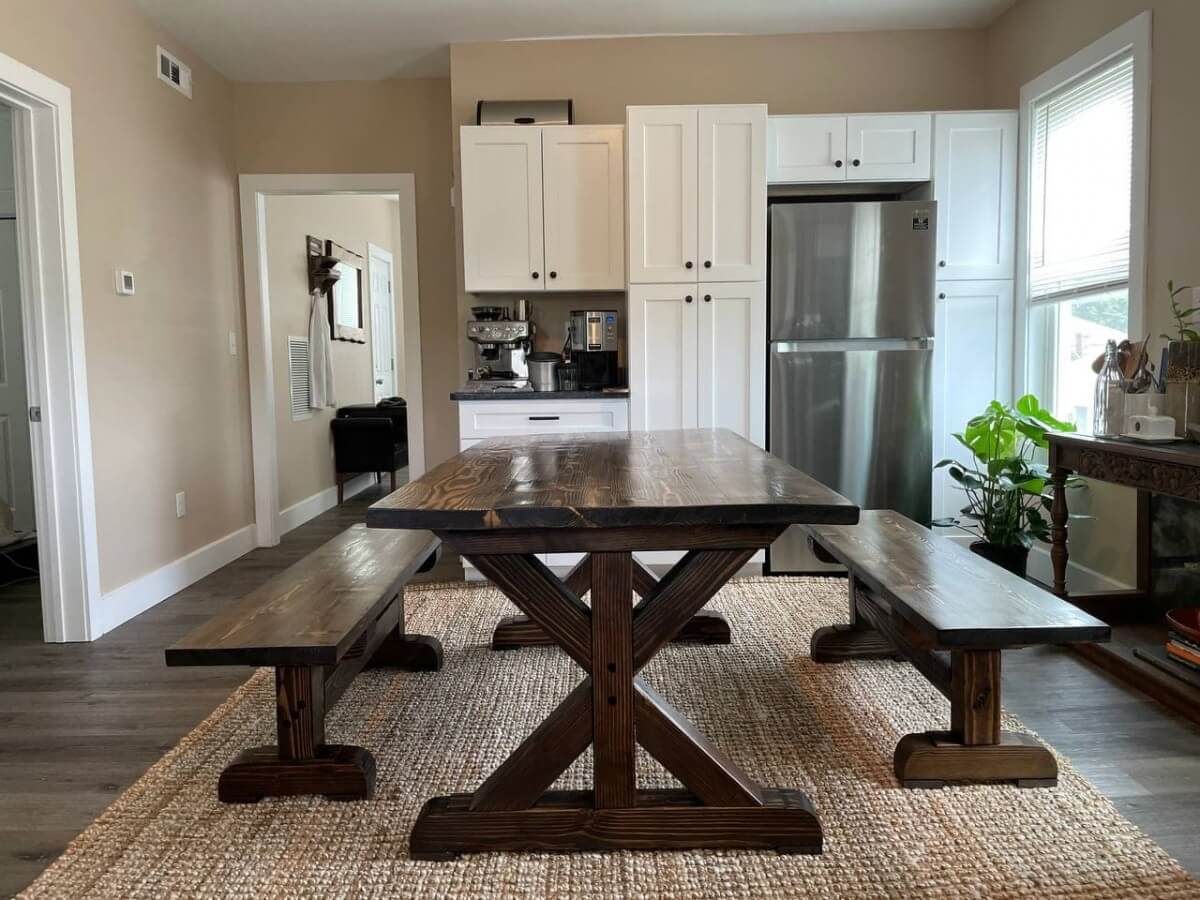
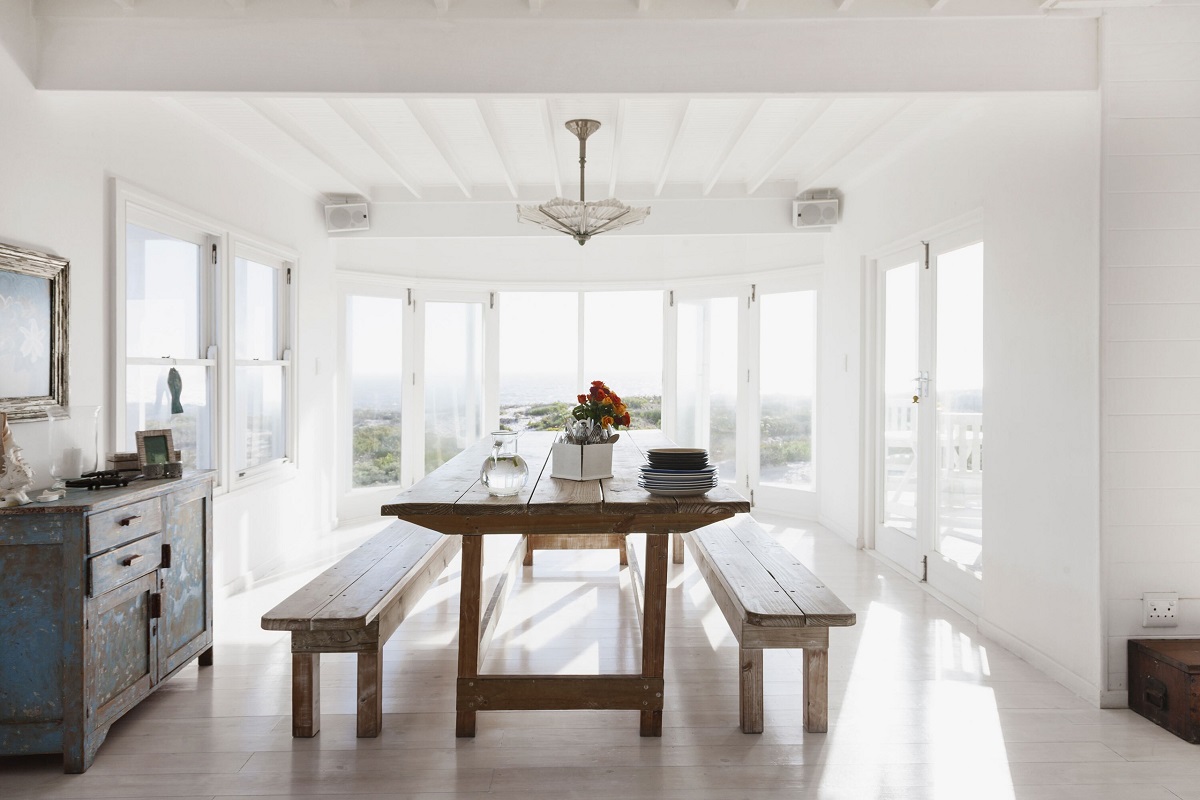
Are you looking to add some extra seating to your dining room? A dining room bench can be a stylish and functional addition to your space. Not only does it provide ample seating for family and guests, but it also adds a unique touch to your dining area. Plus, building your own bench allows you to customize it to match your decor and fit your specific needs.
In this guide, we will walk you through the step-by-step process of building a dining room bench. You don’t need to be a woodworking expert to tackle this project, as long as you have some basic tools and materials. So, roll up your sleeves, put on your safety goggles, and let’s get started!
To successfully build your dining room bench, you will need the following tools and materials:
- Saw
- Drill
- Measuring tape
- Screwdriver
- Screws
- Wood glue
- Sandpaper
- Wood stain or paint (optional)
- Upholstery foam and fabric (optional, for cushion)
Key Takeaways:
- Building a dining room bench is a DIY project that adds both style and functionality to your space. With the right tools, materials, and creativity, you can create a customized bench that fits perfectly in your dining area.
- Prioritize safety, accurate measurements, and precise cuts when building a dining room bench. Whether you prefer a rustic or modern design, this DIY project allows you to showcase your craftsmanship and create a welcoming atmosphere for dining and entertaining.
Read more: How To Build Dining Room Bench
Tools and Materials Needed
Before you begin building your dining room bench, gather the following tools and materials:
Tools:
- Saw: A saw will be necessary to cut the wooden boards to the desired length.
- Drill: You will need a drill to create holes for screws and attach the different components of the bench.
- Measuring tape: Accurate measurements are crucial in ensuring that your bench fits perfectly in your dining room. A measuring tape will help you measure the dimensions accurately.
- Screwdriver: A screwdriver will be needed to tighten the screws and secure the joints of the bench.
- Screws: Choose the appropriate screws for your project, considering the type and thickness of the wood you are using.
- Wood glue: Wood glue will help to strengthen the joints and ensure the longevity of your bench.
- Sandpaper: Sandpaper will be used to smooth the surfaces and edges of the bench, giving it a polished and finished look.
- Wood stain or paint (optional): If you prefer a colored or stained finish for your bench, you will need wood stain or paint. This step is optional and can be customized to match your style and decor.
- Upholstery foam and fabric (optional, for cushion): If you want to add a cushion to your bench, you will need upholstery foam and fabric of your choice.
Materials:
- Wood: Choose a suitable type of wood for your bench, such as pine, oak, or plywood. The amount of wood needed will depend on the desired dimensions of your bench.
- Screws: Make sure to have an ample supply of screws that are appropriate for securing the different components of the bench.
- Wood glue: Purchase a bottle or tube of wood glue for reinforcing the joints of the bench.
- Sandpaper: Get sandpaper of varying grits to smooth the wood surfaces.
- Wood stain or paint (optional): If you have decided to stain or paint your bench, choose a suitable color and purchase the necessary amount of stain or paint for the project.
- Upholstery foam and fabric (optional, for cushion): If you plan to add a cushion to your bench, buy upholstery foam and fabric that matches your desired comfort level and aesthetic.
Once you have gathered all the necessary tools and materials, you are ready to move on to the next step: measuring and planning your dining room bench.
Step 1: Measure and Plan
The first step in building your dining room bench is to measure your space and plan the dimensions of your bench. This will ensure that your bench fits perfectly in your dining area and provides comfortable seating for everyone. Here’s how to do it:
- Measure the available space: Use a measuring tape to determine the length and width of the area where you plan to place your bench. Consider any surrounding furniture or obstructions that may affect the size and placement of the bench.
- Determine the height: Decide on the height of your bench based on your personal preference and the average height of your dining table. A typical dining bench height ranges from 18 to 20 inches, but feel free to adjust it according to your needs.
- Sketch your bench design: Use graph paper or a blank sheet of paper to sketch the design of your bench. Visualize how you want it to look, including any decorative details or special features you may want to incorporate.
- Consider seating capacity: Determine how many people you want your bench to seat. This will depend on the length and width of your bench and the available space in your dining room. Typically, a standard dining bench can seat two to three people.
Remember to take accurate measurements and double-check your calculations to ensure the dimensions of your bench are correct. It’s also helpful to create a materials list based on your measurements so you can gather the necessary wood and other materials for the project.
Once you have finalized your measurements and design, it’s time to move on to the next step: cutting the wood for your dining room bench.
Read more: How To Build A Dining Table Bench
Step 2: Cut the Wood
Now that you have your measurements and design in hand, it’s time to start cutting the wood for your dining room bench. This step requires precision and accuracy to ensure that all the pieces fit together perfectly. Follow these steps to cut the wood:
- Gather your materials: Make sure you have all the necessary wood and tools ready for the cutting process. Double-check your measurements to ensure you have enough wood for the seat, legs, and any additional components.
- Prepare the wood: Start by laying out your wood on a stable and secure work surface. Remove any rough edges or imperfections using sandpaper to ensure a clean finish.
- Measure and mark: Use a measuring tape to mark the dimensions of each piece of wood according to your design and measurements. Use a pencil or a marker to make clear and visible marks.
- Cut the seat: Begin by cutting the seat piece according to the desired length and width. Use a saw to make straight, clean cuts. If you prefer rounded edges or other decorative shapes, use a jigsaw or a router to achieve the desired look.
- Cut the legs: Measure and mark the length of the legs based on your desired bench height. Make sure to cut all the legs to the same length for a level and stable bench. You can choose to cut the legs at a straight 90-degree angle or add decorative angles or curves for added visual interest.
- Cut additional components: Depending on your bench design, you may need to cut additional components such as support beams or crossbars. Measure and mark these pieces according to your design and cut them to the desired dimensions.
As you cut the wood, it’s important to prioritize safety. Always wear appropriate safety gear, including safety goggles and gloves, and handle the saw and other tools with caution. Take your time and make smooth, controlled cuts to avoid any accidents.
Once you’ve successfully cut all the necessary pieces, you’re ready to move on to the next step: assembling the seat of your dining room bench.
Step 3: Assemble the Seat
With the wood pieces cut to the appropriate dimensions, it’s time to begin assembling the seat of your dining room bench. This step involves joining the seat and any additional components to create a sturdy and comfortable seating surface. Follow these steps to assemble the seat:
- Lay out the seat boards: Start by arranging the seat boards in the desired order and orientation. This will ensure a smooth and seamless seating surface. Use a level or straight edge to make sure the boards are aligned properly.
- Pre-drill and countersink holes: Using a drill, pre-drill the holes where you will be attaching the seat boards together. This will prevent the wood from splitting and ensure a secure connection. Additionally, countersink the holes to create a recessed area for the screw heads.
- Apply wood glue: Apply a thin, even layer of wood glue along the edges of the seat boards that will be joined together. This will add strength and stability to the seat assembly.
- Secure the seat boards: Using a screwdriver or drill with appropriate screws, secure the seat boards together through the pre-drilled holes. Make sure the screws are flush with the surface of the wood to avoid any protrusions.
- Check for stability: Once the seat boards are securely attached, check for stability by applying pressure to different areas of the seat. Ensure that there is no wobbling or movement, as this can affect the overall comfort and durability of the bench.
As you assemble the seat, be mindful of the orientation and alignment of the boards to achieve a visually pleasing and professional-looking result. Additionally, wipe off any excess wood glue that may have squeezed out during the process.
With the seat of your dining room bench assembled, you’re ready to move on to the next step: attaching the legs.
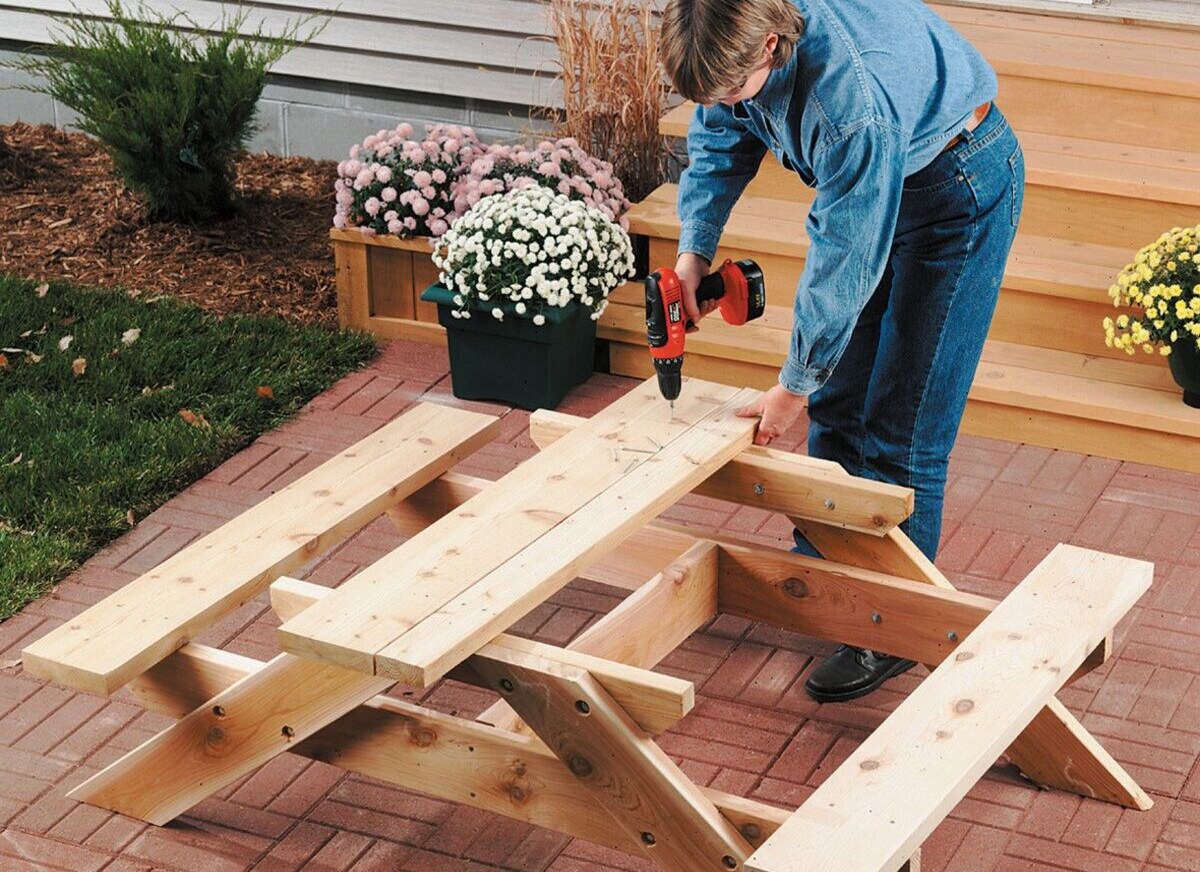
Step 4: Attach the Legs
Now that the seat of your dining room bench is assembled, it’s time to attach the legs. This step will provide the necessary support and stability to your bench. Follow these steps to attach the legs:
- Position the legs: Decide on the placement of the legs and mark the spots on the underside of the seat where the legs will be attached. Measure and ensure that the legs are positioned evenly and symmetrically.
- Pre-drill holes: Using a drill, pre-drill pilot holes in the marked spots where the legs will be attached. This will prevent the wood from splitting and make it easier to secure the legs.
- Apply wood glue: Apply a thin, even layer of wood glue to the surfaces of the legs that will come in contact with the seat. This will provide additional strength and reinforce the connection.
- Secure the legs: Align the legs with the pre-drilled holes and attach them to the seat using screws. Use a screwdriver or drill to drive the screws through the pre-drilled holes and into the legs, ensuring a secure and sturdy connection.
- Check for stability: Once the legs are attached, check for stability by applying pressure to different areas of the bench. Ensure that the legs are securely fastened and that the bench does not wobble or shift on a flat surface.
When attaching the legs, it’s important to ensure that they are perpendicular to the seat and are securely fastened. This will ensure the overall stability and longevity of your dining room bench.
With the legs attached, your bench is taking shape. The next step is to sand and finish the bench to achieve a smooth and polished look.
When building a dining room bench, make sure to use sturdy and durable materials such as hardwood or metal for the frame to ensure it can support the weight of multiple people.
Step 5: Sand and Finish
Now that you have assembled the seat and attached the legs of your dining room bench, it’s time to give it a smooth and finished look. Sanding and finishing the bench will not only enhance its appearance but also protect the wood from wear and tear. Follow these steps to sand and finish your bench:
- Sand the surface: Begin by sanding the entire surface of the bench, including the seat and legs. Use sandpaper with a medium grit to remove any rough patches, splinters, or imperfections in the wood. Sand in the direction of the wood grain for the best results.
- Switch to a finer grit: Once you have sanded the bench with a medium grit sandpaper, switch to a finer grit sandpaper for a smoother finish. Continue sanding until the surface feels smooth to the touch.
- Remove dust: After sanding, use a clean cloth or a tack cloth to remove any dust and debris from the bench. This will ensure a clean surface for the next step.
- Apply wood stain or paint (optional): If you want to add color or enhance the natural beauty of the wood, now is the time to apply wood stain or paint. Follow the manufacturer’s instructions for proper application and drying times. Apply multiple coats if desired, allowing each coat to dry before applying the next.
- Apply a protective finish: To protect the wood and give it a polished look, apply a clear protective finish such as polyurethane or varnish. Use a brush or a rag to apply the finish evenly and follow the manufacturer’s instructions for drying times. Apply multiple coats if needed, sanding lightly between coats for a smooth finish.
As you sand and finish your bench, pay attention to any details or areas that may need extra attention. Smooth out any rough edges or corners, and ensure that the entire surface is even and free from blemishes.
Once your bench is sanded, stained or painted, and sealed with a protective finish, it will be ready for use. However, if you want to add extra comfort, you can continue to the next step: adding a cushion to your dining room bench.
Read also: 12 Unbelievable Dining Room Bench For 2024
Step 6: Add Cushion (Optional)
If you want to add an extra layer of comfort to your dining room bench, consider adding a cushion. A cushion not only enhances the seating experience but also adds a touch of style and personality to your bench. Follow these steps to add a cushion to your dining room bench:
- Measure the seat: Start by measuring the dimensions of the seat to determine the size of the cushion you will need. Measure the length and width of the seat, taking into account any overhang or lip.
- Choose the cushion material: Select a suitable cushion material that matches your style and comfort preferences. This can include upholstery foam, memory foam, or even a custom-made cushion pad.
- Cut the foam: Using a sharp utility knife or an electric foam cutter, cut the foam to match the dimensions of the seat. Take care to cut the foam in a straight and even manner, ensuring a proper fit.
- Measure and cut the fabric: Measure and cut the fabric for the cushion cover, adding a few extra inches to account for seams and a snug fit. You can choose a fabric that complements the overall décor of your dining room.
- Sew the cushion cover: Use a sewing machine or hand-stitch the fabric pieces together, leaving one side open for inserting the foam. You can add a zipper or velcro closure for easy removal and maintenance.
- Insert the foam and close the cushion cover: Gently insert the foam into the cushion cover through the open side. Ensure that the foam sits snugly within the cover. Use a needle and thread or a sewing machine to close the open side of the cushion cover.
- Attach the cushion to the bench (optional): If desired, you can attach the cushion to the bench to keep it in place. This can be done by using fabric ties, adhesive hook-and-loop fasteners, or upholstery staples.
Once the cushion is added to your dining room bench, take a moment to test its comfort and adjust it if needed. Ensure that the cushion is securely attached and doesn’t interfere with the overall stability of the bench.
With the cushion added, your dining room bench is now complete and ready to be enjoyed. It provides a cozy and inviting spot for family and friends to gather around the table, adding both comfort and style to your dining area.
Conclusion
Building a dining room bench can be a rewarding and satisfying DIY project. Not only does it provide additional seating in your dining area, but it also allows you to showcase your creativity and craftsmanship. By following the steps outlined in this guide, you can create a beautiful and functional bench that complements your style and fits perfectly in your space.
Throughout the process, it’s important to prioritize safety by using the appropriate tools and wearing protective gear. Take your time with each step, ensuring accurate measurements and precise cuts to achieve a professional-looking result. Additionally, consider adding your personal touch by customizing the design, finish, and cushion of your bench to match your unique taste and decor.
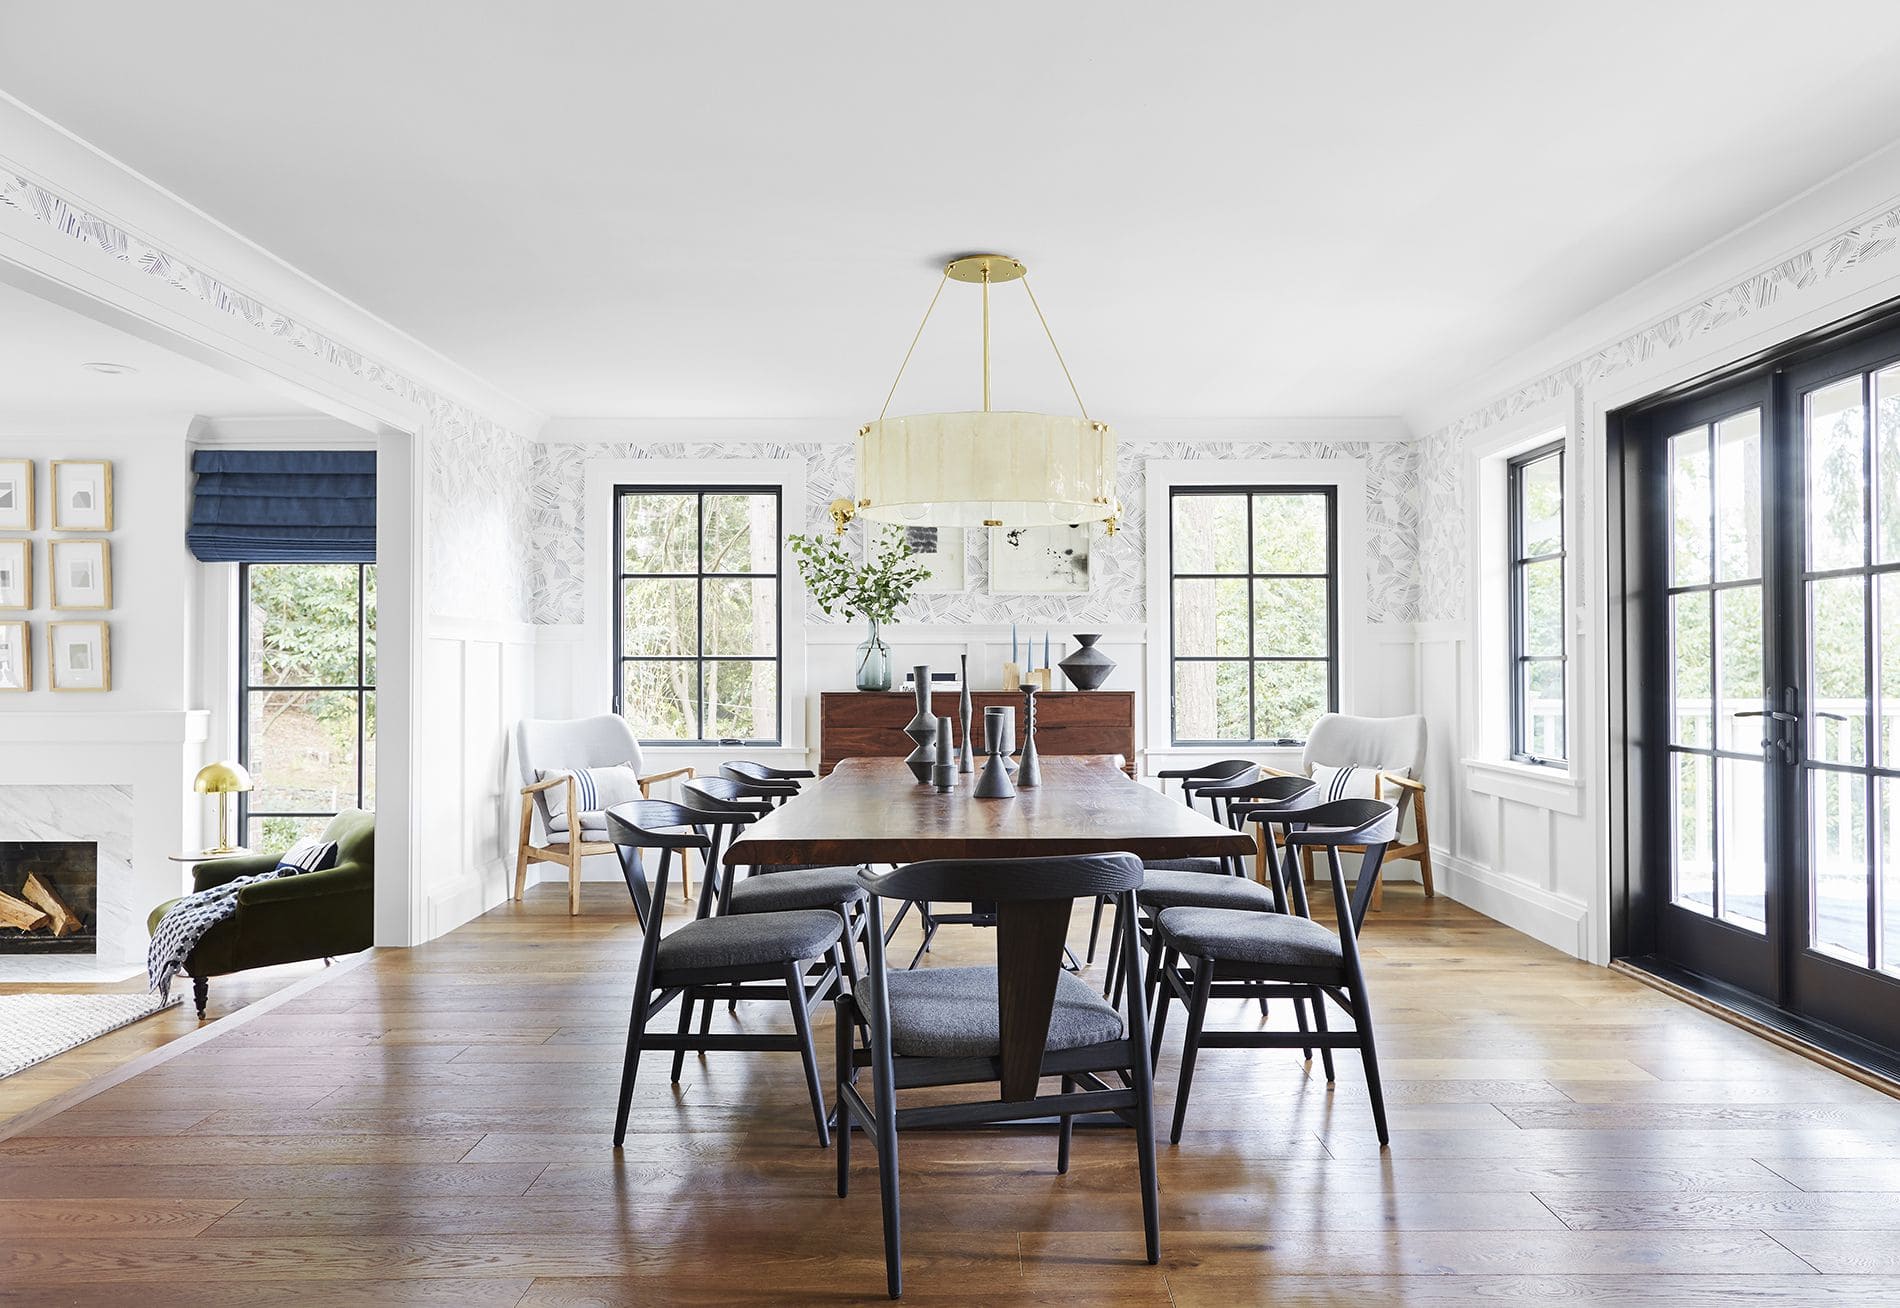
Remember, a well-built dining room bench not only adds functionality to your space but also creates a welcoming and comfortable atmosphere for dining and entertaining. Whether you choose to go with a rustic farmhouse style or a sleek modern design, your bench will surely become a focal point in your dining room.
So, gather your tools, materials, and creative energy, and embark on this DIY adventure. With the right planning, measurements, and construction techniques, you can create a stunning dining room bench that will be cherished for years to come.
Frequently Asked Questions about How To Build Dining Room Bench
Was this page helpful?
At Storables.com, we guarantee accurate and reliable information. Our content, validated by Expert Board Contributors, is crafted following stringent Editorial Policies. We're committed to providing you with well-researched, expert-backed insights for all your informational needs.


0 thoughts on “How To Build Dining Room Bench”