Tableware
How To Change Dining Room Light
Modified: October 20, 2024
Learn how to change the dining room light and create a stunning ambiance for your tableware. Follow our simple steps for a quick and effortless transformation.
(Many of the links in this article redirect to a specific reviewed product. Your purchase of these products through affiliate links helps to generate commission for Storables.com, at no extra cost. Learn more)
Introduction
Welcome to the ultimate guide on how to change the dining room light! The lighting in your dining room plays a crucial role in creating the right ambiance and setting the mood for your meals. Whether you are looking to update the outdated fixture, replace a faulty one, or simply want to revamp the look of your dining space, this step-by-step guide will walk you through the process of changing your dining room light.
Changing a light fixture might seem like a daunting task, especially if you have never done it before. But fear not! With a little bit of planning, preparation, and following the right steps, you’ll be able to tackle this project like a pro.
In this guide, we will cover everything you need to know, from selecting the right light fixture to the installation process. So, grab your tools and let’s get started on transforming your dining room!
Before we jump into the practical steps, it’s important to note that electrical work can be dangerous if not done properly. If you are unsure or uncomfortable working with electricity, it is highly recommended to hire a professional electrician to ensure the safety of yourself and your home.
Now, let’s dive into the planning and preparation phase where we will discuss the crucial steps to ensure a successful dining room light change!
Key Takeaways:
- Planning and preparation are crucial for a successful dining room light change. Assess your lighting needs, research fixture options, and gather necessary tools to ensure a smooth and safe installation process.
- When changing your dining room light, prioritize safety by turning off the power supply, carefully removing the old fixture, and properly wiring and mounting the new fixture. Enjoy the enhanced ambiance and aesthetics of your newly illuminated dining space!
Read more: How To Light A Dining Room
Planning and Preparation
Before you start changing the dining room light, it’s important to take some time for planning and preparation. This will help ensure a smooth process and avoid any hiccups along the way. Here are the key steps to consider:
- Assess Your Lighting Needs: Start by evaluating your current lighting situation and determining what you want to achieve with the new light fixture. Consider factors such as the size of your dining room, the amount of natural light it receives, and the overall style you want to achieve.
- Research Light Fixture Options: Take some time to explore different light fixture styles and designs that would complement your dining room’s decor. Look for inspiration in magazines, online platforms, and even in other people’s homes. Narrow down your options based on your style preferences and budget.
- Measure the Space: Once you have an idea of the light fixture you want, measure the space in your dining room where the fixture will be installed. This will help you determine the appropriate size of the new light fixture.
- Consider Wiring Requirements: Take note of the existing wiring in your dining room. If your new light fixture requires different wiring or additional electrical work, you may need to consult a professional electrician to ensure proper installation.
- Check the Ceiling Load: If you are planning to install a heavy or large light fixture, it’s crucial to determine if your ceiling can support the weight. Consult a structural engineer or a professional to assess the load-bearing capacity of your ceiling.
- Set a Budget: Determine your budget for the new light fixture, including any additional expenses for professional help or electrical work. This will help you stay within your financial limits and avoid any surprises during the process.
- Gather the Necessary Permits: Depending on your local regulations, you may need to obtain permits for electrical work. Check with your local building department to determine if any permits are required for changing the dining room light.
By taking the time to plan and prepare, you will have a clear vision of what you want to achieve and be ready to move on to the next steps of selecting the right light fixture and gathering the necessary tools and materials for the project.
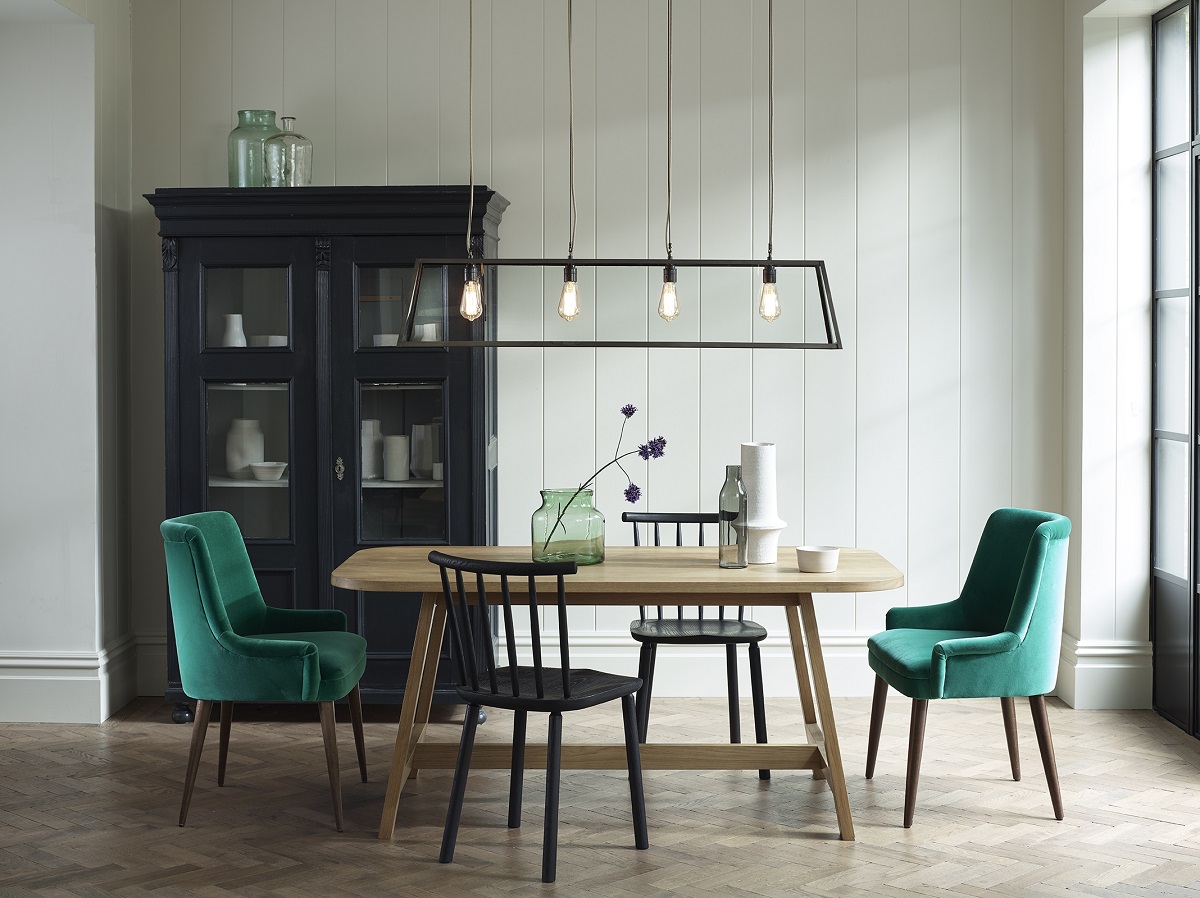
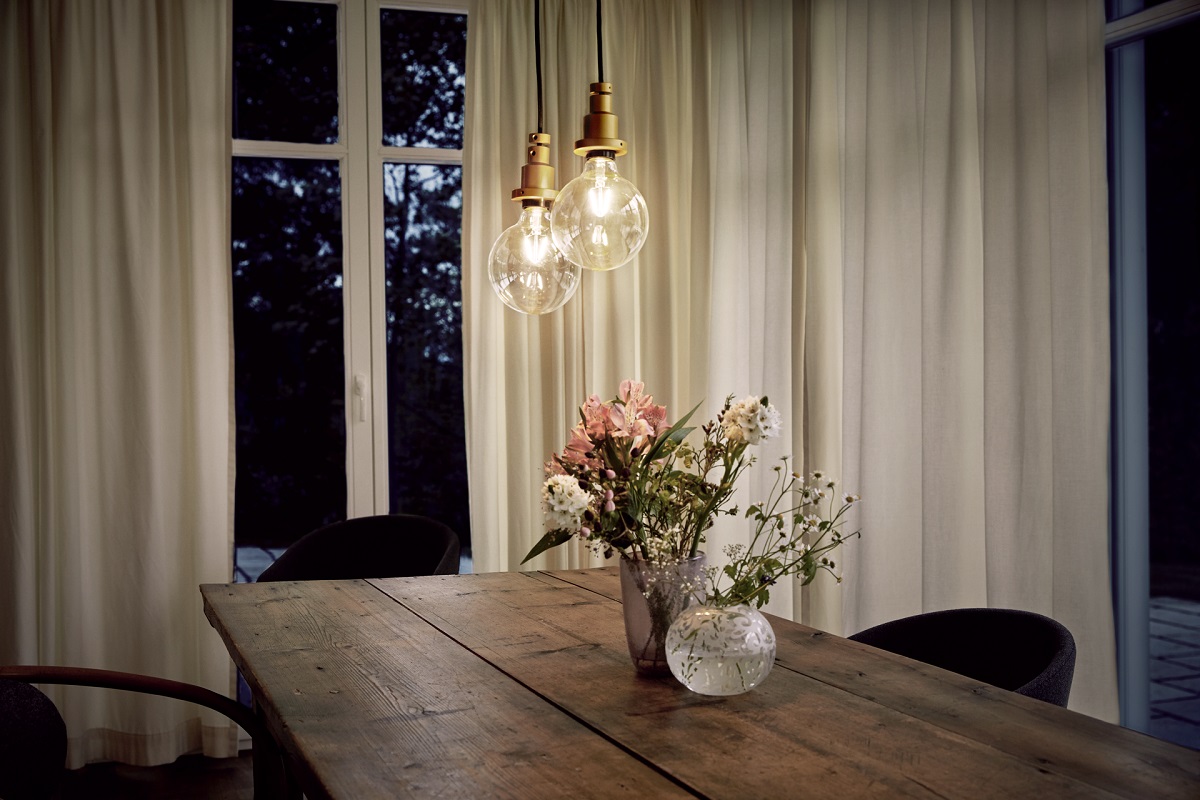
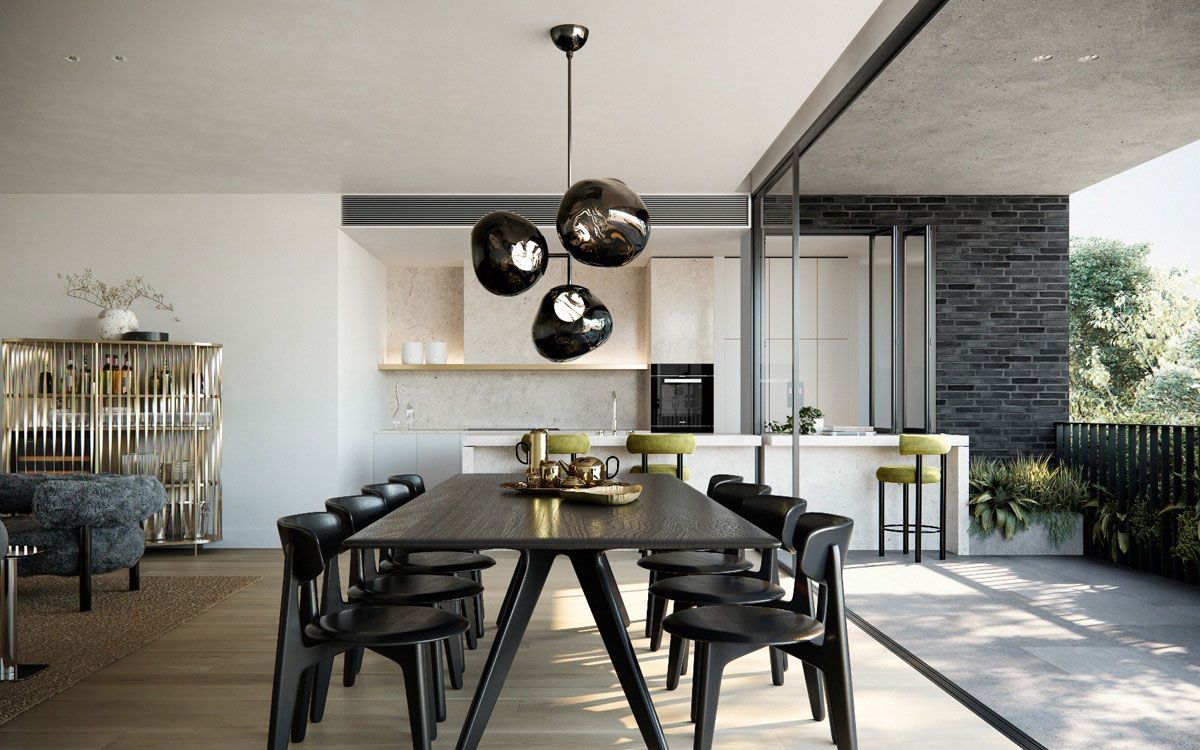
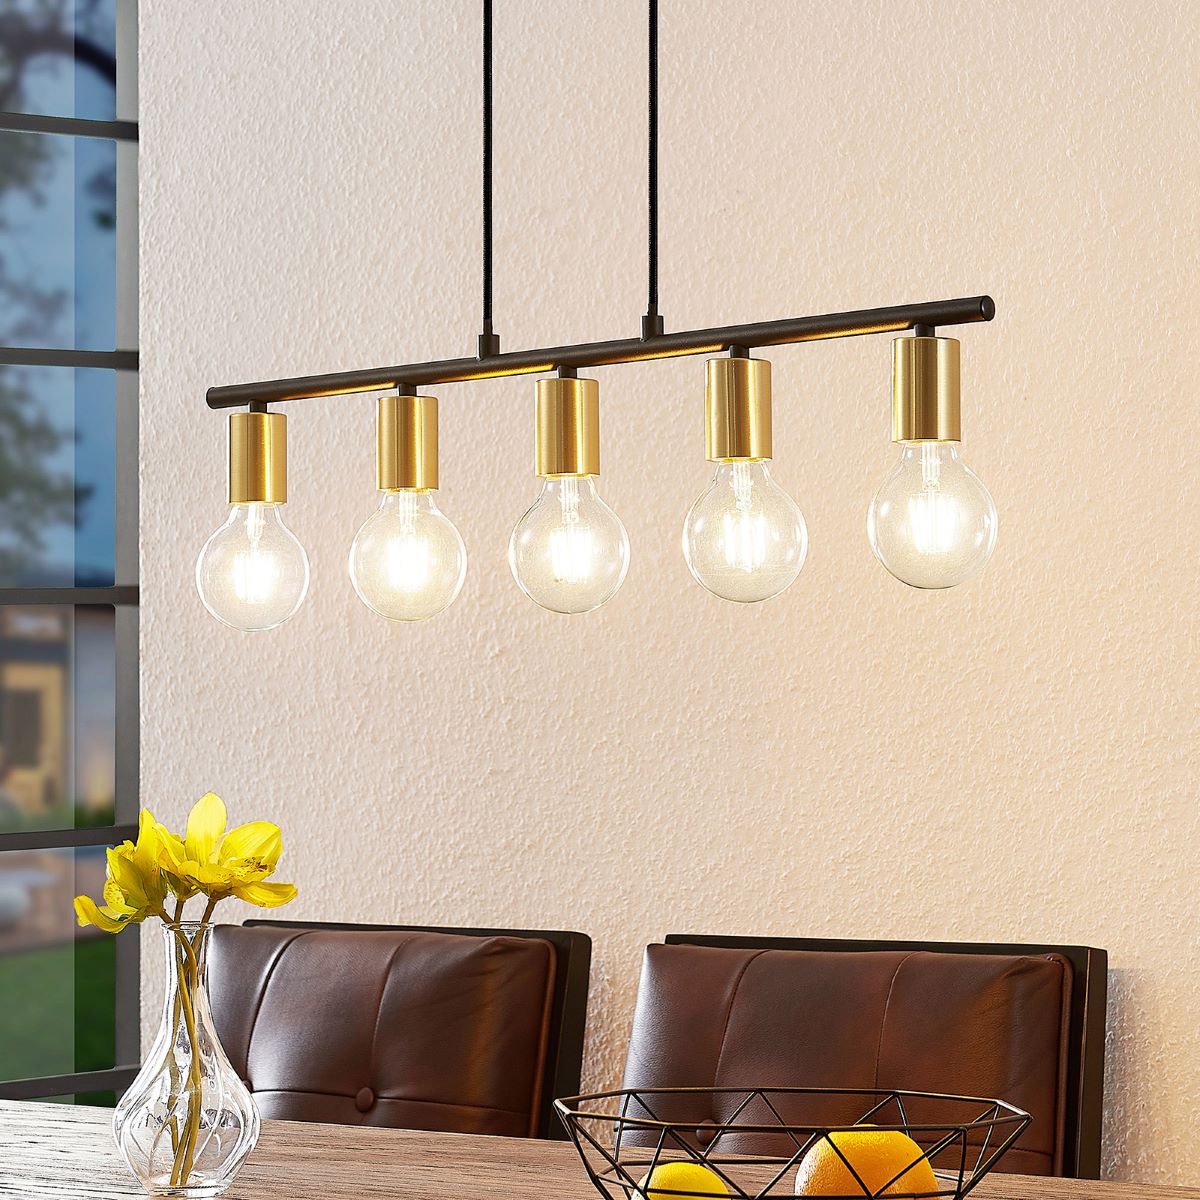
Selecting the Right Light Fixture
Now that you have completed the planning and preparation phase, it’s time to select the right light fixture for your dining room. The fixture you choose will not only illuminate the space but also greatly contribute to the overall aesthetic. Here are some factors to consider when selecting the perfect light fixture:
- Style and Design: Consider the existing decor and style of your dining room. Do you prefer a modern, traditional, or eclectic look? Choose a light fixture that complements the overall theme and adds a touch of elegance to the space.
- Size and Scale: Measure your dining room to determine the appropriate size of the light fixture. Ensure that it’s proportionate to the space and doesn’t overwhelm or look too small. As a general rule of thumb, the width of the fixture should be approximately one-third the size of the dining table.
- Light Output: Assess the amount of light you need in your dining area. Consider factors such as the size of the room, the natural light it receives, and how you plan to use the space. If you frequently host dinner parties or require ample lighting for other activities, opt for a fixture that provides sufficient brightness.
- Energy Efficiency: With increasing environmental consciousness, it’s important to consider energy-efficient options. Look for light fixtures that are labeled as energy-efficient or use LED bulbs, as they consume less energy and have a longer lifespan.
- Budget: Determine your budget for the light fixture. Prices can vary greatly based on the style, material, and brand. Consider your budget limitations and explore options within your range. Remember, a higher price doesn’t always guarantee better quality.
- Maintenance: Consider the maintenance requirements of the light fixture. Some fixtures may require frequent cleaning or bulb replacements, while others are low maintenance. Choose an option that aligns with your preferences and lifestyle.
- Compatibility: Ensure that the selected light fixture is compatible with the electrical wiring and switch in your dining room. If major electrical modifications are needed, it’s best to consult a professional electrician.
Take your time to browse through catalogs, visit lighting stores, or explore online retailers to find the perfect light fixture that checks all your requirements. Once you have made your decision, you are ready to move on to the next step of gathering the necessary tools and materials for the installation process.
Gathering the Necessary Tools and Materials
Before you embark on changing your dining room light, it’s important to gather all the necessary tools and materials. By having everything prepared in advance, you can ensure a smooth and efficient installation process. Here are the essential tools and materials you’ll need:
Tools:
- Screwdriver (flathead and Phillips-head)
- Needle-nose pliers
- Wire strippers
- Wire connectors
- Voltage tester
- Step ladder or stepladder
- Non-contact voltage detector
- Wire nuts
- Electrical tape
Materials:
- New light fixture
- Bulbs (if not included with the fixture)
- Mounting bracket (if required)
- Wire connectors
- Electrical box cover plate
Make sure to double-check the specific requirements of your chosen light fixture to ensure you have all the necessary tools and materials. Additionally, consider the safety aspect when selecting your tools – ensure they are in good condition and suitable for electrical work.
Having all the tools and materials ready will save you time and frustration during the installation process. It’s also a good idea to have a clear workspace and adequate lighting to ensure a safe and comfortable working environment.
Now that you have gathered your tools and materials, it’s time to move on to the next step of turning off the power supply before starting any electrical work.
Turning off Power Supply
Before you begin working on changing the dining room light, it’s crucial to turn off the power supply to ensure your safety. Working with electricity can be hazardous, and it’s important to take the necessary precautions. Here’s how to turn off the power supply:
- Locate the Electrical Panel: Find the main electrical panel in your home. It is usually located in the basement, garage, or utility room. Open the panel door to access the circuit breakers.
- Identify the Right Circuit Breaker: Look for the circuit breaker that controls the power supply to your dining room. This may be labeled or identified by trial and error. It’s a good idea to have someone in the dining room to verify when the power turns off.
- Switch Off the Circuit Breaker: Once you have identified the correct circuit breaker, switch it to the “off” position. This will cut off power to the dining room and ensure that no electricity is flowing to the light fixture.
- Verify the Power is Off: To be extra cautious, use a non-contact voltage detector or a voltage tester to confirm that there is no electrical current present. Hold the detector close to the wires or the light fixture to ensure no voltage is detected.
It’s important to ensure that the power supply is completely turned off before proceeding with any electrical work. This step will help protect you from electric shocks or other potential hazards.
Remember, if you are not confident or comfortable working with electricity, it’s best to consult a professional electrician. They have the expertise and knowledge to handle electrical work safely and efficiently.
With the power supply turned off, you are now ready to remove the old light fixture and proceed with the installation of the new dining room light.
Removing the Old Light Fixture
Now that you have turned off the power supply, it’s time to remove the old light fixture from your dining room. Follow these steps to safely and effectively remove the old fixture:
- Remove the Light Bulbs: Unscrew and remove any light bulbs that are still in the fixture. Set them aside safely.
- Remove the Fixture Cover: Depending on the design of your old light fixture, there may be a cover or decorative elements that need to be taken off. Gently unscrew or unclip the cover to expose the wiring and mounting plate.
- Disconnect the Wiring: Carefully disconnect the wiring connections between the old light fixture and the electrical box in the ceiling. Use wire strippers or pliers to remove any wire nuts or connectors. Take note of how the wires are connected, as you will need to reconnect them to the new fixture.
- Remove the Mounting Bracket: If your old fixture had a mounting bracket, unscrew it from the electrical box in the ceiling. Be careful not to drop any screws or components while doing this.
- Cover the Exposed Wires: Once the old fixture is completely removed, cover the exposed wires with wire nuts or electrical tape to prevent any accidental contact or short circuits.
Make sure to handle the old fixture with care and avoid pulling on the wiring to prevent any damage. If you encounter any difficulties or are unsure about the removal process, it’s best to consult a professional electrician for assistance.
With the old light fixture successfully removed, you are now ready to move on to the next step of wiring the new light fixture.
When changing a dining room light, always turn off the power at the circuit breaker before starting. Use a ladder if needed and follow the manufacturer’s instructions for installation. If in doubt, consult a professional electrician.
Wiring the New Light Fixture
With the old light fixture removed, it’s time to wire the new light fixture in your dining room. Follow these steps to ensure a safe and proper wiring process:
- Prepare the Wires: Strip the ends of the electrical wires in the ceiling and the wires attached to the new light fixture. Remove approximately ½ inch of insulation from the ends of each wire.
- Match the Wires: Identify the corresponding wires: typically, black or red is the hot wire, white is the neutral wire, and green or copper is the ground wire. Match the colors of the wires from the ceiling to the wires of the new fixture.
- Connect the Wires: Twist together the exposed ends of the matching wires securely. If needed, use wire connectors to join the wires. Connect the black/hot wire to the black/hot wire, the white/neutral wire to the white/neutral wire, and the green/ground wire to the green/ground wire.
- Secure the Connections: Once the wires are connected, use wire nuts to cover the twisted wire connections. Make sure the wire nuts are tightened securely to prevent any loose connections.
- Mount the Fixture: Depending on the design of your new light fixture, use the provided mounting bracket or follow the manufacturer’s instructions to securely fasten the fixture to the electrical box in the ceiling. This may involve attaching screws or clips to hold the fixture in place.
- Attach the Fixture Cover: Once the fixture is mounted, attach the cover or decorative elements provided with the new light fixture. Ensure they are properly aligned and securely attached.
Remember to refer to the manufacturer’s instructions that come with your new light fixture for specific wiring guidelines and any additional steps needed for installation.
After wiring the new light fixture, gently tug on each wire to ensure they are securely connected. Double-check that all connections are properly insulated and there are no exposed wires.
Now that the new light fixture is wired and mounted, move on to the next step of restoring power and testing the light.
Mounting the New Light Fixture
Now that the wiring is complete, it’s time to mount the new light fixture in your dining room. Follow these steps to ensure a secure and proper installation:
- Prepare the Fixture: Before mounting the fixture, read the manufacturer’s instructions carefully to understand the specific requirements for your light fixture. Ensure that you have all the necessary components and hardware.
- Attach the Mounting Bracket: If your new light fixture requires a mounting bracket, secure it to the electrical box in the ceiling using the provided screws. Make sure the bracket is level and tight. If a bracket is not needed, skip this step.
- Connect the Wires: With the mounting bracket in place, gently feed the connected wires into the electrical box. Ensure that the wire connections are not cramped or pinched.
- Secure the Fixture: Carefully align the screw holes on the fixture with the screws on the mounting bracket or directly onto the fixture plate. Depending on the design, insert and tighten the screws until the fixture is securely attached. Avoid over-tightening to prevent damage.
- Level the Fixture: Use a level to ensure that the fixture is straight and aligned with the room. Make any necessary adjustments by slightly loosening the screws and repositioning the fixture.
- Double-Check: Once the fixture is mounted, double-check that all connections are secure and that there are no exposed wires. Ensure that there is no excessive wobbling or movement in the fixture.
It’s important to follow the manufacturer’s instructions and guidelines for your specific light fixture, as the mounting process may vary depending on the design and style.
Once the fixture is properly mounted and aligned, move on to the next step of restoring power and testing the light to ensure everything is working correctly.
Restoring Power and Testing the Light
After successfully mounting the new light fixture, it’s time to restore power and test the light to ensure everything is functioning properly. Follow these steps to complete the final stages of the installation:
- Turn on the Power: Return to the electrical panel and switch the circuit breaker for the dining room back to the “on” position. This will restore power to the dining room and allow electricity to flow to the new light fixture.
- Test the Light: Head back to the dining room and test the new light fixture by flipping the light switch on. It should illuminate, indicating that power has been restored and the wiring is correctly connected.
- Check for Proper Functionality: Once the light is on, observe the brightness and quality of the light. Make sure it’s aligned and centered properly over the dining table. Test any additional features, such as dimmers or adjustable settings, to ensure they are functioning as expected.
- Inspect for Safety: While the light is on, visually inspect the fixture and surrounding area for any signs of flickering, loose connections, or abnormal behavior. Ensure that there are no unusual odors or heat emanating from the fixture.
- Make Adjustments if Necessary: If you notice any issues, flickering, or abnormalities, turn off the power supply again and review the wiring and connections. Double-check that all connections are secure and properly insulated.
- Clean Up: Once you are satisfied with the functionality and safety of the new light fixture, clean up the work area, removing any debris or tools used during the installation process. Dispose of any packaging materials or old fixture components responsibly.
By following these steps and conducting a thorough test, you can ensure that the new light fixture is properly installed and functioning as intended.
Congratulations! You have successfully changed the dining room light and brought a refreshed look and improved illumination to your dining space.
If you encounter any difficulties during the installation process or have concerns about electrical work, it’s always best to consult a professional electrician to ensure the safety and integrity of the installation.
Read more: What Kind Of Lighting For Dining Room
Final Touches and Clean Up
With the new light fixture installed and tested, it’s time to add the finishing touches and complete the clean-up process. These final steps will ensure that your dining room is ready to shine with its new lighting. Follow these steps:
- Install Light Bulbs: If you haven’t done so already, insert and secure the appropriate light bulbs into the new fixture. Make sure you are using bulbs that are compatible with the fixture and provide the desired level of brightness.
- Adjust the Fixture: Take a moment to step back and evaluate the position and alignment of the light fixture. Ensure that it is centered over the dining table and at the desired height for optimal functionality and aesthetic appeal.
- Secure Loose Elements: If any decorative elements or covers on the fixture are loose, use appropriate tools to tighten them securely. This will prevent any rattling or movement of components while the light is in use.
- Clean the Surface: Use a soft cloth or duster to gently clean the surface of the new light fixture and remove any fingerprints or dirt accumulated during the installation process. Be cautious not to apply excessive pressure or use abrasive materials that could damage the fixture.
- Restore Furniture: If you had to move any furniture during the installation, carefully return it to its original position and ensure it is stable and secure.
- Dispose of Packaging: Properly dispose of any packaging materials, such as boxes or plastic wrappings. Consider recycling them if possible to reduce waste.
- Recycle Old Fixture: If your old light fixture is no longer usable, check local recycling guidelines for proper disposal. Many recycling centers accept metal, glass, and certain plastic components found in light fixtures.
- Appreciate the Transformation: Take a moment to admire the new light fixture and the positive impact it has on your dining room. Enjoy the enhanced ambiance and renewed beauty it brings to the space.
By completing these final touches and cleaning up, you not only ensure the functionality and appearance of the new light fixture but also create a tidy and organized space in your dining room.
Now, sit back, relax, and bask in the warm and inviting glow of your newly installed dining room light!
Remember, if you have any concerns about the installation process or experience any difficulties, it’s advisable to consult a professional electrician to ensure the safety and proper functioning of your light fixture.
Conclusion
Congratulations on successfully changing the dining room light! By following the step-by-step guide provided, you have transformed the ambiance and aesthetics of your dining space. The new light fixture not only illuminates the room but also adds a touch of style and sophistication.
We started with planning and preparation, where you assessed your lighting needs, researched light fixture options, and gathered the necessary tools and materials for the project. Then, we moved on to turning off the power supply, ensuring a safe working environment throughout the process.
Next, we delved into selecting the right light fixture that complements your dining room’s decor and meets your functional requirements. We discussed the importance of size, style, light output, and energy efficiency when choosing the perfect fixture.
With all the necessary tools and materials in hand, we guided you through the process of removing the old light fixture and wiring the new one. We emphasized the importance of safety and proper connections when working with electrical wiring.
After the wiring was complete, we moved on to mounting the new light fixture securely and aligning it properly in the dining room. We stressed the significance of double-checking connections and ensuring stability and leveling.
Finally, we restored the power supply, tested the light fixture for functionality and safety, and added the final touches. We also emphasized the importance of clean-up and proper disposal of packaging materials.
Changing the dining room light may have seemed like a daunting task initially, but with careful planning, preparation, and following the steps outlined in this guide, you have successfully accomplished it.
Now, enjoy the pleasant glow and improved atmosphere in your dining room. The new light fixture has brought a fresh look and enhanced the overall dining experience for you, your family, and your guests.
Remember, if you ever need assistance or have any concerns about electrical work, it’s always best to consult a professional electrician who can ensure the safety and proper functioning of your light fixtures.
Thank you for choosing this guide as your resource for changing the dining room light. Wishing you many enjoyable meals and memorable moments in your beautifully lit dining space!
Frequently Asked Questions about How To Change Dining Room Light
Was this page helpful?
At Storables.com, we guarantee accurate and reliable information. Our content, validated by Expert Board Contributors, is crafted following stringent Editorial Policies. We're committed to providing you with well-researched, expert-backed insights for all your informational needs.


0 thoughts on “How To Change Dining Room Light”