Articles
How To Set A Wall Clock
Modified: August 25, 2024
Learn how to set a wall clock with our informative articles. Find step-by-step instructions and helpful tips to ensure accurate timekeeping.
(Many of the links in this article redirect to a specific reviewed product. Your purchase of these products through affiliate links helps to generate commission for Storables.com, at no extra cost. Learn more)
Introduction
Setting a wall clock may seem like a simple task, but it’s important to do it correctly to ensure accurate timekeeping and a visually appealing display. Whether you’re hanging a clock in your living room, kitchen, or office space, following the proper steps will help you achieve the desired result.
In this article, we’ll guide you through the process of setting a wall clock, from gathering the necessary tools to adjusting the hands for perfect timekeeping. So, let’s dive in and learn how to set a wall clock the right way.
Key Takeaways:
- Properly setting a wall clock involves gathering tools, choosing the perfect location, preparing the wall, attaching mounting hardware, hanging the clock, setting the time, and double-checking for accuracy to ensure functionality and aesthetic appeal.
- Setting a wall clock is not just about telling time; it’s about enhancing the ambiance of a space. By following the steps outlined, you can confidently set your wall clock for both precision and style.
Read more: How To Make A Wall Clock
Step 1: Gather the necessary tools
Before you begin setting your wall clock, it’s essential to ensure you have all the necessary tools at hand. Here’s a list of items you’ll need for the task:
- A wall clock of your choice
- A tape measure or ruler
- A pencil
- A level
- A power drill (if necessary)
- Anchors and screws (if necessary)
Having these tools ready will make the process much smoother and help you avoid any unnecessary interruptions as you set up your wall clock.
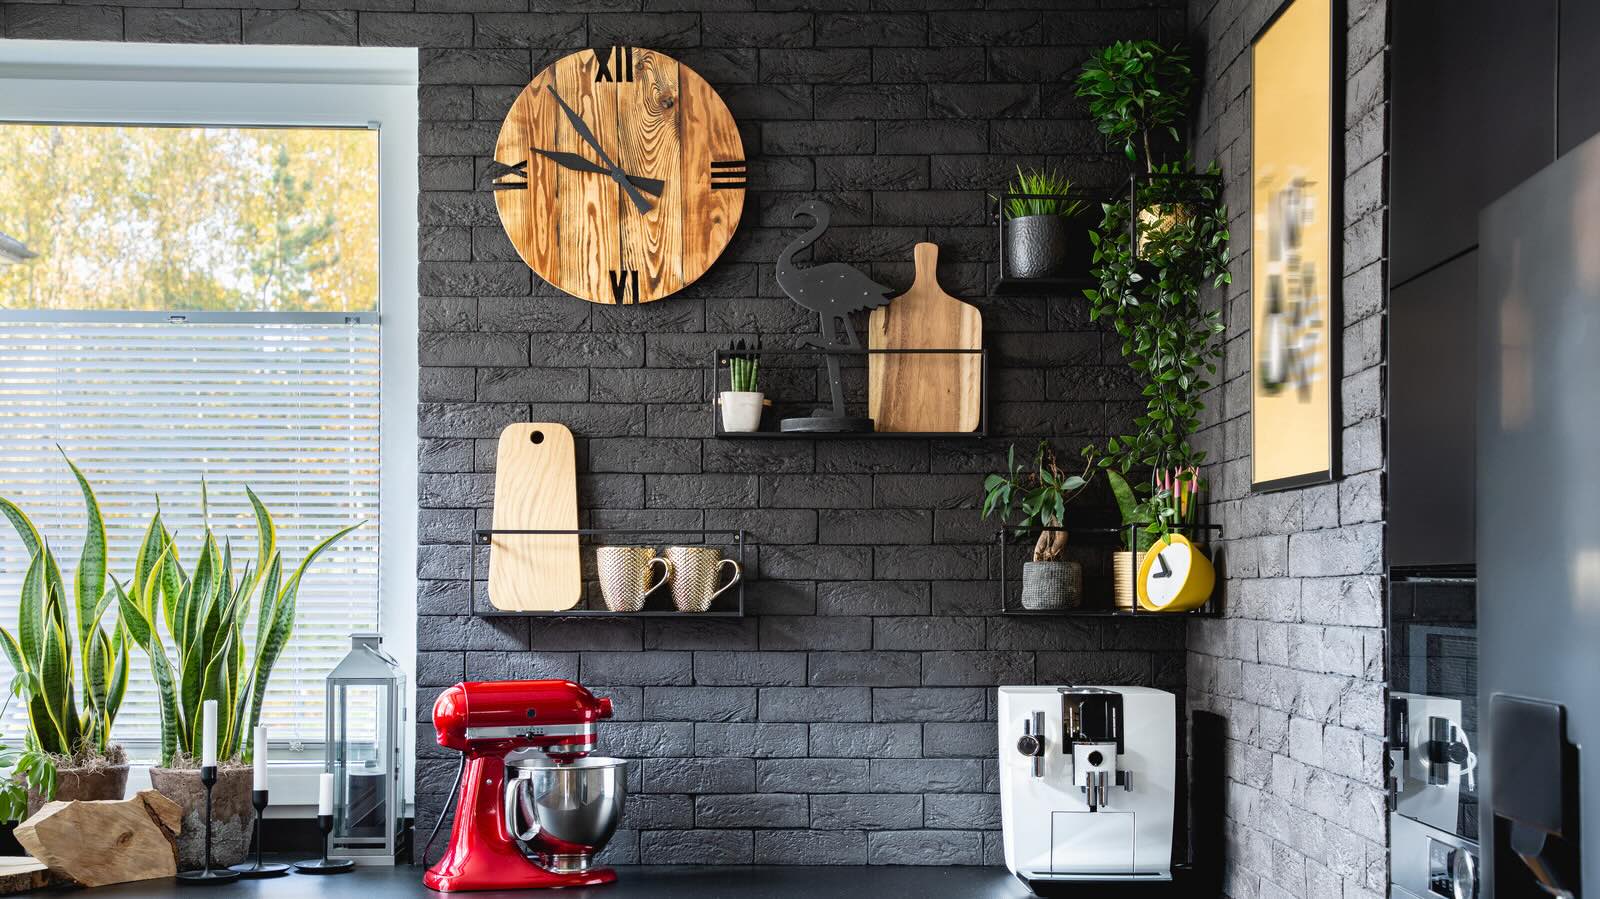
Step 2: Choose the perfect location
Choosing the right location for your wall clock is crucial in ensuring its functionality and aesthetic appeal. Here are some tips to consider when deciding where to hang your clock:
- Consider the purpose: Think about the room and its intended use. A kitchen may benefit from a clock placed near the cooking area, while a living room could have a clock as a centerpiece on a blank wall.
- Visibility: Ensure that the clock is easily visible from various points in the room. You don’t want to strain your neck or have to search for the time.
- Avoid direct sunlight: If possible, avoid hanging the clock in direct sunlight as it can cause the clock’s hands to fade or become difficult to read. Also, extreme temperatures may affect its functionality.
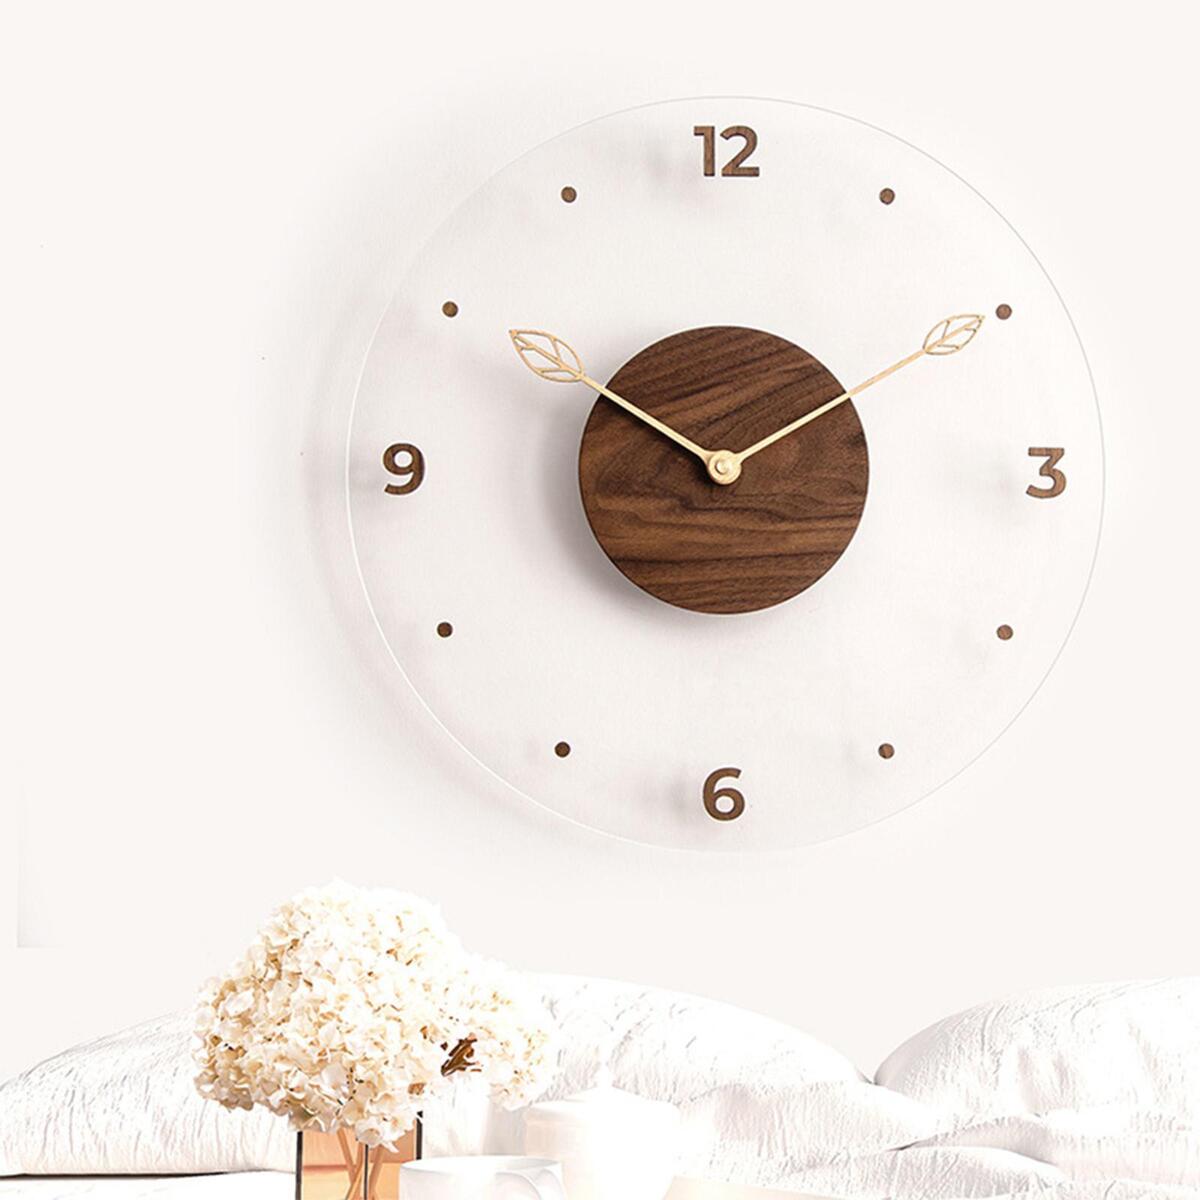
- Consider wall decor: Take into account the existing wall decor and furniture arrangement. Choose a spot that complements the overall aesthetics of the room.
- Proper height: Hang the clock at a height that is comfortable for viewing. The average eye level is about 57-60 inches from the floor.
By considering these factors, you can select the perfect location for your wall clock that not only serves its purpose but also enhances the overall ambiance of the room.
Step 3: Prepare the wall for mounting
Before you can hang your wall clock, it’s important to prepare the wall to ensure a stable and secure mounting. Follow these steps to get your wall ready:
- Clean the area: Start by cleaning the wall surface where you plan to hang the clock. Remove any dust, dirt, or debris to create a smooth and clean surface.
- Locate wall studs: If your clock is heavier or you prefer added stability, it’s best to mount it on a wall stud. Use a stud finder or tap the wall to locate studs, which are typically located 16 or 24 inches apart.
- Mark the mounting area: Use a pencil to mark the desired location for the clock’s mounting hardware. Use a tape measure or a ruler to ensure accurate placement.
- Check for electrical wires: Before drilling or hammering, check for any electrical wires or pipes behind the wall to prevent accidental damage.
Taking the time to prepare the wall will ensure a solid foundation for your wall clock and minimize any potential issues during the mounting process.
Step 4: Attach the mounting hardware
Once the wall is prepared, it’s time to attach the mounting hardware that will hold your wall clock securely in place. The type of mounting hardware required depends on the design and weight of your clock.
- Wall hooks: For lightweight clocks with keyhole or sawtooth hangers, you can use adhesive wall hooks or nails to hang the clock. Make sure the hook or nail is securely attached to the wall.
- Wall anchors and screws: If your clock is heavier or requires added stability, use wall anchors and screws. Start by drilling small pilot holes at your marked mounting area, then insert the wall anchors. Finally, screw in the screws firmly.
- Wire or brackets: Some clocks may come with wires or brackets for mounting. Follow the manufacturer’s instructions to attach them securely to the wall.
Ensure that the mounting hardware is level and properly secured to avoid any issues when hanging the clock.
When setting a wall clock, make sure to use a level to ensure it is straight. Also, be sure to set the time and adjust the hands carefully to avoid damaging the mechanism.
Read more: How To Repair Wall Clock
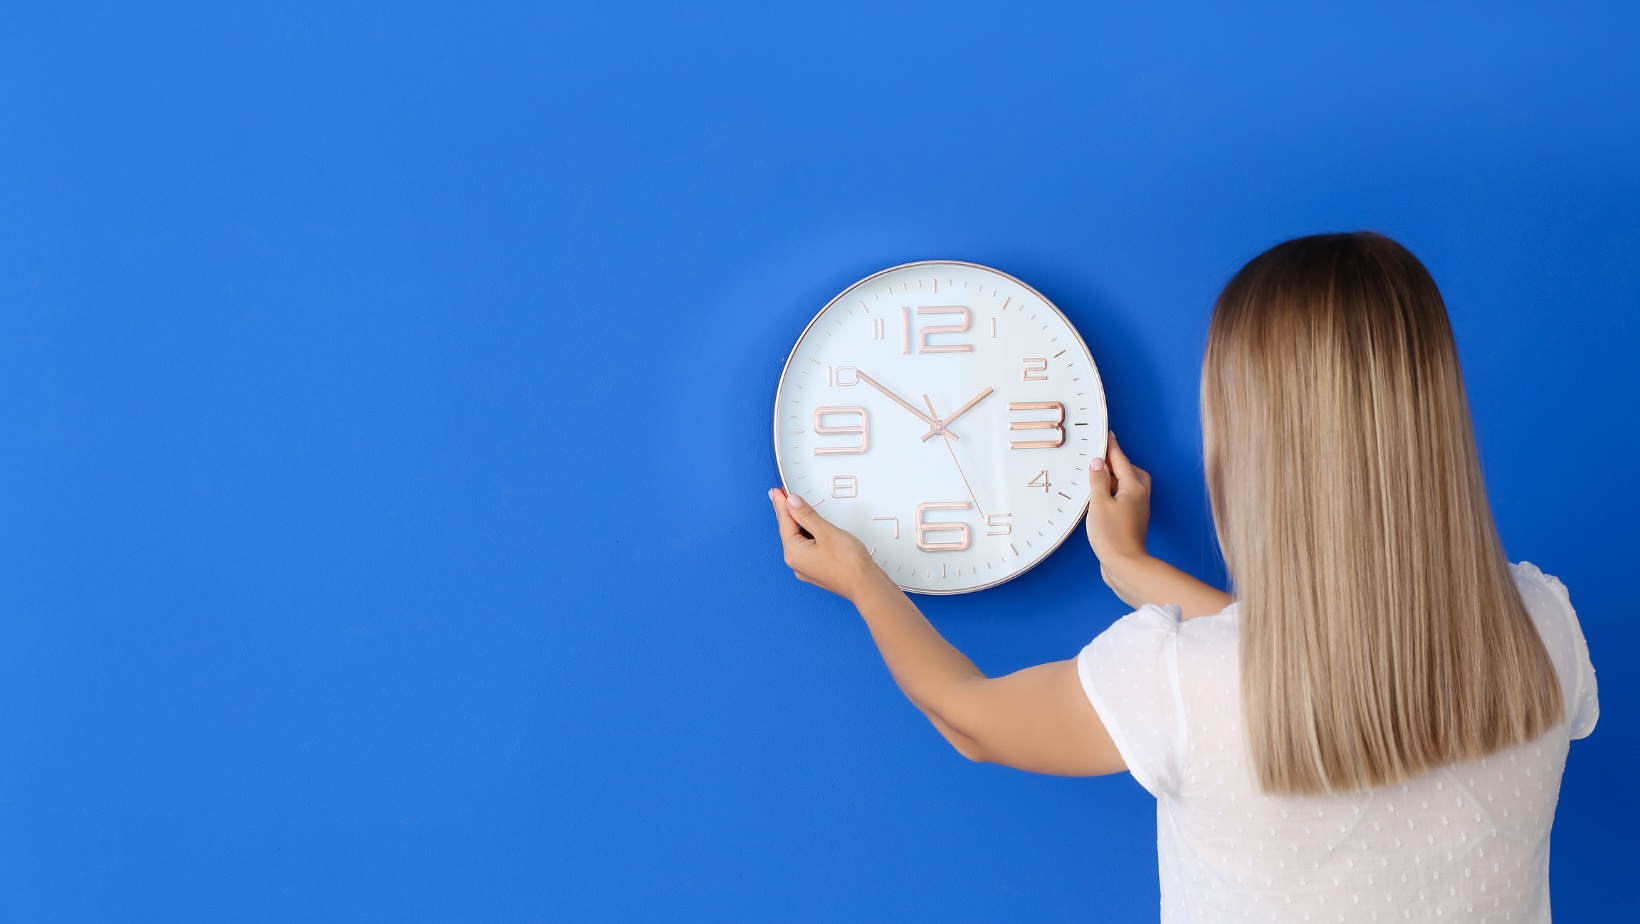
Step 5: Hang the clock on the wall
Now that the mounting hardware is in place, it’s time to hang your wall clock on the wall. Here’s how you can do it:
- Align the clock: Hold the clock in a position that aligns with the mounting hardware. If you have a clock with keyhole or sawtooth hangers, make sure they fit securely onto the hooks or nails.
- Secure the clock: Gently lower the clock onto the mounting hardware, ensuring that it sits flush against the wall. Double-check its stability and alignment.
- Adjust if needed: If the clock is not level, make minor adjustments by slightly lifting and repositioning it. Use a level to ensure the clock is perfectly straight.
Take the time to step back and assess the placement of the clock. Make any necessary adjustments to ensure it is positioned exactly where you want it.
Once the clock is securely hung on the wall, you’re one step closer to enjoying its functionality and beauty in your space. Moving on to the next step, we will set the time and adjust the clock hands.
Step 6: Set the time and adjust the hands
After hanging your wall clock, the next step is to set the time and adjust the hands to ensure accurate timekeeping. Follow these steps:
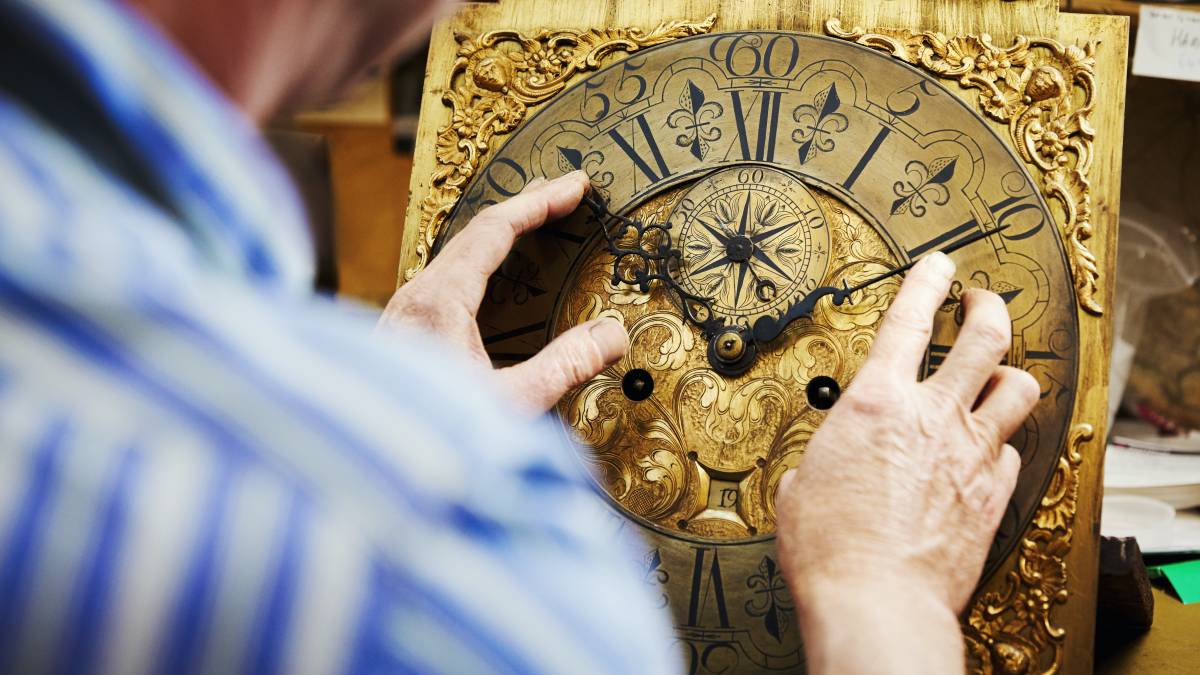
- Refer to the clock’s manual: If your clock comes with a manual, consult it for specific instructions on setting the time and adjusting the hands. Different clock mechanisms may require different methods.
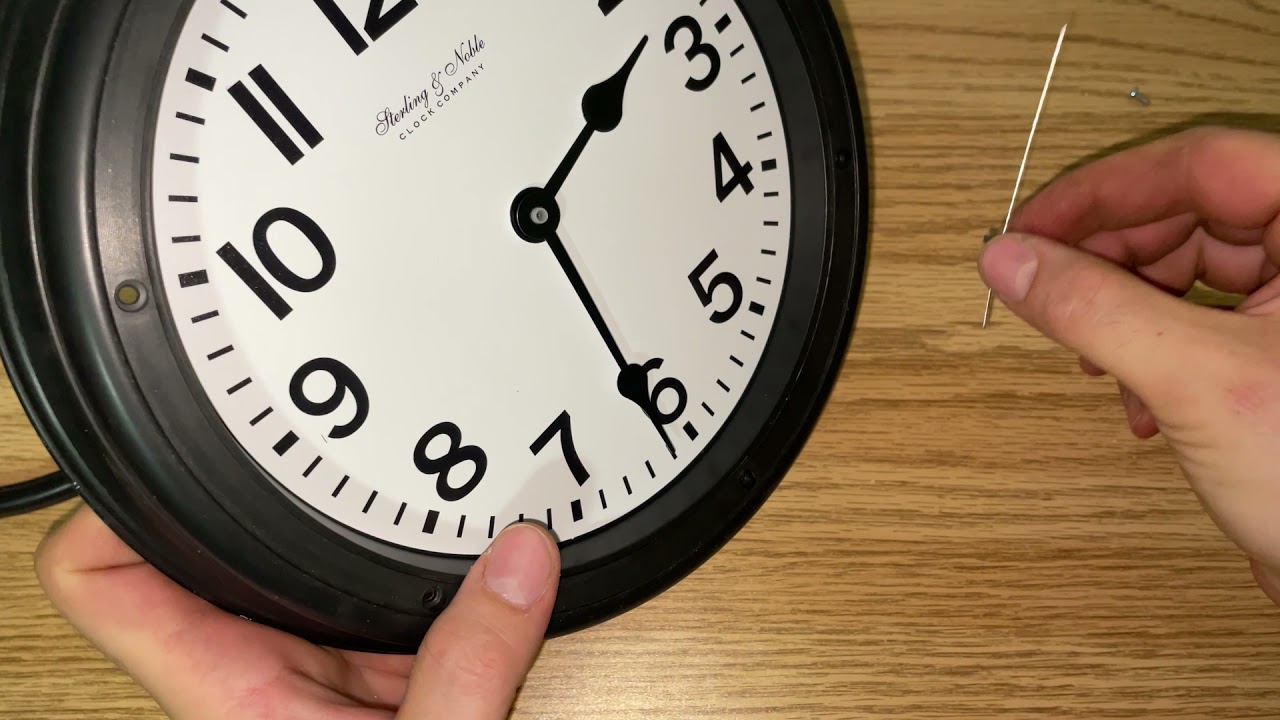
- Turn the hands counterclockwise: If your clock has hands that move clockwise, gently turn them counterclockwise until they reach the correct time. This helps prevent any potential damage to the clock mechanism.
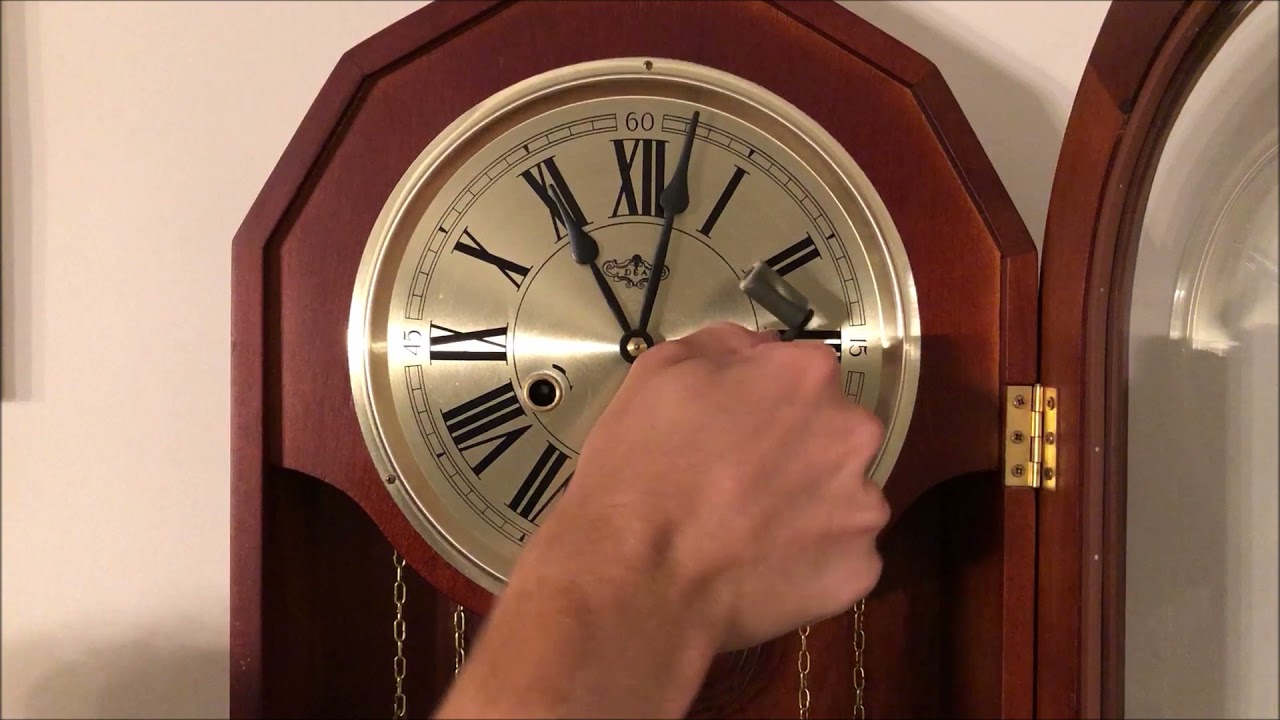
- Set the time: Adjust the hour and minute hand to the correct time. Pay attention to any specific instructions in the manual, such as using a turning key or pushing a small button to move the hands.
- Be cautious with pendulum clocks: If you have a pendulum clock, ensure that the pendulum is properly attached and swinging freely for accurate timekeeping.
Take your time to set the clock accurately, ensuring the hands align with the correct hour and minute marks. This step is crucial for maintaining the clock’s timekeeping precision.
Step 7: Double-check for accuracy
Once you’ve set the time and adjusted the hands, it’s important to double-check the accuracy of your wall clock. Follow these steps to ensure it is keeping time correctly:
- Compare with a reliable time source: Use a reliable time source, such as a digital clock or your smartphone, to compare the time displayed on your wall clock. Note any variations.
- Wait and observe: Leave the clock running for a while to see if it maintains accurate time. Check periodically to see if it remains synchronized with your reference time source.
- Make further adjustments if necessary: If you notice significant discrepancies in the timekeeping, you may need to make further adjustments to the clock hands or consult the clock’s manual for troubleshooting.
It’s important to regularly check and adjust your wall clock to ensure it remains accurate over time. Factors such as temperature changes or mechanical wear can affect its precision, so periodic calibration may be needed.
By following these steps and double-checking the time accuracy, you can ensure that your wall clock not only adds visual appeal to your space but also provides reliable timekeeping for your daily activities.
Conclusion
Setting a wall clock may seem like a simple task, but by following the proper steps, you can ensure accurate timekeeping and a visually pleasing display. From gathering the necessary tools to double-checking for accuracy, each step is crucial in achieving the desired result.
We started by gathering the necessary tools, including a tape measure, pencil, level, and mounting hardware, to ensure a smooth setup process. Then, we discussed the importance of choosing the perfect location for your wall clock, considering factors such as visibility, wall decor, and proper height.
Next, we learned the significance of preparing the wall for mounting by cleaning the area, locating wall studs, and checking for any electrical wires or pipes that may interfere with the installation process.
After preparing the wall, we moved on to attaching the appropriate mounting hardware, such as wall hooks, anchors, screws, or wires, depending on the weight and design of your clock.
Then, we covered the steps to hang the clock on the wall, ensuring it is properly aligned and securely attached. Taking the time to make minor adjustments and using a level to ensure straightness is essential for a visually appealing display.
Once the clock is hung, we tackled the task of setting the time and adjusting the hands, following the instructions provided in the clock’s manual. This step ensures accurate timekeeping and synchronization with other time sources.
Finally, we emphasized the importance of double-checking for accuracy, comparing the clock’s time with a reliable source and waiting for a period of time to observe if the clock maintains accurate timekeeping. Further adjustments may be necessary to ensure optimal performance.
Setting a wall clock may seem like a small task, but doing it correctly ensures that your clock not only serves its purpose of telling time but also adds a touch of style to your space. So, gather your tools, choose the perfect location, and follow the steps outlined in this article to set your wall clock with confidence and precision.
Frequently Asked Questions about How To Set A Wall Clock
Was this page helpful?
At Storables.com, we guarantee accurate and reliable information. Our content, validated by Expert Board Contributors, is crafted following stringent Editorial Policies. We're committed to providing you with well-researched, expert-backed insights for all your informational needs.

0 thoughts on “How To Set A Wall Clock”