Articles
How To Hang A Heavy Wall Clock Without Nails
Modified: December 7, 2023
Learn the best way to hang a heavy wall clock without nails with this informative article. Discover creative alternatives to securely display your timepiece.
(Many of the links in this article redirect to a specific reviewed product. Your purchase of these products through affiliate links helps to generate commission for Storables.com, at no extra cost. Learn more)
Introduction
Welcome to our guide on how to hang a heavy wall clock without nails. Wall clocks are not only functional time-telling devices, but they can also be stunning decorative pieces that add personality and style to your space. However, hanging a heavy wall clock can be a daunting task, especially if you are concerned about damaging your walls or lack the necessary tools. Luckily, there are several alternative methods that allow you to securely hang your clock without the need for nails or drilling.
In this article, we will walk you through a step-by-step process to hang a heavy wall clock using various hanging methods. Whether you have a plaster, drywall, or brick wall, our guide will provide you with the techniques and tips you need to successfully mount your clock while protecting the integrity of your walls.
Before we start, it’s important to note that the weight of your wall clock will determine the hanging method you should use. We recommend checking the weight of your clock and ensuring that your chosen hanging method can support it before proceeding. Now, let’s dive into the steps to hang your heavy wall clock without nails!
Key Takeaways:
- Choose the right wall clock that matches your style, complements your space, and suits your needs. Consider factors such as size, weight, style, mechanism, and readability to find the perfect clock for your wall.
- Prioritize safety and stability when hanging a heavy wall clock without nails. Properly prepare the wall, select the appropriate hanging method, and test the stability to ensure a secure and aesthetically pleasing installation.
Read more: How To Hang A Heavy Blanket On A Wall
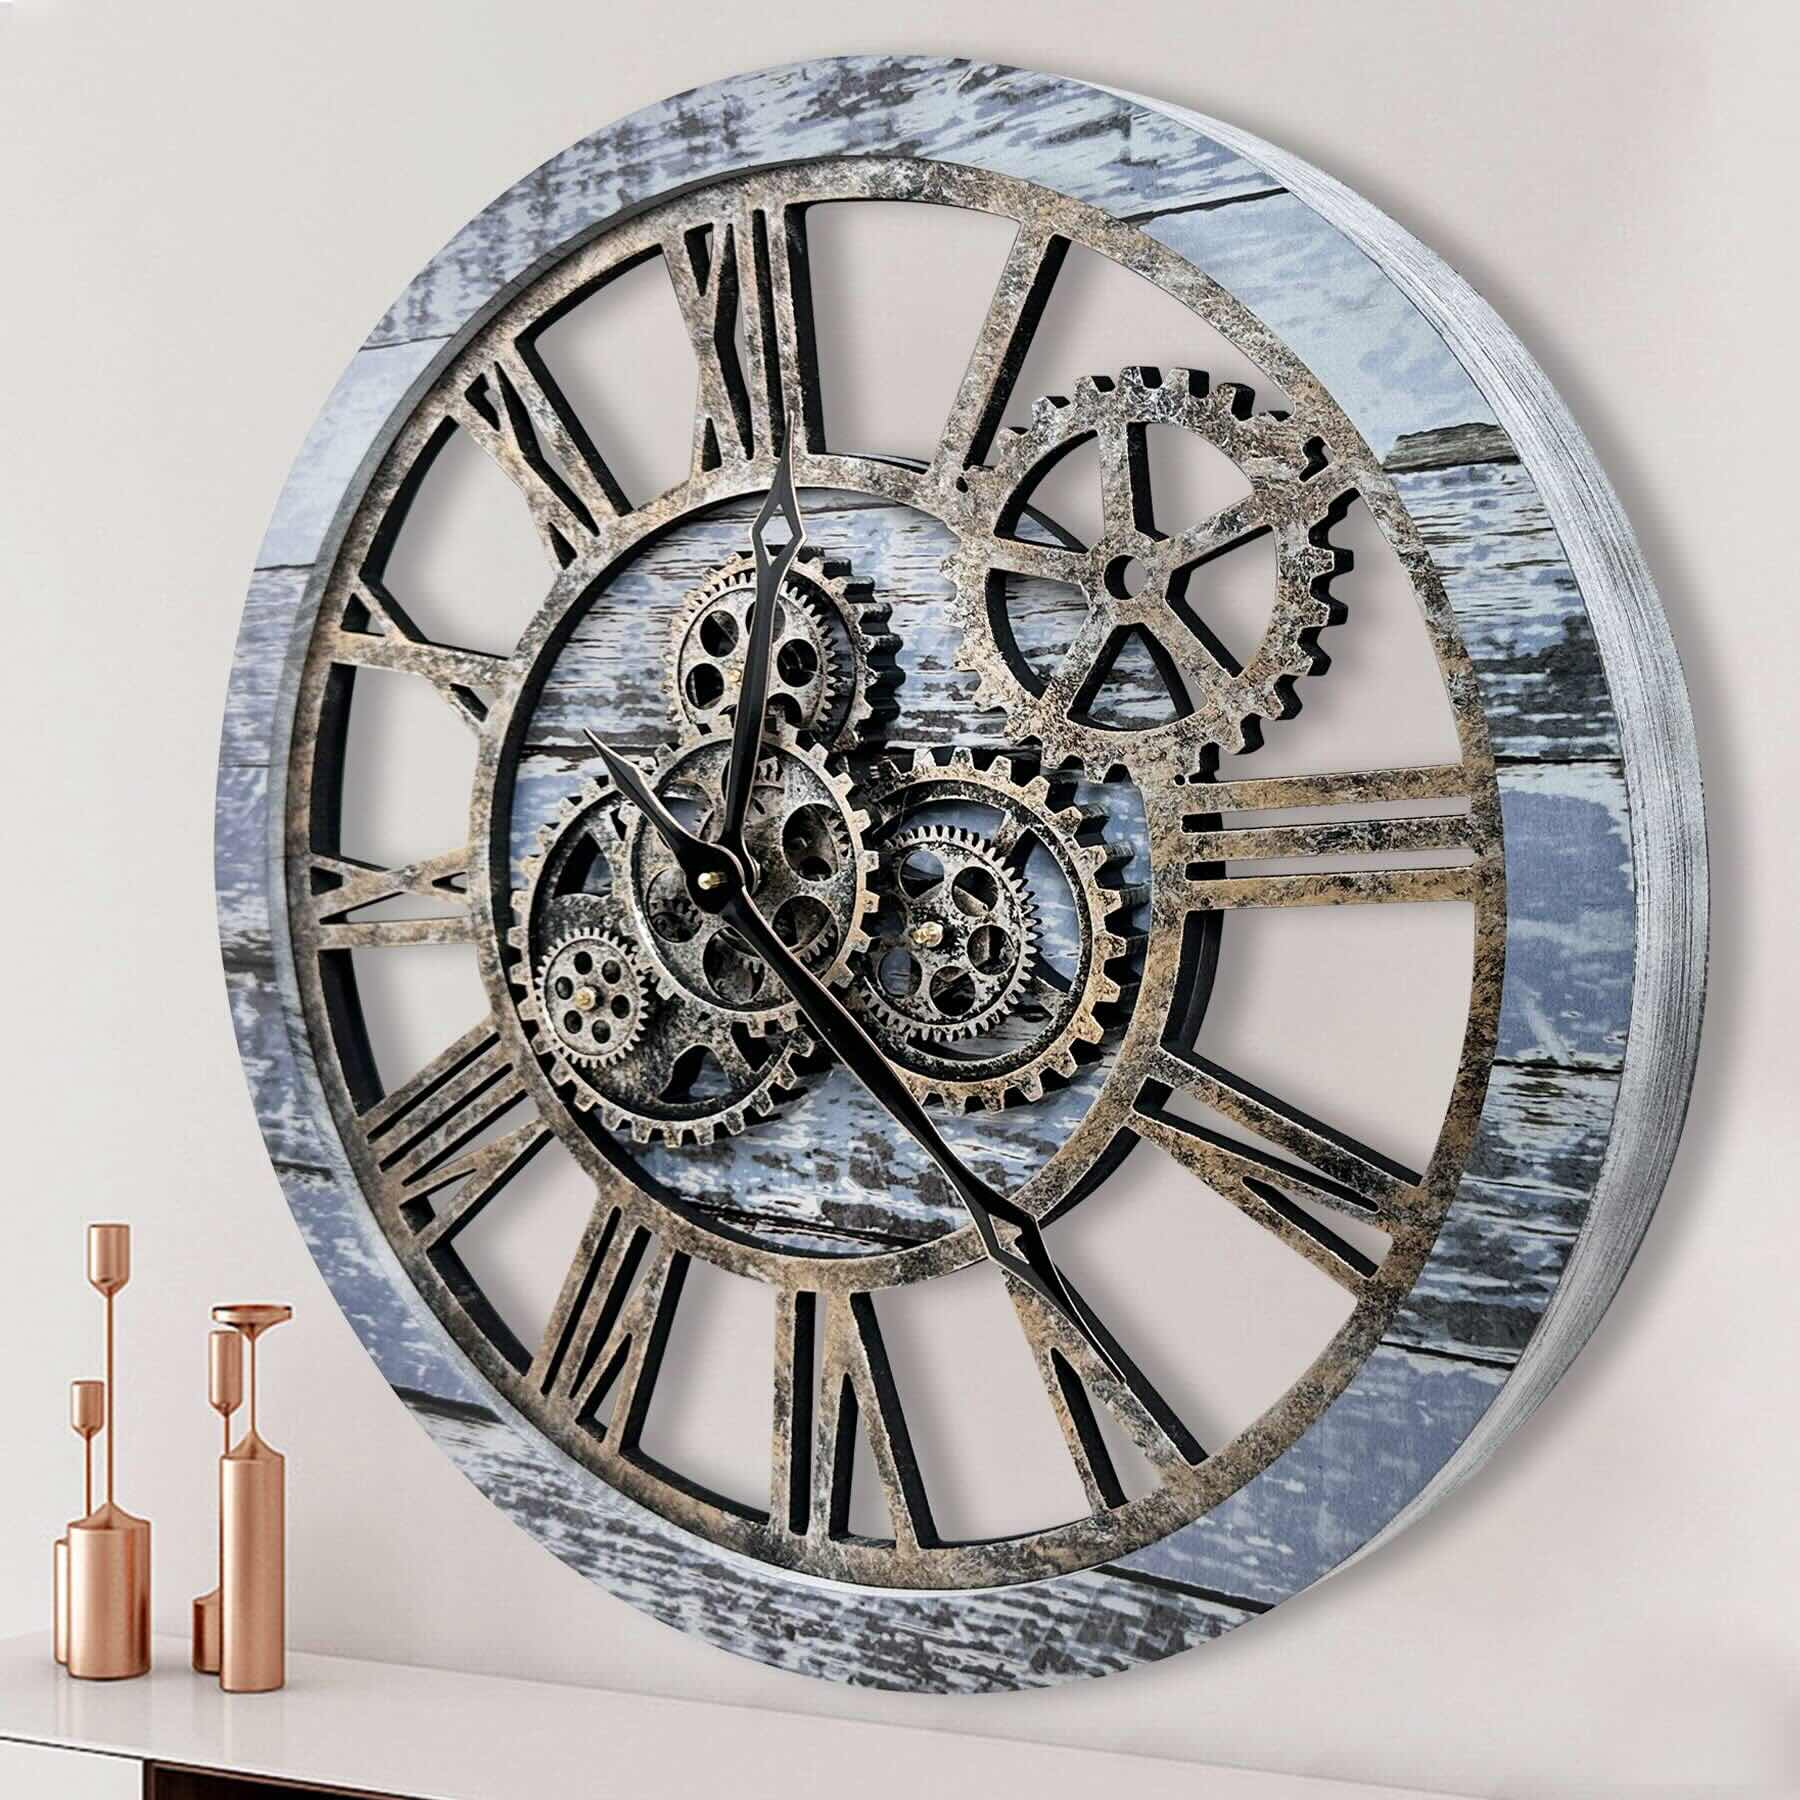
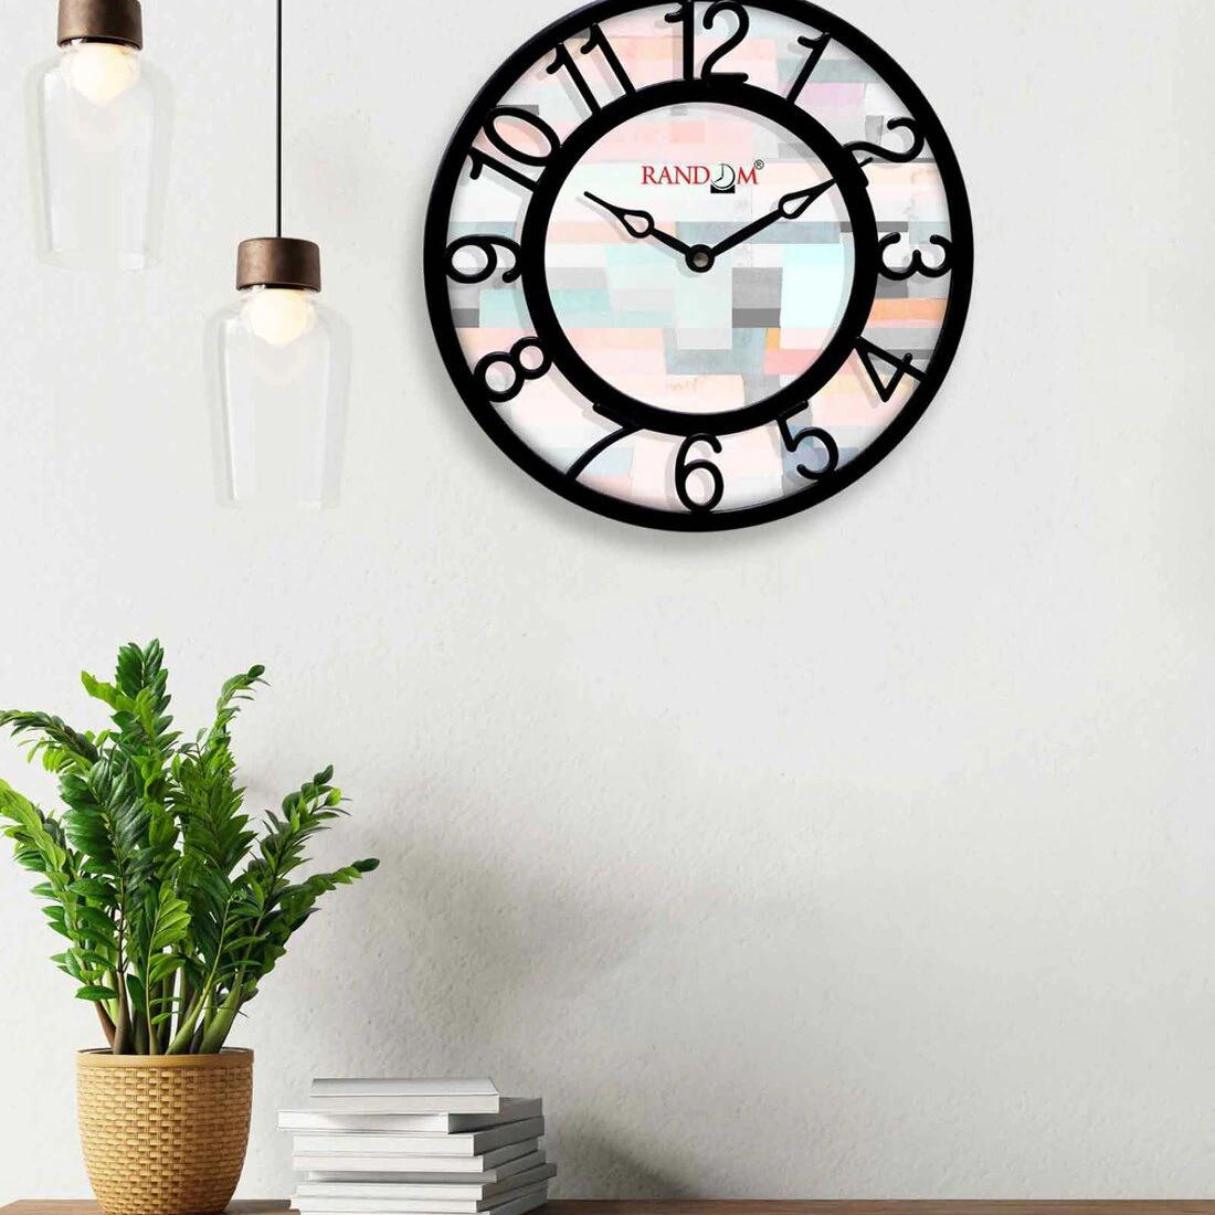
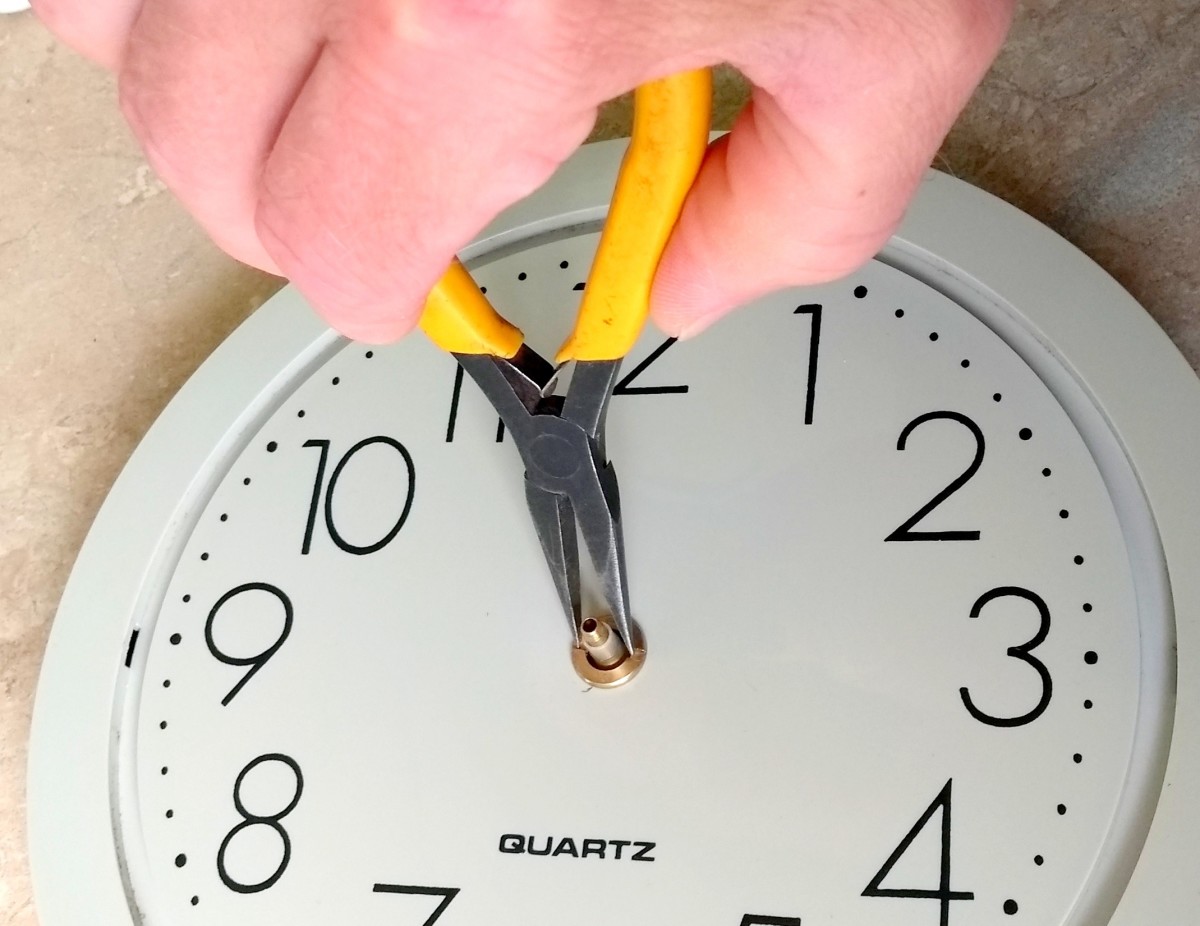
Step 1: Choosing the right wall clock
Before you begin the process of hanging your heavy wall clock, it’s essential to choose a clock that matches your style and complements your space. Consider the following factors when selecting your wall clock:
- Size: Determine the appropriate size of the clock based on the available wall space. Aim for a clock that is proportionate to the wall and doesn’t overwhelm the room.
- Weight: Take note of the weight of the wall clock. Heavier clocks require stronger hanging methods to ensure they are securely mounted.
- Style: Consider the overall aesthetic of your room. Choose a wall clock that matches or enhances the existing décor. Whether you prefer modern, vintage, or eclectic styles, there is a wide variety of clocks available to suit your taste.
- Mechanism: Decide whether you want a battery-operated clock or one that needs to be wound. Battery-operated clocks are more common and convenient, while winding clocks may add a nostalgic touch.
- Readability: Consider the visibility of the clock’s numbers and hands. If you need a clock with large, easy-to-read numbers, look for one with a clear display.
By selecting the right wall clock, you can ensure that you not only enjoy its functionality but also appreciate its visual appeal. Once you have found the perfect wall clock, it’s time to move on to the next step: preparing the wall.
Step 2: Preparing the wall
Before you can hang your heavy wall clock, it’s important to properly prepare the wall surface to ensure a secure and stable installation. Follow these steps to prepare the wall:
- Clean the wall: Start by cleaning the area of the wall where you plan to hang the clock. Remove any dirt, dust, or debris using a soft cloth or a mild cleanser if necessary. A clean surface will help the adhesive or hanging method adhere better.
- Locate studs (optional): If you prefer to hang your clock using a stud-based method, such as wall anchors or screws, you’ll need to locate the studs in your wall. Use a stud finder tool to identify the studs behind the drywall or plaster. Mark the locations of the studs with a pencil for reference.
- Consider weight distribution: If you’re using an adhesive-based hanging method, such as adhesive hooks or removable hanging strips, consider the weight distribution of your clock. It’s recommended to distribute the weight evenly across multiple hooks or strips to ensure stability.
- Allow the wall to dry (if necessary): If you have cleaned the wall with water or a cleaning solution, make sure to allow the wall to dry completely before proceeding with the installation. This will ensure better adhesion of the hanging method you choose.
- Plan the clock’s placement: Take a moment to envision where you want your wall clock to be positioned on the wall. Consider factors such as visibility, height, and how it will complement the surrounding decor. Use a tape measure and a pencil to mark the desired location.
By properly preparing the wall, you are creating a suitable foundation for hanging your heavy wall clock. This step will help ensure that your clock remains secure and level on the wall. With the wall prepared, you’re ready to move on to the next step: selecting the proper hanging method.
Step 3: Selecting the proper hanging method
Choosing the right hanging method is crucial to securely hang your heavy wall clock. There are several options available, depending on your wall type, the weight of the clock, and your personal preference. Consider the following hanging methods:
- Adhesive hooks: Adhesive hooks are a popular choice for hanging wall clocks without nails. These hooks come with a sticky backing that adheres to the wall surface. They are easy to install and remove, making them ideal for renters or anyone who doesn’t want to leave permanent marks on the wall. Make sure to choose adhesive hooks with a weight capacity that can support the weight of your wall clock.
- Removable hanging strips: Removable hanging strips, like those offered by brands such as Command, offer a convenient and damage-free hanging solution. These strips have two adhesive sides that stick to both the wall and the back of the clock. They provide a strong hold and can be easily removed without leaving residue or damaging the wall surface. Review the weight capacity of the strips and use multiples if needed.
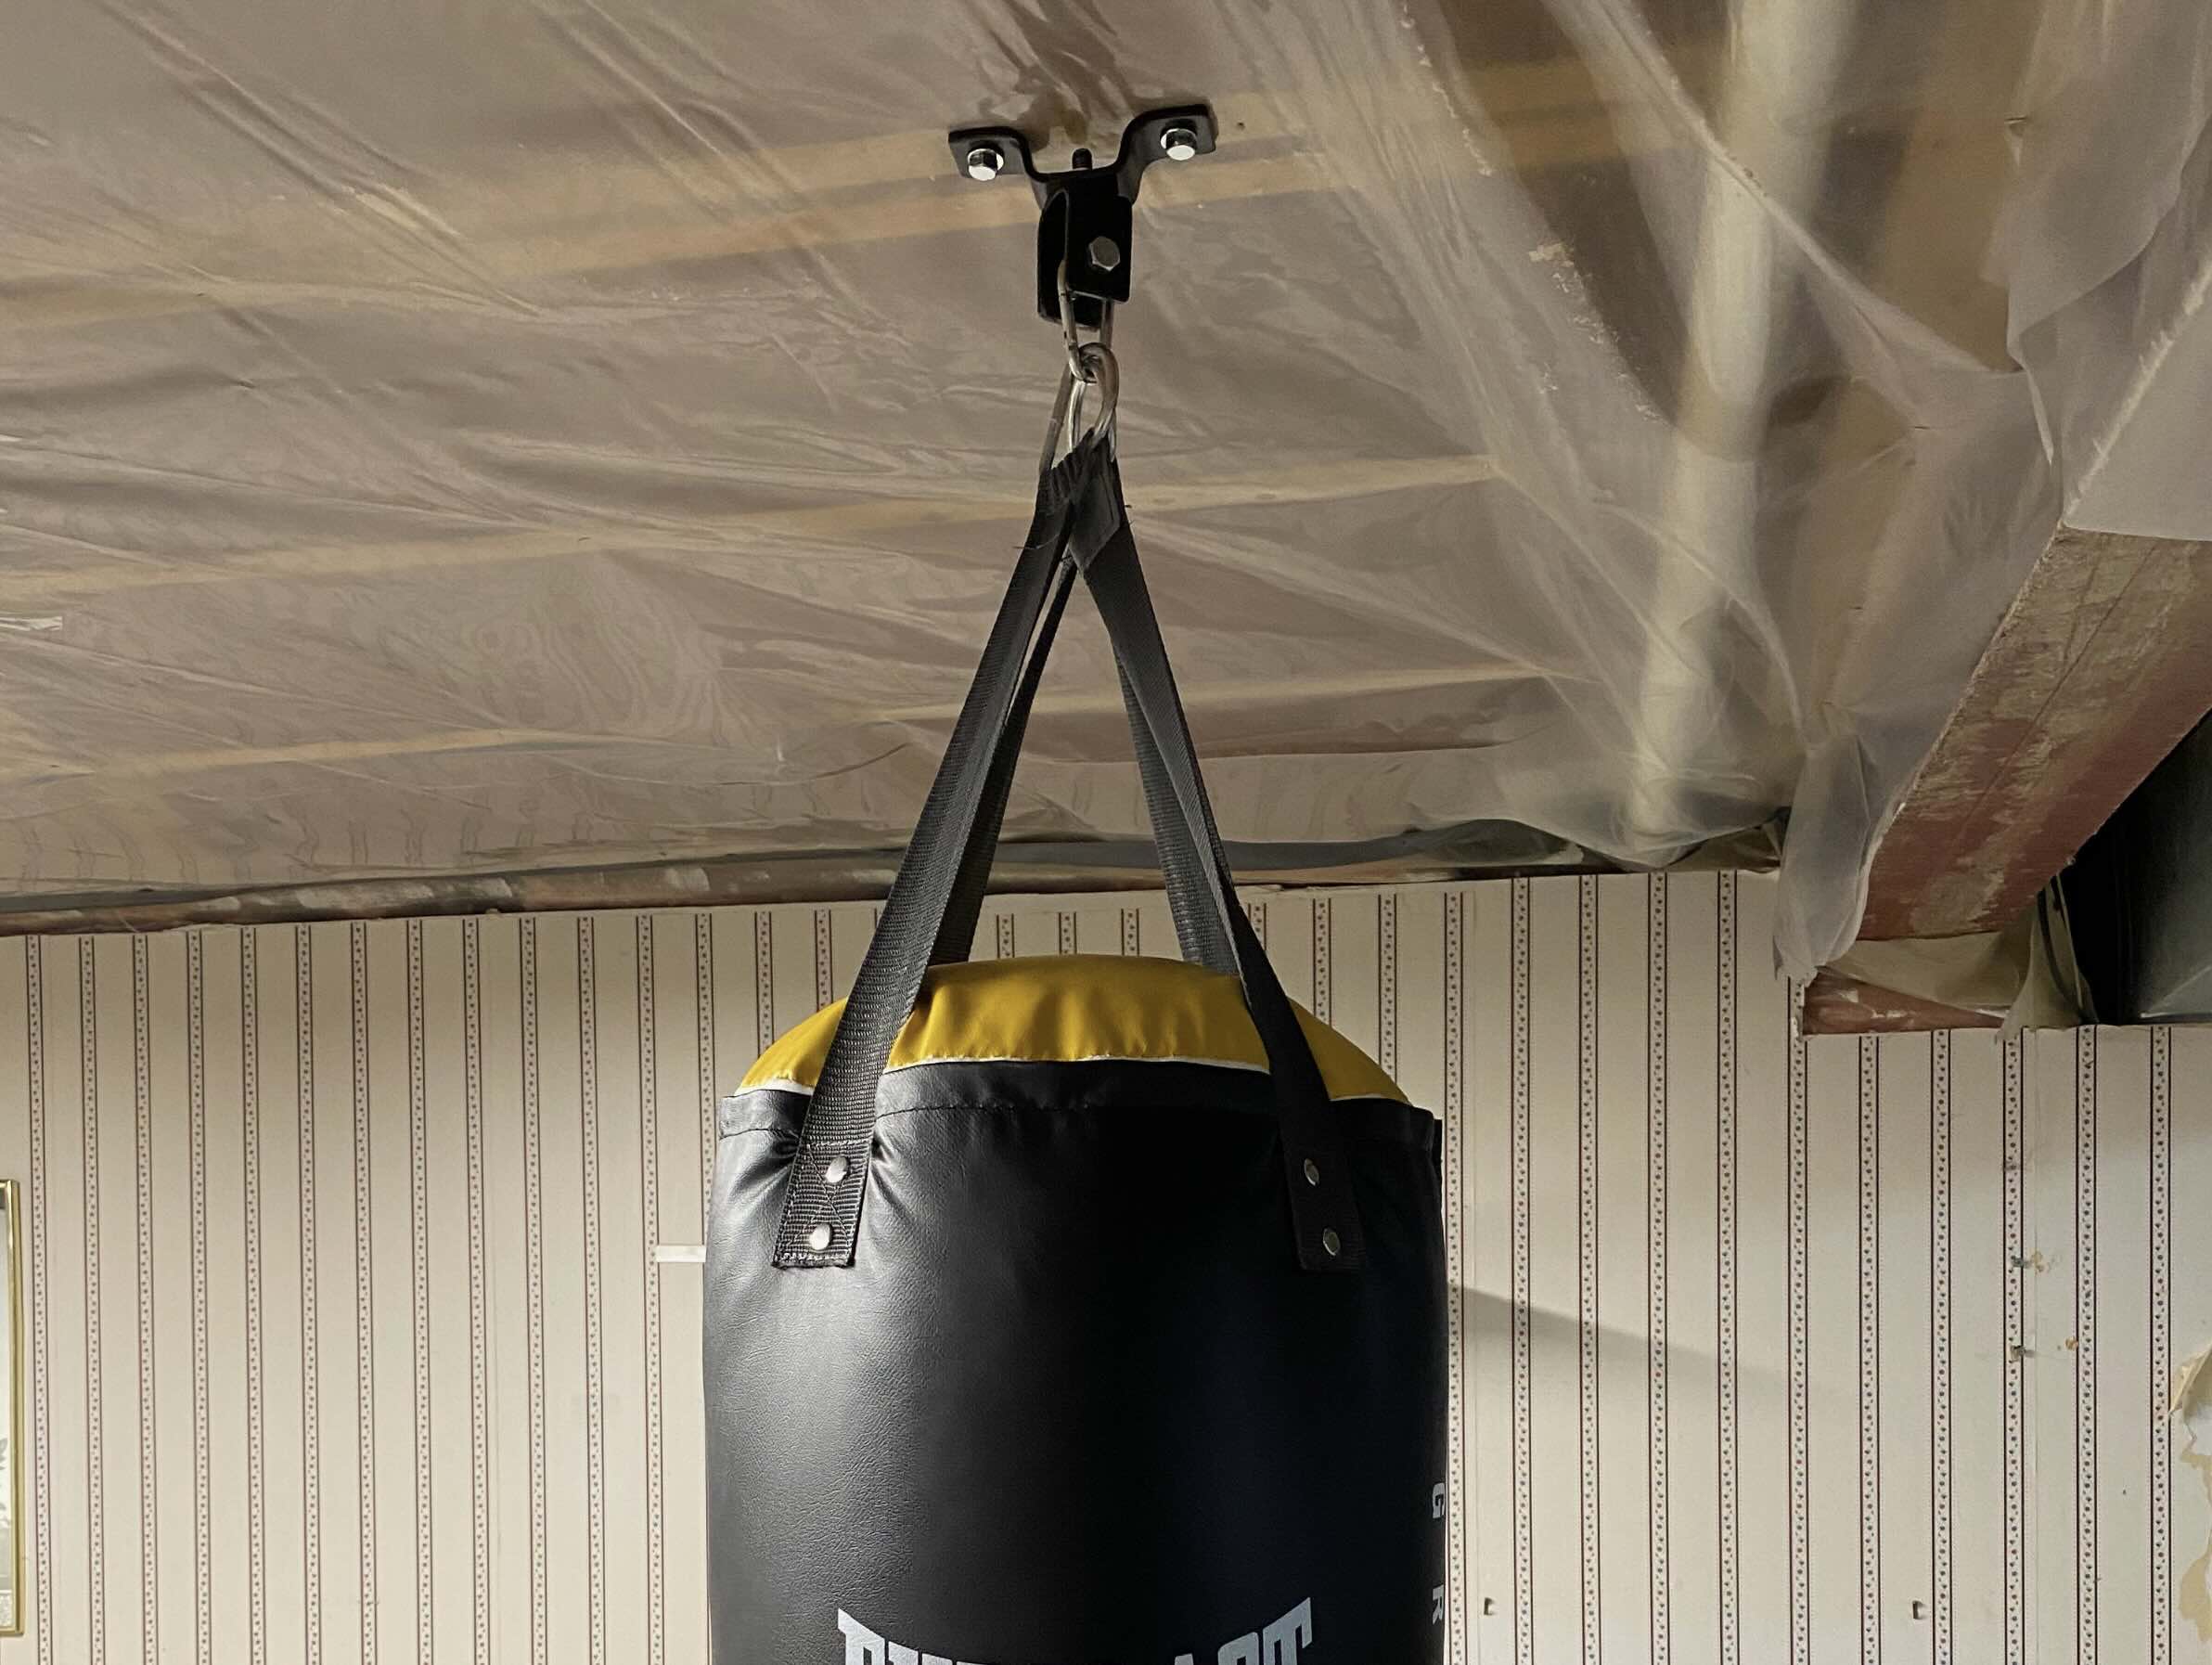
- Picture hanging kit: A picture hanging kit includes various hardware components like hooks, nails, and wire. This method is suitable for heavier wall clocks and provides a traditional hanging approach. It involves screwing hooks into the wall or using picture wire to hang the clock. Ensure that you select sturdy hooks that can support the weight of your clock.
- Tension rod: A tension rod can be used to hang a wall clock if you have a narrow area between two walls. Measure the width between the walls and choose a tension rod that fits securely. Attach a hook or loop on the rod, and hang the clock from it. This method offers a versatile and adjustable hanging option.
- Wall anchors and screws: Wall anchors and screws are useful for mounting heavy wall clocks on stud walls. They provide a strong and secure hold. Pre-drill holes into the wall using a drill bit slightly smaller than the anchor size. Insert the anchor into the hole and screw in the hook or screw, providing a stable mounting point for your clock.
Consider the weight of your wall clock, the wall surface, and your personal preferences when choosing the hanging method. Each method has its advantages, so pick the one that best suits your needs. Once you have selected your hanging method, gather the necessary tools and materials for the installation.
Step 4: Gathering the necessary tools and materials
Before you begin the installation process, it’s essential to gather all the tools and materials required for hanging your heavy wall clock. Here’s a list of the common items you’ll need:
- Wall clock: Ensure you have the wall clock you want to hang ready for installation.
- Hanging method: Based on the hanging method you selected in the previous step, make sure you have the necessary supplies, such as adhesive hooks, removable hanging strips, picture hanging kit, tension rod, wall anchors, or screws.
- Pencil: A pencil will be used to mark the wall and ensure accurate placement of the hanging method and clock.
- Tape measure: Use a tape measure to measure the distance between hooks or strips, ensuring proper placement and alignment.
- Level: A level will help you ensure that your wall clock hangs straight and level on the wall.
- Screwdriver or drill (if needed): Depending on the hanging method you choose, you may require a screwdriver or drill to insert screws or wall anchors into the wall.
- Clean cloth: Keep a clean cloth handy to wipe away any dirt or residue from the wall before installing the hanging method.
- Optional: Stud finder: If you’re using a stud-based hanging method, a stud finder can be useful to locate the studs in your wall for secure installation.
By gathering all the necessary tools and materials beforehand, you can streamline the installation process and ensure that you have everything you need at your disposal. Now that you have everything ready, let’s move on to the next step: installing adhesive hooks.
Read more: How High To Hang Wall Clock
Step 5: Installing adhesive hooks
If you’ve chosen to hang your heavy wall clock using adhesive hooks, this step will guide you through the installation process. Adhesive hooks provide a simple and damage-free hanging solution. Follow these steps to install adhesive hooks:
- Clean the wall: Wipe the wall surface with a clean cloth to remove any dust or debris that could interfere with the adhesive bond.
- Mark the position: Use a pencil to mark the desired position of the adhesive hooks on the wall. Double-check the accuracy of the measurement and ensure the hooks are level.
- Prepare the hooks: Remove the adhesive backing from the hooks, revealing the sticky side. Avoid touching the adhesive surface with your fingers to maintain its effectiveness.
- Position and press: Align the adhesive hooks with the marked positions on the wall. Apply firm and even pressure to the hooks, pressing them against the wall for several seconds to ensure a secure bond.
- Wait for the adhesive to set: Most adhesive hooks require a certain amount of time to set before hanging any weight on them. Refer to the manufacturer’s instructions for the recommended wait time.
- Hang the wall clock: Once the adhesive has fully hardened, it’s time to hang your wall clock. Check the weight restrictions of the adhesive hooks and make sure your clock falls within the specified limit. Carefully hang the clock on the hooks, ensuring it is level and secure.
Adhesive hooks offer an easy solution for hanging a heavy wall clock without the need for nails or drilling. They provide a strong hold and are relatively easy to remove without causing damage to the wall. However, keep in mind that the effectiveness of adhesive hooks can vary depending on the wall surface and conditions. If you encounter any issues or the clock feels unstable, consider trying alternative hanging methods discussed in the subsequent steps.
Now that your clock is securely hanging on adhesive hooks, let’s proceed to the next step: using removable hanging strips.
Use adhesive hooks rated for the weight of the clock. Clean the wall and let it dry before sticking the hooks. Measure and mark the placement carefully before hanging the clock.
Step 6: Using removable hanging strips
If you’ve opted to hang your heavy wall clock with removable hanging strips, this step will guide you through the installation process. Removable hanging strips provide a convenient and damage-free hanging solution. Follow these steps to use removable hanging strips:
- Clean the wall: Wipe the wall surface with a clean cloth to remove any dirt or debris that could affect the adhesion of the strips.
- Mark the position: Use a pencil to mark the desired position of the strips on the wall. Ensure that the markings are level and accurately positioned according to the size and shape of your wall clock.
- Prepare the strips: Separate the two sides of the removable hanging strip. One side has adhesive that sticks to the wall, and the other side has adhesive that attaches to the back of the clock. Be cautious not to touch the adhesive surfaces with your fingers.
- Attach the strips: Align the removable hanging strips with the marked positions on the wall. Press each strip firmly against the wall surface for several seconds to ensure a strong bond. For heavy clocks, it’s recommended to use multiple strips for added security.
- Allow the strips to adhere: Most removable hanging strips require a period of time for the adhesive to bond properly. Refer to the manufacturer’s instructions for the recommended wait time before hanging any weight on the strips.
- Hang the wall clock: Once the adhesive has fully set, it’s time to hang your wall clock. Carefully align the clock with the attached strips, ensuring it’s level and secure. Press the clock against the wall to activate the adhesive on the back of the clock and ensure a strong hold.
Removable hanging strips offer a convenient and versatile solution for hanging your heavy wall clock without nails or wall damage. They provide a secure hold while allowing for easy removal without leaving residue or marks on the wall. However, it’s important to check the weight capacity of the strips and ensure that your clock falls within the specified limit. If your clock exceeds the weight limit or you encounter any stability issues, consider exploring alternative hanging methods discussed in the following steps.
Now that your wall clock is securely hanging with removable hanging strips, let’s move on to the next step: installing a picture hanging kit.
Step 7: Installing a picture hanging kit
If you’ve chosen to hang your heavy wall clock using a picture hanging kit, this step will guide you through the installation process. A picture hanging kit provides a traditional and reliable method for securely mounting your clock. Follow these steps to install a picture hanging kit:
- Clean the wall: Wipe the wall surface with a clean cloth to remove any dirt or debris that could interfere with the installation of the kit.
- Mark the position: Use a pencil to mark the desired position of the picture hanging hardware on the wall. Take into account the weight and dimensions of your wall clock, ensuring the markings are level and accurately placed.
- Attach the hooks or brackets: Following the instructions provided with the picture hanging kit, attach the hooks or brackets to the marked positions on the wall. Use a screwdriver or drill to secure the hardware in place, ensuring it is tightly fastened.
- Mount the wire or hanging hardware: If your picture hanging kit includes wire, attach it securely to the hooks or brackets on the wall. If the kit utilizes other hanging hardware, follow the instructions to mount it appropriately.
- Hang the wall clock: With the picture hanging kit fully installed and secured, it’s time to hang your wall clock. Carefully hang the clock onto the wire or other hanging hardware, ensuring it is level and stable.
- Adjust if necessary: If your wall clock is not hanging level, you can make minor adjustments by sliding it along the wire or adjusting the positioning of the hardware on the wall. Use a level to ensure proper alignment.
A picture hanging kit provides a sturdy and reliable method for hanging heavy wall clocks. The combination of hooks, brackets, and wire allows for secure mounting and easy adjustability. Ensure that the hooks or brackets you choose are suitable for the weight of your clock and that they are properly installed for optimal stability.
With your wall clock securely mounted using a picture hanging kit, we can now proceed to the next step: hanging the clock securely.
Step 8: Hanging the wall clock securely
Once you have chosen and successfully installed your preferred hanging method, it’s time to hang your heavy wall clock securely on the wall. Follow these steps to ensure a secure and stable hanging:
- Check the weight capacity: Before hanging your wall clock, double-check the weight capacity of your chosen hanging method. Ensure that the method can safely support the weight of your clock.
- Ensure proper alignment: Align the clock with the installed hooks, strips, or hardware. Make sure the clock is positioned straight and level on the wall. Use a level to confirm proper alignment.
- Hang the clock: Carefully place the clock onto the hooks, strips, or hangers, following the instructions for your specific hanging method. Take care to distribute the weight evenly if using multiple hooks or strips.
- Apply pressure: Once the clock is in position, press it firmly against the wall to ensure a secure hold. Apply even pressure to the clock, taking care not to disrupt the alignment or stability.
- Test for stability: Gently give the clock a small shake or tap to test its stability. Ensure that it feels secure and doesn’t wobble or shift on the wall. If necessary, make adjustments to the hanging method or realign the clock as needed.
- Check for leveling: Use a level again to confirm that the clock is hanging straight and level. Make any necessary adjustments to achieve proper alignment.
By following these steps, you can hang your heavy wall clock securely and minimize the risk of it falling or coming loose from the wall. It’s crucial to prioritize safety and stability to prevent any accidents or damage to your clock or wall surface.
Once your wall clock is securely hung, it’s time for the final step: testing the stability of the hanging method.
Step 9: Testing the stability of the hanging method
After hanging your heavy wall clock, it’s important to test the stability of the chosen hanging method. This step will help ensure that your clock remains securely mounted on the wall. Follow these steps to test the stability:
- Gently tug the clock: Apply gentle pressure to the clock, pulling it away from the wall slightly. This will test the strength of the hooks, strips, or hardware.
- Check for any movement: Observe if the clock moves or shifts when tugged. If it does, this indicates that the hanging method might not be secure enough to support the weight of the clock. Consider reinforcing the mounting or exploring alternative hanging methods.
- Repeat the process: Perform the tug test multiple times from different angles to ensure that the clock remains stable from all directions. This will help identify any potential weak points in the hanging method.
- Monitor over time: Keep an eye on the clock’s stability over the next few days or weeks. Check for any signs of the clock becoming loose or shifting on the wall. If needed, make adjustments to the hanging method or reinforce the installation.
- Seek professional help (if necessary): If you have concerns about the stability of the hanging method or if your wall clock is exceptionally heavy, it may be best to consult a professional for assistance. They can provide expert advice and recommend appropriate solutions to ensure the safety and security of your clock.
Testing the stability of the hanging method is a crucial step to ensure the long-term security of your heavy wall clock. It’s essential to address any stability issues promptly to avoid damage to the clock or potential accidents.
With the stability of your wall clock confirmed, you have successfully completed the installation process! Now you can enjoy your beautiful and securely mounted clock as a stunning decoration and functional timepiece in your space.
Next, we’ll cover some common issues you may encounter while hanging a heavy wall clock and provide troubleshooting tips in the final step: Step 10: Troubleshooting common issues.
Step 10: Troubleshooting common issues
While hanging a heavy wall clock without nails, you may encounter common issues that can affect the stability or aesthetics of the installation. Here are some troubleshooting tips to address these issues:
- Clock not level: If your clock is not hanging level, adjust the hanging method by slightly repositioning the hooks, straps, or hardware. Use a level to ensure proper alignment.
- Wall surface damage: If the adhesive hooks or strips have caused damage to the wall surface upon removal, there are some methods to repair it. For small holes or dents, use spackle to fill the damaged area and then touch up the paint to match the wall color.
- Weight exceeding capacity: If your clock is heavier than the weight capacity of the chosen hanging method, consider using a stronger method that can support the weight. Picture hanging kits with heavy-duty hooks or wall anchors and screws are suitable for heavier clocks.
- Clock slipping or shifting: If your clock slips or shifts on the wall, it may indicate that the adhesive hooks or strips are not providing a secure hold. Try adding additional hooks or strips, or switch to a different hanging method, such as a picture hanging kit with multiple hooks or a tension rod.
- Inadequate adhesion: If the adhesive hooks or strips are not adhering properly to the wall, ensure that the wall surface is clean and free from dust or moisture. Press the hooks or strips firmly against the wall during installation and allow sufficient time for the adhesive to set.
- Uneven weight distribution: For larger clocks, ensure that the weight is evenly distributed across the hooks or strips. Consider using additional hooks or strips to provide more support and stability.
By addressing these common issues, you can optimize the hanging of your heavy wall clock and ensure that it remains secure and aesthetically pleasing. If you encounter persistent issues or have concerns about the stability of your clock, consult a professional for assistance.
Congratulations! You have successfully learned how to hang a heavy wall clock without nails. By following these steps and troubleshooting any issues that may arise, you can enjoy your clock as a beautiful and functional addition to your space.
Remember to always prioritize safety and follow manufacturer’s instructions for your chosen hanging method. Enjoy your newly hung wall clock!
Conclusion
Hanging a heavy wall clock without nails is a task that requires careful consideration and proper execution. By choosing the right hanging method, preparing the wall, and following the steps outlined in this guide, you can successfully hang your clock while protecting your walls and ensuring its stability.
Throughout this guide, we have discussed various hanging methods, including adhesive hooks, removable hanging strips, picture hanging kits, tension rods, and wall anchors. Each method offers its own advantages in terms of convenience, adjustability, and support for different weights.
Remember to select a wall clock that suits your style and complements your space. Consider factors such as size, weight, style, mechanism, and readability when choosing the perfect wall clock.
Properly preparing the wall is essential for a secure installation. Clean the wall surface, locate studs if necessary, and plan the position of the clock to ensure optimal visibility and aesthetic appeal.
Gathering the necessary tools and materials before starting the installation process will make the process more efficient. You will need items such as a pencil, tape measure, level, screwdriver or drill, and clean cloth, depending on the chosen hanging method.
Step by step, you learned how to install adhesive hooks, use removable hanging strips, install a picture hanging kit, and hang the clock securely. Testing the stability of the hanging method is crucial to ensure the clock remains securely mounted and level on the wall.
If you encounter any common issues, such as the clock not being level, wall surface damage, weight exceeding capacity, slipping or shifting, inadequate adhesion, or uneven weight distribution, you can troubleshoot them using the tips provided in this guide.
In conclusion, hanging a heavy wall clock without nails is achievable with the right technique and the appropriate hanging method. By following the steps and troubleshooting tips in this guide, you can confidently hang your wall clock and enjoy its beauty and functionality in your space.
Remember to always prioritize safety, carefully read and follow the instructions provided by the manufacturer, and consider consulting a professional if needed. With proper installation, you can showcase your wall clock as a stunning decorative piece while preserving the integrity of your walls.
Frequently Asked Questions about How To Hang A Heavy Wall Clock Without Nails
Was this page helpful?
At Storables.com, we guarantee accurate and reliable information. Our content, validated by Expert Board Contributors, is crafted following stringent Editorial Policies. We're committed to providing you with well-researched, expert-backed insights for all your informational needs.


0 thoughts on “How To Hang A Heavy Wall Clock Without Nails”