Articles
How To Repair Wall Clock
Modified: August 25, 2024
Learn how to repair wall clocks with step-by-step articles. Discover expert tips and tricks to fix and maintain your favorite timepieces.
(Many of the links in this article redirect to a specific reviewed product. Your purchase of these products through affiliate links helps to generate commission for Storables.com, at no extra cost. Learn more)
Introduction
A wall clock is not only a functional timekeeping device but also a decorative element that adds character to any room. However, over time, wall clocks can experience wear and tear, leading to issues such as inaccurate timekeeping, stopped movement, or even broken parts. But fear not! With a little bit of know-how and the right tools, you can easily repair a wall clock and have it ticking away in no time.
In this guide, we will walk you through the step-by-step process of repairing a wall clock. Whether it’s a family heirloom or a recent purchase, the techniques outlined here will help you diagnose and fix common clock issues, giving new life to your beloved timepiece.
Before we dive into the repair process, it’s important to gather the necessary tools and materials. Having the right supplies on hand will ensure a smooth repair experience. So, let’s take a look at what you’ll need:
Key Takeaways:
- Repairing a wall clock is a rewarding and achievable project with the right tools and step-by-step approach. From removing the clock hands to setting the correct time, each step is carefully explained for a successful repair process.
- Patience and attention to detail are crucial when working on delicate clock components. Seeking professional assistance if unsure is wise, ensuring the beloved timepiece is repaired to the highest standard.
Read more: How To Make A Wall Clock
Tools and materials needed
Before you begin the clock repair process, it’s essential to have the right tools and materials at your disposal. Here’s a list of items you’ll need:
- Small screwdriver set: A set of precision screwdrivers with various sizes will help you easily remove screws from the clock mechanism.
- Pliers: Needle-nose pliers and regular pliers will come in handy for bending or adjusting small parts.
- Tweezers: Tweezers with fine tips are necessary for handling delicate clock components.
- Clock oil: A high-quality clock oil or lubricant will help keep the movement running smoothly.
- Clock cleaning solution: A specialized clock cleaning solution will help remove dirt, dust, and debris from the clock mechanism.
- Soft cloth or brushes: Use a soft cloth or gentle brushes to clean the clock parts without causing damage.
- Replacement parts: Depending on the specific issues with your clock, you may need to purchase replacement parts such as gears, springs, or hands.
- Safety goggles: To protect your eyes while working with small parts or using cleaning solutions, wearing safety goggles is highly recommended.
Having these tools and materials readily available will make the repair process much easier and efficient. Now that you’re well-equipped, let’s move on to the step-by-step repair process.
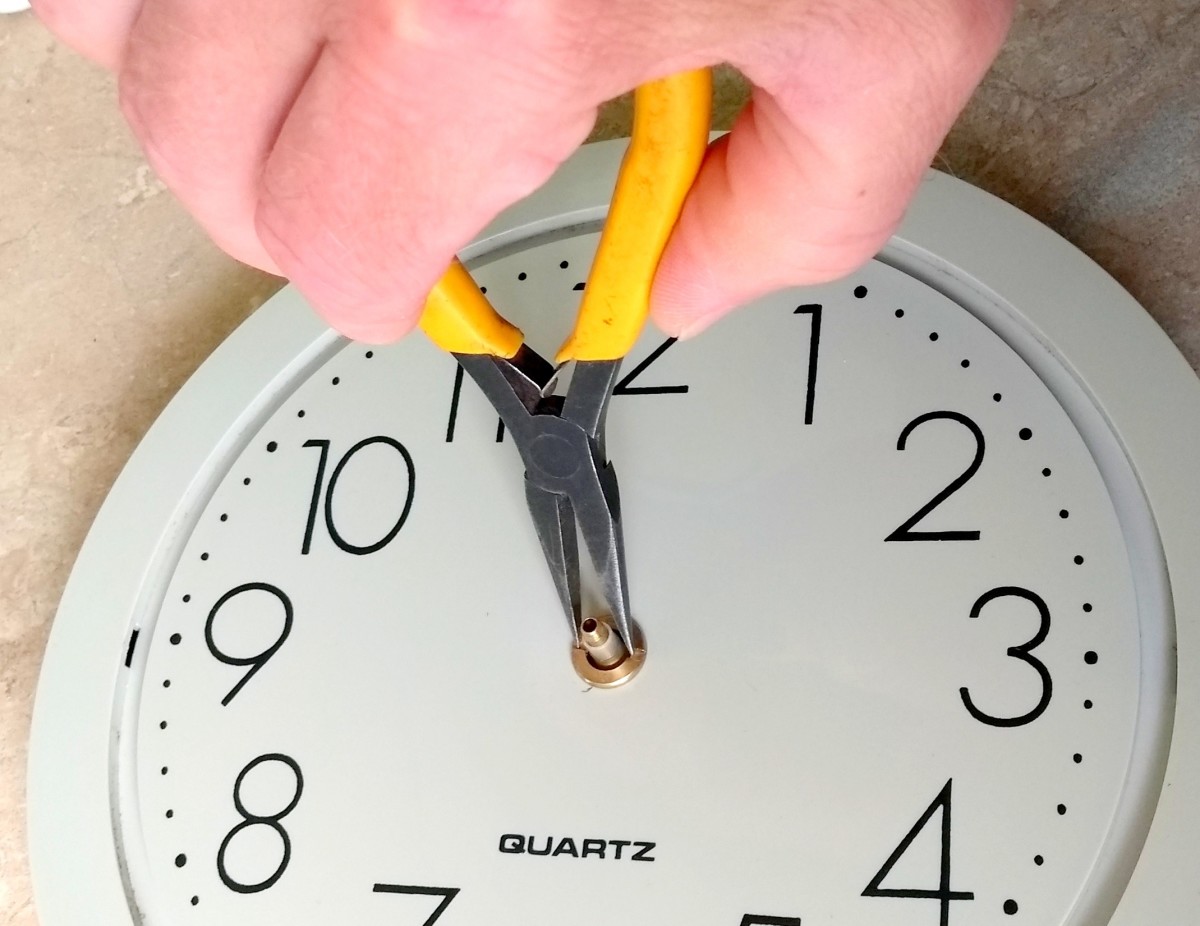
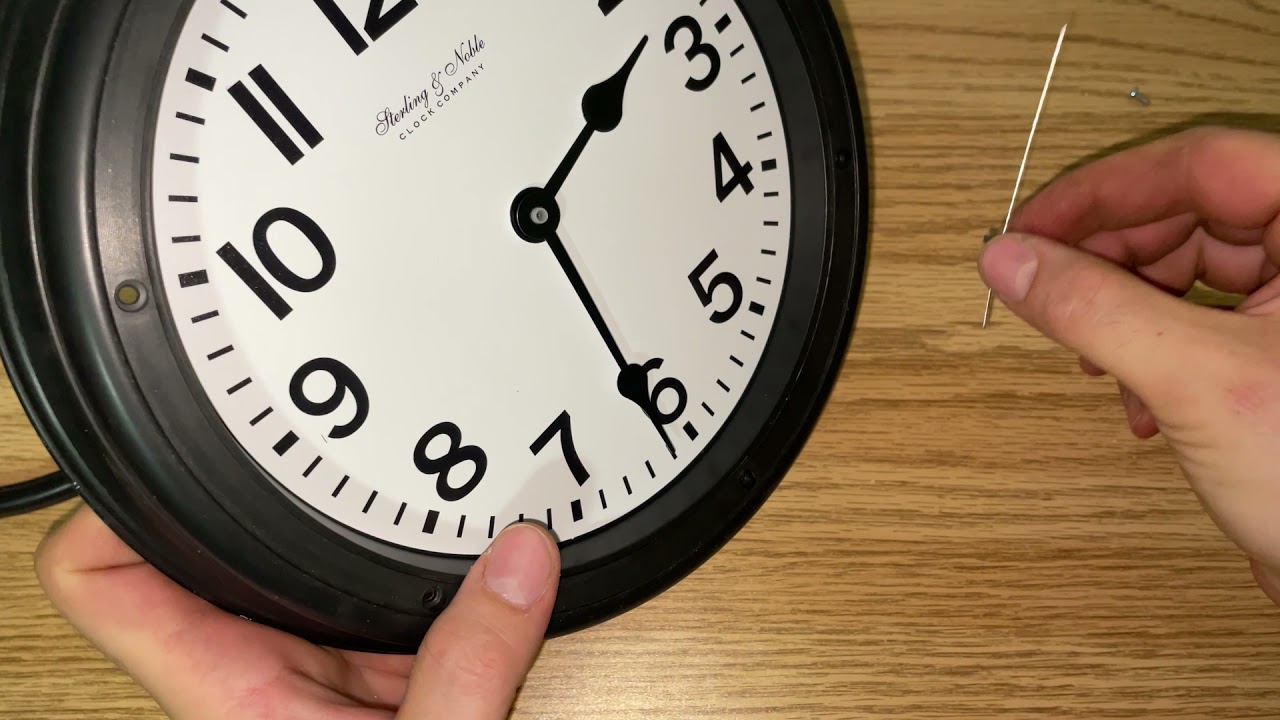
Step 1: Remove the clock hands
The first step in repairing a wall clock is to remove the clock hands. The clock hands are typically held in place by a small nut or screw located in the center of the clock face. Follow these steps to safely remove the clock hands:
- Make sure the clock is not running and the hands are not in motion.
- Use a small screwdriver or pliers to gently loosen and remove the nut or screw holding the clock hands in place.
- Once the nut or screw is removed, carefully lift the clock hands off the clock face. Take note of their order and orientation as you’ll need to reassemble them correctly later on.
- If the clock hands are stubborn and won’t come off easily, you can use a handheld hairdryer on low heat to gently warm the clock face. This will help loosen any adhesive or friction that may be holding the hands in place.
By following these simple steps, you’ll be able to successfully remove the clock hands without causing any damage. With the clock hands out of the way, we can now move on to the next step in the repair process.
Step 2: Remove the clock mechanism
After removing the clock hands, the next step in repairing a wall clock is to remove the clock mechanism from the case. The clock mechanism is responsible for the movement and timekeeping of the clock. Here’s how you can safely remove it:
- Locate the screws or hooks that secure the clock mechanism to the back of the clock case.
- Using a small screwdriver or pliers, carefully unscrew the screws or unhook the mechanism from the case.
- Gently lift the clock mechanism out of the case, taking care not to damage any delicate components.
Once the clock mechanism is removed, you’ll have a clearer view of its internal workings and be able to assess any issues or damage that may be present. Inspecting the mechanism is an essential step in identifying the root cause of any clock problems. Let’s move on to the next step to learn how to properly inspect the clock mechanism.
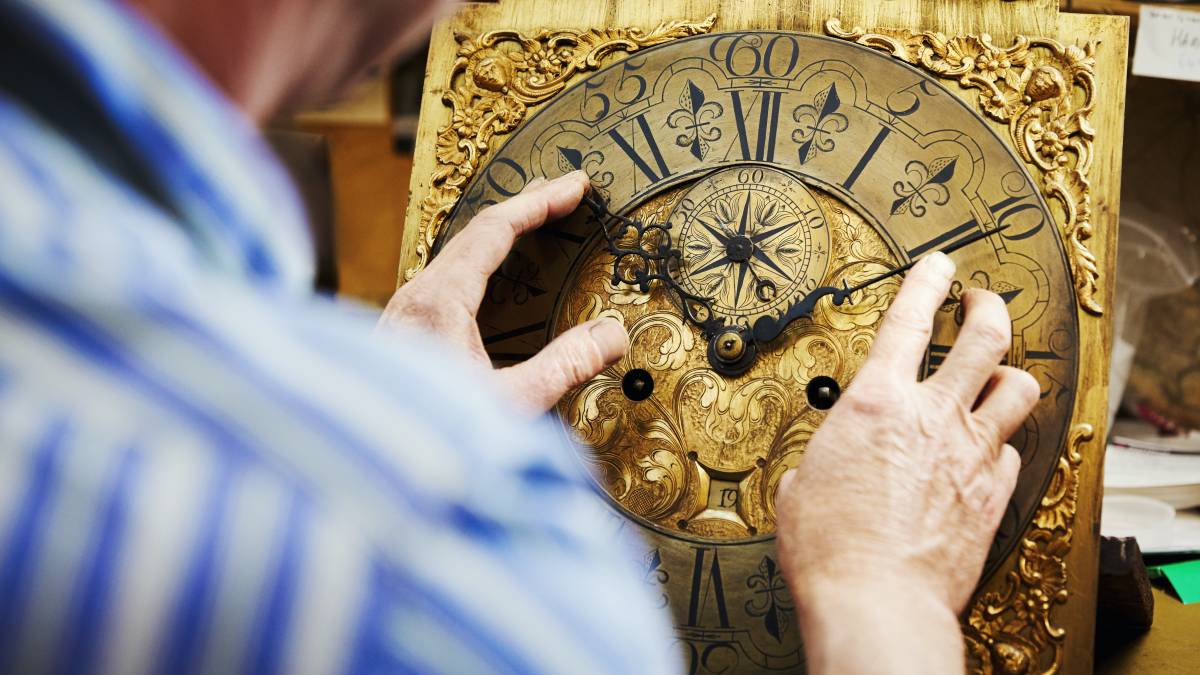
Step 3: Inspect the clock mechanism
Now that you have the clock mechanism in front of you, it’s time to thoroughly inspect it for any issues or damage. This step will help you identify the specific problem areas that require attention. Here’s how you can effectively inspect the clock mechanism:
- Start by examining the gears, springs, and other moving parts. Look for any signs of wear, rust, or damage. Pay close attention to teeth that look worn down or gears that are misaligned.
- Check the clock hands carefully. Look for any bends, cracks, or loose fittings. These can affect the smooth movement of the clock hands or cause them to get stuck.
- Inspect the clock face and dial. Ensure that the numbers and markers are intact and aligned correctly. Look for any signs of fading, chipping, or damage to the face.
- Examine the clock pendulum if applicable. Ensure that it swings freely and is properly aligned. Look for any signs of damage or bending.
- Take note of any loose screws or fastenings. Tighten them as needed using a small screwdriver or pliers.
By conducting a thorough inspection, you’ll be able to pinpoint the areas that require repair or replacement. This will help you take the necessary steps to get your wall clock back in working order. Let’s move on to the next step to learn how to replace any worn or damaged parts.
When repairing a wall clock, start by removing the back panel to access the movement. Check for any loose or broken parts and replace as needed. Clean the gears and apply a small amount of clock oil to ensure smooth operation.
Read more: How To Set A Wall Clock
Step 4: Replace any worn or damaged parts
After inspecting the clock mechanism and identifying any worn or damaged parts, it’s time to replace them. Replacing faulty components is crucial for restoring the proper functioning of the wall clock. Follow these steps to replace any worn or damaged parts:
- Refer to the manufacturer’s instructions or consult a clock repair guide to identify the specific replacement parts needed.
- If possible, purchase genuine replacement parts from a trusted supplier to ensure compatibility and quality.
- Use the appropriate tools to carefully remove the worn or damaged parts from the clock mechanism. Pay attention to the order and orientation of the components.
- Install the new parts in their correct positions, carefully aligning teeth, gears, and other components as necessary.
- Secure the new parts in place using screws, nuts, or other fastening methods specified in the clock repair guide.
It’s important to handle the replacement parts with care to avoid causing additional damage. Take your time and follow the instructions closely to ensure a successful replacement process. Once you’ve replaced the worn or damaged parts, you’re ready to move on to the next step of reassembling the clock mechanism.
Step 5: Reassemble the clock mechanism
With the worn or damaged parts replaced, it’s time to reassemble the clock mechanism. Proper reassembly is essential for ensuring the smooth operation of the wall clock. Follow these steps to reassemble the clock mechanism:
- Refer to the notes or photographs you took during the disassembly process to ensure the correct order and orientation of the components.
- Carefully place the gears, springs, and other parts back into their respective positions within the clock mechanism.
- Ensure that all moving parts are properly aligned and engaged with one another.
- Make sure any screws or fastenings that were removed during the disassembly process are securely tightened.
- Apply a small amount of clock oil or lubricant to designated points within the clock mechanism for smooth movement.
Take your time during the reassembly process and double-check that all components are properly aligned and secure. It’s crucial to follow the correct order and orientation to ensure the clock mechanism functions properly once reassembled.
Now that the clock mechanism is reassembled, we can move on to the next step, which is setting the clock hands to the correct time.
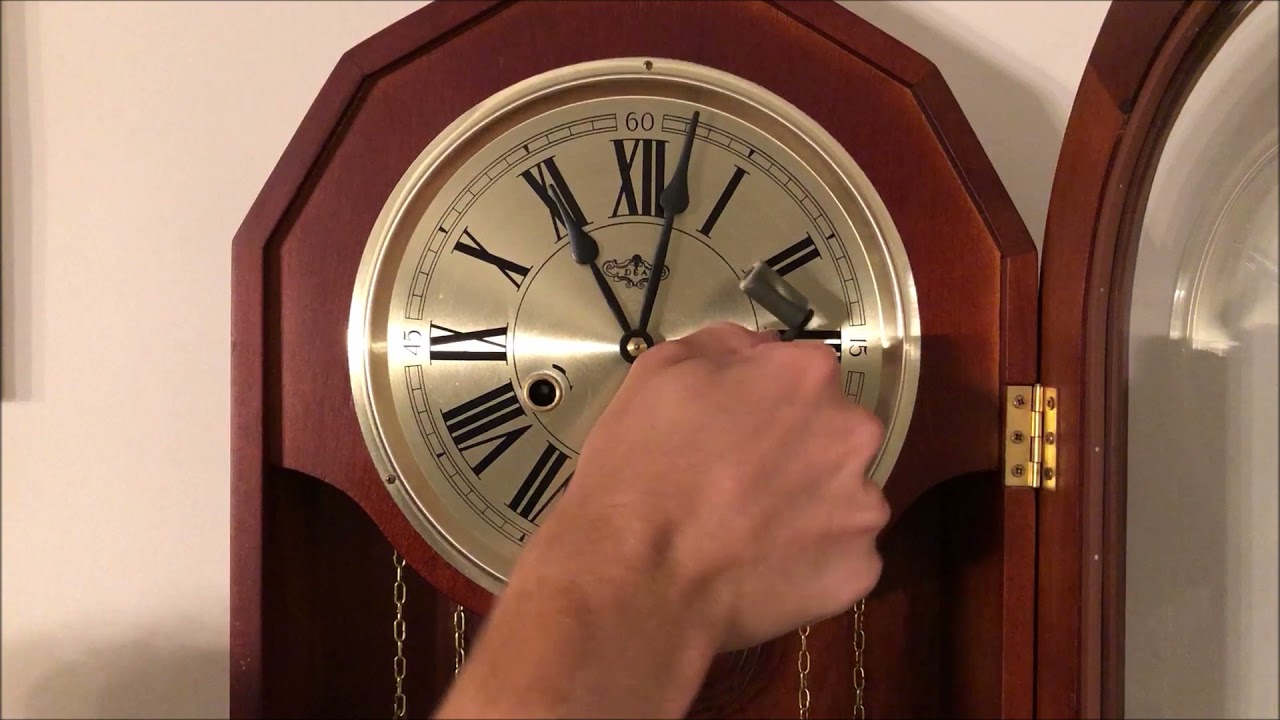
Step 6: Set the clock hands to the correct time
After successfully reassembling the clock mechanism, it’s time to set the clock hands to the correct time. Follow these steps to ensure your wall clock displays the accurate time:
- Check a reliable time source, such as an atomic clock or your smartphone, to get the correct time.
- Gently move the minute hand in a clockwise direction until it reaches the correct time.
- Follow by adjusting the hour hand to the appropriate hour.
- Allow the clock mechanism to run for a few minutes to ensure smooth movement and accurate timekeeping.
It’s important to be gentle when setting the clock hands to avoid any damage to the mechanism or misalignment of the gears. Take your time to ensure that the hands are aligned correctly and move smoothly.
Now that the clock hands are set to the correct time, we can move on to the final step, which is mounting the clock back on the wall.
Step 7: Mount the clock back on the wall
With the clock mechanism repaired and the time set correctly, it’s time to mount the clock back on the wall. Follow these steps to securely hang your wall clock:
- Choose a suitable location on the wall where you want to hang the clock. Ensure it’s a sturdy and level surface.
- Use a drill or appropriate tools to insert screws or hooks into the wall, aligning them with the mounting points on the clock case.
- Hang the clock case on the screws or hooks, ensuring a secure fit.
- Check that the clock is level by using a spirit level or careful visual inspection.
- Tighten the screws or adjust the hooks if necessary to ensure the clock is securely fastened to the wall.
Make sure to follow proper safety precautions and use appropriate tools when mounting the clock to avoid any accidents or damage. Once the clock is securely mounted, step back and admire your handiwork.
Congratulations! You have successfully repaired and restored your wall clock. With proper care and maintenance, your clock will continue to keep time accurately and bring character to your living space for years to come.
Remember, if you’re unsure about any step in the repair process or encounter any difficulties, it’s always advisable to consult a professional clock repair specialist for assistance.
Thank you for following this guide, and we hope you enjoy your fully functional wall clock!
Read more: Where To Place A Wall Clock
Conclusion
Repairing a wall clock may seem like a daunting task, but with the right tools, materials, and a step-by-step approach, it can be a rewarding and achievable project. By following the steps outlined in this guide, you have learned how to repair a wall clock and bring it back to life.
From removing the clock hands to inspecting and replacing worn or damaged parts, reassembling the clock mechanism, setting the correct time, and mounting the clock back on the wall – each step has been carefully explained to ensure a successful repair process.
Remember, patience and attention to detail are key when working on delicate clock components. Taking your time and following the instructions closely will ensure that the repair is done correctly and with precision.
If at any point you are unsure or encounter difficulties, it is always wise to seek the assistance of a professional clock repair specialist. They can offer their expertise and ensure your clock is repaired to the highest standard.
With your repaired wall clock proudly displayed, it will not only serve as a functional timekeeping device but also as a cherished piece of decoration that adds character and charm to your living space.
We hope this guide has inspired you to take on your clock repair project and enjoy the satisfaction of bringing your beloved timepiece back to life.
Happy repairing!
Frequently Asked Questions about How To Repair Wall Clock
Was this page helpful?
At Storables.com, we guarantee accurate and reliable information. Our content, validated by Expert Board Contributors, is crafted following stringent Editorial Policies. We're committed to providing you with well-researched, expert-backed insights for all your informational needs.


0 thoughts on “How To Repair Wall Clock”