Articles
How To Pack A Wall Clock For Moving
Modified: February 24, 2024
Learn how to properly pack a wall clock to ensure it stays protected during your move. Read our helpful articles for step-by-step instructions and expert tips.
(Many of the links in this article redirect to a specific reviewed product. Your purchase of these products through affiliate links helps to generate commission for Storables.com, at no extra cost. Learn more)
Introduction
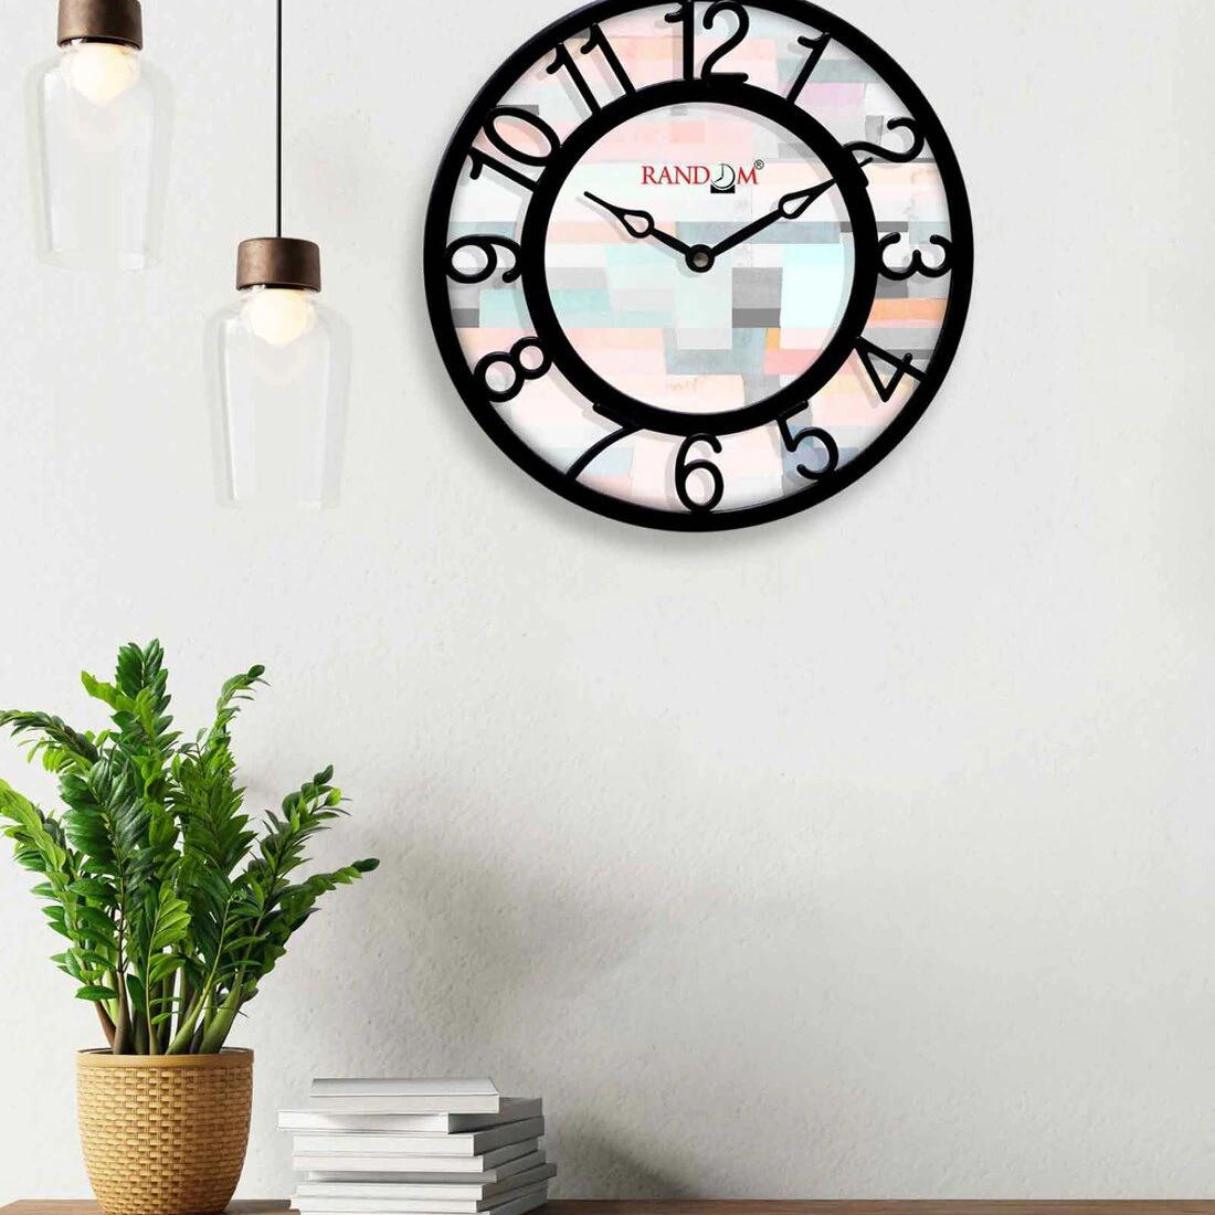
When it comes to moving, one of the most delicate and valuable items that you need to pack and protect is a wall clock. Whether it’s a family heirloom or a stylish piece of decor, the last thing you want is for your beloved clock to get damaged during the move.
Luckily, with the right technique and supplies, you can ensure that your wall clock arrives at your new home unscathed and in perfect working condition. In this article, we will guide you through the step-by-step process of packing a wall clock for moving, so you can have peace of mind during this stressful time.
From gathering the necessary supplies to securely packing the delicate components of your clock, we will cover everything you need to know. So, let’s get started with the first step of the packing process.
Key Takeaways:
- Safeguard your wall clock during a move by gathering supplies, removing hanging hardware, securing delicate components, and choosing a suitable box. Attention to detail and proper packing techniques are essential for a successful relocation.
- Protect the sentimental and aesthetic value of your wall clock by carefully wrapping delicate parts, filling gaps in the box, and securely sealing it. With the right approach, your clock will arrive at its new home unharmed and ready to adorn the walls.
Read more: How To Pack A Mattress For Moving
Step 1: Gather Supplies
Before you start packing your wall clock, it’s essential to gather all the necessary supplies. Having everything at hand will make the process smoother and more efficient. Here are the supplies you will need:
- Packing paper or bubble wrap
- Packing tape
- Cardboard corner protectors
- Scissors
- Marker pen or labels
- A sturdy box that fits the size of your clock
Packing paper or bubble wrap will provide cushioning protection for the delicate parts of the clock, such as the glass face and pendulum. Packing tape will be used to secure the wrapping and seal the box. The cardboard corner protectors will prevent any damage to the edges of the clock during transportation.
Scissors are necessary for cutting the packing materials to the right size, while a marker pen or labels will help you identify the box containing the clock. Lastly, make sure to choose a sturdy box that fits the size of your wall clock.
Once you have gathered all the supplies, clear a clean and spacious area where you can safely pack and prepare your wall clock for the move.
Step 2: Remove Any Hanging Hardware
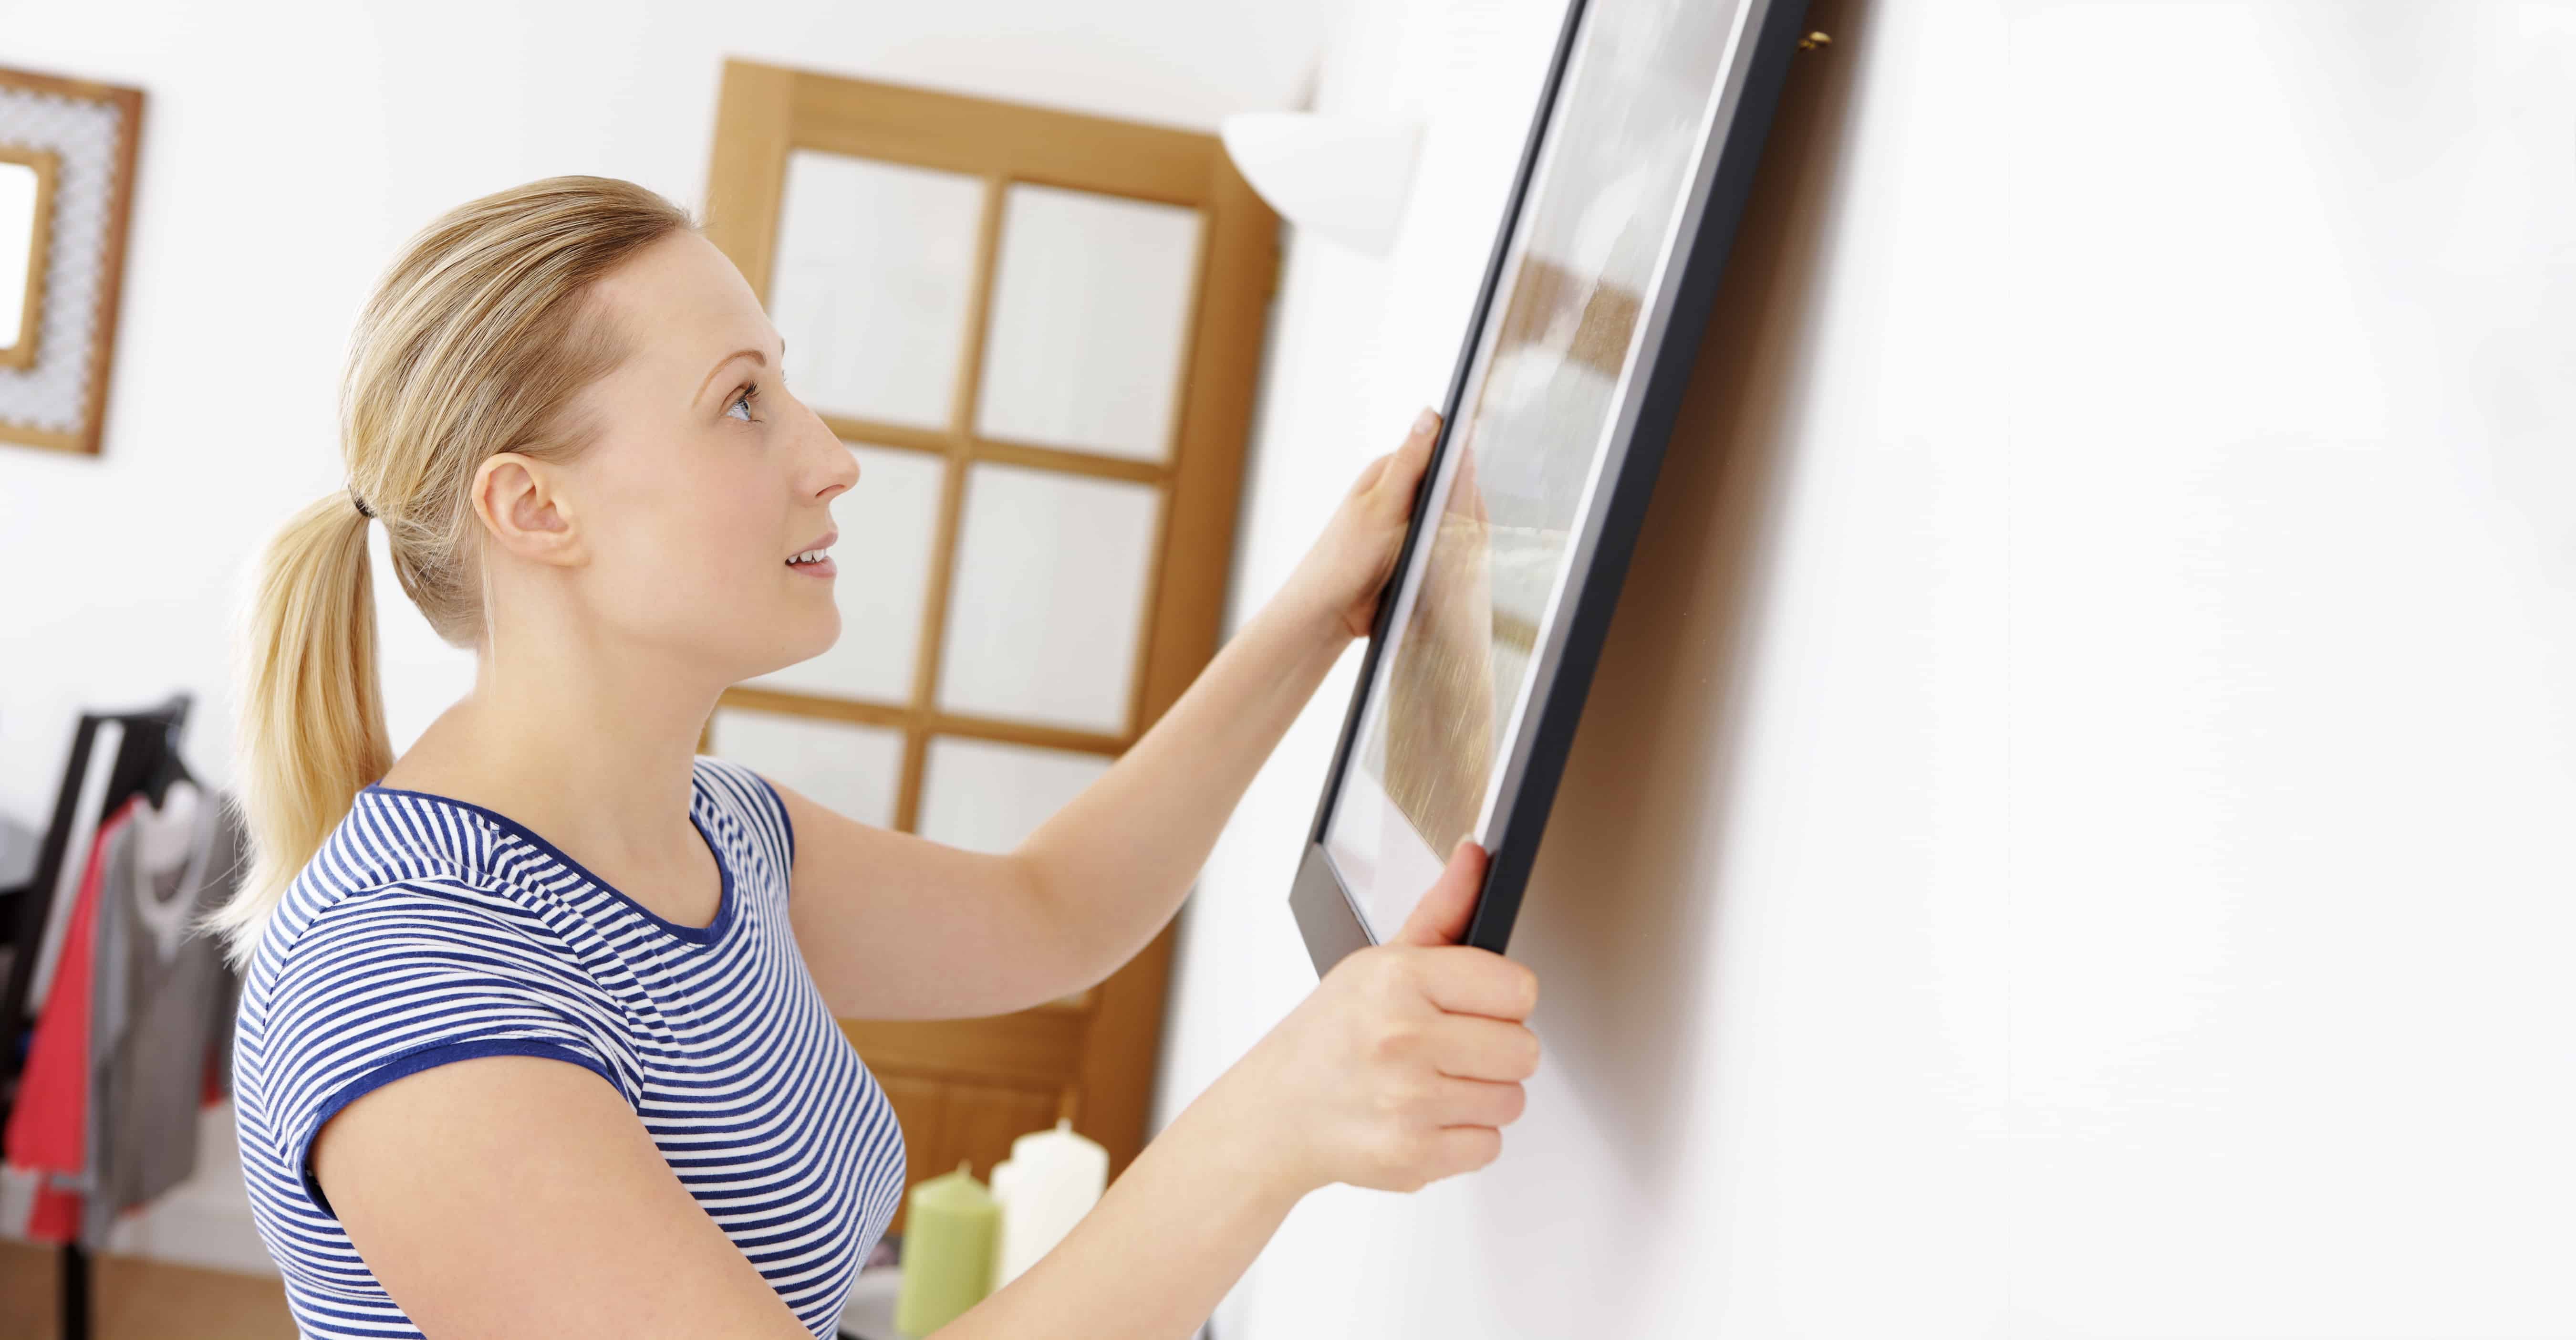
Before you start packing your wall clock, it’s important to remove any hanging hardware that may be attached to it. This includes hooks, screws, or brackets that are used to mount the clock on the wall.
Removing the hanging hardware will not only protect the clock from potential damage during transportation but will also make the packing process easier. It will also help you avoid any accidents or injuries while handling the clock.
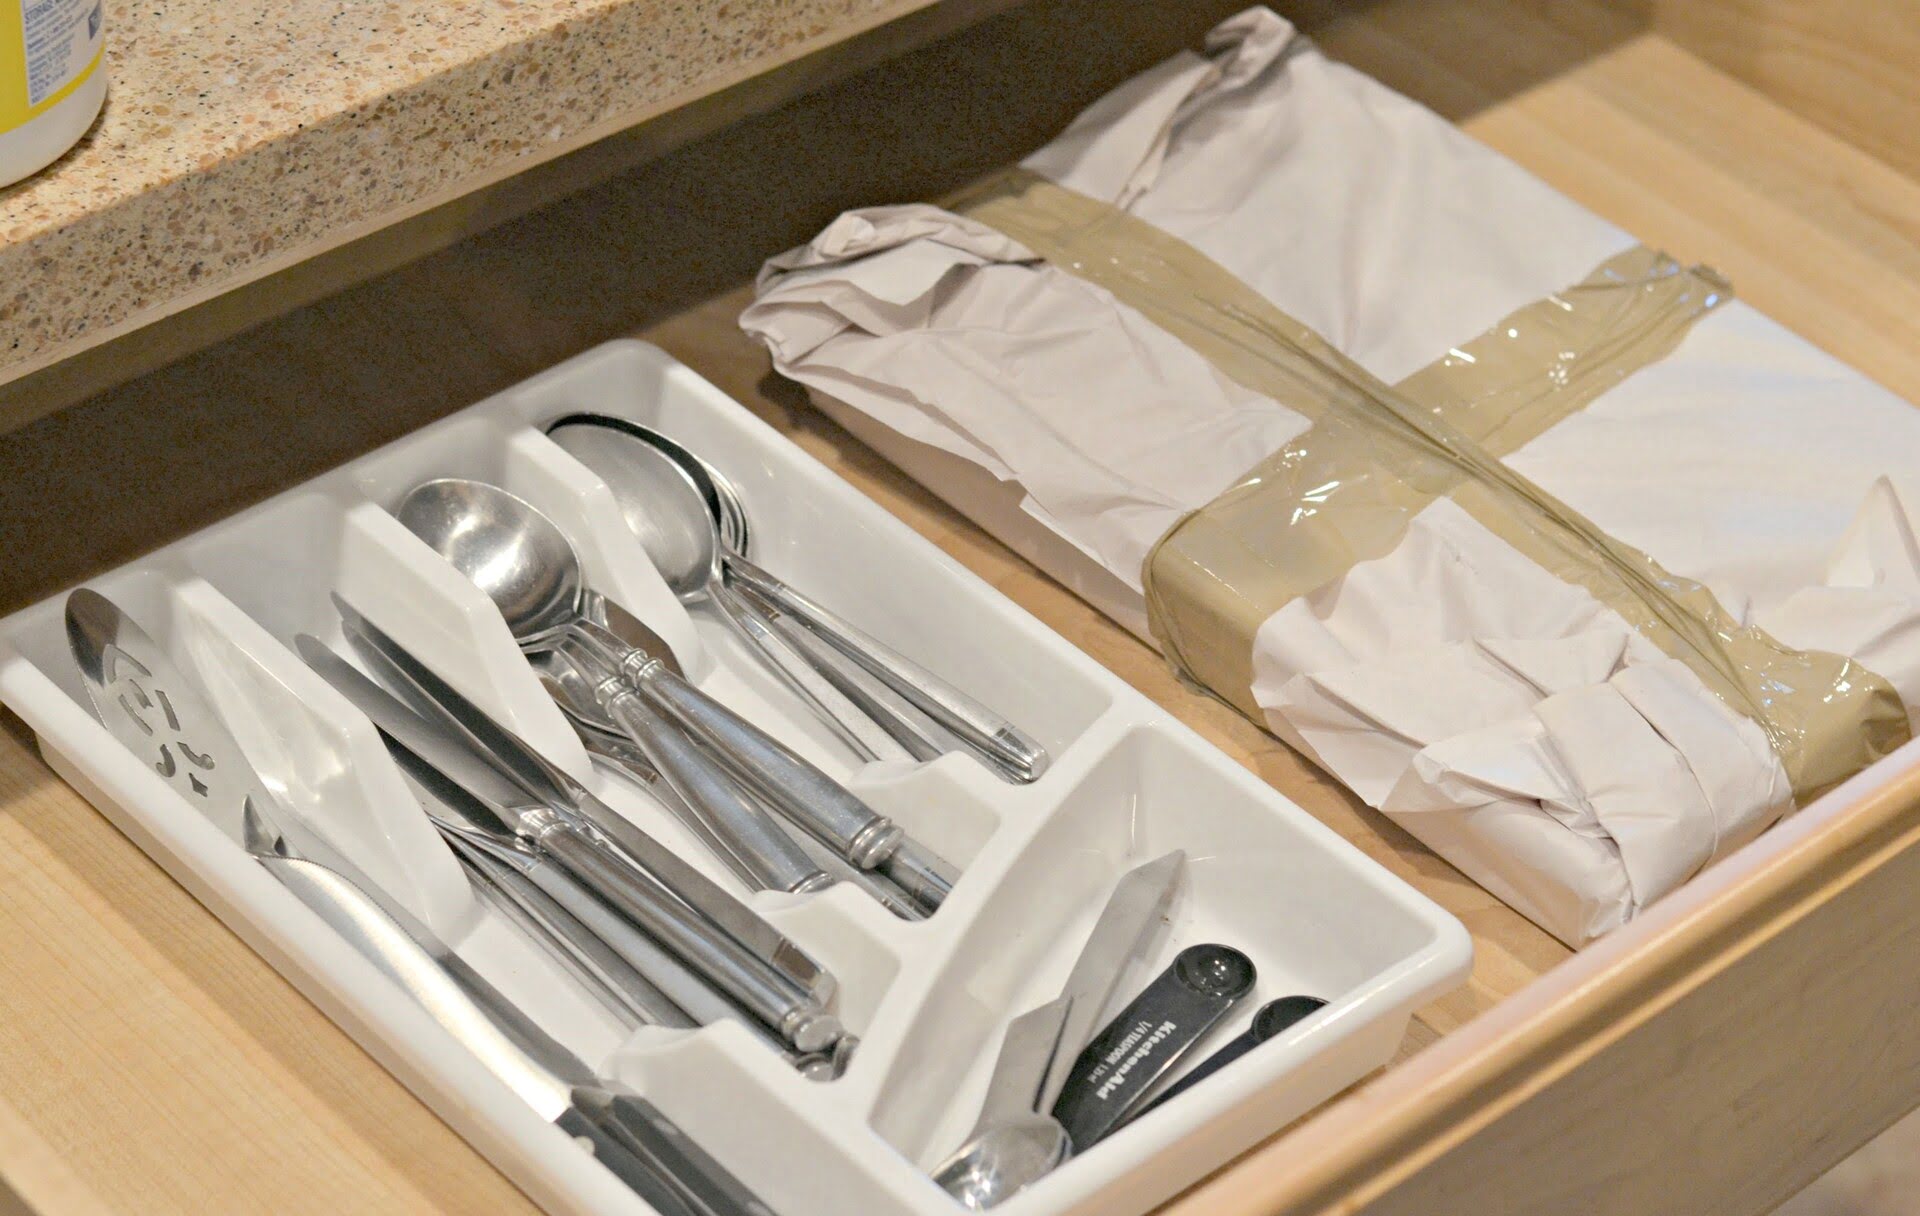
To remove the hanging hardware, you will need a screwdriver or appropriate tools depending on the type of hardware used. Carefully unscrew or detach the hardware and set it aside in a labeled bag or container. Make sure to keep all the screws or small parts together to avoid misplacing them.
By removing the hanging hardware, you can ensure that the clock is not only packed securely but also ready to be hung up easily in your new home once you’ve completed your move.
Step 3: Secure the Pendulum (if applicable)
If your wall clock has a pendulum, it’s important to secure it properly before packing. The pendulum is a delicate component that requires extra care to avoid damage during transit.
Start by gently stopping the pendulum swing and holding it in place. You can use a small piece of tape or a soft cloth to secure it in a stationary position. Make sure that the tape or cloth is not in direct contact with the pendulum to prevent any adhesive residue or marks.
Next, wrap the entire pendulum with soft packing material, such as bubble wrap or packing paper. Ensure that it is snugly wrapped to provide cushioning and protection from any potential impacts during the move.
After wrapping the pendulum, secure it further by taping the packing material in place. This will keep it securely in position and prevent it from shifting or getting damaged inside the box.
Take care not to place any excessive pressure on the pendulum while securing it, as this can cause bending or misalignment. The goal is to keep the pendulum safe and protected throughout the moving process.
If your wall clock does not have a pendulum, you can skip this step and proceed to the next one.
Securing the pendulum ensures that this delicate component remains intact and undamaged during the transportation of your wall clock. It’s an essential step in preserving the functionality and aesthetic appeal of your clock.
Step 4: Remove the Hands
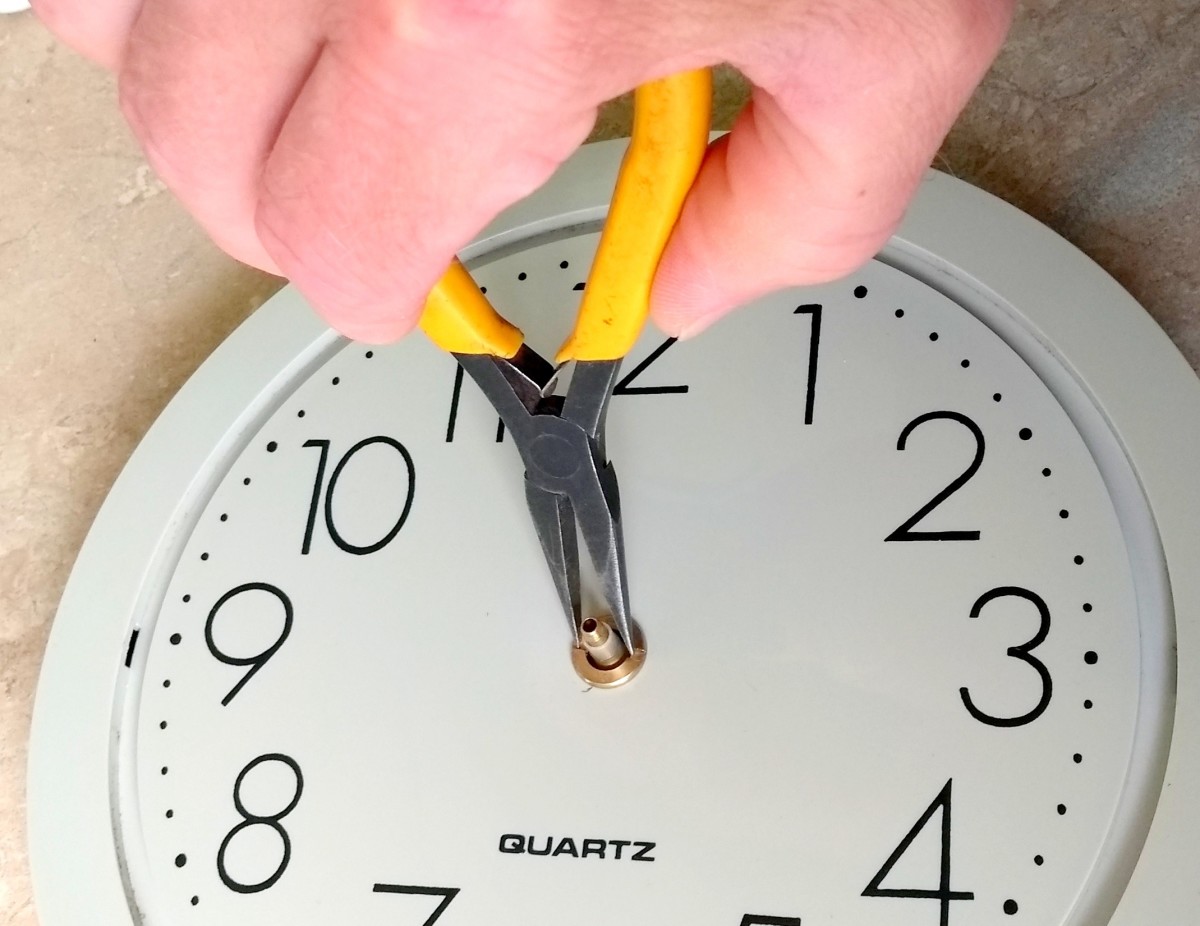
Before packing your wall clock, it’s important to remove the hands to prevent them from bending or breaking during the moving process. The hands of a wall clock are fragile and can easily become damaged if not handled with care.
To remove the hands, you will need a pair of needle-nose pliers or a suitable clock hand removal tool. Gently grasp the minute hand, which is typically the longer hand, and carefully pull it towards you. Wiggle it back and forth if needed to loosen it from the clock’s center shaft.
Once the minute hand is removed, repeat the process for the hour hand. Be extra cautious when removing the hour hand, as it is typically more delicate than the minute hand. Apply gentle pressure and ensure that it is detached without any force.
If there is a second hand on your wall clock, repeat the process to remove it as well. The second hand is usually the smallest and may require a delicate touch to detach it from the center shaft.
Once the hands are removed, place them in a small container or wrap them in packing paper. Label the container or paper to ensure they are easily identifiable when it’s time to reassemble the clock.
Removing the hands of your wall clock is a necessary step to protect them from potential damage during the move. It also makes it easier to pack the clock body and ensures that the delicate mechanisms of the clock remain intact.
Read more: How To Pack A Dresser For Moving
Step 5: Protect the Glass or Face
The glass or face of a wall clock is one of the most vulnerable parts that needs to be protected during the moving process. It’s important to take special care to ensure that it doesn’t get scratched, cracked, or damaged in any other way.
To protect the glass or face of your clock, start by covering it with a layer of protective material such as bubble wrap or a soft cloth. Make sure the material completely covers the surface and edges of the glass.
Secure the wrapping in place using gentle pressure-sensitive tape or rubber bands. Be cautious not to apply too much pressure or secure the wrapping too tightly to avoid placing unnecessary stress on the glass.
If your clock has a removable glass cover, carefully remove it and wrap it separately. Place it in a padded container or wrap it in bubble wrap to ensure its protection.
By taking the time to protect the glass or face of your wall clock, you are safeguarding it against potential scratches or cracks that can occur during the moving process. This step will ensure that your clock remains in pristine condition when it arrives at your new home.
When packing a wall clock for moving, remove the pendulum (if applicable) and secure it inside the clock. Use bubble wrap or packing paper to protect the clock face and hands, then place it in a sturdy box with plenty of cushioning to prevent damage during transit.
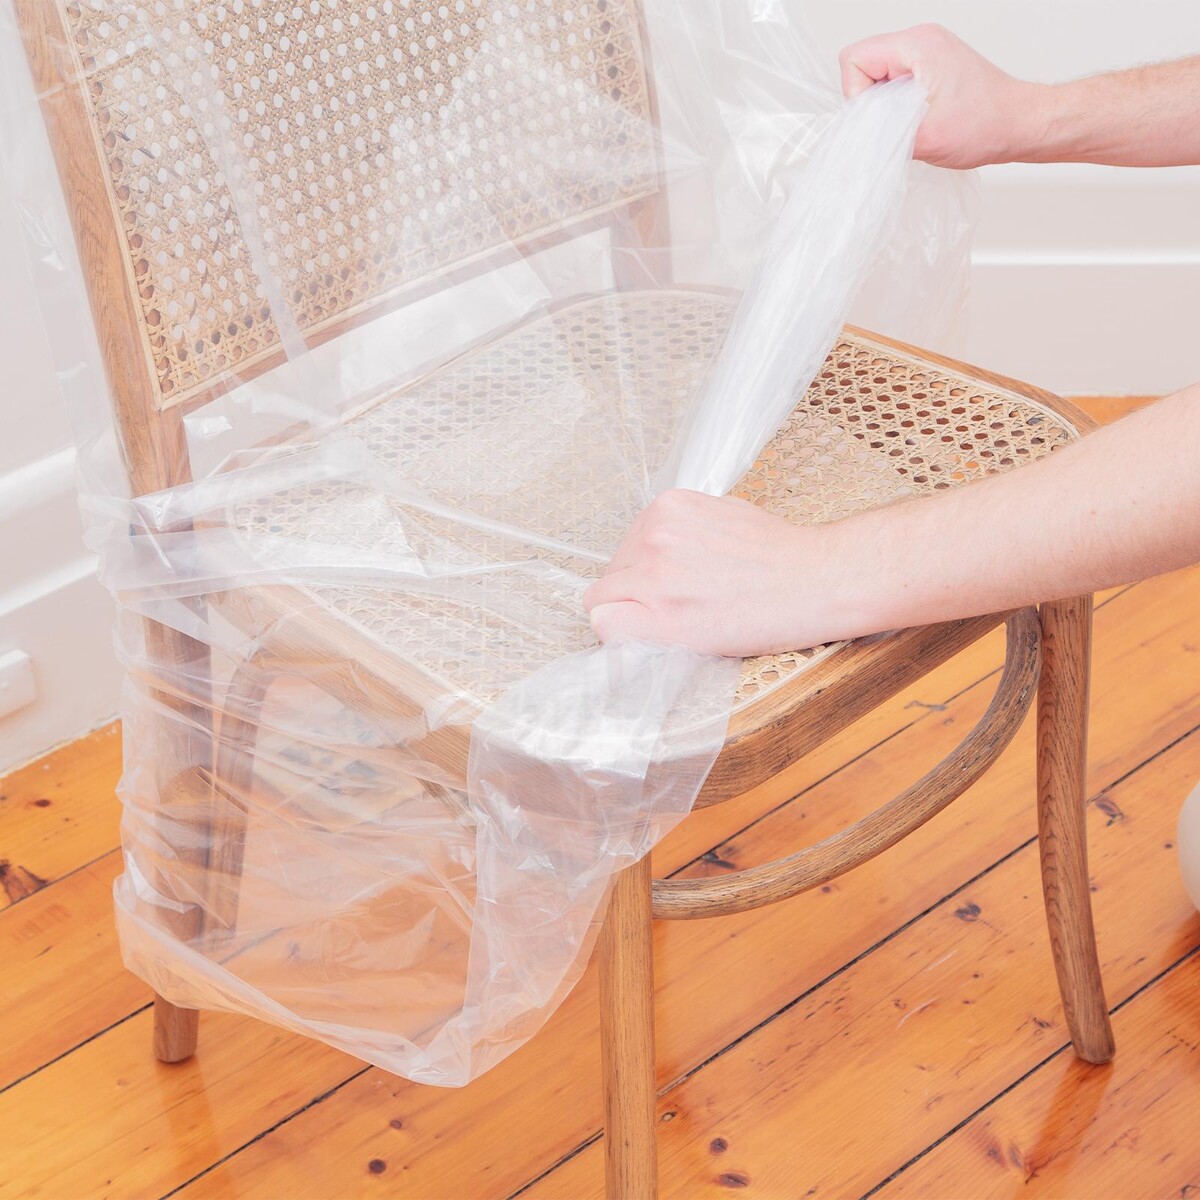
Step 6: Wrap the Clock Body
Now that you have protected the delicate components of your wall clock, it’s time to wrap the clock body itself. This step will provide an added layer of cushioning and protection to ensure that the clock remains safe during the move.
To wrap the clock body, start by covering it with a layer of bubble wrap or packing paper. Make sure to completely cover all sides and edges of the clock to provide adequate padding.
Once the clock body is covered, use packing tape to secure the wrapping in place. Ensure that the tape is firmly attached but be careful not to tape directly onto any delicate surfaces or finishes of the clock.
If your clock has any protruding parts, such as decorative ornaments or pendulum attachments, consider providing additional padding or wrapping these parts individually to prevent any potential damage.
Additionally, if your clock has any exposed wires or cables, gently gather and secure them, using twist ties or rubber bands, to prevent them from tangling or getting damaged during the move.
By wrapping the clock body, you are providing an extra layer of protection against bumps, vibrations, and potential accidents that may occur during transportation. This step will help keep your clock safe and secure throughout the moving process.
Step 7: Choose a Suitable Box
Choosing the right box to pack your wall clock is crucial for its safe transportation. You’ll want to select a box that is sturdy and appropriately sized to accommodate the size and shape of your clock.
If you still have the original box that the clock came in, that would be the ideal choice. The original packaging is designed to fit the clock snugly and provides optimal protection during shipping.
If you don’t have the original box, you can opt for a sturdy, double-walled cardboard box that is slightly larger than the clock itself. Make sure the box is clean, free from any moisture, and in good condition.
Measure the dimensions of your clock and choose a box that gives you enough room to add protective padding around it. It’s important not to choose a box that is too tight, as it might put pressure on the clock and increase the risk of damage.
Consider using boxes with reinforced corners or investing in specialty packing boxes specifically designed for fragile items like clocks. These boxes often come with additional cushioning materials and provide extra protection.
Remember to label the box with “Fragile” or “Handle with Care” to alert movers and ensure that the box is properly handled during the move.
By choosing a suitable box, you are providing a secure and snug home for your wall clock during the moving process. This step is essential to prevent any unnecessary jostling or potential damage that could occur if the clock is not properly contained.
Step 8: Place the Clock in the Box
Now that you have prepared the clock and chosen a suitable box, it’s time to carefully place the clock inside the box. This step requires precision and attention to ensure that the clock is positioned securely and optimally.
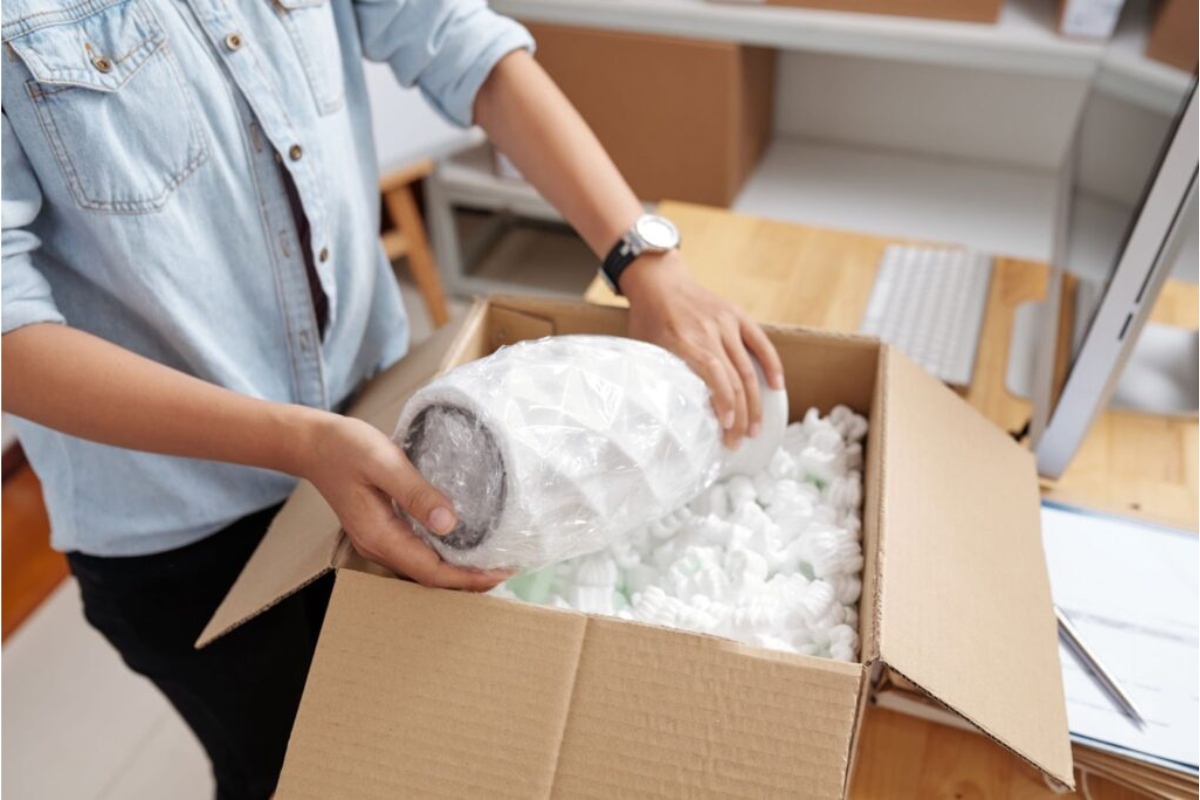
Start by placing a layer of packing materials, such as bubble wrap or crumpled packing paper, at the bottom of the box. This will provide a cushioning base for the clock.
Gently lower the wrapped clock into the box, making sure it sits in a centered and upright position. Avoid any direct contact between the clock and the sides or corners of the box.
If there is any additional space between the clock and the sides of the box, fill it with more packing materials. This will prevent the clock from shifting or moving during transportation.
Make sure to add sufficient padding on all sides of the clock, ensuring that it is snug but not overly tight. The goal is to create a protective barrier to absorb any potential shocks or vibrations during the move.
If you’re packing multiple items in the same box, ensure there is enough padding between each item to prevent them from knocking into each other.
Once the clock is securely placed in the box, close the box and give it a gentle shake to test if there is any movement. If you feel or hear any shifting, add more padding to stabilize the clock.
Properly positioning the clock in the box is crucial for its safe transportation. By ensuring a snug fit and ample padding, you can minimize the risk of damage and ensure that the clock arrives at its destination in perfect condition.
Read more: How To Pack Pillows For Moving
Step 9: Fill Any Gaps
After placing the clock in the box, it’s essential to fill any remaining gaps with packing materials. These gaps can create potential movement or shifting during transportation, increasing the risk of damage to your wall clock.
First, inspect the box and identify any empty spaces or voids between the clock and the walls of the box. These gaps can be filled with additional packing materials such as bubble wrap, packing peanuts, or crumpled packing paper.
Start by adding a layer of packing materials on top of the clock. Gently press them down to ensure they conform to the shape of the clock and fill any open areas.
If there are any gaps on the sides of the box, add more padding, focusing on areas that require extra support. Use your hands or suitable tools to gently insert the packing materials into these spaces, taking care not to apply excessive pressure on the clock itself.
Continue to add packing materials until there are no noticeable gaps or spaces left in the box. However, be cautious not to overstuff the box, as this can put unnecessary pressure on the clock and its components.
By filling any gaps with the appropriate packing materials, you are ensuring that the clock remains firmly in place and well-protected during transit. This step is crucial in minimizing movement and reducing the risk of damage.
Step 10: Seal the Box
After you have carefully packed and filled all the gaps in the box, it’s time to securely seal it. Properly sealing the box will ensure that your wall clock remains protected throughout the moving process.
Start by using high-quality packing tape to seal the flaps of the box. Apply the tape along the seam where the flaps meet, ensuring that it adheres firmly and provides a tight seal.
To reinforce the seal, apply an additional strip of tape perpendicular to the first one. This crisscross pattern will add extra strength and security to the closure.
Make sure that all edges and corners of the box are properly sealed, leaving no gaps or openings. This helps prevent dust, dirt, or moisture from entering the box during transit.
Once you have sealed the box, consider labeling it as “Fragile” or “Handle with Care” to alert the movers and ensure that they take the necessary precautions when handling the package.
Finally, in addition to labeling the box, you may also want to add your name, contact information, and the new address to the box. This is helpful in case the box gets separated from your other belongings or requires special attention during the move.
By securely sealing the box, you provide an added layer of protection to your wall clock. This step ensures that the clock remains safe during transportation and arrives in pristine condition at your new home.
Conclusion
Packing a wall clock for a move requires careful attention to detail and the use of proper techniques. By following the steps outlined in this guide, you can ensure the safe transportation of your wall clock and minimize the risk of damage during the move.
From gathering the necessary supplies to securely packing the delicate components, each step plays a crucial role in protecting your clock. Taking the time to remove any hanging hardware, secure the pendulum (if applicable), remove the hands, protect the glass or face, wrap the clock body, choose a suitable box, place the clock in the box, fill any gaps, and seal the box ultimately guarantees the safety of your wall clock.
Remember that careful handling, attention to detail, and the use of proper packing materials are key to keeping your wall clock in perfect working condition throughout the move.
As you pack your wall clock, keep in mind the sentimental value and unique characteristics it holds. By safeguarding it during the move, you can continue to enjoy its beauty and cherish its significance in your new home.
We hope that this guide has provided you with the necessary information and steps to successfully pack your wall clock for a move. With the right approach, you can ensure your clock arrives at its new destination unharmed and ready to be proudly displayed once again.
Frequently Asked Questions about How To Pack A Wall Clock For Moving
Was this page helpful?
At Storables.com, we guarantee accurate and reliable information. Our content, validated by Expert Board Contributors, is crafted following stringent Editorial Policies. We're committed to providing you with well-researched, expert-backed insights for all your informational needs.


0 thoughts on “How To Pack A Wall Clock For Moving”