Articles
How To Make A Wall Clock
Modified: August 28, 2024
Learn how to make a unique wall clock with our informative articles. Discover creative tips and step-by-step instructions to craft your own timepiece.
(Many of the links in this article redirect to a specific reviewed product. Your purchase of these products through affiliate links helps to generate commission for Storables.com, at no extra cost. Learn more)
Introduction
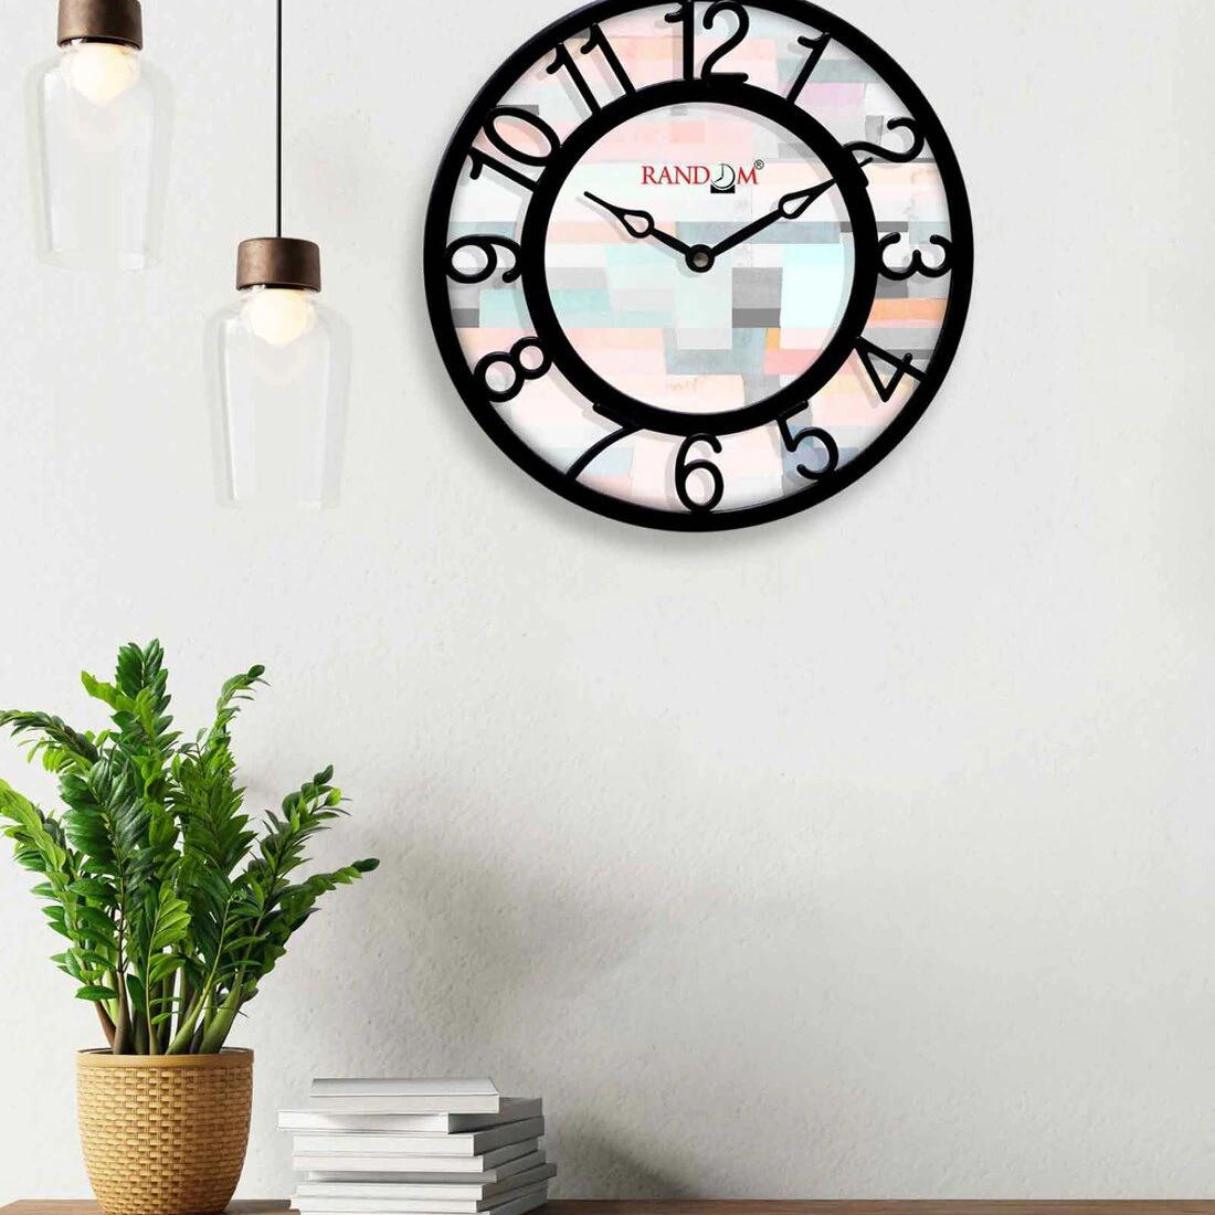
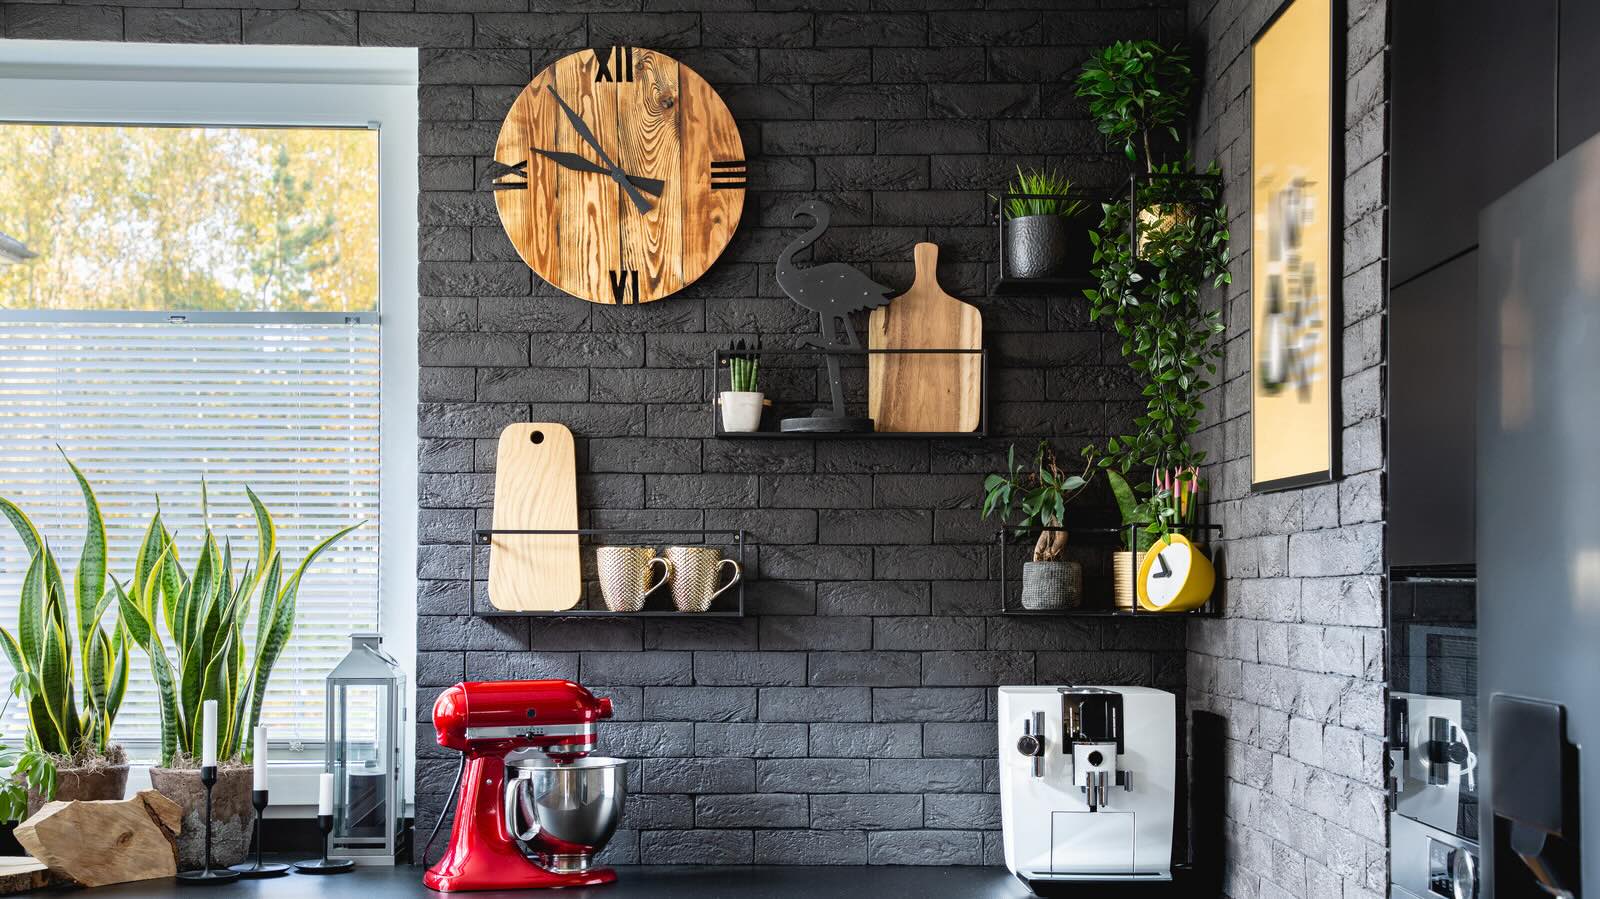
Wall clocks are not only functional timekeeping devices but also stylish decor pieces that can enhance the aesthetic appeal of any room. Instead of buying a mass-produced wall clock, why not challenge your creativity and make a unique one yourself? Not only will this allow you to customize the design to align with your personal style, but it will also give you a sense of satisfaction and pride.
In this article, we will guide you through the step-by-step process of making your very own wall clock. Don’t worry if you’re not a DIY expert or a seasoned woodworker – this project is suitable for beginners and can be completed with basic tools and materials.
Before we dive into the details, let’s gather all the materials you’ll need for this project.
Key Takeaways:
- Create a unique wall clock that reflects your style and personality by following simple DIY steps. Enjoy the satisfaction of crafting a functional and visually appealing timepiece for your home.
- From choosing the right materials to mounting the clock on the wall, this DIY project offers a fulfilling and creative way to enhance your living space. Unleash your creativity and embark on the journey of making a one-of-a-kind wall clock.
Materials Needed
Before you get started, it’s essential to gather all the necessary materials. Here’s a list of items you’ll need:
- Wooden clock face or a piece of wood to make your own clock face
- Clock mechanism kit (including the clock hands)
- Drill with a drill bit suitable for clock mechanism shaft
- Saw (either a jigsaw or a hand saw will work)
- Sandpaper (in various grits for sanding the wood)
- Paint or stain (if you prefer to color the wood)
- Paintbrush or foam applicator
- Masking tape or painter’s tape
- Ruler or tape measure
- Pencil
- Screwdriver (usually included in the clock mechanism kit)
- Picture hanging hardware (if needed)
Make sure you have all these materials ready before starting the project to avoid interruptions and make the process smoother.
Step 1: Choosing a Clock Mechanism
The clock mechanism is the heart of your wall clock, responsible for keeping time and ensuring the hands move smoothly. When choosing a clock mechanism, consider the following factors:
- Size: Determine the appropriate size of the clock mechanism based on the diameter of your clock face or the desired size of your clock. Make sure the shaft length is suitable for the thickness of the clock face.
- Movement: Decide if you want a quartz or mechanical movement. Quartz movements are battery-operated and known for their accuracy, while mechanical movements require manual winding but offer a vintage touch.
- Style: Consider the style of the clock hands that come with the mechanism. Choose a style that complements the overall aesthetic of your clock.
- Noise: Some clock mechanisms may produce ticking sounds. If noise bothers you, opt for a mechanism that operates silently.
Once you’ve chosen the clock mechanism, carefully read the instructions provided with it. Familiarize yourself with its components and understand how to assemble them.
Now that you have the clock mechanism ready, it’s time to move on to preparing the clock face.
Step 2: Preparing the Clock Face
The clock face is a crucial element that sets the style and character of your wall clock. You have two options: either purchase a pre-made wooden clock face or create your own using a piece of wood.
If you choose to make your own, follow these steps:
- Start by selecting a piece of wood that is suitable for your desired clock size and style. Make sure the wood is smooth with no visible defects.
- Measure and mark the diameter of your clock face on the wood using a ruler or tape measure. Use a pencil for accurate marking.
- Use a saw (jigsaw or hand saw) to carefully cut out the marked circle on the wood. Take your time and make precise cuts to ensure a clean and even circle.
- Once the circle is cut, use sandpaper of various grits to smoothen the edges and the surface of the wood. Start with a coarse grit and gradually move to finer grits for a polished finish.
- If you prefer a colored clock face, now is the time to apply paint or stain. Choose a color that matches your interior decor or reflects your personal style. Apply the paint or stain using a paintbrush or foam applicator and let it dry completely.
If you opt for a pre-made wooden clock face, make sure it is clean and free from any imperfections. Sand it lightly if needed and consider painting or staining it to match your preferences.
With the clock face prepared, you’re ready to move on to the next step – cutting and sanding the wood for the clock frame.
Step 3: Cutting and Sanding the Wood
The wood frame of your wall clock adds a touch of elegance and provides support for the clock face. Here’s how you can cut and sand the wood to create the frame:
- Measure and mark the length of the wood pieces needed for the frame. The measurements will depend on the size of your clock face and the desired thickness of the frame.
- Using a saw (jigsaw or hand saw), carefully cut the wood pieces according to the marked measurements. Ensure that the cuts are straight and precise for a seamless frame.
- After cutting, use sandpaper of various grits to smoothen the edges and surfaces of the wood pieces. Start with a coarse grit and gradually move to finer grits for a polished finish.
- If you want to add extra details or decorative edges to the wooden frame, you can use a router or other woodworking tools to create custom designs.
- Once the wood pieces are cut and sanded to your satisfaction, it’s time to assemble the clock.
Sanding the wood not only ensures a smooth finish but also removes any rough edges that may cause splinters. Take your time during this step to achieve a professional result.
Now that the wood pieces are ready, let’s move on to the next step – assembling the clock.
When making a wall clock, ensure that the clock mechanism is securely attached to the back of the clock face to prevent it from falling off and causing damage.
Read more: How To Set A Wall Clock
Step 4: Assembling the Clock
Assembling the clock involves attaching the clock mechanism to the wooden clock face and frame. Here’s how you can do it:
- Place the clock face on a flat surface and position the clock mechanism at the center of the back. Ensure that the shaft of the clock mechanism is aligned with the hole in the clock face.
- Hold the clock mechanism firmly in place and insert the threaded end of the shaft through the hole in the clock face.
- Secure the clock mechanism to the clock face by tightening the nut provided with the mechanism. Use a screwdriver, if necessary, to ensure it is securely fastened.
- If your clock face has a thickness that is greater than the length of the shaft, you may need to use a rubber washer or spacers to ensure a snug fit.
- Once the clock mechanism is securely attached, place the wooden frame around the clock face, aligning it properly.
- Use screws or nails (depending on the thickness of the wood) to attach the frame to the clock face. Make sure the screws or nails are long enough to securely hold the frame in place.
During the assembly process, double-check the alignment of the clock mechanism, ensuring it is centered and level on the clock face. This will help prevent any issues with the movement of the clock hands.
With the clock assembled, it’s time to move on to mounting the clock on the wall – the next step in creating your personalized wall clock.
Step 5: Mounting the Clock on the Wall
Mounting your DIY wall clock on the wall is a crucial step to ensure it stays secure and functional. Follow these steps for successful installation:
- Choose the desired location on the wall where you want to hang your clock. Make sure it is easily visible and at a suitable height.
- If necessary, use a stud finder to locate a stud in the wall for added stability. Mark the position of the stud.
- Hold the clock against the wall and use a pencil to mark the spots where you will attach the hanging hardware.
- Based on the weight and size of your clock, select the appropriate picture hanging hardware. This can include D-rings, keyhole hangers, or wall anchors.
- Attach the hanging hardware to the back of the clock using screws or nails. Make sure they are securely fastened to support the weight of the clock.
- Align the clock with the marked spots on the wall and use a level to ensure it is straight. Adjust the positioning if needed.
- Using a drill or a hammer, securely attach the hanging hardware to the wall, following the manufacturer’s instructions. If necessary, use wall anchors for additional support.
Once the clock is mounted on the wall, give it a gentle shake to ensure it is stable and doesn’t move. If there are any adjustments needed, make them before proceeding to the next step.
Now that your clock is securely hanging on the wall, it’s time to add the clock hands and bring it to life.
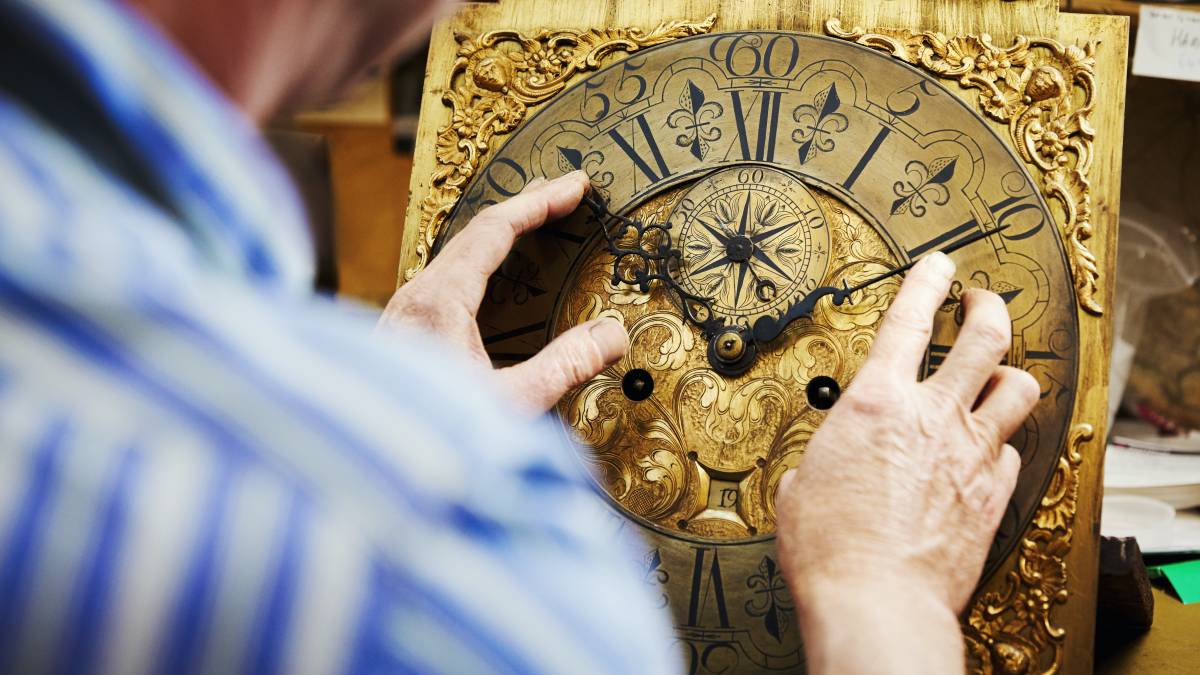
Step 6: Adding the Clock Hands
The clock hands are what make your wall clock functional and help you tell the time at a glance. Here’s how you can add the clock hands to your DIY wall clock:
- Take a close look at the clock mechanism and identify the hour, minute, and second hands.
- On the back of each hand, you will find a small hole or a threaded shaft.
- Starting with the hour hand, align the small hole or threaded shaft with the corresponding shaft on the clock mechanism.
- Gently press or screw the hour hand onto the shaft, ensuring it is centered and level.
- Repeat the process for the minute hand, aligning it with the appropriate shaft on the clock mechanism.
- Finally, attach the second hand, if included with your clock mechanism, in the same manner.
- Ensure that all the clock hands have enough clearance to move freely without touching the clock face or the frame.
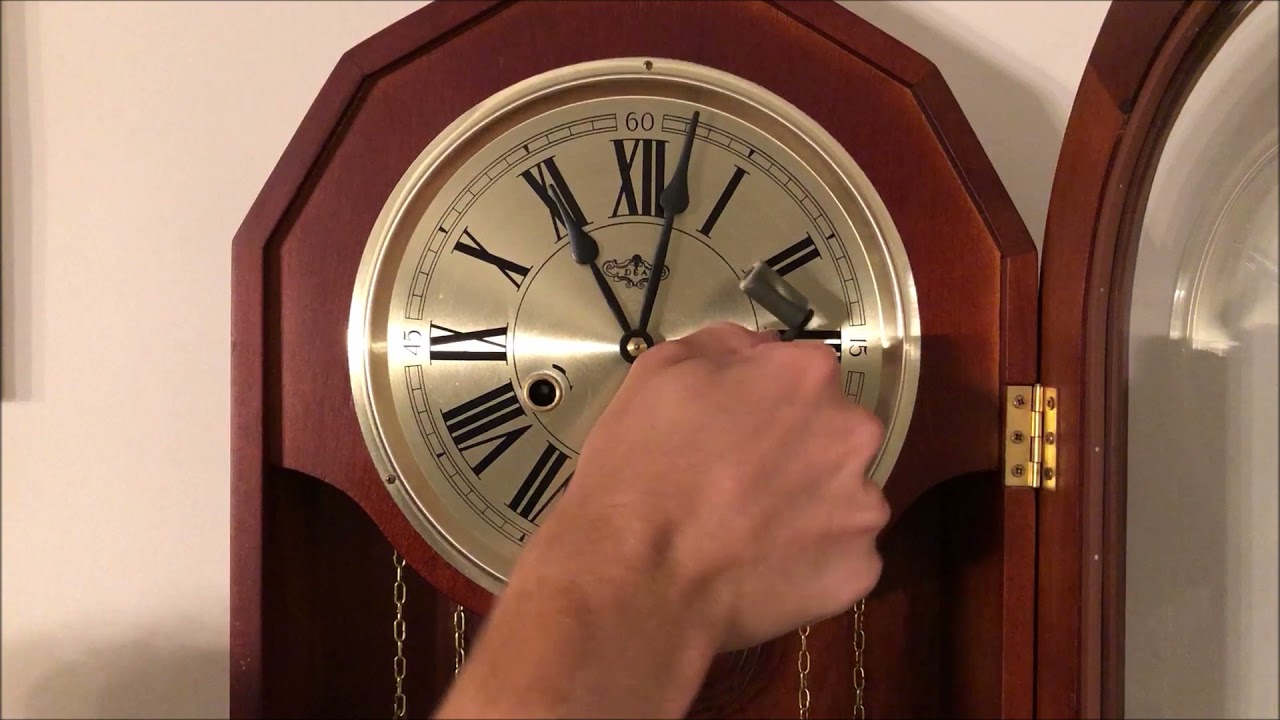
Once the clock hands are securely attached, set the correct time by spinning the minute hand clockwise. Avoid moving the hour hand while setting the time to maintain accuracy.
With the clock hands in place and the time set, it’s time for the final touches and adjustments to make your wall clock complete.
Step 7: Final Touches and Adjustments
Now that your DIY wall clock is almost complete, it’s time to add some final touches and make any necessary adjustments. Follow these steps to ensure your clock is functioning perfectly:
- Inspect the clock face and frame for any smudges, fingerprints, or imperfections. Use a soft cloth or damp sponge to clean and remove any dirt or debris.
- Check the stability of the clock on the wall. Ensure the frame is securely attached and the clock is level. Make any necessary adjustments to ensure it is straight and balanced.
- If your clock mechanism requires a battery, ensure it is fresh and correctly inserted. Follow the manufacturer’s instructions for battery replacement if needed.
- Take a step back and examine your wall clock from different angles. Does it align with your envisioned design and style? Consider adding any additional decorative elements such as decals, numbers, or personalization to enhance its visual appeal.
- Double-check the movement of the clock hands. Ensure they move smoothly and without any obstructions. Adjust the tightness of the minute hand if necessary to prevent any unwanted ticking sounds.
- Set the clock to the correct time, ensuring the hands align accurately. Use a reliable time source, such as your smartphone or a wall clock, as a reference.
- Give your wall clock a test run for a few hours or a day to ensure it keeps accurate time and operates smoothly. Make any adjustments if you notice any irregularities.
With the final touches and adjustments complete, your DIY wall clock is now ready to adorn your living space and serve as a functional timepiece.
Remember to periodically check and maintain your wall clock to keep it in optimal condition. Replace batteries as needed, clean the clock face and hands regularly, and make any necessary repairs or adjustments over time.
Congratulations on creating your own unique and personalized wall clock!
Read more: How To Repair Wall Clock
Conclusion
Creating your own wall clock is a rewarding and fulfilling DIY project that allows you to showcase your creativity and add a personal touch to your home decor. By following the steps outlined in this guide, you can design and assemble a unique wall clock that reflects your style and enhances the ambiance of any room.
From choosing the right clock mechanism to preparing the clock face, cutting and sanding the wood, and assembling the clock, each step contributes to the final product. Mounting the clock on the wall, adding the clock hands, and making final adjustments ensure that your DIY wall clock is not only visually appealing but also functional and accurate in keeping time.
While this guide provides a general framework, feel free to experiment and tailor the process to your preferences. Explore different wood types, paint colors, and styles of clock mechanisms to create a wall clock that truly stands out.
Whether you hang your DIY wall clock in the living room, kitchen, bedroom, or office, it will serve as a unique conversation piece and a functional timekeeping device. Every glance at your handmade creation will remind you of the satisfaction and sense of accomplishment that comes with crafting something beautiful and functional with your own hands.
Now, gather your materials, unleash your creativity, and embark on the journey of making a one-of-a-kind wall clock that reflects your personality and style.
Happy crafting!
Frequently Asked Questions about How To Make A Wall Clock
Was this page helpful?
At Storables.com, we guarantee accurate and reliable information. Our content, validated by Expert Board Contributors, is crafted following stringent Editorial Policies. We're committed to providing you with well-researched, expert-backed insights for all your informational needs.


0 thoughts on “How To Make A Wall Clock”