Articles
How To Wind A Regulator Wall Clock
Modified: February 24, 2024
Discover step-by-step articles on how to properly wind a regulator wall clock. Ensure accurate timekeeping and maintain the beauty of your timepiece.
(Many of the links in this article redirect to a specific reviewed product. Your purchase of these products through affiliate links helps to generate commission for Storables.com, at no extra cost. Learn more)
Introduction
Welcome to the world of regulator wall clocks! These elegant timepieces not only add a touch of sophistication to any space but also serve as accurate timekeepers. If you are new to the world of regulator wall clocks or have recently acquired one, you might be wondering how to wind and maintain it properly. Don’t worry; we’re here to guide you through the process.
Regulator wall clocks are known for their precision and reliability. They typically have three key components: the pendulum, the escapement mechanism, and the weight or spring-driven mechanism. The pendulum regulates the clock’s timekeeping accuracy, while the escapement mechanism controls the release of energy to keep the clock running smoothly. The weight or spring-driven mechanism provides the power needed to keep the clock ticking.
Before you start winding your regulator wall clock, it’s important to understand its specific requirements. Some regulator clocks are weight-driven, while others are spring-driven. The winding process may vary depending on the type of clock you have. Additionally, you’ll need to determine how frequently your clock needs winding, as this can vary from clock to clock.
Properly maintaining and caring for your regulator wall clock is essential to ensure its longevity and accurate timekeeping. This includes regular cleaning, lubrication, and occasional repairs if needed. By following a few simple steps, you can keep your clock looking beautiful and working perfectly for years to come.
In this article, we will guide you through the process of winding and setting the time on your regulator wall clock. We will also provide you with essential tips for maintaining and caring for your clock properly. Let’s get started on this exciting journey into the world of regulator wall clocks!
Key Takeaways:
- Embrace the elegance and precision of regulator wall clocks by understanding their key components, following proper winding techniques, and maintaining regular care for accurate timekeeping and longevity.
- Ensure the longevity and accurate timekeeping of your regulator wall clock by following specific winding instructions, setting the time with attention to detail, and implementing regular maintenance and care practices.
Read more: How To Make A Wall Clock
Understanding the Key Components of a Regulator Wall Clock
Before we delve into the process of winding and maintaining your regulator wall clock, it’s important to familiarize yourself with its key components. By understanding how these components work together, you’ll gain a better appreciation for the intricacy of these timepieces.
The first and most noticeable component of a regulator wall clock is the pendulum. The pendulum serves as the timekeeping regulator, determining the clock’s accuracy. It swings back and forth in a precise motion, controlled by the escapement mechanism. The length of the pendulum and its swing rate directly affect the clock’s timekeeping.
Next, we have the escapement mechanism. This mechanism controls the release of energy from the weight or spring and regulates the swing of the pendulum. It consists of a series of gears and levers that allow the clock to release a small amount of energy in precise intervals, keeping the pendulum in motion.
Finally, we have the weight or spring-driven mechanism. This mechanism provides the power needed to keep the clock running. In weight-driven clocks, a set of weights hang below the clock and pull on chains or cables, driving the gears and keeping the clock in motion. In spring-driven clocks, a tightly wound spring inside the clock provides the necessary energy.
Together, these components work harmoniously to ensure the accurate timekeeping of a regulator wall clock. The pendulum regulates the clock’s timing, the escapement controls the release of energy, and the weight or spring-driven mechanism provides the power. Understanding how these components function will help you better appreciate the complexity and craftsmanship of these remarkable timepieces.
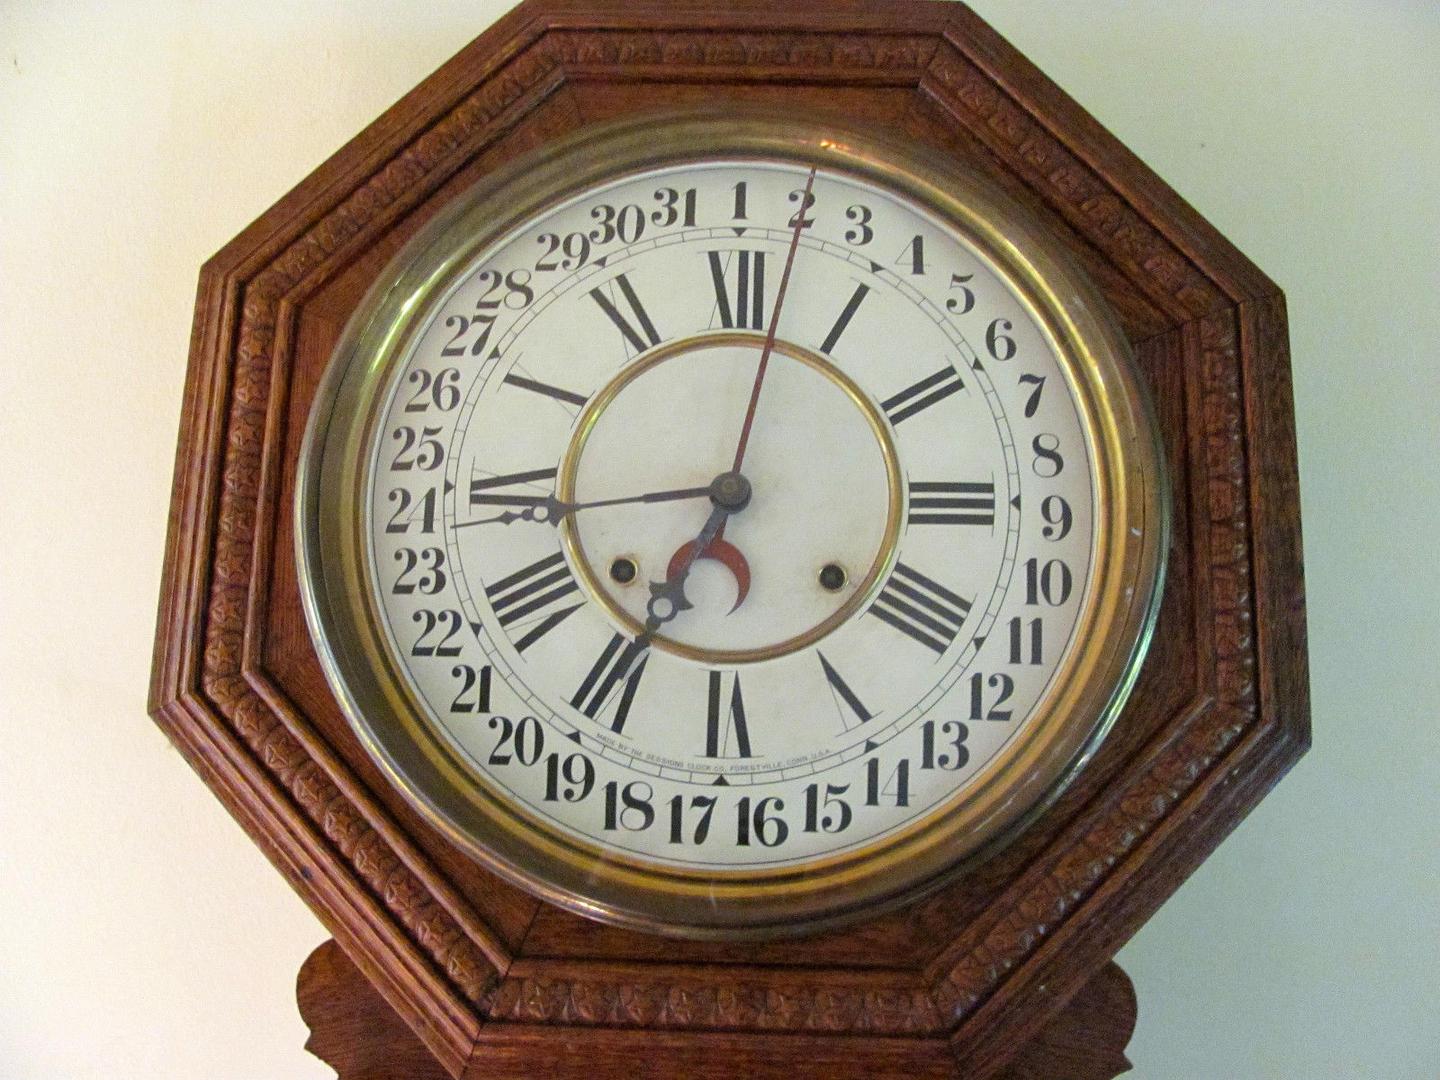
When it comes to choosing a regulator wall clock, you’ll find a wide range of styles and designs available. From traditional wooden cases to more modern metal or glass enclosures, there is a clock to suit every taste and decor. Additionally, some regulator clocks feature additional complications such as chimes or moon phase indicators, adding a touch of sophistication to the timekeeping experience.
Now that you have a better understanding of the key components of a regulator wall clock, let’s move on to the essential steps for winding and maintaining your clock to ensure its optimal functionality and longevity.
Preparing to Wind the Regulator Wall Clock
Before you begin the winding process, it’s important to prepare your regulator wall clock to ensure a smooth and successful wind. Follow these steps to ensure that everything is in order before you start:
- Find a steady surface: Choose a flat and stable surface to place your regulator wall clock. This will prevent any accidental damage during the winding process.
- Gather the necessary tools: Depending on the type of clock you have, you may need specific tools for winding. Most regulator wall clocks can be wound using a crank or winding key. Make sure you have the appropriate tool handy and easily accessible.
- Identify the winding points: Look for the designated winding points on your clock. These are typically located on the dial or face of the clock. The winding points may be labeled “R” for the right side (usually for the timekeeping function) and “L” for the left side (usually for the striking function). Take note of these locations for easier winding.
- Check the power reserve: If you have a weight-driven clock, check the position of the weights. They should be near the top of their travel, indicating that there is enough power in the clock to keep it running for a while. If the weights are close to the bottom, it’s a sign that the clock may need winding soon.
- Inspect the clock for any abnormalities: Take a moment to visually inspect your regulator wall clock. Look for any loose or damaged parts, such as loose hands or a pendulum that is not hanging properly. If you notice anything out of the ordinary, it’s best to address the issue before winding the clock.
By taking these preparatory steps, you are laying the foundation for a successful winding process. It ensures that your clock is in a safe and stable position, you have the necessary tools at hand, and you are aware of the winding points and power reserve of the clock. Now that you are fully prepared, let’s move on to the next step: winding the regulator wall clock.
Winding the Regulator Wall Clock
Now that you have prepared your regulator wall clock, it’s time to wind it. The winding process may vary depending on the type of clock you have – whether it’s weight-driven or spring-driven. Follow these steps for a successful winding:
For Weight-Driven Clocks:
- Locate the winding points: Look for the labeled “R” and “L” winding points on the clock’s face. “R” usually refers to the right side, which is responsible for the timekeeping mechanism, while “L” refers to the left side, which controls any striking or chiming.
- Wind the clock: Begin by winding the clock on the right side. Insert the winding crank or key into the “R” winding point and turn it clockwise. Be gentle and maintain a steady pace while winding. You will feel resistance as you wind the clock. Continue winding until you meet firm resistance or the weight reaches its highest point.
- Wind the striking mechanism (if applicable): If your clock has a striking or chiming function, move to the left side. Insert the winding key or crank into the “L” winding point and turn it clockwise. Again, wind until you encounter resistance or the weight reaches its highest point.
- Do not overwind: It’s important not to overwind the clock. Once you feel firm resistance or the weight reaches its maximum point, stop winding. Overwinding can damage the mechanism and affect the clock’s functionality.
- Start the clock: Once the clock is wound, gently push the pendulum to one side to set it in motion. The clock should start ticking and regulating time.
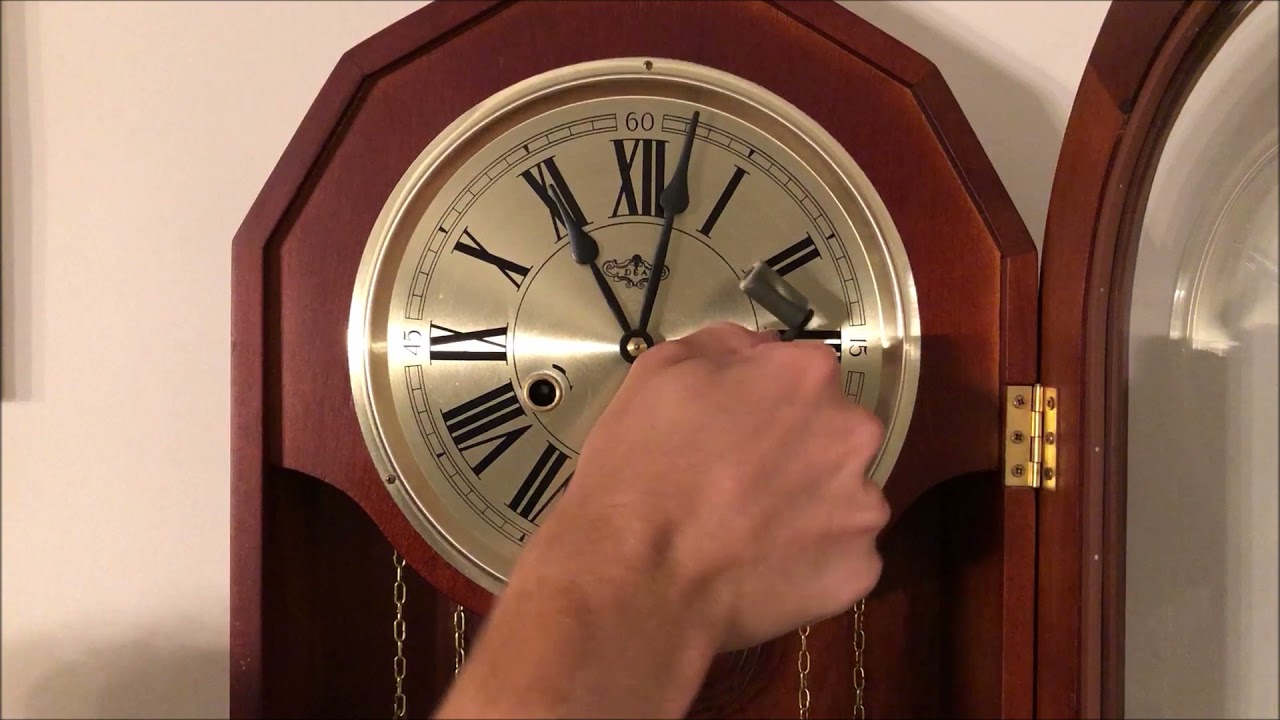
For Spring-Driven Clocks:
- Locate the winding point: Search for the winding point, usually located at the center of the clock’s face. You might need to open a small door or remove a decorative cover to access the winding point.
- Wind the clock: Insert the winding key into the winding point and turn it clockwise. Be careful not to apply excessive force or turn the key past the point of resistance. Wind the spring until you feel firm resistance or the key cannot be turned any further.
- Do not overwind: Similar to weight-driven clocks, make sure not to overwind the spring. Once you encounter resistance or the key can no longer be turned, stop winding. Overwinding can damage the spring and affect the clock’s functionality.
- Start the clock: Gently move the clock’s hands to set the correct time. As you do, the clock should start ticking, indicating that it is in proper working order.
Remember, the winding process may vary slightly based on the specific design of your regulator wall clock. It’s always a good idea to refer to the manufacturer’s instructions or consult with a professional if you have any uncertainties.
Now that your regulator wall clock is properly wound, it’s time to set the correct time. In the next section, we will guide you through the process of setting the time on your clock.
When winding a regulator wall clock, always turn the key slowly and steadily to avoid overwinding and damaging the mechanism. Keep track of the number of turns to ensure even tension.
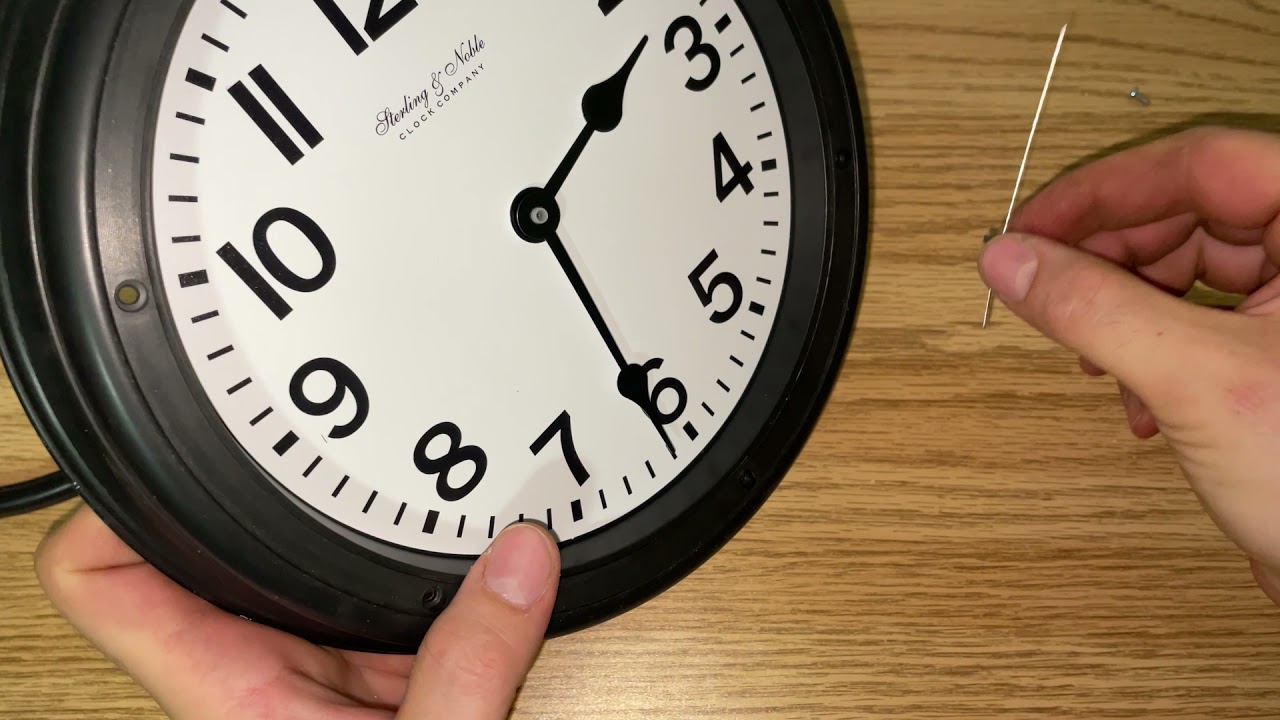
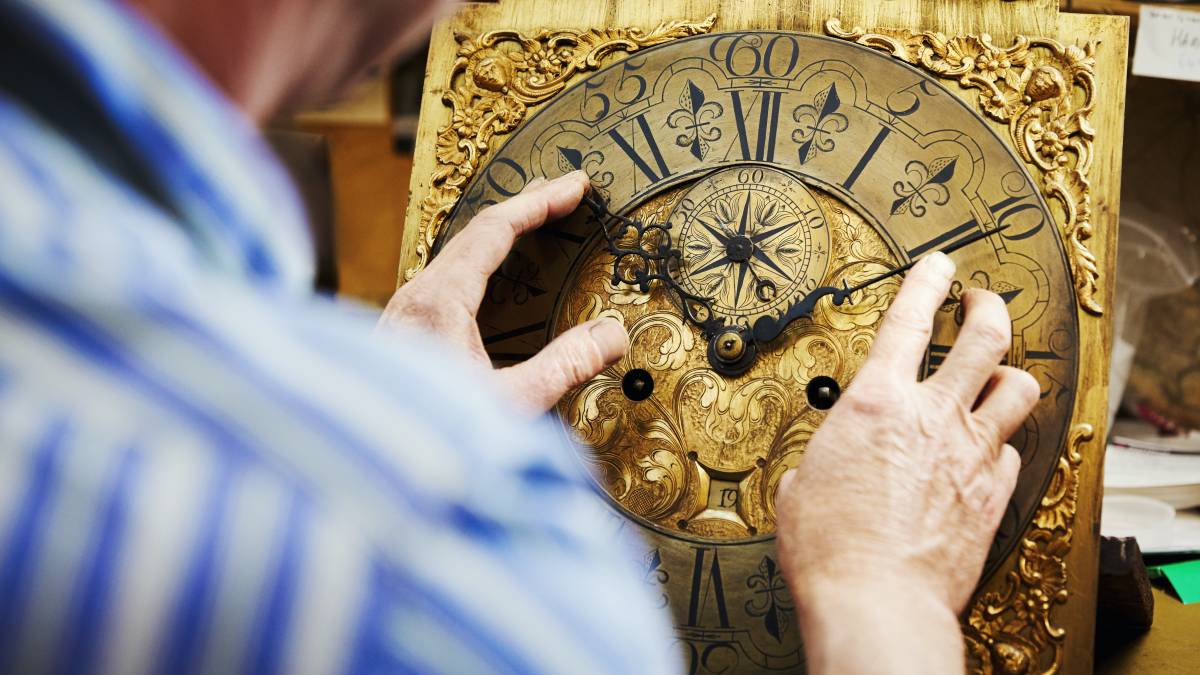
Setting the Time on the Regulator Wall Clock
After successfully winding your regulator wall clock, it’s important to set the correct time to ensure accurate timekeeping. Follow these easy steps to set the time on your clock:
- Pause the pendulum: Before setting the time, gently stop the pendulum from swinging. This will prevent any interference while adjusting the clock hands.
- Identify the hour and minute hands: Take a moment to identify the hour and minute hands on your regulator wall clock. The hour hand is typically shorter and thicker, while the minute hand is longer and thinner. Some clocks may have additional hands for functions such as date or moon phase indicators.
- Start with the hour hand: Using a gentle and steady motion, move the hour hand clockwise to the desired hour. Take note of whether the clock strikes or chimes at the top of the hour or other designated times.
- Adjust the minute hand: Once the hour hand is set, move the minute hand in a clockwise direction until it aligns with the correct minute on the clock face. Ensure that the minute hand moves smoothly without any resistance.
- Set any additional hands or complications: If your regulator wall clock has additional hands or complications, such as a date or month indicator, adjust them accordingly. Refer to the manufacturer’s instructions for specific guidance on setting these additional features.
- Restart the pendulum: Once the time is set correctly, gently push the pendulum to one side to start it swinging again. The clock should resume ticking and keeping accurate time now that the time is properly set.
It’s important to remember that when setting the time, always move the clock hands in a clockwise direction. This ensures that the clock’s internal mechanism is not strained or damaged.
If your regulator wall clock also has a striking or chiming function, it may require separate adjustments to synchronize the striking mechanism with the time. Refer to the manufacturer’s instructions or consult with a professional if you need assistance with adjusting the striking or chiming features.
Now that you have successfully wound and set the time on your regulator wall clock, it’s time to focus on maintaining and caring for your clock. The next section will provide you with valuable tips on how to keep your regulator wall clock running smoothly for years to come.
Read also: 9 Superior Wind Up Alarm Clock for 2025
Maintaining and Caring for Your Regulator Wall Clock
Proper maintenance and care are essential to ensure the longevity and accurate timekeeping of your regulator wall clock. By following these simple tips, you can keep your clock in optimal condition:
- Regularly dust and clean: Dust and debris can accumulate on the clock’s mechanisms and affect its performance. Use a soft, lint-free cloth or a gentle brush to regularly clean your clock. Avoid using abrasive cleaners or spraying any liquid directly onto the clock.
- Lubricate periodically: Proper lubrication is crucial for the smooth operation of the clock’s gears and mechanisms. Consult the manufacturer’s instructions or seek professional help to determine the appropriate lubricant and schedule for lubrication.
- Check for loose parts: Regularly inspect your regulator wall clock for any loose or damaged parts. This includes checking the hands, pendulum, weights, and any decorative elements. Tighten or repair any loose parts promptly to prevent further damage or inaccuracies.
- Keep the clock level: It’s important to ensure that your clock is level and properly balanced. A slight tilt can affect the pendulum’s swing and disrupt the clock’s accuracy. Use a level tool to ensure that the clock is sitting evenly on the wall or surface.
- Avoid extreme temperatures and humidity: Regulator wall clocks are sensitive to temperature and humidity fluctuations. Avoid placing your clock in areas exposed to direct sunlight or extreme temperature changes. Additionally, keep your clock away from areas with high humidity, such as bathrooms or kitchens.
- Consult a professional for repairs: If your regulator wall clock requires repairs beyond your expertise, it’s best to consult a professional horologist or clockmaker. They have the knowledge and experience to diagnose and fix any issues with your clock, ensuring its proper functionality.
- Keep a record of maintenance: It can be helpful to keep a record of any maintenance or repairs performed on your regulator wall clock. This includes dates of lubrication, repairs, or any adjustments made. This record can be valuable for tracking the clock’s maintenance history and identifying any patterns or issues that may arise.
By implementing these maintenance and care tips, you can enjoy the beauty and accuracy of your regulator wall clock for many years. Remember, proper maintenance not only ensures the clock’s functionality but also preserves its value and aesthetic appeal.
Lastly, don’t forget to take time to appreciate your regulator wall clock as an exquisite piece of craftsmanship. Its elegant design and precise timekeeping are a testament to the art and skill of clockmakers throughout history.
With regular maintenance and care, your regulator wall clock will continue to charm and delight you, becoming a treasured heirloom to pass down through generations.
Conclusion
Congratulations! You have now learned how to wind, set, and care for your regulator wall clock. These timepieces are not only functional but also make beautiful adornments for any space. By understanding the key components of the clock, following proper winding techniques, and maintaining regular care, you can ensure the accurate timekeeping and longevity of your clock.
Remember, when it comes to winding, always follow the specific instructions for your type of clock, whether it is weight-driven or spring-driven. Take care not to overwind and ensure that the clock is properly wound to avoid any strain on its mechanisms.
Setting the time on a regulator wall clock requires attention to detail, ensuring that the hour and minute hands are correctly aligned. Taking precautionary measures to pause the pendulum during the adjustment process will provide a smoother experience.
To maintain and care for your clock, keep it clean and periodically lubricated. Regularly check for loose parts and ensure the clock is level and away from extreme temperatures and humidity. When it comes to repairs, it’s always best to consult a professional to ensure the clock’s integrity and proper functionality.
As you enjoy the steady ticking and graceful pendulum swing of your regulator wall clock, take a moment to appreciate the craftsmanship and artistry behind it. These timepieces are not just tools for telling time but also symbols of historical significance and timeless elegance.
By following the guidelines outlined in this article, you can establish a routine of proper maintenance and care, allowing your regulator wall clock to become a cherished heirloom passed down through generations. So, sit back, relax, and let the rhythmic ticking of your beautiful clock fill your space with timeless charm and sophistication.
Frequently Asked Questions about How To Wind A Regulator Wall Clock
Was this page helpful?
At Storables.com, we guarantee accurate and reliable information. Our content, validated by Expert Board Contributors, is crafted following stringent Editorial Policies. We're committed to providing you with well-researched, expert-backed insights for all your informational needs.


0 thoughts on “How To Wind A Regulator Wall Clock”