Articles
How To Set Up Corny Keg To Kegerator
Modified: October 19, 2024
Learn how to set up a corny keg to kegerator and enjoy cold, refreshing beer at home. Find step-by-step articles and expert tips.
(Many of the links in this article redirect to a specific reviewed product. Your purchase of these products through affiliate links helps to generate commission for Storables.com, at no extra cost. Learn more)
Introduction
Welcome to the world of home brewing! If you’re a beer enthusiast looking for a way to enjoy your favorite brews on tap at home, setting up a corny keg to kegerator is the way to go. With a kegerator, you can have a constant supply of cold, carbonated beer right at your fingertips, without the need for individual bottles or cans.
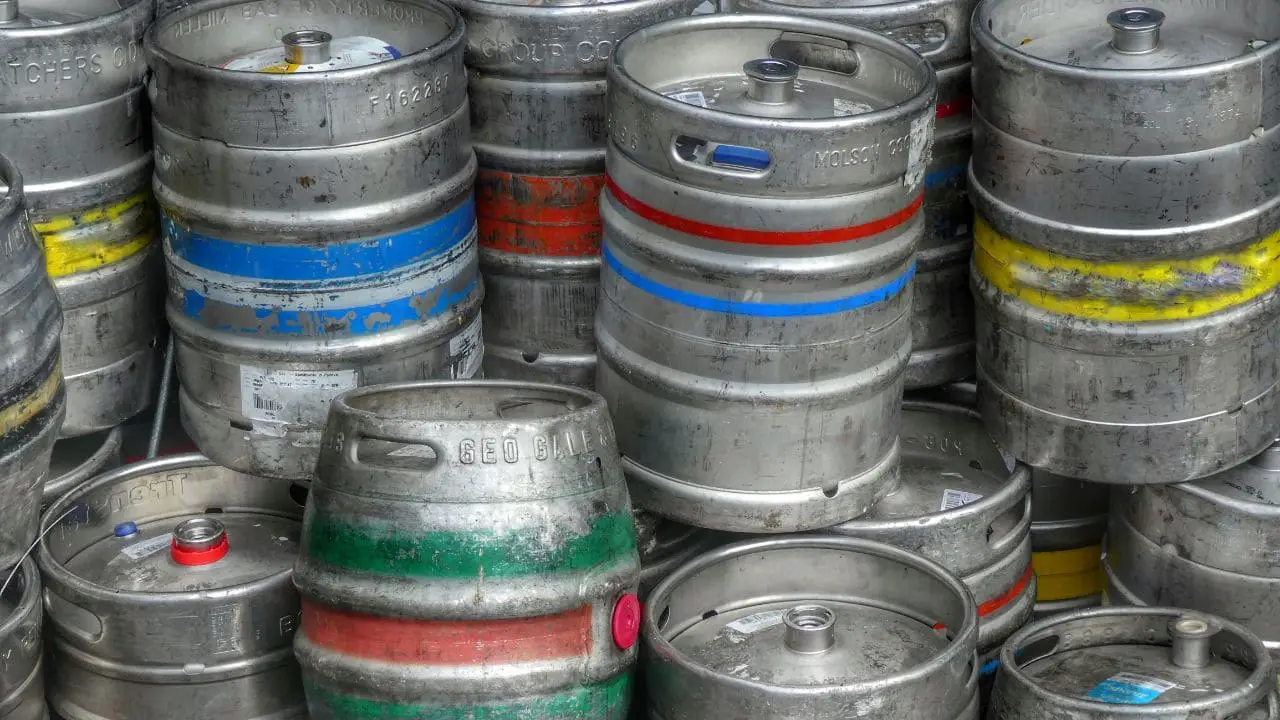
A corny keg, also known as a Cornelius keg, is a stainless steel container that was originally used in the soft drink industry. Today, it has become a popular choice for home brewers due to its durability and ease of use. Converting a corny keg into a kegerator allows you to control the temperature and carbonation of your beer, ensuring that every glass is poured just the way you like it.
In this article, we will guide you through the step-by-step process of setting up a corny keg to kegerator. From cleaning the keg to tapping your first pint, we’ll cover everything you need to know to get started. So, grab your favorite beverage and let’s dive in!
Key Takeaways:
- Transform a corny keg into a kegerator for a constant supply of cold, carbonated beer at home. Follow the step-by-step guide to clean, assemble, and tap the keg for a perfect pour every time.
- Enjoy the convenience of homebrewed draft beer by setting up a kegerator. From cleaning the keg to adjusting CO2 pressure, savor the flavors and aromas of your freshly poured beer.
Equipment Required
Before you begin the process of setting up your corny keg to kegerator, it’s important to gather all the necessary equipment. Here’s a list of what you’ll need:
- Corny keg: This is the main vessel that will hold your beer. Make sure it’s clean and in good working condition.
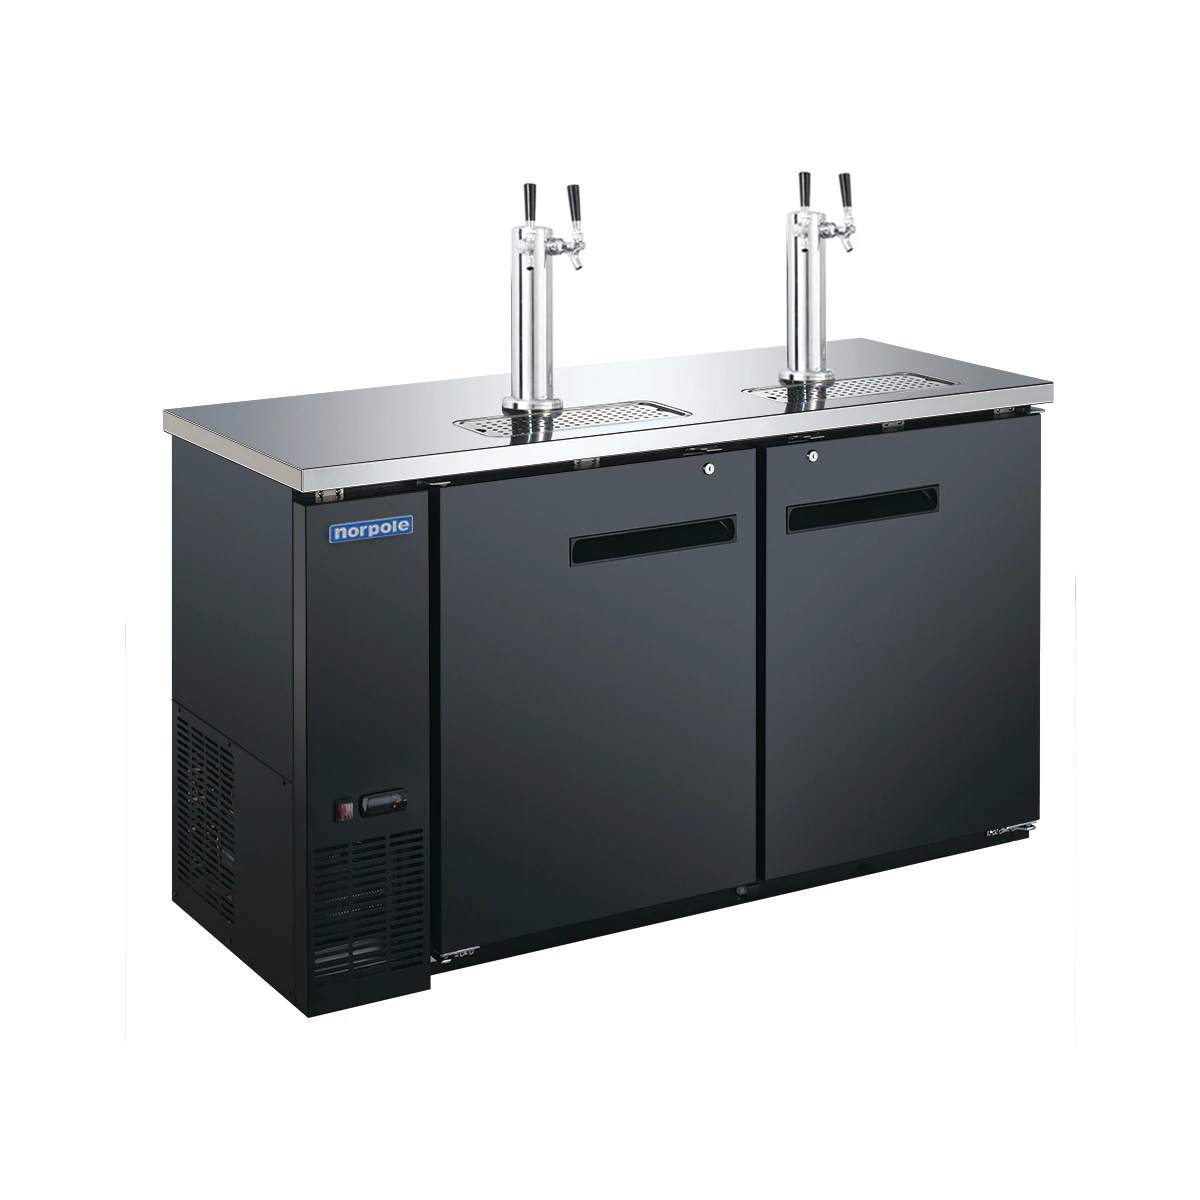
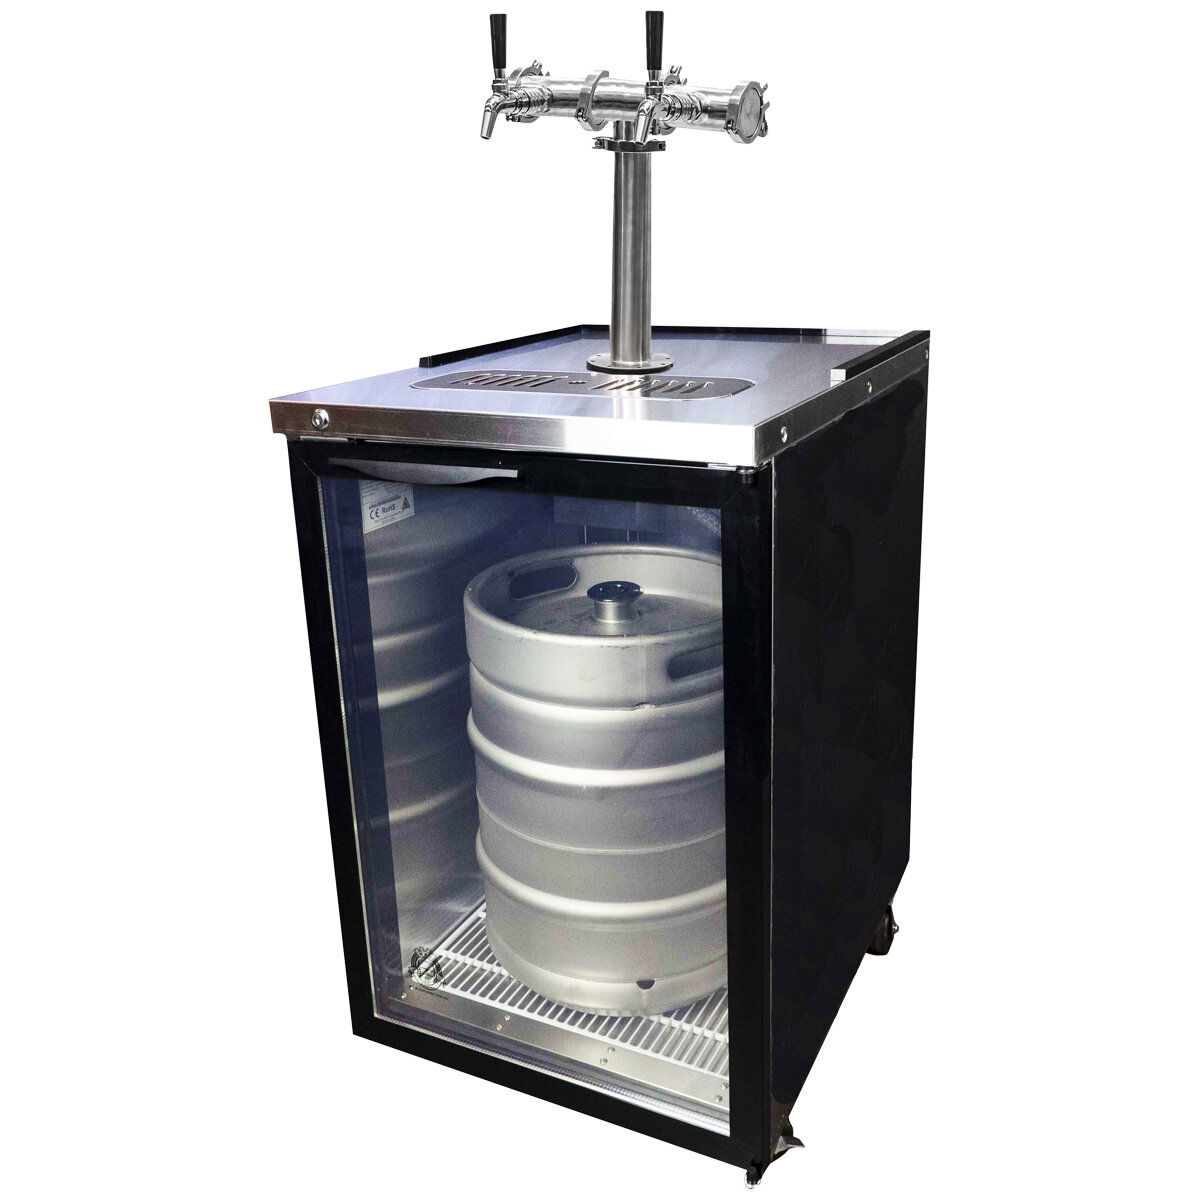
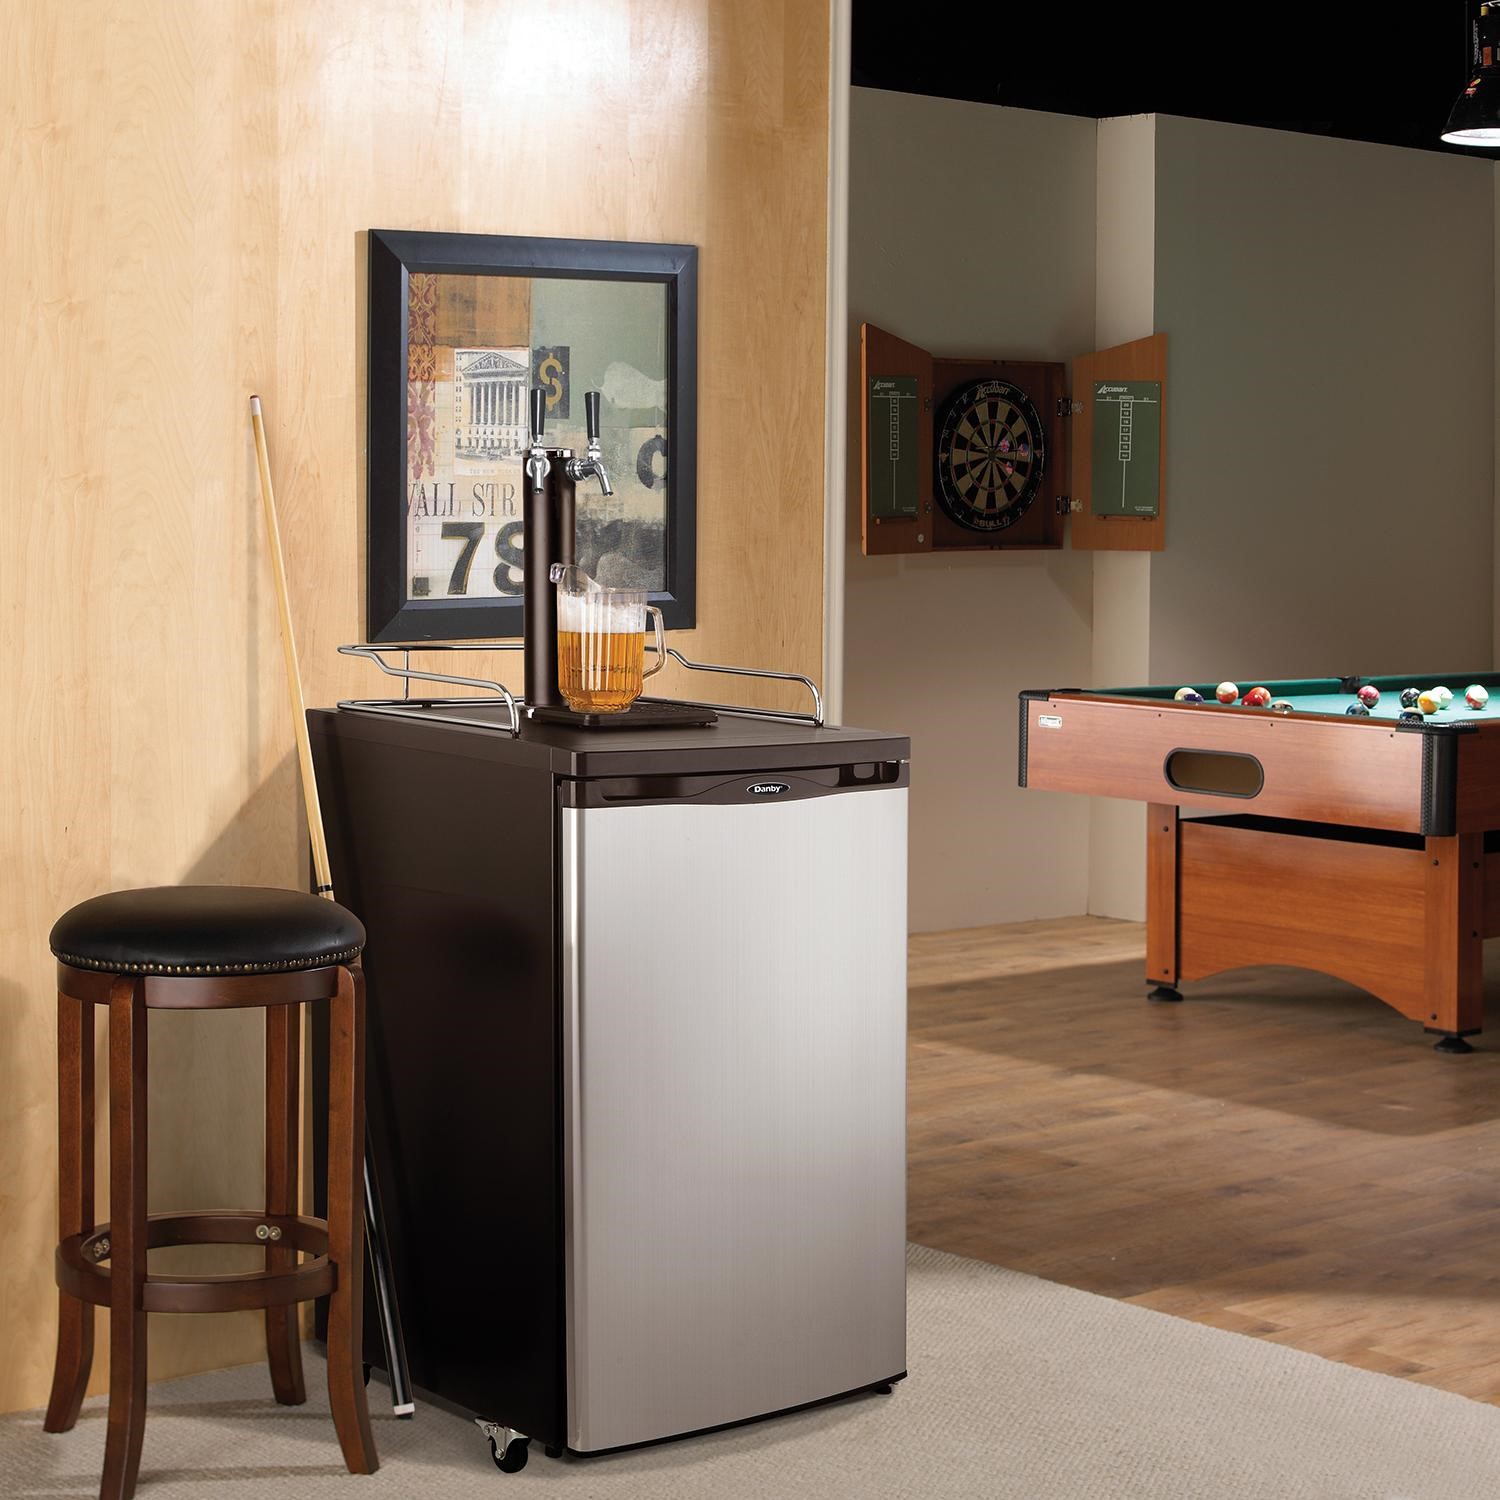
- Kegerator: This is the refrigeration unit that will keep your keg cold. You can purchase a pre-made kegerator or convert a refrigerator into one.
- CO2 tank: This is used to carbonate and dispense the beer. Make sure it’s filled with CO2 gas.
- CO2 regulator: This connects the CO2 tank to the keg and allows you to control the carbonation level.
- Beer lines: These are food-grade hoses that connect the keg to the tap faucet.
- Faucet and shank: The faucet is where the beer is dispensed, and the shank connects it to the beer line.
- Faucet handle: This is the handle that you will use to pour your beer.
- Clamps: These are used to secure the connections between the hoses and the keg.
- Cleaning kit: To ensure that your keg and beer lines are clean and free from any contaminants.
- Sanitizer: A food-grade sanitizer is necessary for properly cleaning and sanitizing your equipment.
Having all of these items ready before you start will make the setup process much smoother, allowing you to enjoy your homebrewed beer in no time.
Step 1: Cleaning the Corny Keg
Before you start using your corny keg, it’s important to ensure that it’s clean and free from any residue or bacteria that could affect the taste and quality of your beer. Here’s how you can clean your corny keg:
- Disassemble the keg: Start by removing all the parts from the keg, including the lid, dip tube, and o-rings.
- Rinse with water: Rinse the keg with hot water to remove any remaining liquid or debris.
- Soak in cleaning solution: Prepare a cleaning solution by mixing a food-grade cleaner with warm water, following the manufacturer’s instructions. Place all the keg parts in the solution and let them soak for the recommended time.
- Scrub the keg: After soaking, use a soft brush or sponge to scrub the interior and exterior of the keg, paying extra attention to any stubborn residue or buildup.
- Rinse thoroughly: Once you’ve scrubbed the keg, rinse it thoroughly with hot water to remove any traces of the cleaning solution.
- Sanitize: Before reassembling the keg, it’s crucial to sanitize all the parts to eliminate any remaining bacteria or contaminants. Use a food-grade sanitizer and follow the instructions for proper sanitization.
- Reassemble the keg: After sanitizing, reassemble the keg by replacing the dip tube, o-rings, and lid. Ensure that everything is securely in place and tightly sealed.
By thoroughly cleaning and sanitizing your corny keg, you’ll create a clean and sterile environment for your beer, allowing it to shine in both taste and aroma.
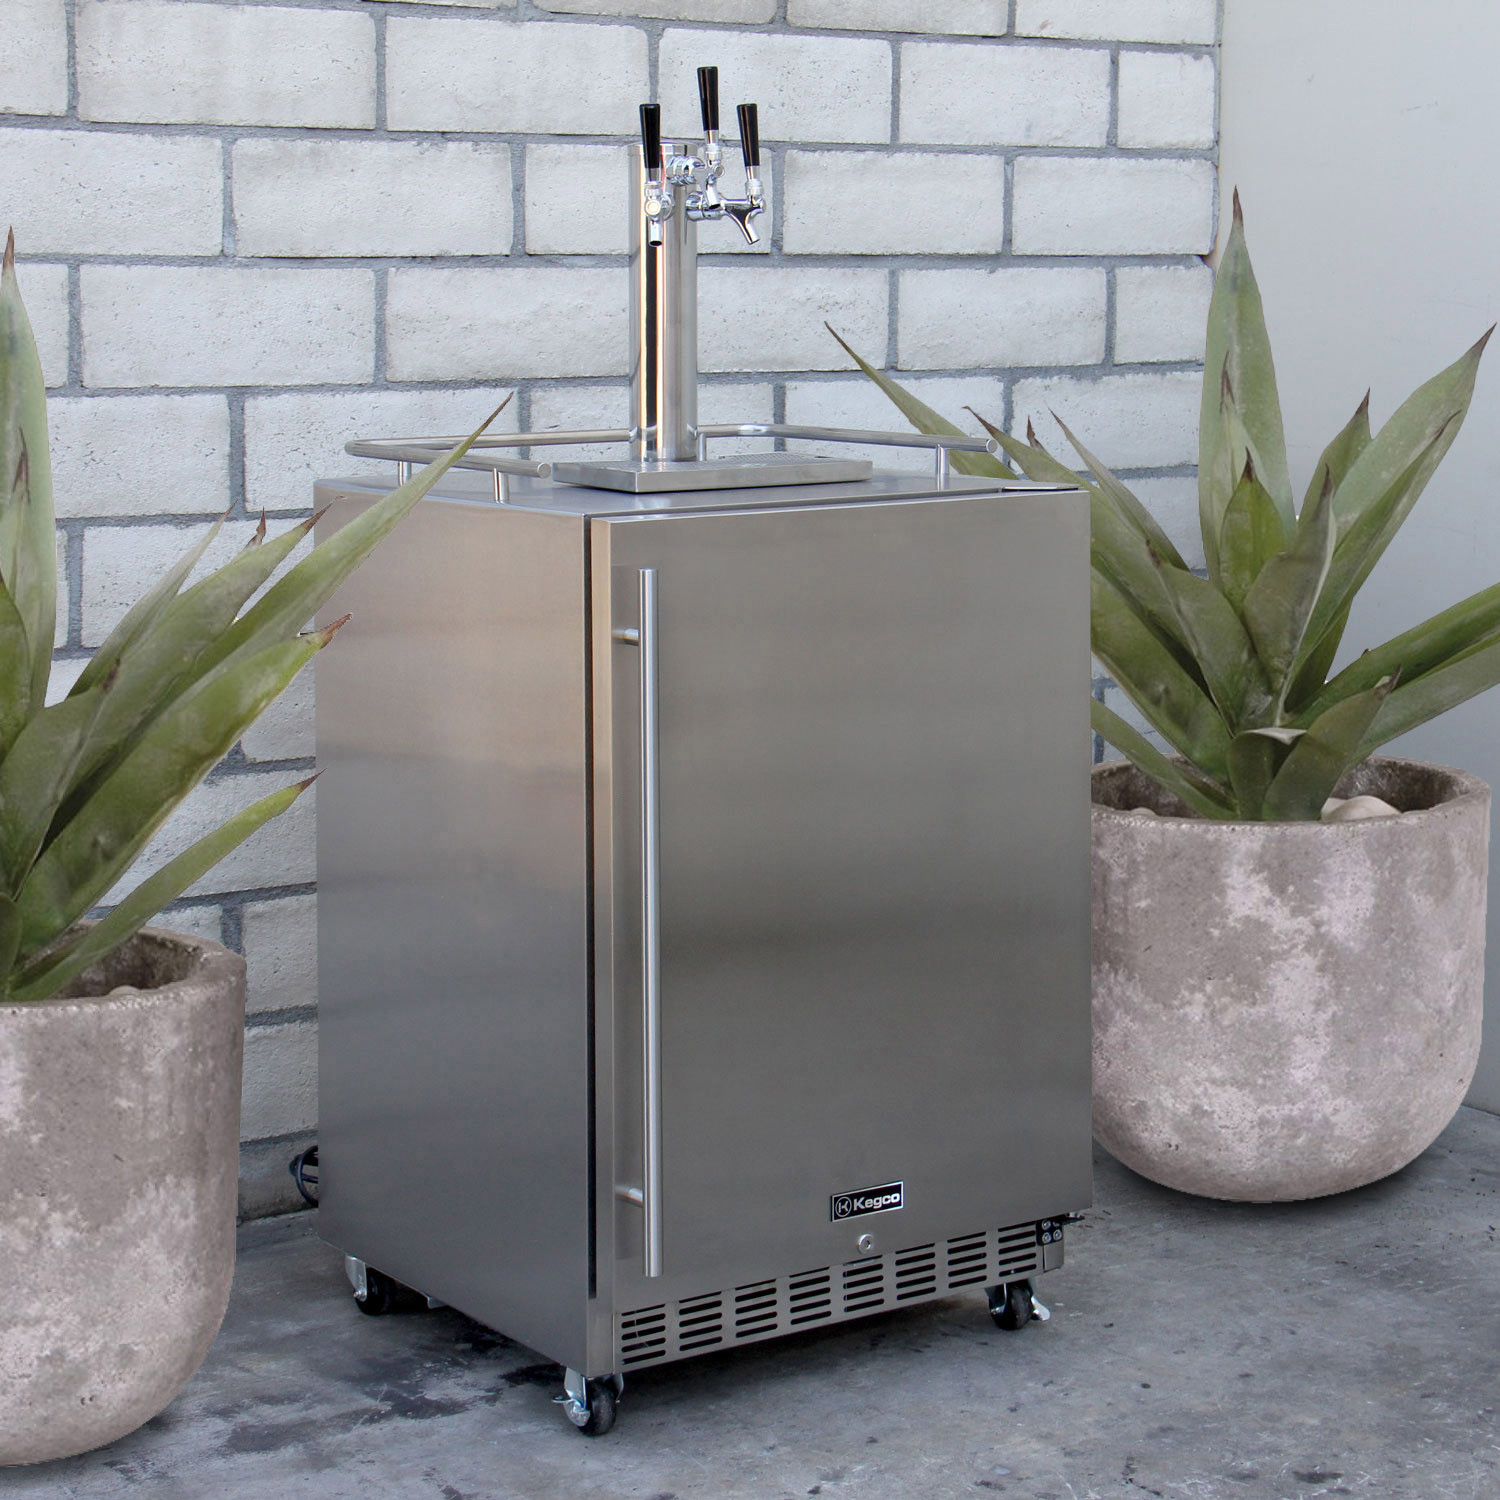
Step 2: Assembling the Kegerator
Now that your corny keg is clean and ready to go, it’s time to assemble the kegerator. If you already have a pre-made kegerator, skip to step 3. Otherwise, follow these steps to convert a refrigerator into a kegerator:
- Select a refrigerator: Choose a refrigerator that is large enough to accommodate your corny keg. It should also have enough space for the CO2 tank and any additional equipment you’ll be using.
- Remove shelves and drawers: Clear out the refrigerator by removing any shelves, drawers, or other interior components that may obstruct the keg’s placement.
- Drill holes: Drill a hole in the front of the refrigerator to feed the beer lines through. This will allow you to connect the keg to the tap faucet on the outside of the refrigerator.
- Install shank and faucet: Insert the shank through the hole you drilled and attach the faucet on the outside. Make sure it is securely tightened and doesn’t leak.
- Mount CO2 tank: Determine a suitable location inside the refrigerator to mount the CO2 tank. Use brackets or straps to secure it in place.
- Secure CO2 regulator: Attach the CO2 regulator to the CO2 tank and ensure it is secure. Adjust the pressure according to your beer’s carbonation requirements.
- Connect beer lines: Run the beer lines from the shank inside the refrigerator to the keg. Use clamps to fasten the connections and ensure a tight seal.
- Plug in and test: Once everything is connected, plug in the kegerator and turn it on. Check for any leaks and make sure the refrigerator is cooling properly.
By following these steps, you’ll have your kegerator assembled and ready to move on to the next stages of setting up your corny keg.
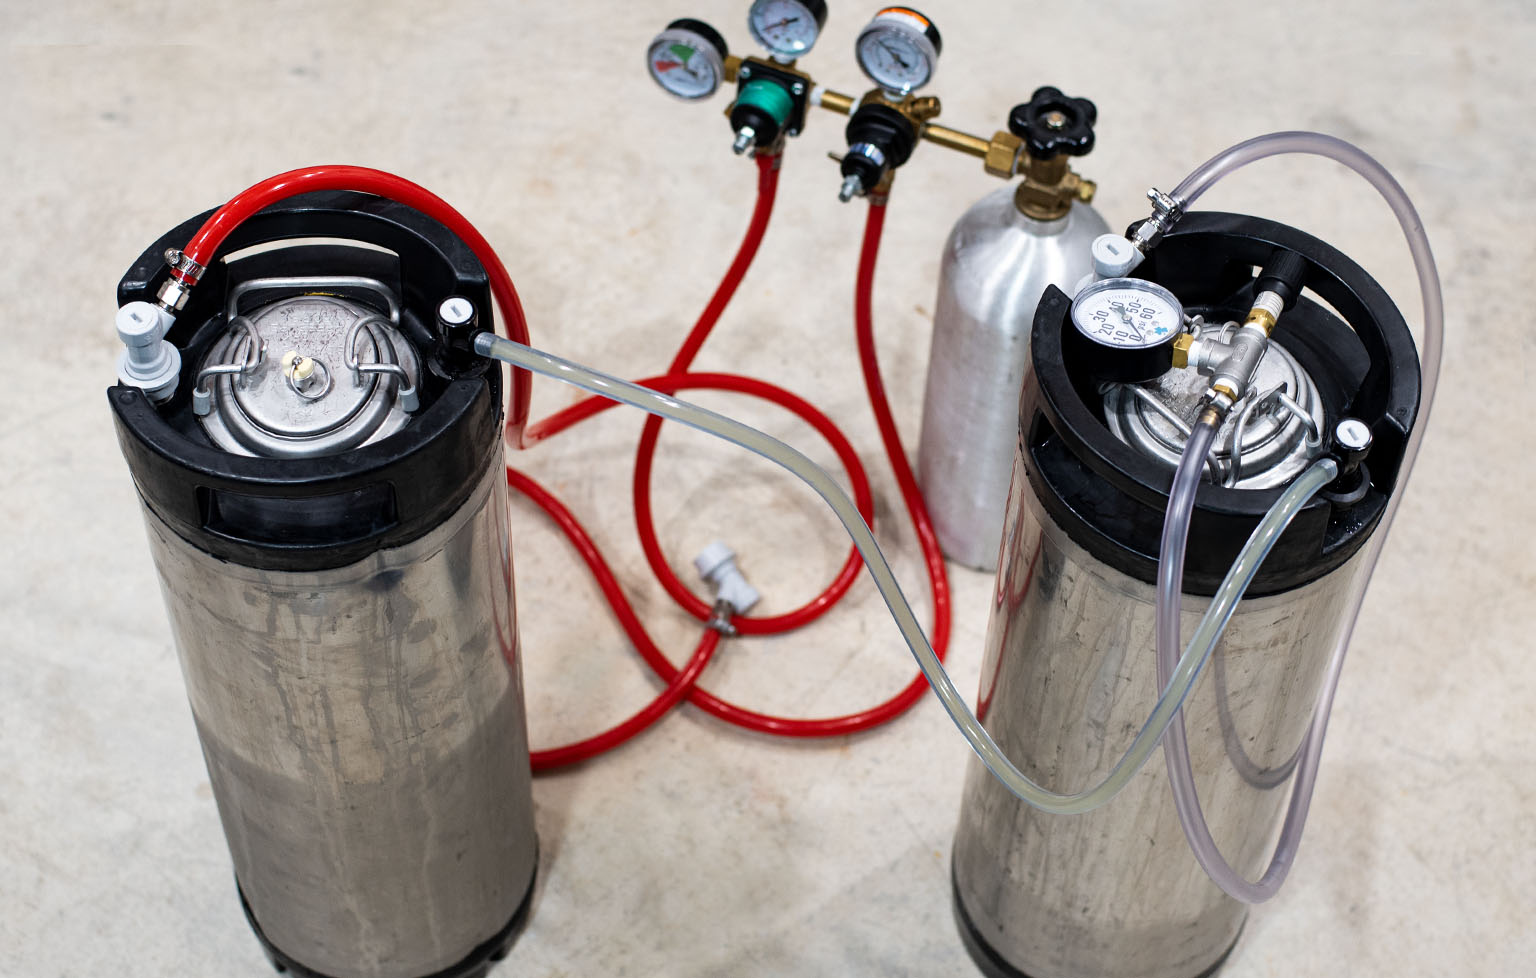
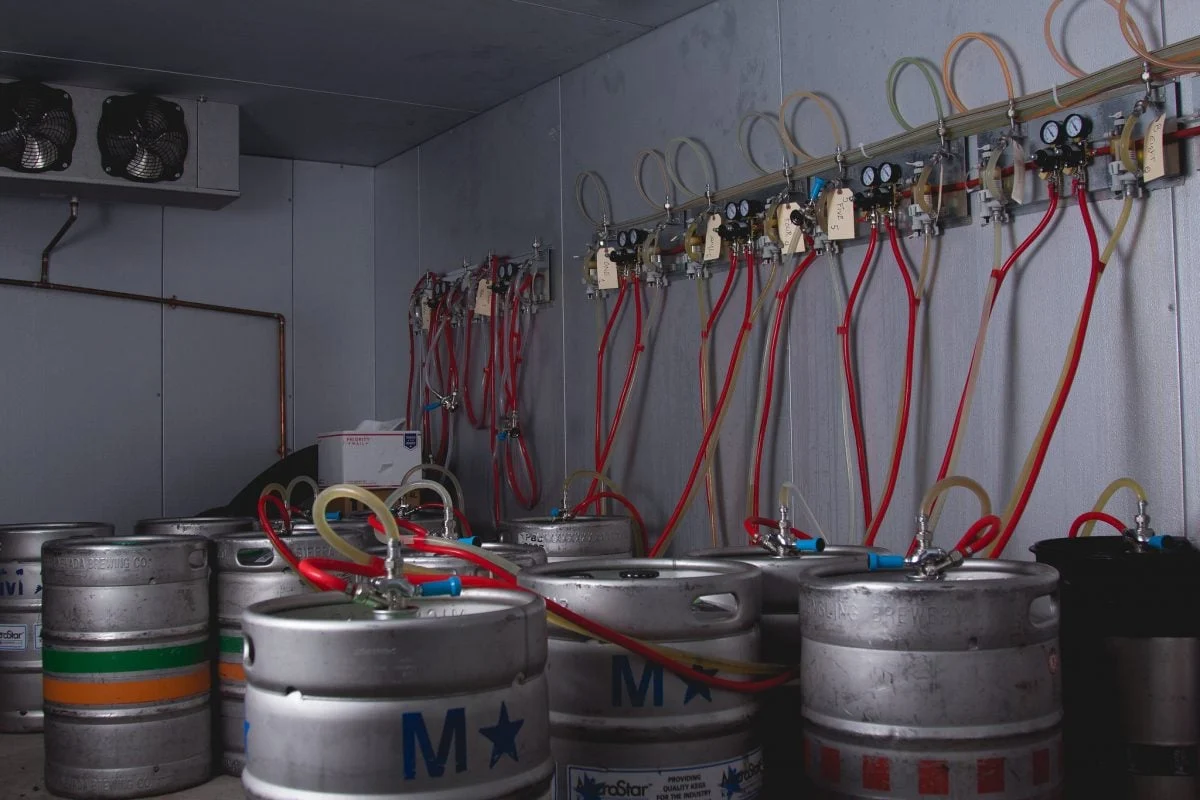
Step 3: Connecting the CO2 Tank
Now that you have your kegerator assembled, it’s time to connect the CO2 tank to your corny keg. The CO2 tank will provide the carbonation needed to dispense your beer. Here’s how you can connect the CO2 tank:
- Locate the CO2 tank: Ensure that your CO2 tank is filled with CO2 gas.
- Connect the regulator: Attach the CO2 regulator to the CO2 tank. Make sure it is securely tightened and aligned.
- Adjust the pressure: Before connecting the regulator to the corny keg, adjust the pressure by turning the adjustment knob on the regulator. The recommended pressure will depend on the type of beer you’re dispensing. Consult your beer recipe or a brewing resource for guidance.
- Attach the gas line: Connect one end of the gas line to the CO2 regulator’s outlet barb. Use a hose clamp to secure the connection.
- Connect the gas line to the keg: Attach the other end of the gas line to the gas inlet post on the corny keg. Again, use a hose clamp to secure the connection.
- Check for leaks: Open the valve on the CO2 tank to allow gas to flow into the keg. Spray a solution of soapy water on all connections and look for any bubbles. If you see bubbles forming, there is a leak. Tighten the connection or replace any faulty components.
- Seal the keg: Once you’ve confirmed there are no leaks, lock the lid of the corny keg in place. Ensure that it is tightly sealed to prevent any gas or beer from escaping.
By following these steps, you’ll have successfully connected the CO2 tank to your corny keg, setting the stage for properly carbonated beer.
Read more: What Is a Kegerator and What Is It Used For?
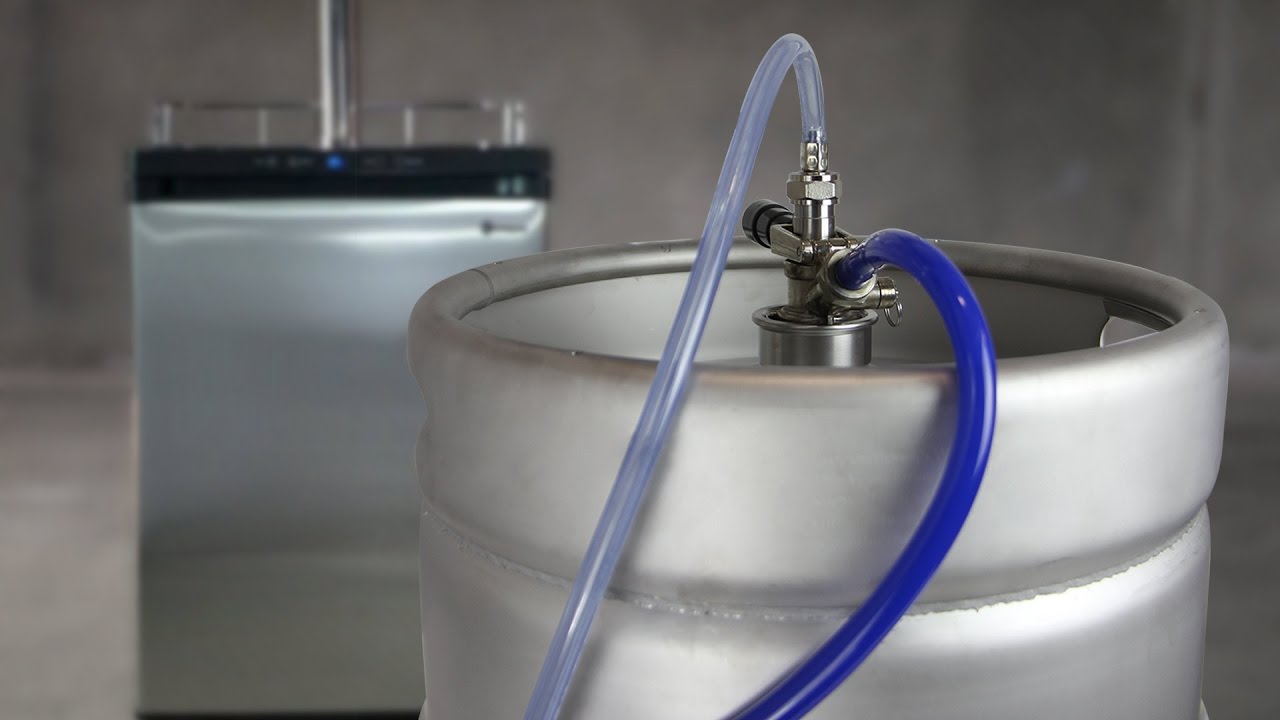
Step 4: Attaching the Beer Lines
With the CO2 tank connected, it’s time to attach the beer lines that will allow you to dispense your delicious homebrewed beer. Here’s how you can attach the beer lines:
- Prepare the beer lines: Before attaching the beer lines, it’s essential to clean and sanitize them thoroughly. Use a cleaning kit and sanitizer to ensure that the lines are free from any contaminants.
- Connect the beer lines: Take one end of the beer line and attach it to the liquid-out post on the corny keg. Use a hose clamp to secure the connection and ensure a tight seal.
- Thread the beer lines through the drilled hole: If you have a pre-made kegerator, there may be a pre-drilled hole for the beer lines. If not, drill a hole in the refrigerator to feed the beer lines through. Make sure the hole is wide enough to fit the beer lines comfortably.
- Secure the beer lines: Once the beer lines are threaded through the hole, use clamps or zip ties to secure them in place. This will prevent any accidental tugging or movement that could disrupt the flow of beer.
- Connect the beer faucet: Take the other end of the beer line and attach it to the shank on the outside of the kegerator. Ensure that the connection is secure and use a hose clamp to tighten the seal.
By following these steps, you’ll have successfully attached the beer lines, allowing your homebrewed beer to flow from the corny keg to the tap faucet.
Make sure to clean and sanitize the corny keg before setting it up in the kegerator. This will help prevent any off-flavors and ensure a clean pour.
Step 5: Testing for Leaks
Before you can start pouring and enjoying your beer, it’s important to test for any potential leaks in the system. Checking for leaks will help ensure that your setup is properly sealed and functioning correctly. Here’s how you can test for leaks:
- Turn on the gas: Open the valve on the CO2 tank to allow gas to flow into the keg.
- Listen and observe: Pay close attention to any hissing sounds or signs of gas escaping from the connections. Look for bubbles forming in the soapy water you sprayed on the connections in the previous step.
- Inspect the entire system: Check all the connections, including the CO2 regulator, gas line, and beer lines. Ensure that everything is securely tightened and properly sealed.
- Tighten or fix any leaks: If you notice any leaks, tighten the connections or replace any faulty components. It’s crucial to address leaks promptly to prevent loss of gas or beer.
- Repeat the test: After making any necessary adjustments, repeat the leak test to ensure that all connections are now secure and leak-free.
Testing for leaks is an essential step in the setup process to ensure that your kegerator functions optimally and prevents any unnecessary waste. By carefully checking and addressing any leaks, you’ll be one step closer to enjoying your perfectly poured homebrewed beer.
Step 6: Adjusting CO2 Pressure
Once you have confirmed that there are no leaks in your kegerator system, it’s time to adjust the CO2 pressure to ensure proper carbonation of your beer. Each beer style may require a different level of carbonation, so it’s important to adjust the pressure accordingly. Here’s how you can adjust the CO2 pressure:
- Refer to the beer style guidelines: Different beer styles have different carbonation levels. Consult the guidelines for the specific beer style you are kegging to determine the recommended carbonation level.
- Access the CO2 regulator: Locate the CO2 regulator attached to your CO2 tank. This is where you’ll adjust the pressure.
- Release excess pressure: Before adjusting the pressure, briefly release any excess pressure in the keg by pulling the pressure relief valve on the lid.
- Adjust the pressure knob: Slowly turn the adjustment knob on the CO2 regulator clockwise to increase the pressure or counterclockwise to decrease the pressure. Make small adjustments at a time to achieve the desired carbonation level.
- Capture a sample: As you adjust the CO2 pressure, it’s a good idea to capture a sample of your beer in a glass to taste and assess the carbonation level. This will help you fine-tune the pressure adjustment.
- Repeat and monitor: Continue adjusting the CO2 pressure and testing the carbonation until you achieve the desired level. Be patient and monitor the carbonation over time, as it may take a few days for the full effect to be reached.
By adjusting the CO2 pressure to the appropriate level, you’ll ensure that your beer has the perfect amount of carbonation, enhancing its taste and mouthfeel when it’s poured from the kegerator.
Step 7: Cooling the Kegerator
Now that your kegerator is fully set up and the CO2 pressure is adjusted, it’s time to focus on cooling the kegerator to the optimal temperature for serving your beer. Proper temperature control is crucial to maintain the quality and flavor of your brew. Follow these steps to cool your kegerator:
- Set the temperature: Locate the temperature control dial or settings on your kegerator. These are typically found on the front or side of the unit. Adjust the temperature to your desired serving temperature, typically between 36°F and 40°F (2°C to 4°C) for most beer styles.
- Wait for the kegerator to cool: Give your kegerator some time to reach the desired temperature. This can take several hours or even a day, depending on the size of the unit and the initial temperature of the environment.
- Monitor the temperature: Use a thermometer to monitor the temperature inside the kegerator. Ensure that it remains consistent within the desired range. If necessary, make adjustments to the temperature control dial to maintain the optimal temperature.
- Avoid temperature fluctuations: Try to minimize opening the kegerator unnecessarily, as this can cause temperature fluctuations. If you need to access the kegerator, do so quickly and close the door promptly.
- Consider additional cooling options: Depending on your kegerator setup and the ambient temperature, you may need additional cooling options such as a fan or an external temperature controller to ensure consistent cooling.
By properly cooling your kegerator to the ideal serving temperature, you will not only preserve the quality of your beer but also enhance the overall drinking experience.
Read more: How To Assemble Kegerator Tower
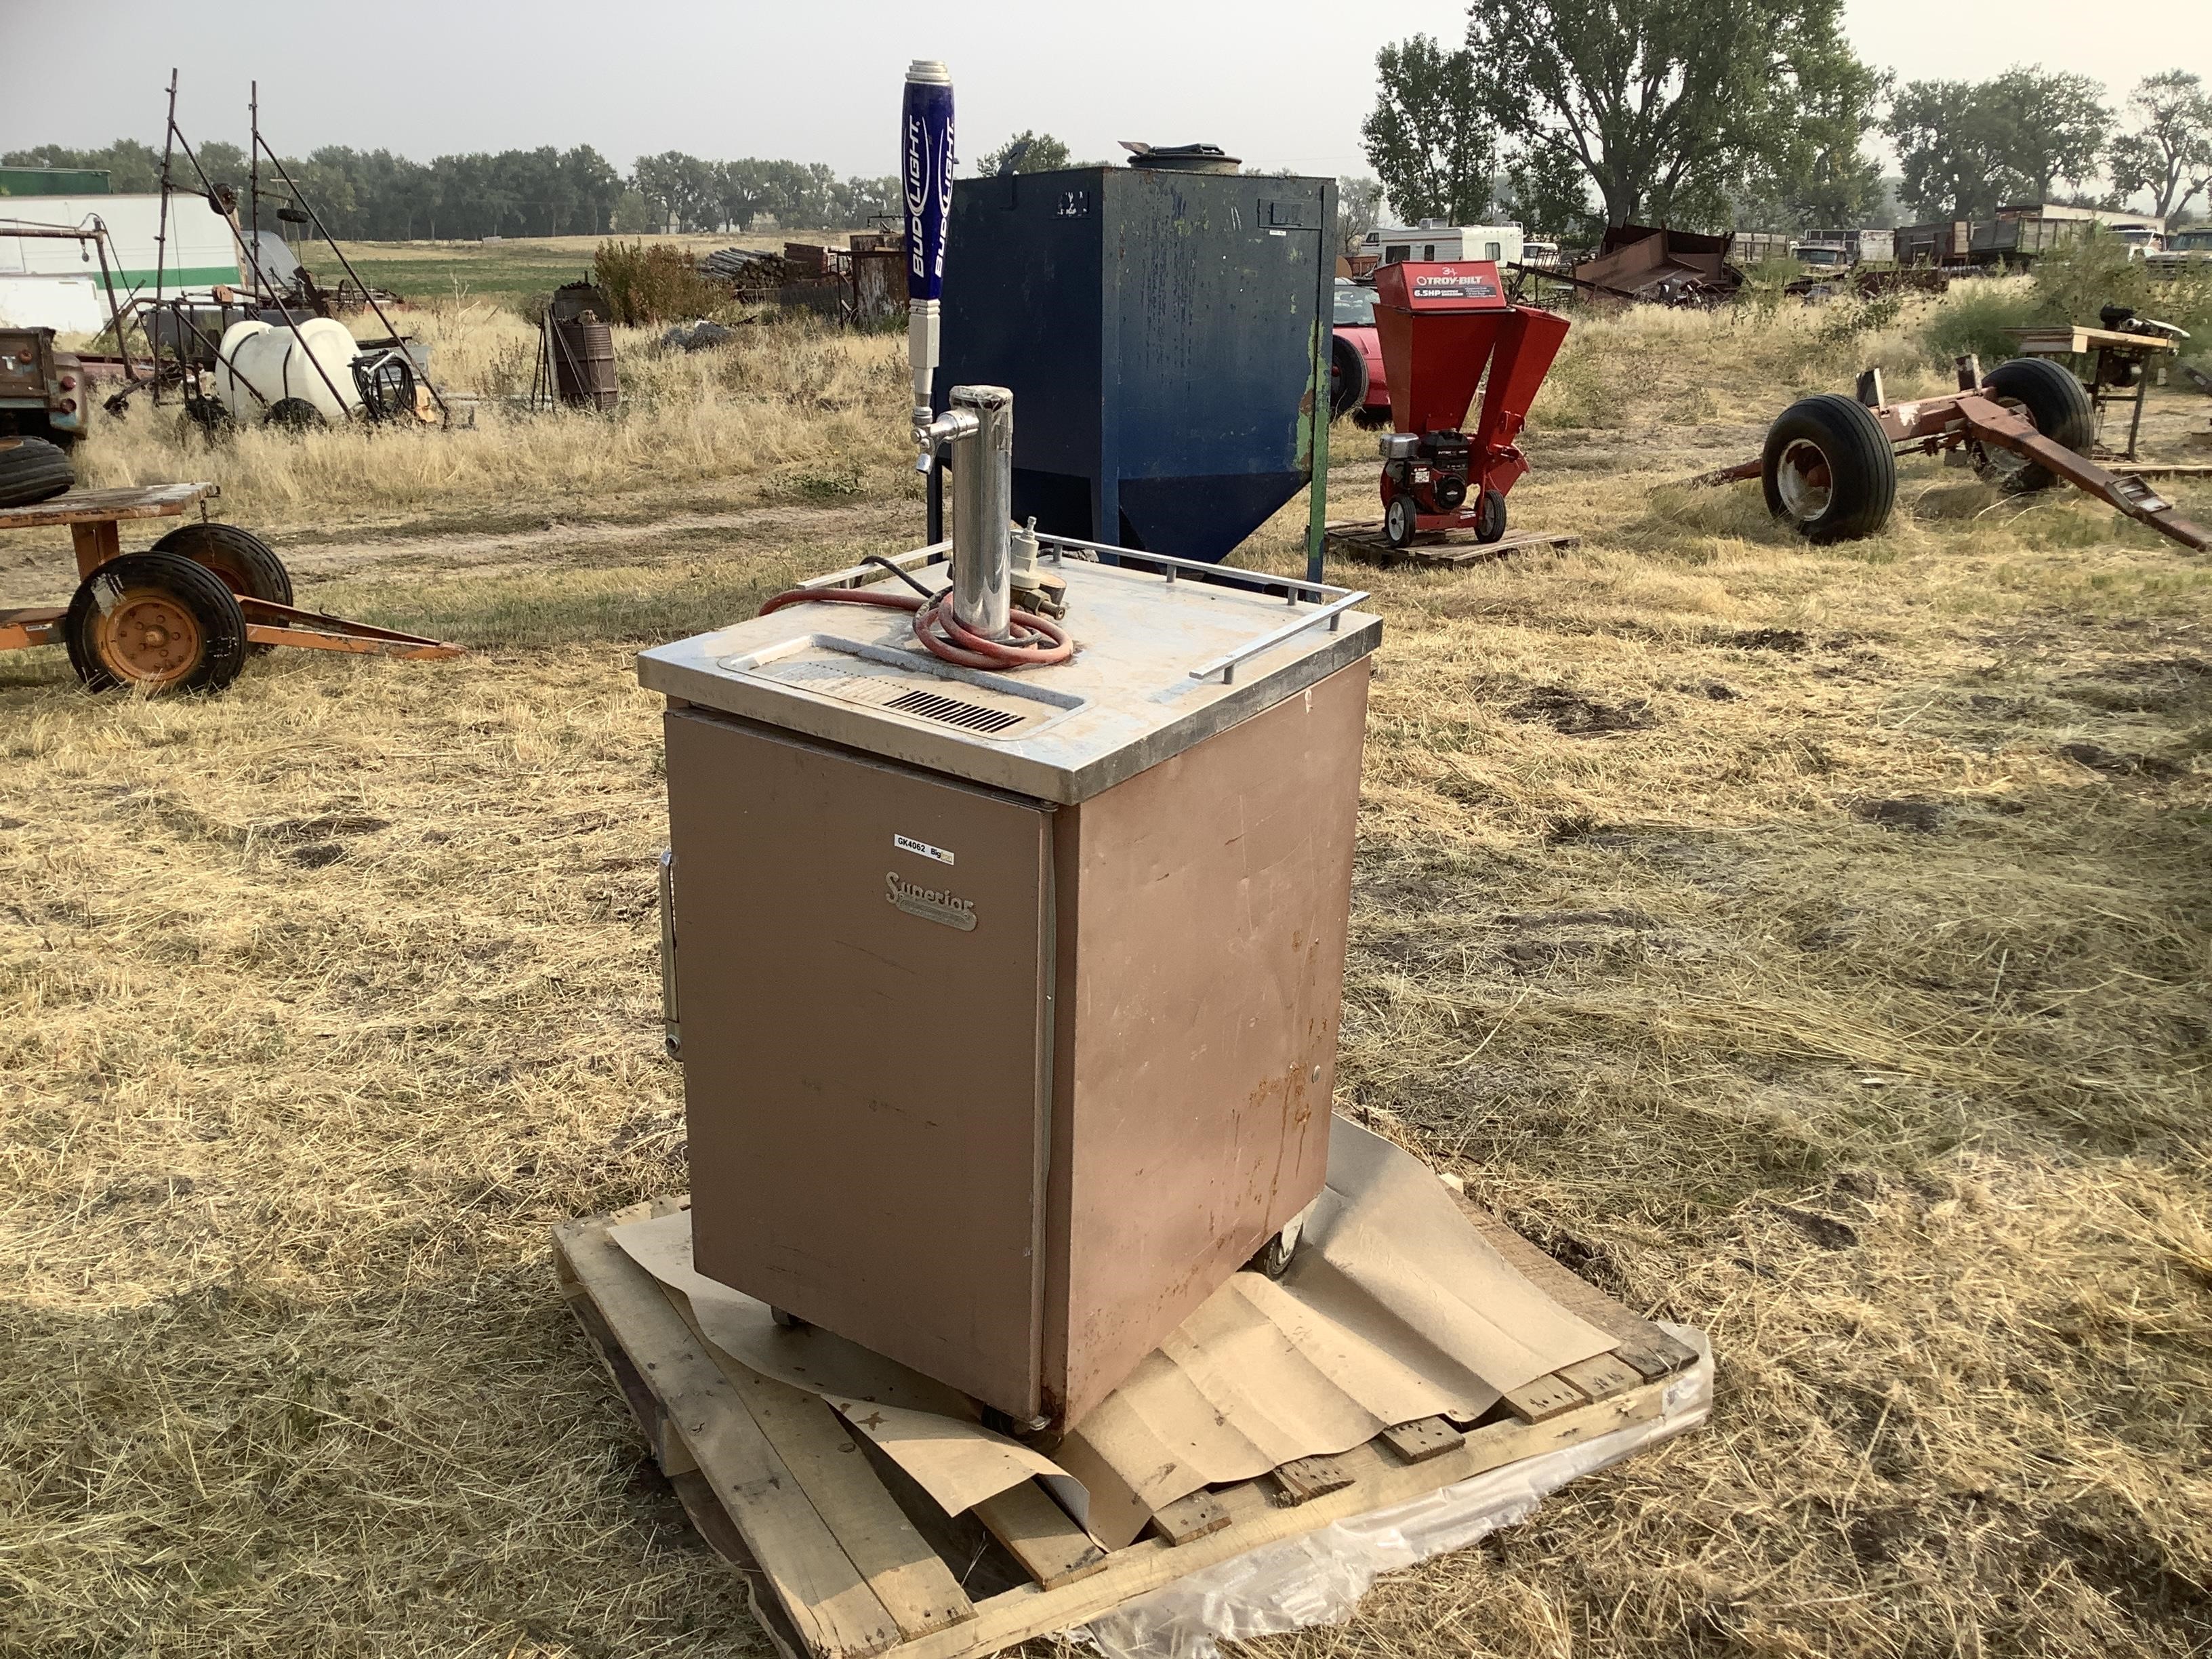
Step 8: Tapping the Keg
After all the preparation and setup, it’s finally time to tap your keg and pour your first glass of refreshing draft beer. Follow these steps to tap the keg:
- Ensure the keg is chilled: Make sure your keg has been properly cooled in the kegerator for a sufficient amount of time, allowing the beer to reach the desired serving temperature.
- Sanitize the faucet: Before tapping the keg, sanitize the faucet by spraying it with a food-grade sanitizer and allowing it to air dry.
- Unlock and remove the keg’s lid: Unlock the lid of the corny keg by lifting the locking handle. Remove the lid completely and set it aside.
- Attach the tap: Place the tap faucet up against the keg’s gas tube opening and apply gentle downward pressure to ensure a proper seal. Rotate it clockwise to lock it in place.
- Purge the air: To remove any excess air from the keg, pull the pressure relief valve on the lid for a few seconds. This will release any built-up pressure.
- Open the faucet: Slowly open the tap faucet fully by turning it counterclockwise. This will allow beer to flow from the keg.
- Start pouring: Position your glass or beer mug under the faucet and tilt it at a slight angle. Pull the tap lever forward to begin pouring. Adjust the angle of the glass as needed to maintain a proper head on the beer.
- Enjoy your beer: Fill your glass, allowing the foam to settle and the beer to flow smoothly. Serve and enjoy your perfectly poured draft beer!
Tapping the keg is an exciting moment, signaling that your hard work has paid off. Take your time to pour and savor each sip, knowing that you’ve successfully transformed your corny keg into a kegerator and are now enjoying high-quality, freshly poured beer.
Step 9: Enjoying Your Cold Draft Beer
After completing all the necessary steps to set up your corny keg to kegerator, it’s time to kick back and savor the fruits of your labor. Here are a few tips to ensure you fully enjoy your cold draft beer:
- Choose the right glassware: Select the appropriate glassware for the beer style you’re serving. Different styles may benefit from specific glass shapes to enhance aroma, appearance, and flavor.
- Pour with care: When pouring your beer, hold the glass at a slight angle and gradually straighten it as you pour. This technique helps create an optimal foam head while minimizing excessive foam or carbon dioxide release.
- Admire the appearance: Take a moment to appreciate the color, clarity, and effervescence of your beer. Hold it up to the light and observe the play of colors and the clarity of the liquid.
- Savor the aroma: Gently swirl your glass to release the beer’s aromas. Bring it close to your nose and inhale the enticing scents. Notice the different notes and complexities that enhance your sensory experience.
- Sip and taste: Take small sips and allow the beer to linger on your palate. Pay attention to the flavors, balance, and mouthfeel. Notice the interplay of sweetness, bitterness, and other flavor components that make each beer style unique.
- Pair with food: Consider pairing your beer with complementary foods. Experiment with different combinations and discover how flavors can enhance and complement each other.
- Share the experience: Beer is often best enjoyed with good company. Share your homebrewed draft beer with friends and loved ones, and enjoy the conversation and camaraderie that comes with it.
Remember, the joy of having a kegerator is the ability to pour yourself a fresh, cold draft beer whenever you desire. Take your time to appreciate the flavors, aromas, and the craftsmanship that went into brewing your beer. Cheers to your success!
Conclusion
Congratulations on successfully setting up your corny keg to kegerator! By following the step-by-step process outlined in this guide, you have transformed a simple corny keg into a fully functional home draft beer system. Now, you can enjoy the convenience and pleasure of pouring fresh, cold draft beer right in the comfort of your own home.
Throughout this journey, you learned how to clean and sanitize your corny keg, assemble the kegerator, connect the CO2 tank and beer lines, and adjust the CO2 pressure. Additionally, you discovered the importance of cooling the kegerator to the optimal temperature and how to tap the keg to pour the perfect glass of beer.
Remember, the key to maintaining the quality of your beer is to practice good hygiene, keep your kegerator clean, and regularly check for leaks. These steps will ensure that your homebrewed beer tastes its best every time you tap the keg.
Now that you’re equipped with the knowledge to set up your own corny keg to kegerator, it’s time to enjoy the fruits of your labor. Sit back, relax, and savor the flavors of your freshly poured draft beer. Share the joy with friends and loved ones, and continue exploring the world of home brewing.
Cheers to your successful kegerator setup and to many enjoyable pints of your very own homebrewed beer!
Frequently Asked Questions about How To Set Up Corny Keg To Kegerator
Was this page helpful?
At Storables.com, we guarantee accurate and reliable information. Our content, validated by Expert Board Contributors, is crafted following stringent Editorial Policies. We're committed to providing you with well-researched, expert-backed insights for all your informational needs.


0 thoughts on “How To Set Up Corny Keg To Kegerator”