Articles
How To Make My Kegerator Colder
Modified: March 21, 2024
Looking for articles on how to make your kegerator colder? Check out our comprehensive guide to optimizing the temperature for the perfect pour.
(Many of the links in this article redirect to a specific reviewed product. Your purchase of these products through affiliate links helps to generate commission for Storables.com, at no extra cost. Learn more)
Introduction
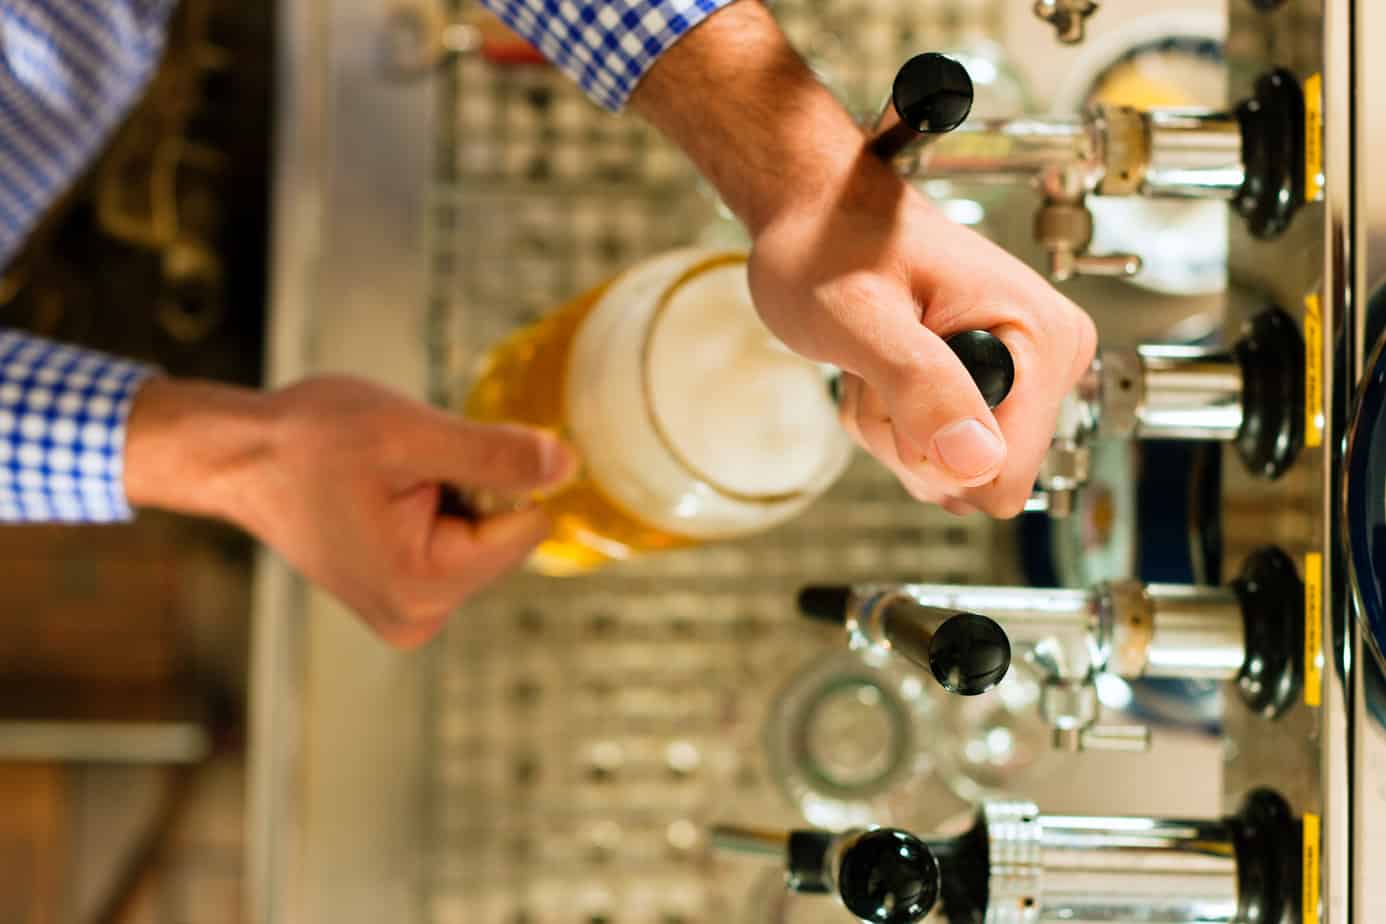
Welcome to the world of kegerators! If you’re an avid beer lover, then you probably appreciate the convenience and joy that a kegerator brings. It allows you to have a draft beer experience right in the comfort of your own home. But what happens when your kegerator isn’t keeping your beer as cold as you’d like it to be?
In this article, we’ll discuss some tips and tricks on how to make your kegerator colder. Whether you’ve just purchased a new kegerator or you’ve had one for a while and it’s not performing as well as it used to, we’ve got you covered. By implementing these strategies, you’ll be able to enjoy your favorite beers at the perfect temperature, just like at your favorite bar.
Before we dive into the methods to make your kegerator colder, let’s have a quick overview of how a kegerator’s cooling system works. Understanding how it operates will help you troubleshoot and optimize its performance.
Key Takeaways:
- Keep your kegerator colder by adjusting the thermostat, cleaning the cooling coils, and improving air circulation. A temperature controller can provide precise control, and upgrading cooling system components can enhance performance.
- Regular maintenance, such as cleaning the cooling coils and checking the door seal, can optimize your kegerator’s cooling capabilities. Consider using a temperature controller for more precise temperature control and upgrading cooling system components for improved performance.
Read more: How To Make My Danby Kegerator Colder
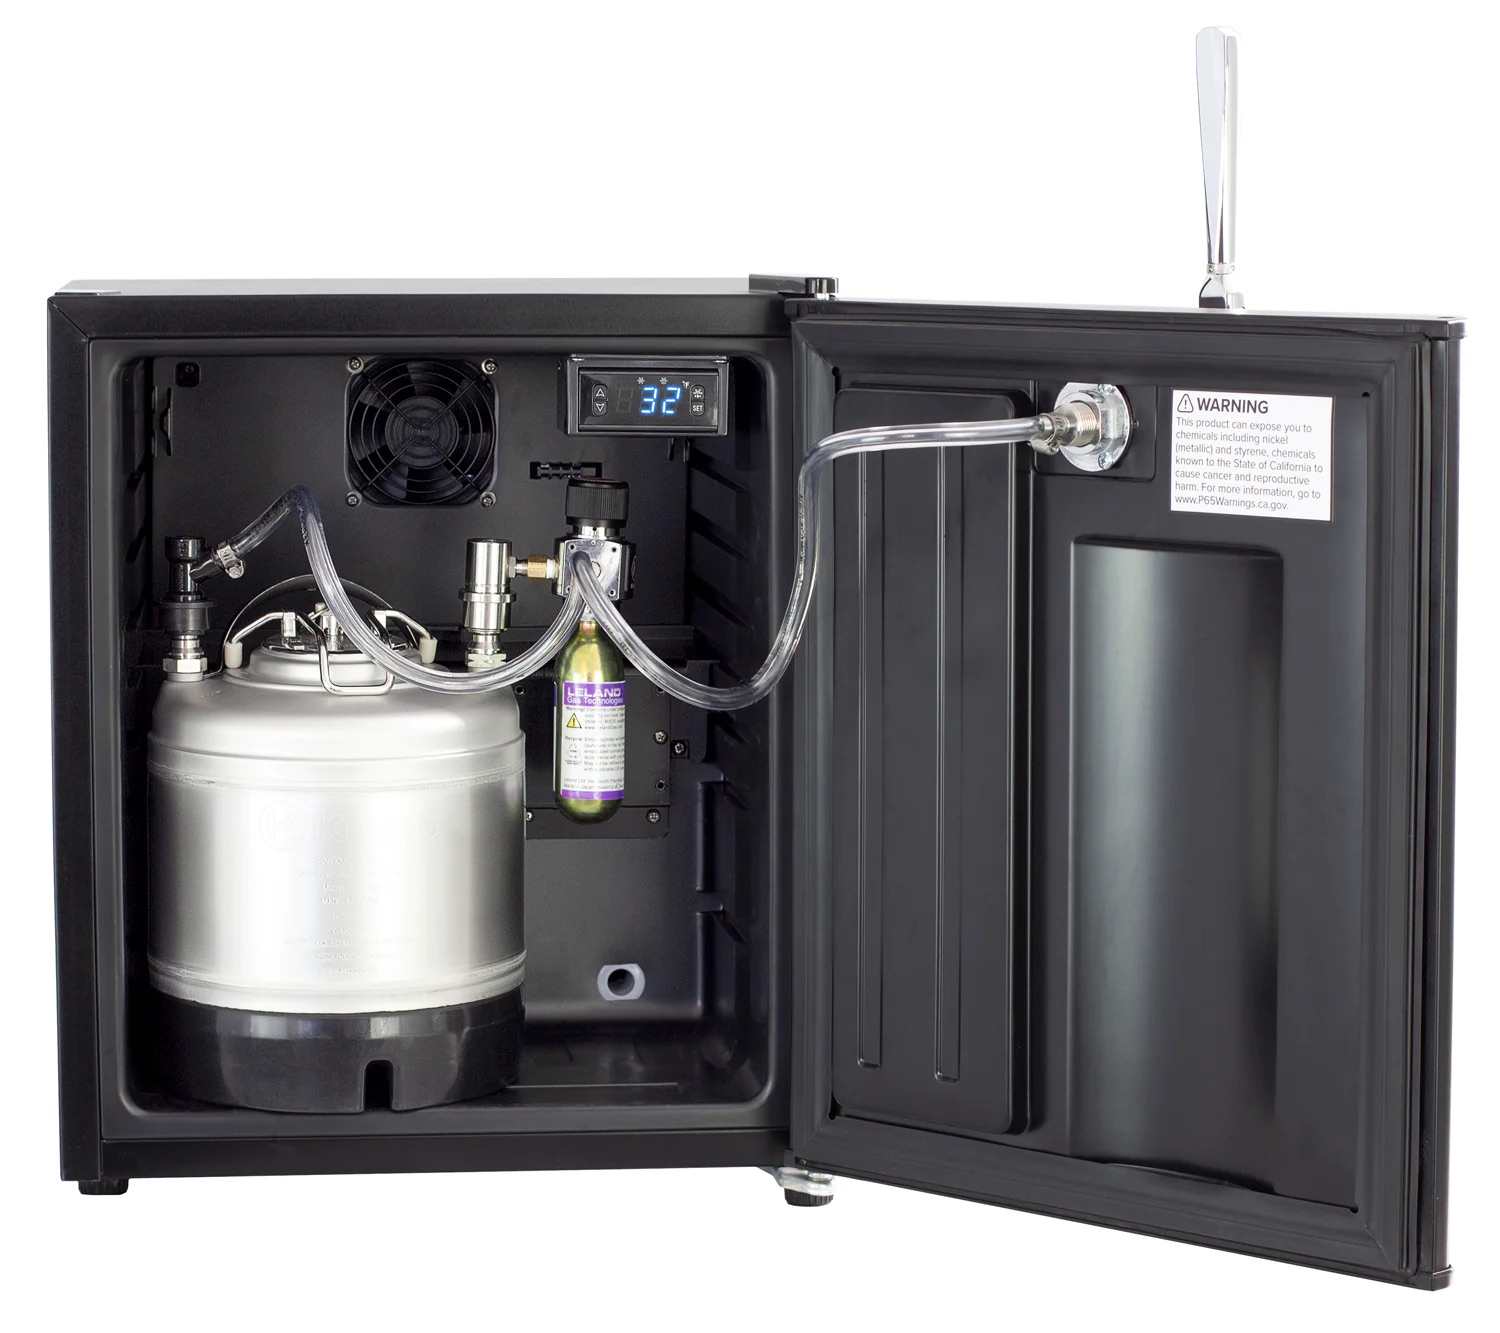
Understanding the Kegerator Cooling System
A kegerator utilizes a refrigeration system to keep your beer cold. It typically consists of a compressor, condenser, evaporator, cooling coils, and a thermostat. The compressor is responsible for compressing and circulating the refrigerant gas, while the condenser dissipates the heat generated during the cooling process.
The cooling coils, also known as the evaporator coils, are where the actual cooling of the beer takes place. These coils are filled with a refrigerant that absorbs heat from the surrounding air, thus cooling the beer inside the kegerator. The thermostat controls the temperature by cycling the compressor on and off to maintain the desired level of coldness.
Now that we have a basic understanding of how the kegerator cooling system functions, let’s move on to the steps you can take to make your kegerator colder.
Checking and Adjusting the Thermostat
The thermostat plays a crucial role in maintaining the desired temperature in your kegerator. If your kegerator is not getting cold enough, the first thing you should do is check the thermostat setting. It’s possible that it was accidentally adjusted or bumped, resulting in a higher temperature than you want.
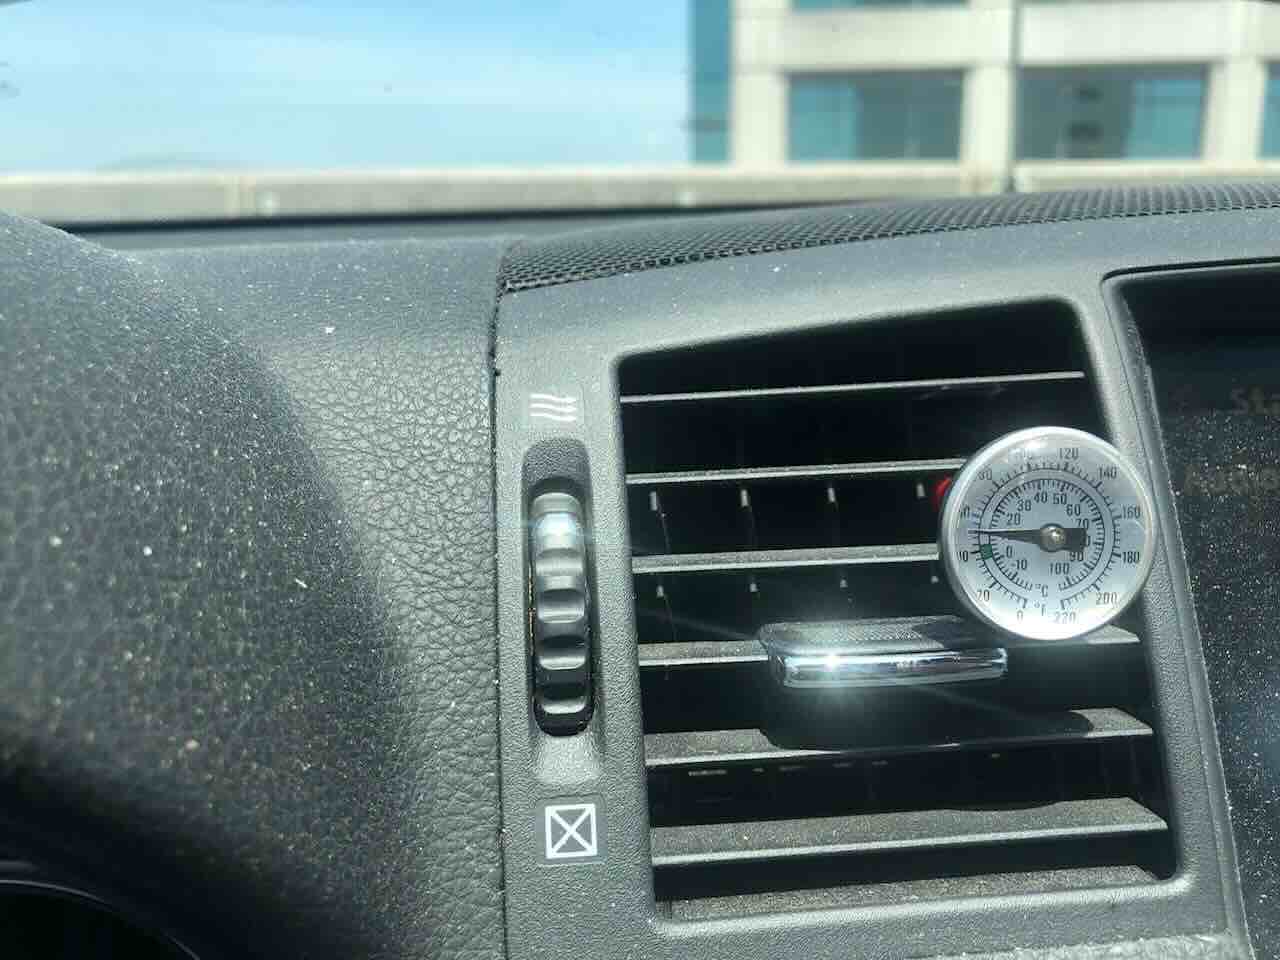
Start by locating the thermostat control. It’s usually located inside the kegerator, either on the front panel or behind the tap. Check if it’s set at the appropriate temperature. Most kegerators have a temperature range of 35°F to 45°F (1.7°C to 7.2°C), but it may vary depending on the model. Refer to the user manual for the recommended temperature.
If the thermostat is set too high, turn it down to a lower temperature and give it some time to adjust. It’s important to note that adjusting the thermostat is a trial-and-error process. Make small adjustments and monitor the temperature closely to make sure you don’t overcool your beer.
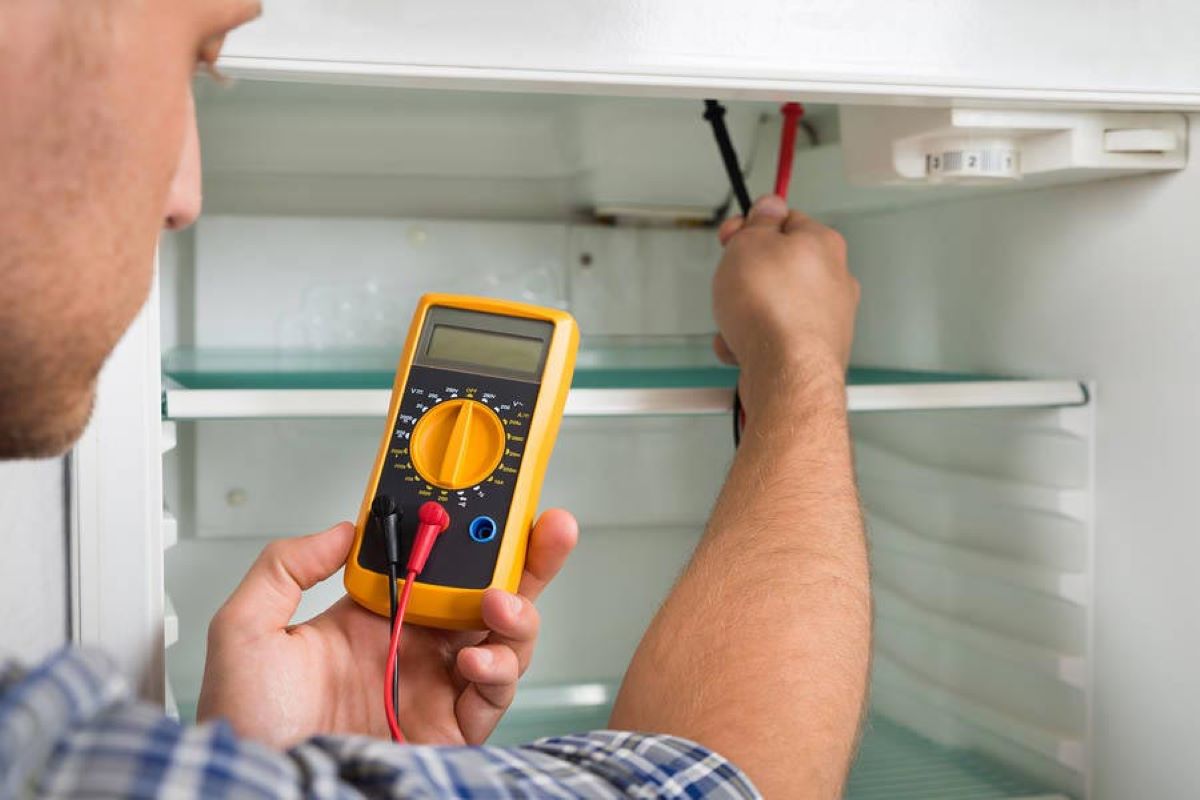
Additionally, keep in mind that the location of the thermostat inside the kegerator can affect its accuracy. If it’s situated near the cooling coils, it may read a lower temperature than the actual beer temperature. In this case, you can use an external thermostat to get a more accurate reading and control the cooling system effectively.
Remember to wait at least 24 hours after adjusting the thermostat before evaluating the temperature again. This will allow the kegerator to stabilize at the new setting. If the temperature still isn’t cold enough, it’s time to move on to the next troubleshooting step.
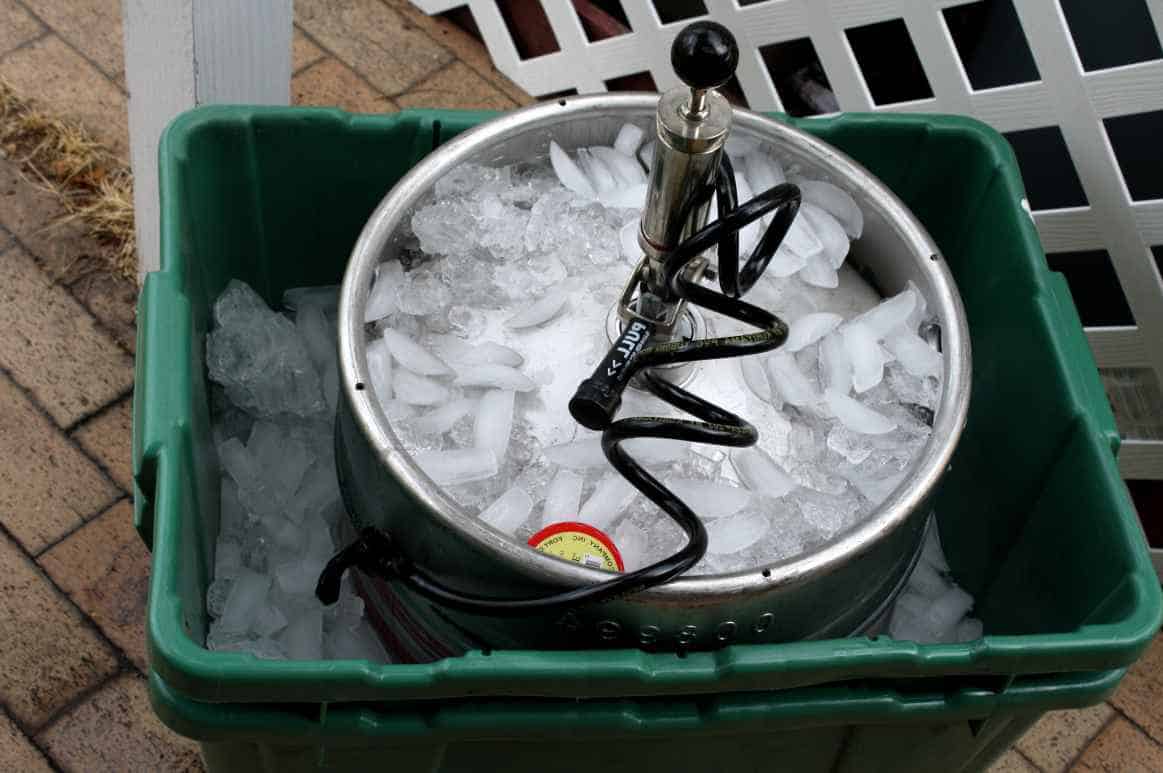
Cleaning and Maintaining the Cooling Coils
The cooling coils in your kegerator are responsible for removing heat from the beer and keeping it cold. Over time, these coils can accumulate dust, debris, and even mold, which can compromise their efficiency and lead to warmer beer temperatures. Regular cleaning and maintenance of the cooling coils are essential for optimal cooling performance.
To clean the cooling coils, start by unplugging your kegerator and removing all kegs and beer lines. Locate the cooling coils, which are usually found at the back or top of the unit. Using a soft-bristle brush or a coil cleaning brush, gently brush away any visible dust or dirt on the coils. Be careful not to bend or damage the coils during this process.
Next, mix a solution of warm water and mild detergent or a coil cleaning solution. Dip a clean cloth or sponge into the solution and gently wipe the coils, removing any residue or buildup. Take care to reach all areas of the coils, ensuring a thorough cleaning. Avoid using harsh chemicals or abrasive materials, as they can damage the coils.
After cleaning, rinse the coils with clean water to remove any remaining detergent or cleaning solution. Make sure to remove all traces of the cleaning agent to prevent any unwanted flavors or odors in your beer.
In addition to regular cleaning, it’s important to check the cooling fan and ensure it’s functioning properly. The fan helps circulate cold air over the coils, aiding in the cooling process. If the fan is dirty or not working correctly, it can impede the cooling efficiency and result in warmer beer temperatures. Clean the fan blades and motor using a soft brush or compressed air to remove any dust or debris that may have accumulated.
By regularly cleaning and maintaining the cooling coils and fan, you can ensure that your kegerator operates at its full capacity, providing you with consistently cold and refreshing beer.
Check the temperature setting on your kegerator and adjust it to a lower setting to make it colder. You can also clean the condenser coils to improve cooling efficiency.
Improving Air Circulation and Insulation
Adequate air circulation and insulation are vital for optimizing the performance of your kegerator and ensuring that it keeps your beer cold. Poor airflow and insufficient insulation can lead to temperature imbalances and cause the kegerator to struggle to maintain the desired coldness. Follow these tips to enhance air circulation and insulation in your kegerator:
1. Rearrange the kegs and beer lines: Properly arrange the kegs inside the kegerator to allow for optimal airflow. Make sure there is enough space between the kegs and the cooling coils, preventing any obstructions that can restrict the flow of cold air. Similarly, ensure that the beer lines are properly positioned, avoiding kinks or blockages that can impede cooling.
2. Remove any clutter: Remove any unnecessary items from inside the kegerator that may be blocking the airflow. This includes bottles, food, or other storage items that could be inhibiting proper circulation.
3. Check the door seal: A worn or faulty door seal can result in cold air escaping and warm air entering the kegerator. Inspect the door seal for any signs of damage or wear, such as cracks, tears, or gaps. Replace the seal if necessary to ensure a tight and efficient seal.
4. Insulate the kegerator: If your kegerator is located in an area where temperatures fluctuate significantly, consider insulating the unit. This can involve using insulation strips or foam tape to seal any gaps between the kegerator and its surroundings, preventing outside air from affecting the internal temperature. Additionally, placing the kegerator in a well-insulated location, away from direct sunlight and heat sources, can also help maintain consistent cooling.
5. Use a fan: Placing a small fan inside the kegerator can improve air circulation, ensuring that cold air reaches all areas of the kegs and cooling coils. This can help maintain a consistent temperature throughout the interior of the kegerator and prevent warm spots.
By implementing these measures, you can optimize air circulation and insulation in your kegerator, enhancing its cooling capabilities and ensuring that your beer stays cold and refreshing for longer periods.
Read more: How To Make A Vissani Kegerator Colder
Using a Temperature Controller
If your kegerator’s built-in thermostat isn’t providing the level of temperature control you desire, using a temperature controller can be a game-changer. A temperature controller allows you to have precise control over the cooling system, ensuring your beer is kept at the perfect temperature.
There are two main types of temperature controllers: external and internal. External temperature controllers, also known as plug-and-play controllers, are the most common and easiest to install. They are placed between the power source and the kegerator, allowing you to set and maintain the desired temperature more accurately. Internal temperature controllers, on the other hand, are integrated directly into the kegerator’s cooling system and provide advanced temperature control.
To use a temperature controller, follow these steps:
- Choose the appropriate temperature controller for your kegerator. Consider factors such as compatibility, features, and ease of use.
- Follow the manufacturer’s instructions for installation. Typically, you will need to plug the temperature controller into a power source, connect it to the kegerator’s power supply, and attach a temperature probe to the cooling coils.
- Set your desired temperature on the temperature controller. Most controllers have an easy-to-use interface that allows you to input the desired temperature digitally or via a dial.
- Allow the temperature controller to stabilize and monitor the temperature inside the kegerator. Adjust the temperature setting as needed until you achieve the desired coldness.
- Regularly check and calibrate the temperature controller to ensure accurate temperature readings. Follow the manufacturer’s guidelines for calibration procedures.
Using a temperature controller provides you with precise control over your kegerator’s cooling system, allowing you to customize the temperature to suit the specific beer styles you’re serving. It ensures that your beer is consistently chilled to perfection, enhancing your drinking experience.
Upgrading the Cooling System Components
If your kegerator is still struggling to reach and maintain the desired coldness, even after trying all the previous methods, it might be time to consider upgrading some of its cooling system components. By enhancing the performance of these components, you can significantly improve the cooling efficiency of your kegerator.
Here are a few potential upgrades to consider:
1. Cooling Fan: Upgrading the cooling fan can improve air circulation inside the kegerator, ensuring that cold air is evenly distributed. Look for high-performance fans that are specifically designed for refrigeration systems. These fans often have better airflow capacity and can help maintain a consistent temperature throughout the unit.
2. Cooling Coils: If your kegerator’s cooling coils are old or inefficient, replacing them with high-quality, larger coils can enhance the cooling capacity. Opt for coils that have a greater surface area, as they can absorb more heat and provide better cooling performance. Additionally, consider using coils made from materials with superior heat conductivity, such as copper, for improved efficiency.
3. Compressor: The compressor is the heart of the refrigeration system. Upgrading to a more powerful and energy-efficient compressor can significantly enhance the cooling capabilities of your kegerator. Look for models that are specifically designed for kegerators and offer improved energy efficiency ratings.
4. Insulation: If your kegerator lacks proper insulation or has worn-out insulation, upgrading to higher-quality insulation materials can reduce temperature fluctuations and help maintain a more consistent coldness. Look for insulation that has a high R-value, which indicates better thermal resistance.
5. Thermostat: While not a component upgrade per se, replacing the built-in thermostat with a more accurate and precise thermostat can offer better temperature control. Look for digital thermostats with programmable features that allow you to set different temperature profiles for various types of beer.
Before upgrading any cooling system components, thoroughly research the compatibility with your kegerator model and consult with a professional if necessary. These upgrades may require technical knowledge or installation assistance. However, with the right upgrades, you can transform your kegerator into a high-performance cooling machine, ensuring your beer stays cold and refreshing every time you pour a pint.
Conclusion
Keeping your kegerator cold is essential for enjoying perfectly chilled beer at home. If you find that your kegerator is not maintaining the desired coldness, there are several steps you can take to improve its performance and ensure a refreshing beer-drinking experience.
First, check and adjust the thermostat to ensure it is set at the appropriate temperature. Remember to give the kegerator time to stabilize after making any changes. If the temperature doesn’t improve, consider cleaning and maintaining the cooling coils, as dust and debris can hinder their efficiency. Additionally, enhancing air circulation and insulation can go a long way in optimizing cooling capabilities.
If you’re still not satisfied with the temperature control, using a temperature controller can provide more precise and customizable options. This allows you to fine-tune the cooling system and maintain consistent coldness for different beer styles.
If all else fails, upgrading cooling system components such as the fan, coils, compressor, insulation, or thermostat can help improve performance and achieve the desired coldness. Be sure to research compatibility and seek professional assistance if needed.
In conclusion, with the right adjustments, maintenance, and upgrades, you can make your kegerator colder and enjoy perfectly chilled beer as if it were straight from the tap. Remember to monitor and maintain your kegerator regularly to ensure optimal performance and a delightful beer-drinking experience.
Frequently Asked Questions about How To Make My Kegerator Colder
Was this page helpful?
At Storables.com, we guarantee accurate and reliable information. Our content, validated by Expert Board Contributors, is crafted following stringent Editorial Policies. We're committed to providing you with well-researched, expert-backed insights for all your informational needs.


0 thoughts on “How To Make My Kegerator Colder”