Home>Articles>How To Set Up A Kegerator With Co2 For Kombucha
Articles
How To Set Up A Kegerator With Co2 For Kombucha
Modified: October 29, 2024
Discover how to set up a kegerator with CO2 for kombucha with our informative articles. Simplify your home brewing process and enjoy delicious homemade kombucha on tap.
(Many of the links in this article redirect to a specific reviewed product. Your purchase of these products through affiliate links helps to generate commission for Storables.com, at no extra cost. Learn more)
Introduction
Welcome to the world of kombucha, a delicious and healthy fermented tea that has gained popularity among health-conscious individuals. If you’re a kombucha enthusiast, you know that bottling each batch can be time-consuming and cumbersome. That’s where a kegerator with CO2 comes in handy, offering a convenient and efficient way to dispense your homemade kombucha.
In this article, we will guide you through the process of setting up a kegerator with CO2 for kombucha. We’ll cover everything from choosing the right kegerator to installing the CO2 system and adjusting the pressure. So, grab a glass of your favorite brew, and let’s get started!
Key Takeaways:
- Say goodbye to the hassle of bottling each batch of kombucha! A kegerator with CO2 offers convenience, freshness, and control, allowing you to enjoy your homemade brew straight from the tap.
- With the right kegerator and CO2 system, you can impress guests and enjoy the benefits of kegged kombucha. Embrace the art of kegging and savor the convenience, freshness, and control it brings to your brewing journey.
Read more: How To Build A Co2 Kegerator
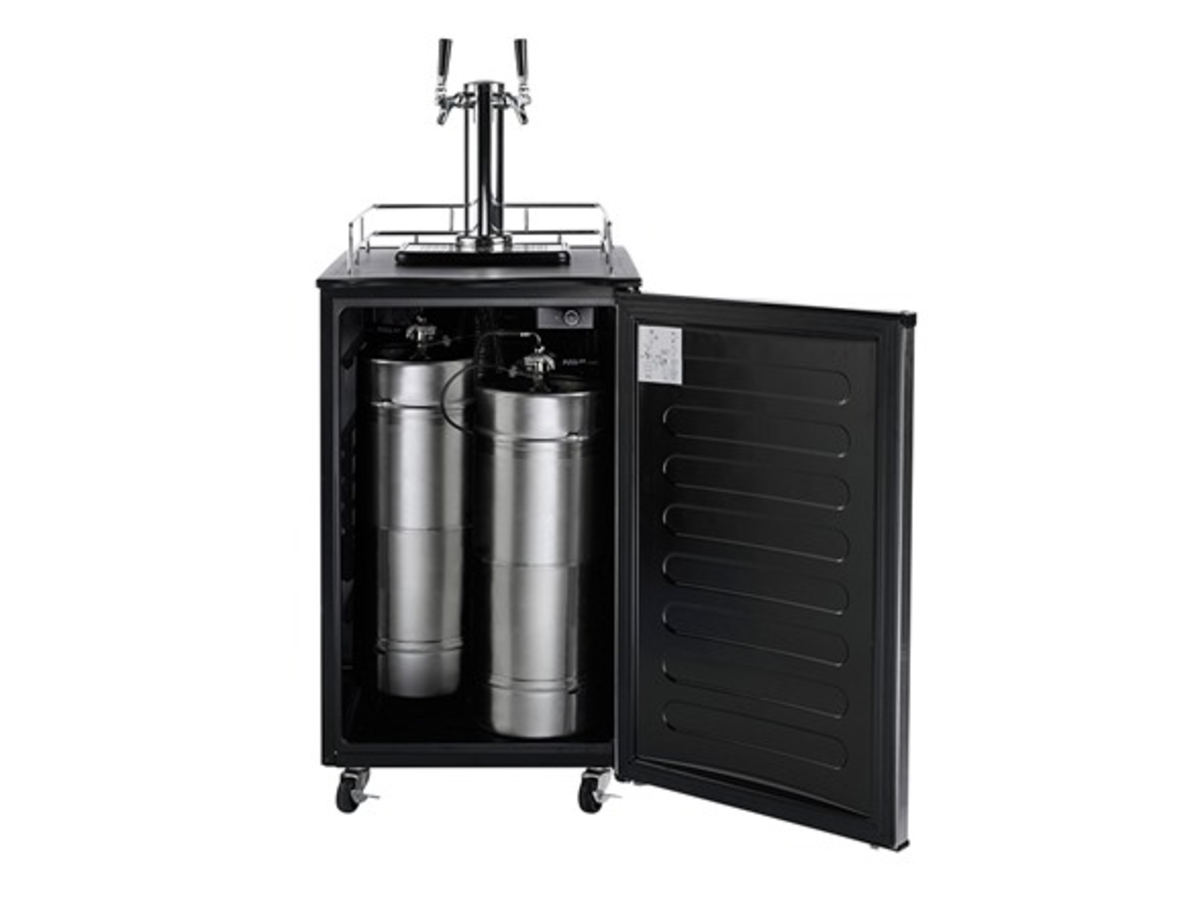
What is a Kegerator and why use it for Kombucha?
A kegerator is a specialized refrigerator designed to store and dispense kegs of various beverages, including beer, wine, and now, kombucha. It is equipped with a CO2 system that pressurizes the keg, allowing for a smooth and controlled flow of the beverage.
So, why use a kegerator for kombucha? There are several benefits to consider:
- Convenience: With a kegerator, you can avoid the hassle of bottling each batch of kombucha. Instead, you can store and dispense it directly from the keg, saving time and effort.
- Freshness: Kombucha is best enjoyed fresh, as its flavor and carbonation can diminish over time. By using a kegerator, you can ensure that each glass of kombucha is served at its peak freshness.
- Control: The CO2 system in a kegerator gives you control over the carbonation levels of your kombucha. You can adjust the CO2 pressure to achieve the desired level of carbonation, whether you prefer a lightly effervescent brew or a more bubbly experience.
- Economical: Investing in a kegerator may seem like a significant upfront cost, but it can save you money in the long run. By buying kombucha in keg form, you can potentially save on packaging and bottling expenses, making it a cost-effective choice for avid kombucha drinkers.
Not only does a kegerator provide practical advantages for kombucha enthusiasts, but it also adds a touch of sophistication to your homebrew setup. Imagine having your own kombucha tap, where you can effortlessly pour yourself a glass of your favorite flavor anytime. It’s a true conversation starter and a great way to impress your guests!
Equipment and Supplies Needed
Before diving into the setup process, it’s important to gather all the necessary equipment and supplies. Here’s a list of items you’ll need:
- Kegerator: Choose a kegerator specifically designed for kombucha dispensing. Look for one with a temperature control feature to ensure that your kombucha is stored at the optimal temperature.
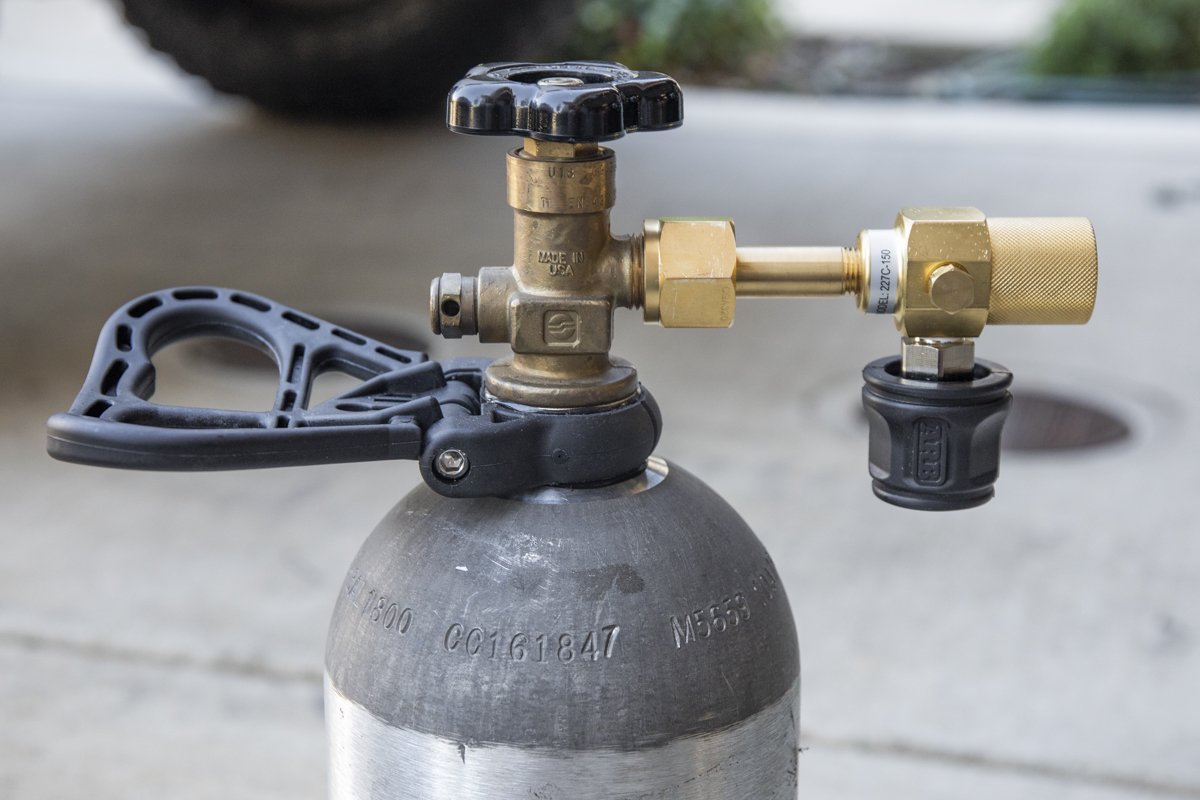
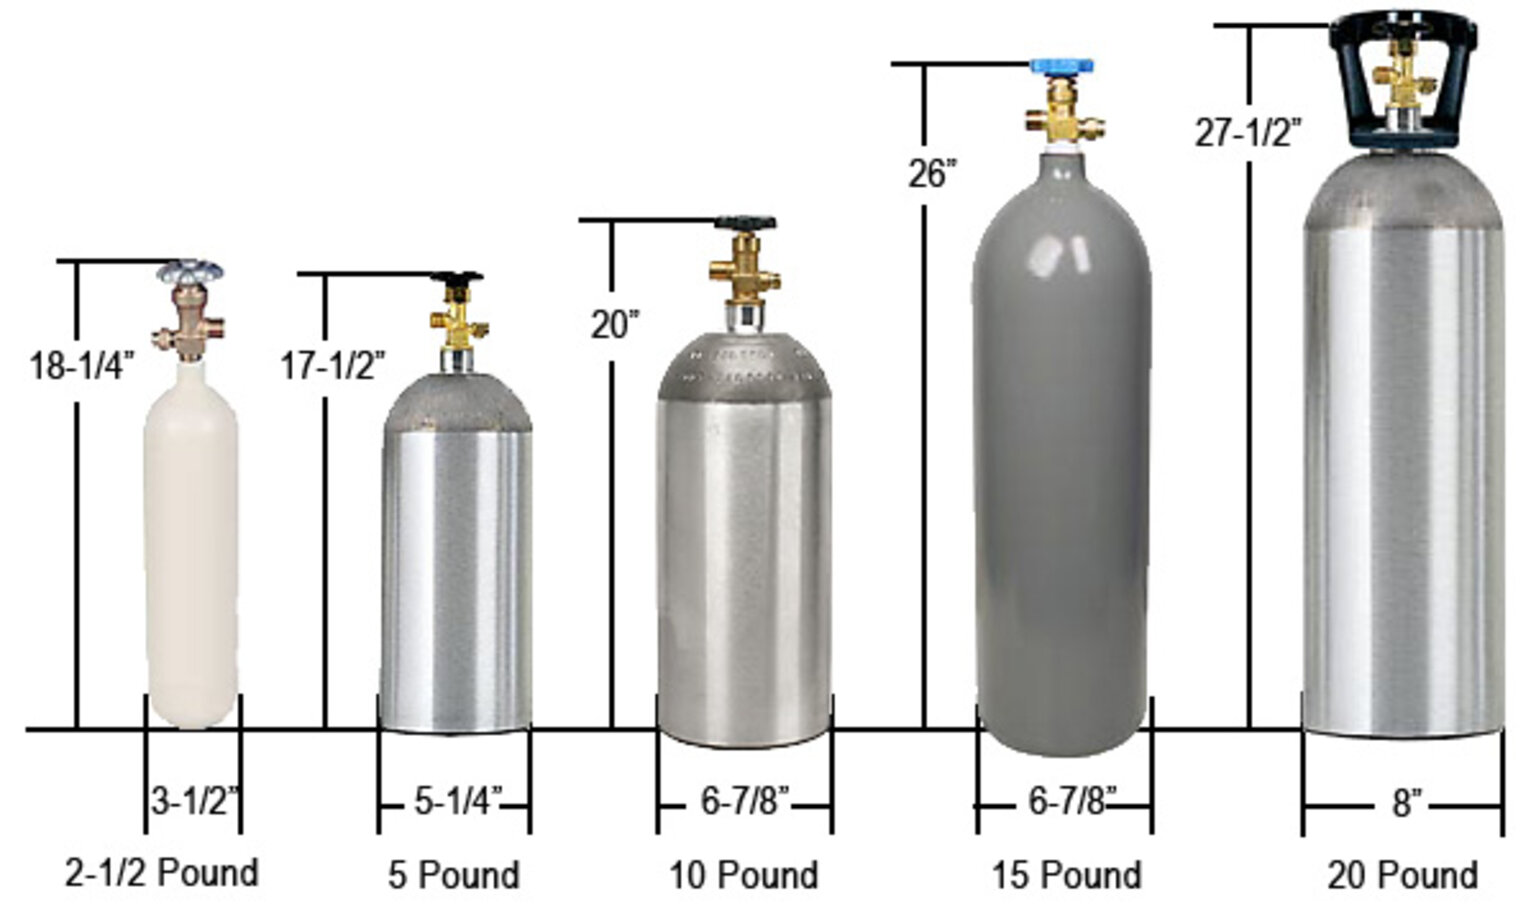
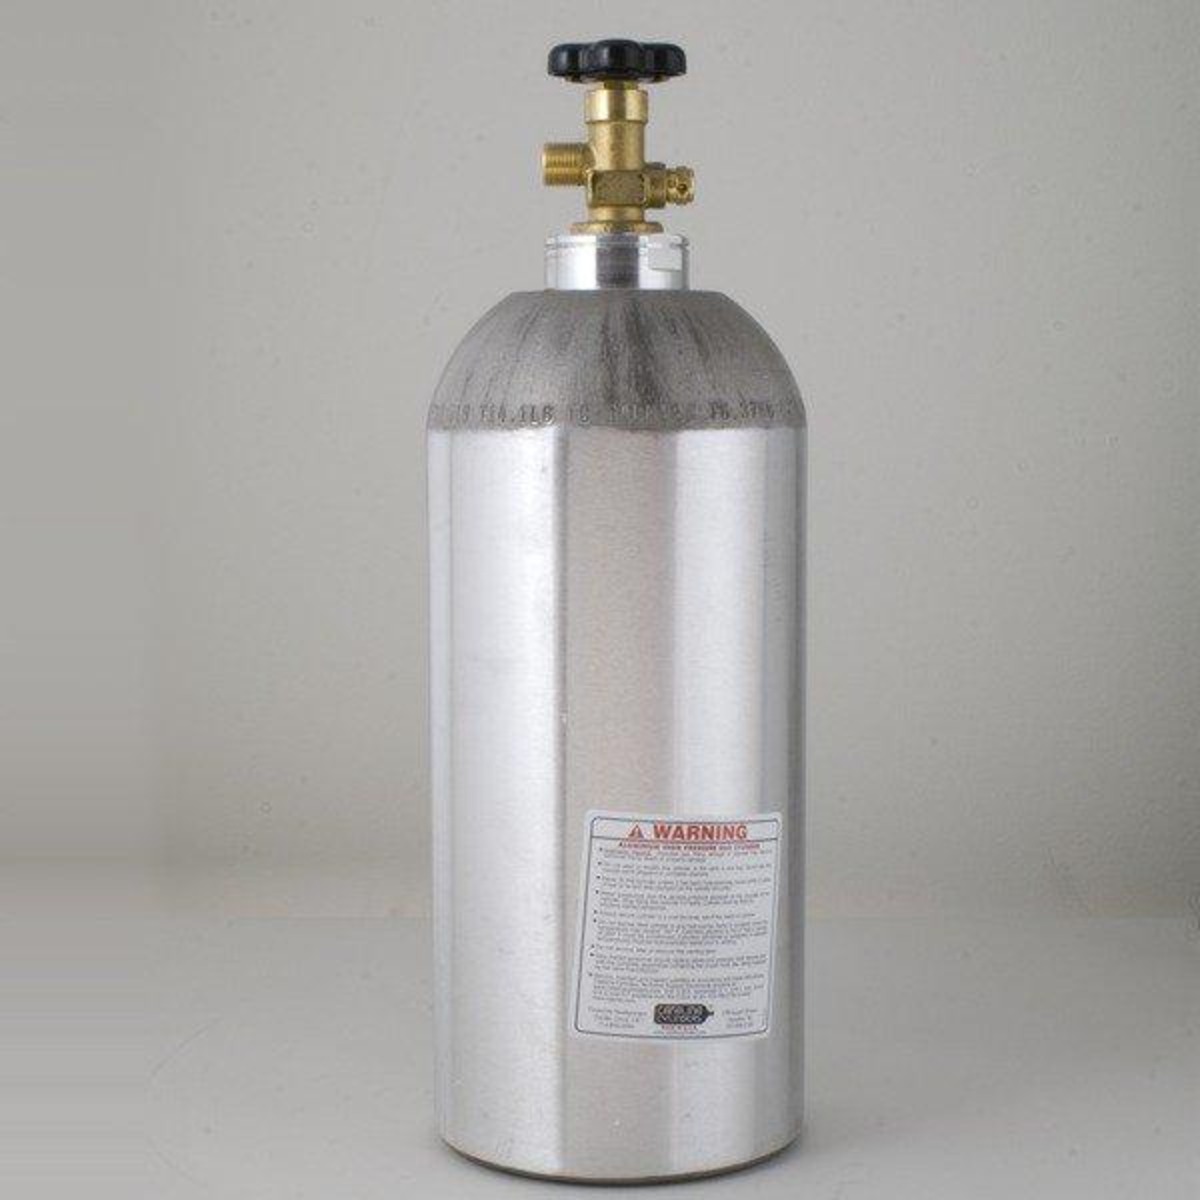
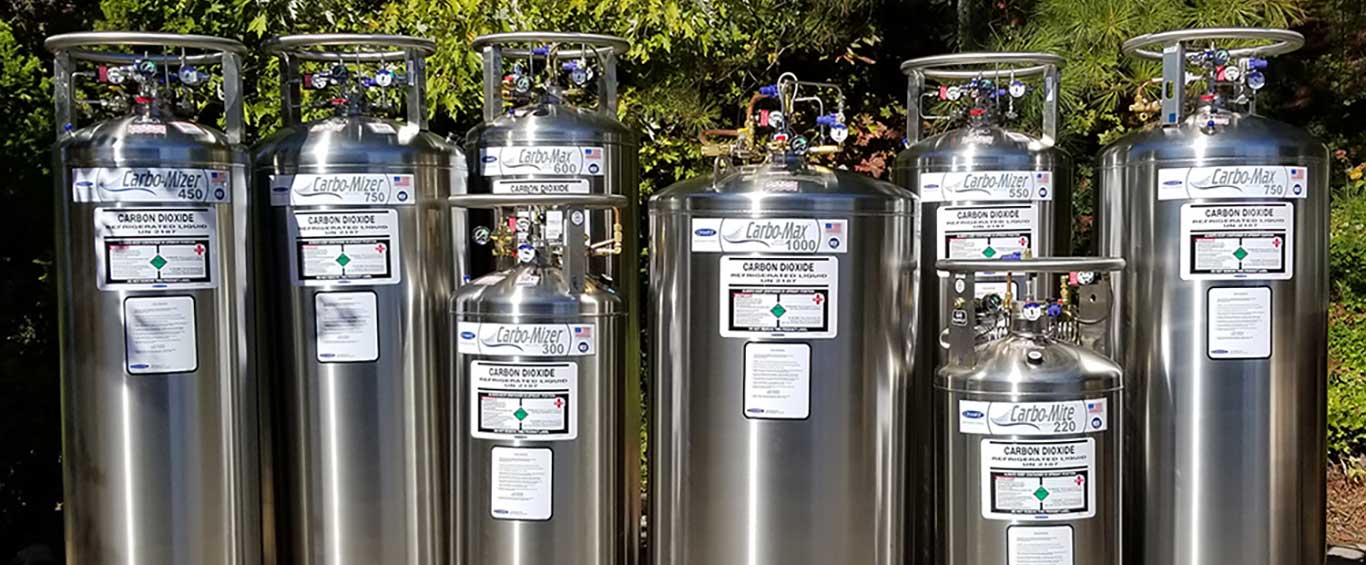
- CO2 Cylinder: This is the heart of the kegerator setup. You’ll need a CO2 cylinder to provide the pressure needed to dispense the kombucha. Make sure to get the appropriate size for your kegerator and consider purchasing a backup cylinder to have on hand.
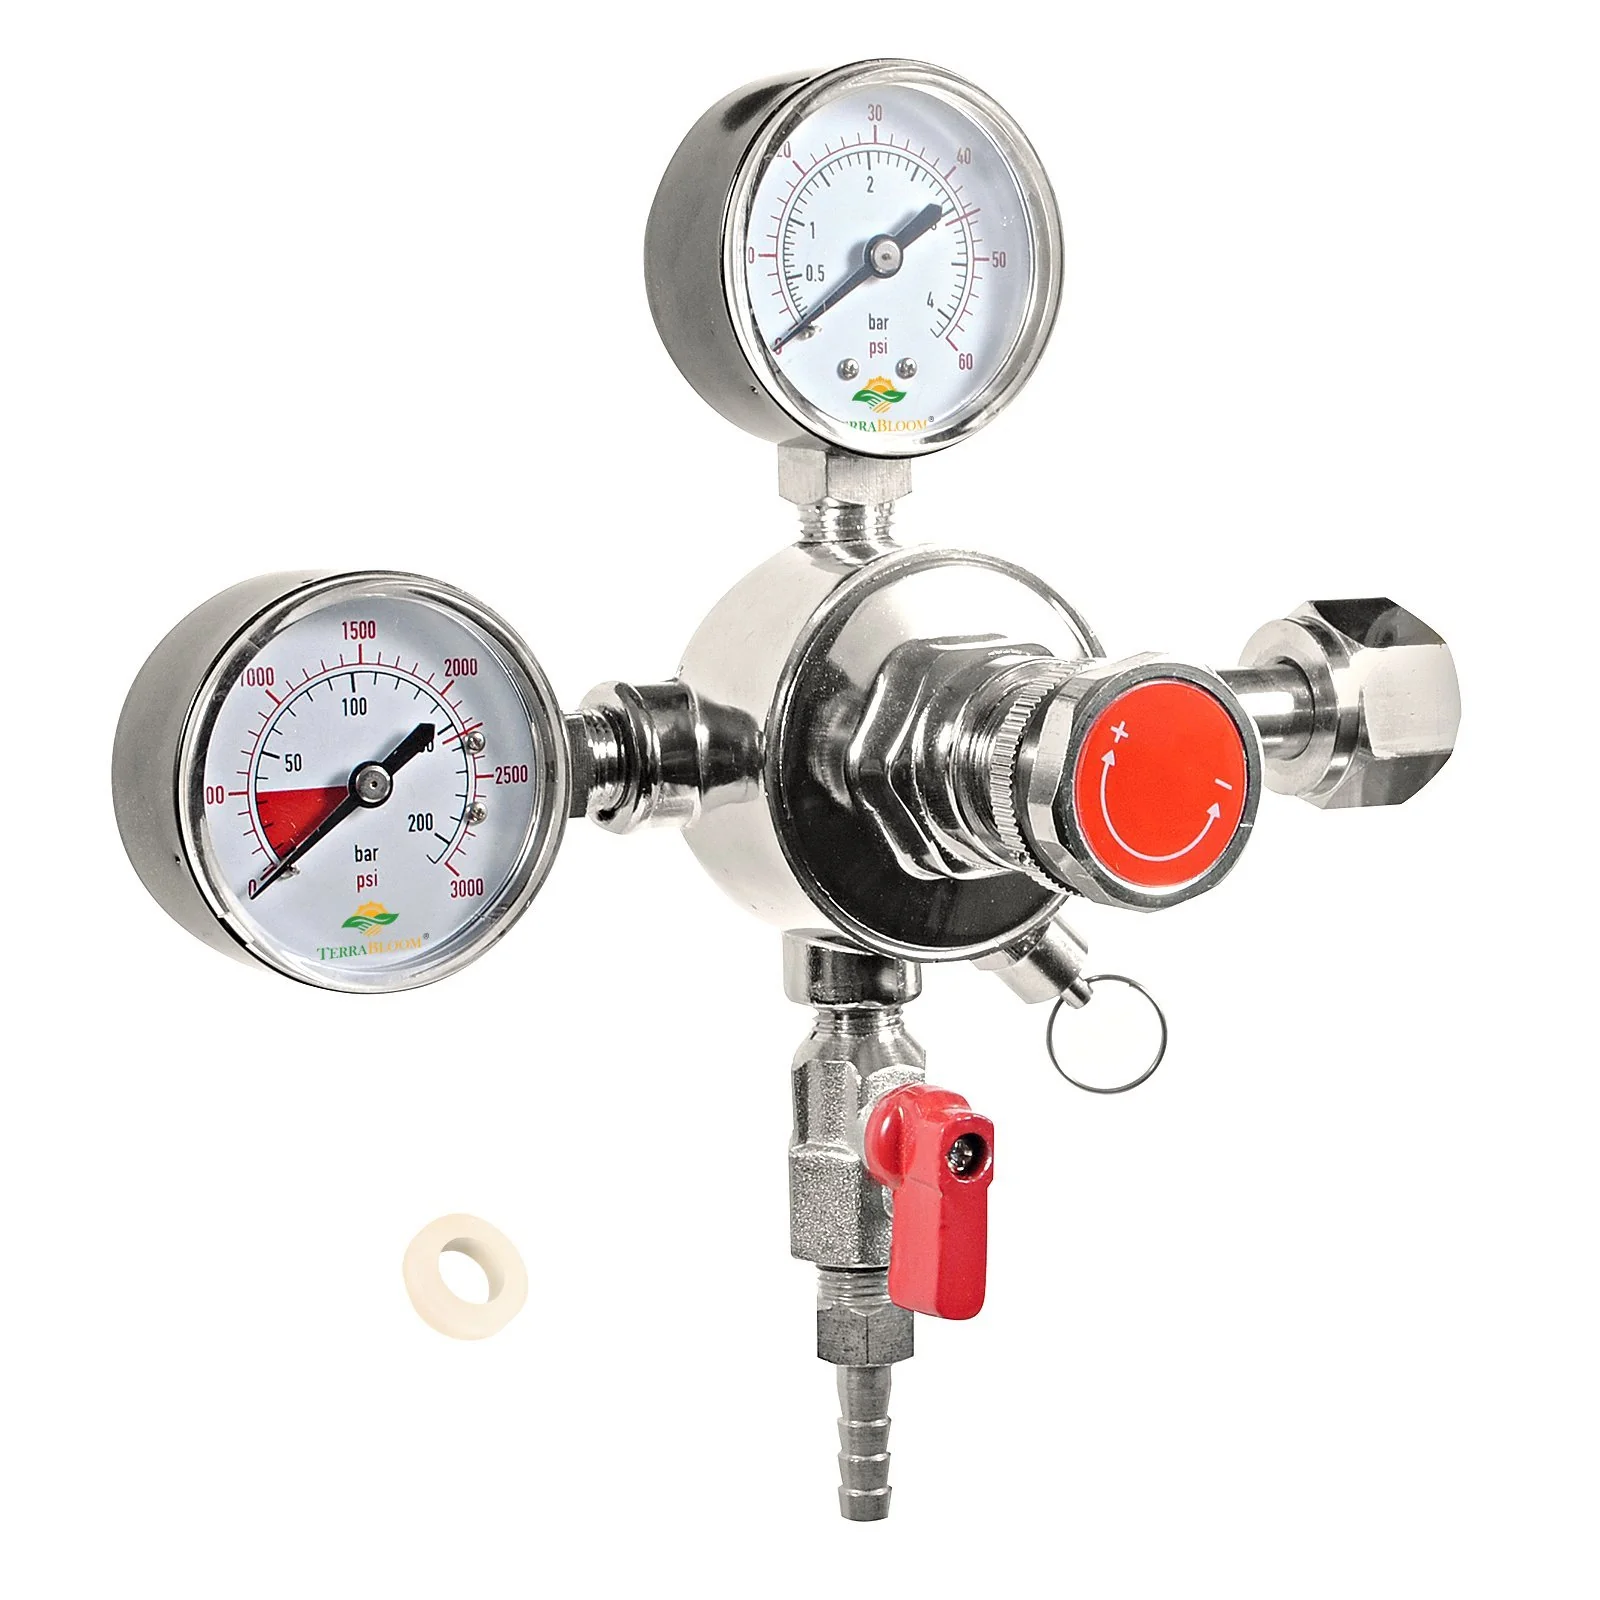
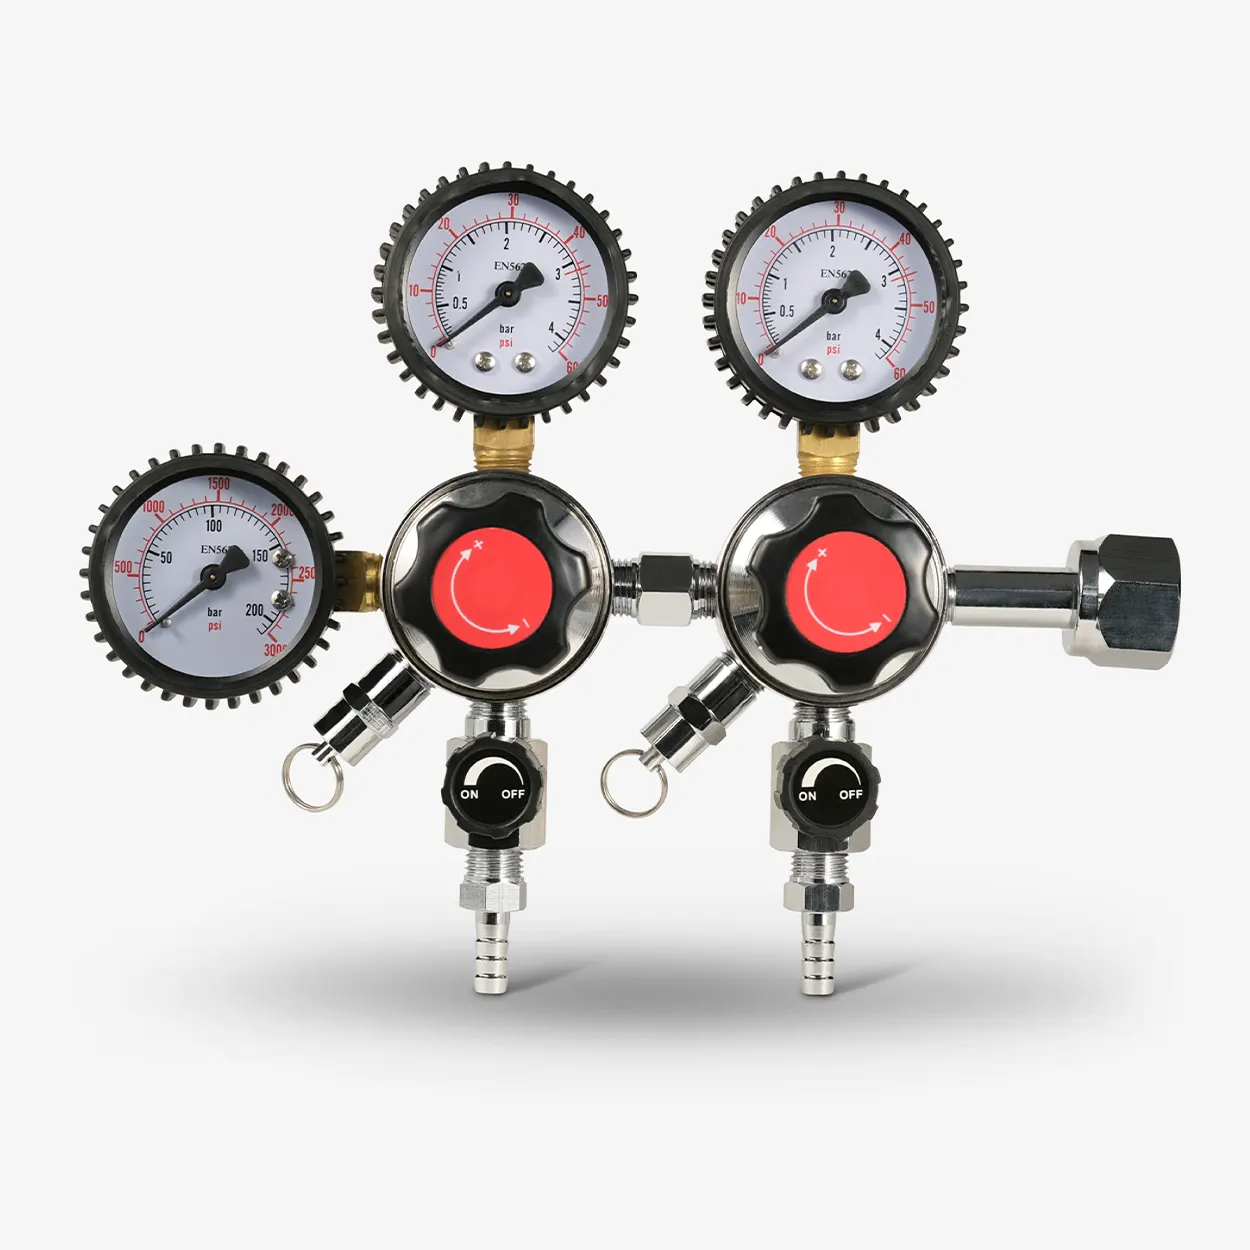
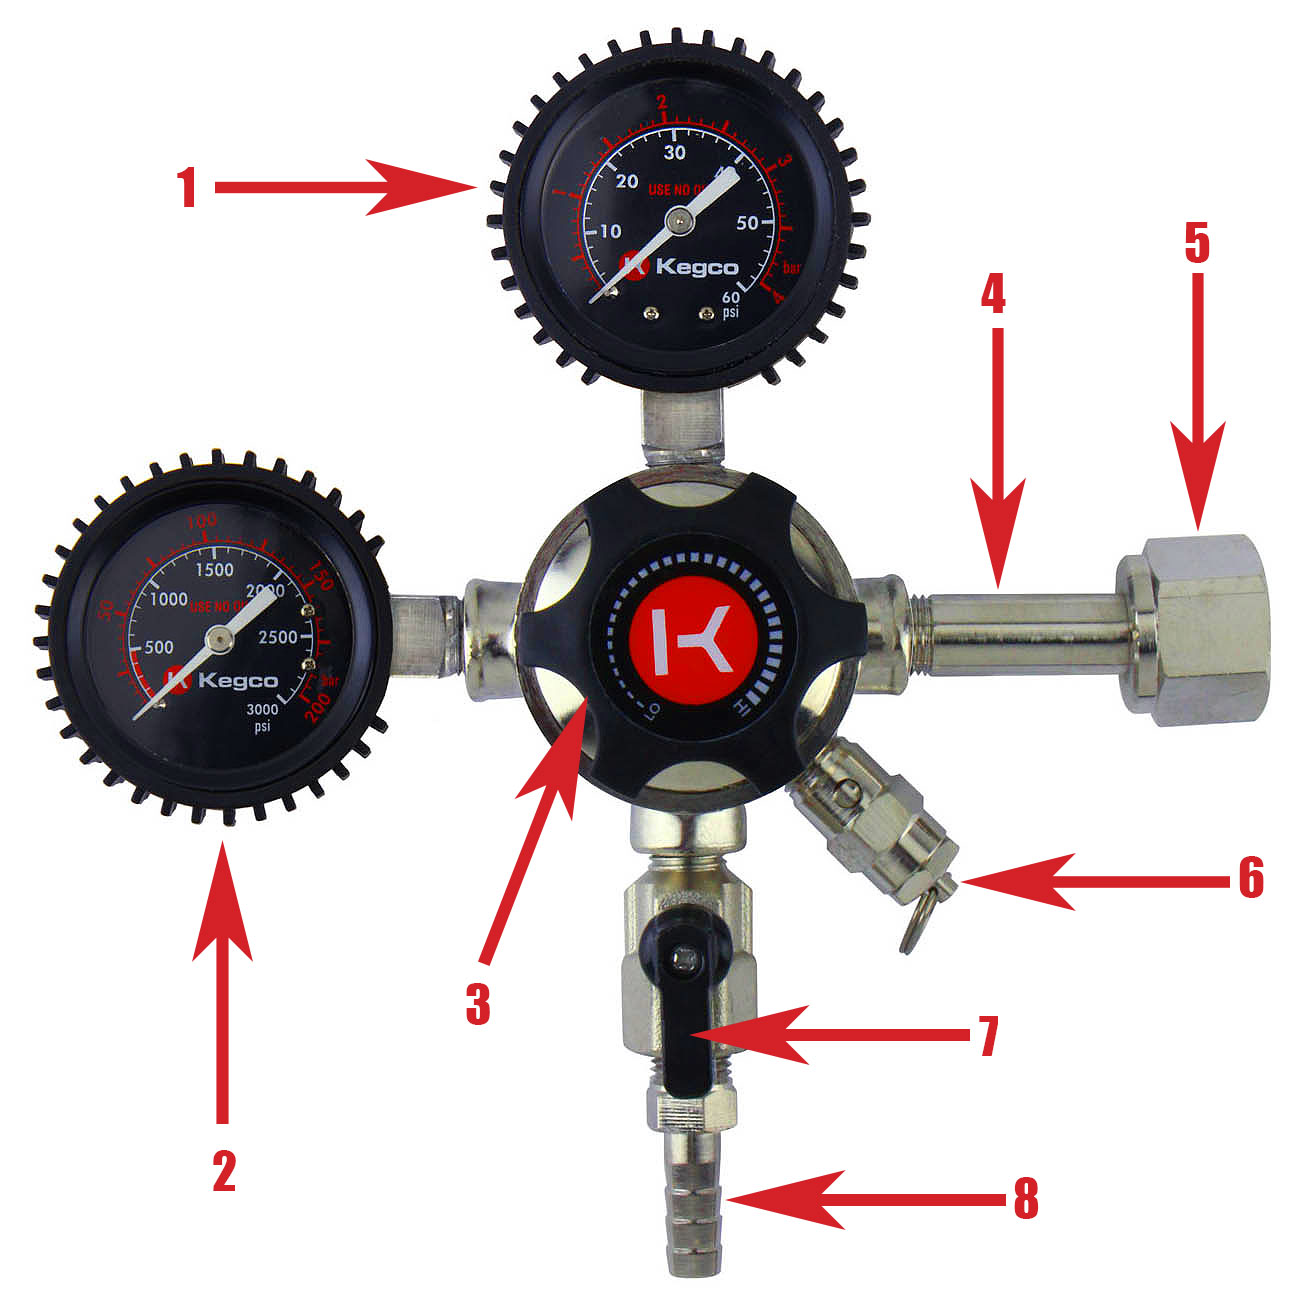
- CO2 Regulator: The regulator controls the flow and pressure of CO2 from the cylinder to the keg. Look for a high-quality regulator with a pressure gauge, as it is essential for adjusting and monitoring the carbonation levels.
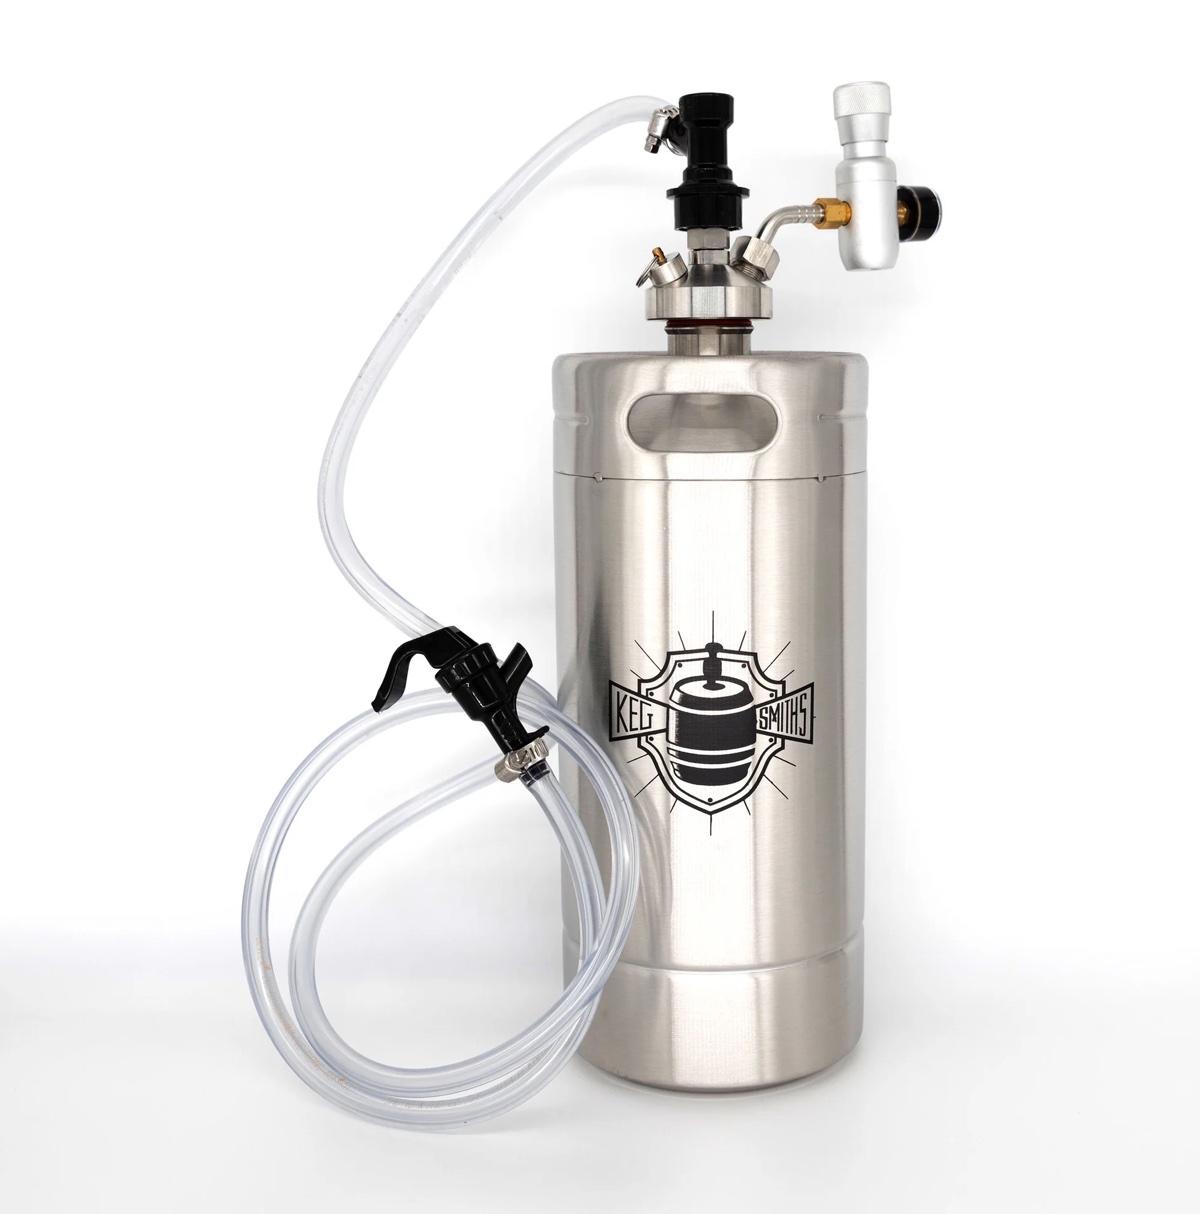
- Kombucha Keg: Choose a keg that is specifically designed for storing and dispensing kombucha. Opt for a size that suits your needs and ensure the keg has a built-in carbonation lid to maintain the quality of your brew.
- Kombucha Dispensing System: This includes a kombucha faucet, shank, and beverage line. Make sure all components are compatible with your kegerator and keg system.
- Sanitizing Solution: Proper sanitation is crucial to maintain the quality and safety of your kombucha. Use a food-grade sanitizing solution to clean all the equipment before and after each use.
- Cleaning Brush: A long-handled brush is helpful for cleaning the inside of the kegerator and beverage lines.
Additionally, you may want to consider having spare seals, o-rings, and other kegerator maintenance parts on hand for any unforeseen issues that may arise.
Now that you have all the necessary equipment and supplies, it’s time to move on to the next steps in setting up your kegerator with CO2 for kombucha!
Step 1: Choosing the Right Kegerator
Choosing the right kegerator is essential for a successful kombucha dispensing system. Here are some factors to consider when selecting your kegerator:
- Size: Determine how much kombucha you plan to brew and how frequently you’ll be serving it. This will help you determine the appropriate size of the kegerator. It’s better to have some extra space for future batches rather than running out of room.
- Temperature Control: Look for a kegerator with adjustable temperature control. Kombucha is best stored and served at a temperature between 35-45°F (1-7°C), so having the ability to set and monitor the temperature ensures optimal flavor and quality.
- Number of Taps: Consider how many different flavors or batches of kombucha you’ll be serving simultaneously. Each tap will require its own keg and dispensing equipment, so choose a kegerator that accommodates the number of taps you desire.
- CO2 Compatibility: Ensure that the kegerator you choose is compatible with a CO2 system. Look for a kegerator that has a CO2 tank holder and enough space to accommodate the necessary equipment.
- Brand and Warranty: Research different kegerator brands and choose one with a good reputation for quality and reliability. Look for a manufacturer that provides a warranty to protect your investment.
It’s also worth considering the aesthetics of the kegerator and how it will fit into your space. Many kegerators have a sleek and modern design, making them a stylish addition to your home or kitchen.
Once you’ve chosen the right kegerator, purchase it from a reputable supplier or retailer. Be sure to read the user manual and familiarize yourself with the kegerator’s features and functionality before proceeding to the next steps.
Now that you have your kegerator ready, it’s time to move on to installing the CO2 system, which we’ll cover in the next step!
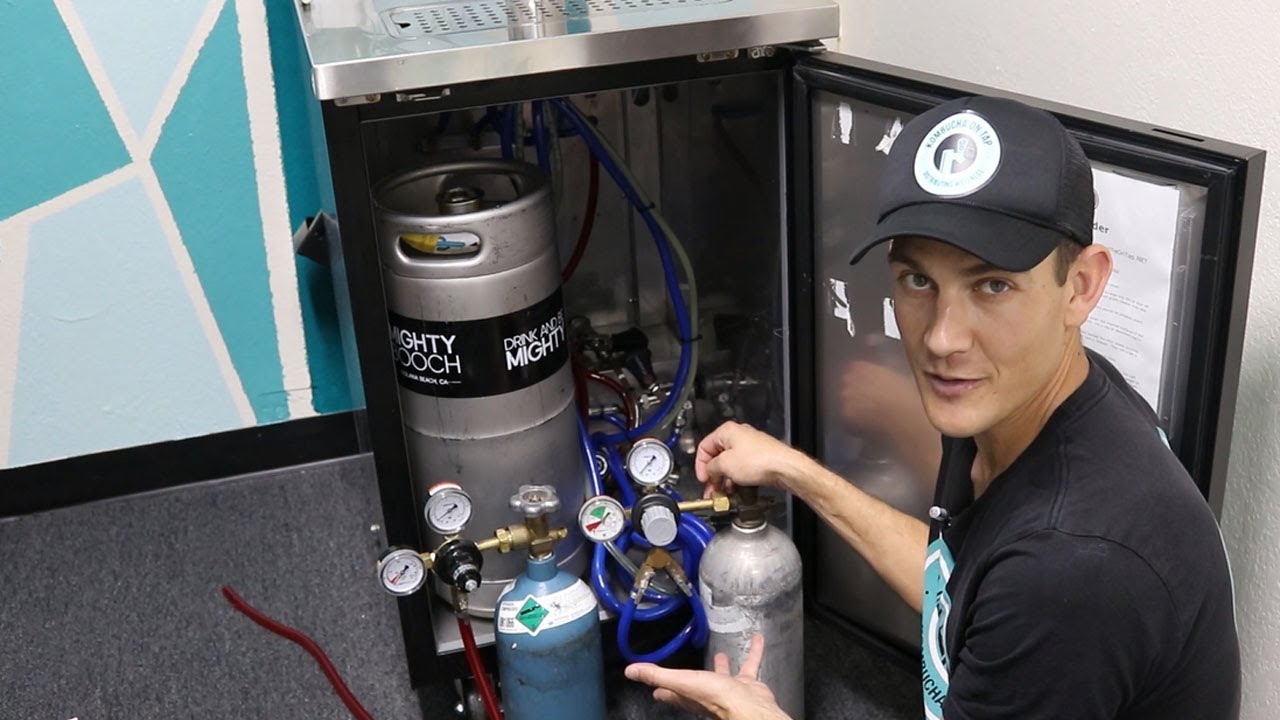
Step 2: Installing the CO2 System
Installing the CO2 system is a crucial step in setting up your kegerator for kombucha. Here’s a step-by-step guide to help you through the process:
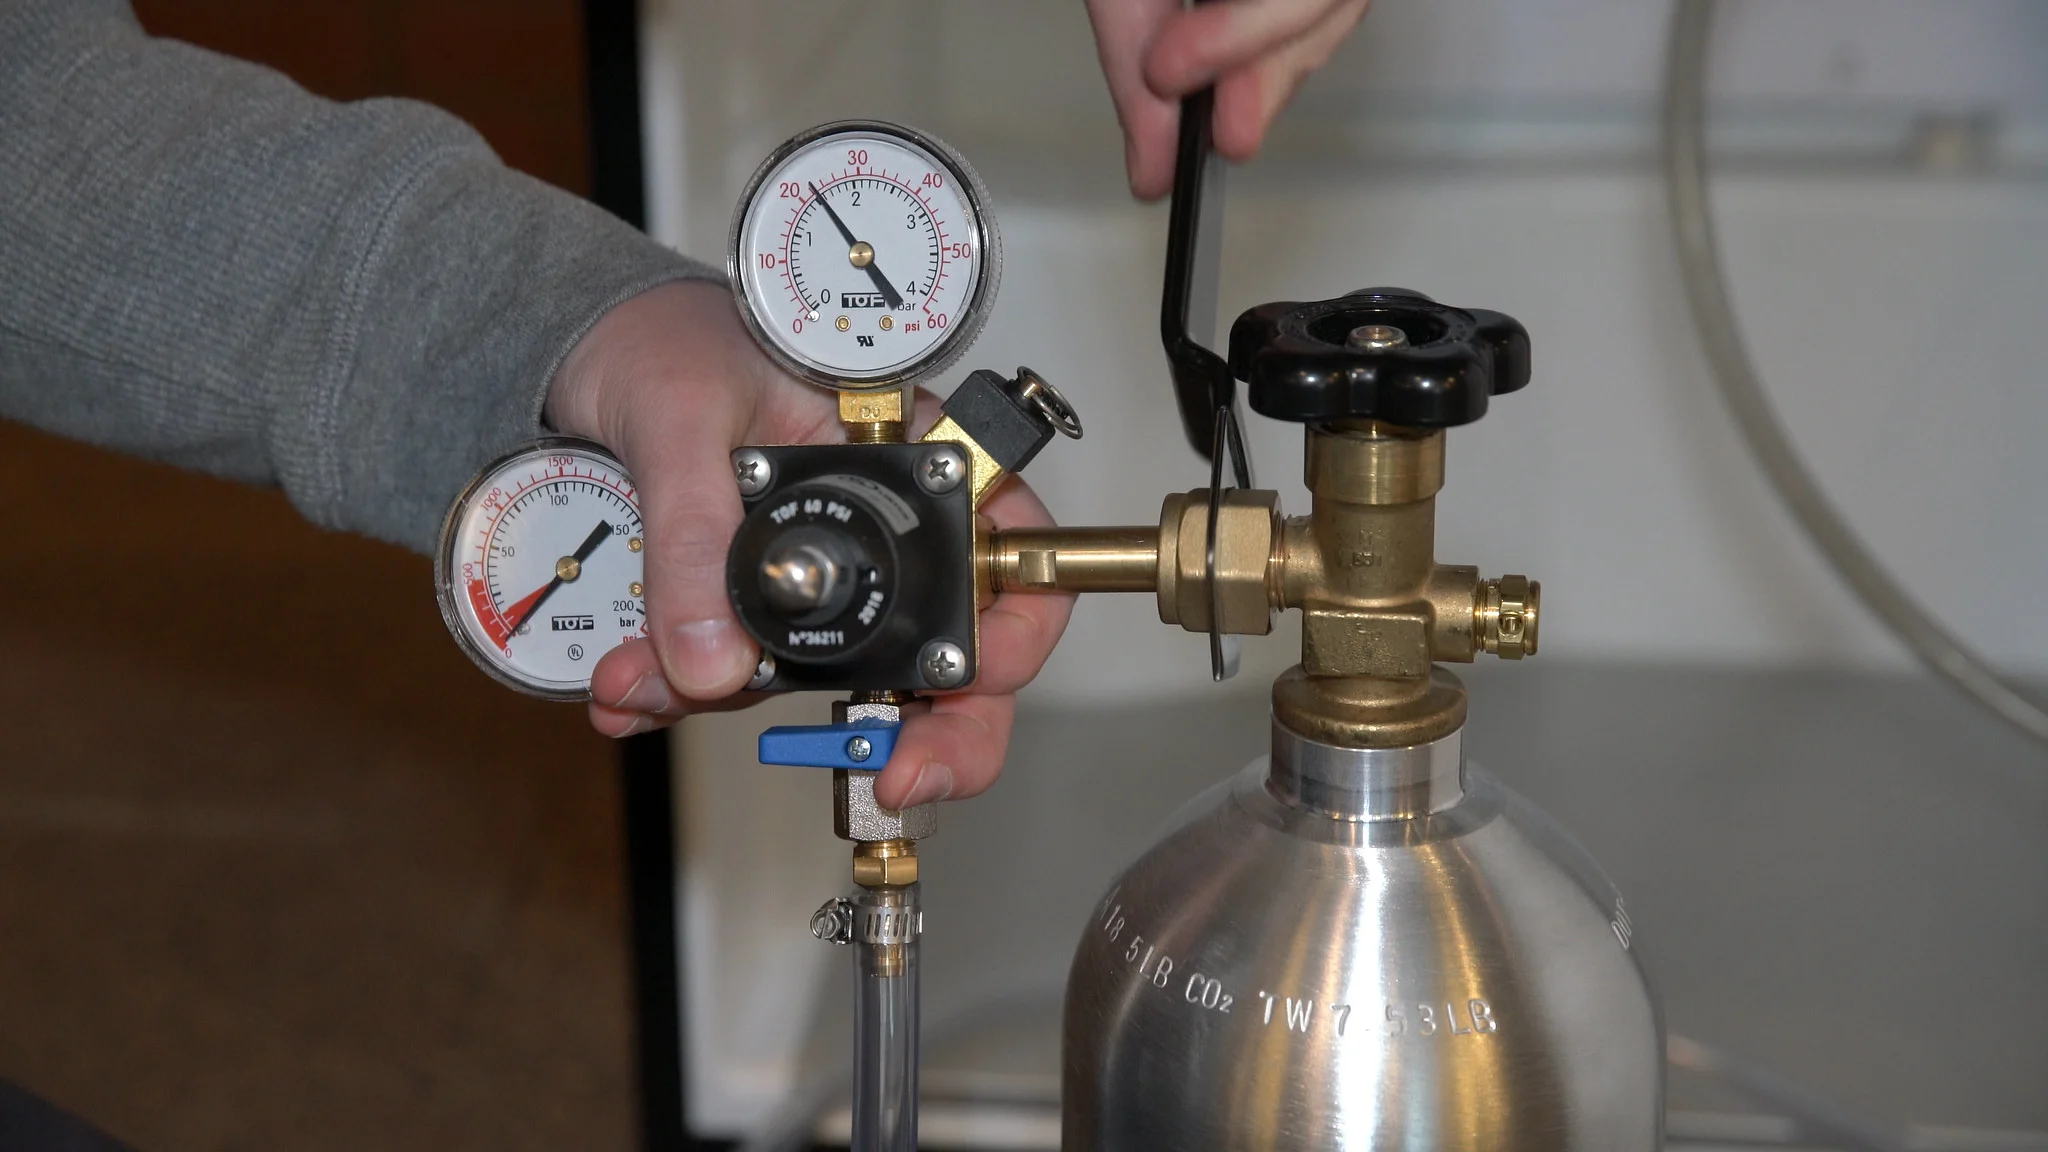
- Prepare the CO2 Cylinder: Ensure that the CO2 cylinder is securely fastened in the designated holder in the kegerator. Double-check that the cylinder is turned off by twisting the valve clockwise.
- Attach the CO2 Regulator: Take the CO2 regulator and connect it to the CO2 cylinder valve by screwing it on clockwise. Make sure it is firmly attached but avoid overtightening.
- Connect the Gas Line: Attach one end of the gas line to the outlet port on the CO2 regulator. The other end will connect to the keg’s gas-in port. Ensure a secure connection and check for any leaks by applying a soapy water solution to the connections. If you see bubbles, there might be a leak that needs to be fixed.
- Check the CO2 Pressure: Once the connections are secure, turn on the CO2 cylinder’s valve by gently twisting it counterclockwise. Monitor the gauge on the regulator to ensure the pressure is stable and within the recommended range for kombucha dispensing, typically around 10-15 psi (pounds per square inch).
- Adjust the Pressure: Depending on your preference and the desired level of carbonation, you may need to adjust the CO2 pressure. Use the adjustment knob on the regulator to increase or decrease the pressure. Start with a lower pressure and gradually increase it until you achieve the desired carbonation level.
It’s important to note that the pressure may need readjustment over time as the kombucha in the keg carbonates. Regularly monitor the pressure gauge and make any necessary adjustments to maintain the desired carbonation level.
Once you’ve installed and checked the CO2 system, it’s time to move on to setting up the kombucha dispensing system, which we’ll cover in the next step!
When setting up a kegerator for kombucha, make sure to use a food-grade CO2 tank and regulator to prevent any contamination. Keep the CO2 pressure between 15-20 psi for optimal carbonation.
Read more: How Adjust Co2 Kegerator
Step 3: Setting Up the Kombucha Dispensing System
Setting up the kombucha dispensing system is the next step in getting your kegerator ready for serving delicious kombucha. Follow these steps to ensure a smooth setup:
- Attach the Beverage Line: Take the beverage line and connect it to the shank, ensuring a tight connection. The other end of the beverage line will attach to the kombucha faucet.
- Position the Shank and Faucet: Find the ideal spot on the kegerator door or surface where you want to position the shank and faucet. Use a drill and the appropriate-sized hole saw to create a hole for the shank. Insert the shank through the hole, securing it in place. Attach the kombucha faucet to the end of the beverage line connected to the shank.
- Connect the Beverage Line: Attach the other end of the beverage line, which is connected to the kombucha faucet, to the liquid-out port on the keg. Ensure a secure connection to prevent any leaks.
- Clean the Dispensing System: Before using the kombucha dispensing system for the first time, thoroughly clean the beverage line, shank, and faucet. Use a cleaning solution recommended for keg systems to ensure the removal of any debris or residue. Rinse thoroughly with clean water.
Once the kombucha dispensing system is set up, you’re almost ready to enjoy your homemade brew on tap. But first, you need to connect the CO2 supply and test the system, which we’ll cover in the next step.
Now that you’ve completed setting up the kombucha dispensing system, the kegerator is starting to take shape. Stay tuned for the next steps in the process!
Step 4: Connecting and Testing the CO2 Supply
Now that you have set up the kombucha dispensing system, it’s time to connect and test the CO2 supply to ensure everything is functioning properly. Follow these steps:
- Turn Off the Pressure Relief Valve: Before connecting the CO2 supply, make sure the pressure relief valve on the keg is closed. This valve helps release excess pressure and should only be opened in case of an emergency.
- Connect the Gas Line: Take the gas line connected to the CO2 regulator and attach it to the gas-in port on the keg. Ensure a secure connection to prevent any gas leaks.
- Turn On the CO2 Supply: Gently turn the knob on the CO2 regulator counterclockwise to open the gas flow. You should see the pressure gauge on the regulator increase as the CO2 flows into the keg.
- Check for Leaks: Apply a soap and water solution to the connections between the gas line, regulator, and keg. If you notice any bubbles forming, there may be a leak that needs to be addressed. Tighten the connections if necessary, or seek professional assistance if you’re unable to resolve the issue.
- Purge the Air: To prevent oxidation and maintain the freshness of your kombucha, it’s important to purge the air from the keg. Open the pressure relief valve on the keg for a few seconds to allow any trapped air to escape.
- Test the Kombucha Dispensing System: With the CO2 supply connected and the keg pressurized, it’s time to test the kombucha dispensing system. Pour a small amount of kombucha using the faucet and observe the flow. Ensure that it dispenses smoothly and without any obstructions.
If you encounter any issues during the testing process, such as slow flow or clogging, it may indicate a problem with your dispensing system or keg. Troubleshoot accordingly or seek assistance from a knowledgeable source.
Once you’re satisfied with the functionality and performance of the CO2 supply and kombucha dispensing system, it’s time to move on to the next step: adjusting the CO2 pressure.
Continue the journey of setting up your kegerator for kombucha by following the upcoming steps!
Step 5: Adjusting the CO2 Pressure
Adjusting the CO2 pressure is a crucial step in ensuring that your kombucha is carbonated to your liking. By controlling the pressure, you can achieve the perfect level of carbonation for your brew. Follow these steps to adjust the CO2 pressure:
- Purge the Pressure: Before adjusting the CO2 pressure, it’s important to release any pressure that may have built up in the keg. Gently open the pressure relief valve on the keg for a few seconds to release excess gas.
- Monitor the Pressure Gauge: Look at the pressure gauge on the CO2 regulator to determine the current pressure level. If necessary, refer to the guidelines provided with your specific keg or consult with a brewing expert to determine the appropriate pressure range for kombucha carbonation.
- Make Incremental Adjustments: Using the adjustment knob on the CO2 regulator, make small and gradual adjustments to the pressure. Begin by increasing the pressure slightly and then allow the kombucha to carbonate for some time before making further adjustments. Note that it may take a few attempts to find the optimal pressure for your preferences.
- Test the Carbonation: Pour a small sample of kombucha from the faucet and assess the carbonation level. If it’s not carbonated enough, gradually increase the pressure and allow it to carbonate further. If it’s too carbonated, slightly reduce the pressure. Repeat this process until you achieve the desired level of carbonation.
- Take Notes: Keep track of the pressure adjustments you make and the corresponding carbonation levels. This will help you establish a system and reproduce your preferred carbonation level in future batches.
Remember that carbonation can take some time to develop, especially if starting from a lower pressure. Be patient and allow the kombucha to carbonate over several hours or even days before adjusting the pressure further.
Once you’re satisfied with the carbonation level, you can now proceed to the final step: cleaning and maintaining the kegerator. This step is crucial for maintaining the quality and longevity of your kombucha setup.
Stay tuned for the last step to complete your kegerator setup journey!
Step 6: Cleaning and Maintaining the Kegerator
Cleaning and maintaining your kegerator is essential for keeping your kombucha setup in top condition, ensuring the longevity of your equipment, and preserving the quality of your brew. Follow these steps to properly clean and maintain your kegerator:
- Regular Cleaning: Clean the interior of the kegerator regularly to prevent the buildup of mold, bacteria, and other contaminants. Remove any kegs and disconnect the CO2 supply before cleaning.
- Remove Spills and Residue: Wipe away any spills and residue from the interior surfaces using a clean cloth and a mild, food-grade sanitizer. Pay extra attention to the areas around the taps and faucets where kombucha may have dripped.
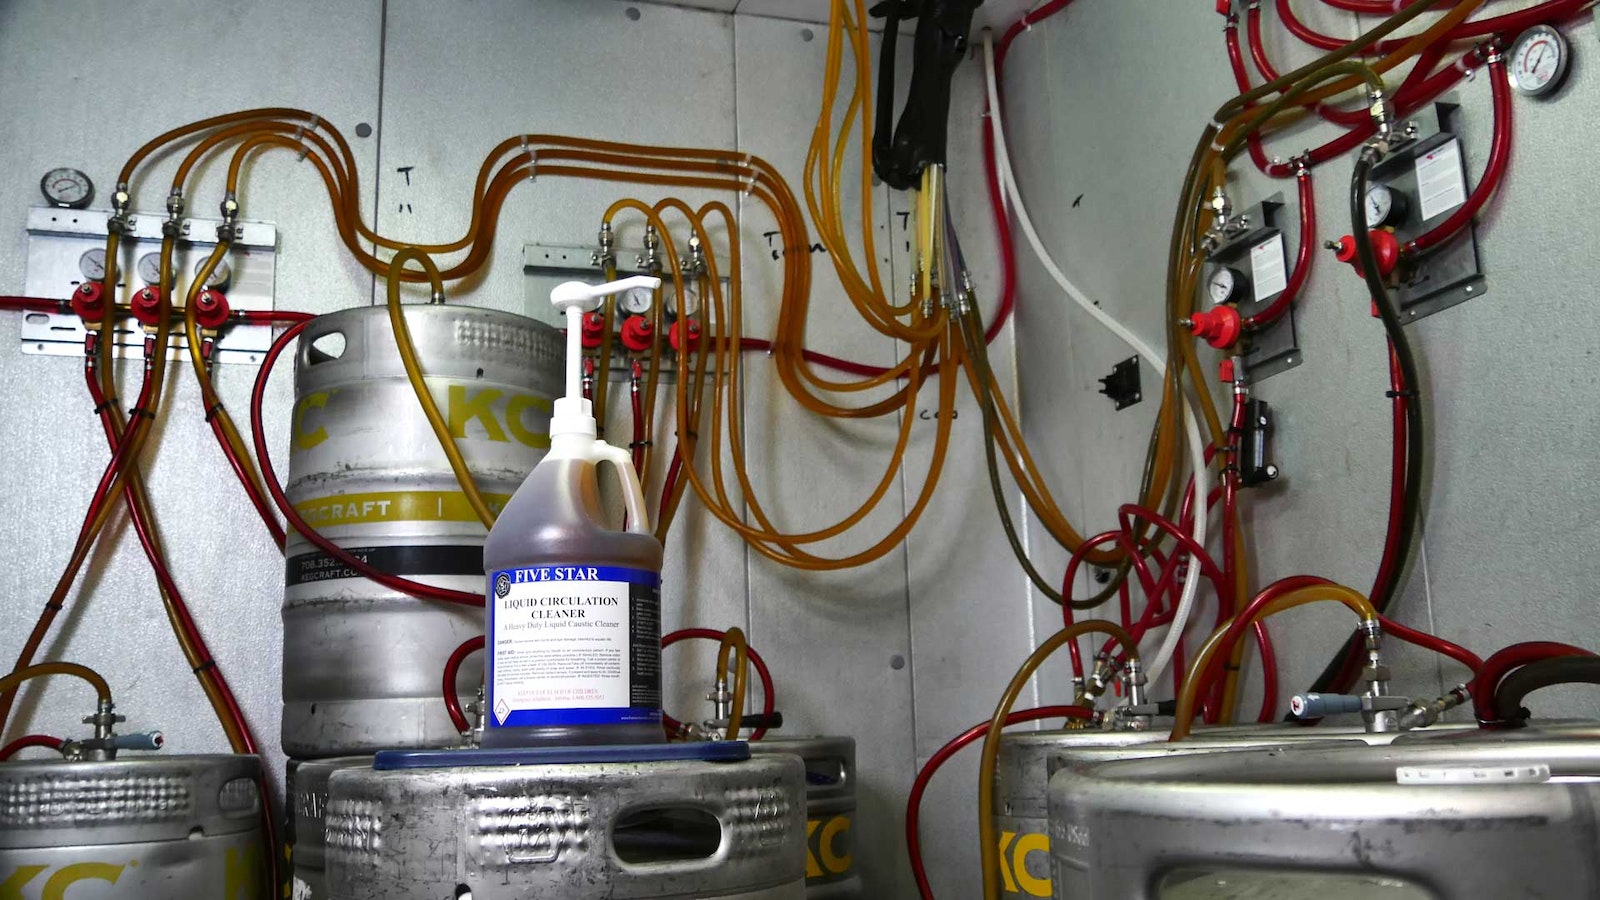
- Clean Beverage Lines: Flush and clean the beverage lines to remove any residue or bacteria that may have accumulated. Follow the manufacturer’s instructions for cleaning the lines, using a specially formulated cleaning solution or a mixture of warm water and a cleaning agent suitable for kegerator maintenance.
- Sanitize and Replace Seals: Periodically sanitize all seals, gaskets, and O-rings in your kegerator to maintain their cleanliness and prevent any unwanted flavors or odors from contaminating your kombucha. If you notice any damaged or worn-out seals, replace them promptly.
- Check for Leaks: Regularly inspect all connections, including the gas lines, beverage lines, and faucets, for any signs of leaks. Tighten any loose connections and fix any leaks immediately to avoid any potential CO2 loss or waste of your precious kombucha.
- Maintain Temperature: Monitor and maintain the temperature within the kegerator to ensure the optimal storage conditions for your kombucha. Avoid frequent temperature fluctuations that can affect the flavor and quality of your brew.
- Keep the Exterior Clean: Regularly clean the exterior surfaces of the kegerator to maintain its aesthetics. Use a mild soap or stainless steel cleaner to wipe away any dirt or fingerprints.
- Keep the CO2 Cylinder Filled: Ensure that the CO2 cylinder is properly filled and has sufficient gas for dispensing your kombucha. Keep a backup cylinder on hand to avoid running out of CO2 during the fermentation or dispensing process.
By following these cleaning and maintenance practices, you can enjoy a clean and well-functioning kegerator that keeps your kombucha fresh and delicious.
Congratulations! You have successfully set up your kegerator with CO2 for kombucha. Now, it’s time to sit back, relax, and enjoy the convenience and pleasure of having homemade kombucha on tap whenever you desire.
Prost to your kombucha brewing adventures!
Read more: Where To Get Co2 For A Kegerator
Conclusion
Congratulations on successfully setting up your kegerator with CO2 for kombucha! You’ve embarked on a journey that combines convenience, freshness, and control over your kombucha brewing and dispensing process. With your kegerator, you can enjoy the benefits of having homemade kombucha on tap at all times.
By choosing the right kegerator, installing the CO2 system, setting up the kombucha dispensing system, adjusting the CO2 pressure, and maintaining the kegerator, you have ensured a smooth and enjoyable experience with your kegged kombucha.
With the convenience of the kegerator, you no longer have to spend time and effort on bottling each batch of kombucha. Instead, you can confidently serve your brew straight from the keg, ensuring freshness and flavor in every glass.
Remember to regularly clean and maintain your kegerator to ensure the longevity of your equipment and the quality of your kombucha. By taking proper care of your setup, you can continue to enjoy the benefits of kegged kombucha for years to come.
So, raise a glass to your DIY kombucha adventures! Whether you’re sipping a tangy and effervescent brew or experimenting with new flavor combinations, your kegerator with CO2 is sure to enhance your kombucha enjoyment.
Cheers to the convenience, freshness, and control that your kegerator with CO2 brings to your kombucha brewing journey. Embrace the art of kegging and enjoy the delightful experience of enjoying your homemade brew on tap.
Happy brewing, and may your kegerator always bring you joy and delicious kombucha!
Frequently Asked Questions about How To Set Up A Kegerator With Co2 For Kombucha
Was this page helpful?
At Storables.com, we guarantee accurate and reliable information. Our content, validated by Expert Board Contributors, is crafted following stringent Editorial Policies. We're committed to providing you with well-researched, expert-backed insights for all your informational needs.


0 thoughts on “How To Set Up A Kegerator With Co2 For Kombucha”