Articles
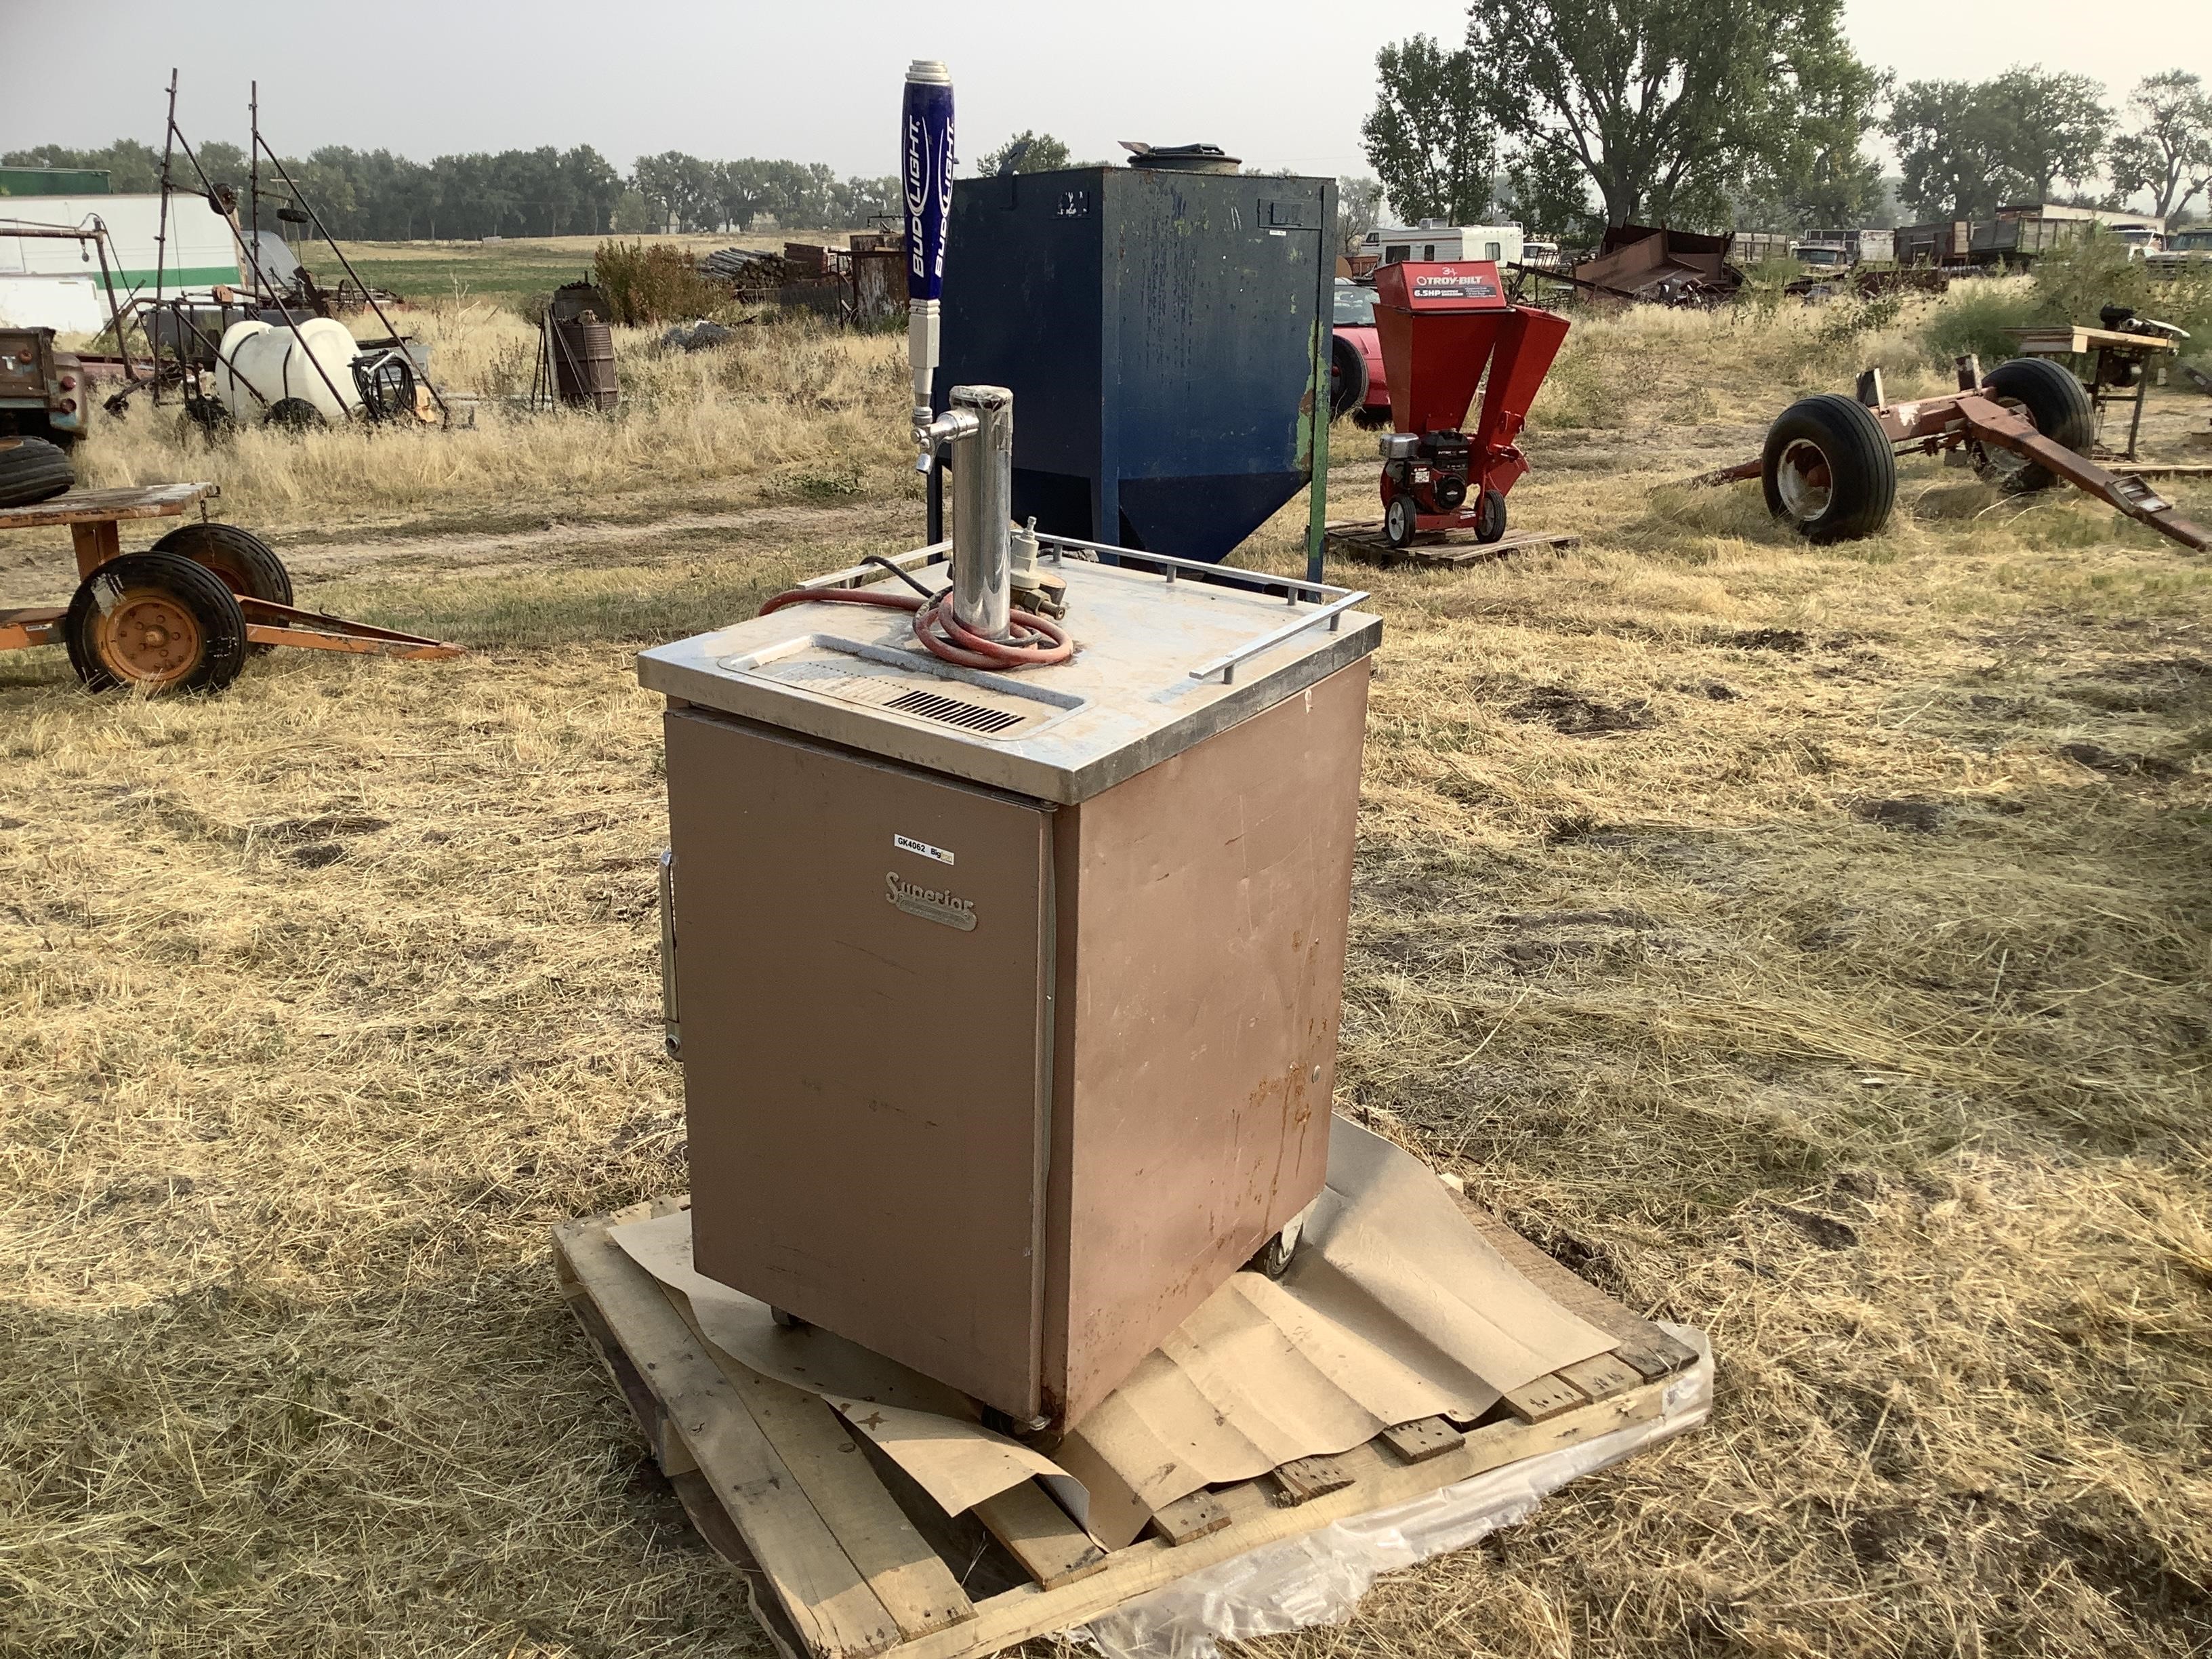
How To Change A Keg In A Kegerator
Modified: August 28, 2024
Discover the step-by-step process of changing a keg in a kegerator with our comprehensive articles. Perfect for homebrewers and beer enthusiasts.
(Many of the links in this article redirect to a specific reviewed product. Your purchase of these products through affiliate links helps to generate commission for Storables.com, at no extra cost. Learn more)
Introduction
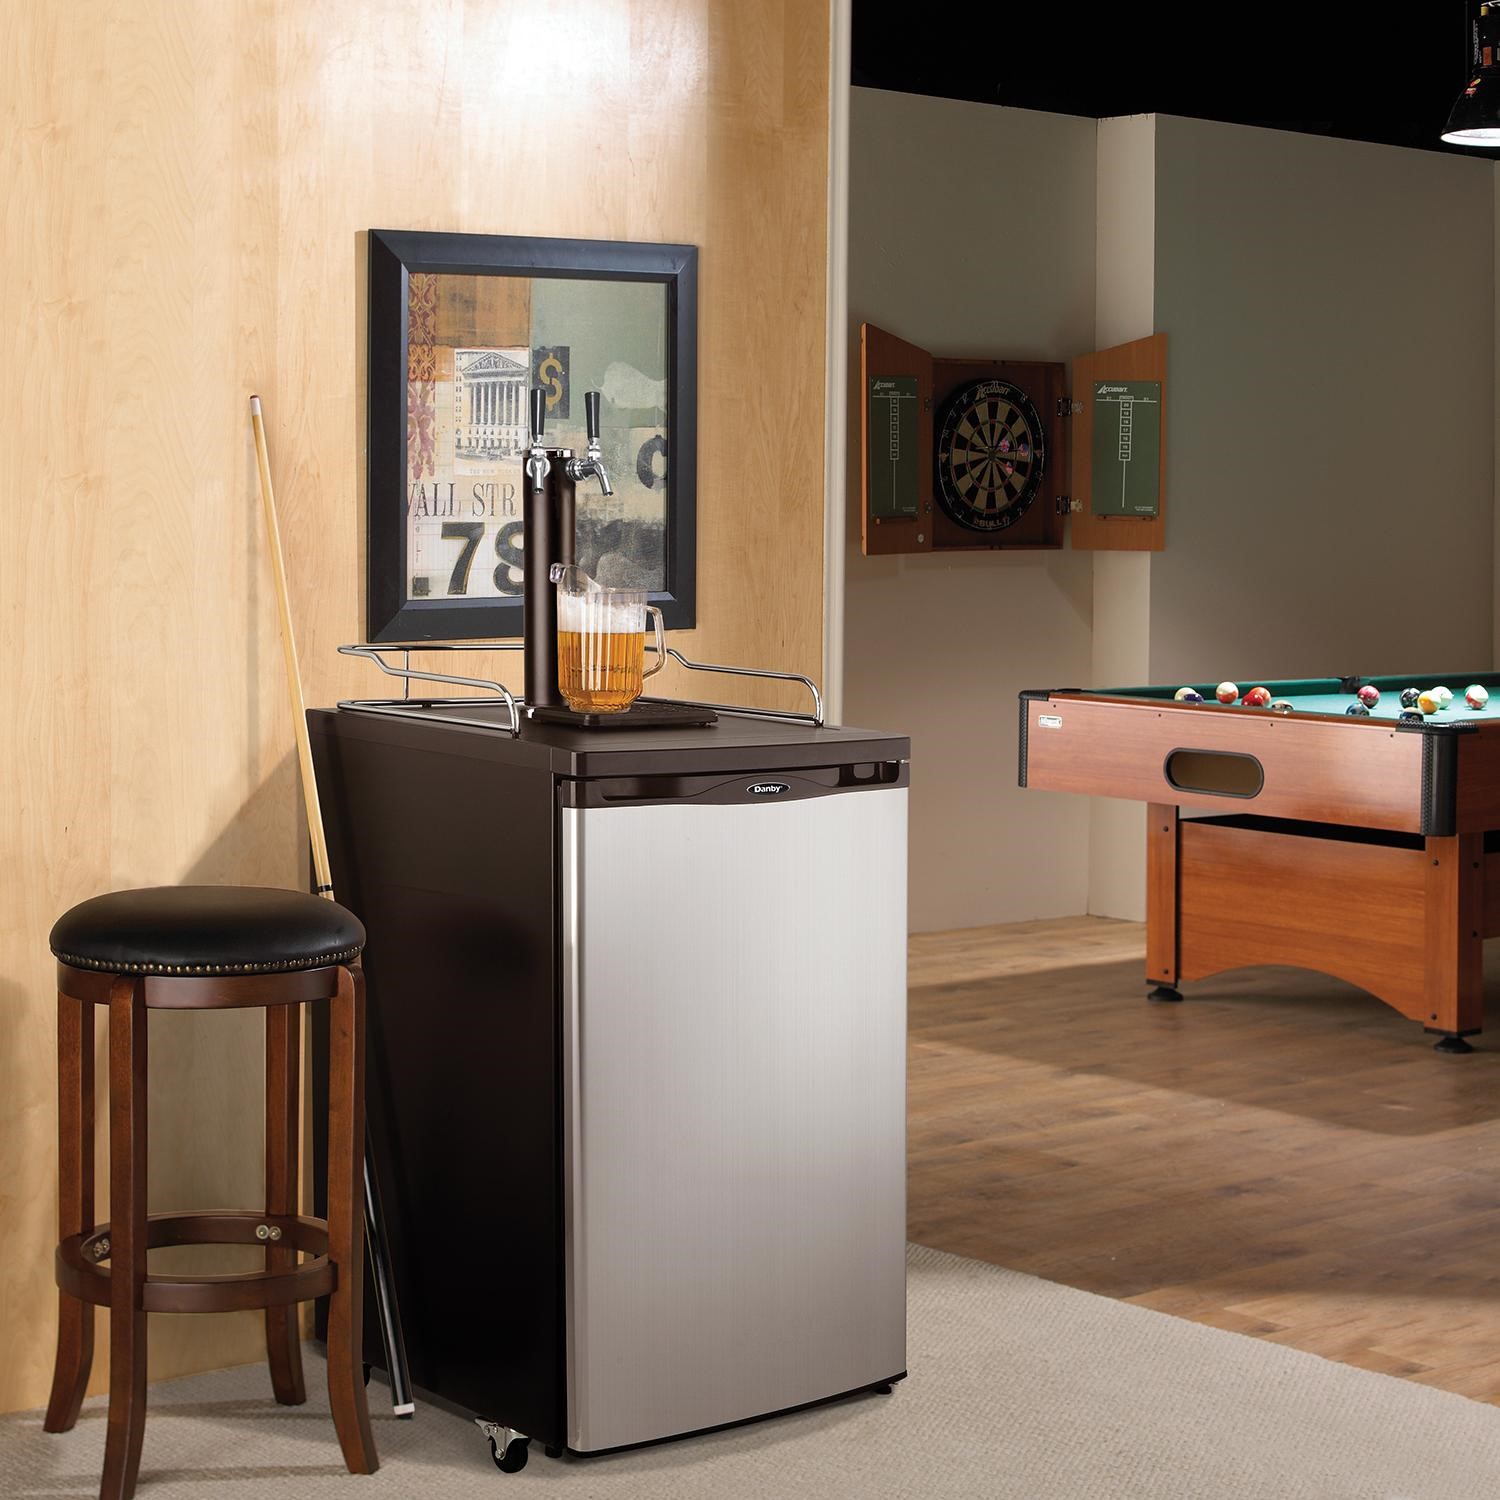
Changing a keg in a kegerator may seem like a daunting task, but with the right knowledge and tools, it can be a straightforward and rewarding process. Whether you’re a novice beer enthusiast or a seasoned keg connoisseur, knowing how to change a keg allows you to enjoy fresh, cold draft beer in the comfort of your own home.
In this article, we will guide you through the step-by-step process of changing a keg in a kegerator. From gathering the necessary supplies to pouring the first perfect pint from your new keg, we’ll cover everything you need to know.
Before we dive in, it’s important to note that kegerators come in various types and models, so the specific steps may differ slightly depending on your setup. However, the general principles remain the same. Always consult the manufacturer’s instructions for your specific kegerator model to ensure you’re following the correct procedures.
So, grab your favorite pint glass and let’s get started!
Key Takeaways:
- Enjoy fresh, cold draft beer at home by confidently changing a keg in your kegerator. Follow step-by-step guidance for a rewarding and seamless beer dispensing experience.
- Maintain optimal hygiene and quality by regularly cleaning and maintaining your kegerator. Enjoy the convenience and freshness of draft beer at home with confidence.
Read more: What Is a Kegerator and What Is It Used For?
Step 1: Gather Necessary Supplies
Before you begin the keg changing process, it’s important to gather all the necessary supplies. Having everything on hand will make the process smoother and prevent any interruptions. Here are the supplies you will need:
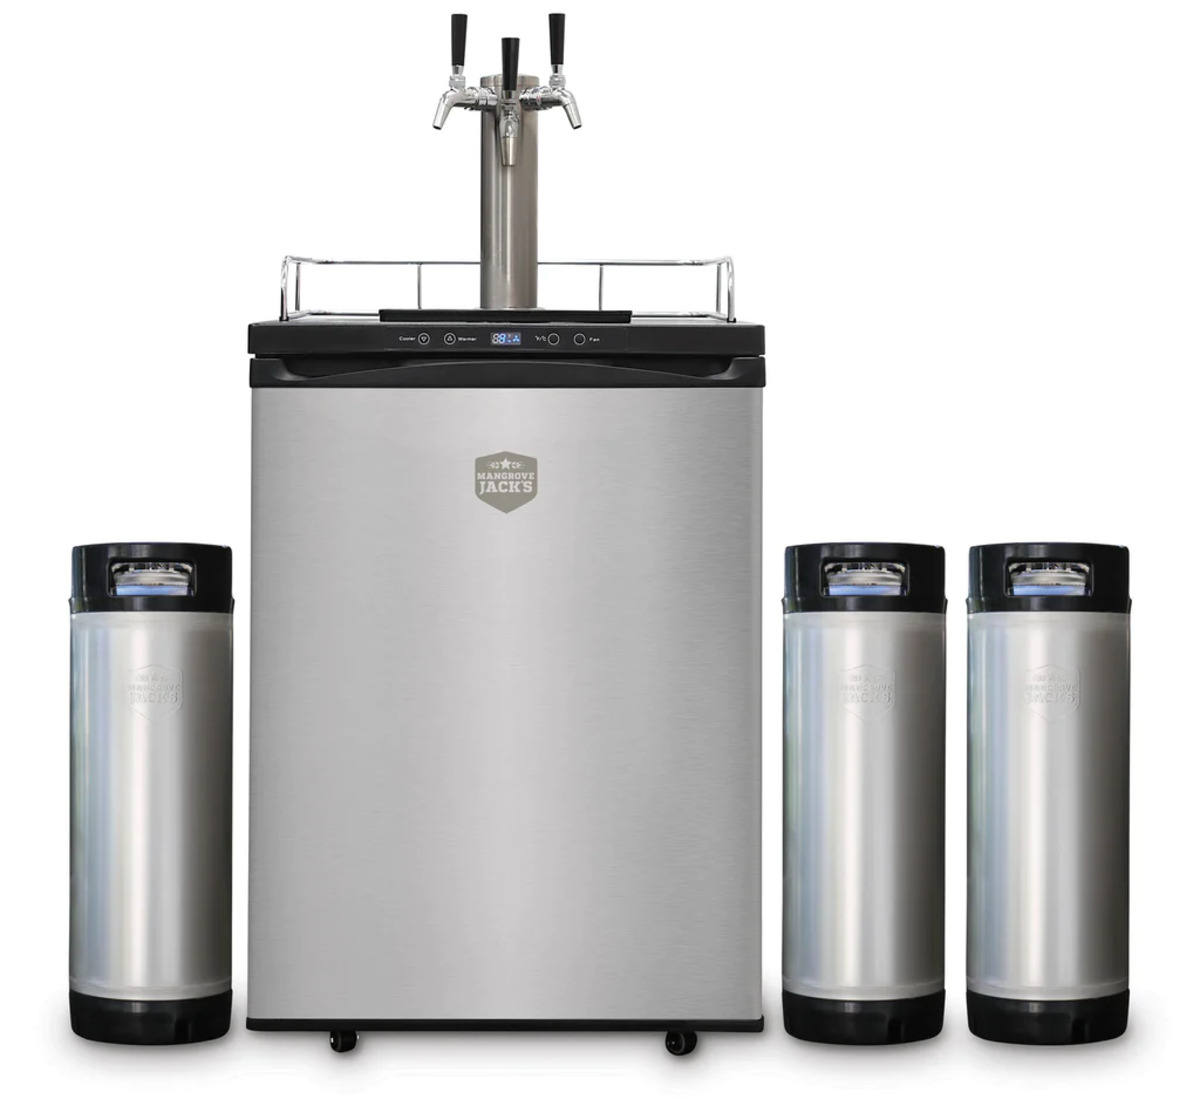
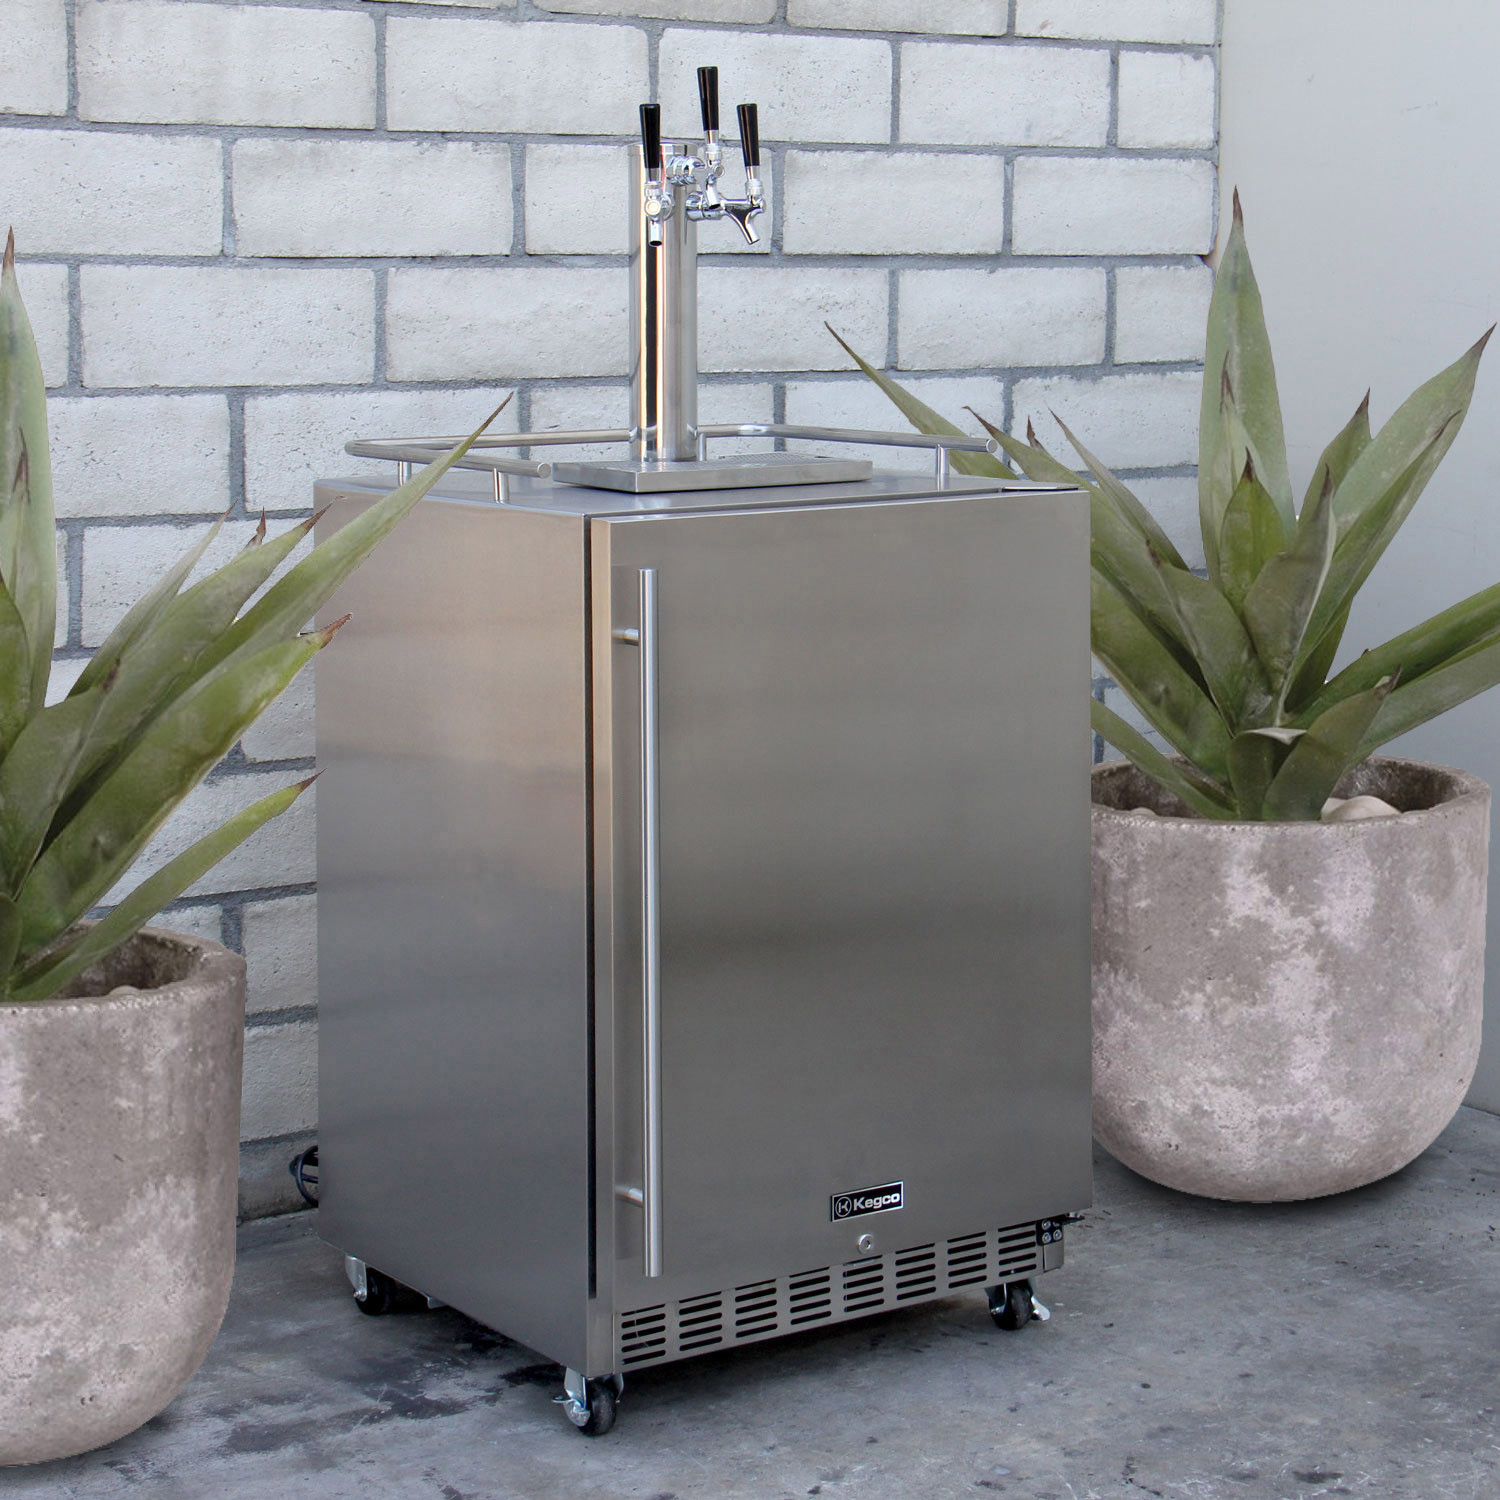
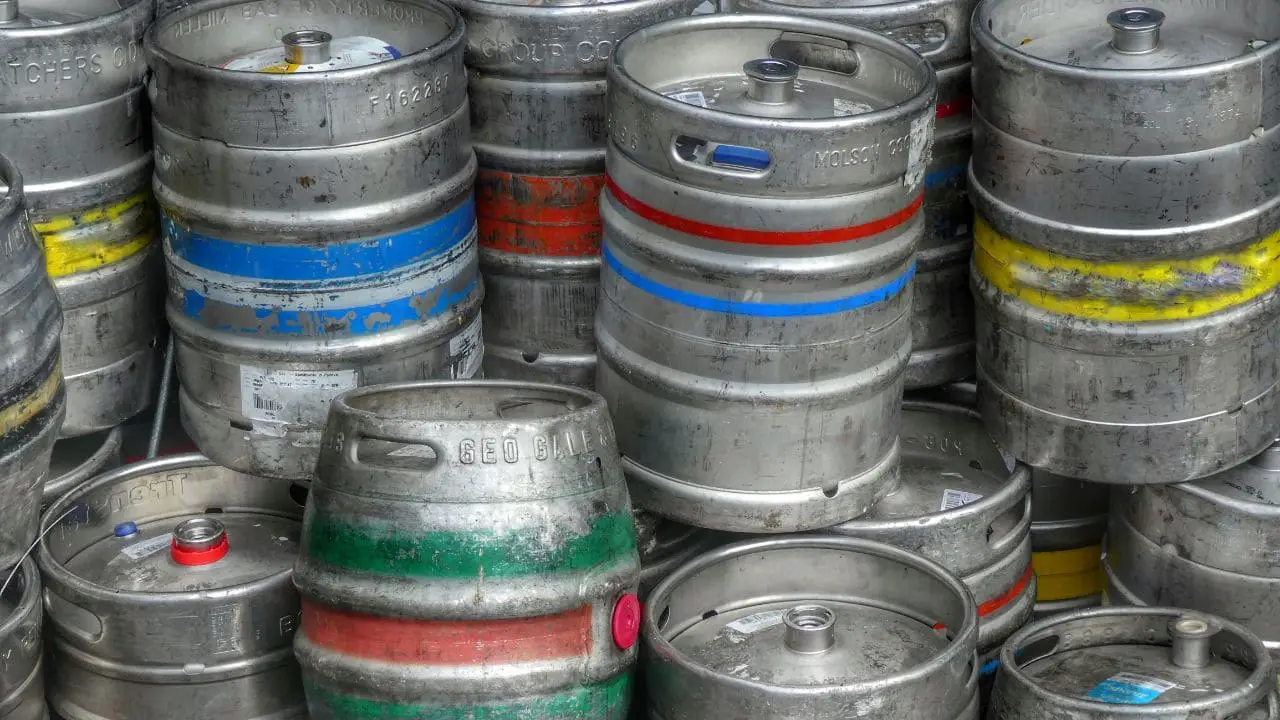
- New Keg: Make sure you have a fresh keg ready to replace the empty one. Consider choosing a keg with your favorite beer style.
- Cleaning Solution: You’ll need a keg cleaning solution to ensure your kegerator and beer lines are properly sanitized. Follow the instructions on the cleaning solution for the appropriate dilution ratio.
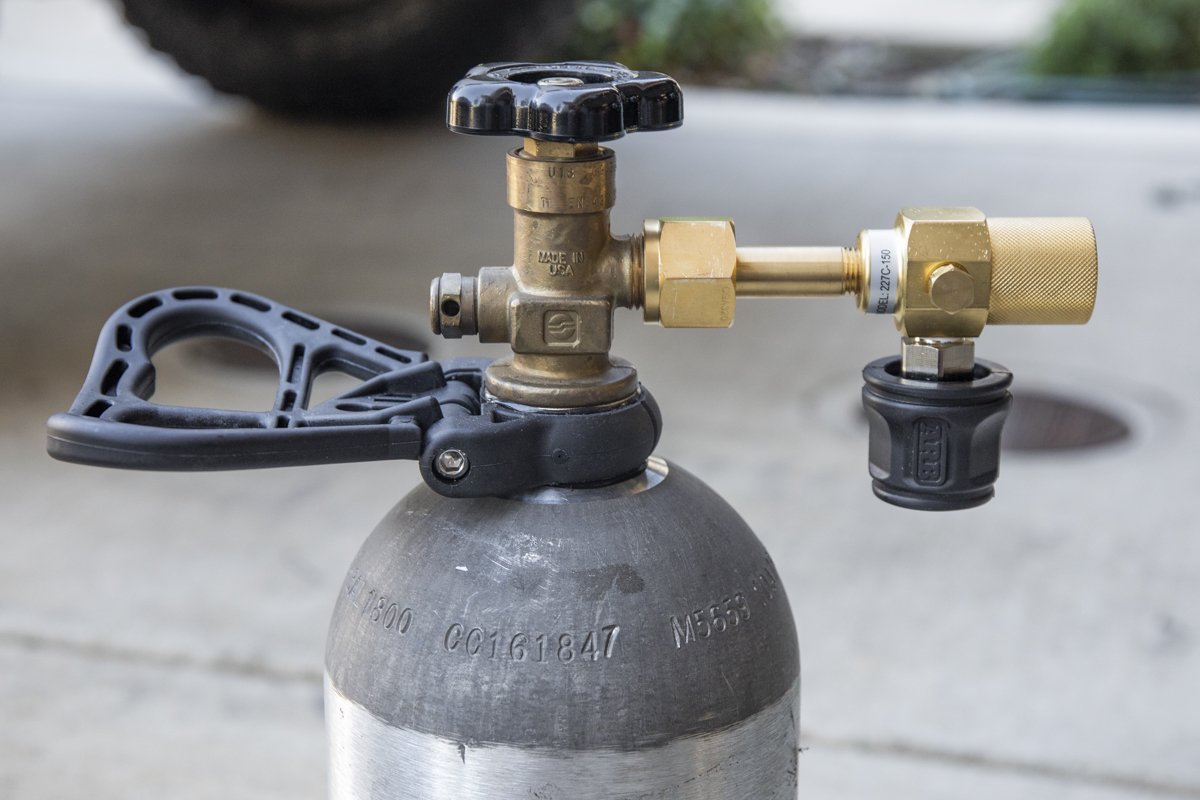
- Pump or CO2 Tank: Depending on your kegerator setup, you will either need a pump or a CO2 tank to generate the pressure needed to dispense the beer.
- Wrench or Coupler Tool: A wrench or a specialized coupler tool will be required to disconnect and remove the empty keg from the kegerator.
- Tubing: If you need to replace any beer lines or connectors, make sure you have the appropriate tubing size and length.
- Pint Glass: Of course, you’ll need a pint glass or your preferred drinking vessel to enjoy the freshly tapped beer.
Take some time to gather these supplies before starting the keg changing process. Double-check that you have everything you need to avoid any last-minute trips to the store.
Once you have everything ready, you can proceed to the next step: disconnecting and removing the empty keg from the kegerator.
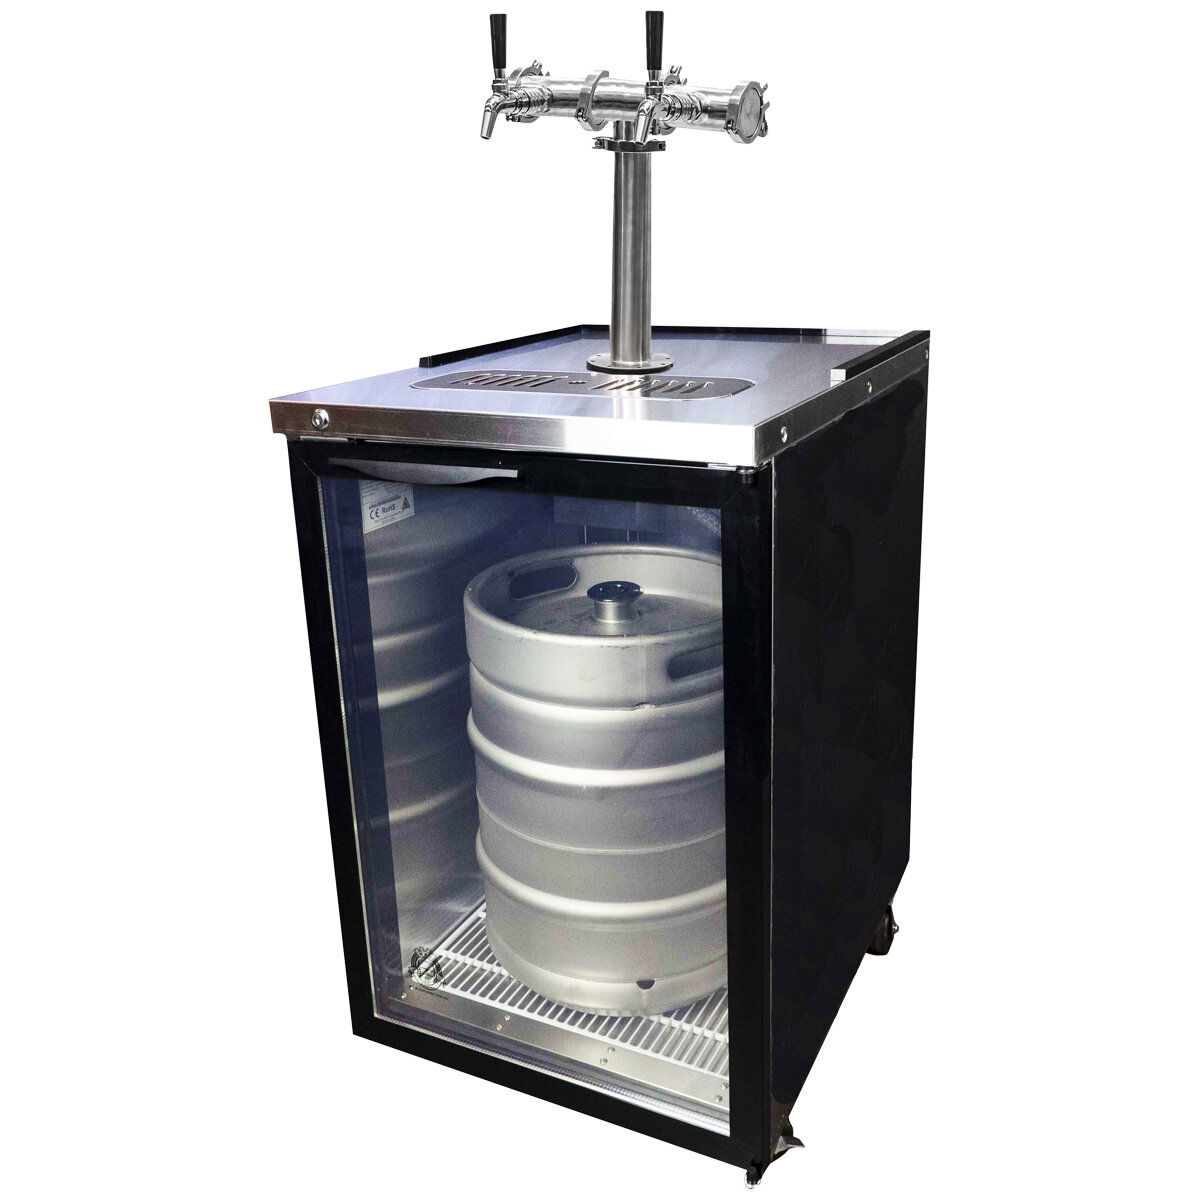
Step 2: Disconnect and Remove the Empty Keg
Now that you have gathered all the necessary supplies, it’s time to disconnect and remove the empty keg from your kegerator. Follow these steps:
- Turn Off the Power: Before starting any work on your kegerator, make sure to turn off the power and unplug it from the electrical outlet. This will ensure your safety and prevent any accidental dispensing of beer.
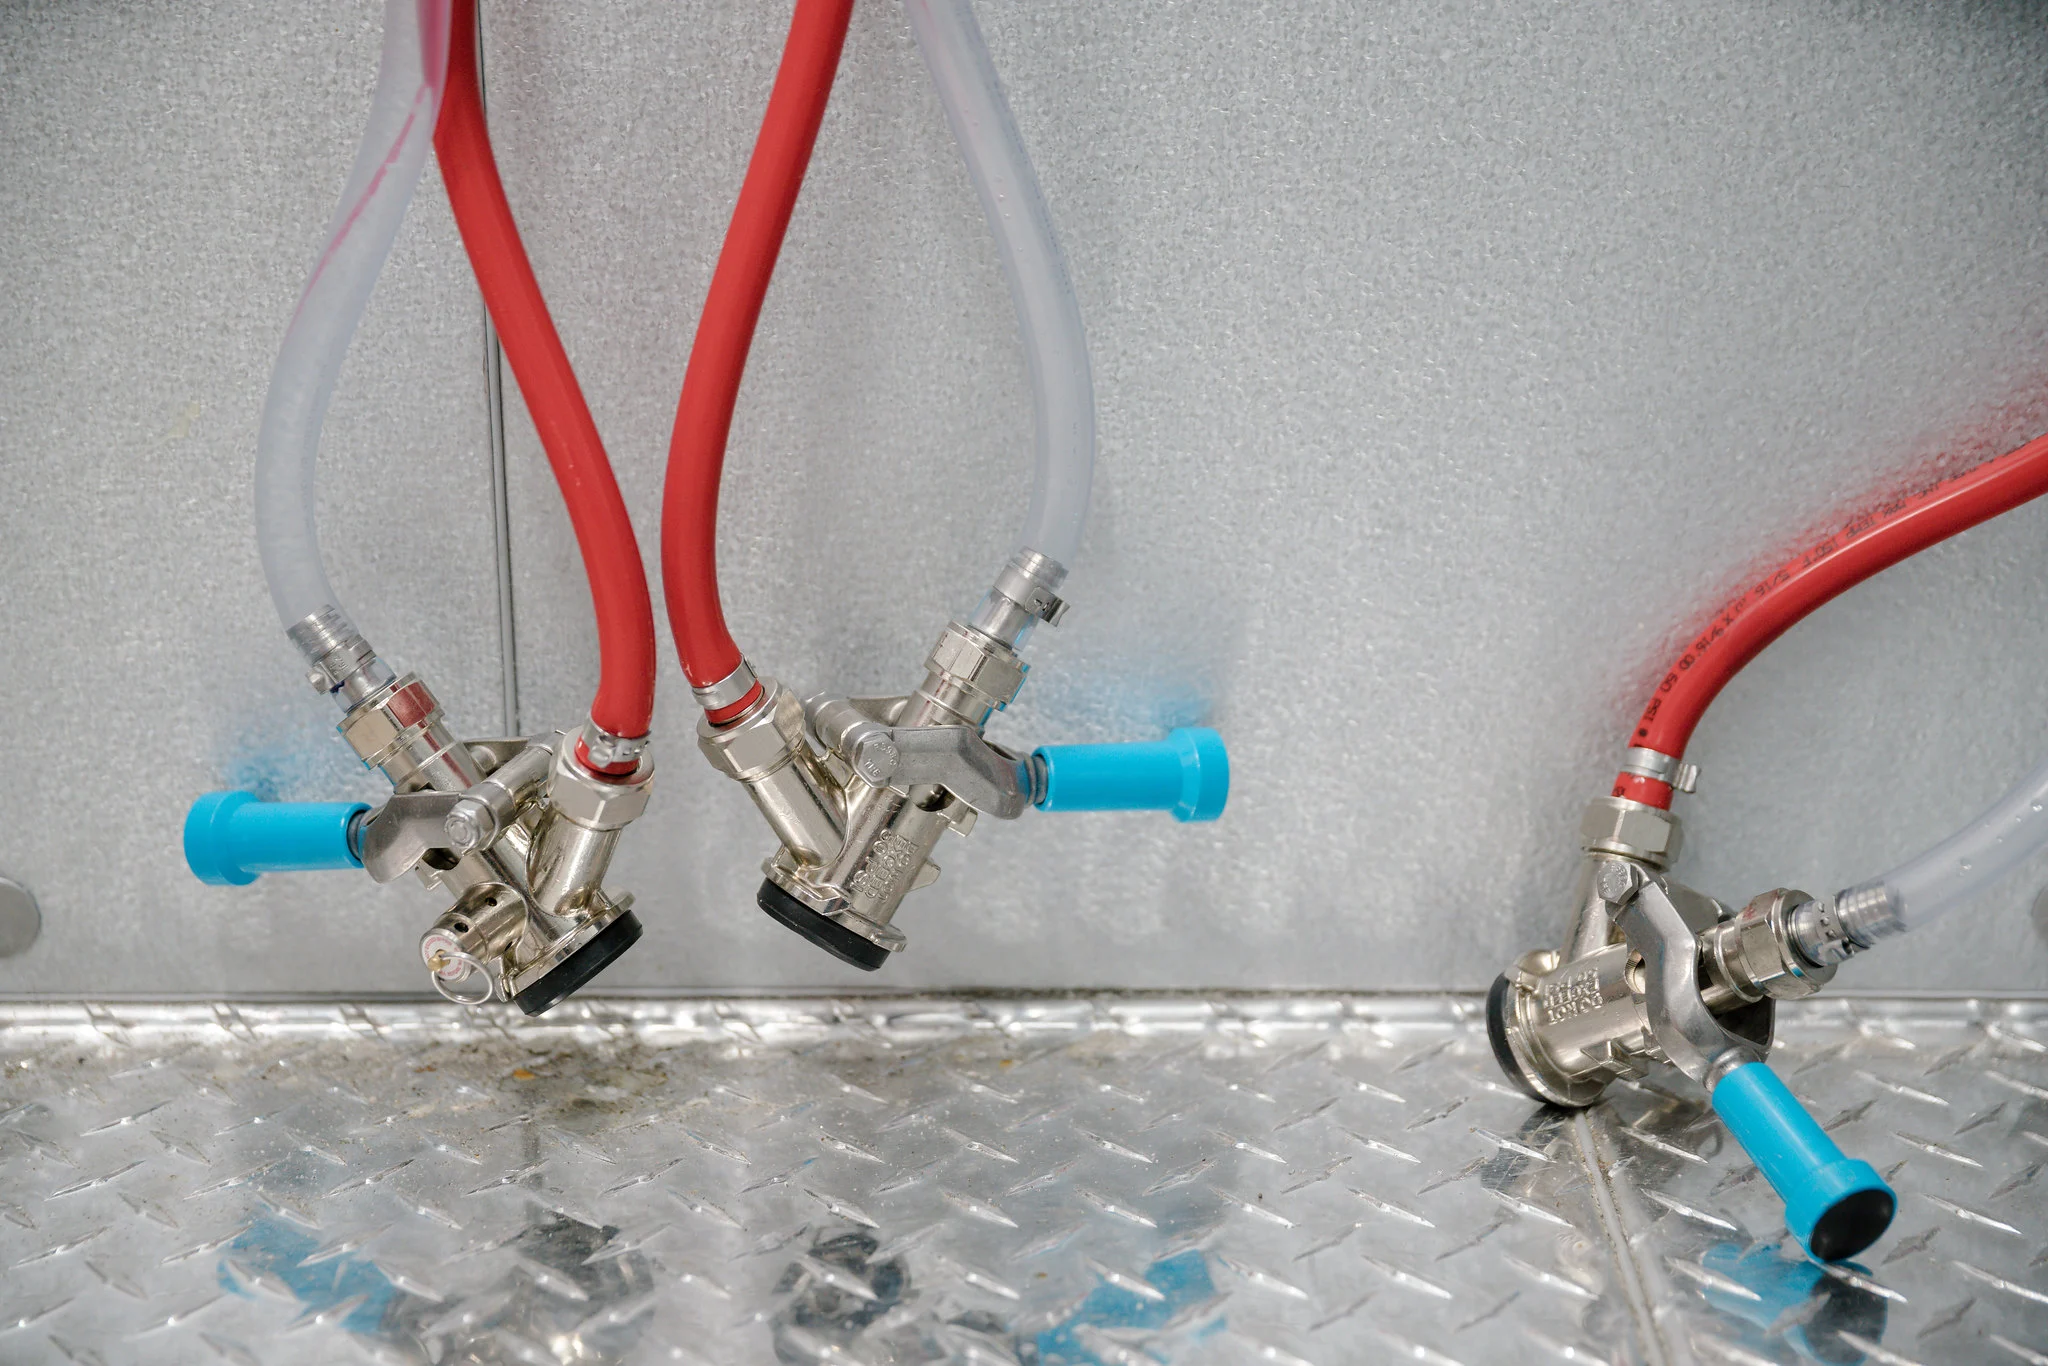
- Locate the Coupler: The coupler is the device that connects the keg to the beer lines. It is usually located on top of the keg, secured by a metal or plastic collar. Identify the coupler and familiarize yourself with its components.
- Disconnect the Coupler: Using a wrench or a specialized coupler tool, turn the collar counterclockwise to loosen it. Once loosened, you should be able to lift the coupler off the keg. Be careful as there may be some pressure inside the keg, resulting in a small beer spray.
- Remove the Empty Keg: With the coupler disconnected, carefully lift the empty keg out of the kegerator. Depending on the size and weight of the keg, you may need some assistance to safely remove it.
- Clean the Coupler and Beer Lines: Before inserting a new keg, take this opportunity to clean the coupler and beer lines. Use the keg cleaning solution and follow the manufacturer’s instructions to properly sanitize these components. Rinse them thoroughly with clean water afterwards.
Once you have successfully disconnected and removed the empty keg, you’re ready to move on to the next step: cleaning the kegerator.
Step 3: Clean the Kegerator
After removing the empty keg, it’s important to clean the kegerator to maintain optimal hygiene and ensure the quality of your beer. Follow these steps to clean your kegerator:
- Remove Any Accessories: Take out any removable accessories such as drip trays, shelves, or beer taps. These items should be cleaned separately.
- Wipe Down the Interior: Use a clean cloth or sponge dampened with a mild cleaning solution to wipe down the interior surfaces of the kegerator. Pay attention to areas where beer drip or spillage may occur. Make sure to reach all the corners and crevices.
- Clean the Beer Lines: To ensure fresh and uncontaminated beer, it’s essential to clean the beer lines. Attach a cleaning kit to the faucet and follow the instructions provided with the kit to flush out any debris or residue. Repeat this process with clean water to rinse the lines thoroughly.
- Sanitize the Drip Tray and Beer Taps: Clean the drip tray and beer taps with warm soapy water. Rinse them thoroughly and let them air dry before reattaching them to the kegerator.
- Reassemble and Restore the Accessories: Once everything is clean and dry, reattach the drip tray, shelves, and beer taps to their respective positions inside the kegerator.
It’s important to note that regular cleaning and maintenance of your kegerator will prolong its lifespan and ensure the quality of your beer. Consult the manufacturer’s instructions for any specific cleaning recommendations or maintenance schedules for your kegerator model.
Once you have thoroughly cleaned your kegerator, you’re ready to move on to the next step: preparing the new keg.
Step 4: Prepare the New Keg
With a clean kegerator, it’s time to prepare the new keg before installing it. Follow these steps to ensure the proper preparation of your new keg:
- Cool the New Keg: If the new keg is not already cold, place it in a refrigerator for several hours or overnight. This will ensure that the beer inside the keg is kept at the ideal temperature for serving.
- Inspect the Keg: Before installing the new keg, inspect it for any damage or leaks. Check the keg’s condition, including the seals and connection points, to make sure everything is intact. If you notice any damage or leaks, contact the supplier or brewery for a replacement.
- Attach the Coupler: Take the coupler that you previously cleaned and attach it to the new keg. Align the coupler’s posts with the corresponding holes on top of the keg and press it down firmly. Rotate the collar clockwise to secure the coupler in place. Make sure the coupler is properly seated and securely attached to the keg.
- Purge the Air: Before connecting the keg to the beer lines, it’s important to purge any air from the system. This can be done either by using a CO2 tank or by pumping the keg manually with a hand pump. Follow the manufacturer’s instructions for purging air from your specific kegerator setup.
- Position the New Keg: Carefully lift the prepared keg and place it inside the kegerator. Ensure that it is securely positioned and that the beer lines are not kinked or twisted.
By properly preparing the new keg, you are setting the stage for a smooth and enjoyable beer dispensing experience. Once the new keg is in place, you can proceed to the next step: connecting the beer lines.
Read more: How To Change A Stella Kegerator
Step 5: Install the New Keg
With the new keg prepared, it’s time to install it into the kegerator. Follow these steps to properly install the new keg:
- Position the New Keg: Ensure that the new keg is properly positioned inside the kegerator. Make sure it is sitting securely and that the beer lines are not twisted or kinked.
- Connect the Coupler: Take the beer lines connected to the coupler and insert them into the corresponding fittings on the keg. Push them in firmly until you hear a click or feel them securely lock into place.
- Rotate the Collar: Once the beer lines are connected, rotate the collar clockwise to secure the coupler to the keg. Make sure it is tightened securely to prevent any leaks during dispensing.
- Check the Seals: Inspect the seals between the coupler and the keg to ensure they are properly seated and intact. Any damaged or misaligned seals should be replaced before proceeding.
- Check the Beer Level: If your kegerator has a sight glass or a digital display, check the beer level indicator to ensure the keg is properly pressurized and has sufficient beer inside. If it appears low, you may need to adjust the pressure or tap into the keg to release any trapped gases.
- Secure the Keg: Depending on your kegerator model, there may be securing mechanisms to keep the keg in place. Make sure these mechanisms are engaged and tightly secured to prevent any movement or shifting of the keg while in use.
With the new keg successfully installed in the kegerator, you are one step closer to enjoying a fresh and perfectly poured beer. The next step is to connect the beer lines and ensure there are no leaks.
When changing a keg in a kegerator, make sure to release any pressure in the system by turning off the CO2 tank and then slowly opening the relief valve on the keg. This will prevent any beer from spraying out when you disconnect the coupler.
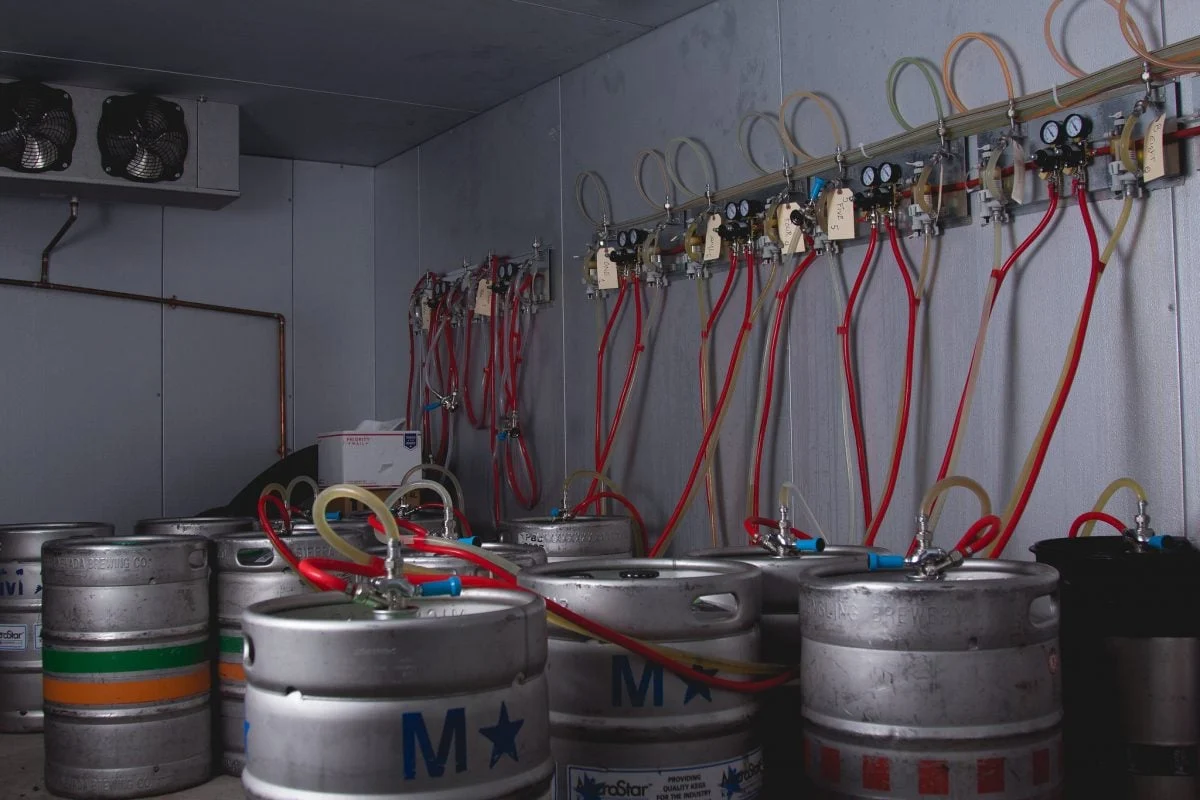
Step 6: Connect the Beer Lines
Now that the new keg is installed, it’s time to connect the beer lines to ensure a smooth flow of beer. Follow these steps to properly connect the beer lines:
- Identify the Beer Lines: Locate the beer lines connected to the kegerator. There are usually two lines: one for the beer and one for the gas.
- Attach the Beer Line: Take the beer line that is designated for the beer and connect it to the appropriate fitting on the coupler. Push it in firmly until you hear a click or feel it securely lock into place.
- Secure with Clamps or Fasteners: Depending on your kegerator model, you may need to use clamps or fasteners to secure the beer line to the coupler and prevent any leaks. Make sure they are tightly secured but not overly tightened to avoid damaging the lines.
- Connect the Gas Line: The gas line is used to add pressure to the keg in order to dispense the beer. Connect the gas line to the appropriate fitting on the coupler. Just like with the beer line, push it in firmly until you hear a click or feel it securely lock into place.
- Check for Leaks: Once the beer and gas lines are connected, carefully inspect the connections and fittings for any signs of leaks. A small amount of soapy water can be applied to the fittings to help identify any leaks. If you notice any bubbles forming, you have a leak that needs to be addressed before proceeding.
By properly connecting the beer lines, you ensure a steady flow of delicious beer from the keg to your glass. Once you have confirmed that there are no leaks, you can proceed to the next step: checking for leaks in the system.
Step 7: Check for Leaks
Before you start pouring and enjoying your beer, it’s crucial to check for any potential leaks in the system. Follow these steps to ensure there are no leaks:
- Inspect the Connections: Carefully inspect all the connections, including the coupler, beer lines, and gas lines. Look for any signs of moisture or bubbles forming around the fittings.
- Use Soapy Water: Apply a small amount of soapy water to the fittings and connections. This will help you identify any leaks as bubbles will form if there is escaping gas or liquid. Examine the areas closely, taking note of any bubbles that appear.
- Tighten or Adjust: If you notice any leaks, tighten the fittings or adjust the connections as necessary. Be cautious not to overtighten as this can damage the components or cause further leaks.
- Recheck: After making any adjustments, reapply the soapy water to the previously leaking areas to confirm that the leaks have been resolved. If the bubbles have ceased, you can proceed to the next step.
- Inspect the Drip Tray: Check the drip tray beneath the beer taps. Make sure it is properly aligned and securely attached to the kegerator. Ensure that there are no leaks or spills collecting in the tray.
- Sample the Dispensing: Before filling up your glass, try dispensing a small amount of beer to ensure that everything is flowing smoothly and there are no sudden leaks or issues.
By thoroughly checking for leaks, you can ensure a seamless and enjoyable pouring experience. Once you are confident that there are no leaks in the system, you can proceed to the next step: pressurizing the system.
Step 8: Pressurize the System
Now that you have checked for leaks and confirmed that the system is secure, it’s time to properly pressurize the keg and ensure optimal beer dispensing. Follow these steps to pressurize the system:
- Attach the CO2 Tank or Pump: Depending on your kegerator setup, connect the CO2 tank or pump to the gas line. Make sure the connection is secure and airtight.
- Adjust the Pressure: Consult the proper pressure settings for the beer you are dispensing. Different beer styles may require different pressure levels. Use a pressure regulator or gauge to adjust the CO2 pressure to the recommended level. Be cautious not to overpressurize, as it may result in excessive foam or beer loss.
- Allow for Carbonation: Give the keg some time to carbonate. The carbonation process typically takes about 24-48 hours, but this may vary depending on the beer type and desired carbonation level. Refer to the brewery’s guidelines or your personal preferences.
- Periodically Check Pressure: During the carbonation process, it is important to periodically check the pressure inside the keg using a pressure gauge. Adjust the pressure as needed to maintain the desired carbonation level.
- Monitor Gas Levels: Keep an eye on the gas level in the CO2 tank or pump. Refill or replace it as necessary to ensure continuous pressure and optimal beer dispensing.
Properly pressurizing the system is crucial for maintaining the right carbonation and ensuring a perfect pour every time. Once the system is adequately pressurized and the desired carbonation is achieved, you’re ready for the final step: enjoying your freshly tapped beer!
Read more: How To Change A Tower On A Kegerator
Step 9: Enjoy Freshly Tapped Beer
After all the preparation and hard work, it’s time to sit back, relax, and enjoy the fruits of your labor – a delicious glass of freshly tapped beer. Follow these steps to fully enjoy your beer:
- Rinse Your Glass: Before pouring your beer, rinse your glass with cold water to ensure a clean and pristine drinking vessel.
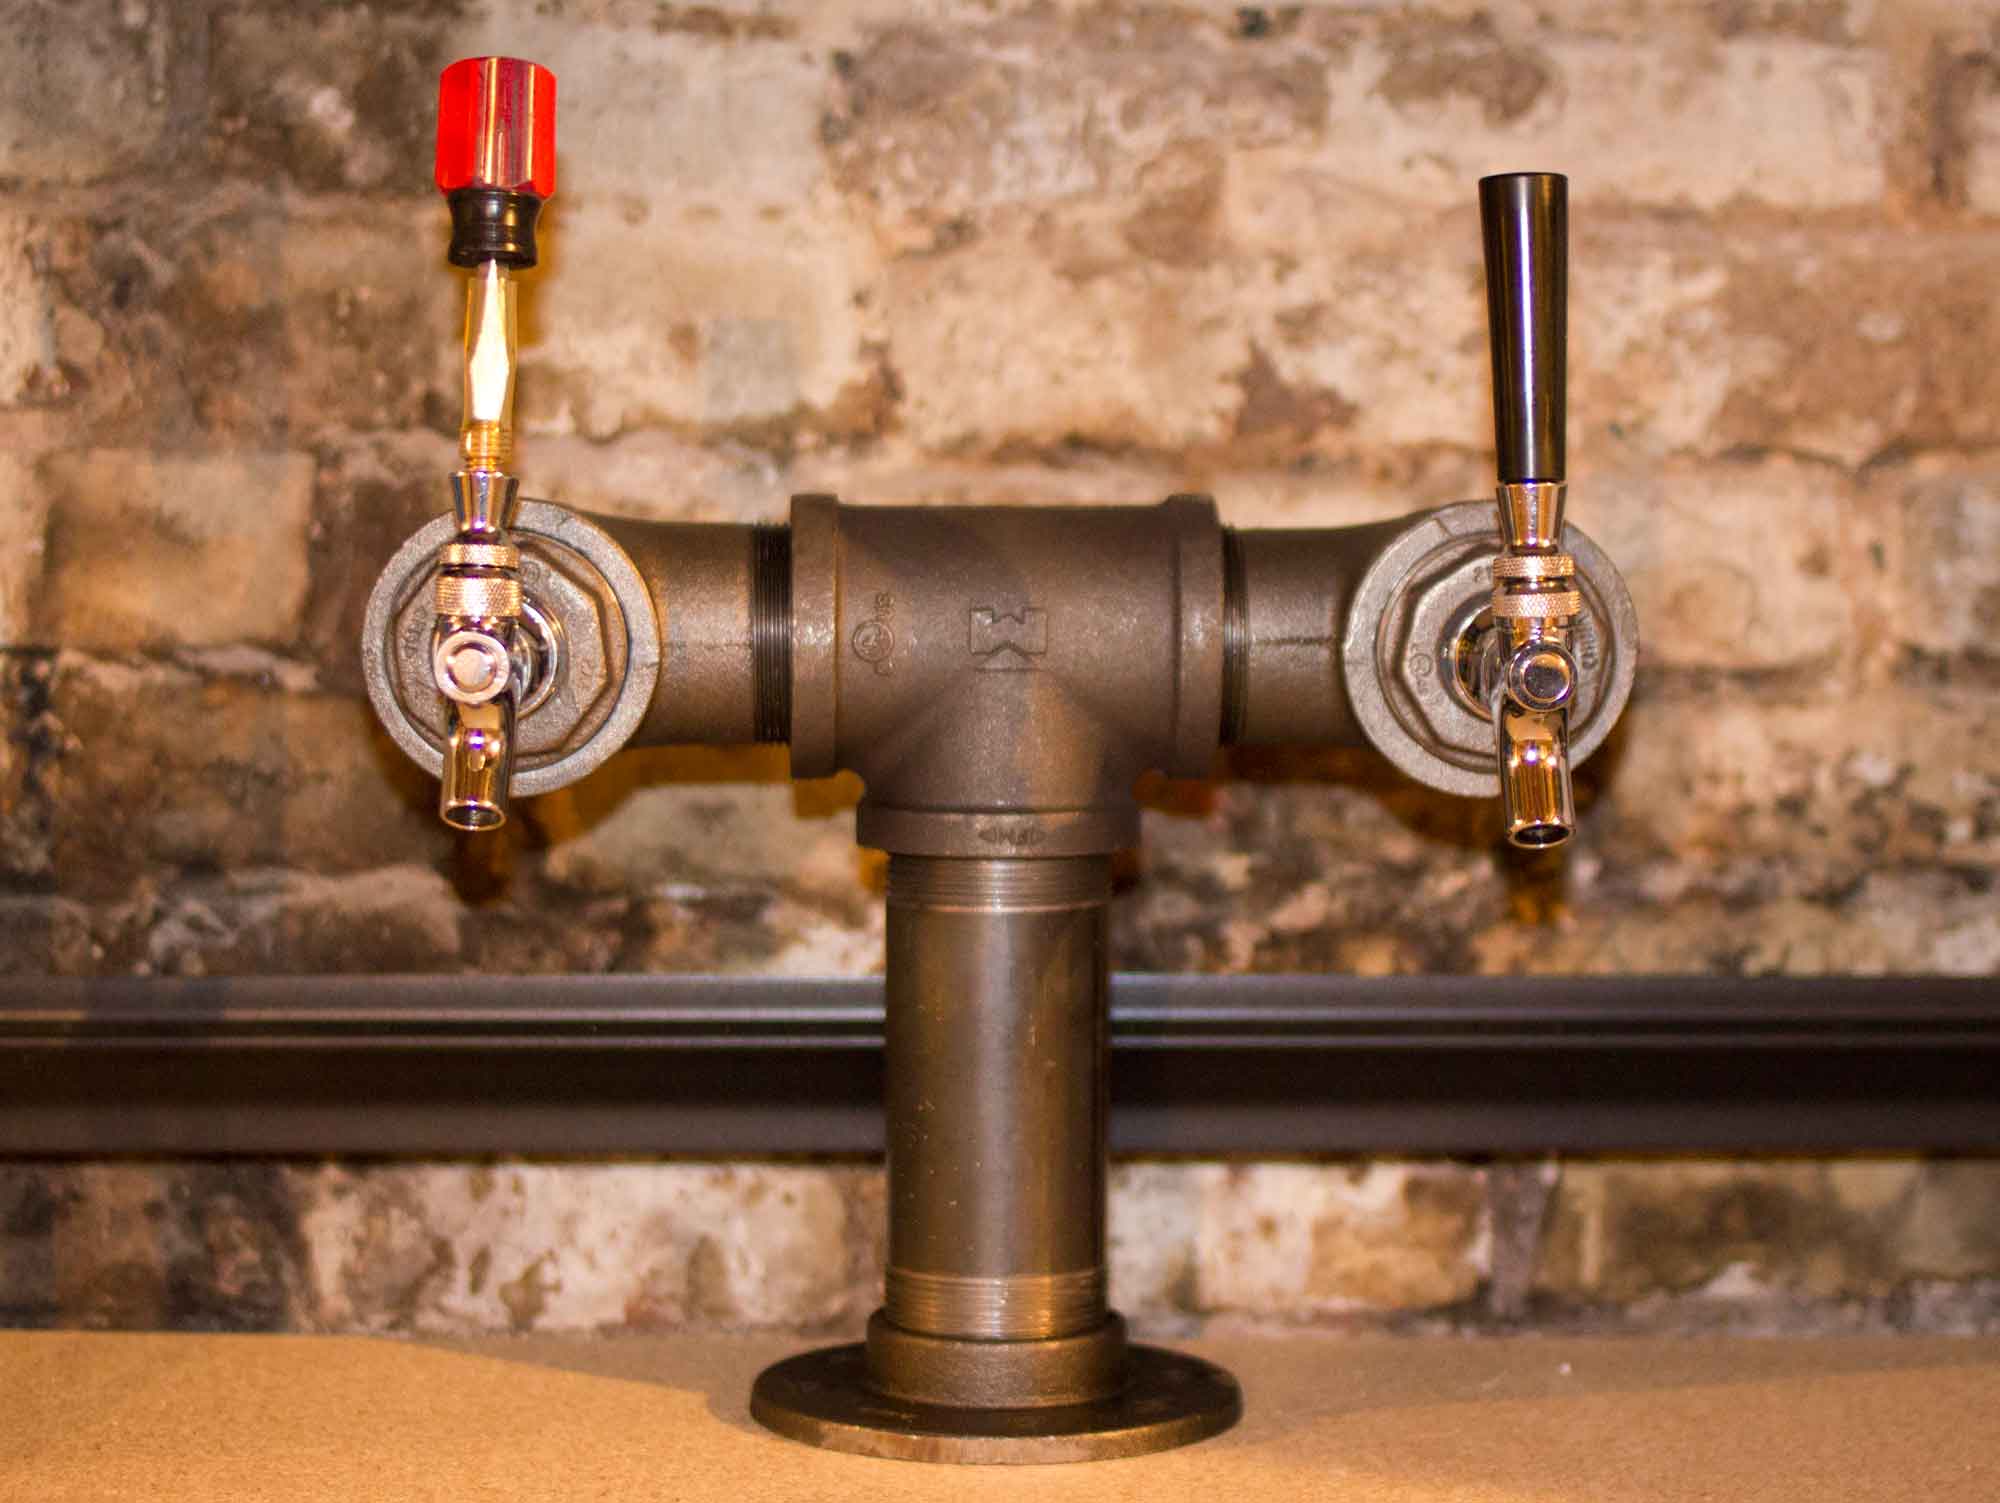
- Position Your Glass: Hold your glass at a slight angle, close to the faucet or beer tap, to ensure a proper pour and minimize excess foam.
- Open the Faucet or Tap: Open the faucet or tap slowly to allow a smooth flow of beer into your glass. Avoid opening it too quickly, as it may result in excessive foam.
- Beverage the Glass: As the glass fills, gradually straighten it to an upright position. Pour steadily, being mindful of not introducing excessive foam into the glass.
- Leave a Headspace: Leave a small headspace at the top of your glass to enhance the aroma and prevent overspills.
- Taste, Savor, and Enjoy: Take a moment to appreciate the color, aroma, and flavor of your freshly tapped beer. Sip it slowly, savoring the nuances and complexities of the brew.
Remember, everyone’s preferences are different, so feel free to experiment with the pour and find the perfect balance of beer and foam that suits your taste.
Now that you’ve successfully changed the keg and poured your first glass of beer, sit back, relax, and enjoy the fruits of your labor. Cheers!
Conclusion
Changing a keg in a kegerator may initially seem like a complex process, but with the right knowledge and step-by-step guidance, it becomes a rewarding experience. By following the steps outlined in this article, you can confidently change a keg and enjoy fresh, cold draft beer in the comfort of your own home.
Throughout this guide, we’ve covered the essential steps, from gathering the necessary supplies to enjoying your first perfectly poured glass of beer. Remember to always consult the manufacturer’s instructions for your specific kegerator model, as there may be slight differences in the process.
By properly disconnecting and removing the empty keg, cleaning the kegerator, preparing and installing the new keg, connecting the beer lines, checking for leaks, pressurizing the system, and finally, enjoying the freshly tapped beer, you can ensure a smooth and delightful beer dispensing experience.
It’s important to maintain regular cleaning and maintenance of your kegerator, as this will not only ensure the quality of the beer but also prolong the lifespan of your equipment. Follow the recommended cleaning schedules and always use a proper keg cleaning solution to sanitize your kegerator and beer lines.
Now that you have the knowledge and confidence to change a keg in a kegerator, it’s time to gather your supplies, select your favorite beer, and start enjoying the convenience and freshness of draft beer at home. So grab your pint glass, tap into a new keg, and savor every sip. Cheers!
Frequently Asked Questions about How To Change A Keg In A Kegerator
Was this page helpful?
At Storables.com, we guarantee accurate and reliable information. Our content, validated by Expert Board Contributors, is crafted following stringent Editorial Policies. We're committed to providing you with well-researched, expert-backed insights for all your informational needs.


0 thoughts on “How To Change A Keg In A Kegerator”