Home>Articles>How To Set Up Wall Mount For Ceiling With Bosch GRL 250 HV Professional Laser Level
Articles
How To Set Up Wall Mount For Ceiling With Bosch GRL 250 HV Professional Laser Level
Modified: August 16, 2024
Learn how to easily set up a wall mount for ceiling using the Bosch Grl 250 Hv Professional Laser Level with our informative articles.
(Many of the links in this article redirect to a specific reviewed product. Your purchase of these products through affiliate links helps to generate commission for Storables.com, at no extra cost. Learn more)
Introduction
Setting up a wall mount for a ceiling can be a challenging task if you’re not equipped with the right tools and knowledge. However, with the right approach and the help of the Bosch GRL 250 HV Professional Laser Level, you can achieve a precise and accurate wall mount installation. This article will guide you through the step-by-step process of setting up a wall mount for a ceiling using the Bosch GRL 250 HV Professional Laser Level.
The Bosch GRL 250 HV Professional Laser Level is a powerful and versatile tool that will assist you in ensuring your wall mount is perfectly aligned. Its high-precision laser technology makes it easy to achieve impeccable results, saving you time and effort. So, let’s dive in and discover how to set up a wall mount using this exceptional laser level.
Key Takeaways:
- The Bosch GRL 250 HV Professional Laser Level is a game-changer for setting up wall mounts, ensuring precise alignment and saving time and effort in the installation process.
- Proper preparation, secure mounting, and meticulous laser level adjustments are key to achieving a level and visually appealing wall mount installation with the Bosch GRL 250 HV Professional Laser Level.
Materials Needed
Before you begin setting up the wall mount with the Bosch GRL 250 HV Professional Laser Level, it’s important to gather all the necessary materials. Here’s a list of items you’ll need:
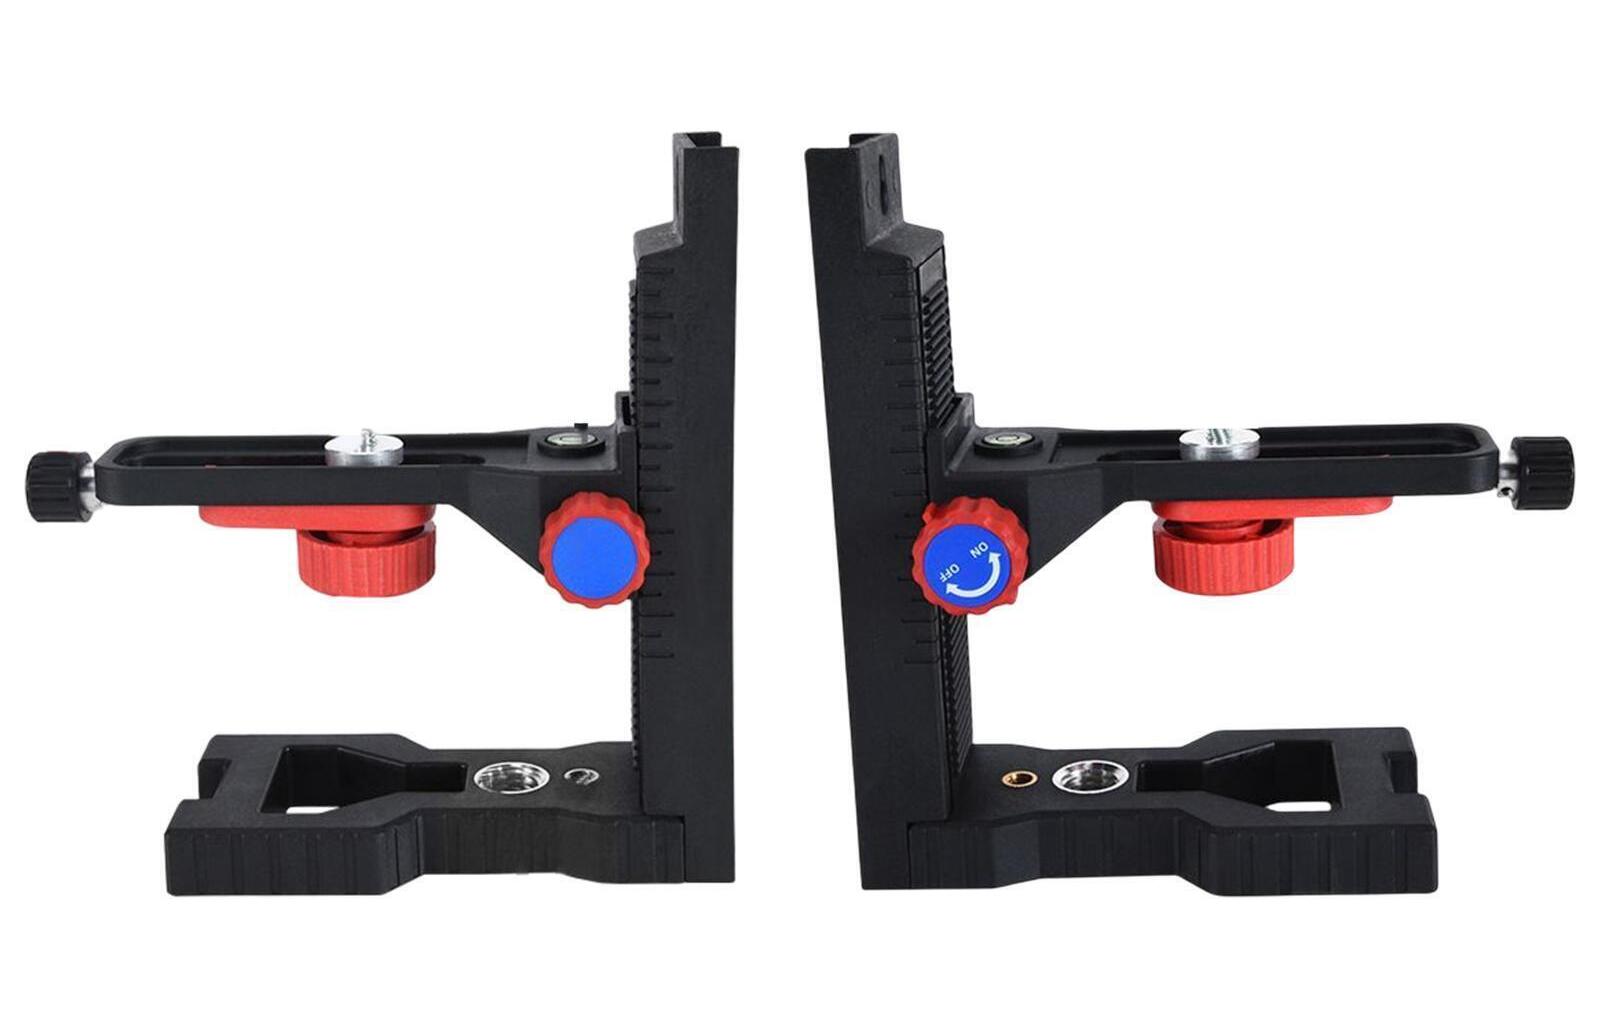
- Wall mount bracket: Choose a wall mount bracket that is compatible with the type of ceiling and wall you have. Make sure it’s sturdy and can support the weight of the object you’re going to mount.
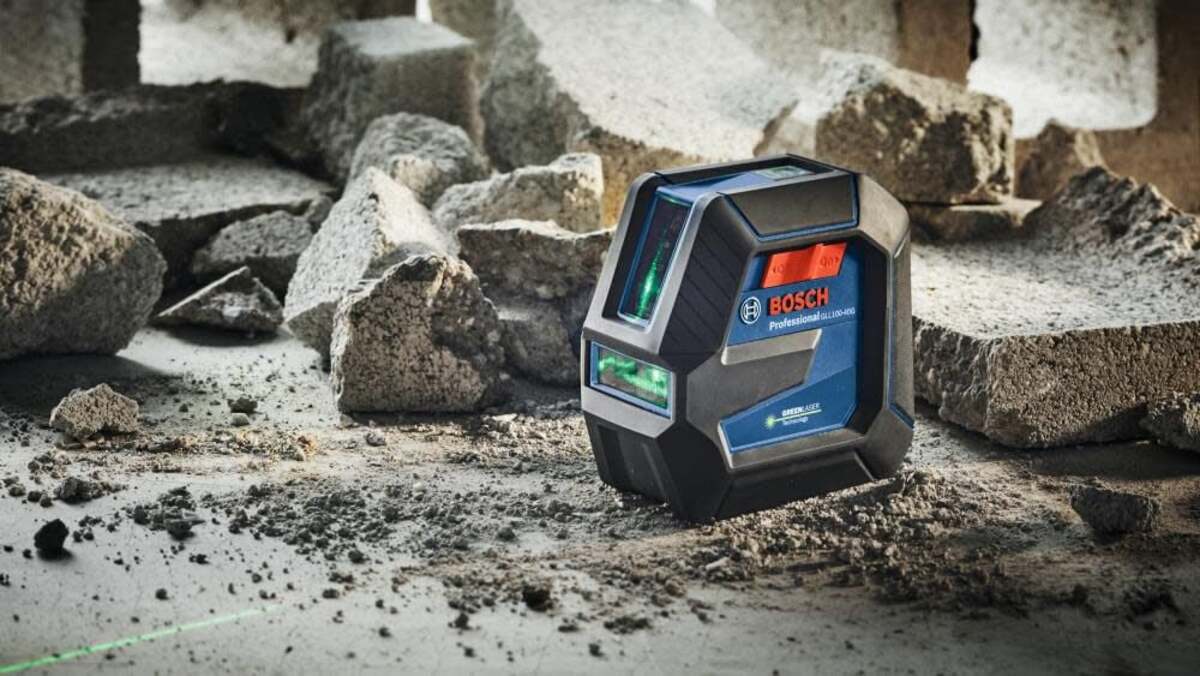
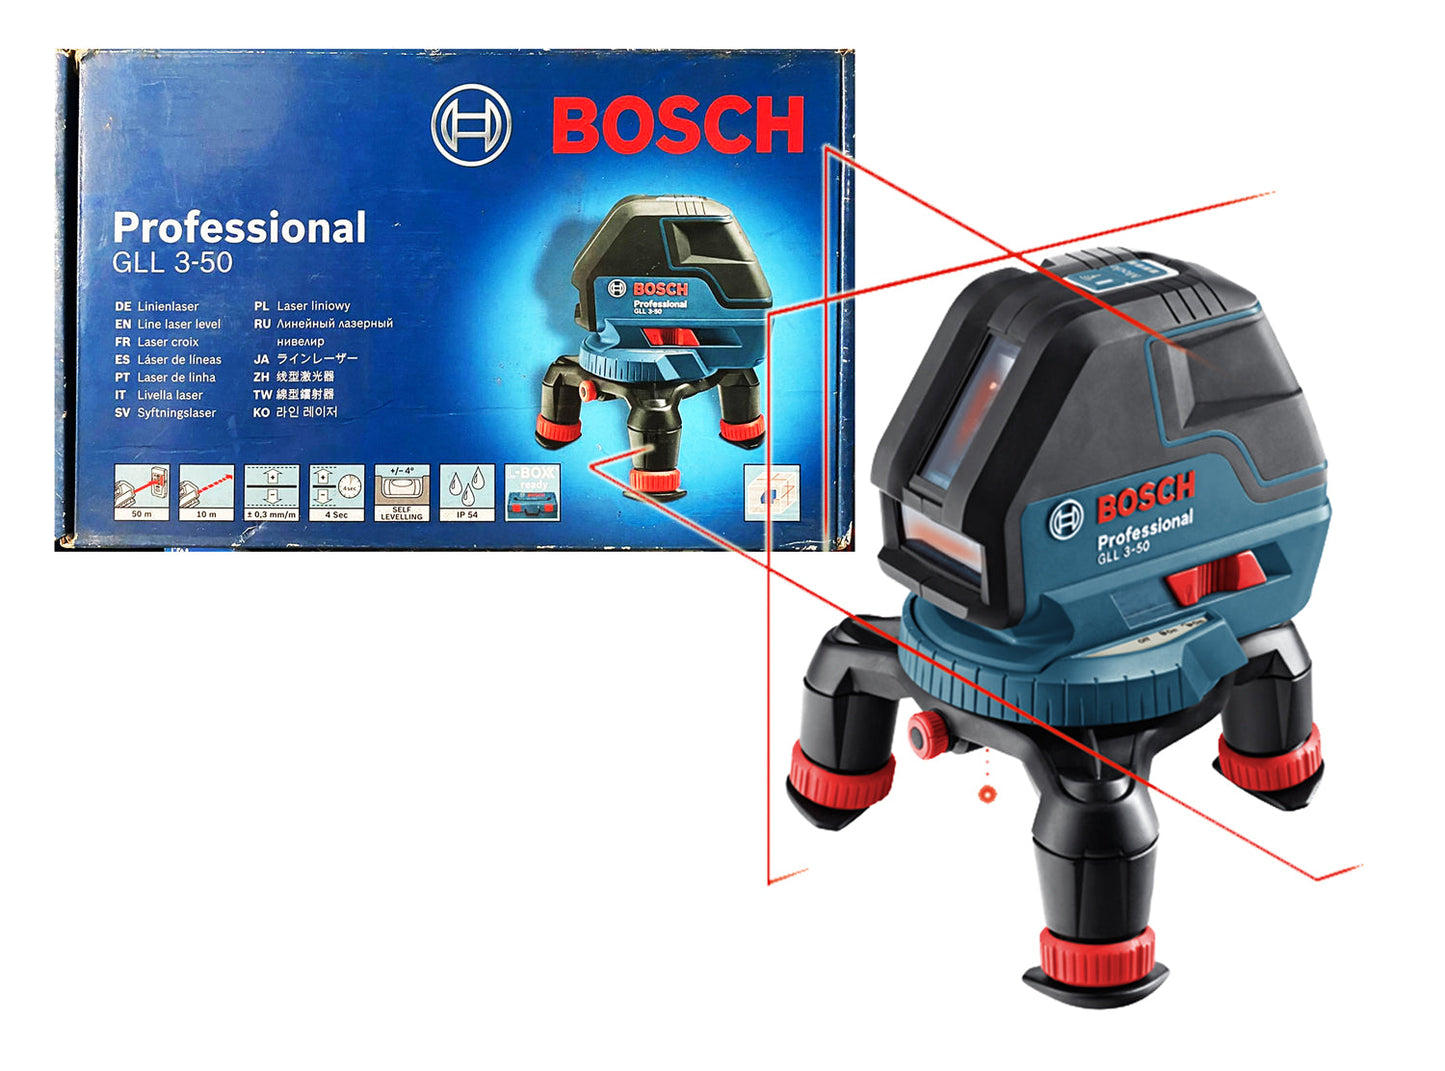
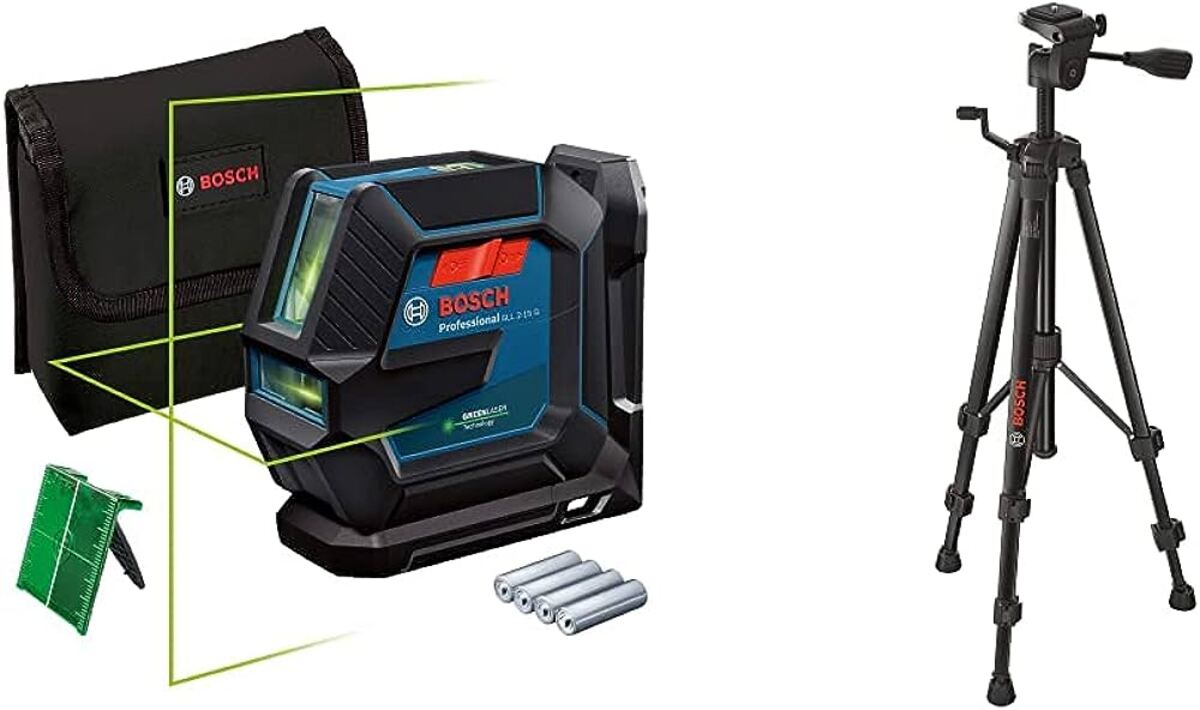
- Bosch GRL 250 HV Professional Laser Level: This laser level is essential for achieving precise measurements and alignment during the installation process.
- Mounting hardware: Depending on the type of wall and mount bracket, you may need screws, anchors, or other mounting hardware to securely attach the wall mount to the wall.
- Drill or screwdriver: You’ll need a power drill or screwdriver to install the mounting hardware.
- Tape measure: Use a tape measure to measure the distance between the ceiling and the desired height of the wall mount.
- Pencil or marker: These will be used to mark the positions for drilling and mounting.
- Safety goggles: Protect your eyes while drilling or mounting to prevent any potential injuries.
- Level: A traditional bubble level or a digital level can be used to double-check the accuracy of the Bosch GRL 250 HV Professional Laser Level.
Once you have gathered all of these materials, you’ll be ready to start the process of setting up the wall mount with the Bosch GRL 250 HV Professional Laser Level. Make sure to have everything within reach to ensure a smooth and efficient installation.
Step 1: Preparing the Wall Mount
Before you can begin setting up the wall mount with the Bosch GRL 250 HV Professional Laser Level, it’s important to properly prepare the wall mount to ensure a secure installation. Follow these steps:
- Read the instructions: Familiarize yourself with the instructions provided with the wall mount bracket. This will give you a better understanding of the specific requirements and steps involved.
- Choose the location: Determine the ideal location on the wall where you want to mount your object. Consider factors such as height, visibility, and accessibility.
- Measure and mark: Use a tape measure to measure the desired height for your wall mount. Make sure to use a pencil or marker to mark the precise positions where the mount bracket will be attached to the wall.
- Locate studs or use anchors: Depending on the weight of your object and the type of wall you have, you may need to locate the studs behind the wall or use wall anchors to provide additional support.
- Align with wall studs: If there are studs behind the wall, align the markings on the mount bracket with the studs. This will ensure a secure and stable installation. Use a stud finder to locate the studs if needed.
- Double-check the markings: Take a step back and double-check the accuracy of your markings with a level. This will help ensure that your wall mount will be straight and aligned.
By following these steps and properly preparing the wall mount, you will lay the foundation for a successful installation. Once you’ve completed this step, you’ll be ready to mount the bracket and proceed to the next step in the process.
Step 2: Mounting the Wall Mount
With the wall mount bracket prepared, it’s time to move on to the next step: mounting the bracket onto the wall. Follow these steps to ensure a secure and sturdy installation:
- Gather the necessary tools and materials: Before you begin, make sure you have your drill or screwdriver, screws or mounting hardware, and safety goggles within reach.
- Position the bracket: Align the bracket with the markings you made in the previous step. Ensure that it is level and straight before proceeding.
- Secure the bracket: Using your drill or screwdriver, start by screwing in the topmost part of the bracket. Then, check for levelness again before securing the remaining screws or mounting hardware. Make sure the bracket is firmly attached to the wall.
- Test stability: Give the bracket a gentle shake to check its stability. If it feels loose or wobbly, double-check the screws or mounting hardware and tighten them if necessary.
- Confirm alignment: Use your level to once again confirm that the bracket is perfectly straight and aligned. Adjust if needed.
- Double-check mounting: Examine the mounting points to ensure that all screws or mounting hardware are tightly secured. This will help prevent any potential accidents or damage.
By following these steps, you’ll successfully mount the wall mount bracket onto the wall. This sturdy foundation will provide the support needed for your object or fixture. Now that the bracket is securely in place, it’s time to move on to the next step: setting up the Bosch GRL 250 HV Professional Laser Level.
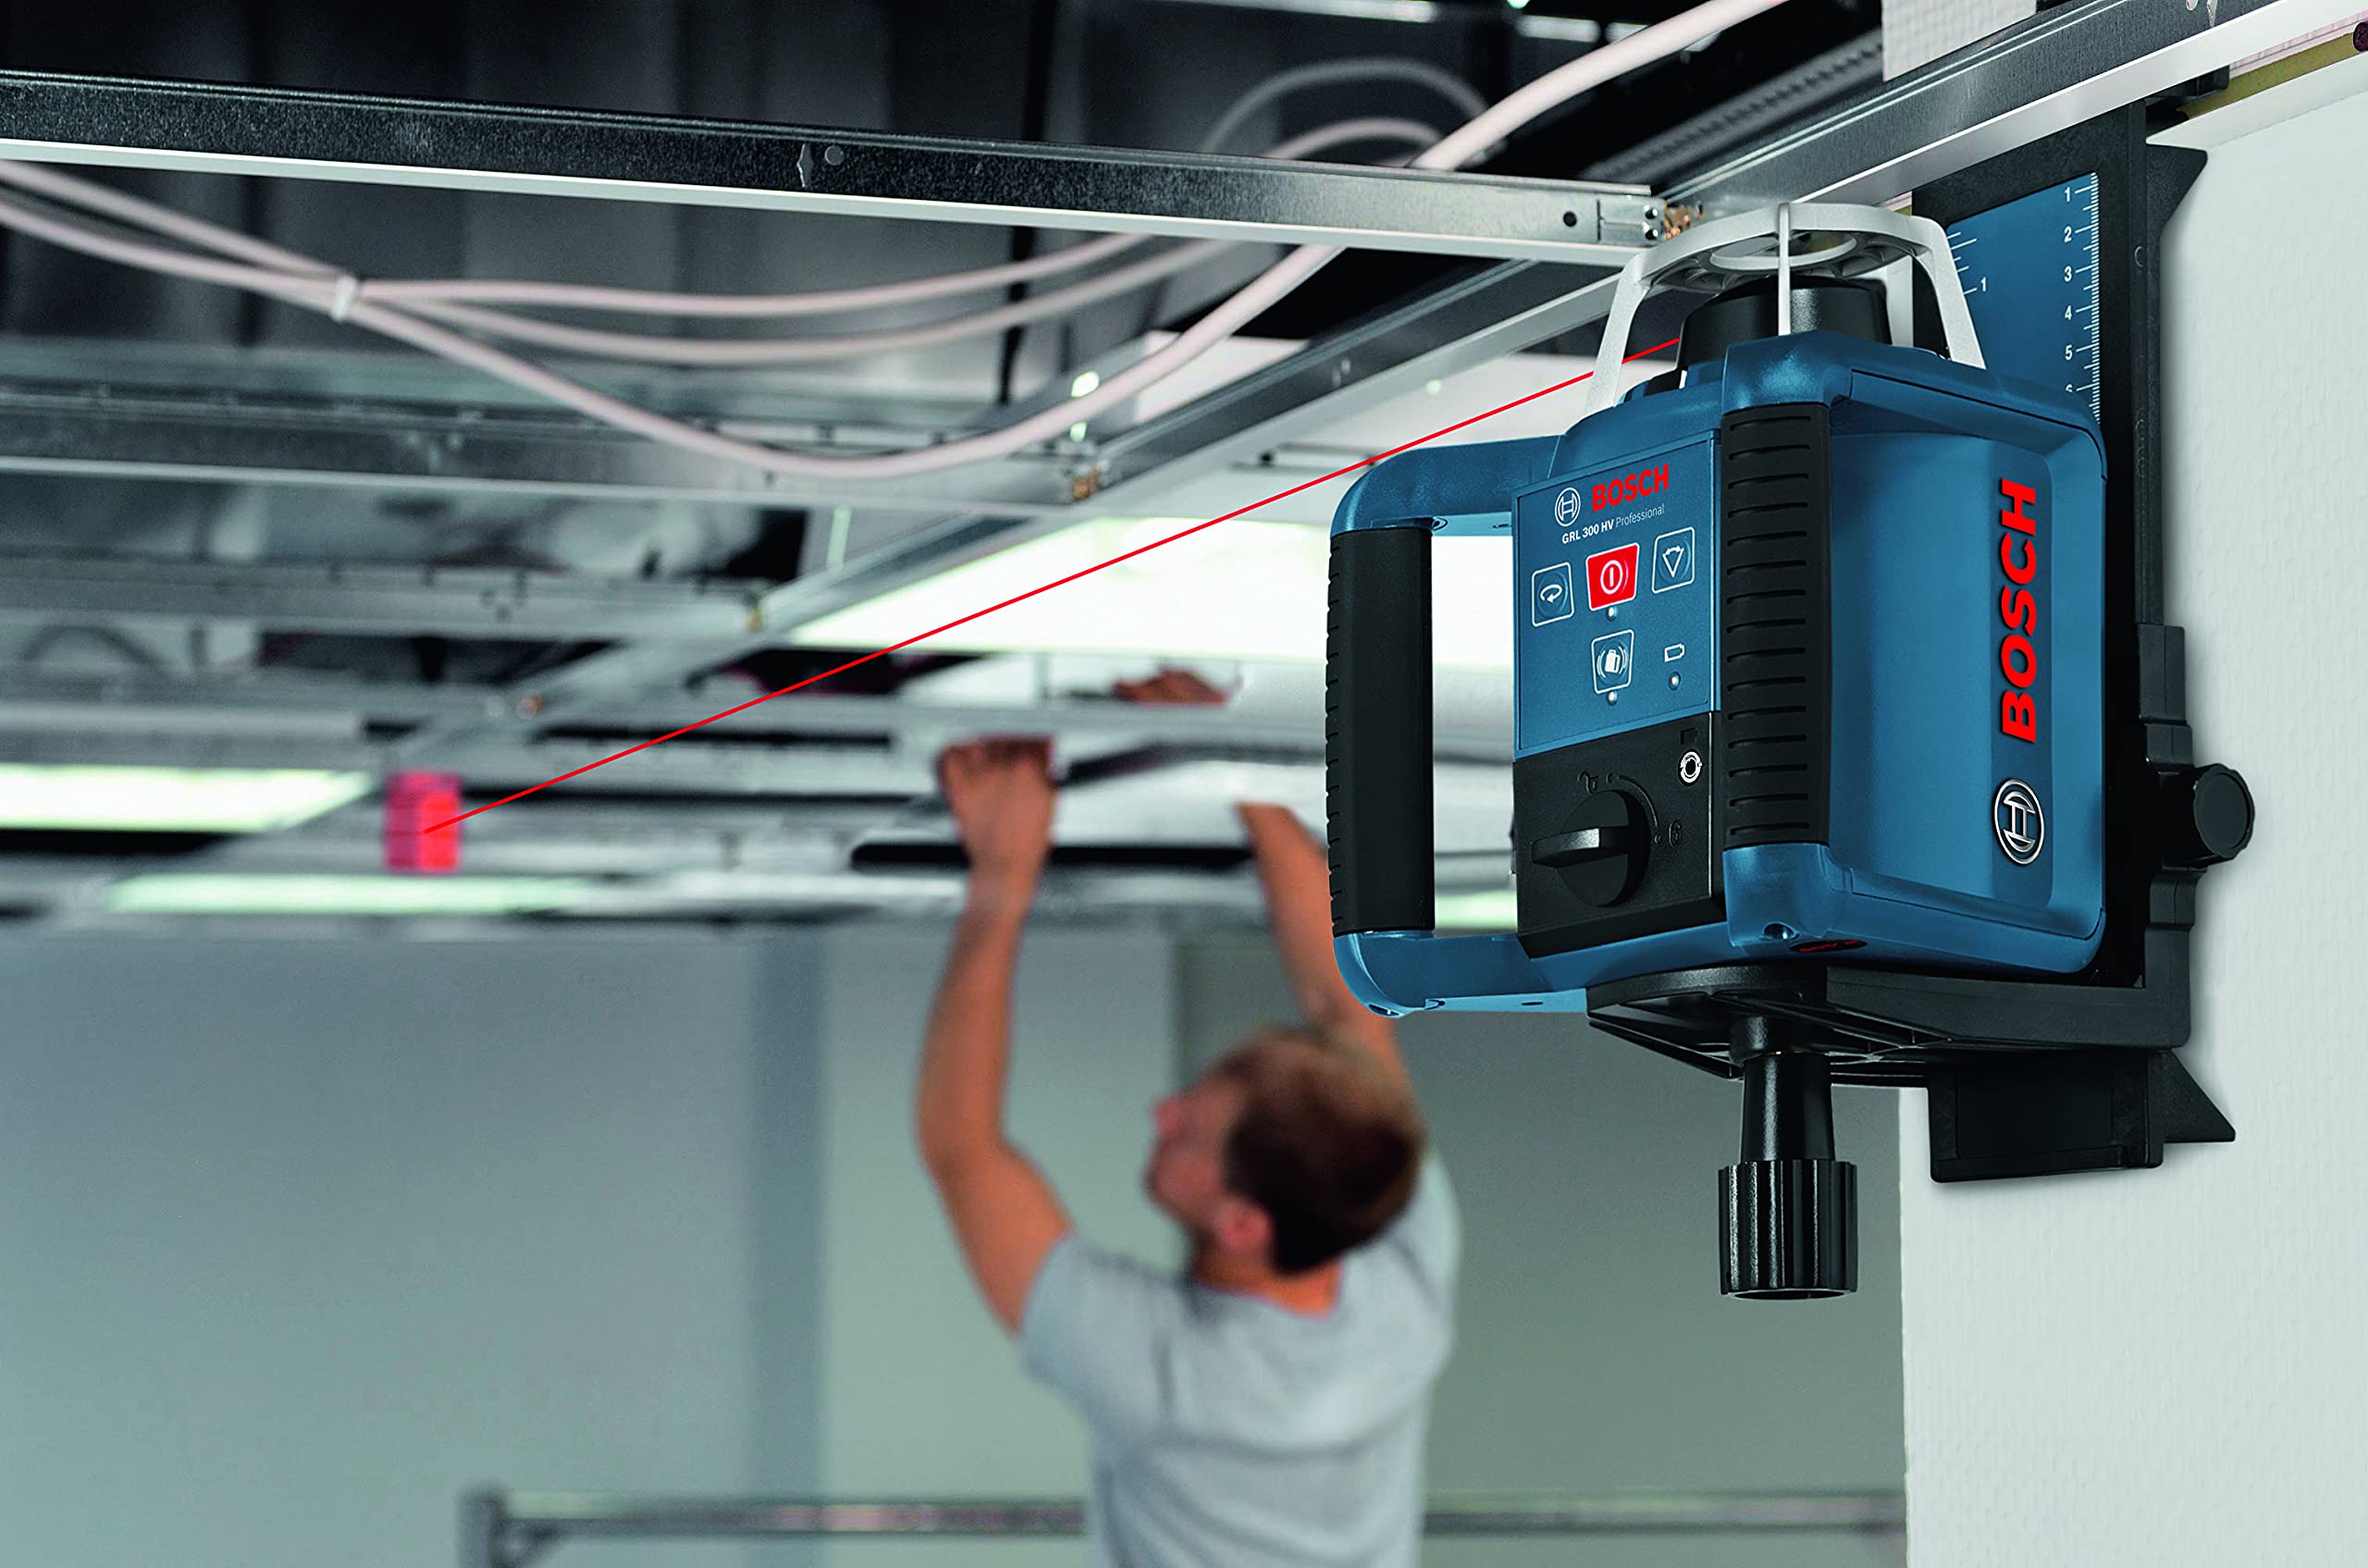
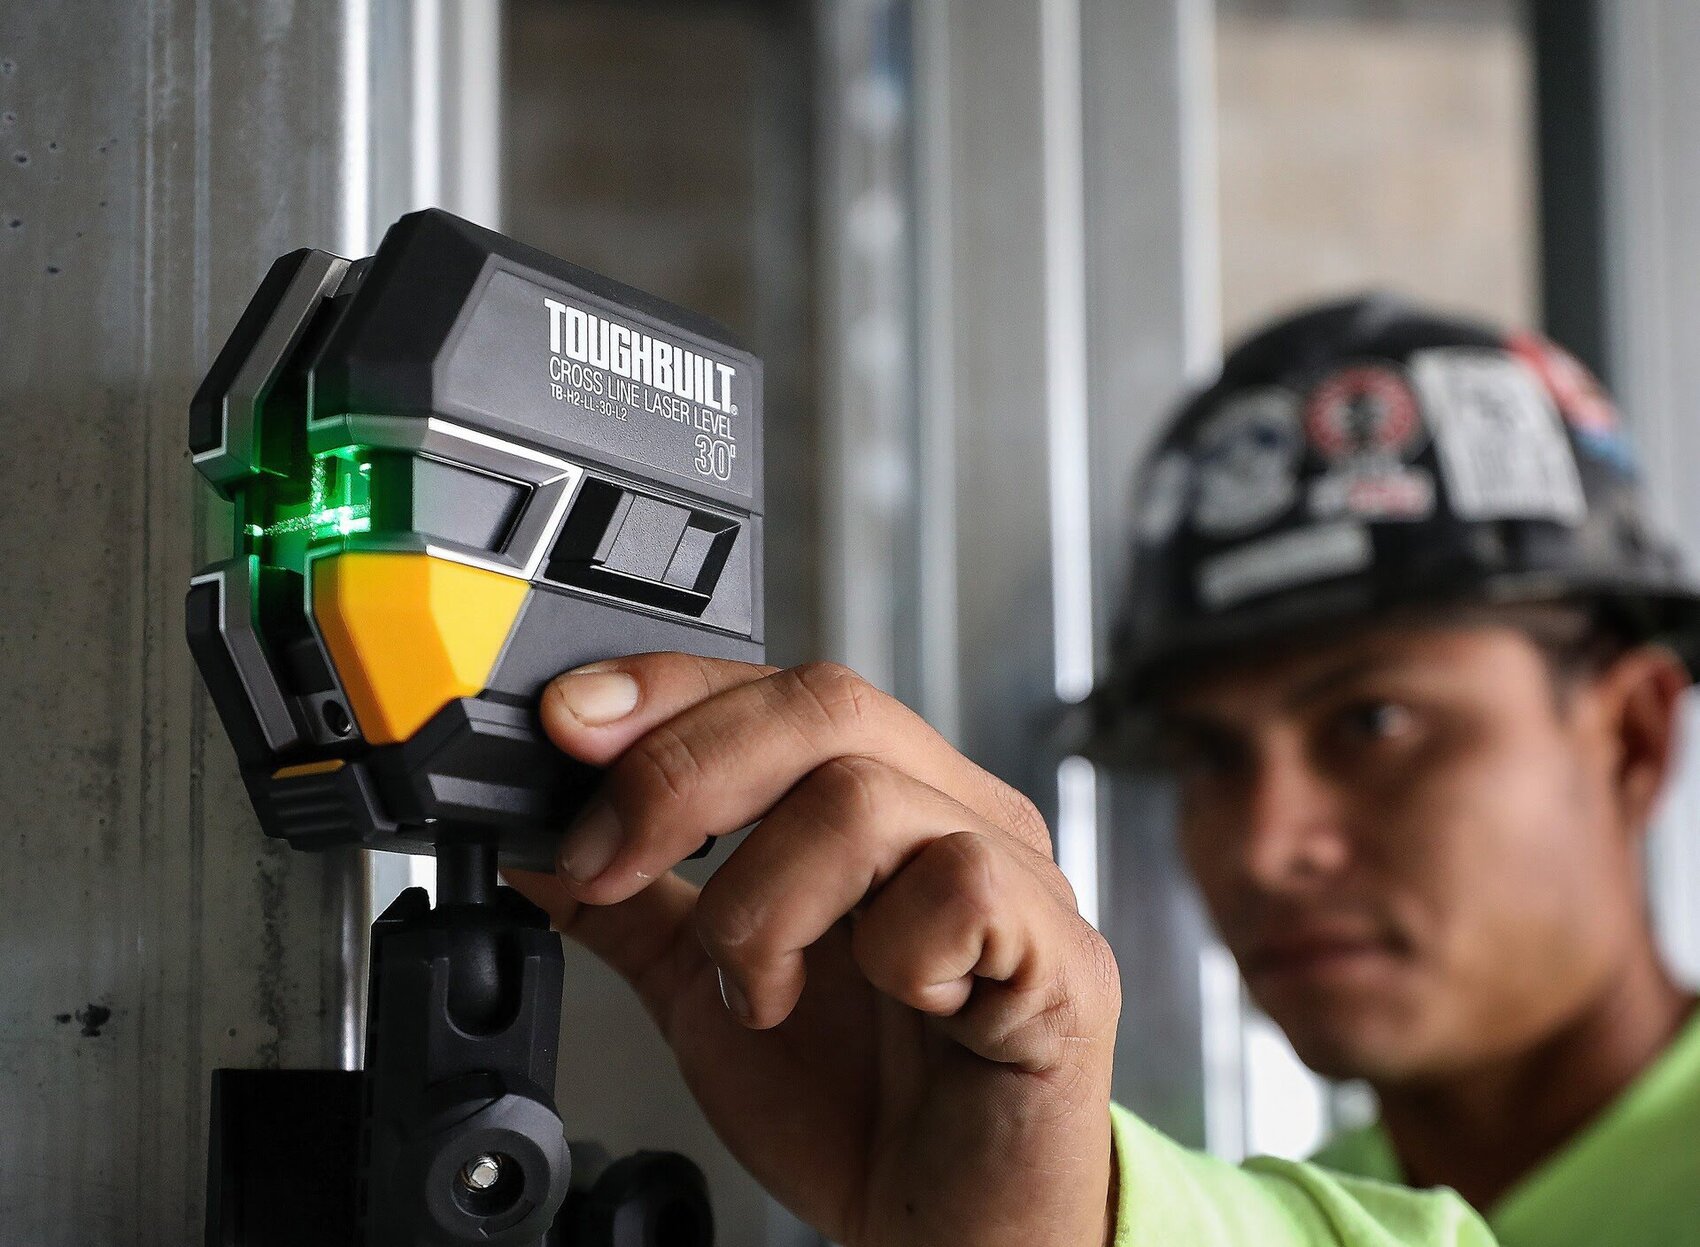
When setting up a wall mount for the ceiling with the Bosch GRL 250 HV Professional Laser Level, make sure to securely attach the mount to the wall or ceiling using the appropriate screws or anchors to ensure stability and accuracy in your measurements.
Step 3: Setting Up the Bosch GRL 250 HV Professional Laser Level
Now that your wall mount bracket is securely installed, it’s time to set up the Bosch GRL 250 HV Professional Laser Level. This remarkable tool will help ensure an accurate and precise alignment for your wall mount. Follow these steps to get started:
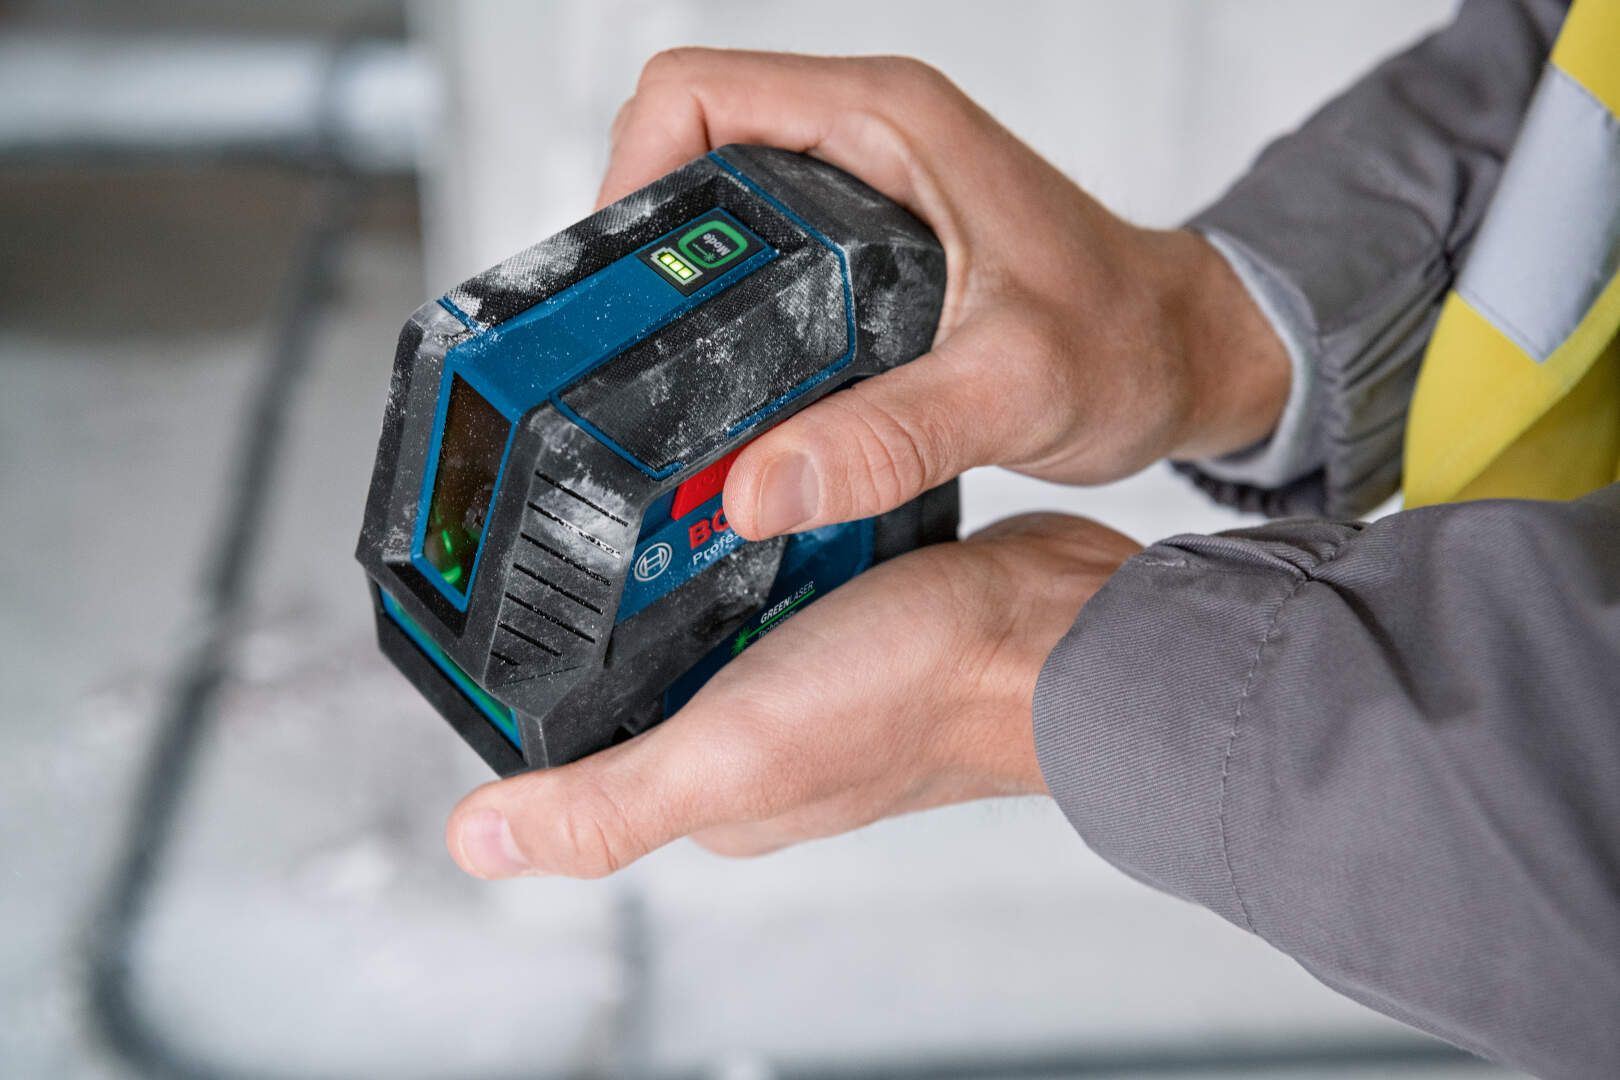
- Prepare the Bosch GRL 250 HV: Remove the laser level from its carrying case and ensure it is clean and free from any debris or dust. Insert the appropriate batteries or connect the power source to the laser level.
- Choose the right mode: The Bosch GRL 250 HV offers various modes, including horizontal, vertical, and manual slope. Select the mode that aligns with your specific installation requirements. Consult the user manual for guidance on mode selection.
- Place the laser level on the bracket: Attach the Bosch GRL 250 HV to the wall mount bracket. Most laser levels have a mounting bracket or a thread mount that will fit onto the wall bracket. Ensure a secure connection between the laser level and the bracket.
- Adjust the laser level’s position: Position the laser level so that the laser beam projects onto the wall surface or ceiling. The laser line should align with the desired location of your wall mount. Make any necessary adjustments to align the laser level accurately.
- Activate the laser beam: Turn on the Bosch GRL 250 HV and activate the laser beam. The laser beam will create a visible line on the wall surface or ceiling, assisting you in aligning your wall mount with precision.
By carefully following these steps, you will have successfully set up the Bosch GRL 250 HV Professional Laser Level for your wall mount installation. Now, it’s time to move on to the next step: adjusting the laser level to ensure optimal accuracy.
Read more: How To Use A Bosch Laser Level
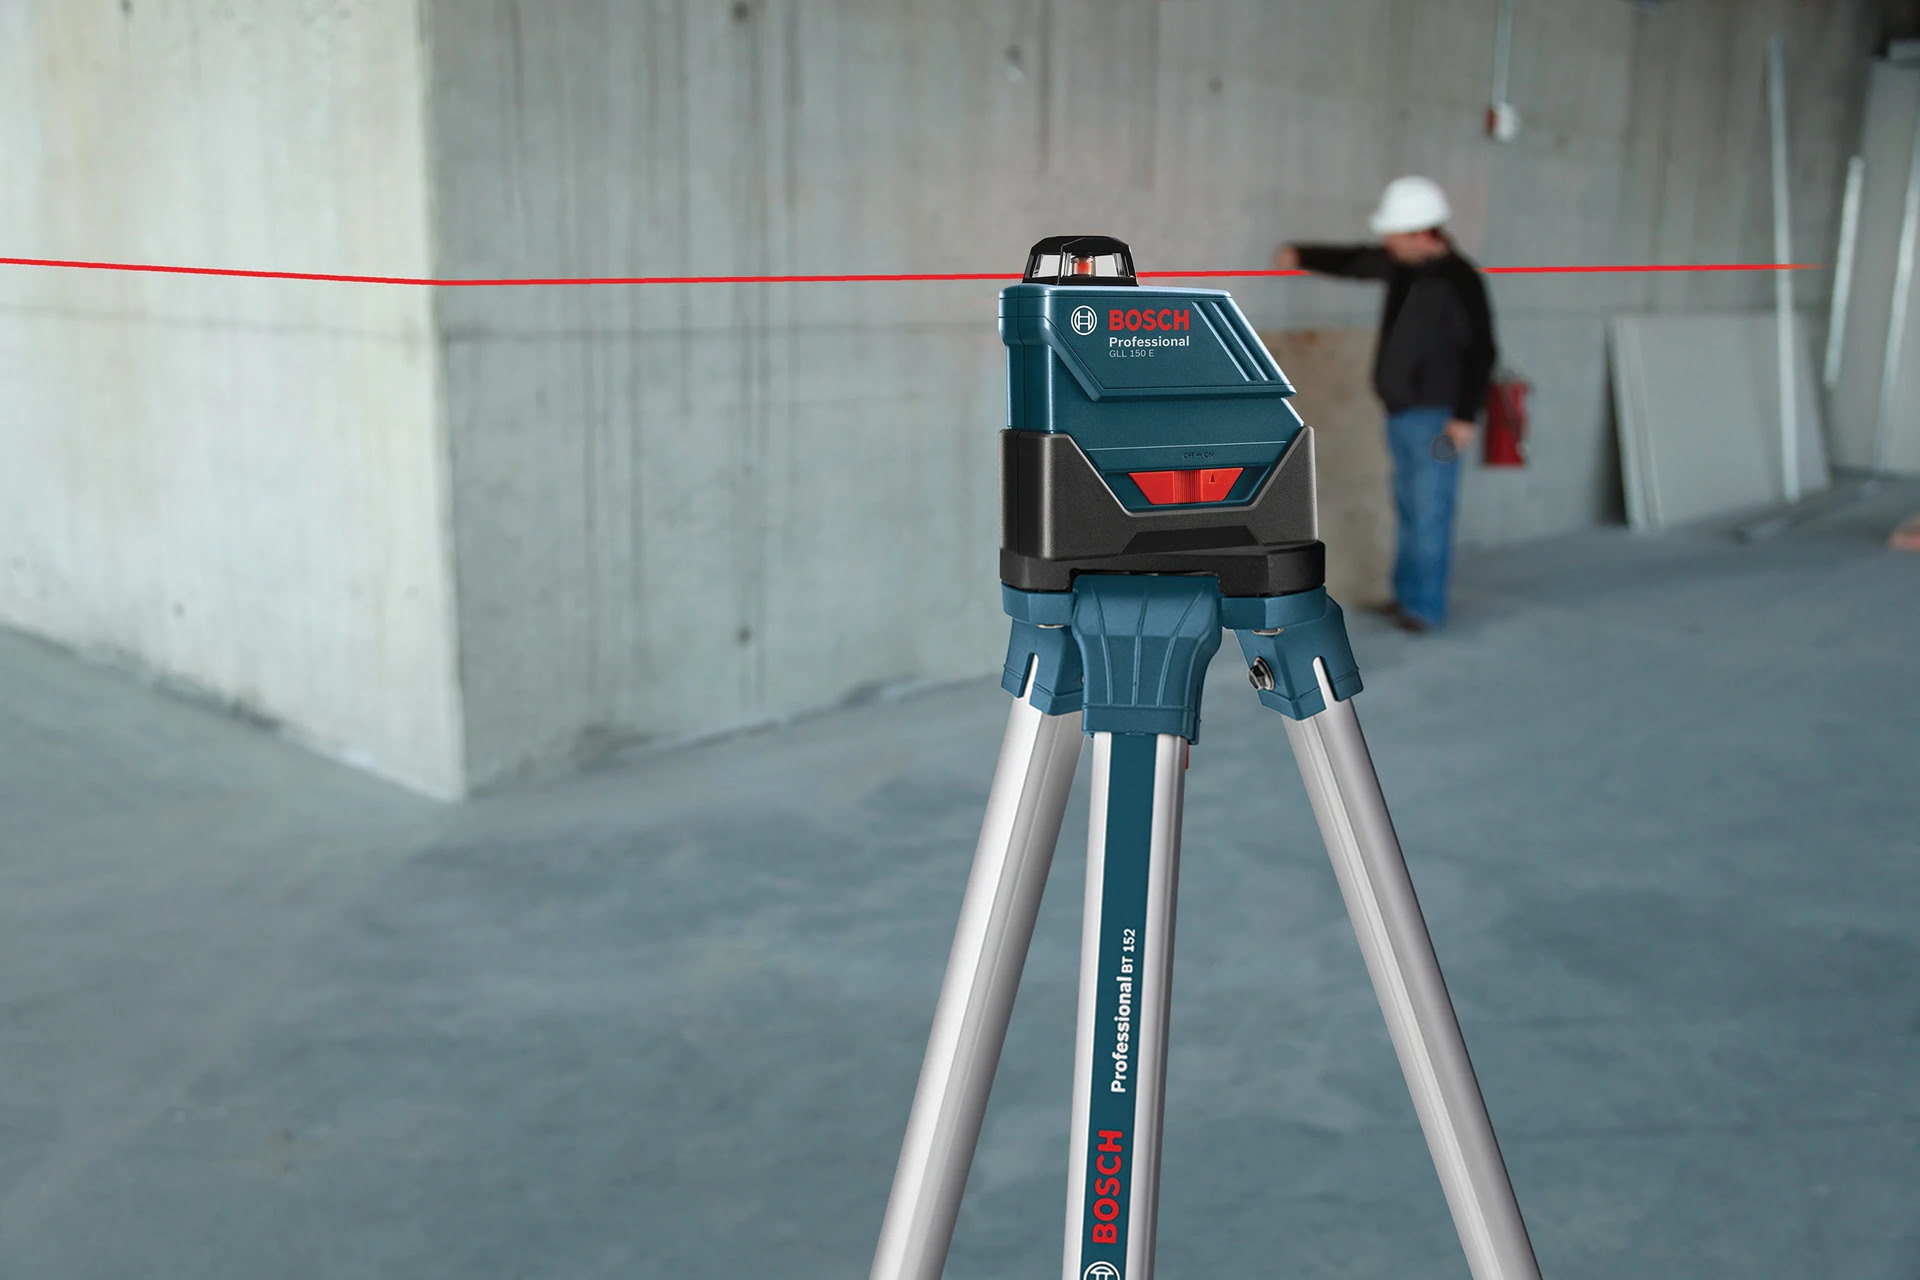
Step 4: Adjusting the Laser Level
Now that the Bosch GRL 250 HV Professional Laser Level is set up on the wall mount, it’s important to adjust it properly to ensure accurate and precise alignment. Follow these steps to adjust the laser level:
- Identify the adjustment knobs or screws: The Bosch GRL 250 HV typically has adjustment knobs or screws located on the device itself. These knobs or screws allow you to make fine-tuned adjustments to the laser level.
- Align with the desired location: Using a visual reference, such as markings on the wall or ceiling, align the laser beam with the desired location of your wall mount. This will help you ensure that the wall mount will be perfectly positioned.
- Make horizontal adjustments: If the laser beam is not perfectly level, use the horizontal adjustment knob or screw to fine-tune the alignment. Gradually turn the knob or screw until the laser beam is perfectly level.
- Make vertical adjustments: If the laser beam is not at the desired height, use the vertical adjustment knob or screw to raise or lower the beam. Make small adjustments until the laser beam aligns with the desired location.
- Double-check alignment: Once you’ve made the necessary adjustments, double-check the alignment of the laser beam with your visual reference points. Ensure that the beam is precisely aligned with the desired location of your wall mount.
By carefully adjusting the Bosch GRL 250 HV Professional Laser Level, you will achieve optimal accuracy and alignment. This step is crucial in ensuring that your wall mount installation will be perfectly positioned. With the laser level properly adjusted, you’re now ready to move on to the final step: testing the levelness of your wall mount.
Step 5: Testing the Level
After setting up and adjusting the Bosch GRL 250 HV Professional Laser Level and completing the installation of the wall mount bracket, it’s time to test the levelness of your wall mount. This final step is crucial to ensure that your object or fixture will be perfectly aligned. Follow these steps to test the levelness:
- Place a level on the wall mount: Take a traditional bubble level or a digital level and place it on top of the wall mount. Ensure that the level is positioned in a way that allows you to accurately assess the levelness.
- Check the bubble or digital reading: Look at the bubble in the traditional level or read the digital display of the digital level. The bubble should be centered, indicating that the wall mount is perfectly level. If using a digital level, the reading should show 0 degrees or be within an acceptable range.
- Make necessary adjustments: If the wall mount is not level, you may need to make additional adjustments to the mounting bracket or reposition the object. Use the adjustment knobs or screws on the wall mount bracket to fine-tune the levelness.
- Recheck the levelness: After making adjustments, recheck the levelness using the level. Continue to make small tweaks until the bubble is centered or the digital reading indicates the object is level.
- Confirm stability: Once the wall mount is level, shake or gently apply pressure to the object to ensure it is securely attached and doesn’t move or wobble. If there is any instability, recheck the mounting hardware and make necessary adjustments.
By thoroughly testing the levelness, you can guarantee that your wall mount installation is precise and secure. This final step ensures that your object or fixture will be perfectly aligned and visually appealing. Congratulations on successfully completing the wall mount installation process using the Bosch GRL 250 HV Professional Laser Level!
Note: It’s always recommended to refer to the specific user manual of the Bosch GRL 250 HV Professional Laser Level and follow the manufacturer’s instructions for accurate setup and usage.
Conclusion
Setting up a wall mount for a ceiling can seem like a daunting task, but with the right tools and knowledge, it becomes a manageable and satisfying project. The Bosch GRL 250 HV Professional Laser Level is an invaluable tool in achieving precise and accurate results. By following the step-by-step process outlined in this article, you can successfully install a wall mount that is level, secure, and visually appealing.
Throughout the installation process, we discussed the importance of properly preparing the wall mount, mounting it securely, setting up the Bosch GRL 250 HV Professional Laser Level, adjusting the laser level for accuracy, and testing the levelness of the wall mount. These steps, when executed diligently, will ensure the success of your wall mount installation.
Remember to always consult the user manual of the Bosch GRL 250 HV Professional Laser Level for specific instructions and guidelines tailored to your specific model. Additionally, adhere to proper safety precautions, such as wearing safety goggles when operating power tools, to prevent any accidents or injuries.
With the proper materials, tools, and the assistance of the Bosch GRL 250 HV Professional Laser Level, you can achieve a seamless and effective wall mount installation. Step back and admire your work as you enjoy the benefits of a level and secure wall mount, whether it be for a TV, shelf, or any other object you choose to mount.
Now that you have the knowledge and confidence to set up a wall mount for a ceiling, go ahead and tackle your next home improvement project with ease and precision.
Happy mounting!
Frequently Asked Questions about How To Set Up Wall Mount For Ceiling With Bosch GRL 250 HV Professional Laser Level
Was this page helpful?
At Storables.com, we guarantee accurate and reliable information. Our content, validated by Expert Board Contributors, is crafted following stringent Editorial Policies. We're committed to providing you with well-researched, expert-backed insights for all your informational needs.


0 thoughts on “How To Set Up Wall Mount For Ceiling With Bosch GRL 250 HV Professional Laser Level”