Articles
How To Laser Level A Floor With GLL 2
Modified: October 21, 2024
Learn how to laser level a floor with Gll2 and get precise results with this helpful article. Discover the best techniques and tips for achieving a perfectly leveled surface.
(Many of the links in this article redirect to a specific reviewed product. Your purchase of these products through affiliate links helps to generate commission for Storables.com, at no extra cost. Learn more)
Introduction
Welcome to this step-by-step guide on how to laser level a floor using the Gll2 laser level. Whether you are a DIY enthusiast or a professional contractor, having a level floor is crucial for a variety of projects, from laying tiles to installing hardwood flooring. A laser level, such as the Gll2, can make this task much easier and more accurate.
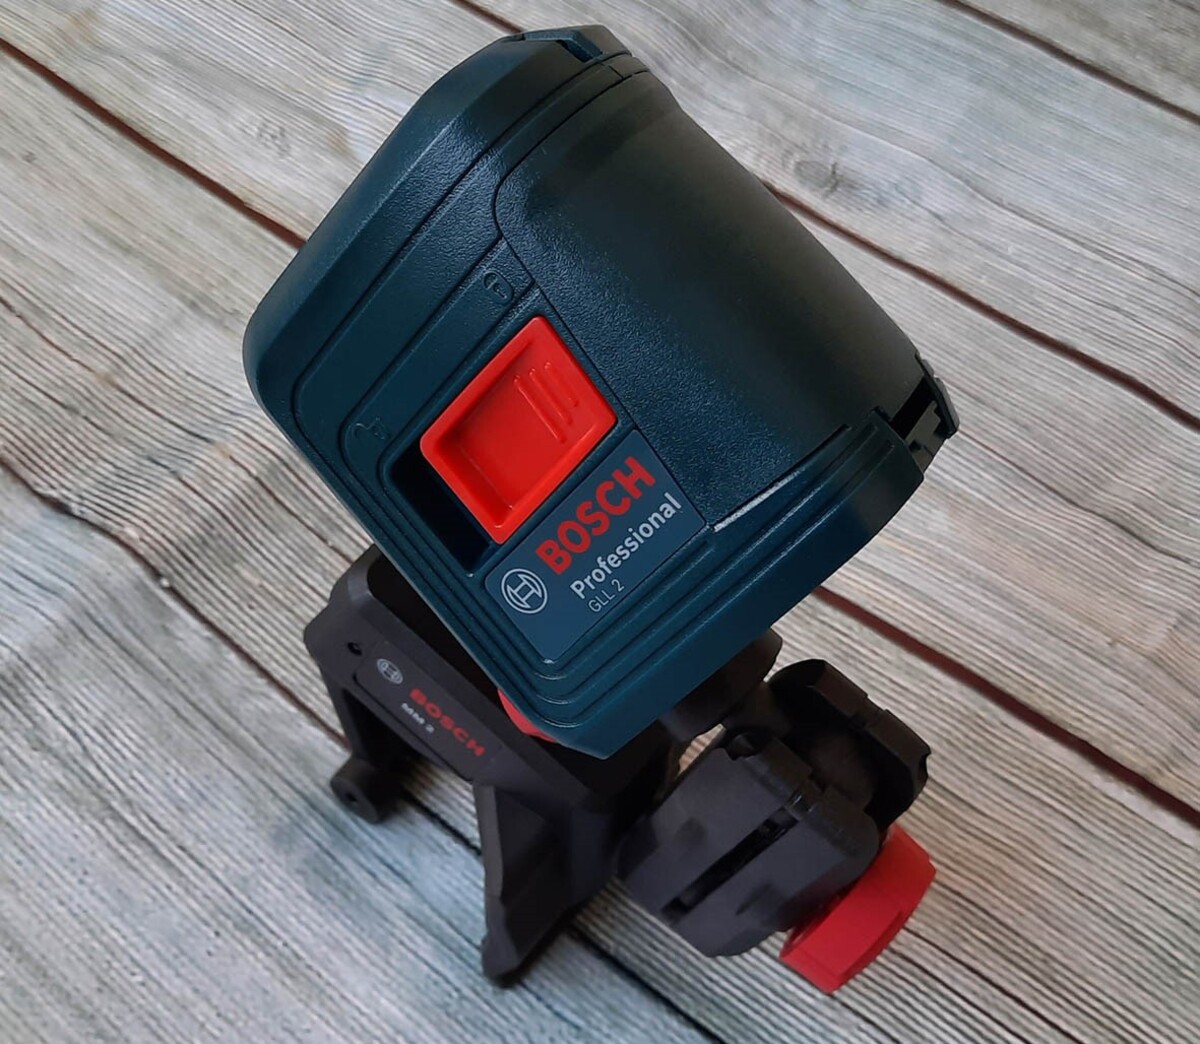
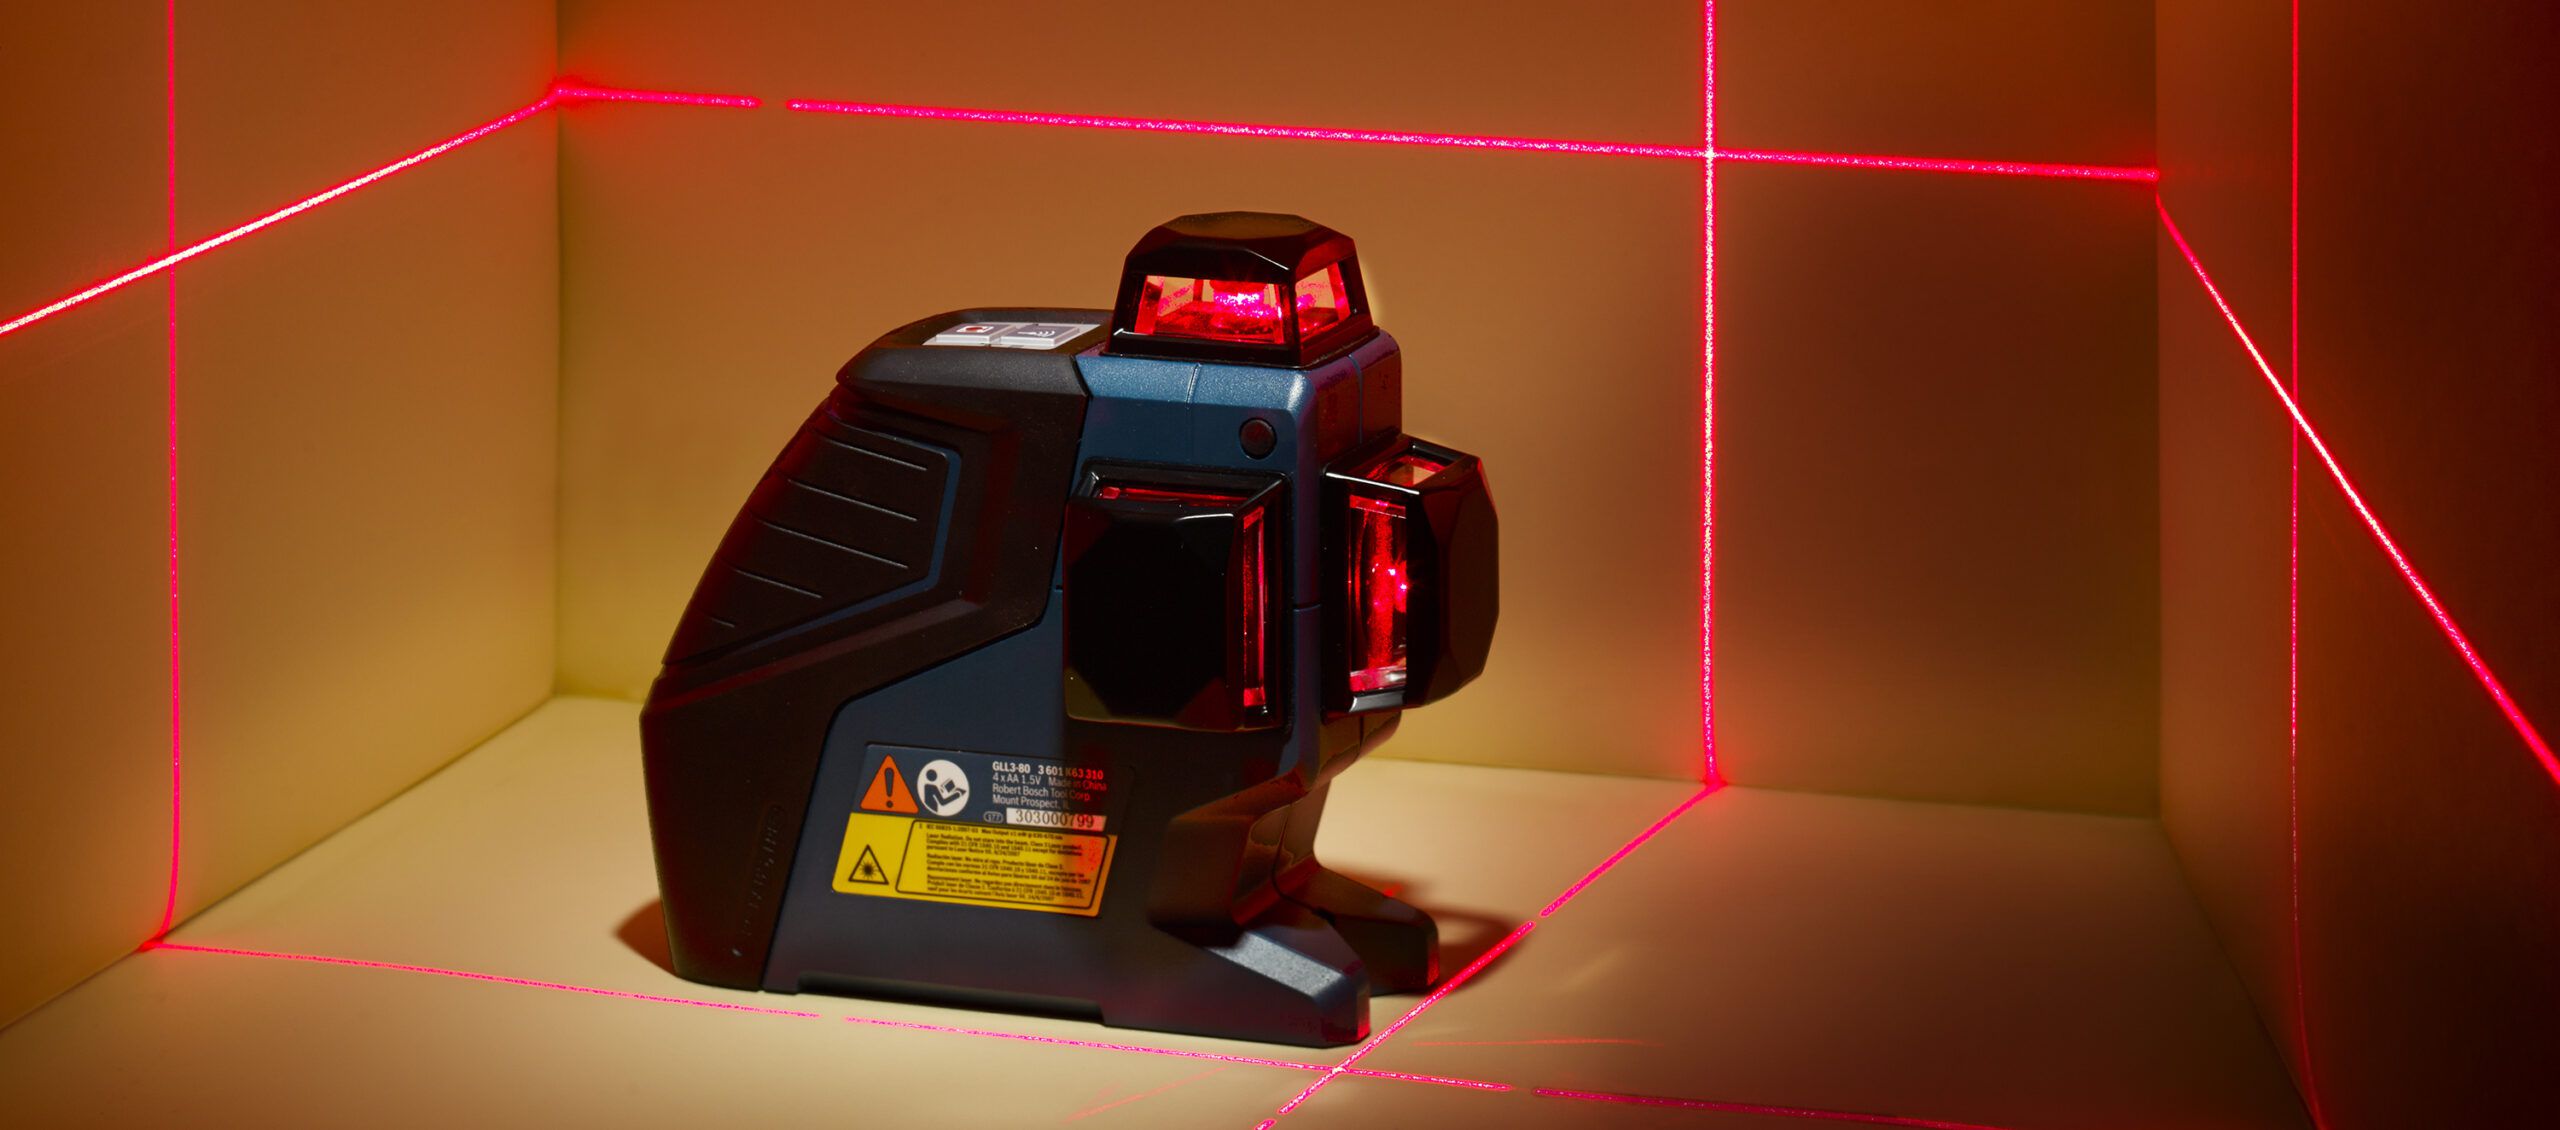
The Gll2 laser level is a versatile tool that projects a laser line onto the floor, allowing you to easily determine if the surface is level or if there are any high or low spots. This eliminates the need for traditional bubble levels and tedious measurements, saving you time and effort.
In this guide, we will walk you through the entire process of laser leveling a floor using the Gll2. We will start by preparing the necessary tools, then move on to setting up the laser level and calibrating it. Next, we’ll mark the reference points on the floor and adjust the laser level accordingly. Finally, we’ll check the levelness of the floor and make any necessary adjustments. By the end of this guide, you’ll have a perfectly level floor ready for your next project.
Before we dive into the step-by-step process, let’s briefly discuss why having a level floor is important. A level floor not only looks visually appealing, but it also ensures that your finished project will be structurally sound. Whether you’re installing flooring, cabinets, or countertops, working on a level surface will prevent any distortions, unevenness, or gaps that could affect the functionality and longevity of your project.
Another benefit of using a laser level like the Gll2 is its versatility. In addition to floor leveling, it can also be used for tasks such as hanging pictures, installing shelves, aligning cabinets, and more. So even after you’ve completed your floor leveling project, the Gll2 can still be a valuable tool in your workshop or toolbox.
Now that we have a clear understanding of the importance of a level floor and the versatility of the Gll2 laser level, let’s move on to the first step: preparing the necessary tools.
Key Takeaways:
- Achieving a level floor with the Gll2 laser level is crucial for project success, ensuring structural integrity and visual appeal. Its versatility makes it a valuable tool beyond floor leveling, simplifying various alignment tasks.
- The step-by-step process emphasizes careful calibration, precise adjustments, and thorough checks to achieve a level floor. By following this guide, you can confidently tackle floor leveling projects with the Gll2 laser level.
Read more: How To Use A Laser Level To Check A Floor
Step 1: Prepare the Tools
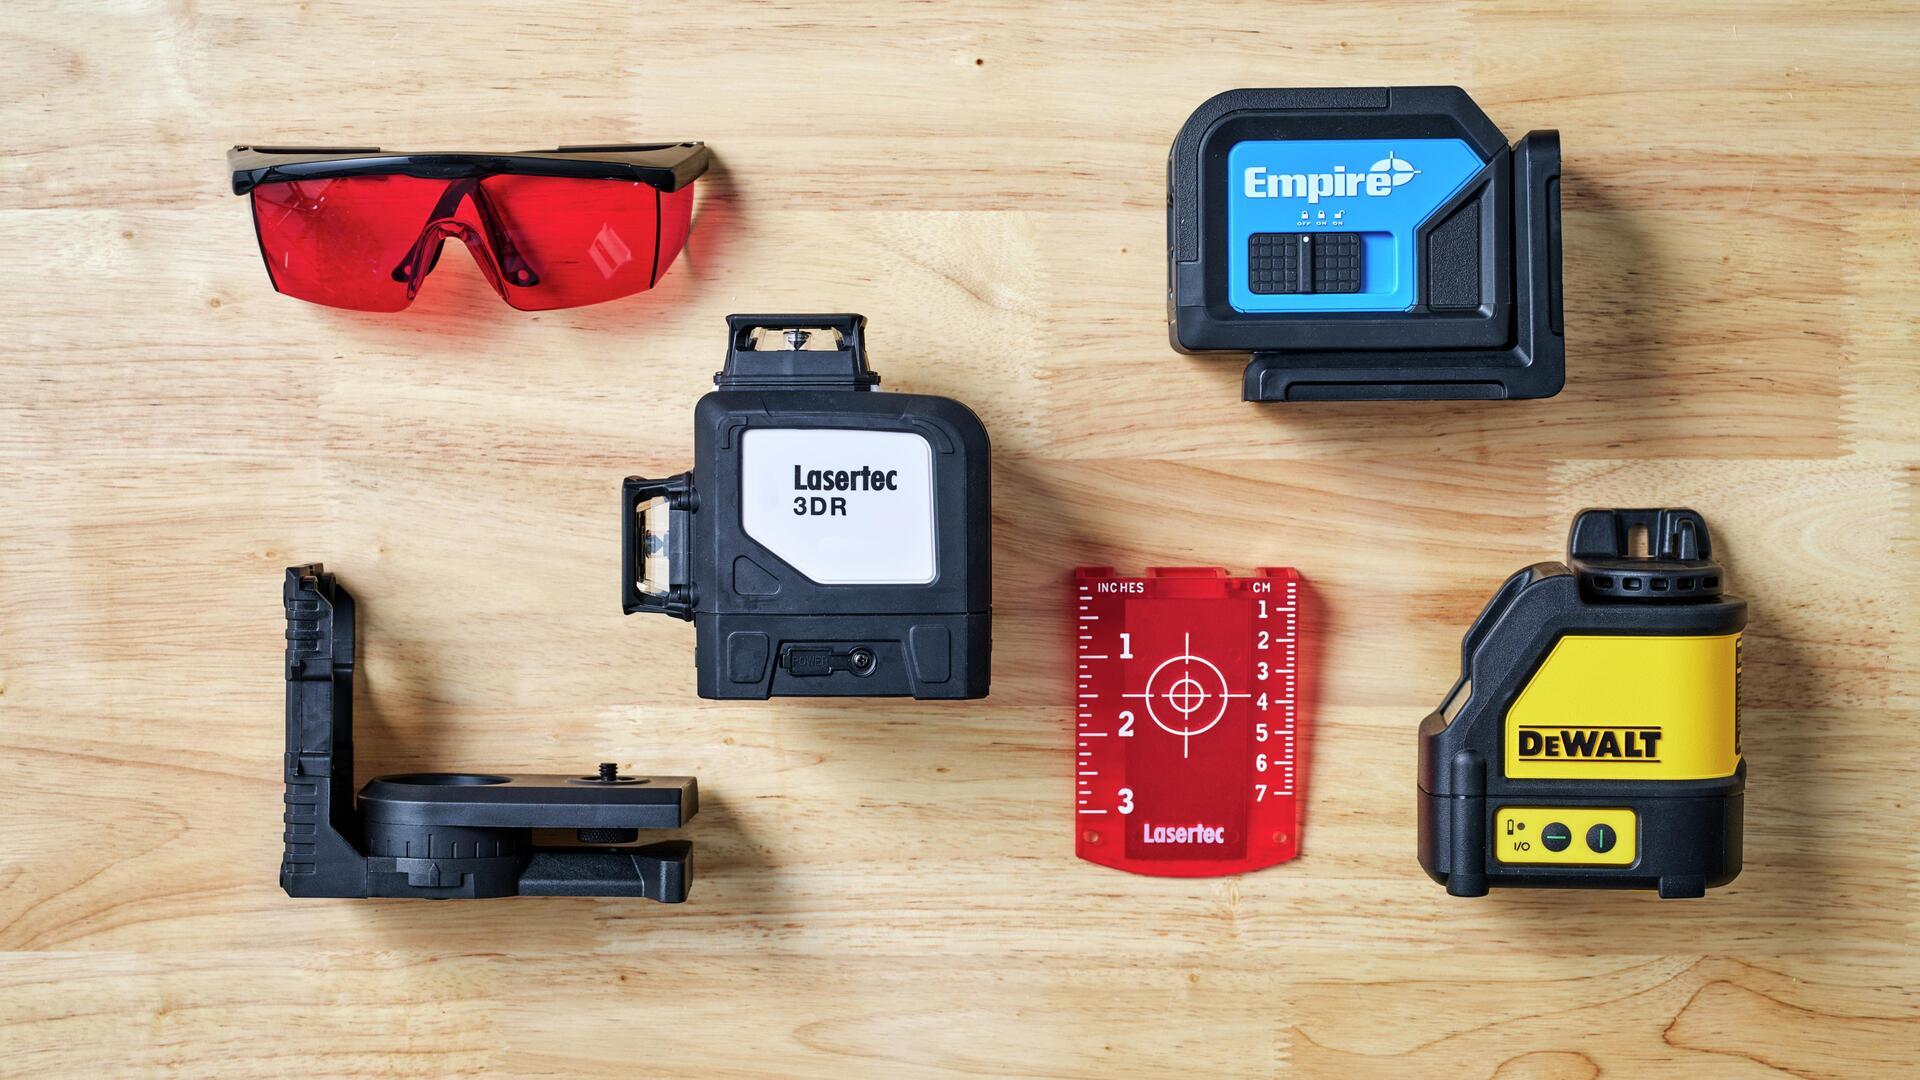
Before you begin laser leveling your floor with the Gll2, it’s important to gather all the necessary tools and equipment. This will ensure a smooth and efficient process. Here are the tools you’ll need:
- Gll2 Laser Level: The star of the show, the Gll2 laser level is the key tool you’ll be using to project the laser line onto the floor. Make sure it’s fully charged or has fresh batteries.
- Receiver: While the Gll2 has a built-in receiver, having an additional receiver can improve accuracy, especially in larger areas or outdoor settings.
- Measuring Tape: You’ll need a measuring tape to mark reference points and determine the accuracy of the laser level.
- Masking Tape: Masking tape will be useful for marking reference points on the floor without damaging the surface.
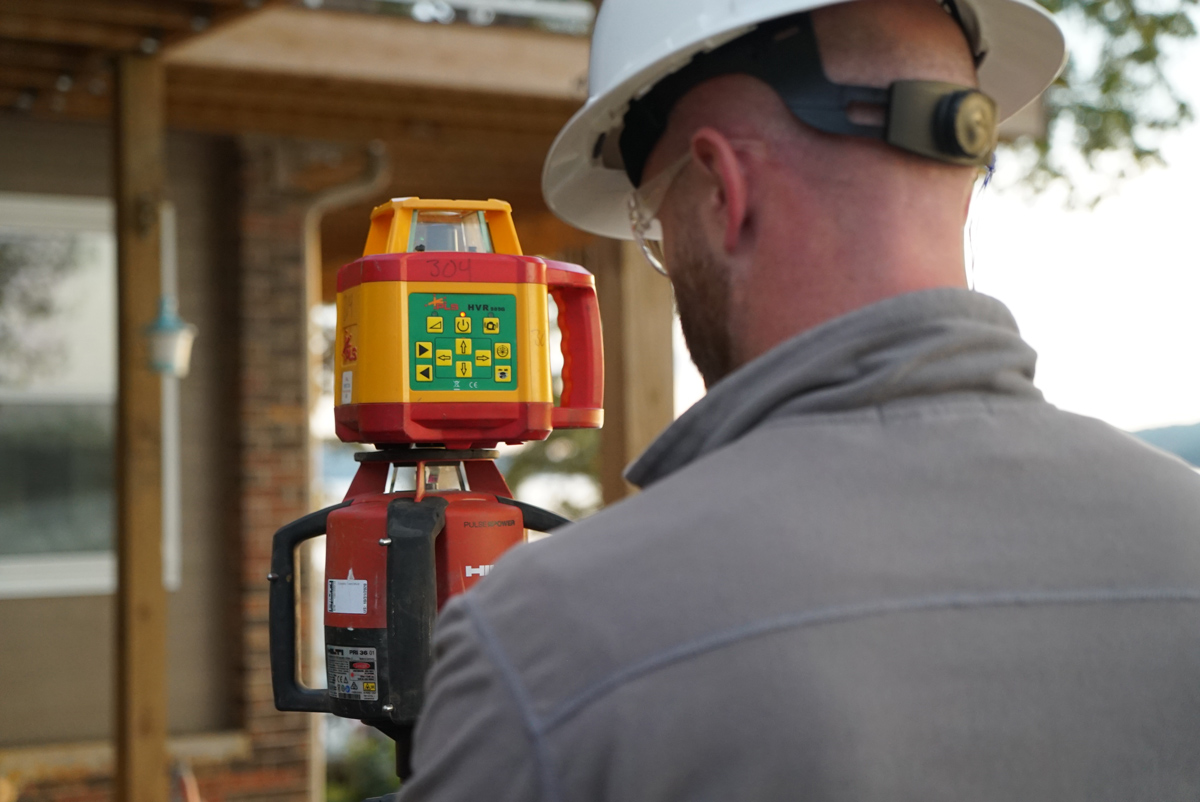
- Safety Glasses: Always prioritize safety and wear protective glasses to shield your eyes from the laser beam.
- Leveling Feet or Tripod: If your Gll2 doesn’t have built-in leveling feet, a tripod or stand with adjustable feet will help stabilize the laser level.
- Pen or Marker: This will be used to mark any necessary adjustments or reference points on the floor.
Make sure all your tools are in good condition and functioning properly. It’s also a good idea to have a clean and clutter-free workspace to minimize any potential obstacles or distractions during the leveling process.
Once you’ve gathered all the necessary tools, you’re ready to move on to the next step: setting up the Gll2 laser level.
Step 2: Set up the Laser Level (Gll2)
Now that you have all the necessary tools, it’s time to set up the Gll2 laser level for accurate floor leveling. Follow these steps:
- Choose a Stable Surface: Find a stable and flat surface to place the Gll2 laser level. If it has built-in leveling feet, adjust them until the laser level is stable and not wobbling.
- Use a Tripod: If your Gll2 doesn’t have built-in leveling feet, attach it to a tripod or stand with adjustable feet. Ensure the tripod is on a stable surface and adjust the feet for a secure setup.
- Turn on the Gll2: Locate the power button on the laser level and turn it on. The Gll2 may have additional mode or adjustment buttons, depending on the model. Familiarize yourself with the functions and controls.
- Level the Laser Level: Use the built-in leveling mechanism of the Gll2 or adjust the tripod to ensure that the laser level is perfectly leveled. This is essential for accurate results.
- Position the Gll2: Place the Gll2 laser level at one end of the area you’ll be leveling. The distance from the starting point will depend on the size of the space and the working range of the laser level.
Remember, the stability and levelness of the Gll2 laser level are crucial for accurate floor leveling. Take your time to ensure a solid setup before moving on to the next steps.
With the Gll2 laser level properly set up, we can now proceed to the next step: calibrating the laser level.
Step 3: Calibrate the Laser Level
Calibrating the Gll2 laser level is an important step to ensure accurate measurements and level readings. Follow these steps to calibrate your laser level:
- Measure the Height: Use a measuring tape to determine the height from the floor to the desired level. This could be the height of the new flooring, the base of cabinets, or any other reference point.
- Mark the Reference Point: Use a pen or marker to mark the reference point on a nearby wall. Make sure the mark is easily visible and at the exact height you measured in the previous step.
- Position the Laser Level: Align the laser level with the reference point you marked on the wall. Ensure that the laser line is projected directly onto the mark.
- Adjust the Laser Level: Use the adjustment controls of the Gll2 laser level to align the projected laser line with the reference mark on the wall. This may involve rotating the laser level or adjusting the vertical or horizontal alignment.
- Check the Alignment: Once you’ve made the necessary adjustments, verify that the laser line is aligning perfectly with the reference mark on the wall. This indicates that the laser level is calibrated accurately.
When calibrating the laser level, ensure that you have a stable setup and a clear line of sight between the laser level and the reference mark. It’s recommended to perform this calibration process in a well-lit environment to easily see the laser line and reference mark.
With the Gll2 laser level properly calibrated, we are ready to move on to the next step: marking the reference points on the floor.
Step 4: Mark the Reference Points on the Floor
Now that you have your Gll2 laser level calibrated, it’s time to mark the reference points on the floor. These points will serve as guides for the levelness of the floor. Follow these steps:
- Position the Laser Level: Place the Gll2 laser level at the starting point of the area you’ll be leveling. Ensure that it’s stable and leveled.
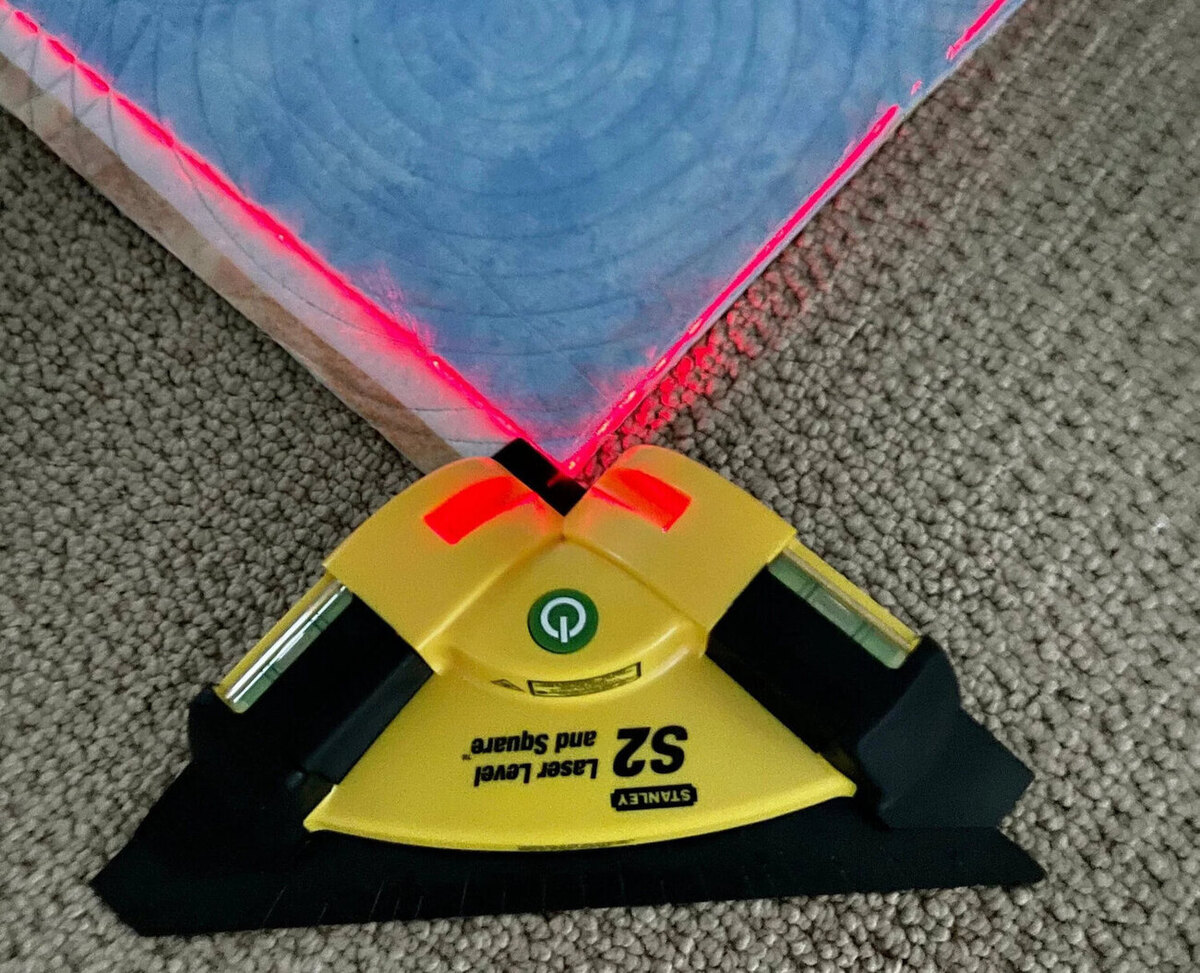
- Turn on the Laser: Activate the laser beam projection of the Gll2. The laser line should be visible on the floor.
- Mark the Laser Line: Use masking tape or a marker to mark the laser line on the floor. It’s recommended to mark the line at regular intervals, such as every few feet, to provide a clear visual reference.
- Extend the Laser Line: Move the Gll2 laser level to the next position, aligning it with the previous reference marker. Extend the laser line by marking it on the floor again.
- Repeat the Process: Continue moving the laser level across the floor, marking the laser line at regular intervals until you cover the entire area.
By marking the laser line on the floor, you create reference points that will help you identify any high or low spots in the flooring. These reference marks will become crucial as you proceed with the leveling process.
Once you’ve marked all the reference points on the floor, it’s time to move on to the next step: adjusting the laser level.
Make sure to set up the laser level on a stable surface and adjust the height to the desired level. Double-check the accuracy of the laser level before starting the floor leveling process.
Step 5: Adjust the Laser Level
With the reference points marked on the floor, it’s time to use them to adjust the laser level for accurate floor leveling. Follow these steps to adjust the Gll2 laser level:
- Identify High and Low Points: Using a measuring tape or a level, determine the height difference between the marked laser line and the reference point on the floor. This will help you identify areas that are either higher or lower than the desired level.
- Make Vertical Adjustments: If you encounter high spots, adjust the laser level’s height by extending or retracting the leveling feet, or by adjusting the tripod height. This will lower the laser line at those points, bringing them closer to the desired level.
- Make Horizontal Adjustments: For any low spots, you may need to adjust the laser level horizontally. This can be done by rotating the laser level or using the horizontal adjustment controls to move the laser line towards the low spots.
- Re-mark Reference Points: After making the necessary adjustments, move the laser level back to the starting point and re-mark the laser line on the floor. This will give you a clear indication of whether the adjustments have brought the floor closer to levelness.
- Check and Fine-tune: Repeat the process of checking the levelness and making adjustments until the laser line aligns closely with the reference points and the desired level.
It’s important to note that the adjustments may require some trial and error. Take your time, be patient, and make small incremental adjustments rather than large ones. This will allow you to achieve a more precise and accurate leveling of the floor.
Once the laser level is adjusted, we’re ready to move on to the next step: checking the levelness of the floor.
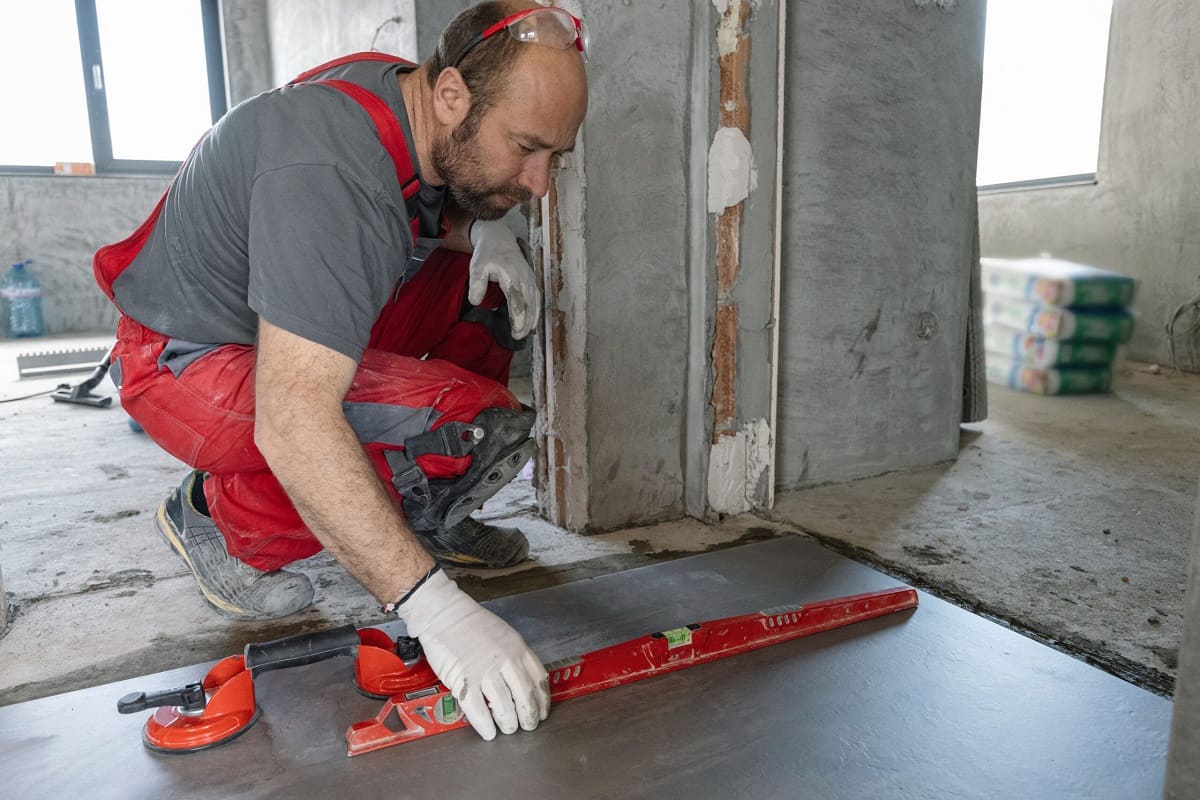
Step 6: Check the Levelness of the Floor
Now that you’ve made the necessary adjustments to the laser level, it’s time to check the levelness of the floor. This step will help you ensure that the surface is even and meets your desired specifications. Follow these steps to check the levelness of the floor:
- Visually Inspect: Stand back and visually inspect the laser line projected on the floor. Look for any obvious discrepancies or areas where the laser line deviates significantly from the reference points. These areas might require further adjustment.
- Use a Level: Place a level flat against the laser line at various points along the floor. Check if the bubble in the level stays within the center bubble, indicating a level surface. If the bubble deviates, note the areas that require further adjustment.
- Measure the Height Difference: Use a measuring tape or a leveling rod to measure the height difference between the laser line and the desired level at multiple points across the floor. Record these measurements to determine where the floor may need additional leveling.
During this step, it’s important to keep in mind that achieving a perfectly level floor may not always be possible, especially in older or unevenly constructed spaces. However, the goal is to minimize any significant deviations and create a surface that meets acceptable tolerances for your specific project.
If you identify any areas that require further adjustment, move on to the next step to make the necessary changes. Otherwise, proceed to the final steps of the floor leveling process.
Now that you’ve assessed the levelness of the floor, it’s time to fine-tune and make any necessary adjustments in the next step.
Step 7: Make Necessary Adjustments
After checking the levelness of the floor and identifying areas that require further adjustment, it’s time to make the necessary changes. Follow these steps to fine-tune the floor leveling:
- Focus on High Spots: If you’ve identified high spots where the laser line deviates above the desired level, continue adjusting the laser level’s height to lower the laser line at those points. This can be done by extending or retracting the leveling feet or adjusting the tripod height.
- Address Low Spots: For low spots where the laser line deviates below the desired level, adjust the laser level horizontally. This can be achieved by rotating the laser level or using the horizontal adjustment controls to move the laser line closer to those areas.
- Re-mark Reference Points: After each adjustment, move the laser level back to the starting point and re-mark the laser line on the floor. This will help you track the progress and ensure that the floor is getting closer to the desired level.
- Check Levelness Again: Repeat the process of visually inspecting, using a level, and measuring the height difference to check the levelness of the floor. Make additional adjustments as needed until the deviations are within acceptable tolerances.
Throughout this step, it’s crucial to take your time and make small, incremental adjustments to achieve a more precise and accurate leveling of the floor. Regularly monitor the progress and reassess the levelness to ensure you’re moving in the right direction.
Once you’re satisfied with the adjustments, we can move on to the final step: conducting a final check and adding finishing touches to the floor leveling process.
Step 8: Final Check and Finishing Touches
Congratulations! You’ve reached the final step of the floor leveling process. This step involves conducting a final check to ensure the floor is level and adding any necessary finishing touches. Follow these steps to complete the process:
- Inspect the Entire Floor: Take a step back and visually inspect the entire floor. Look for any remaining deviations or areas that need further adjustment.
- Use a Level: Place a level at various points across the floor to verify the levelness. Ensure that the bubble stays within the center, indicating a correctly leveled surface.
- Measure the Height Difference: Use a measuring tape or a leveling rod to measure the height difference between the laser line and the desired level at multiple points. Check that all measurements are within acceptable tolerances.
- Make Final Adjustments: If you identify any remaining areas that require adjustment, make the necessary changes using the techniques outlined in the previous steps.
- Clean Up: Remove any excess masking tape or marks from the floor, ensuring a clean and finished appearance.
- Document the Floor Level: Take note of any final measurements or observations for future reference, in case you need to reference the levelness of the floor for future projects.
Once you have completed these steps, you can be confident that your floor is leveled and ready for your next project, whether it’s laying tiles, installing hardwood flooring, or any other task that requires a level surface.
Remember, the Gll2 laser level is a versatile tool that can be used for various projects beyond floor leveling. It’s worth keeping in your toolbox for future needs.
With the final check completed and the finishing touches done, you can now enjoy a beautifully leveled floor that ensures the success and longevity of your project.
Thank you for following this step-by-step guide on how to laser level a floor with the Gll2 laser level. We hope this guide has been helpful for you. Happy leveling!
Read also: 13 Amazing Floor Laser Level for 2025
Conclusion
Congratulations! You have successfully learned how to laser level a floor using the Gll2 laser level. By following the step-by-step guide, you have acquired the skills and knowledge necessary to ensure a level surface for your flooring or other projects.
The Gll2 laser level has proven to be an invaluable tool throughout the process. Its ability to project a laser line onto the floor has made leveling tasks more accurate, efficient, and hassle-free. It has eliminated the need for traditional bubble levels and cumbersome measurements, saving you time and effort.
Remember, a level floor not only enhances the visual appeal of your space but also ensures the structural integrity of your project. By achieving a level surface, you minimize the risk of distortions, gaps, or unevenness that can impact the functionality and durability of your work.
Additionally, the Gll2 laser level can continue to be a valuable tool in your arsenal for a wide range of projects. Whether you need to hang pictures, install shelves, align cabinets, or perform other alignment tasks, the versatility of the Gll2 ensures its usefulness beyond floor leveling.
Throughout the process, we have emphasized the importance of careful calibration, marking reference points, making precise adjustments, and conducting thorough checks. These steps are crucial to achieving a level floor that meets your desired specifications.
By completing the final step of conducting a final check and adding finishing touches, you can confidently move forward with your project, knowing that your floor is level and ready for the next phase.
We hope that this guide has been informative and helpful, providing you with the necessary information and guidance on how to laser level a floor with the Gll2 laser level. Remember to prioritize safety throughout the process by wearing protective glasses and following proper safety precautions.
Thank you for joining us on this floor leveling journey, and best of luck with your future projects!
Frequently Asked Questions about How To Laser Level A Floor With GLL 2
Was this page helpful?
At Storables.com, we guarantee accurate and reliable information. Our content, validated by Expert Board Contributors, is crafted following stringent Editorial Policies. We're committed to providing you with well-researched, expert-backed insights for all your informational needs.


0 thoughts on “How To Laser Level A Floor With GLL 2”