Articles
How To Use Bosch Laser Level GLL 50
Modified: March 1, 2024
Learn how to use the Bosch Laser Level GLL 50 with our informative articles. Improve your accuracy and efficiency in your next construction project.
(Many of the links in this article redirect to a specific reviewed product. Your purchase of these products through affiliate links helps to generate commission for Storables.com, at no extra cost. Learn more)
Introduction
The Bosch Laser Level GLL 50 is a powerful tool that can greatly enhance your construction and DIY projects. Whether you’re installing shelves, aligning tiles, or hanging pictures, this laser level can provide precise and accurate measurements to ensure a professional finish. In this article, we will explore how to use the Bosch Laser Level GLL 50 effectively, from understanding its controls and features to setting it up for various applications.
The Bosch Laser Level GLL 50 offers a range of features that make it an indispensable tool for any handyman or professional contractor. With its laser line visibility of up to 50 feet, this tool allows you to achieve straight, level, and plumb lines with ease. It features a self-leveling function that automatically corrects the line if the tool tilts, making it incredibly user-friendly.
Before we dive into the details of using the Bosch Laser Level GLL 50, it’s important to note that this tool is designed for indoor use only. It utilizes a red laser diode, which may not be as visible in bright outdoor conditions or over long distances. So, for optimal performance, ensure you use it in well-lit indoor spaces.
In the following sections, we will guide you through the step-by-step process of using the Bosch Laser Level GLL 50, including preparation, setup, calibration, operation, and practical applications. By the end of this article, you’ll have all the knowledge you need to maximize the potential of this versatile laser level.
Key Takeaways:
- The Bosch Laser Level GLL 50 offers a range of features, including a 50-foot laser line visibility, self-leveling function, and pulse mode, making it an indispensable tool for precise and professional alignment tasks in indoor spaces.
- Proper preparation, understanding of controls, accurate setup, regular calibration, and efficient operation are essential for maximizing the potential of the Bosch Laser Level GLL 50, ensuring accurate and professional results in construction and DIY projects.
Read more: How To Use A Bosch Laser Level
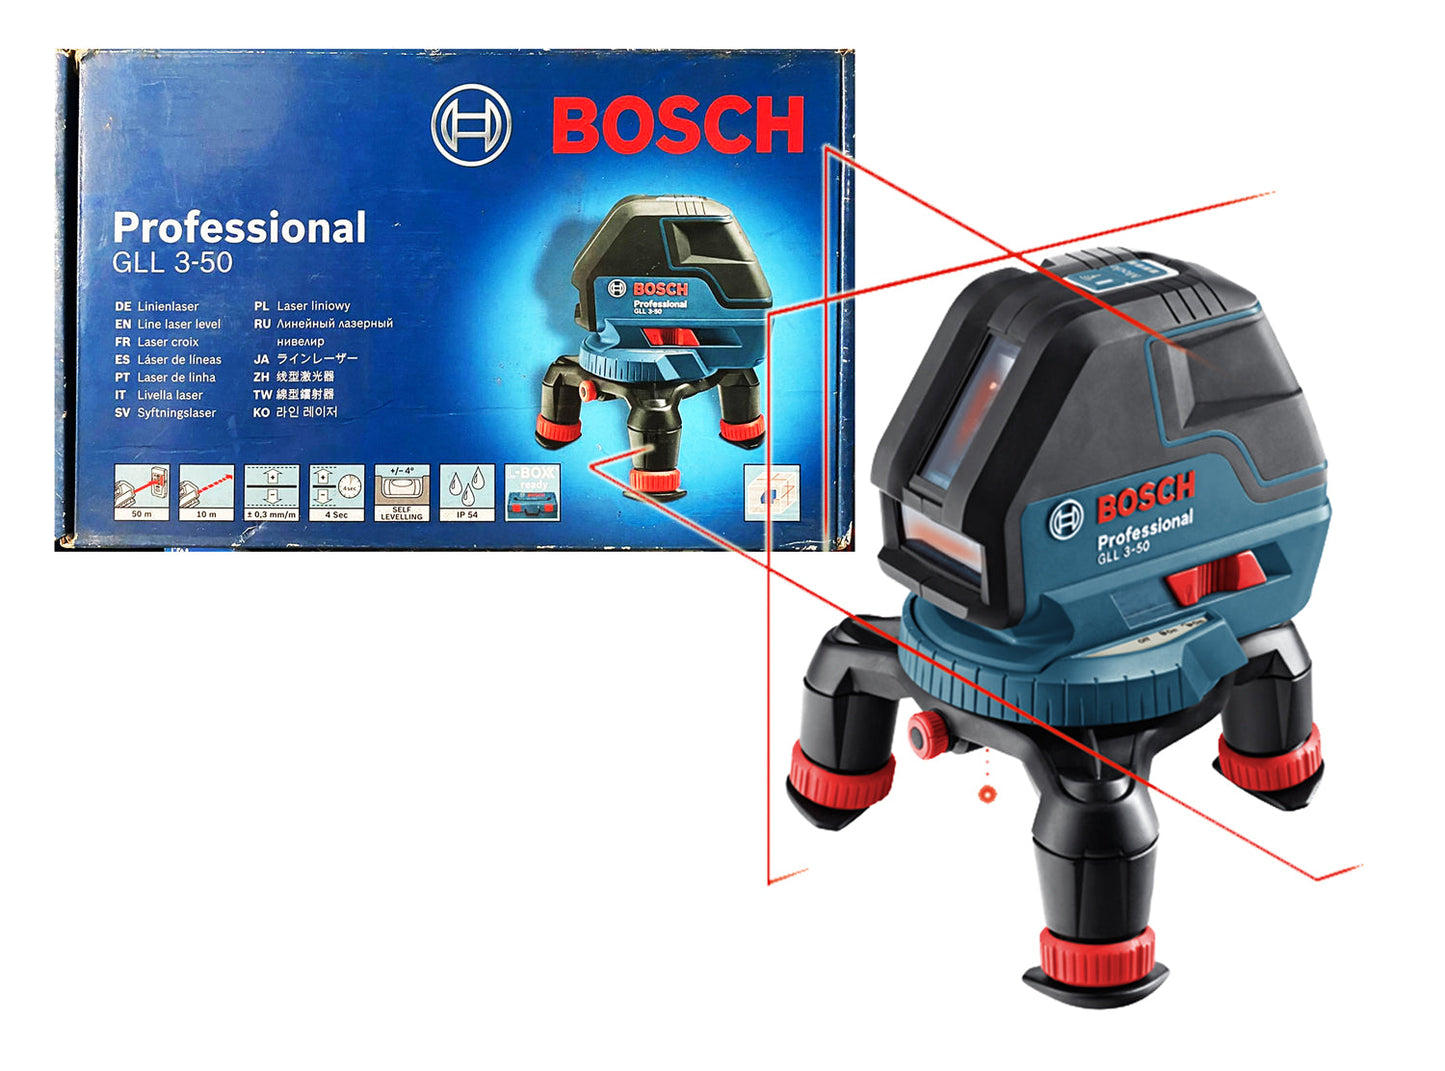
Overview of Bosch Laser Level GLL 50
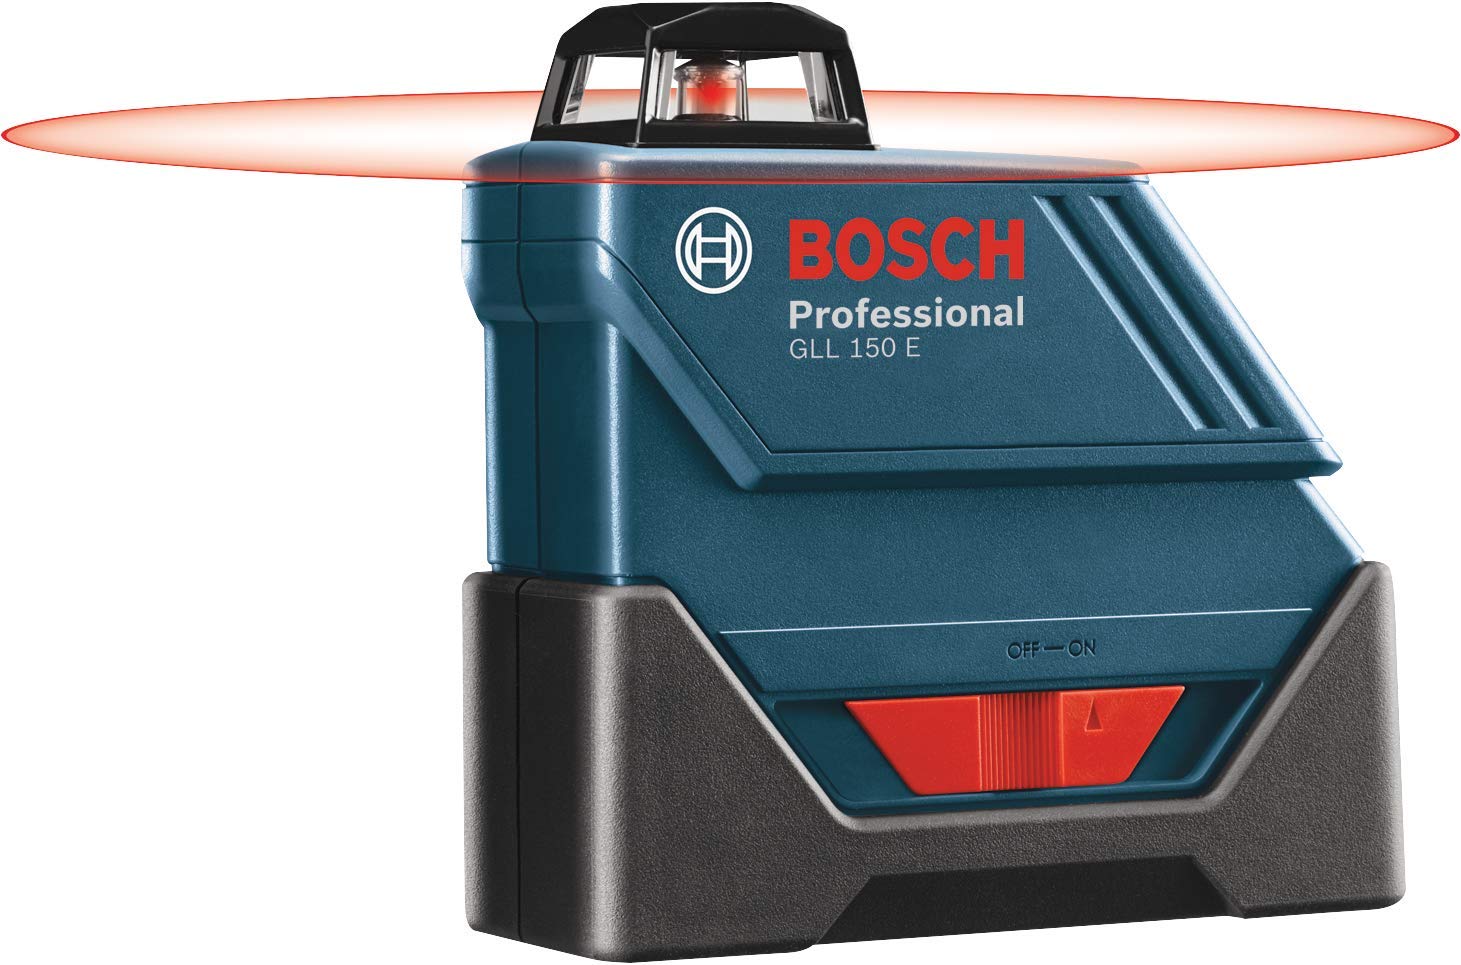
The Bosch Laser Level GLL 50 is a compact and lightweight laser level that offers a wide range of applications for both professionals and DIY enthusiasts. With its high level of accuracy and ease of use, this tool can save you time and effort in various tasks that require precise alignment.
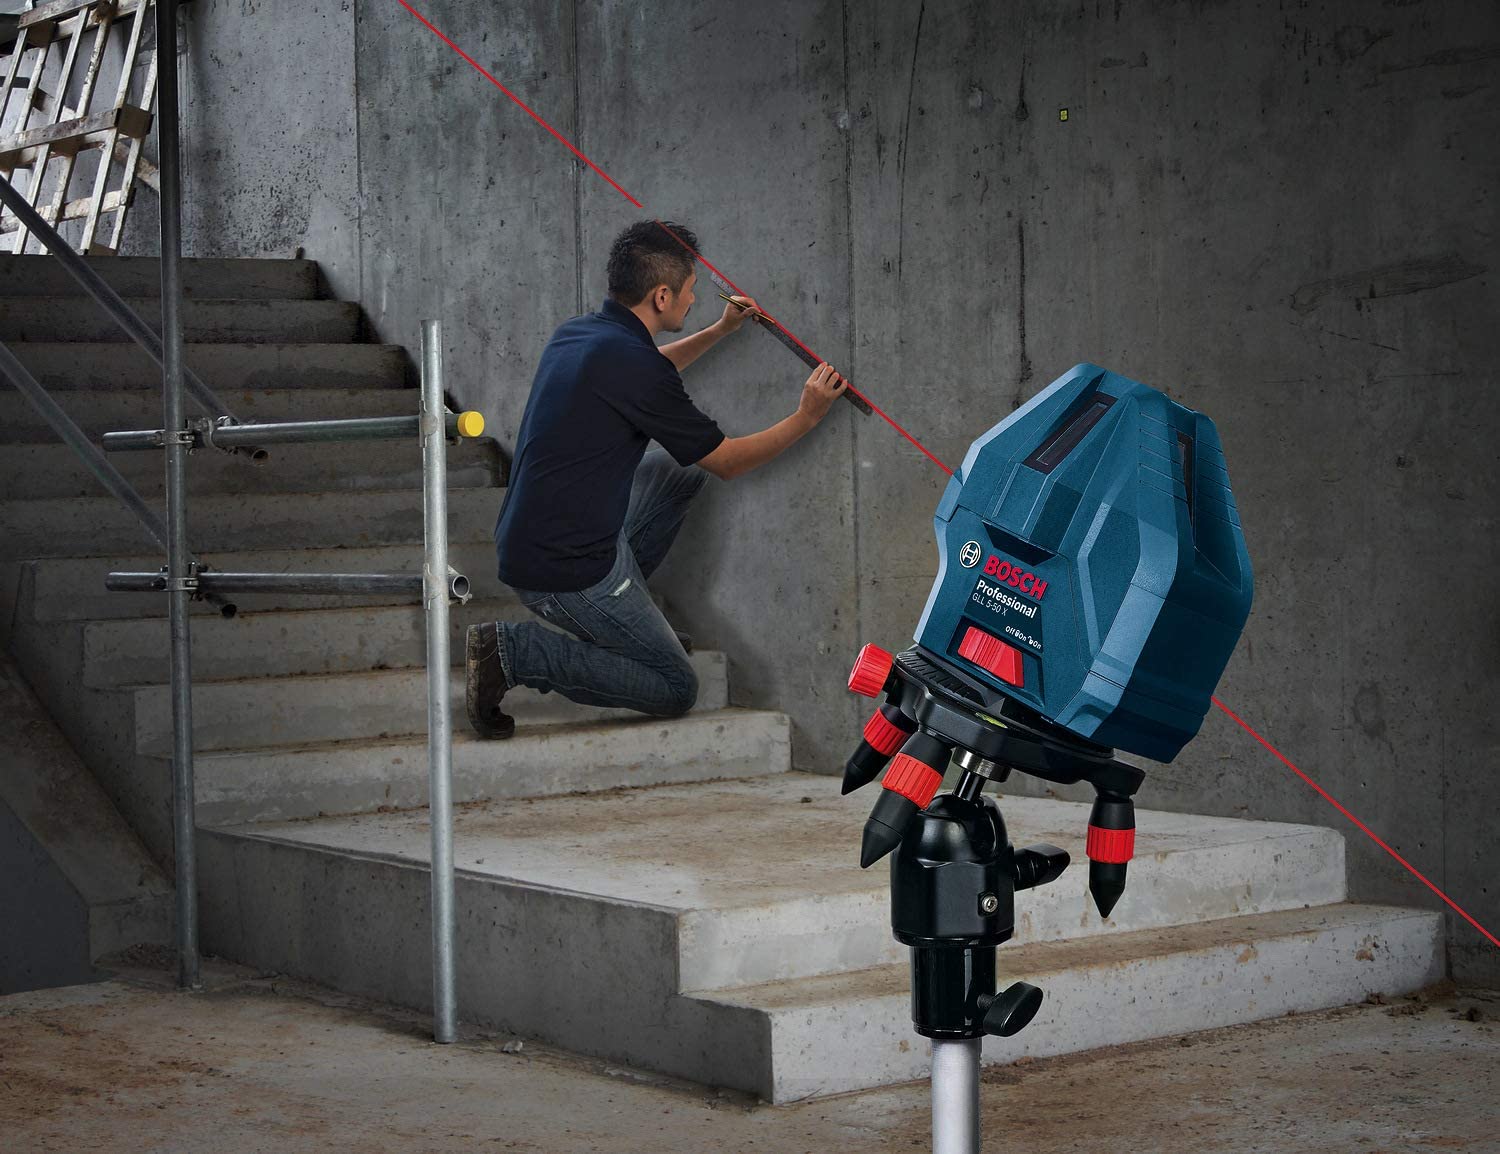
One of the standout features of the Bosch Laser Level GLL 50 is its impressive range of 50 feet, making it suitable for medium-sized projects. The laser line that it projects is highly visible, giving you a clear reference point for your leveling and alignment tasks. With its 360-degree rotational mounting base, you have the flexibility to position the laser level at any angle, ensuring that you can work in any direction.
The self-leveling functionality of the Bosch Laser Level GLL 50 is a game-changer when it comes to efficiency and accuracy. The tool automatically adjusts and levels itself within a range of ±4 degrees. If the tool is positioned beyond this range, it will emit a warning signal, indicating that it needs to be repositioned for proper alignment. This feature eliminates the need for manual leveling, saving you valuable time and reducing the margin for error.
The Bosch Laser Level GLL 50 also offers pulse mode, which improves visibility in bright lighting conditions or when working with distances above the specified range. By using a compatible receiver (sold separately), you can extend the range and easily detect the laser line even in challenging environments.
Another notable feature of the Bosch Laser Level GLL 50 is its durability and robust construction. It is designed to withstand the rigors of daily use, with an IP54 rating for dust and water resistance. This means that you can confidently use the laser level in various indoor environments without worrying about damage from dust or accidental spills.
In terms of power, the Bosch Laser Level GLL 50 runs on standard AA batteries, providing a long battery life for extended use. Additionally, it has a built-in battery indicator, so you can easily monitor the battery level and avoid unexpected interruptions during your projects.
Overall, the Bosch Laser Level GLL 50 combines precision, versatility, and durability, making it an excellent investment for anyone in need of accurate leveling and alignment. Whether you’re a professional contractor, carpenter, or DIY enthusiast, this laser level will greatly streamline your tasks and ensure impeccable results.
Preparing the Bosch Laser Level GLL 50
Before you can start using the Bosch Laser Level GLL 50, it’s important to ensure that it is properly prepared and ready for operation. This involves a few simple steps to guarantee optimal performance and accuracy.
The first step in preparing the Bosch Laser Level GLL 50 is to check the battery level. Make sure you have fresh batteries installed or ensure that the rechargeable batteries are fully charged. This is important because a low battery can affect the performance and accuracy of the laser level.
Next, inspect the laser level for any signs of damage or wear. Check the housing, buttons, and laser aperture for any debris or obstructions. If you detect any issues, clean the laser level gently with a soft, lint-free cloth to remove any dirt or dust. Avoid using harsh chemicals or abrasive materials that may scratch or damage the surface.
It’s also essential to ensure that the mounting base and tripod threads are clean and free from debris. This will ensure a secure and stable connection when attaching the laser level to a tripod or mounting bracket.
Lastly, familiarize yourself with the user manual and understand the safety instructions and guidelines provided by the manufacturer. This will ensure that you operate the Bosch Laser Level GLL 50 safely and effectively, reducing the risk of accidents or damage to the tool.
By following these simple steps, you can ensure that your Bosch Laser Level GLL 50 is in optimal condition and ready to deliver accurate and reliable results. Taking the time to prepare the laser level properly will save you time and hassle during your projects and maximize the tool’s performance.
Understanding the Controls and Features
To make the most out of the Bosch Laser Level GLL 50, it is essential to understand its controls and features. Familiarizing yourself with the layout and functions of the tool will enable you to use it effectively and efficiently. Let’s explore the various controls and features of the Bosch Laser Level GLL 50:
- Power Button: The power button is used to turn the laser level on and off. Press and hold the power button for a few seconds to power on the device. To turn it off, simply press and hold the power button again.
- Self-Leveling Mechanism: The Bosch Laser Level GLL 50 features a built-in self-leveling mechanism. When the laser level is within its self-leveling range (±4 degrees), it will automatically level itself. If the tool is positioned at a slope outside of this range, the laser line will blink, indicating that it needs to be repositioned to ensure accurate readings.
- Pulse Mode: The pulse mode is particularly useful when working in bright lighting conditions or when attempting longer distance measurements. This mode increases the visibility of the laser line when used in conjunction with a compatible receiver (sold separately). To activate pulse mode, press the pulse mode button. The laser line will emit a pulsating light instead of a solid line.
- Locking Function: The locking function allows you to lock the pendulum in place to disable the self-leveling mechanism. This can be useful when working on angled surfaces or when you need to project lines at specific angles. To activate the locking function, slide the locking switch located on the side of the laser level.
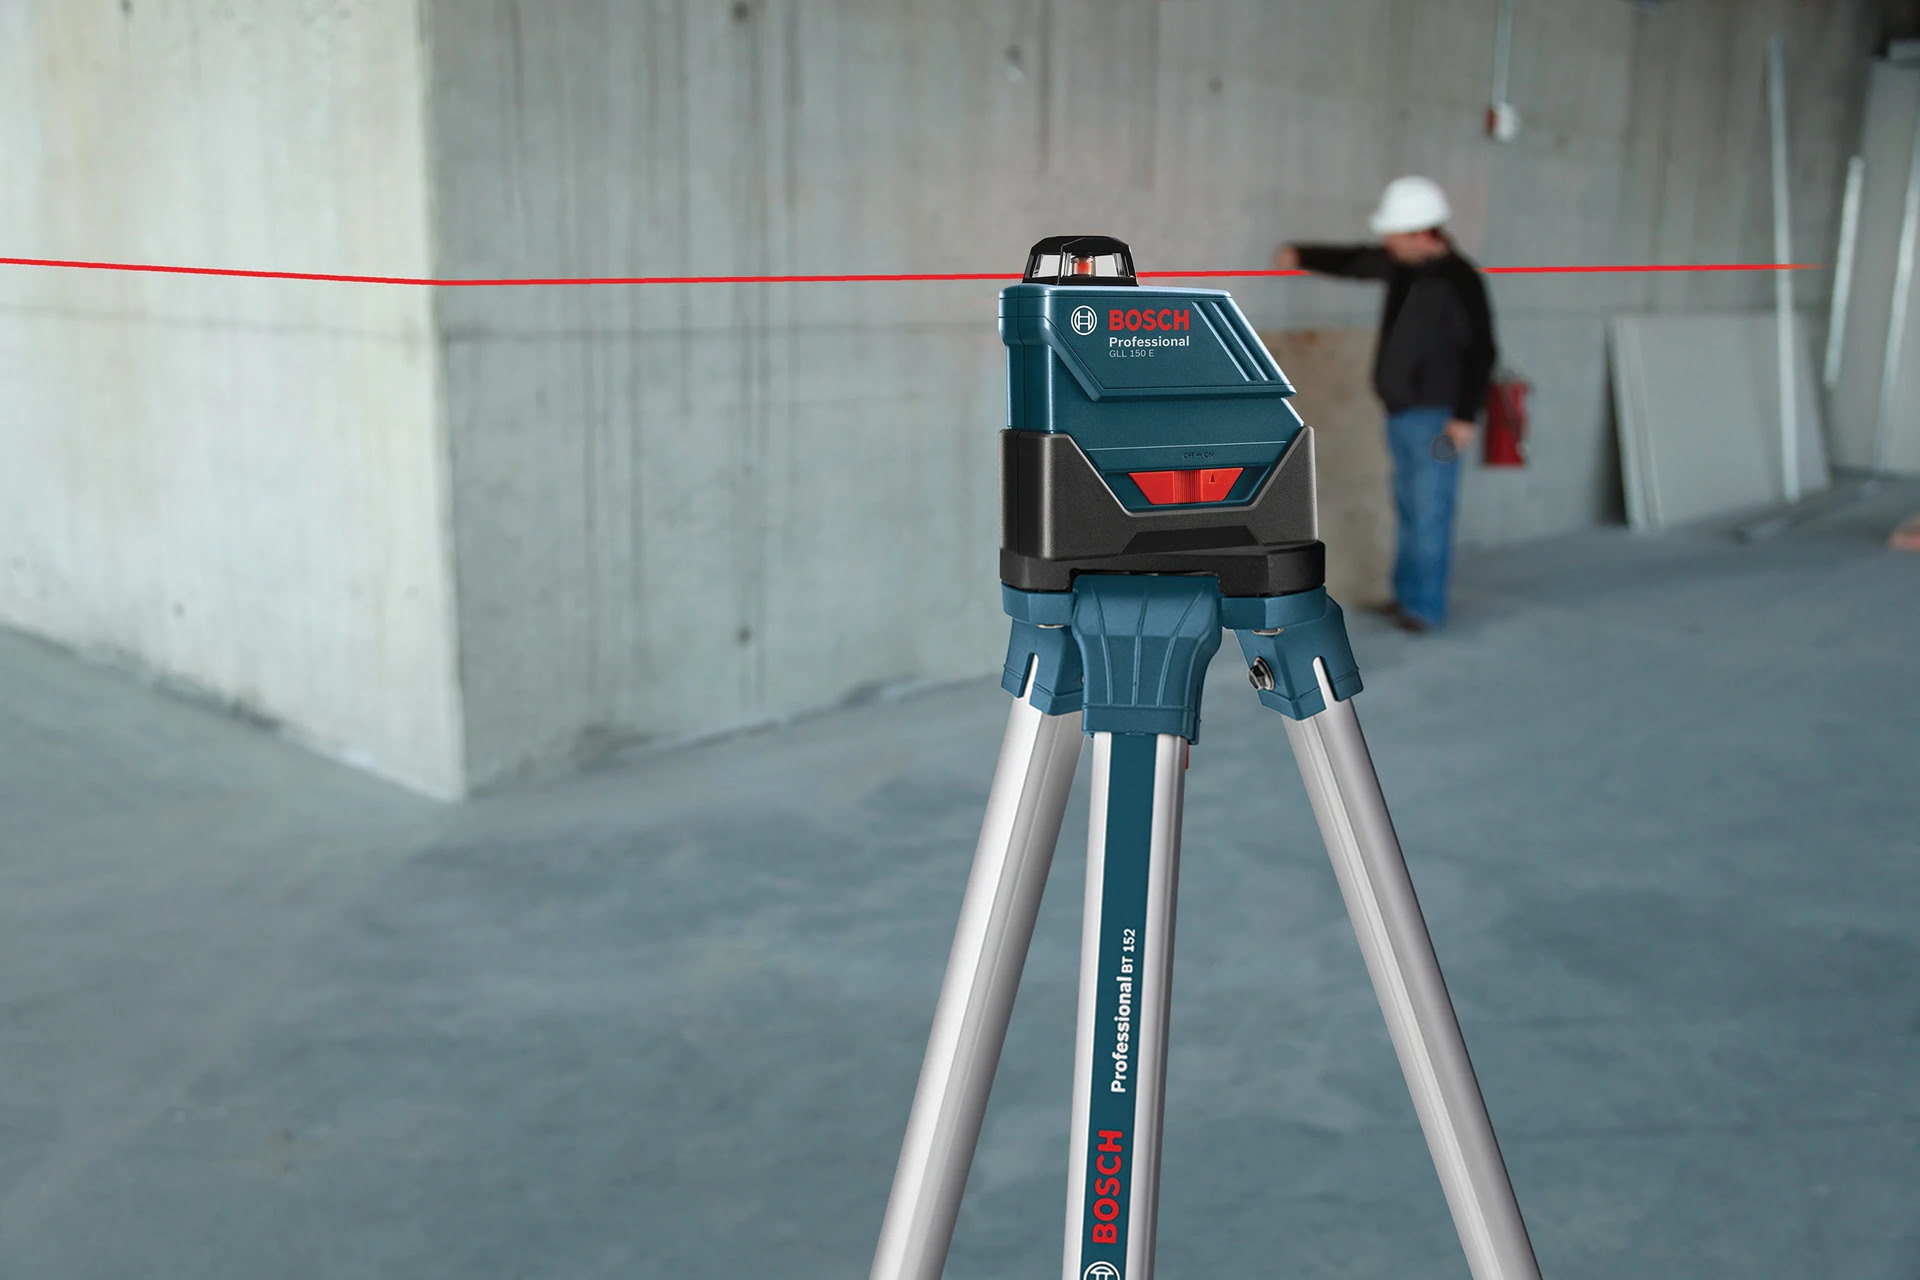
- Tripod and Mounting Base: The Bosch Laser Level GLL 50 is equipped with a 1/4-inch tripod thread and a rotational mounting base, allowing you to attach the laser level to a tripod or a mounting bracket. This provides stability and flexibility in positioning the tool at various angles.
Understanding these controls and features of the Bosch Laser Level GLL 50 will empower you to make precise measurements and alignments. By mastering the tool’s functions, you can increase your productivity and achieve accurate results in a wide range of projects and applications.
Setting Up the Laser Level
Setting up the Bosch Laser Level GLL 50 correctly is crucial to ensure accurate measurements and smooth operation. Follow these steps to set up the laser level:
- Choose a Stable Surface: Place the laser level on a sturdy and level surface. If using a tripod, ensure it is set up securely and at a suitable height for your needs.
- Attach the Laser Level: If using a tripod, screw the Bosch Laser Level GLL 50 onto the tripod using the 1/4-inch tripod thread. Ensure that the laser level is securely attached to the tripod to prevent any movement during operation.
- Position the Laser Level: Position the laser level in the desired location, making sure it is aligned with the area where you need to project the laser line.
- Level the Laser: If the Bosch Laser Level GLL 50 is not leveled automatically, you will need to manually level it. Use the built-in bubble vial or a leveling tool to adjust the position of the laser level until it is perfectly level. This step is crucial to ensure accurate and straight laser lines.
- Activate Self-Leveling: Once you have leveled the laser level manually, you can activate the self-leveling function of the tool. Press and hold the power button until the laser line starts to blink. This means that the self-leveling mechanism is active, and the laser level will adjust automatically if it is moved from its leveled position.
- Verify Alignment: Before starting your task, verify that the laser line is aligned with the desired reference point. Make any necessary adjustments to ensure precise measurements.
It is important to note that the setting up process may vary slightly depending on the specific model of the Bosch Laser Level GLL 50. Always refer to the user manual provided by the manufacturer for detailed instructions on setting up and operating the laser level.
By following these steps, you can ensure the proper setup of the Bosch Laser Level GLL 50, setting the stage for accurate measurements and a smooth workflow. Taking the time to set up the laser level correctly will greatly contribute to the success of your projects and help you achieve precise and professional results.
Calibrating the Laser Level
Calibrating the Bosch Laser Level GLL 50 is an essential step to ensure accurate readings and reliable performance. Although the laser level comes pre-calibrated from the factory, it is important to periodically check and recalibrate it to maintain its accuracy. Here’s how to calibrate the laser level:
- Find a Suitable Location: Choose a flat and stable surface where you can set up the laser level. Make sure there are no vibrations or external factors that may affect the calibration process.
- Ensure Level Placement: Position the Bosch Laser Level GLL 50 on the chosen surface and ensure that it is perfectly level. Use the built-in bubble vial or a reliable leveling tool to make any necessary adjustments to achieve a level position.
- Activate Self-Leveling Mode: Once the laser level is level, activate the self-leveling mode by pressing and holding the power button until the laser line starts to blink. This indicates that the self-leveling mechanism is engaged.
- Observe Laser Line: While the laser level is in self-leveling mode, observe the laser line projected onto a wall or other suitable surface. Check if the line remains straight and consistent. If there are deviations or irregularities in the line, it may be an indication that the laser level needs calibration.
- Adjust Calibration Screws: Locate the calibration screws on the laser level. These screws are typically located near the laser diode or inside the battery compartment. Use a small screwdriver to make precise adjustments to the calibration screws. Follow the instructions provided in the user manual to determine the appropriate direction and amount of adjustment needed.
- Recheck Laser Line: After making the calibration adjustments, observe the laser line again to see if it is now straight and consistent. Repeat the calibration process if further adjustments are needed.
It’s important to note that calibration procedures may vary slightly depending on the specific model of the Bosch Laser Level GLL 50. Always refer to the user manual provided by the manufacturer for detailed instructions on calibrating your particular laser level.
By taking the time to calibrate your Bosch Laser Level GLL 50 regularly, you can ensure that it provides accurate and reliable measurements, allowing you to work with confidence and achieve excellent results in your projects.
When using the Bosch Laser Level GLL 50, make sure to calibrate it on a stable surface before use to ensure accurate measurements and leveling.
Operating the Bosch Laser Level GLL 50
Operating the Bosch Laser Level GLL 50 is straightforward and user-friendly. With its intuitive controls and features, you can easily project laser lines for a variety of tasks. Here’s a step-by-step guide on how to operate the laser level:
- Power On the Laser Level: Press and hold the power button for a few seconds to turn on the Bosch Laser Level GLL 50. The laser level will initiate its self-leveling process and project a laser line onto the surface.
- Adjust the Height and Angle: Position the laser level at the desired height and angle to project the laser line accurately. The rotational mounting base and tripod thread allow for flexibility in positioning the tool.
- Activate Pulse Mode (optional): If you need to enhance visibility in bright lighting conditions or when working with longer distances, activate the pulse mode by pressing the pulse mode button. This will make the laser line pulsate, making it easier to see.
- Verify Alignment: Align the laser line with the reference point or guideline that you need to follow. Ensure that the line is straight and consistent throughout its projection.
- Lock the Self-Leveling Mechanism (optional): If you wish to project lines at specific angles or on non-level surfaces, you can lock the self-leveling mechanism. Slide the locking switch located on the side of the laser level to activate the locking function.
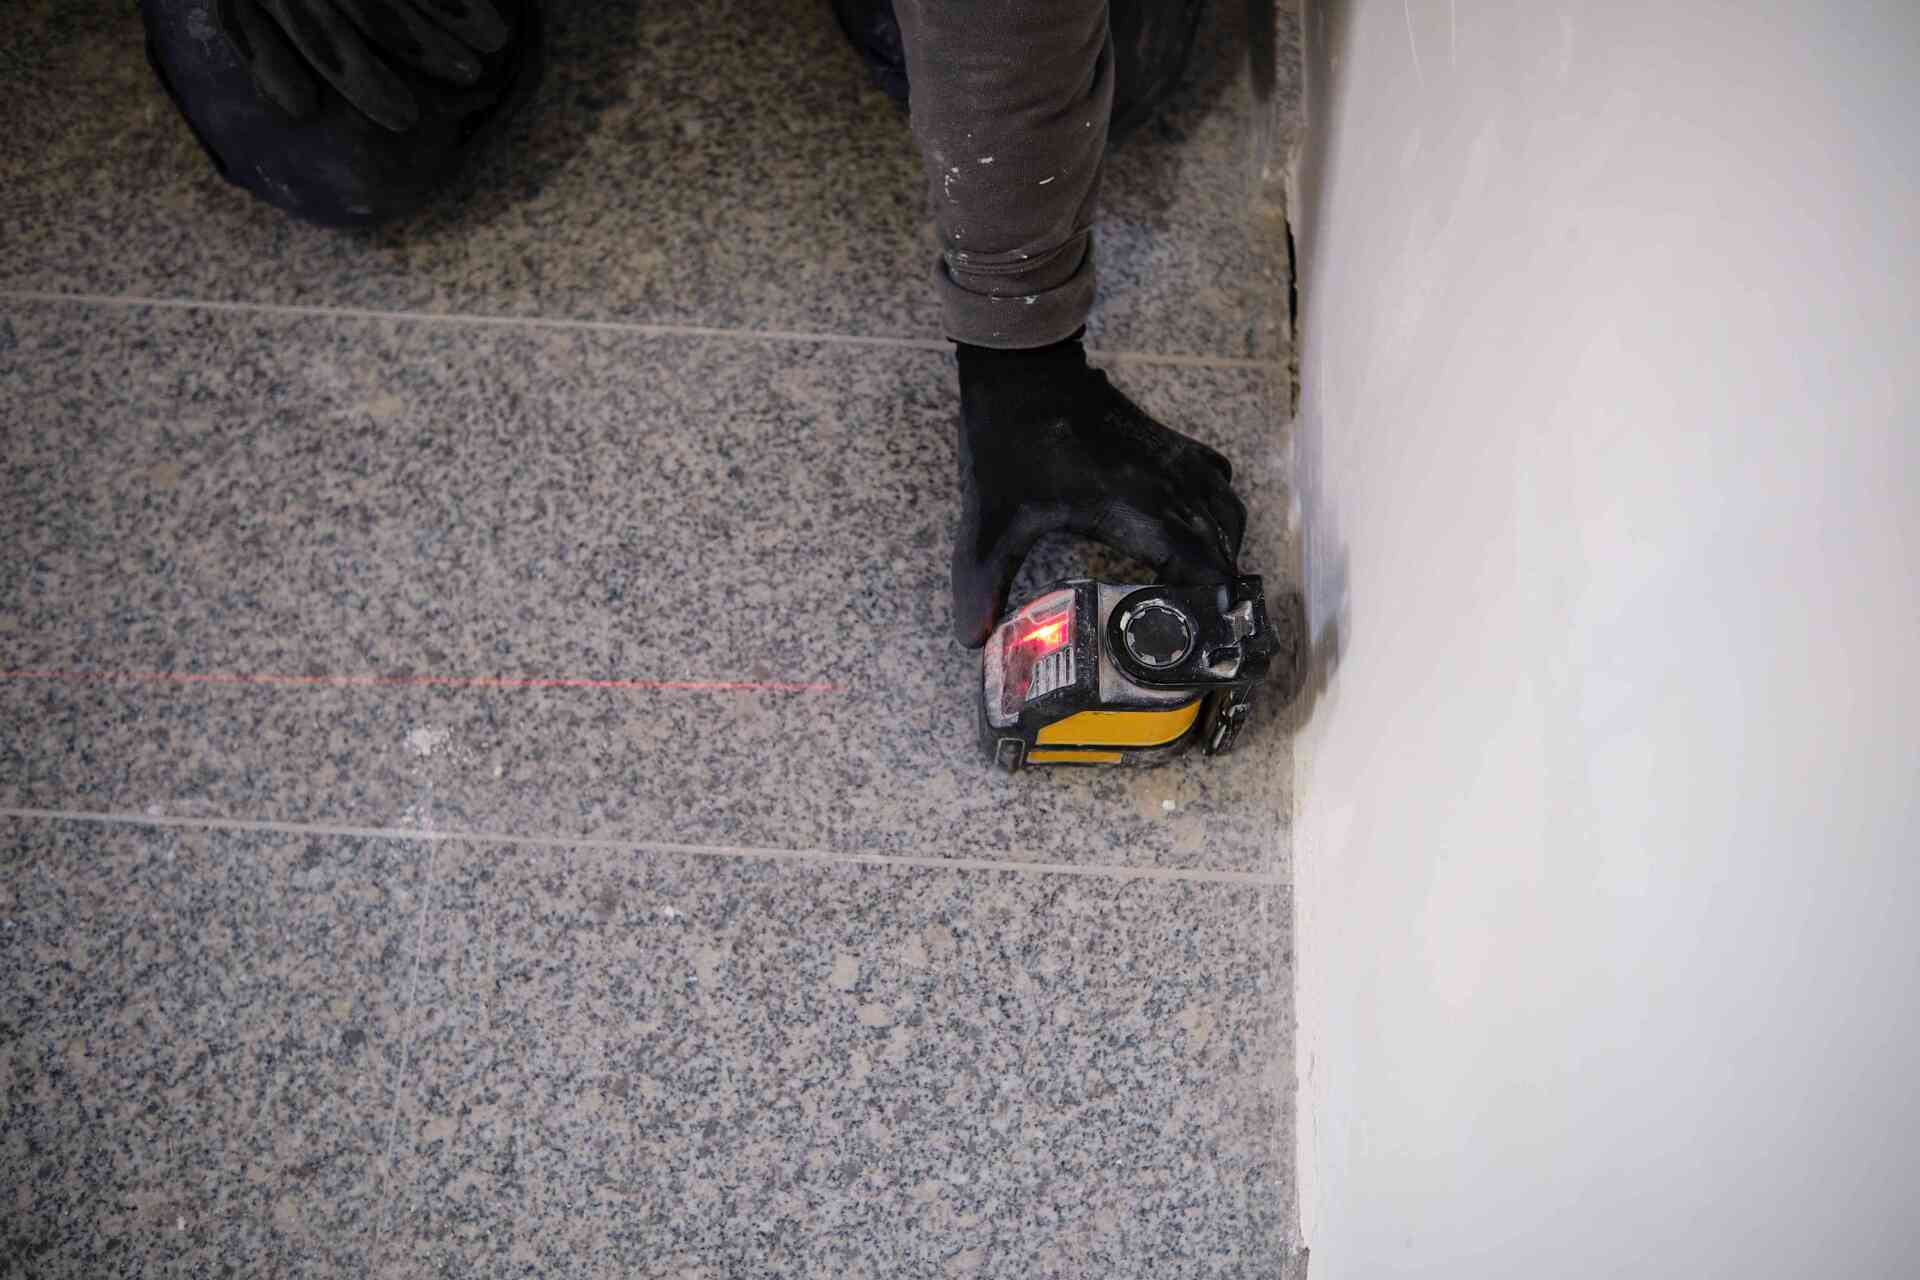
- Make Measurements or Alignments: Utilize the laser line projected by the Bosch Laser Level GLL 50 to make measurements or alignments. This can include tasks such as marking wall studs, aligning tiles, hanging pictures, installing shelving, or any other project requiring precise alignment.
- Power Off the Laser Level: To turn off the Bosch Laser Level GLL 50, press and hold the power button for a few seconds. The laser level will power down, and the laser line will cease projection.
Always refer to the user manual provided by the manufacturer for any specific instructions or additional features that may be included with your particular model of the Bosch Laser Level GLL 50.
By following these steps, you can easily operate the Bosch Laser Level GLL 50 and leverage its capabilities to achieve accurate and professional results in your construction or DIY projects.
Using the Laser Level for Straight Line Alignment
The Bosch Laser Level GLL 50 is a versatile tool that excels in straight line alignment tasks. Whether you’re hanging shelves, installing cabinets, or aligning tiles, this laser level can greatly simplify the process and ensure precise results. Here’s how to use the laser level for straight line alignment:
- Position the Laser Level: Set up the Bosch Laser Level GLL 50 on a stable surface or attach it to a tripod using the 1/4-inch tripod thread. Make sure the laser level is level and aligned with the area where you want to project the straight line.
- Activate the Laser: Power on the laser level by pressing and holding the power button. The self-leveling mechanism will engage, and the laser line will be projected onto the surface.
- Verify Alignment: Use a spirit level or a reliable leveling tool to ensure that the laser line is perfectly horizontal or vertical, depending on your alignment needs.
- Mark the Reference Points: Once you’ve confirmed the alignment, mark the positions of the laser line on the surface. You can use a pencil, masking tape, or any suitable marking tool to make the reference points.
- Extend the Line: If you need to extend the straight line beyond the projected distance of the laser, use a straightedge or a level to connect the reference points. This will help you achieve a continuous and accurate straight line.
- Follow the Line: When hanging shelves or performing other alignment tasks, use the marked line as a guide. Align the objects or fixtures to the marked line to ensure they are level and straight.
- Complete the Alignment Task: Once you have aligned the objects or completed the necessary adjustments, double-check the alignment by using the laser line as a reference. Make any additional adjustments if needed.
- Power Off the Laser Level: Press and hold the power button to turn off the Bosch Laser Level GLL 50. The laser line will stop projecting, and the tool will power down.
By following these steps, you can effectively utilize the Bosch Laser Level GLL 50 for straight line alignment tasks. This tool simplifies the process and eliminates the guesswork, resulting in accurate and professional-looking alignments in your projects.
Using the Laser Level for Leveling and Plumbing
The Bosch Laser Level GLL 50 is not only useful for straight line alignment but also for leveling and plumbing tasks. Whether you’re installing countertops, checking the level of a floor, or ensuring accurate plumbing measurements, this laser level can be a valuable tool. Here’s how to use it for leveling and plumbing:
- Position the Laser Level: Set up the Bosch Laser Level GLL 50 on a stable surface or attach it to a tripod using the 1/4-inch tripod thread. Place it in the area where you need to establish a level or plumb reference.
- Activate the Laser: Power on the laser level by pressing and holding the power button. The self-leveling mechanism will engage, and a laser line will be projected onto the surface.
- Ensure Level Mode: Set the laser level to level mode by making sure it is positioned flat and level. The self-leveling mechanism will adjust the laser line to ensure it is perfectly horizontal or vertical.
- Check the Level: Place a bubble level or reliable leveling tool against the laser line or adjacent to it. This will help you determine if the surface or object is level or if it needs adjustment.
- Make necessary adjustments: If the surface or object is not level, adjust it accordingly. This might involve shimming, repositioning, or using leveling compounds to achieve the desired level. Continuously monitor the bubble level as you make these adjustments.
- Verify the Plumb: To establish the plumb reference, position the laser level against a vertical surface, such as a wall or stud. Check the alignment of the laser line with a vertical level or plumb bob to ensure it is perfectly vertical.
- Make necessary adjustments: If the wall or object is not plumb, adjust it by shimming, repositioning, or other appropriate methods to achieve the desired plumb reference.
- Double-check the Level and Plumb: After making adjustments, recheck the level and plumb by using the laser line as a reference. Make any final adjustments if needed.
- Power Off the Laser Level: Press and hold the power button to turn off the Bosch Laser Level GLL 50. The laser line will stop projecting, and the tool will power down.
By following these steps, you can effectively use the Bosch Laser Level GLL 50 for leveling and plumbing tasks. This versatile tool simplifies the process and provides accurate and reliable reference points, ensuring professional results in your construction or DIY projects.
Read more: How To Laser Level A Floor With GLL 2
Tips and Tricks for Efficiently Using the Bosch Laser Level GLL 50
The Bosch Laser Level GLL 50 is a powerful tool that can greatly enhance your construction and DIY projects. Here are some tips and tricks to help you efficiently and effectively use the laser level:
- Plan Your Project: Before starting, carefully plan out your project and identify the areas where you’ll need to use the laser level. This will help you save time and make the most out of the tool’s capabilities.
- Use Masking Tape: To mark the reference points or projected lines, consider using masking tape instead of direct markings. Masking tape allows for easy removal and leaves no permanent marks on surfaces.
- Create a Level Line Grid: For more complex projects, creating a grid of level lines can be helpful. Use multiple laser levels or reposition the Bosch Laser Level GLL 50 in different locations to project intersecting lines.
- Work from One Reference Point: If possible, establish one central reference point or line and work from there. This will help maintain consistency and accuracy throughout your project.
- Use a Receiver (optional): If you’re working in bright lighting conditions or need to extend the range of the laser level, consider using a compatible receiver. This will help you detect the laser line even at longer distances.
- Secure the Laser Level: Ensure that the Bosch Laser Level GLL 50 is securely attached to a tripod or stable surface. This will prevent any movement during operation, providing consistent and reliable results.
- Store the Laser Level Properly: When not in use, store the Bosch Laser Level GLL 50 in a protective case or in a secure location. This will help protect the tool from damage and ensure its longevity.
- Regularly Check Calibration: Periodically check and recalibrate the laser level to maintain its accuracy. Follow the manufacturer’s instructions for calibration to ensure reliable measurements.
- Protect the Laser Aperture: The laser aperture is a sensitive component of the laser level. Use the included protective cap when not in use, and avoid exposing it to excessive dirt, dust, or impact.
- Read the User Manual: Familiarize yourself with the user manual and safety guidelines provided by the manufacturer. This will help you maximize the potential of the Bosch Laser Level GLL 50 and ensure safe and efficient operation.
By incorporating these tips and tricks into your workflow, you can efficiently use the Bosch Laser Level GLL 50 and achieve accurate and professional results in your construction or DIY projects. Experiment with different techniques and settings to discover the best practices that work for your specific applications.
Troubleshooting Common Issues
While the Bosch Laser Level GLL 50 is a reliable tool, you may encounter some common issues during its operation. Here are some troubleshooting tips to help you resolve these issues:
- Issue: Laser Line is Not Visible: If the laser line is faint or not visible, first check the battery level. Replace or recharge the batteries if necessary. Additionally, ensure that the laser level is used in a well-lit area as the visibility may be affected by bright outdoor conditions.
- Issue: Inaccurate Readings: If you notice that the measurements or alignments are consistently inaccurate, check the calibration of the laser level. Follow the calibration instructions provided by the manufacturer to ensure precise readings.
- Issue: Self-Leveling Error: If the self-leveling mechanism of the Bosch Laser Level GLL 50 is not functioning correctly, make sure that the tool is positioned on a stable and level surface. Also, confirm that the leveling range is not exceeded (±4 degrees) to prevent self-leveling errors.
- Issue: Intermittent Operation: If the laser level turns on and off sporadically, check the battery connections for any loose or corroded contacts. Ensure that the batteries are securely inserted in the correct orientation, and clean any corrosion if necessary.
- Issue: Laser Line Blinking or Not Leveling: If the laser line blinks or fails to level properly, the Bosch Laser Level GLL 50 may be placed on an uneven or unstable surface. Double-check and adjust the positioning to ensure a level base.
- Issue: Locking Mechanism Jammed: If the locking mechanism of the laser level becomes jammed or difficult to operate, inspect the locking switch for any debris or obstructions. Clean the area and ensure smooth movement of the locking switch.
- Issue: Error Messages: If the laser level displays error messages or warning signals, refer to the user manual for the specific meaning of the message. Follow the recommended troubleshooting steps provided by the manufacturer to resolve the issue.
- Issue: Excessive Vibration: If the laser level experiences excessive vibration during operation, ensure that it is securely attached to a stable surface or tripod. Eliminate any external factors causing vibrations in the surrounding area.
If you encounter persistent issues with your Bosch Laser Level GLL 50 that cannot be resolved through troubleshooting, contact the manufacturer’s customer support for further assistance. They will be able to provide additional guidance and potential solutions for your specific situation.
Remember to always prioritize safety and refer to the user manual for proper handling and maintenance of the Bosch Laser Level GLL 50.
Conclusion
The Bosch Laser Level GLL 50 is a versatile and user-friendly tool that can greatly enhance your construction and DIY projects. Whether you need to align and level surfaces, create straight lines for installations, or ensure accurate plumbing measurements, this laser level is a valuable asset in your toolkit.
Throughout this article, we have explored the various aspects of using the Bosch Laser Level GLL 50, from its overview and features to setting it up, calibrating it, and operating it for different applications. By following the instructions and utilizing the tips and tricks provided, you can maximize the potential of this tool and achieve professional results with ease.
Remember to prioritize safety and carefully read the user manual provided by the manufacturer to ensure proper handling and use of the Bosch Laser Level GLL 50. Regularly check and recalibrate the tool to maintain its accuracy and reliability, and store it properly when not in use to ensure its longevity.
Whether you are a professional contractor or a dedicated DIY enthusiast, the Bosch Laser Level GLL 50 will undoubtedly be a valuable addition to your toolbox. Its precision, versatility, and user-friendly design make it a reliable companion for a wide range of leveling, alignment, and plumbing tasks.
Embrace the power of the Bosch Laser Level GLL 50 and elevate your projects to new heights of accuracy and efficiency. With this tool by your side, you can tackle your construction endeavors with confidence and achieve exceptional results every time.
Frequently Asked Questions about How To Use Bosch Laser Level GLL 50
Was this page helpful?
At Storables.com, we guarantee accurate and reliable information. Our content, validated by Expert Board Contributors, is crafted following stringent Editorial Policies. We're committed to providing you with well-researched, expert-backed insights for all your informational needs.


0 thoughts on “How To Use Bosch Laser Level GLL 50”