
Articles
How To Work A Water Level Or Laser Level
Modified: February 27, 2024
Learn how to effectively use a water level, laser level, or both for accurate measurements in your construction projects. Explore informative articles to enhance your skills.
(Many of the links in this article redirect to a specific reviewed product. Your purchase of these products through affiliate links helps to generate commission for Storables.com, at no extra cost. Learn more)
Introduction
A water level or a laser level is essential tools for various construction and renovation projects. These tools help ensure precise measurements and even leveling, making them indispensable for professionals and DIY enthusiasts alike. Whether you are constructing a building, installing cabinets, or laying tiles, having a reliable and accurate leveling tool is crucial.
In this article, we will explore the world of water levels and laser levels, discussing their functionality, advantages, and tips for optimal use. By the end, you will have a better understanding of these tools and how they can make your projects more efficient and professional-looking.
Key Takeaways:
- Water levels offer cost-effective and versatile leveling solutions, ideal for basic tasks and noisy environments. They provide reliable measurements without the need for batteries or calibration, making them accessible to a wide range of users.
- Laser levels provide higher precision, efficiency, and visibility, making them suitable for complex projects and various lighting conditions. With advanced features like self-leveling and digital measurements, they offer versatility and enhanced accuracy for construction and renovation tasks.
Read more: How Does Laser Level Work
What is a Water Level?
A water level is a traditional leveling tool that has been used for centuries. It consists of a clear plastic hose filled with water or a colored liquid, such as colored oil or a mixture of water and antifreeze. The hose is attached to two leveling bulbs, which contain air bubbles.
The principle behind a water level is based on the fact that liquid, when it is at rest, will always find its own level. By using the water level tool, you can determine if a surface is level or if there is a slope or deviation from the desired level.
The water level may come with additional attachments, such as graduated rulers or plumb bobs, to measure vertical distances and ensure accurate leveling in multiple directions. It is a versatile and cost-effective tool that has been used for centuries, even before the invention of advanced digital leveling tools.
Water levels are commonly used in construction projects for tasks such as leveling foundations, aligning fences, and installing drainage systems. They are also used in landscaping projects to create level surfaces for patios, walkways, and retaining walls.
While water levels may not be as precise or time-efficient as laser levels, they offer advantages in certain situations. For instance, they do not require batteries or calibration, and they can be used in noisy environments where laser levels may be ineffective.
Next, we will explore how a water level works and the steps to use it effectively.
How does a Water Level Work?
A water level works on the principle of hydrostatic pressure. When the water level is at rest, the liquid within the hose will seek its own level, regardless of any external influences. This allows the tool to determine if a surface is level or if there is any deviation.
To use a water level, you need to fill the hose with a liquid, typically water. The leveling bulbs at each end of the hose are also filled with water, ensuring that there are air bubbles present in each bulb.
When the hose is held horizontally or vertically, the air bubbles will move toward the highest point. By adjusting the position of the leveling bulbs, you can make the air bubbles align in the center of each bulb, indicating that the surface is level.
For horizontal leveling, the water level is placed on a reference point, such as a known level surface or a benchmark. The hose is then extended to the area being measured, and the leveling bulbs are adjusted until the air bubbles align in the center. This indicates that the surface is level with the reference point.
For vertical measurements, such as plumbing or aligning posts, a plumb bob or graduated ruler attachment can be used. The plumb bob is attached to the end of the hose, and the hose is held vertically. The position of the plumb bob or the measurement on the ruler will indicate if the surface is plumb or has any deviations.
It’s important to note that a water level may require periodic adjustments as the liquid inside the hose settles or evaporates. However, the overall principle remains the same, providing a reliable and accurate method for leveling.
In the next section, we will discuss the advantages of using a water level for your projects.
Advantages of Using a Water Level
While water levels may seem like a traditional and simple leveling tool, they offer several advantages that make them a popular choice for various construction and DIY projects:
1. Cost-effectiveness: Water levels are relatively inexpensive compared to more advanced leveling tools like laser levels. This makes them accessible to a wide range of users, including DIY enthusiasts and small-scale contractors. 2. Versatility: Water levels can be used for both horizontal and vertical leveling, making them suitable for a variety of tasks. From leveling foundations and aligning fences to creating level surfaces for landscaping projects, water levels can handle a range of applications. 3. No batteries or calibration: Unlike laser levels, water levels do not require batteries or calibration. This means you can start using them right away without any additional preparations or maintenance. Simply fill the hose with water and start leveling. 4. Effective in noisy environments: Water levels are not affected by external noise or interference, making them ideal for use in noisy construction sites. In contrast, laser levels may struggle in loud environments due to the interference of external light and sound. 5. Reliable and accurate: When used correctly, water levels provide reliable and accurate measurements. The hydrostatic pressure principle ensures that the liquid within the hose seeks its own level, minimizing the risk of errors or inaccuracies. 6. Simple to use: Water levels are user-friendly and do not require specialized training. With a basic understanding of how they work, anyone can use a water level to achieve precise leveling results. 7. No need for a power source: Water levels operate solely on the principle of hydrostatic pressure and do not rely on electricity or a power source. This makes them convenient for use in remote locations or when access to power is limited. While water levels have their advantages, it’s important to note that they may not be as efficient or suitable for every project. In the next sections, we will discuss the step-by-step guides and tips for using a water level effectively to ensure accurate leveling.
Step-by-Step Guide to Using a Water Level
Using a water level may seem straightforward, but following these steps will help ensure accurate and reliable leveling results:
1. Prepare the water level: Start by gathering the necessary tools; this includes the water level itself, a source of water, and any attachments (such as plumb bobs or rulers). Ensure that the hose is clear and free from any blockages or damage. 2. Fill the hose with water: Fill the hose with water, ensuring that there are no air bubbles trapped inside. You can do this by submerging one end of the hose into water and gently squeezing the hose to remove any air. Repeat this process until the entire hose is filled with water. 3. Prepare the leveling bulbs: Fill the leveling bulbs at each end of the hose with water, leaving some space for the air bubbles. It’s important to have air bubbles present in the bulbs for accurate leveling. 4. Establish a reference point: Determine a reference point that represents the desired level or plumb position. This can be an existing level surface or a benchmark. 5. Position the water level: Place one end of the water level on the reference point, ensuring that the hose is extended to the area you want to measure or level. 6. Adjust the leveling bulbs: Manipulate the position of the leveling bulbs so that the air bubbles are centered. This indicates that the surface being measured is level with the reference point. 7. Verify the leveling: Move the water level along the surface, keeping the hose as level as possible. Verify that the air bubbles remain centered in the leveling bulbs, indicating a consistent level surface. 8. Measure vertical distances: If you need to measure vertical distances or ensure plumb alignment, attach a plumb bob or graduated ruler to the end of the water level hose. The plumb bob or ruler will indicate any deviations from the vertical line. 9. Make necessary adjustments: If you identify any deviations or inconsistencies, make the necessary adjustments to achieve the desired level or plumb position. This may involve adjusting the position of the leveling bulbs or making changes to the surface being leveled. 10. Repeat the process if needed: If you are working on a large project or multiple areas, repeat the process for each section. This will ensure consistent leveling results throughout the entire project. By following these steps and using the water level correctly, you can achieve accurate and reliable leveling for your construction or DIY projects. In the next section, we will provide some tips that can help you get the most out of your water level.
Read more: How Does An Electronic Laser Level Work?
Tips for Working with a Water Level
To ensure optimal performance and accurate results when using a water level, consider the following tips:
1. Choose a clear and calm day: When working with a water level outdoors, choose a clear and calm day. Wind can cause the water in the hose to move and affect the accuracy of the leveling. Additionally, avoid working under direct sunlight, as it can make it difficult to see the air bubbles. 2. Check for air bubbles: Before starting your leveling project, always check for any air bubbles in the hose or leveling bulbs. Air bubbles can interfere with accurate measurements. Gently tap the leveling bulbs to release any trapped air, and ensure that the hose is fully filled with water. 3. Secure the water level: When using a water level, it’s important to keep the hose steady and secured in place. Use clamps or stakes to hold the hose in position, especially when working on large or lengthy projects. This will prevent any unintentional movements that could affect the accuracy of the leveling. 4. Ensure a level reference point: The accuracy of your leveling depends on the accuracy of your reference point. Take the time to establish a level reference point that is reliable and truly level. Use a reliable leveling tool or seek professional assistance if needed. 5. Take multiple measurements: To ensure precise leveling, take multiple measurements at different spots along the surface. This will help you identify any inconsistencies or deviations from the desired level. By averaging out the measurements, you can achieve a more accurate overall leveling result. 6. Confirm with other leveling tools: While water levels are generally reliable, it can be beneficial to double-check your measurements with other leveling tools like a spirit level. This will validate your leveling results and provide additional confidence in your work. 7. Regularly check and adjust: Throughout your leveling project, regularly check the leveling bulbs and make necessary adjustments as needed. Temperature changes or movement of the leveling bulbs can affect the accuracy of the leveling. Maintain vigilance to ensure consistent and precise results. 8. Store properly: After each use, ensure that the water level is properly drained and stored in a safe and dry place. This will prevent any damage or deterioration of the tool, ensuring its longevity and continued accuracy. By following these tips, you can maximize the accuracy and efficiency of your water level, making your construction or DIY projects a success. In the next section, we will shift our focus to laser levels and explore their functionality and advantages.
What is a Laser Level?
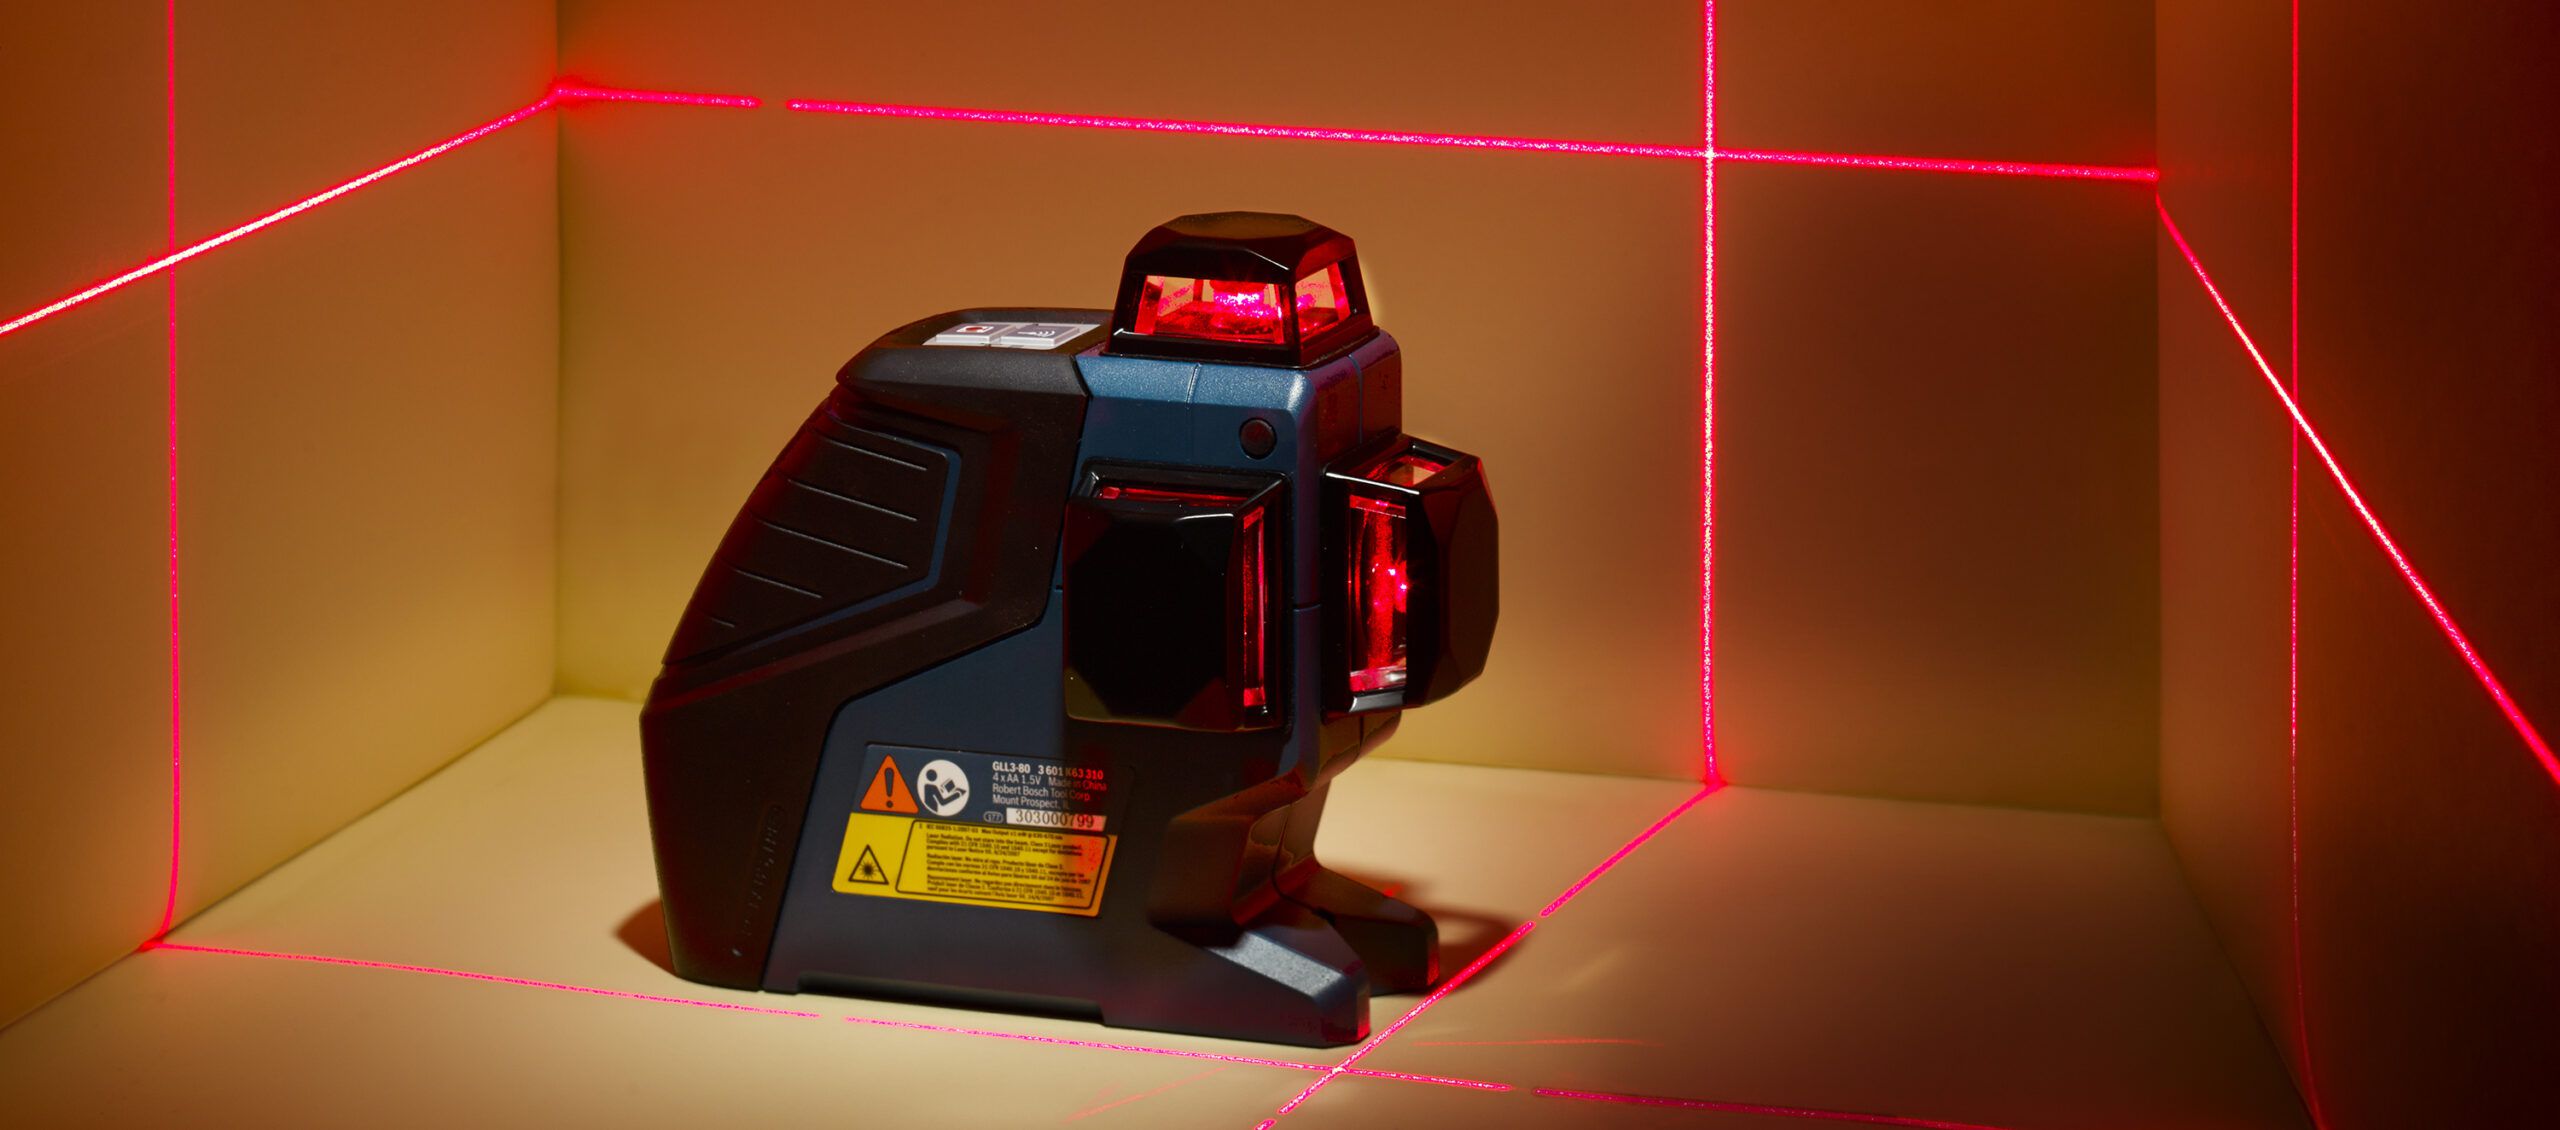
A laser level is a modern and advanced leveling tool that utilizes laser technology to project a straight and level reference line onto surfaces. It offers a more precise and efficient alternative to traditional water levels. Laser levels are commonly used in construction, surveying, and DIY projects where accuracy and speed are paramount.
Unlike water levels that rely on the hydrostatic pressure of liquid, laser levels emit a highly visible laser beam that creates a level line or dot. This laser beam is generated by a diode and then projected onto a surface using mirrors or rotating prisms.
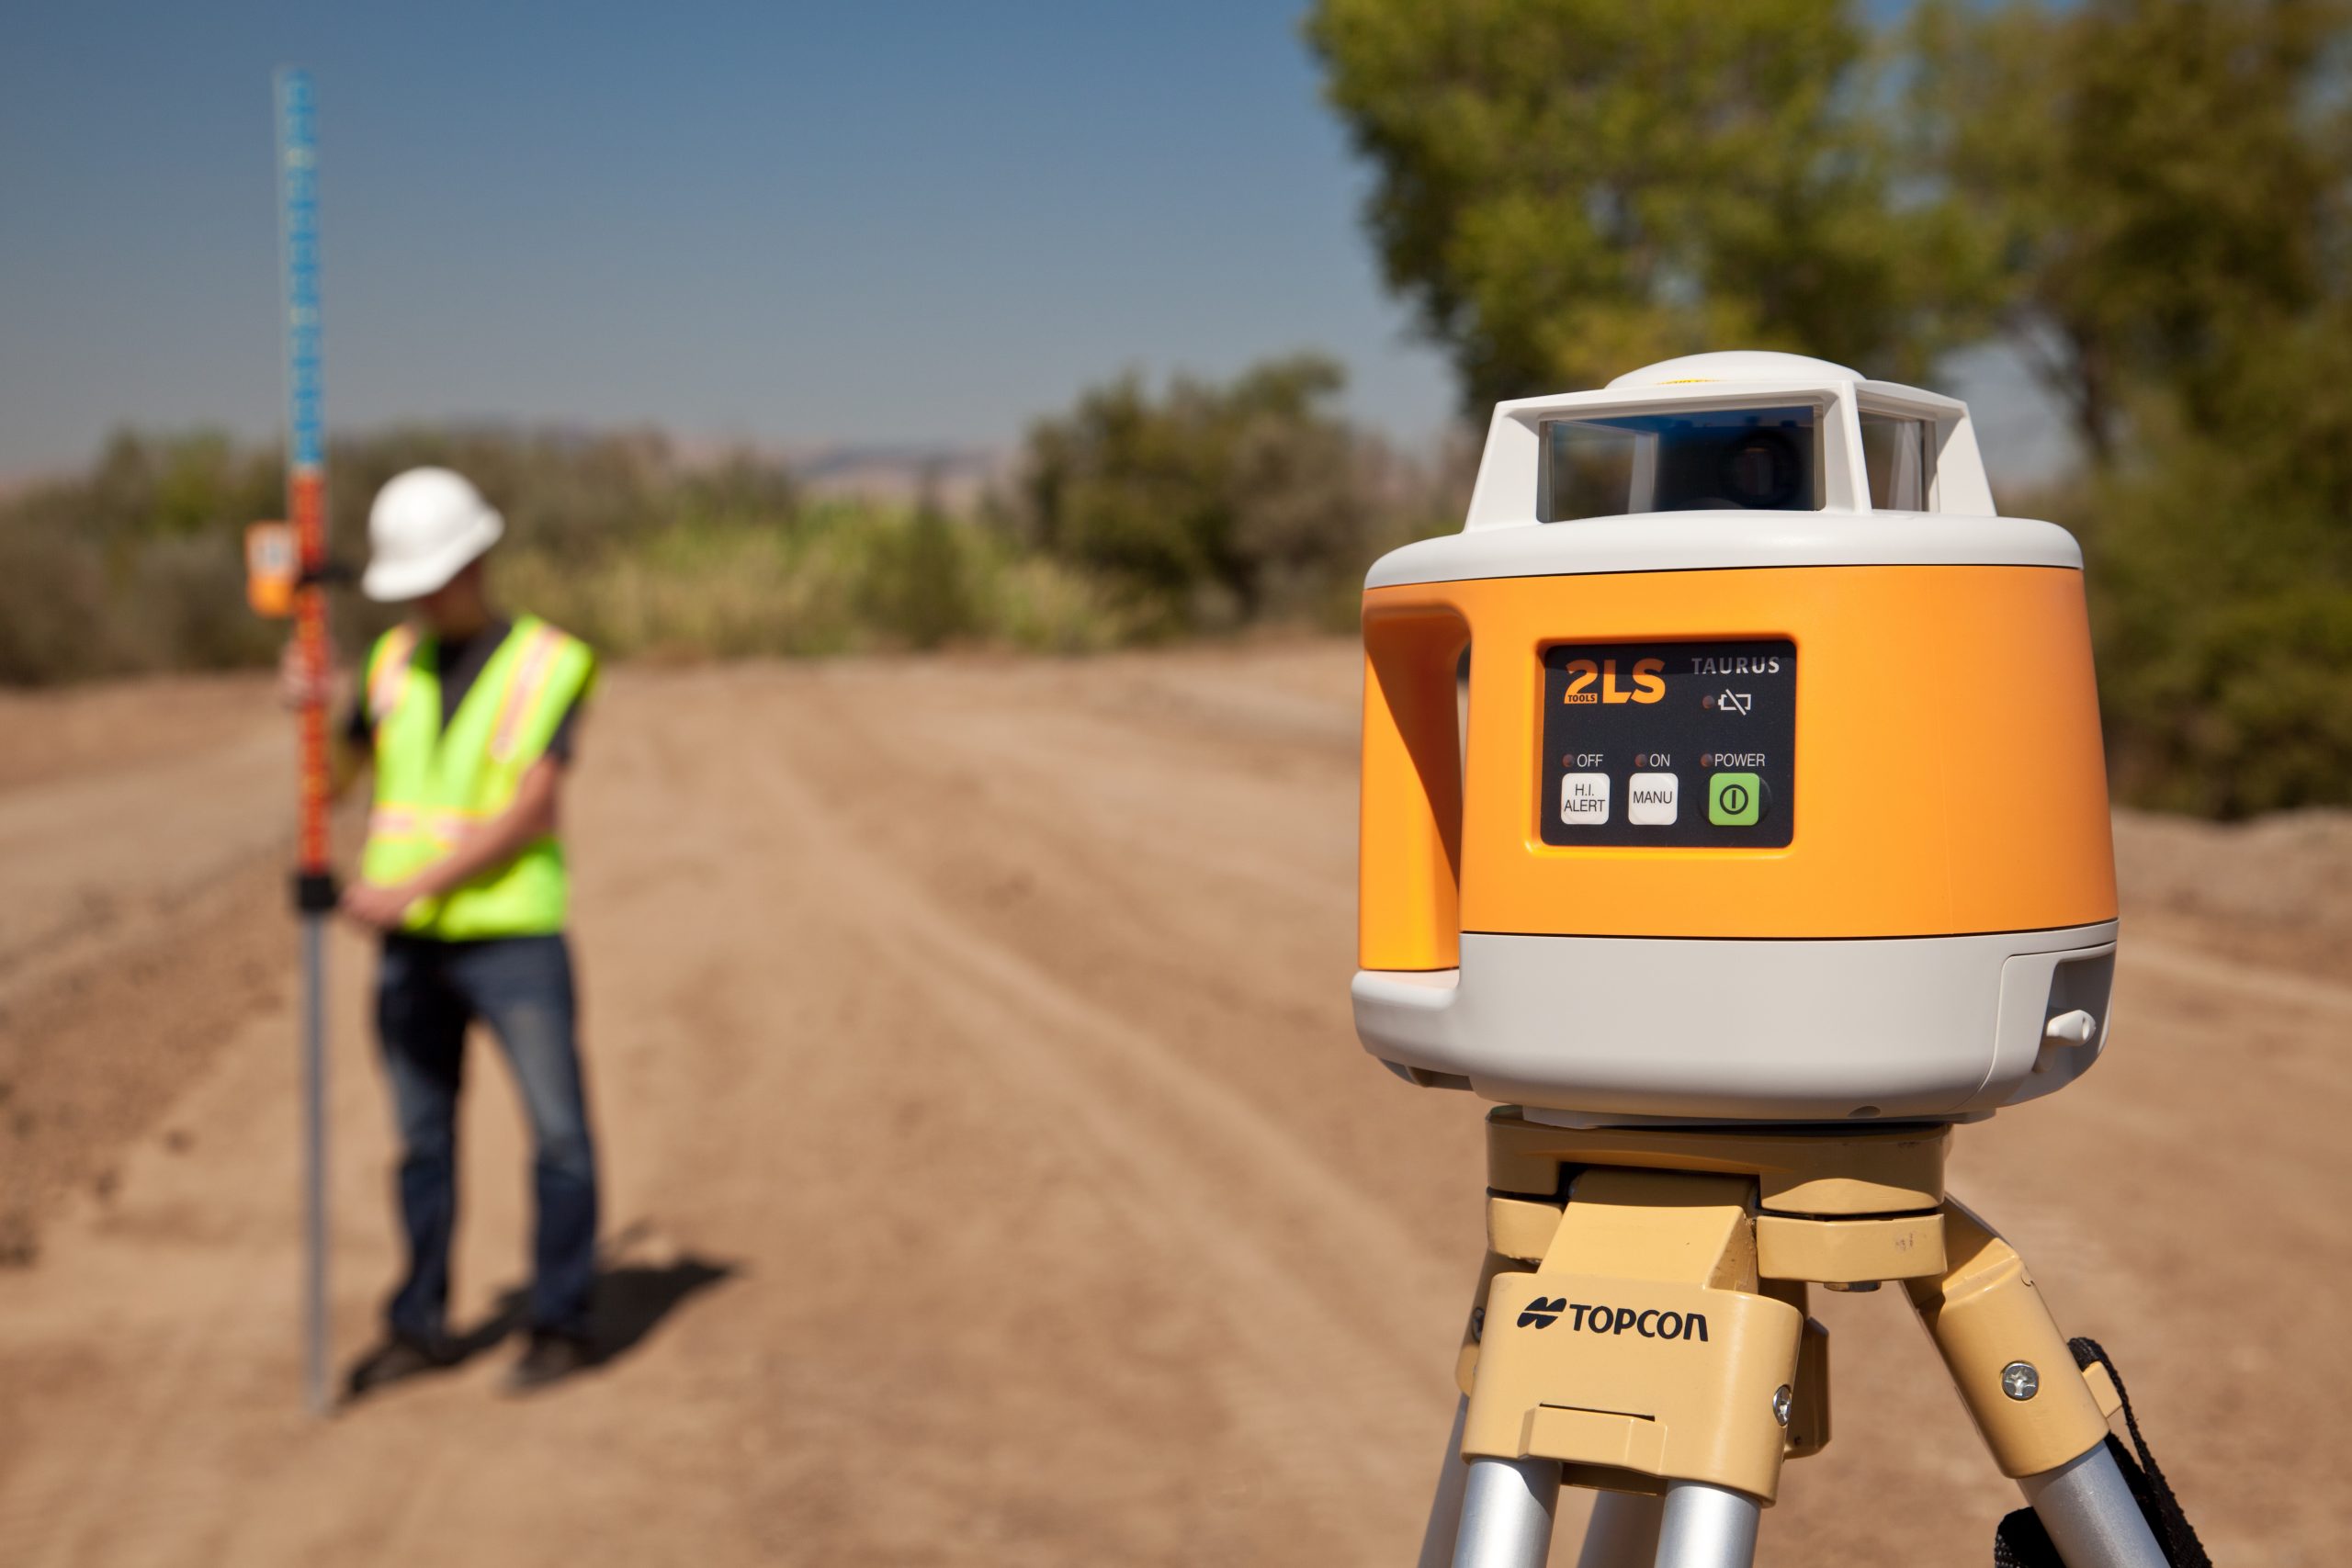
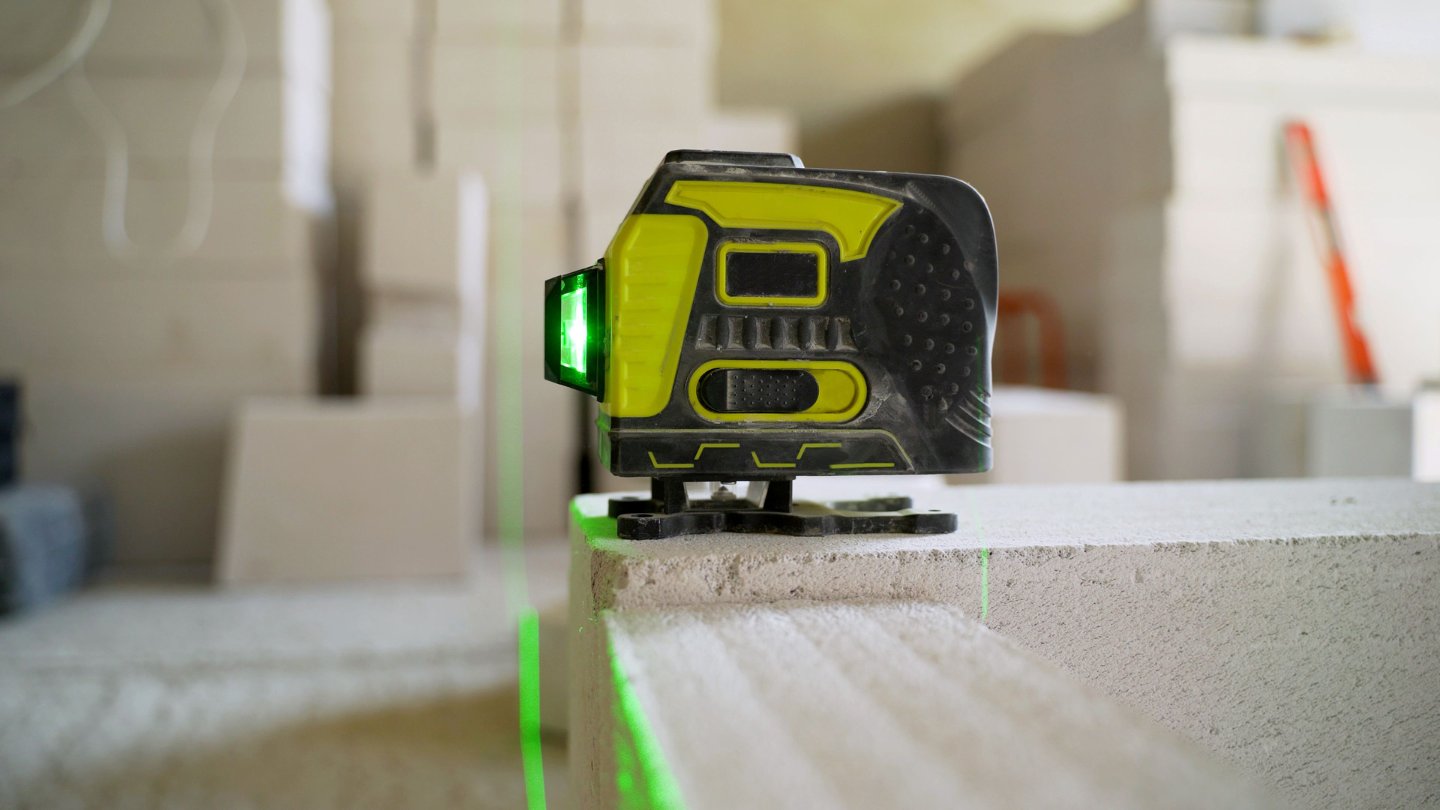
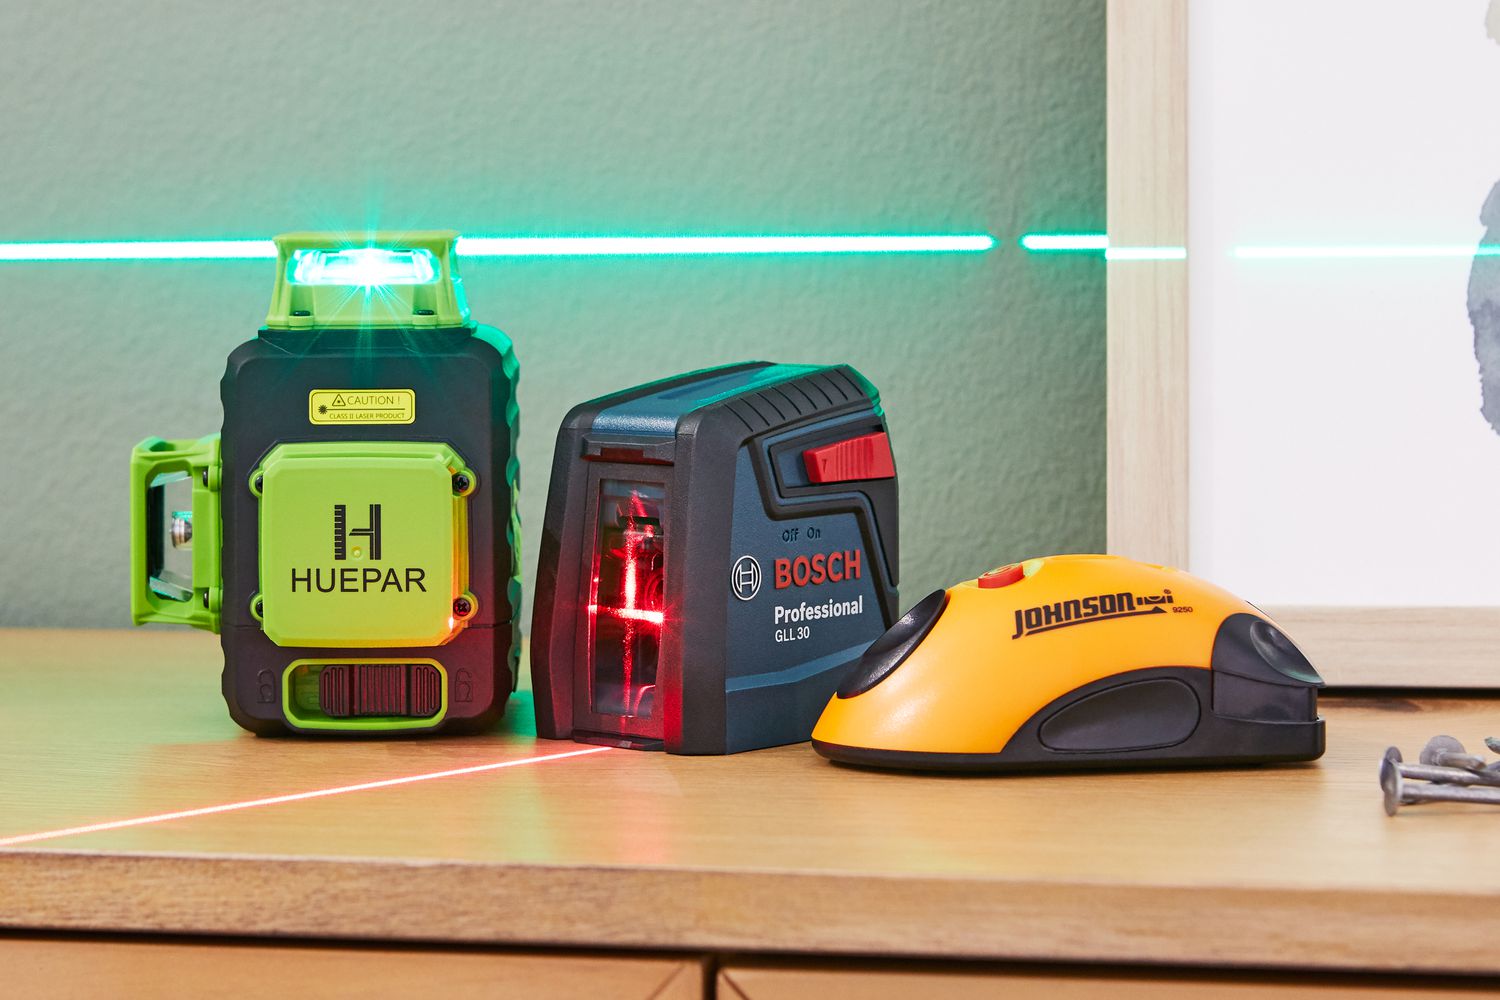
Laser levels come in various forms, including point laser levels, line laser levels, and rotary laser levels. Point laser levels emit a single dot or multiple dots to indicate specific points of reference. Line laser levels project a straight line onto surfaces to represent a level or plumb position. Rotary laser levels emit a rotating laser beam, providing a complete 360-degree level reference.
These tools are equipped with leveling mechanisms that automatically adjust the laser beam to ensure accurate leveling. Some laser levels also feature additional functionalities like slope and angle settings, allowing for more complex leveling tasks.
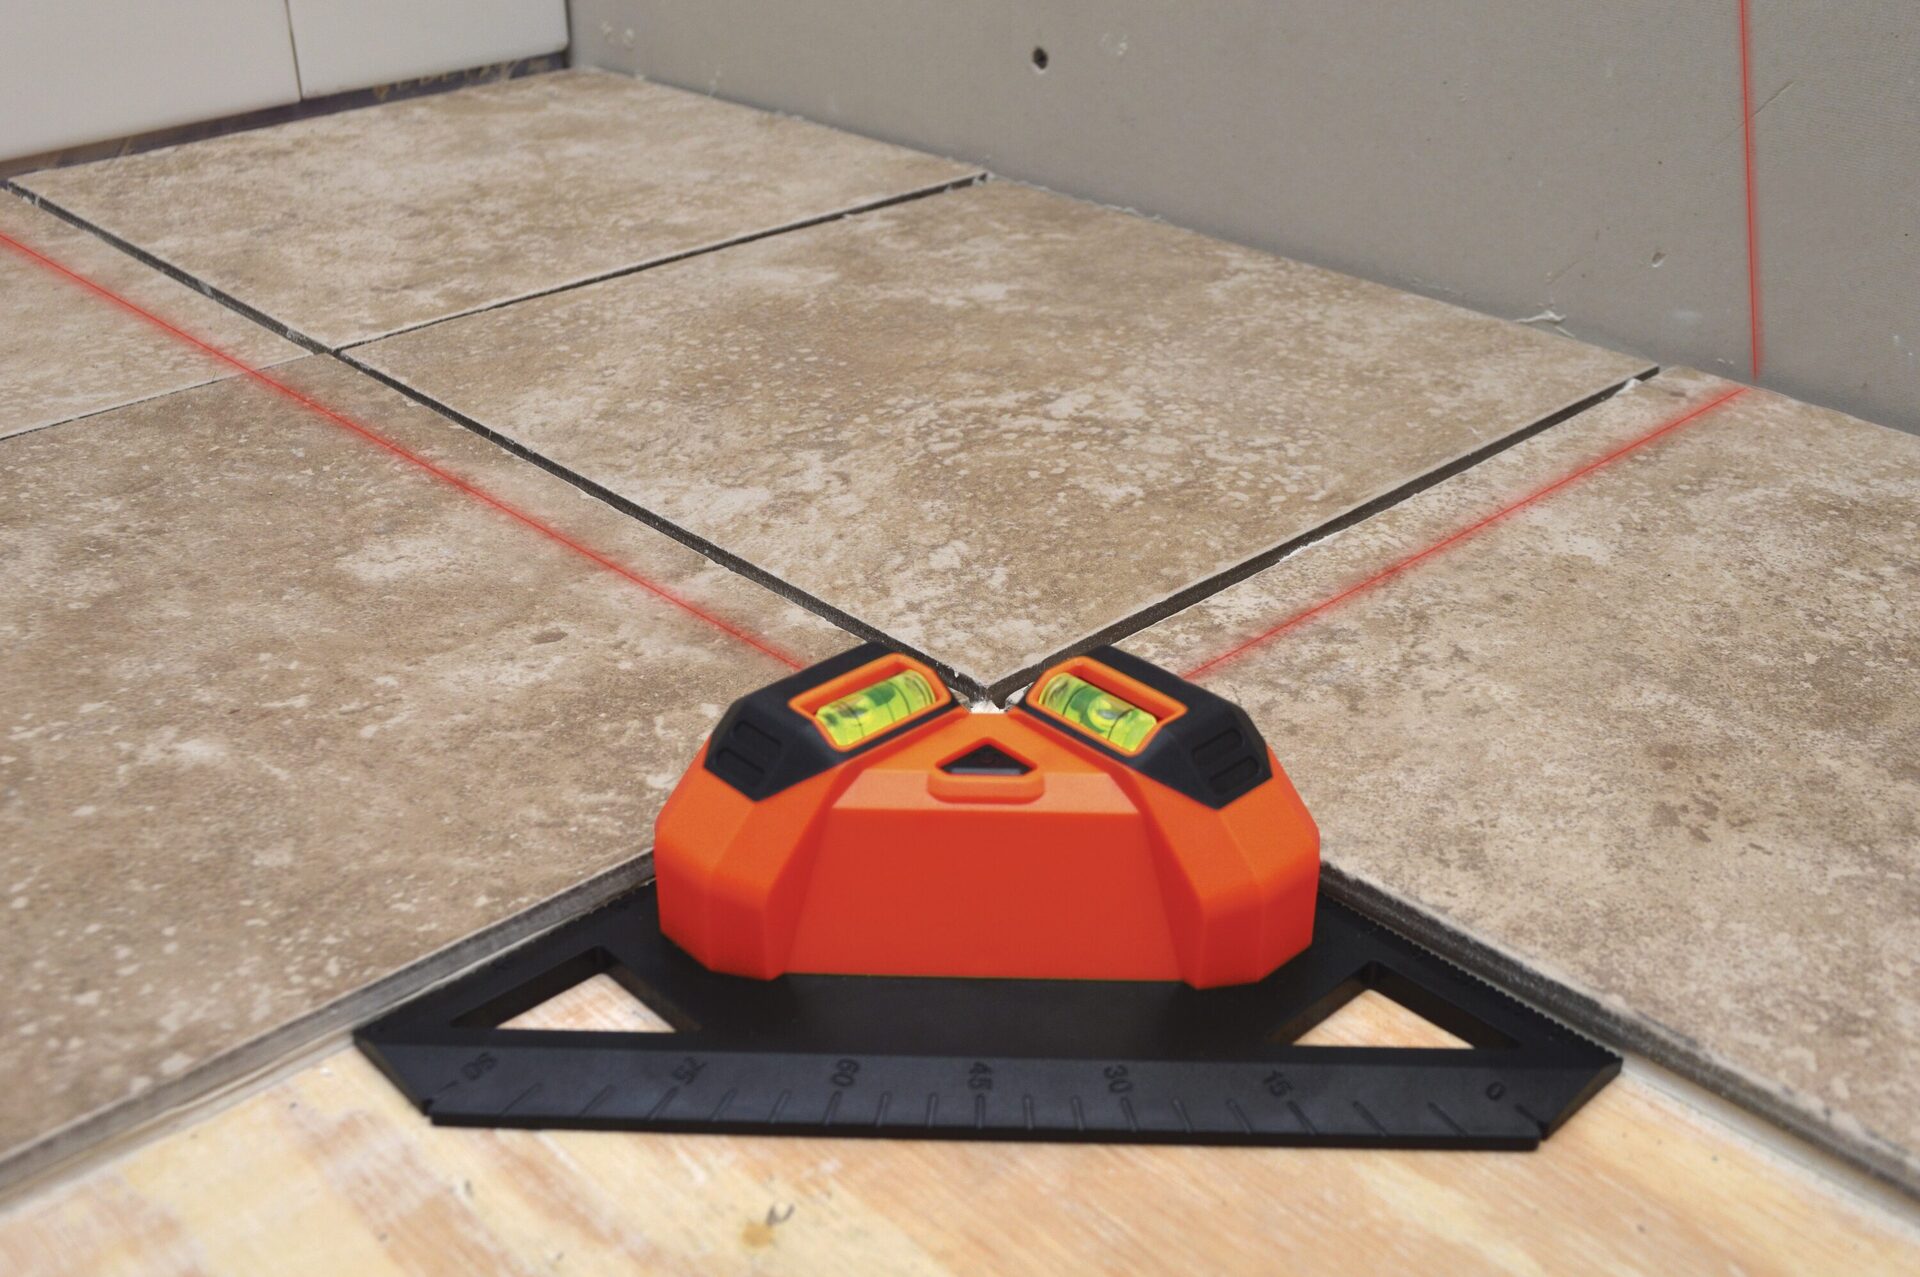
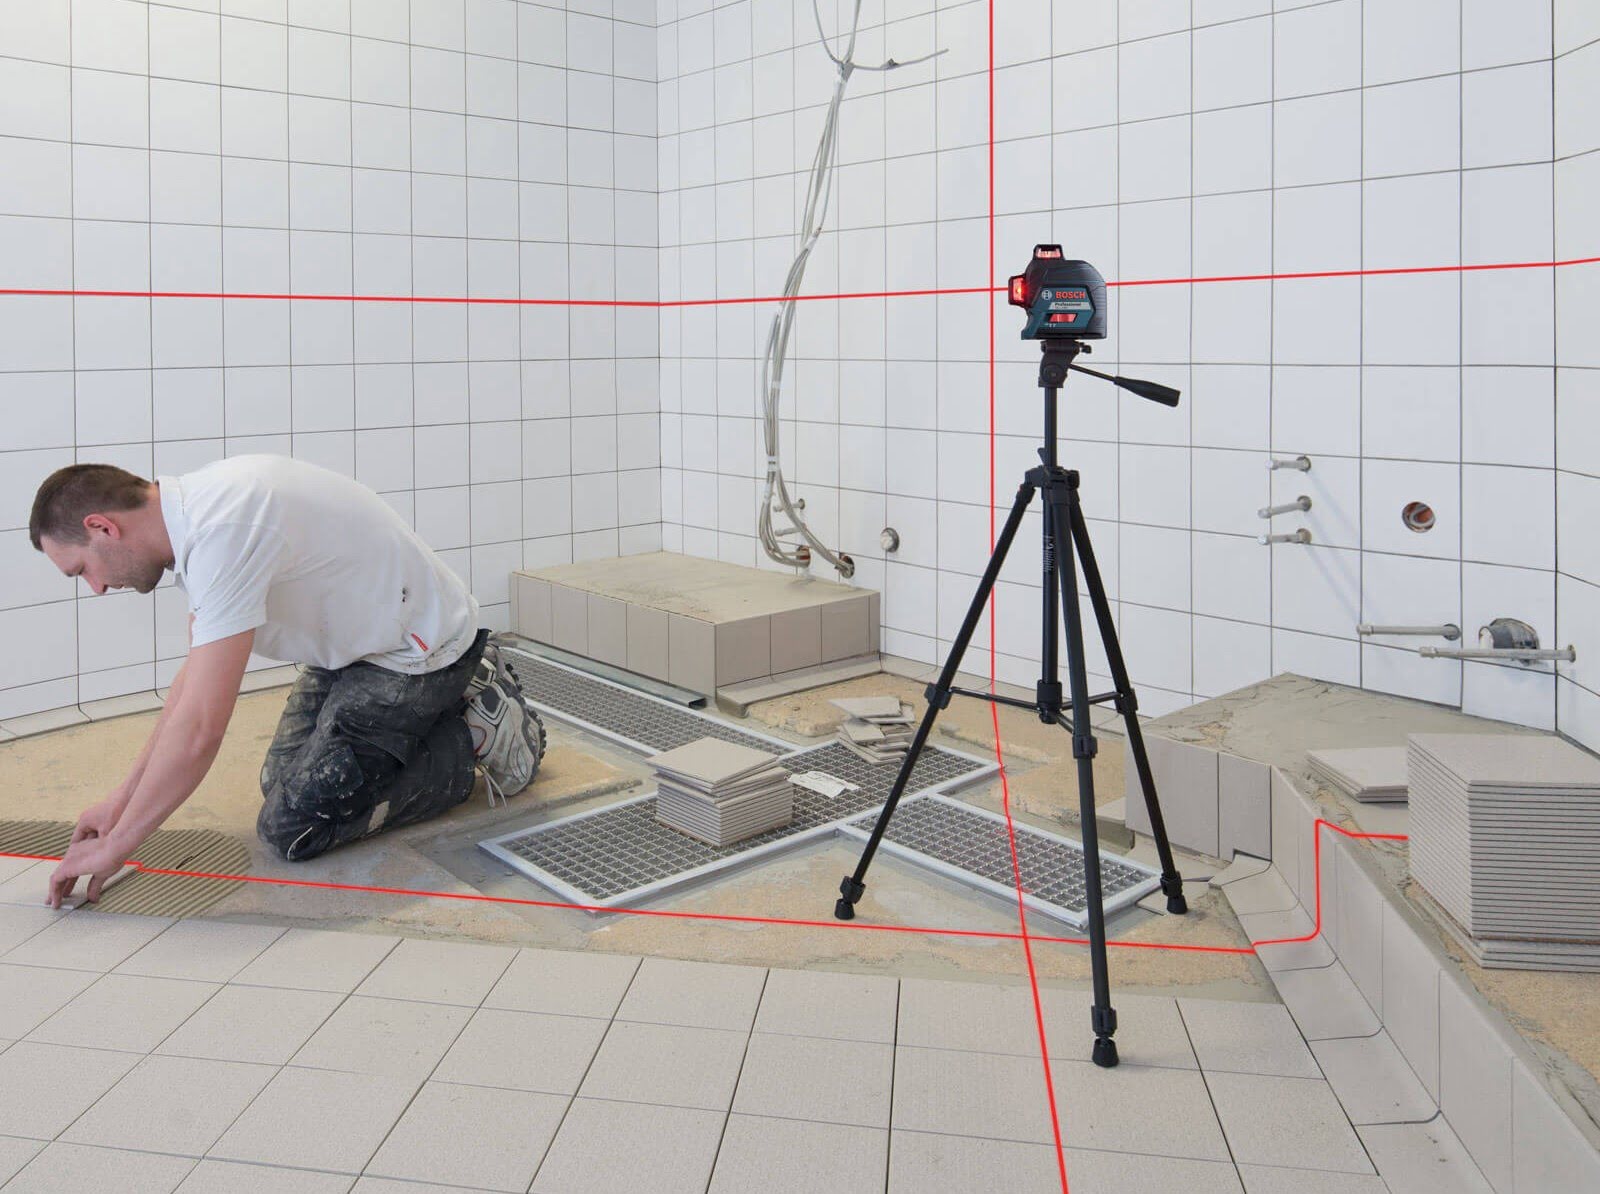
Laser levels are commonly used in applications such as installing ceiling fixtures, hanging pictures, aligning tile and cabinets, and even surveying large areas for construction purposes. They are highly versatile, offering precise measurements and reducing human error.
Next, we will delve into how laser levels work and discuss their advantages over water levels.
When using a water level, make sure the tubing is filled with water and free of air bubbles to ensure accurate measurements. For a laser level, always check the batteries and calibrate before use.
How does a Laser Level Work?
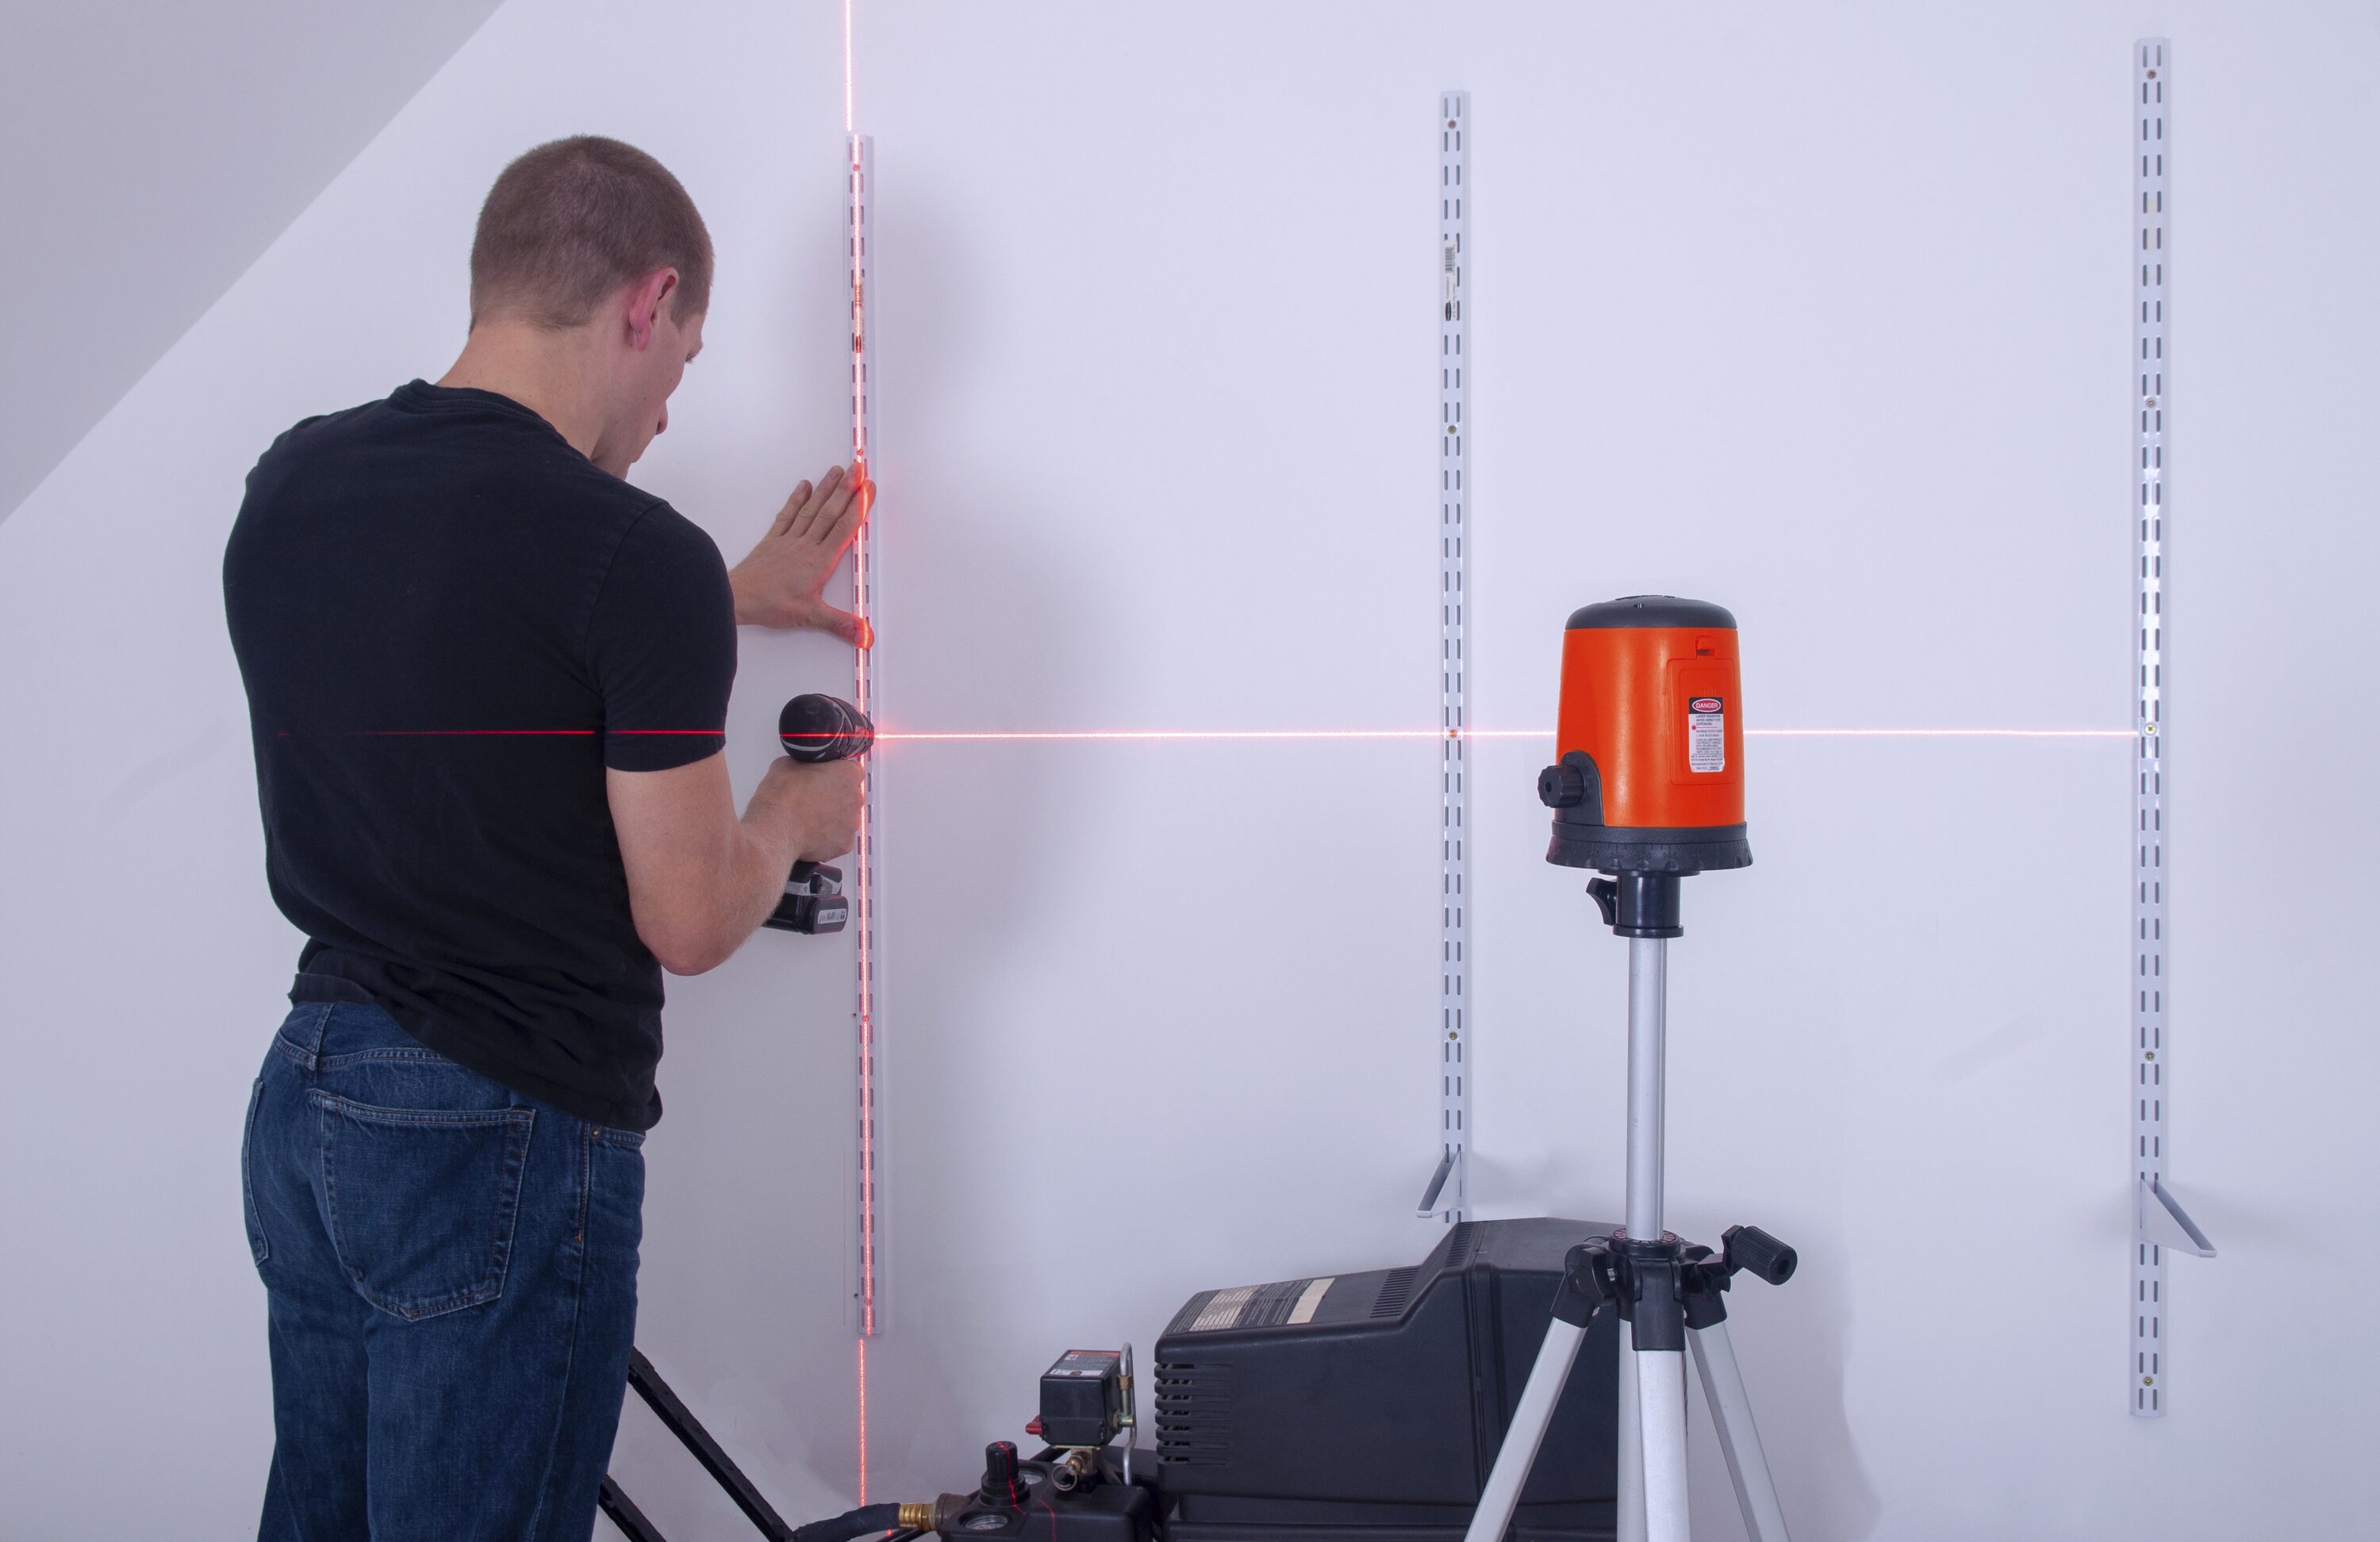
A laser level works by emitting a highly focused laser beam that creates a visible reference line or dot. The laser beam is generated by a diode within the laser level and then directed onto the desired surface using mirrors or rotating prisms.
The laser level is equipped with a leveling mechanism, which ensures that the emitted laser beam remains level or plumb. This mechanism automatically adjusts the position of the laser beam based on the tool’s orientation and the surface’s inclination.
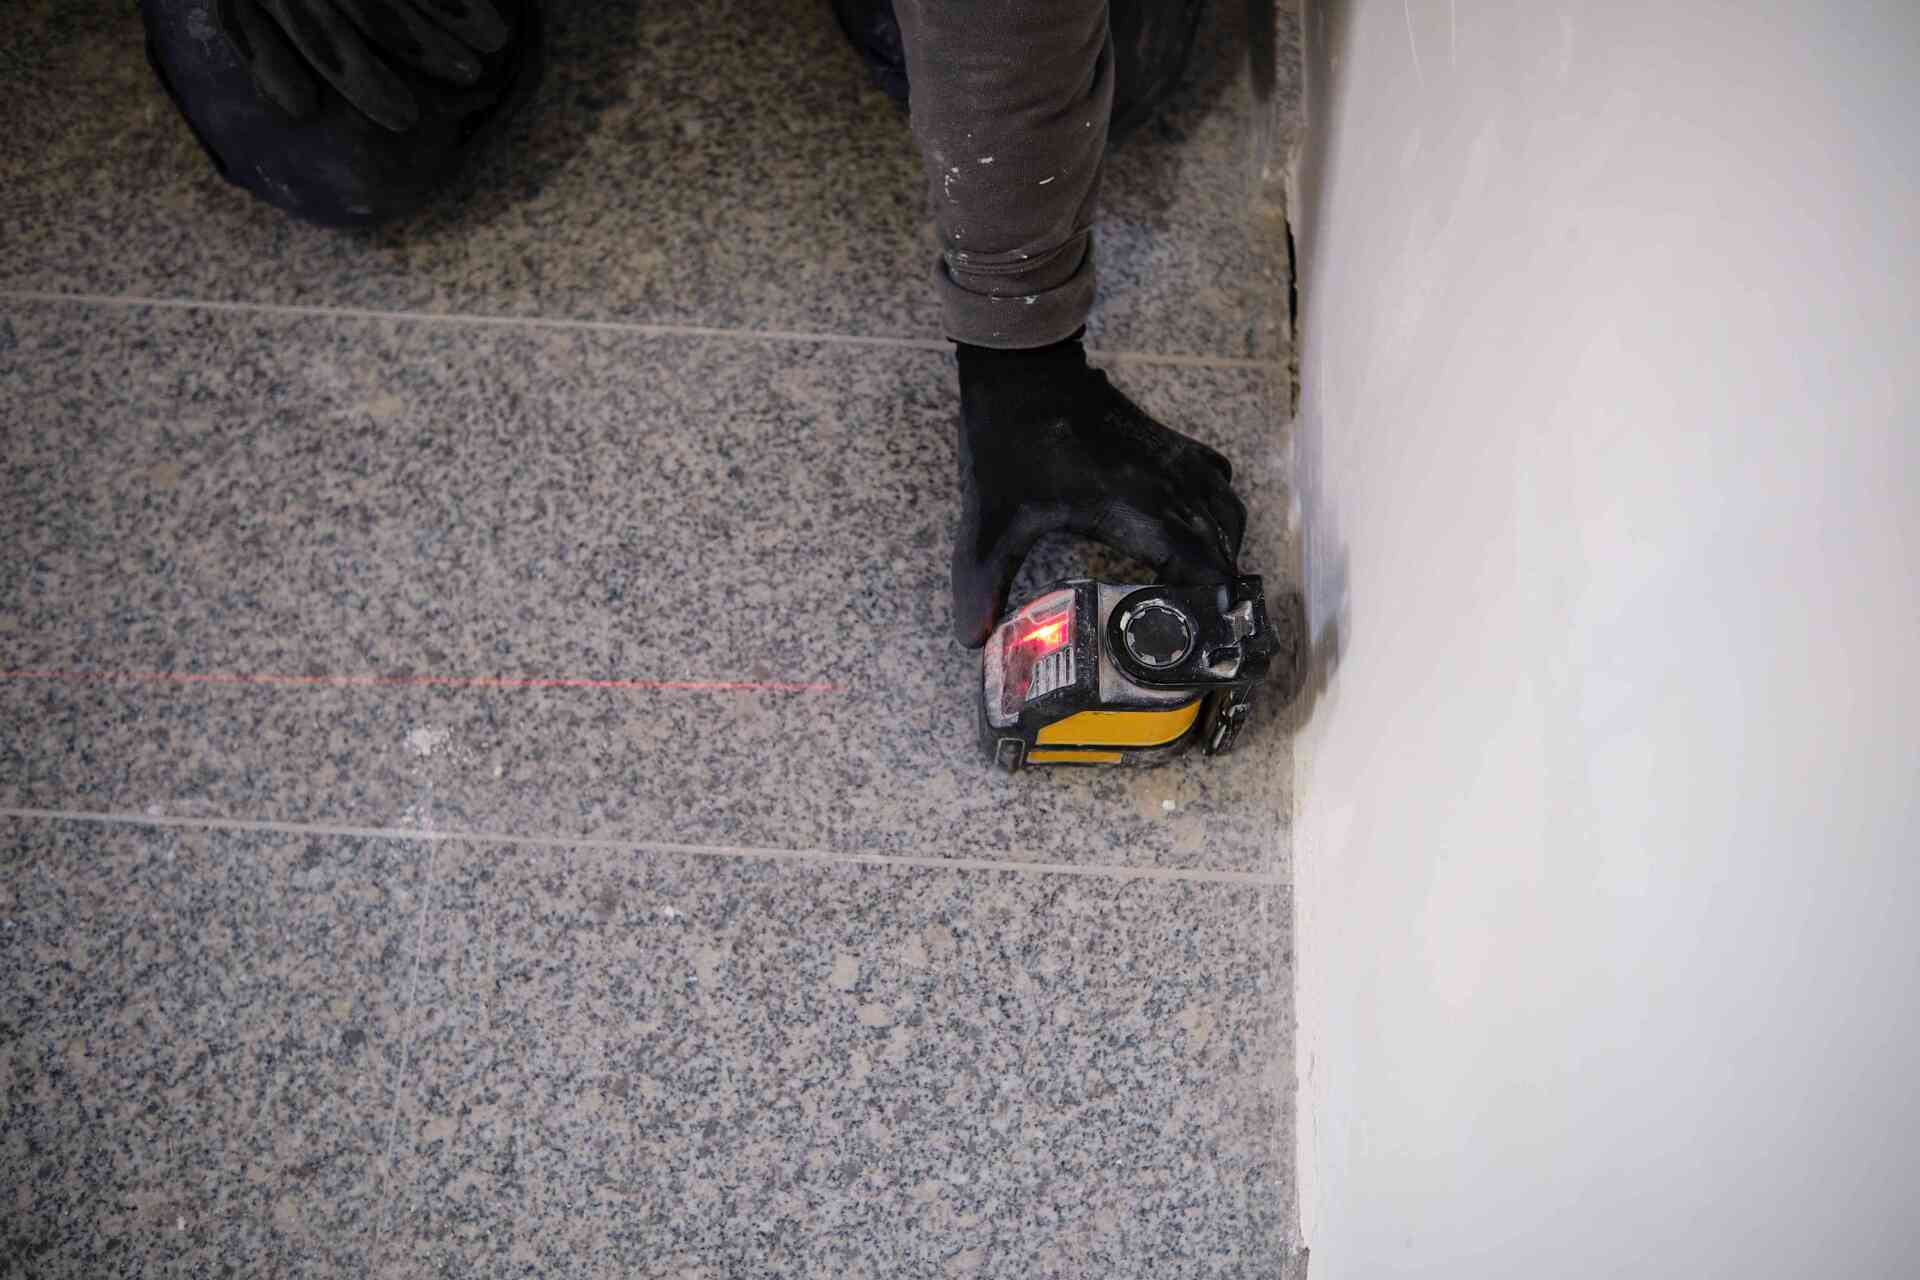
Line laser levels project a straight line onto surfaces, indicating a level reference. In these models, the laser beam is emitted from a single point within the tool and then redirected through a prism or mirror to create a line. The line can be horizontal, vertical, or even at a specific angle, depending on the model’s capabilities.
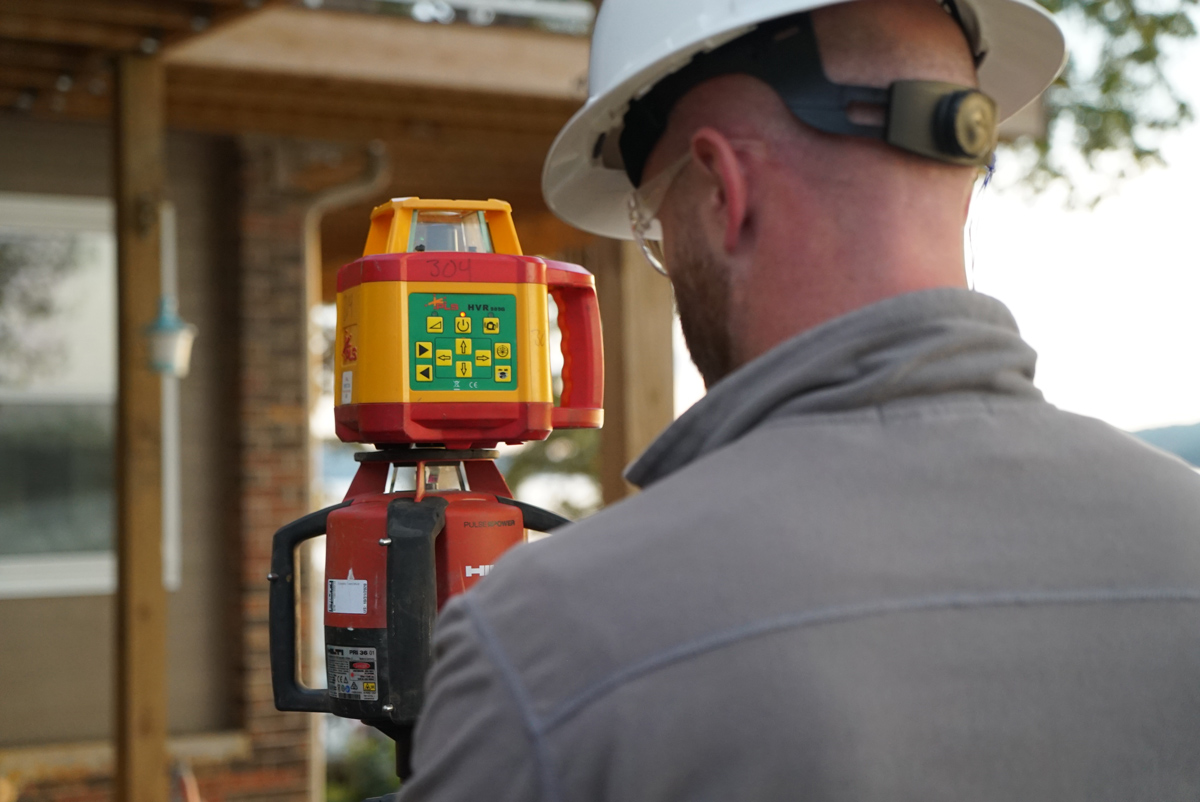
Rotary laser levels, on the other hand, emit a rotating laser beam, providing a 360-degree level reference. The laser beam rotates rapidly, creating a continuous, circular line around the room or designated area. Rotary laser levels are particularly useful for large-scale projects where a complete level reference is needed.
As the laser beam strikes the surface, it creates a visible line or dot that can be used as a reference for various tasks. This allows for precise measurements, alignment, and leveling, saving time and effort compared to traditional methods. Laser levels provide accurate results, reducing human error and ensuring the quality of your work.
Some laser levels also come with additional features like self-leveling capabilities, allowing the tool to automatically adjust any minor deviations to maintain a straight and level line. This feature is especially useful when working on uneven surfaces or when slight adjustments are needed during the project.
Overall, laser levels are a versatile and efficient tool that simplifies the leveling process and improves the accuracy of your construction, renovation, and DIY projects.
In the next section, we will explore the advantages of using a laser level over a water level.
Advantages of Using a Laser Level
Laser levels offer several advantages over traditional water levels, making them a popular choice among professionals and DIY enthusiasts. Here are some key advantages of using a laser level:
1. Higher precision: Laser levels provide a higher level of precision and accuracy compared to water levels. The laser beam creates a clear and visible reference line or dot, allowing for precise measurement and alignment. This increased precision ensures that your projects meet the desired level or plumbness with minimal margin for error. 2. Greater efficiency: Laser levels save time and effort due to their speed and ease of use. The laser beam can be projected over long distances, eliminating the need for manual leveling using a physical tool. This makes tasks such as layout and alignment quicker and more efficient, ultimately speeding up your project timeline. 3. Versatility: Laser levels come in different types, including point laser levels, line laser levels, and rotary laser levels. This versatility allows you to choose the appropriate laser level for your specific project needs. Whether you need to align cabinets, lay tiles, or survey a construction site, there is a laser level suitable for the task. 4. Enhanced visibility: Laser levels produce highly visible laser beams, making them ideal for use in various lighting conditions. Some laser levels even come with adjustable brightness settings to accommodate different work environments. This ensures that the laser line or dot remains easily visible, even in bright sunlight or low-light situations. 5. Expanded functionality: Laser levels often come with additional features and functionalities that enhance their utility. These features may include self-leveling capabilities, remote control operation, multiple line projections, and slope adjustment. These added functionalities increase the versatility of laser levels and allow for more complex leveling tasks. 6. Increased range: Laser levels typically have a longer working range compared to water levels. This means they can be used effectively over larger distances or in spacious areas. This extended range is particularly beneficial for projects where a high level of accuracy is required across expansive spaces. 7. Reduced physical effort: Laser levels eliminate the need for manual leveling using a physical tool and constant adjustments. This reduces physical strain during the leveling process, making it less physically demanding and more comfortable for the user. 8. Digital measurement options: Many modern laser levels come equipped with digital measurement features. These features allow you to measure distances directly from the laser tool, eliminating the need for additional measuring devices. This streamlines the measuring process and improves productivity.
Overall, laser levels offer precision, efficiency, versatility, and additional features that significantly enhance the leveling process. They have become an indispensable tool for professionals in various industries and provide DIY enthusiasts with an easier and more accurate way to tackle leveling tasks.
Next, we will provide a step-by-step guide on how to use a laser level effectively.
Read more: How Does Laser Level Work Dirt
Step-by-Step Guide to Using a Laser Level
To effectively use a laser level for your projects, follow these step-by-step instructions:
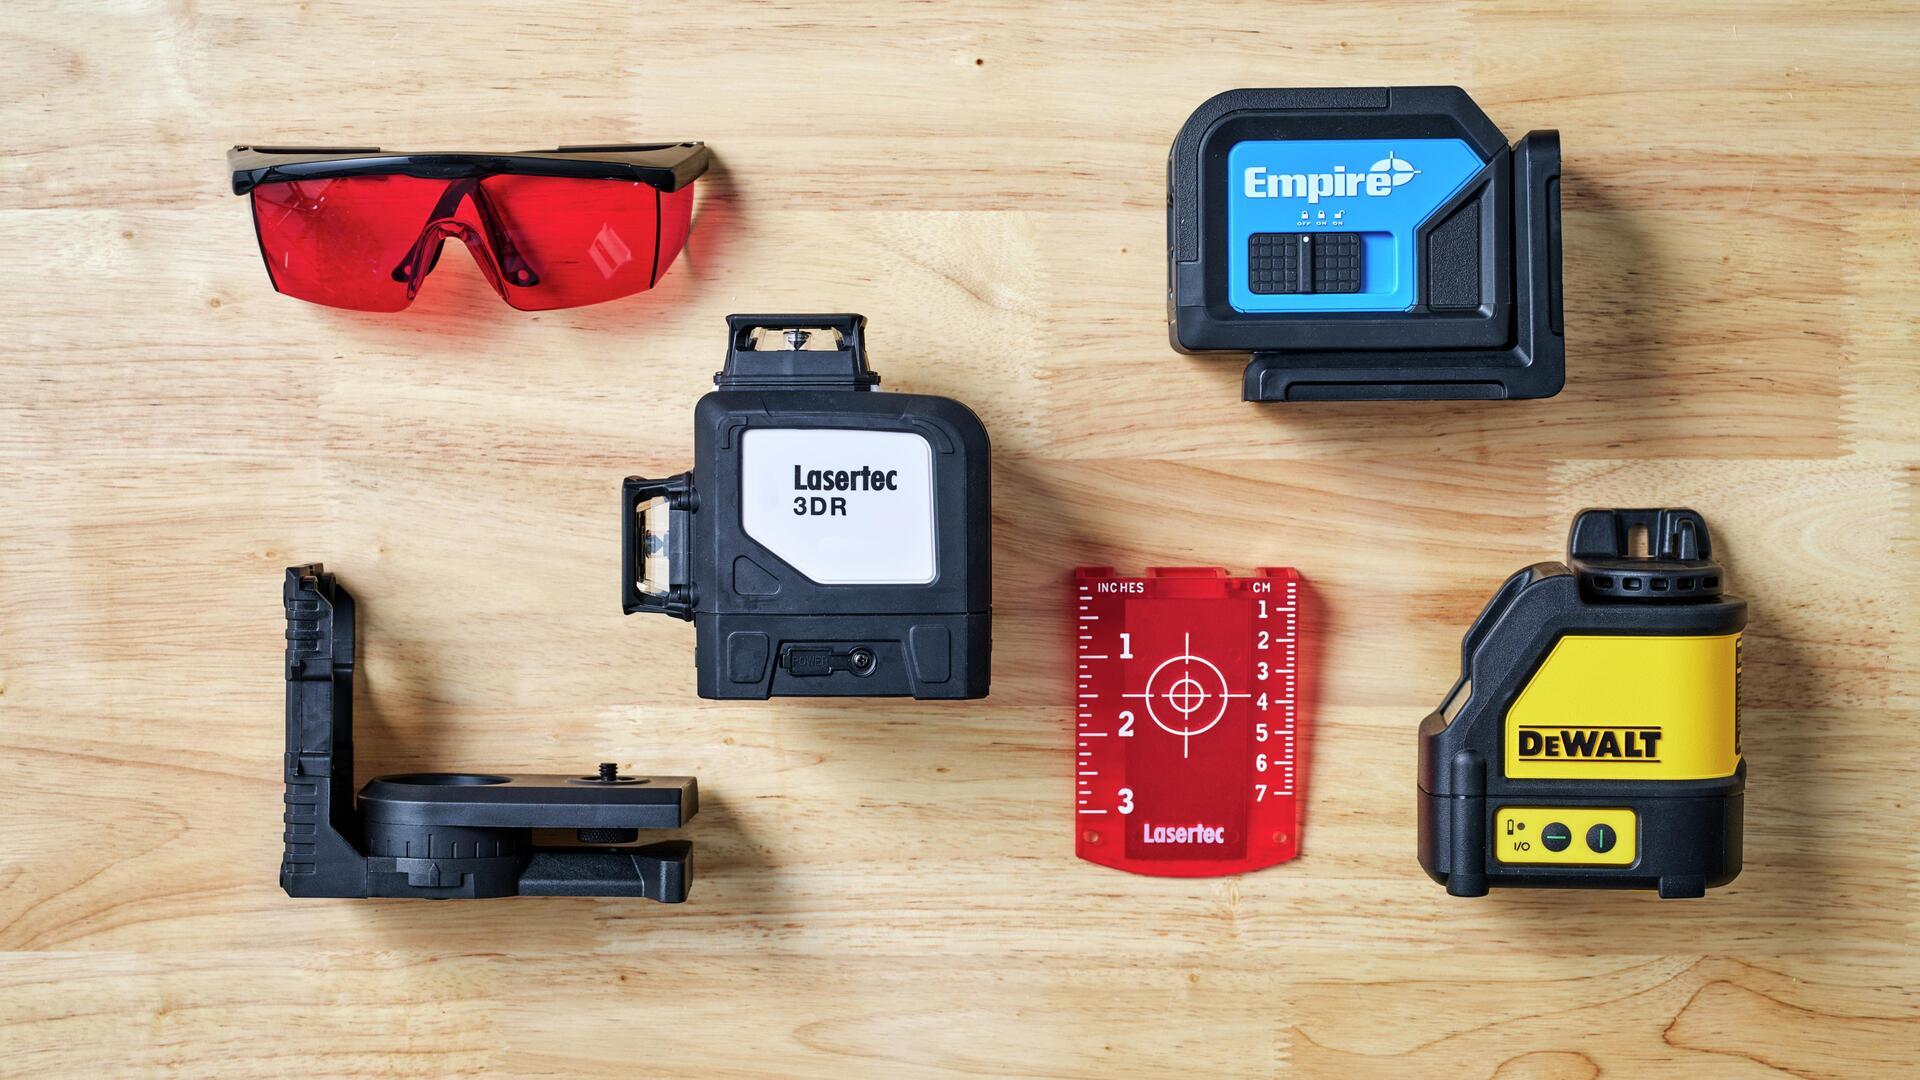
1. Choose the appropriate laser level: Select the type of laser level that suits your project requirements. Consider factors such as the desired level reference (point or line), working range, and additional features like self-leveling or digital measurements. 2. Set up the laser level: Place the laser level on a stable surface or mount it on a tripod. Ensure that it is secure and leveled before proceeding. 3. Power on the laser level: Activate the laser level by turning it on according to the manufacturer’s instructions. Some laser levels may require the use of batteries, while others may have a rechargeable power source. 4. Adjust the laser level: If your laser level features self-leveling capabilities, allow it to automatically level itself. If not, manually level the tool using the built-in leveling vials or adjustment knobs. Ensure that the bubble indicator is centered in the vial or that the bubble is positioned within the specified range. 5. Position the laser level: Position the laser level at the desired location, ensuring that it is aligned with the area you wish to level or align. Adjust the height or angle of the laser level to achieve the desired projection. 6. Project the laser line or point: Activate the laser beam projection by pressing the appropriate button or switch on the laser level. Adjust the laser level as needed to project a straight line or a specific point onto the surface or area you are working on. 7. Verify the level or alignment: Use a measuring tool or a spirit level to verify the accuracy of the projected laser line or point. Make any necessary adjustments to ensure the level or alignment matches your requirements. 8. Use laser target or receiver (if applicable): If you are working in bright light conditions or over long distances, the laser line may be difficult to see. In this case, you can use a laser target or a receiver that detects the laser beam and provides a clear indication of its position. 9. Proceed with your project: Once you have established a level reference or alignment using the laser level, you can begin your construction, renovation, or DIY tasks confidently. Follow the projected laser line or point as a guide for accurate measurements and positioning. 10. Turn off and store the laser level: After completing your project or when the laser level is no longer needed, turn off the laser beam projection and power off the device. Store the laser level in a secure and dry location, protecting it from potential damage. By following these step-by-step instructions, you can effectively use a laser level to achieve precise and accurate leveling and alignment results for your construction, renovation, or DIY projects.
Tips for Working with a Laser Level
When working with a laser level, it’s essential to follow these tips to ensure optimal results and a smooth leveling process:
1. Choose the right laser level: Consider the specific requirements of your project and choose a laser level that suits your needs. Take into account factors such as the working range, type of laser (point or line), additional features, and the environment in which you’ll be working. 2. Read the instruction manual: Familiarize yourself with the operation and features of your laser level by reading the instruction manual thoroughly. This will help you understand how to use the device correctly and make the most of its functionalities. 3. Ensure a stable setup: Place the laser level on a stable surface or use a tripod to ensure it remains steady during operation. A stable setup is crucial for maintaining accuracy and preventing any unintended movement that could affect the projected laser line. 4. Check the calibration: Regularly check the calibration of your laser level to ensure accurate readings. Some laser levels have built-in calibration features, while others may require professional calibration. Refer to the manufacturer’s guidelines for calibration procedures. 5. Protect the laser lens: The laser lens is a crucial component of your laser level, as it emits the laser beam. Keep the lens clean and free from dust, debris, and scratches to maintain a clear and visible laser projection. Use a protective cover when not in use to prevent any potential damage. 6. Account for beam spread: Laser beams gradually spread as they travel away from the laser level. Consider this beam spread when positioning the laser level, especially over longer distances. Adjust the height and angle of the laser level accordingly to ensure the desired level or alignment is achieved at your intended location. 7. Consider ambient light conditions: Bright ambient light can make it difficult to see the laser beam. If you’re working in an environment with strong sunlight or other bright light sources, use a laser target or receiver to enhance visibility. These accessories are designed to detect the laser beam and provide a clear indication of its position. 8. Use a laser detector (if applicable): For outdoor or large-scale projects, a laser detector can be highly beneficial. A laser detector is a device that detects the laser beam and provides audio or visual signals to guide you towards the level line or point. This is particularly useful when the laser beam is not clearly visible or when working from a distance. 9. Collaborate with a partner: When using a laser level for certain tasks, having a partner can be helpful. They can assist in positioning the laser level, verifying measurements, and ensuring the projected line or point is in the correct position. Collaborating with a partner can improve efficiency and accuracy during your project. 10. Store the laser level properly: When you’ve finished using the laser level, store it in a secure and dry place to protect it from damage. Keep it in its case or protective cover to prevent dust, scratches, or accidental knocks that could affect its performance. By following these tips, you can optimize your experience when working with a laser level and achieve precise leveling and alignment results for your construction, renovation, or DIY projects.
Comparison between Water Level and Laser Level
Both water levels and laser levels are used for leveling and alignment purposes, but they have distinct differences in terms of functionality and features. Here’s a comparison between water levels and laser levels:
1. Principle of operation: Water levels rely on the hydrostatic pressure of liquid to determine level or alignment. The liquid within the hose seeks its own level, indicating whether a surface is level or not. On the other hand, laser levels use laser technology to project a visible line or dot onto surfaces, providing a clear reference for leveling. 2. Accuracy: Laser levels offer a higher level of precision and accuracy compared to water levels. Laser beams provide a clear and visible reference line or point, allowing for precise measurements and alignment. Water levels, although generally accurate, may be influenced by factors such as air bubbles or evaporation that can affect their accuracy. 3. Efficiency: Laser levels are generally more efficient than water levels. The laser beam can be projected over long distances, reducing the need for manual leveling and saving time. Water levels require physical placement and adjustment of the leveling bulbs, making them a bit more time-consuming. 4. Versatility: Laser levels offer more versatility in terms of applications. They come in different types, such as point, line, and rotary laser levels, each suited for specific tasks. Water levels, while versatile, are primarily used for horizontal leveling and may require additional attachments for vertical or plumb measurements. 5. Visibility: Laser levels have highly visible laser beams, making them suitable for various lighting conditions. They can be easily seen even in bright sunlight or low-light environments. Water levels rely on clear tubing and air bubbles, which may be affected by ambient light or obstructed visibility in certain situations. 6. Portability: Water levels are typically lightweight and portable since they don’t require batteries or power sources. They can be easily transported from one job site to another. Laser levels, although more compact and lightweight compared to older models, often require batteries or a power source, making them slightly less portable. 7. Cost-effectiveness: Water levels are generally more cost-effective and accessible for DIY enthusiasts or those on a tight budget. They are relatively inexpensive compared to laser levels, which often come with more advanced features and higher price tags. 8. Ease of use: Both water levels and laser levels are relatively easy to use, although laser levels may require a bit more familiarity with their operation and features. Water levels have a simpler setup, while laser levels may require initial setup, calibration, and adjustments. Ultimately, the choice between a water level and a laser level depends on the specific needs of your project, your desired level of accuracy, and your budget. Water levels remain a cost-effective and reliable option for basic leveling tasks, while laser levels offer increased precision and efficiency for more complex projects.
Conclusion
Choosing the right leveling tool is crucial for construction, renovation, and DIY projects. Both water levels and laser levels have their own advantages and applications. Water levels are a traditional and cost-effective option, offering simplicity and reliability. They are suitable for basic leveling tasks and can be used in noisy environments without being affected by external interferences.
On the other hand, laser levels provide increased precision and efficiency. They utilize laser technology to project clear and visible reference lines or dots, allowing for precise measurements and alignment. Laser levels are versatile, with various types available for different applications, and are highly effective in both indoor and outdoor projects.
While water levels have their merits, laser levels have become increasingly popular due to their accuracy, speed, and additional features like self-leveling capabilities and digital measurements. They are especially beneficial for larger-scale projects and those that require a high level of precision.
When selecting a leveling tool, consider the specific requirements of your project, your budget, and the desired level of accuracy. Assess whether a water level or a laser level is best suited for your needs.
In conclusion, water levels and laser levels are invaluable tools in the construction and renovation industry. Whether you choose the simplicity and cost-effectiveness of a water level or opt for the precision and efficiency of a laser level, these tools will help you achieve level surfaces, accurate alignments, and professional results in your projects.
Remember to follow the manufacturer’s instructions, utilize the features of your chosen tool appropriately, and take necessary precautions to ensure safety and accuracy. With the right leveling tool in hand, you can confidently tackle any leveling task and achieve exceptional results.
Frequently Asked Questions about How To Work A Water Level Or Laser Level
Was this page helpful?
At Storables.com, we guarantee accurate and reliable information. Our content, validated by Expert Board Contributors, is crafted following stringent Editorial Policies. We're committed to providing you with well-researched, expert-backed insights for all your informational needs.




0 thoughts on “How To Work A Water Level Or Laser Level”