Home>Articles>How To Mount A Bosch Rotary Laser Level For Grading With Tractor

Articles
How To Mount A Bosch Rotary Laser Level For Grading With Tractor
Modified: August 21, 2024
Learn how to mount a Bosch rotary laser level for grading with a tractor. This informative article provides step-by-step instructions for smooth and accurate leveling.
(Many of the links in this article redirect to a specific reviewed product. Your purchase of these products through affiliate links helps to generate commission for Storables.com, at no extra cost. Learn more)
Introduction
Grading is an essential process in various construction and landscaping projects, ensuring a level and even surface for building foundations, driveways, and gardens. Traditionally, the grading process required extensive manual labor, taking up a significant amount of time and resources. However, with the advent of modern technology, the use of rotary laser levels has revolutionized the grading process, making it more efficient and accurate.
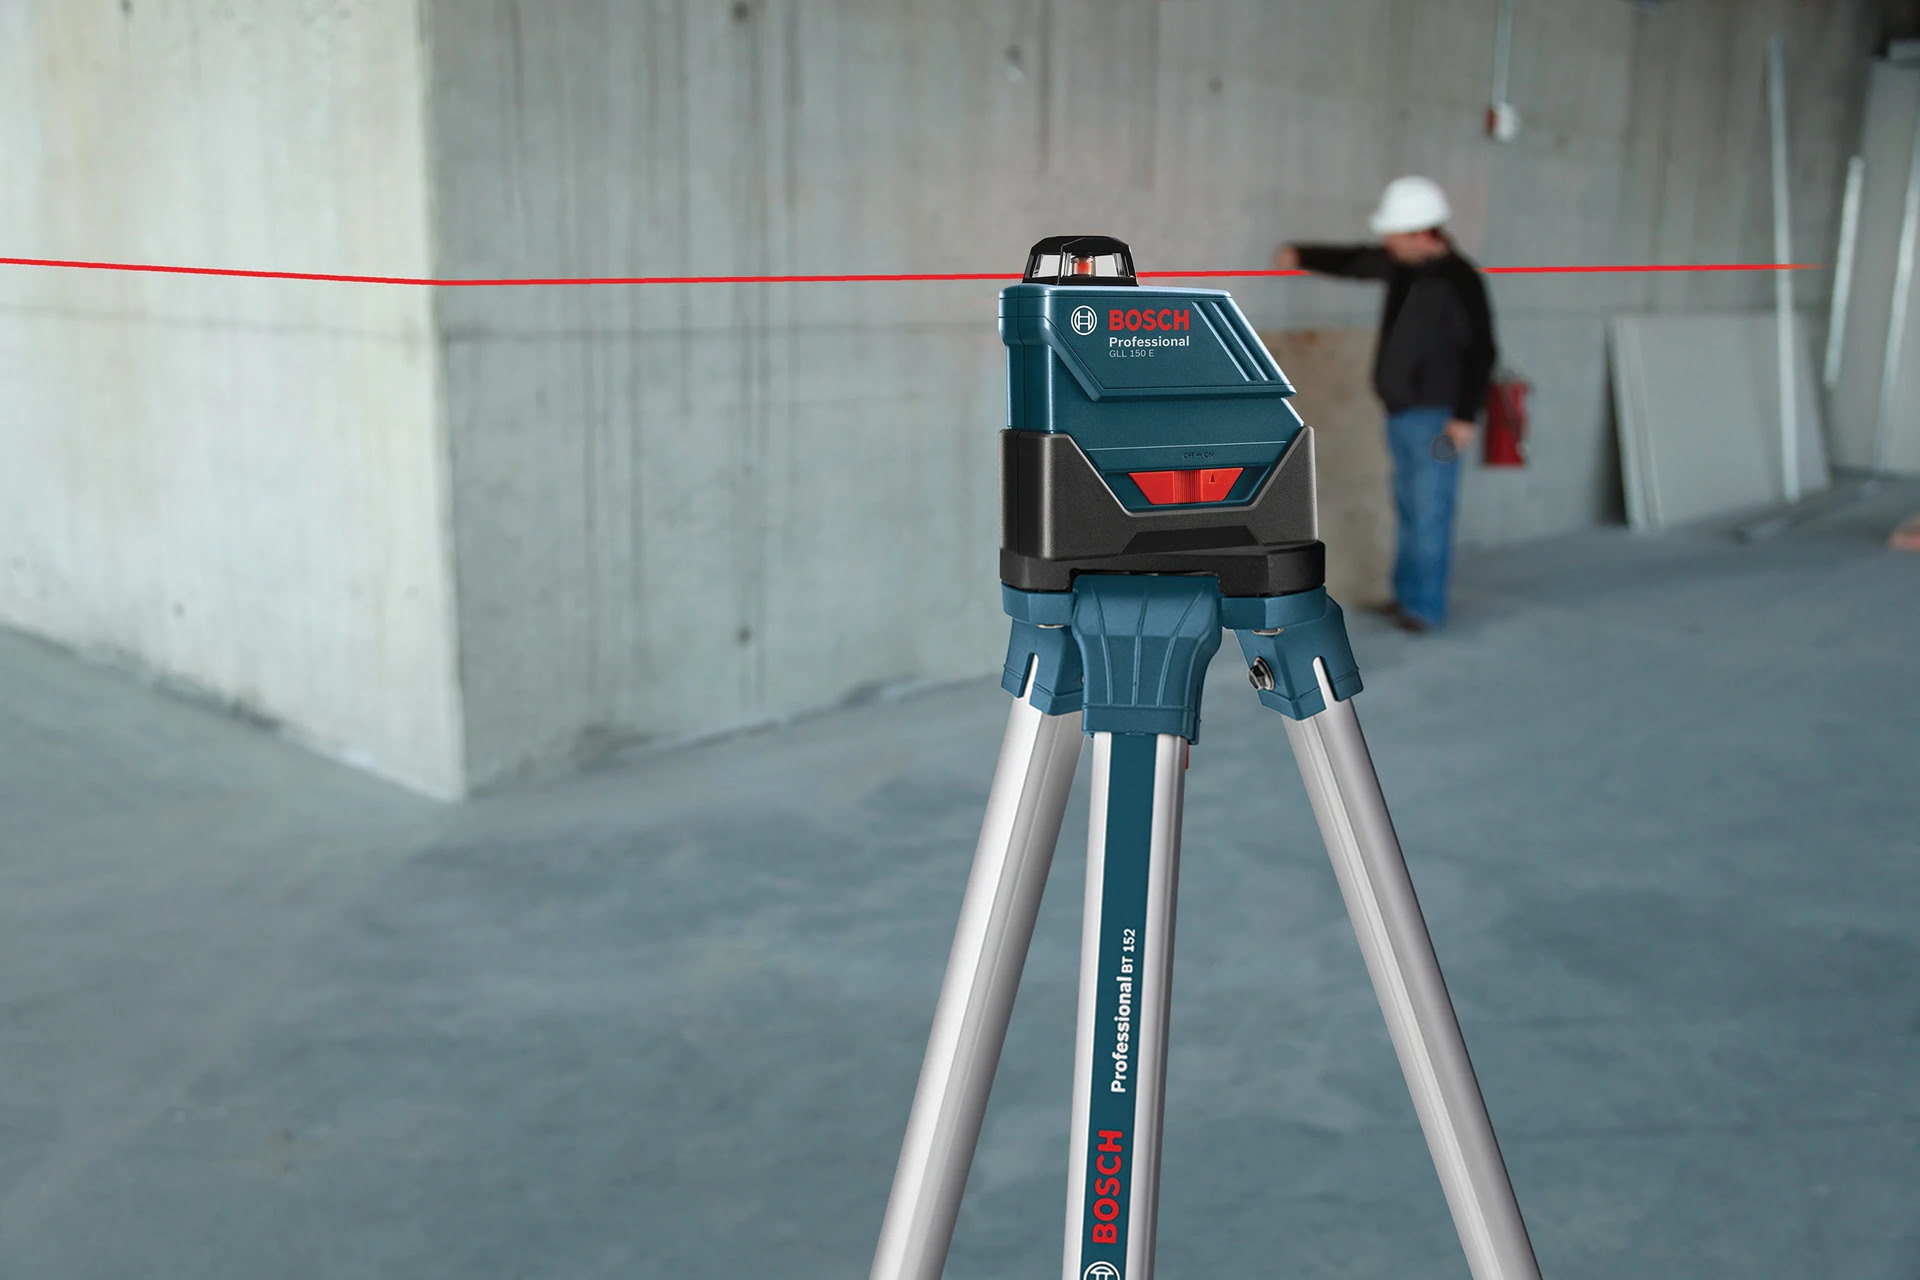
In this article, we will discuss how to mount a Bosch rotary laser level for grading using a tractor. Bosch rotary laser levels are highly regarded for their precision, durability, and ease of use, making them a popular choice among construction professionals and DIY enthusiasts alike. By following these steps, you can ensure that your grading project is executed with the utmost accuracy and efficiency.
Before we dive into the step-by-step process, let’s take a look at the tools and materials you will need to successfully mount a Bosch rotary laser level for grading:
Key Takeaways:
- Efficiently mount a Bosch rotary laser level on a tractor for precise grading by choosing the right location, preparing the tractor, and securely mounting, leveling, and calibrating the laser level.
- Prioritize safety and accuracy when using a Bosch rotary laser level for grading by considering weather conditions, maintaining equipment, using safety gear, and consistently monitoring and double-checking grading results.
Read more: How To Use Laser Level For Grading
Tools and Materials Needed
Before you begin mounting your Bosch rotary laser level for grading, gather the following tools and materials to ensure a smooth and hassle-free process:
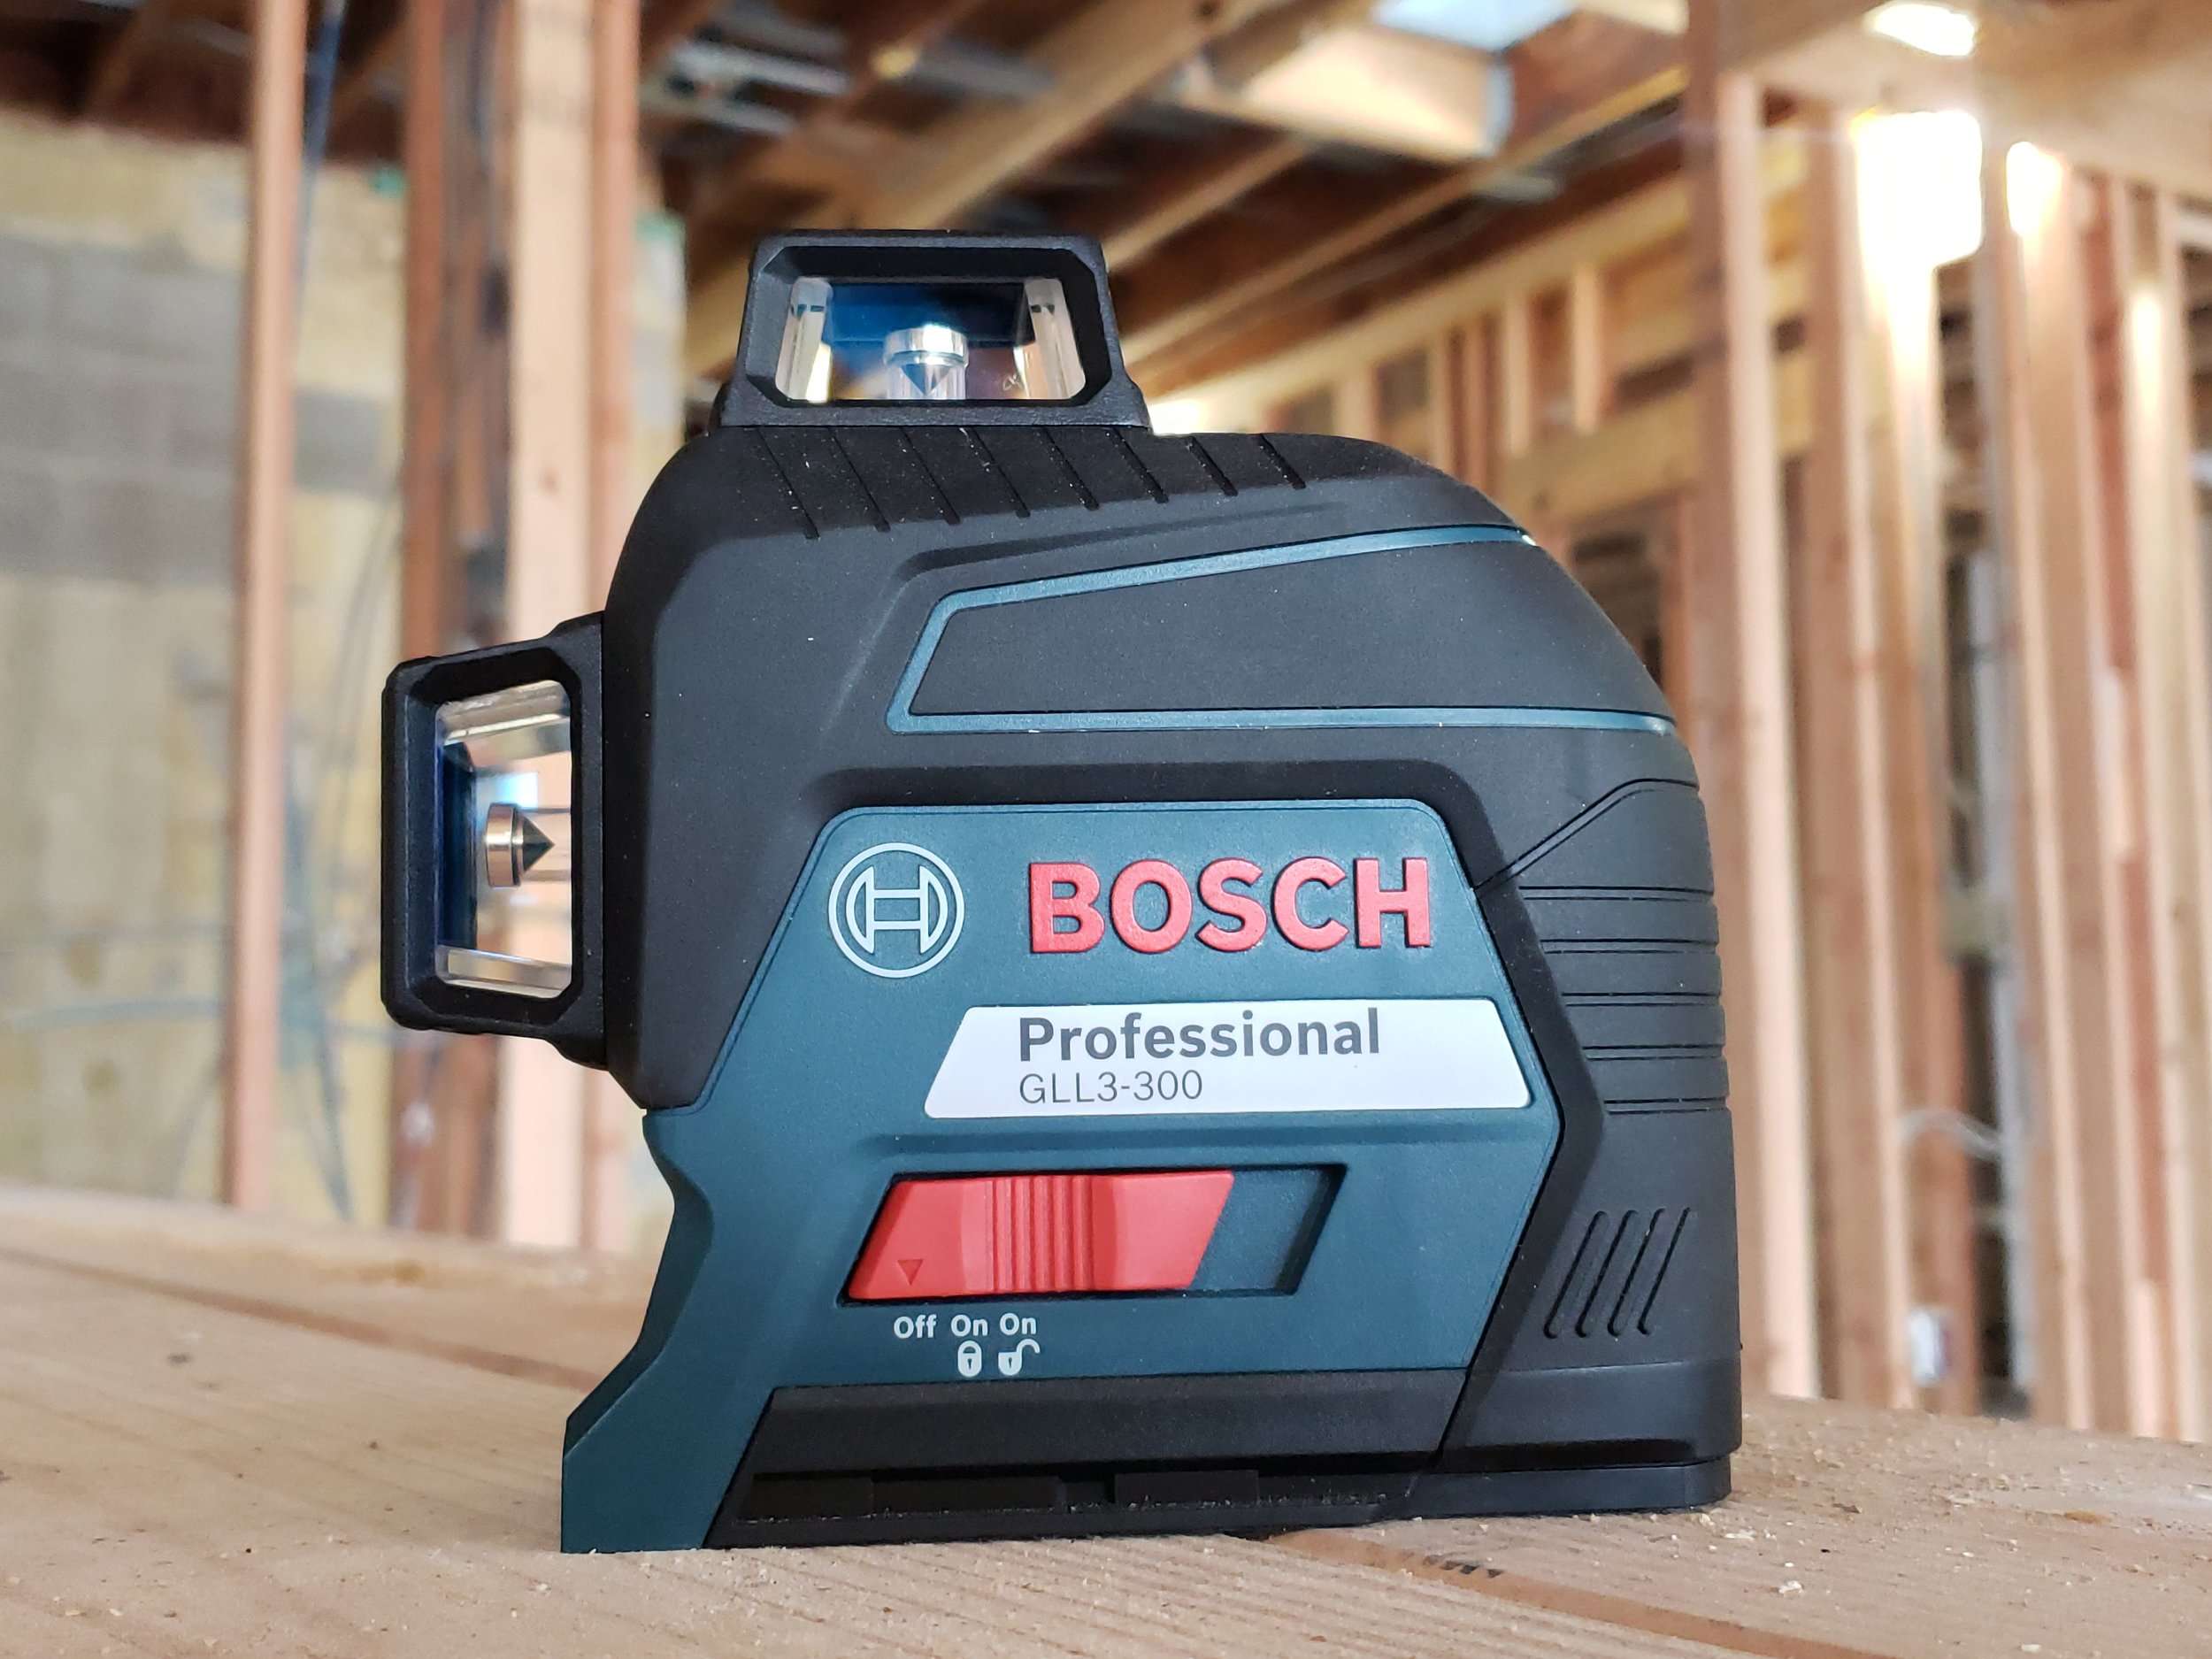
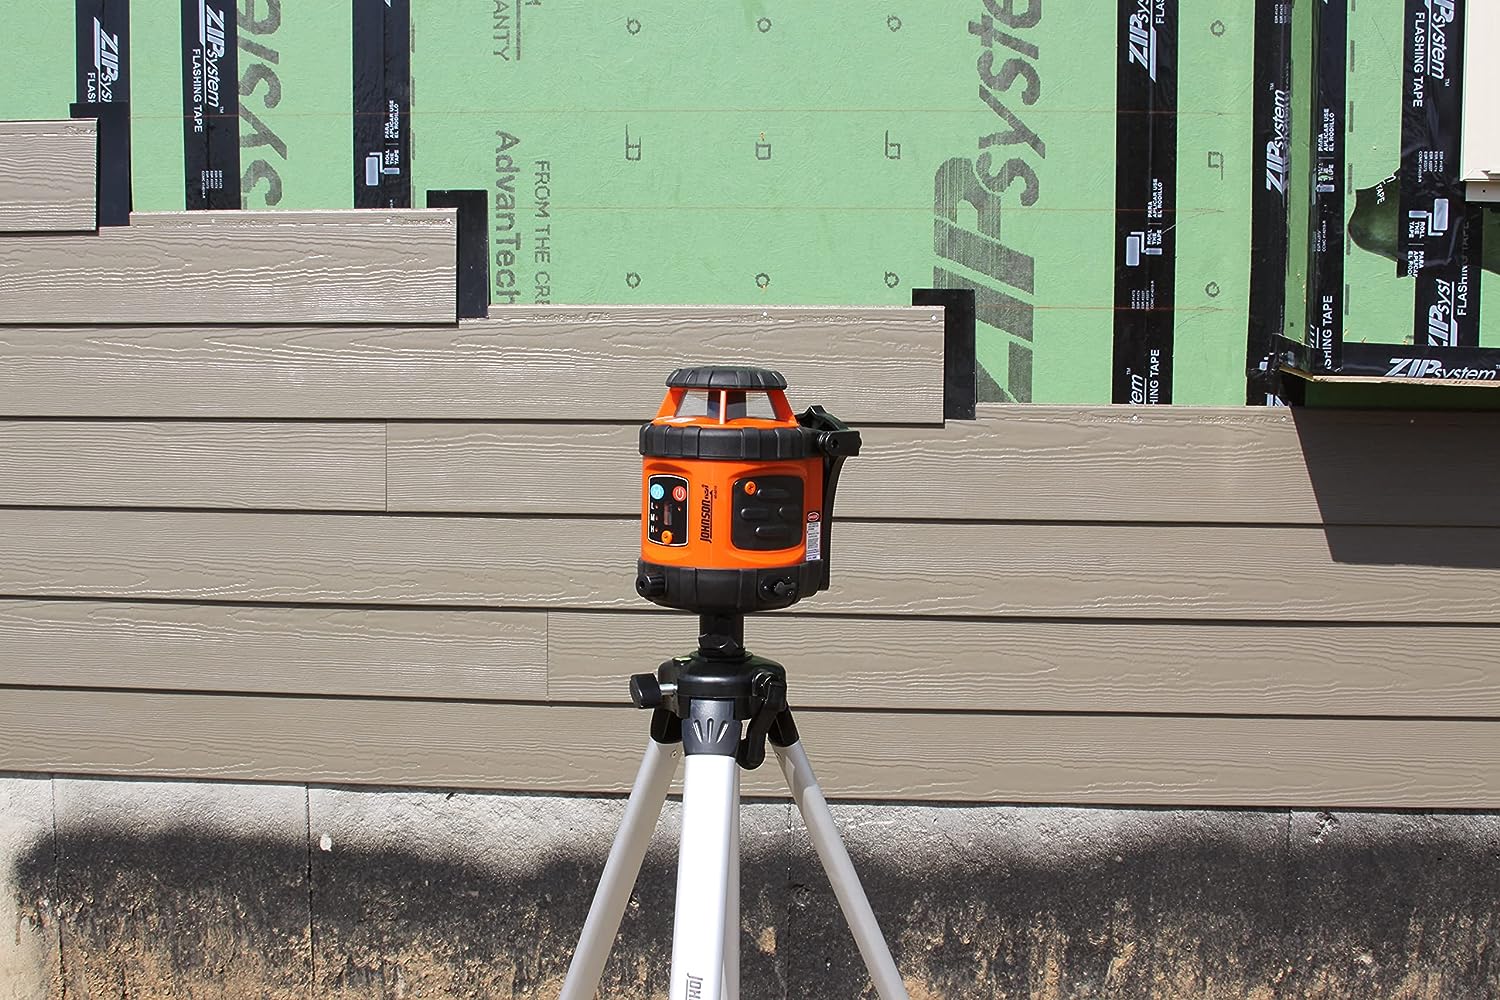
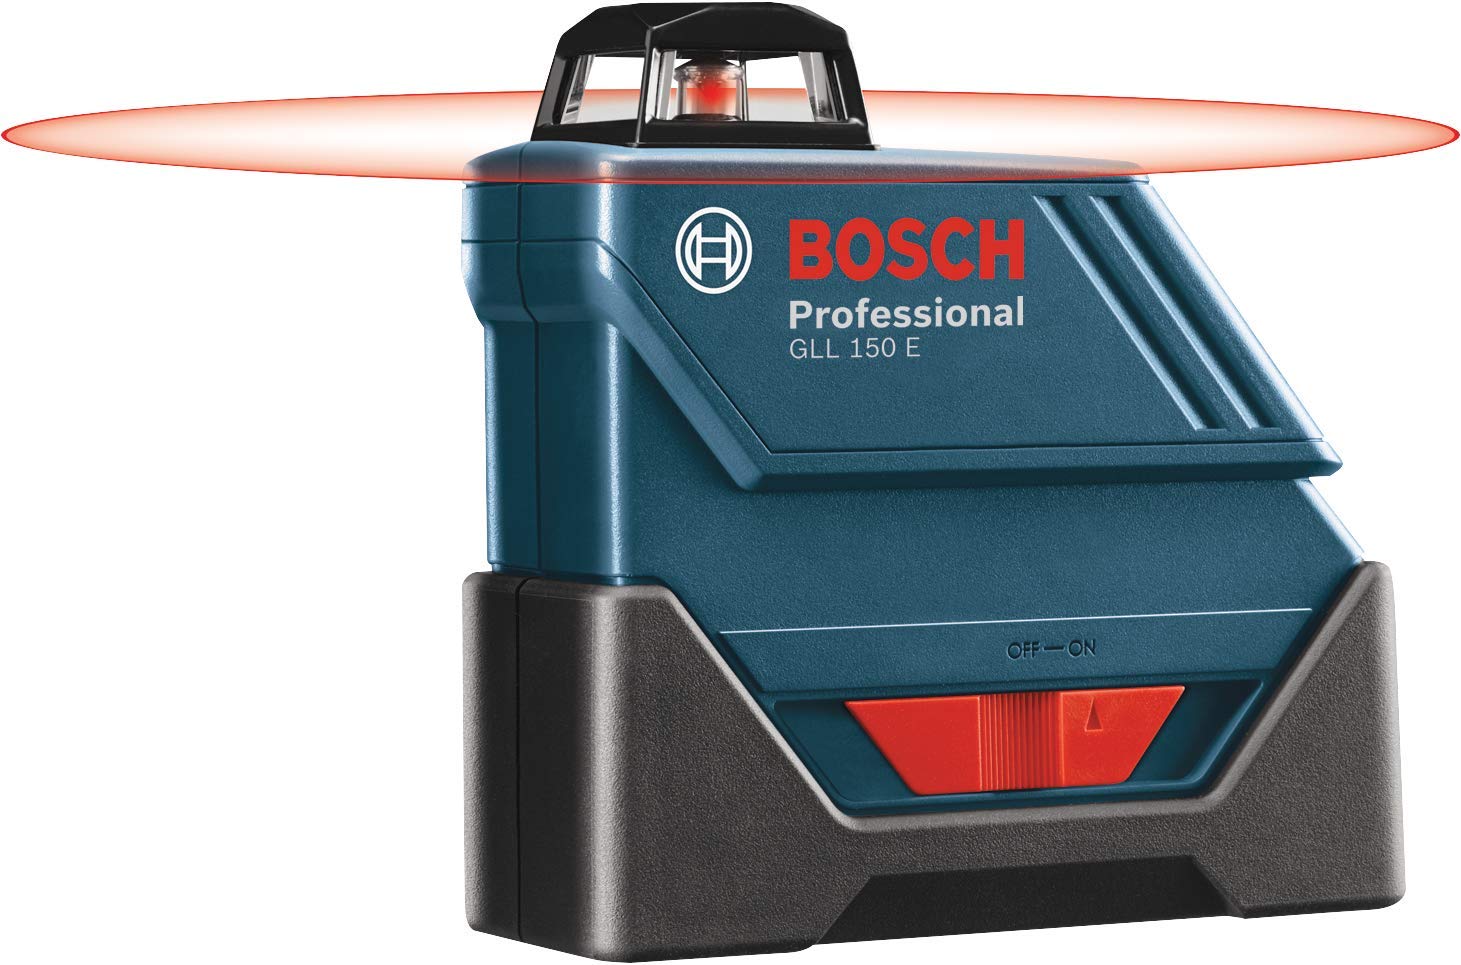
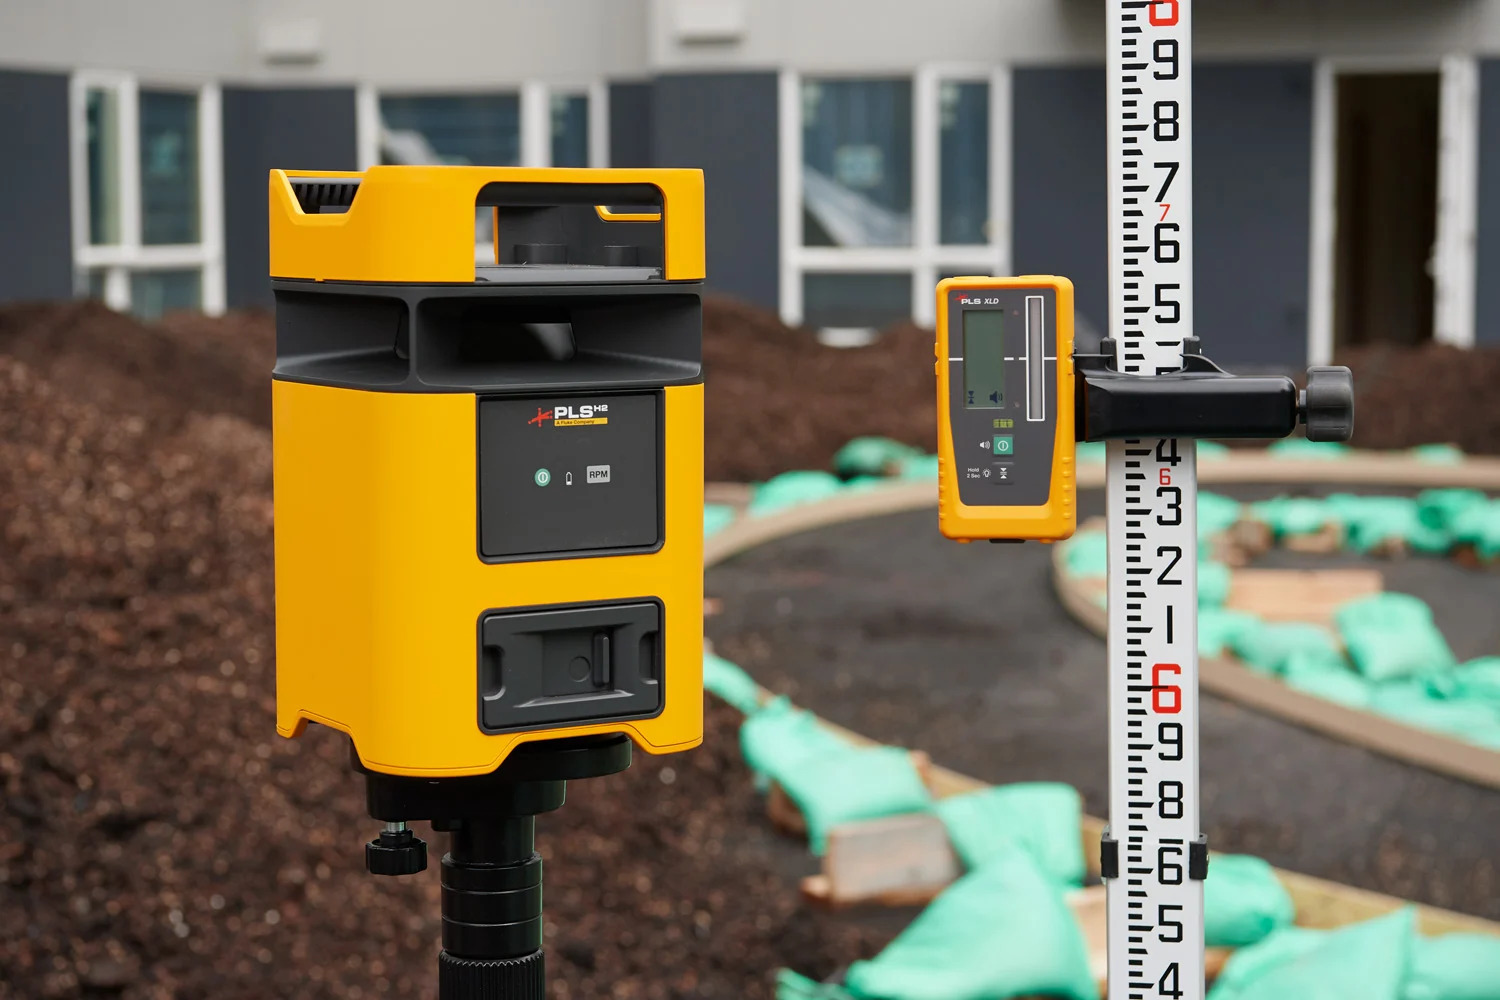
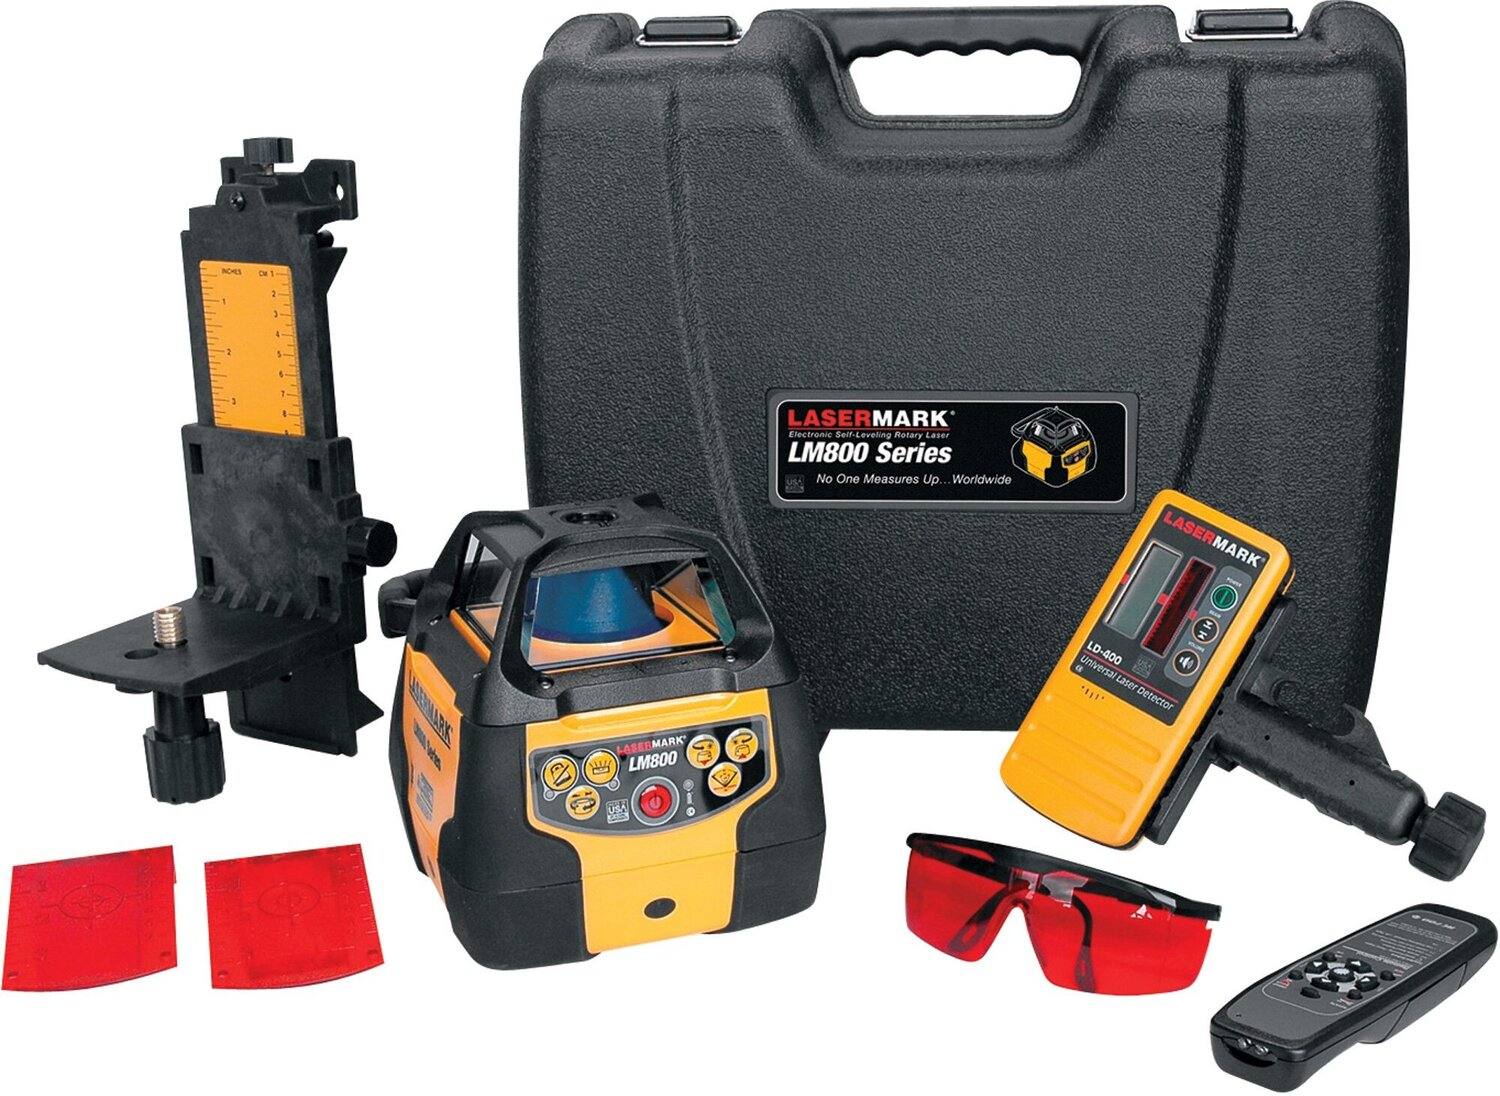
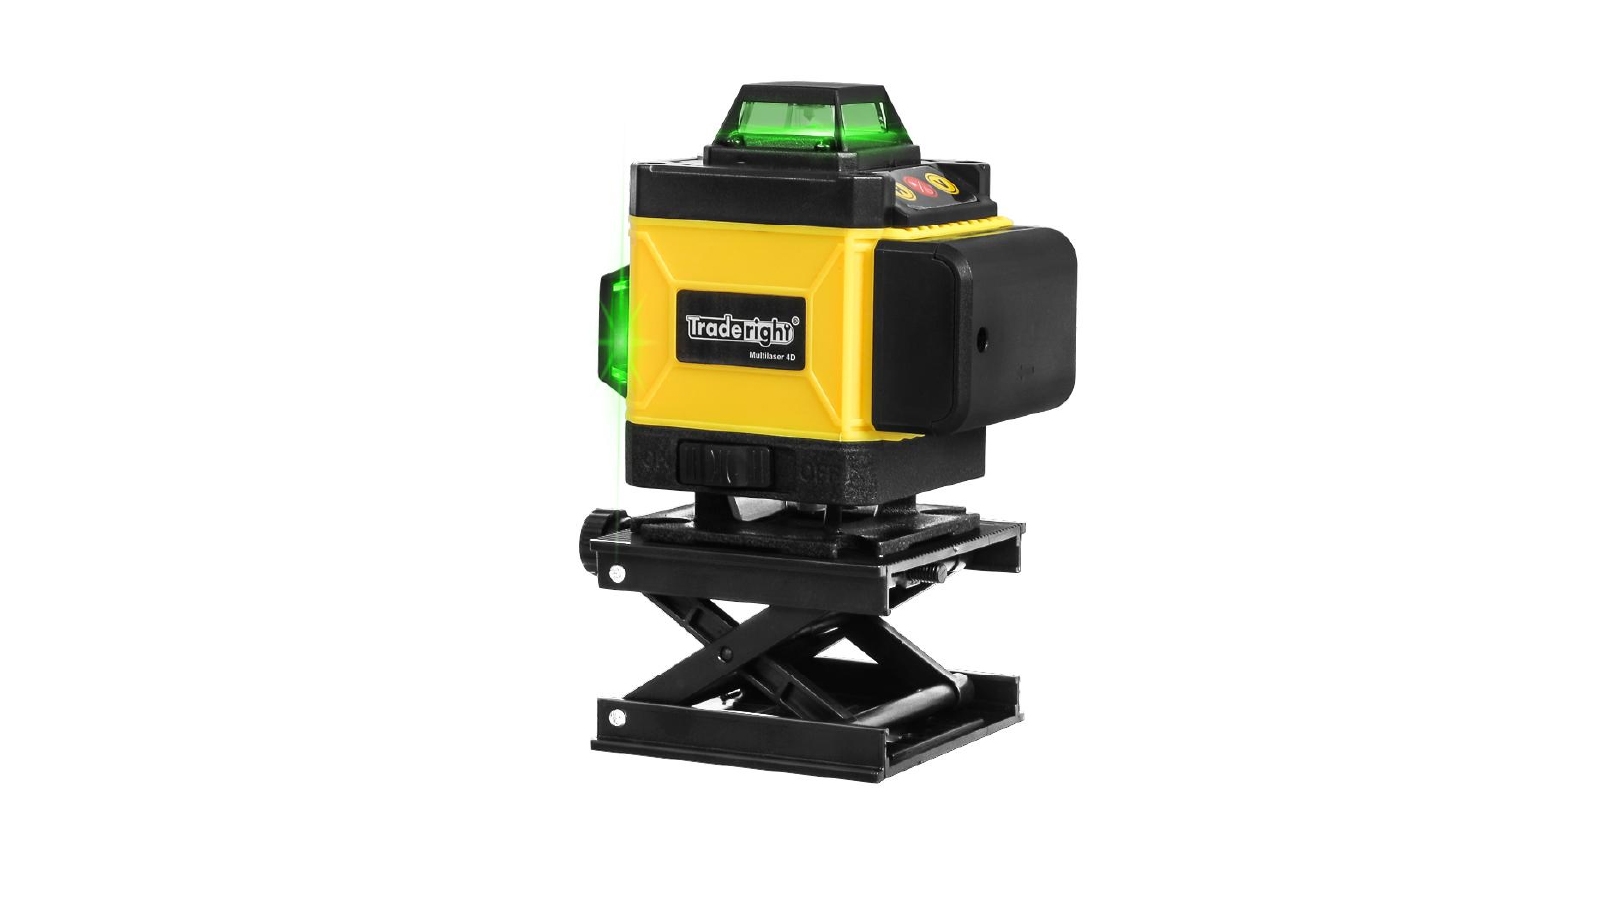
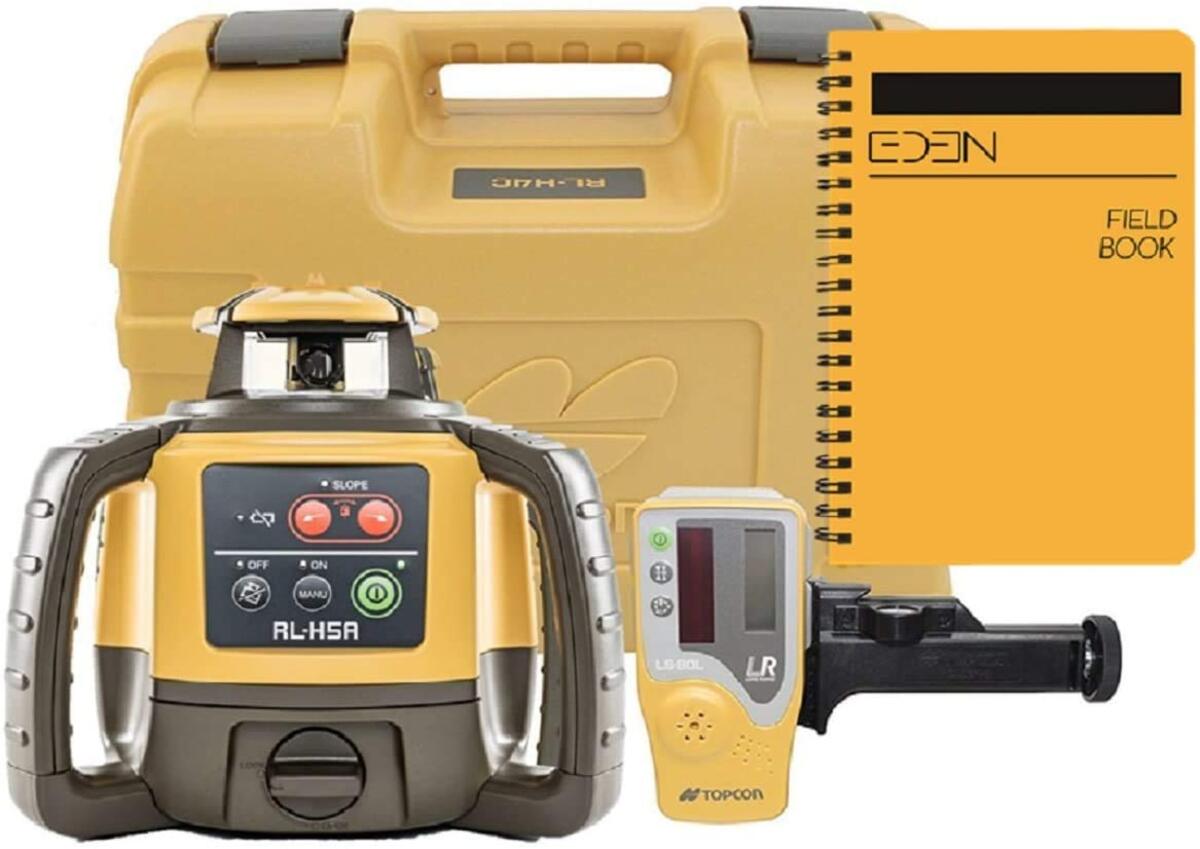
- Bosch Rotary Laser Level: Choose a Bosch rotary laser level that is suitable for your grading needs. Look for a model that offers self-leveling capabilities and a long-range projection for optimal accuracy.
- Mounting Bracket: A mounting bracket is essential for securely attaching the rotary laser level to the tractor. Make sure the bracket is compatible with both the laser level and the tractor’s mounting system.
- Tractor: You will need a tractor with a functioning mounting system to attach the laser level. Ensure that the tractor is in good working condition and has ample power for the grading task.
- Measuring Tape: A measuring tape is essential for taking precise measurements while setting up the rotary laser level. Opt for a durable and accurate measuring tape that is easy to handle.
- Leveling Rod: A leveling rod is used to measure the height and slope of the land during the grading process. Choose a sturdy and adjustable leveling rod that can withstand outdoor conditions.
- Reflective Targets: Reflective targets are used to capture the laser beam and measure elevation changes. Make sure to have a set of reliable reflective targets that are compatible with the Bosch rotary laser level.
- Safety Gear: Always prioritize safety when working with heavy machinery. Wear appropriate safety gear such as gloves, safety goggles, and sturdy work boots to protect yourself during the mounting process.
By having these tools and materials ready before you start, you can streamline the mounting process and ensure that you have everything you need to achieve accurate grading results.
Step 1: Choosing the Right Location for Mounting
Before you mount your Bosch rotary laser level on the tractor, it’s crucial to choose the right location for optimal performance and accuracy. Here are some factors to consider when selecting the mounting location:
- Clear Line of Sight: Ensure that the mounting location offers a clear line of sight across the entire area you will be grading. Avoid obstructed areas such as dense vegetation, buildings, or uneven terrain that could interfere with the laser’s projection.
- Accessibility: Choose a location that is easily accessible for both the tractor and the operator. This will make it easier to set up and adjust the laser level as needed.
- Stable Surface: Look for a stable and level surface to mount the laser level. Uneven or unstable ground can cause inaccuracies in the grading process.
- Distance from Grading Area: Consider the distance between the mounting location and the actual grading area. Make sure it is within the range of the Bosch rotary laser level to ensure accurate measurements.
- Environmental Conditions: Take into account the environmental conditions, such as wind, rain, or extreme temperatures, that may affect the performance of the laser level. Choose a location that minimizes the impact of these factors.
Once you have identified the ideal mounting location, mark it using stakes or flags to assist you during the setup process. This will serve as a reference point when aligning the laser level with the desired grading area.
By carefully considering these factors and selecting the right mounting location, you can ensure that the Bosch rotary laser level performs optimally and provides accurate measurements throughout the grading process.
Step 2: Preparing the Tractor
Before you can mount the Bosch rotary laser level onto the tractor, it is essential to prepare the tractor for the grading task. Follow these steps to ensure that the tractor is ready:
- Clean the Tractor: Start by cleaning the tractor to remove any dirt, debris, or grease that may interfere with the mounting process. Use a brush or a cloth to wipe down the surfaces thoroughly.
- Inspect the Mounting System: Check the tractor’s mounting system to ensure that it is in good working condition. Look for any signs of wear or damage that could compromise the stability of the laser level.
- Check Power Source: Verify that the tractor’s power source is fully charged or has enough fuel to complete the grading task. Running out of power in the middle of the project can cause delays and disrupt the leveling process.
- Attach the Mounting Bracket: If the tractor does not already have a mounting bracket, attach one that is compatible with both the laser level and the tractor’s mounting system. Follow the manufacturer’s instructions to ensure a secure and proper installation.
- Tighten all Connections: Double-check all connections and fasteners to ensure they are tightened securely. Loose connections can cause the laser level to shift or vibrate during operation, leading to inaccurate measurements.
- Ensure Proper Stability: Make sure that the tractor is on a level surface to maintain stability while operating the laser level. Adjust the tractor’s leveling mechanism if necessary.
By adequately preparing the tractor before mounting the Bosch rotary laser level, you can minimize the risk of equipment malfunctions and ensure a smooth and efficient grading process.
Step 3: Mounting the Rotary Laser Level
With the tractor prepared, it’s time to mount the Bosch rotary laser level securely. Follow these steps to ensure a proper and stable installation:
- Position the Laser Level: Place the rotary laser level on the mounting bracket, ensuring that it is properly aligned and centered. Make sure the laser level is securely seated and does not wobble or tilt.
- Engage the Locking Mechanism: If your mounting bracket has a locking mechanism, engage it to secure the laser level in place. This will prevent any unintentional movement during operation.
- Tighten the Mounting Screws: Use the appropriate tools to tighten the mounting screws or clamps on the bracket, ensuring a firm connection between the laser level and the tractor. Double-check the tightness of the screws to minimize the risk of loosening while in use.
- Verify Stability: Gently shake the laser level to check for stability. It should remain firmly attached to the tractor without any visible movement or shifting. If there is any instability, recheck the mounting screws and make any necessary adjustments.
- Attach the Power Source: Connect the power source of the Bosch rotary laser level to the tractor, following the manufacturer’s instructions. This will ensure that the laser level has the necessary power to operate efficiently during the grading process.
It’s important to take your time during the mounting process to ensure that the Bosch rotary laser level is securely attached to the tractor. A stable and properly mounted laser level will provide accurate and reliable results throughout the grading project.
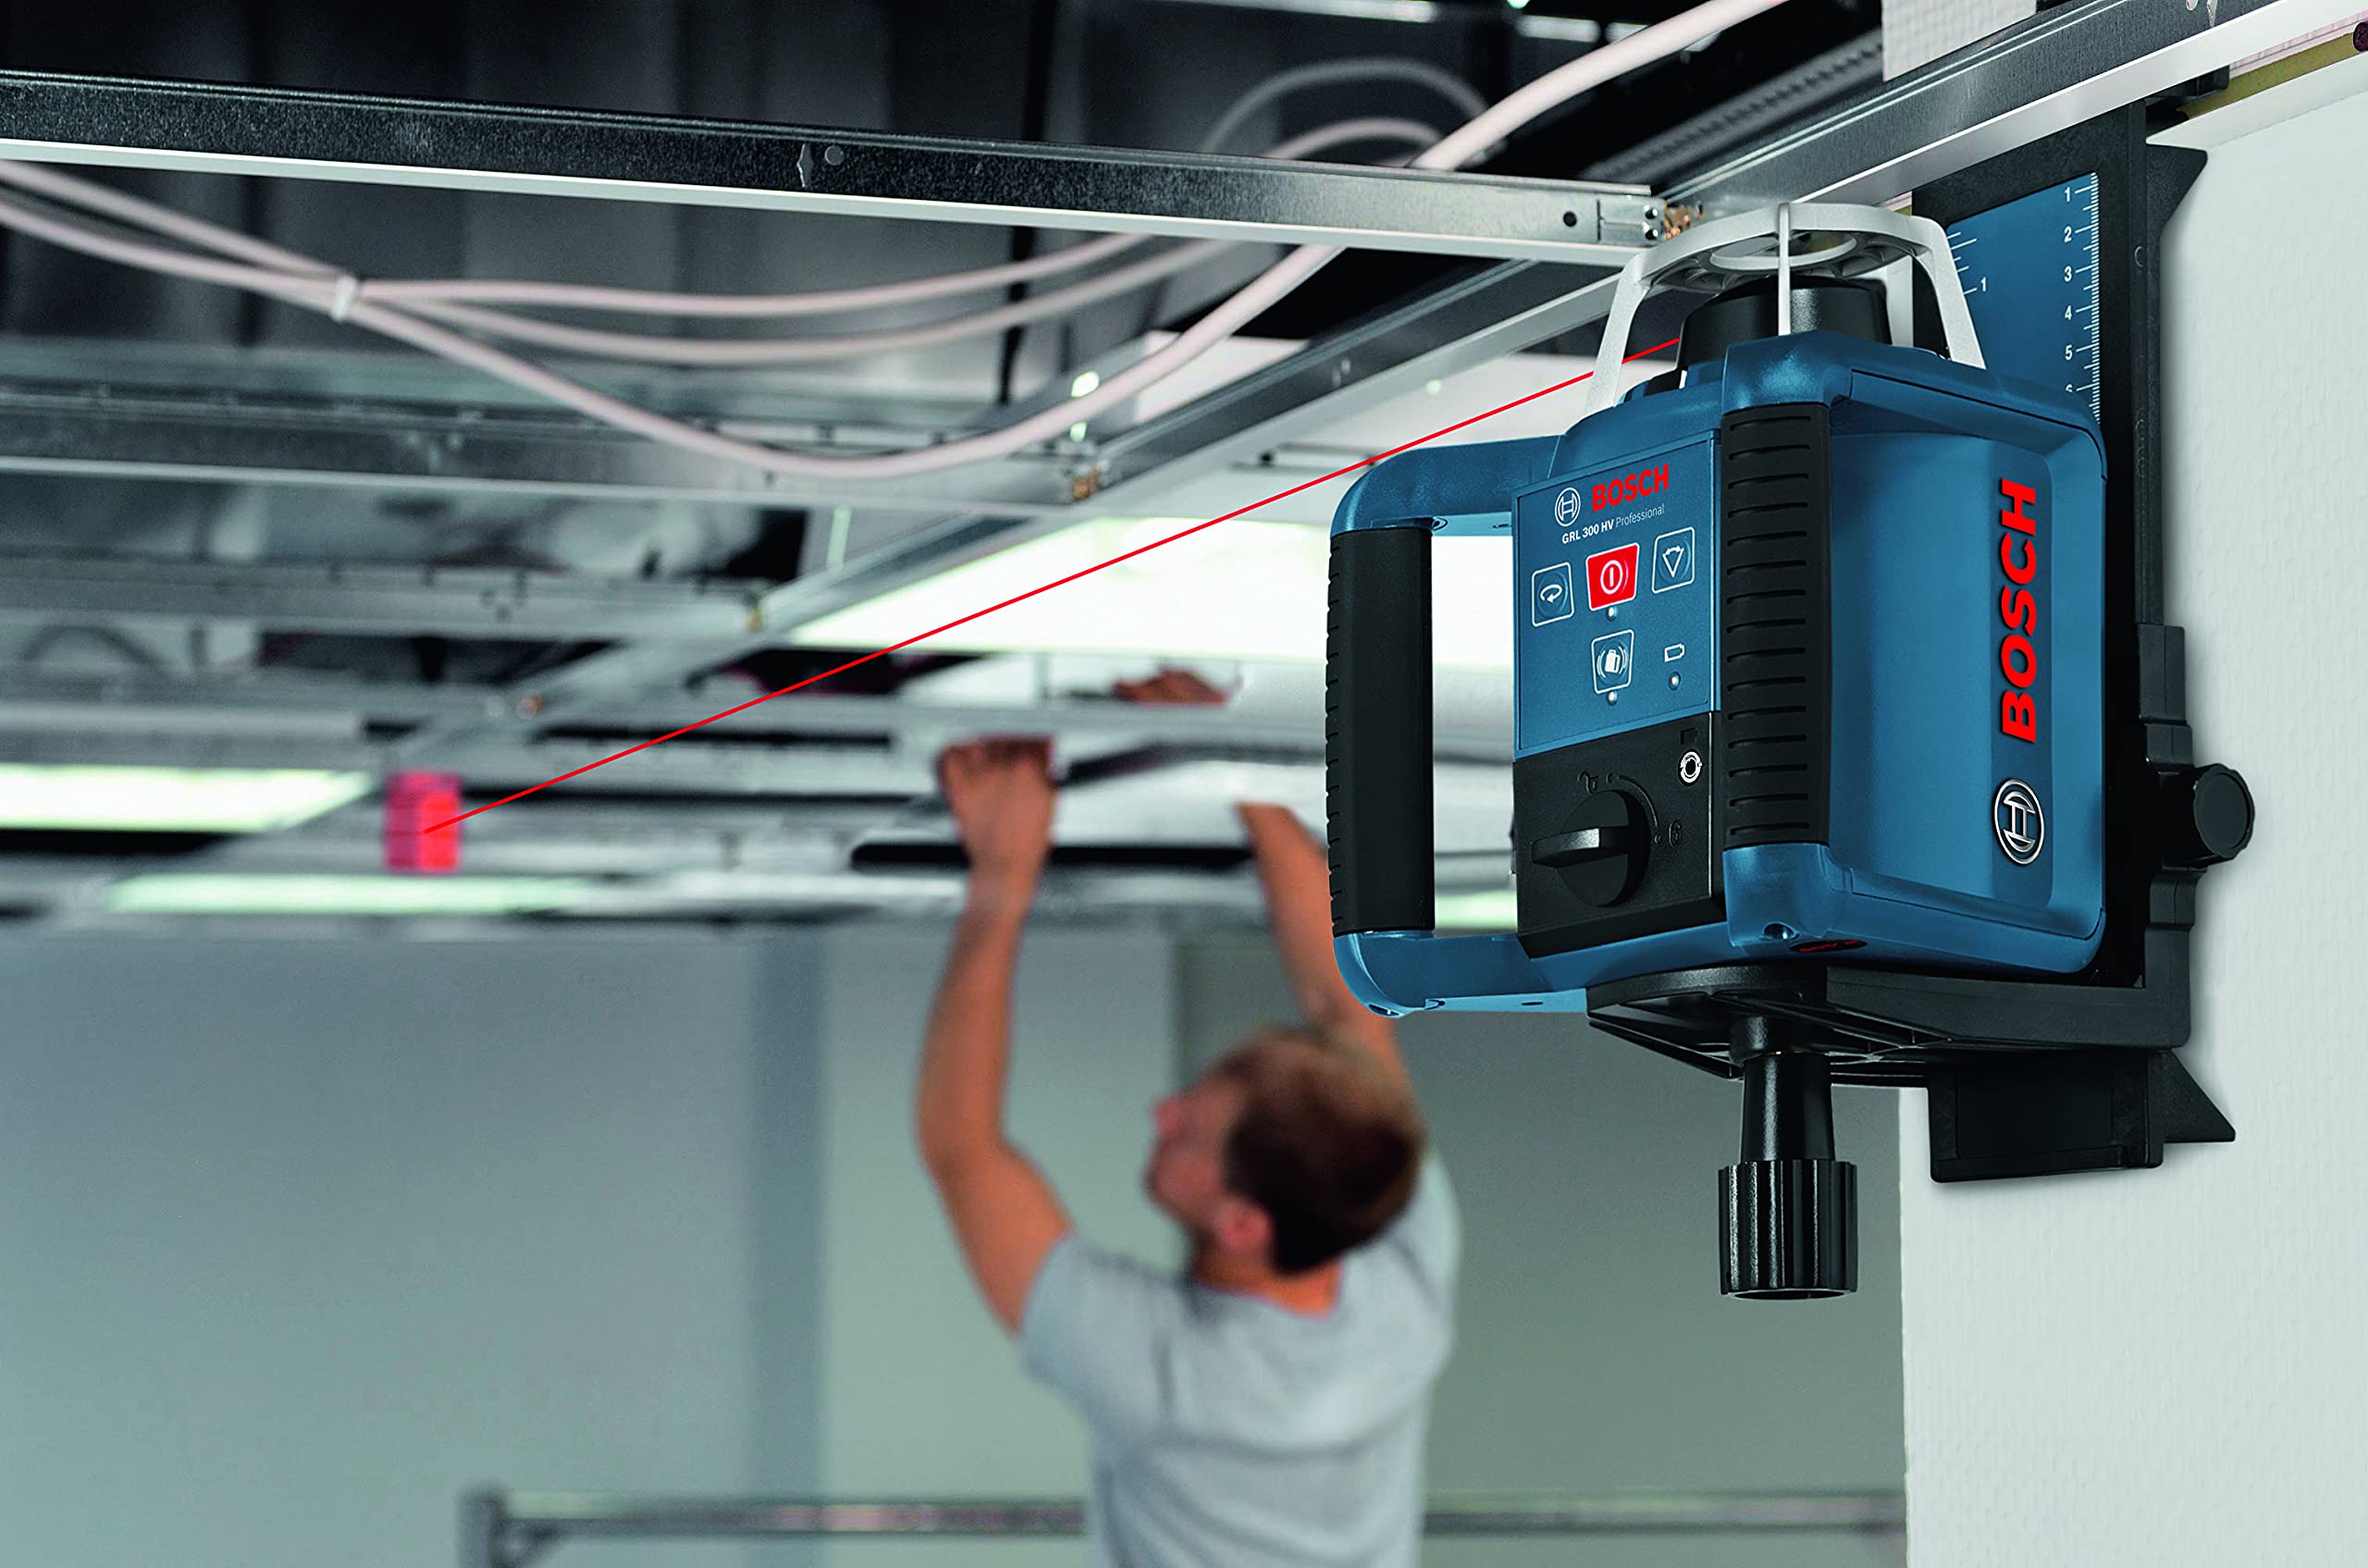
When mounting a Bosch rotary laser level for grading with a tractor, ensure that the laser is securely attached to a stable tripod or mounting bracket to prevent any movement or misalignment during the grading process.
Read more: Who Uses Rotary Laser Level
Step 4: Leveling the Rotary Laser
Once the Bosch rotary laser level is mounted on the tractor, the next step is to level it properly. Proper leveling is crucial to ensure accurate measurements and precise grading. Follow these steps to level the rotary laser:
- Power On the Laser Level: Turn on the Bosch rotary laser level and allow it to self-level. Most models have an automatic self-leveling feature, which will ensure that the laser beam is projected perfectly level.
- Position the Laser Level: Position the tractor on a level surface in the desired grading area. Make sure the laser level is turned in the direction you want to project the laser beam for grading.
- Adjust the Laser Height: Use the leveling rod to measure the height of the laser beam at a known reference point. Adjust the height of the laser level until the beam hits the desired target height. This can be done by raising or lowering the mounting bracket on the tractor.
- Check for Levelness: Use a bubble level or the built-in leveling indicators on the Bosch rotary laser level to ensure that it is perfectly level. Adjust the mounting bracket or tractor as needed to achieve a level position.
- Verify Accuracy: Double-check the accuracy of the laser level by measuring the elevation at various points on the grading area. The laser beam should hit these points at the desired heights, ensuring a proper slope for grading.
It is crucial to take time to properly level the Bosch rotary laser level before proceeding with the grading process. Accurate leveling will provide reliable and consistent results, allowing for precise grading and leveling of the desired area.
Step 5: Calibrating the Rotary Laser Level
To ensure the accuracy of the Bosch rotary laser level, it is important to calibrate it before beginning the grading process. Calibration ensures that the laser level is aligned correctly and provides precise measurements. Follow these steps to calibrate the rotary laser level:
- Choose a Calibration Point: Select a stable and level reference point within the grading area. This point will serve as the baseline for calibration.
- Position the Laser Level: Position the tractor with the mounted laser level in a way that the laser beam is directed towards the calibration point.
- Rotate the Laser Level: Slowly rotate the laser level 360 degrees, allowing the laser beam to sweep across the calibration point. Take note of any discrepancies or deviations from the desired height.
- Adjust the Calibration Screws: Use the calibration screws on the laser level to make precise adjustments. Gradually raise or lower the laser beam until it aligns perfectly with the calibration point at every rotation.
- Repeat the Calibration Process: Repeat the calibration process at different angles and positions to ensure consistent accuracy throughout the entire grading area. Use additional calibration points if necessary.
- Verify Calibration: Once you have completed the calibration process, verify the accuracy of the laser level by testing it against various known elevations. The laser beam should align with the desired heights, confirming the calibration.
By calibrating the Bosch rotary laser level, you can ensure that it provides accurate and reliable measurements during the grading process. Calibration should be performed regularly to maintain the precision and performance of the laser level.
Step 6: Using the Rotary Laser Level for Grading
Now that the Bosch rotary laser level is mounted, leveled, and calibrated, it’s time to use it for grading. Follow these steps to effectively utilize the laser level during the grading process:
- Identify Grading Points: Determine the specific points on the grading area where you need to measure elevations or establish slopes. These points will guide you during the grading process.
- Set up Reflective Targets: Attach reflective targets to the predetermined grading points. These targets will capture the laser beam and allow you to measure elevation changes accurately.
- Position the Laser Level: Position the tractor with the mounted laser level at a suitable location where the laser beam can cover the entire grading area.
- Activate the Laser: Activate the laser level and allow it to project a horizontal or sloped laser beam across the grading area. Ensure that the beam hits the reflective targets at the desired heights.
- Measure Elevations: Use a leveling rod to measure the height of the laser beam at each reflective target. Record the elevation measurements to assess the accuracy of the grading process.
- Adjust as Needed: Based on the elevation measurements, make any necessary adjustments to achieve the desired slope or leveling. This may involve repositioning the tractor or adjusting the grading implements.
- Re-check and Repeat: Regularly re-check the elevation measurements and repeat the grading process as needed to ensure a consistent and accurate result.
By using the Bosch rotary laser level for grading, you can achieve precise and consistent results with minimal effort. The laser level’s ability to project a level or sloped beam allows for efficient and accurate grading of the desired area.
Step 7: Additional Tips and Precautions
As you utilize the Bosch rotary laser level for grading with a tractor, it’s important to keep in mind some additional tips and precautions. These will help ensure your safety and the accuracy of the grading process. Here are some important considerations:
- Weather Conditions: Avoid using the laser level in adverse weather conditions such as rain, strong winds, or fog. These conditions can affect the visibility and accuracy of the laser beam.
- Regular Maintenance: Keep the laser level and tractor well-maintained to ensure optimal performance. Clean the lenses of the laser level periodically to remove any dirt or debris that may obstruct the laser beam.
- Secure the Laser: Double-check the mounting screws and brackets of the laser level before each use. Ensure that they are tightened securely to prevent any accidental detachment while operating.
- Use Safety Gear: Always wear appropriate safety gear such as safety goggles, ear protection, and steel-toed boots when operating the tractor and laser level. This will protect you from any potential hazards and ensure a safe working environment.
- Consistent Measurements: Maintain a consistent measurement reference point throughout the grading process. This will help ensure uniformity in your grading results and promote accuracy in elevation measurements.
- Monitor Battery Life: Keep an eye on the battery life of the laser level. If it starts running low, replace or recharge the batteries to prevent any disruptions or inconsistencies in the grading process.
- Avoid Direct Sunlight: Direct sunlight can interfere with the visibility of the laser beam. If possible, work during early morning or late afternoon when the sun’s angle is lower, or use additional reflectors to increase visibility.
- Double-Check Grading Results: Once you have completed the grading process, double-check the accuracy of the results by measuring multiple points and comparing the elevations. This will help identify any potential errors or inconsistencies.
By following these additional tips and precautions, you can ensure a safer and more accurate grading process when using the Bosch rotary laser level with a tractor. Remember to prioritize safety and always exercise caution when operating heavy machinery.
Conclusion
Mounting a Bosch rotary laser level on a tractor for grading can significantly improve the efficiency and accuracy of your grading projects. By following the steps outlined in this article, you can ensure a smooth and successful process from start to finish.
First, choose the right location for mounting the laser level, ensuring a clear line of sight and accessibility. Prepare the tractor by cleaning it, inspecting the mounting system, and ensuring a stable surface. Then, securely mount the laser level on the tractor using a compatible bracket and tight fastenings.
Next, level the laser by allowing it to self-level and adjusting the height as needed. Calibrate the laser to ensure accurate measurements, using calibration points and adjusting screws. Once calibrated, utilize the laser level for grading by identifying grading points, setting up reflective targets, and measuring elevations.
Throughout the process, remember to adhere to additional tips and precautions, such as considering weather conditions, performing regular maintenance, and using proper safety gear. It is also important to consistently monitor battery life and double-check grading results for accuracy.
In conclusion, mounting a Bosch rotary laser level on a tractor for grading is a valuable technique that enhances the precision and efficiency of your grading projects. By carefully following the steps outlined in this article and considering the tips and precautions provided, you can achieve accurate and reliable grading results, saving time and resources while ensuring a level and even surface for your construction or landscaping projects.
Frequently Asked Questions about How To Mount A Bosch Rotary Laser Level For Grading With Tractor
Was this page helpful?
At Storables.com, we guarantee accurate and reliable information. Our content, validated by Expert Board Contributors, is crafted following stringent Editorial Policies. We're committed to providing you with well-researched, expert-backed insights for all your informational needs.


0 thoughts on “How To Mount A Bosch Rotary Laser Level For Grading With Tractor”