Articles
How To Sew A Pleated Bed Skirt
Modified: August 22, 2024
Learn how to sew a pleated bed skirt with our articles on bed skirt sewing techniques and tips. Create a beautiful and custom look for your bedroom.
(Many of the links in this article redirect to a specific reviewed product. Your purchase of these products through affiliate links helps to generate commission for Storables.com, at no extra cost. Learn more)
Introduction
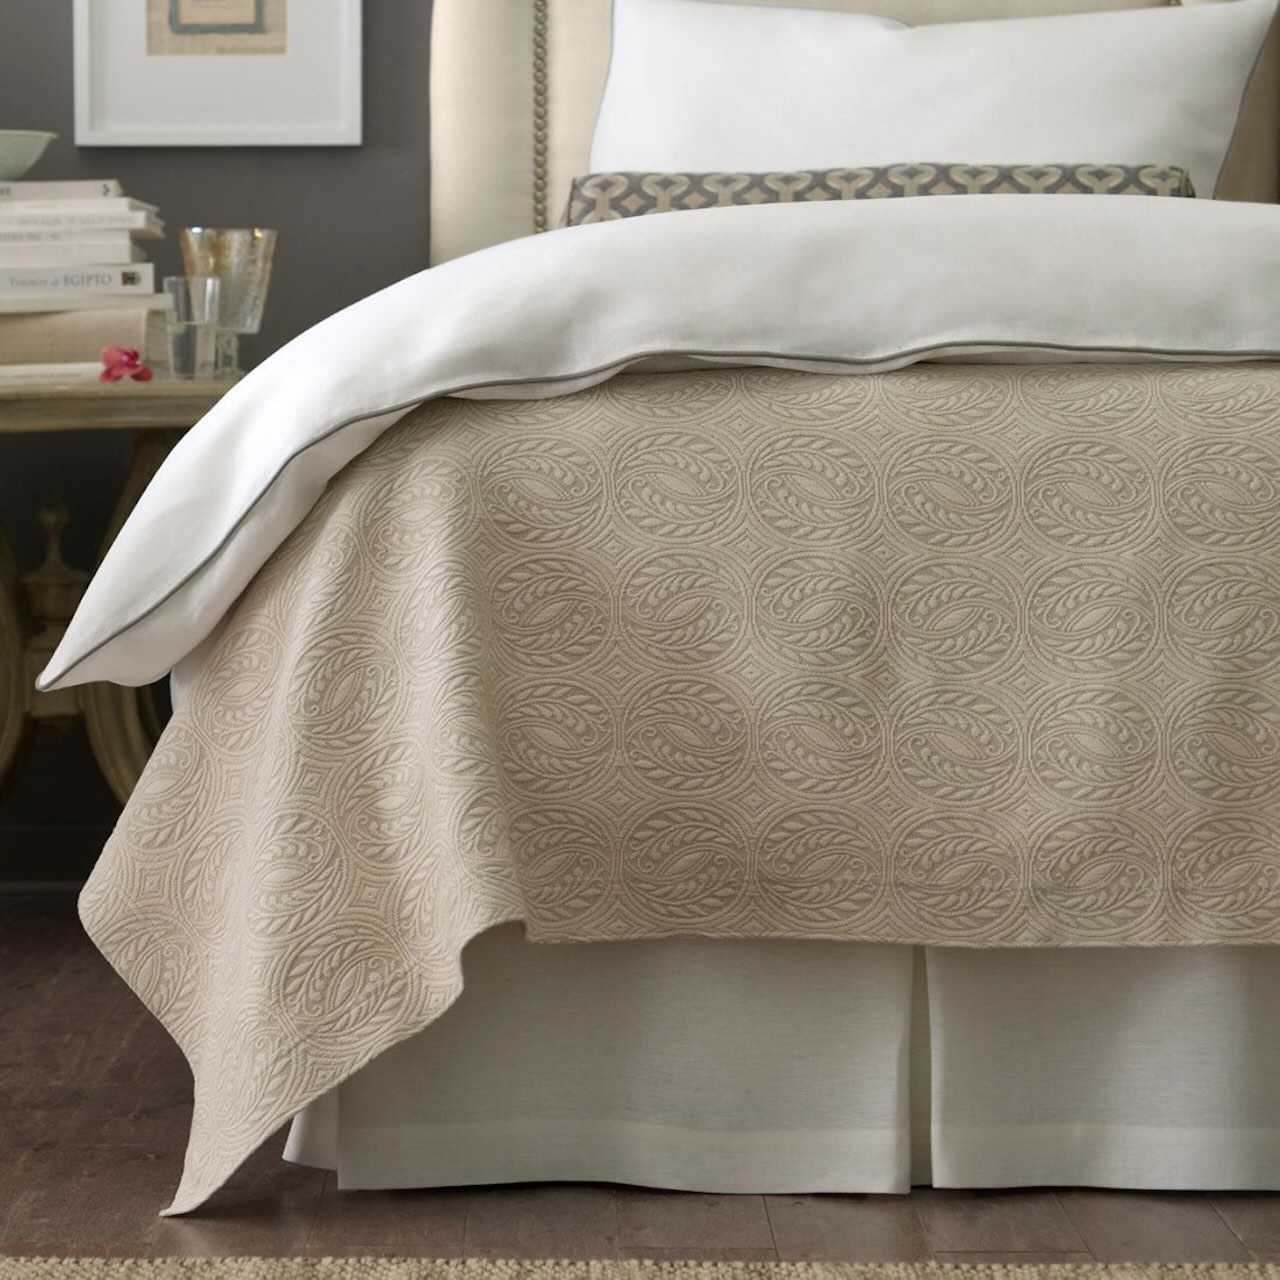
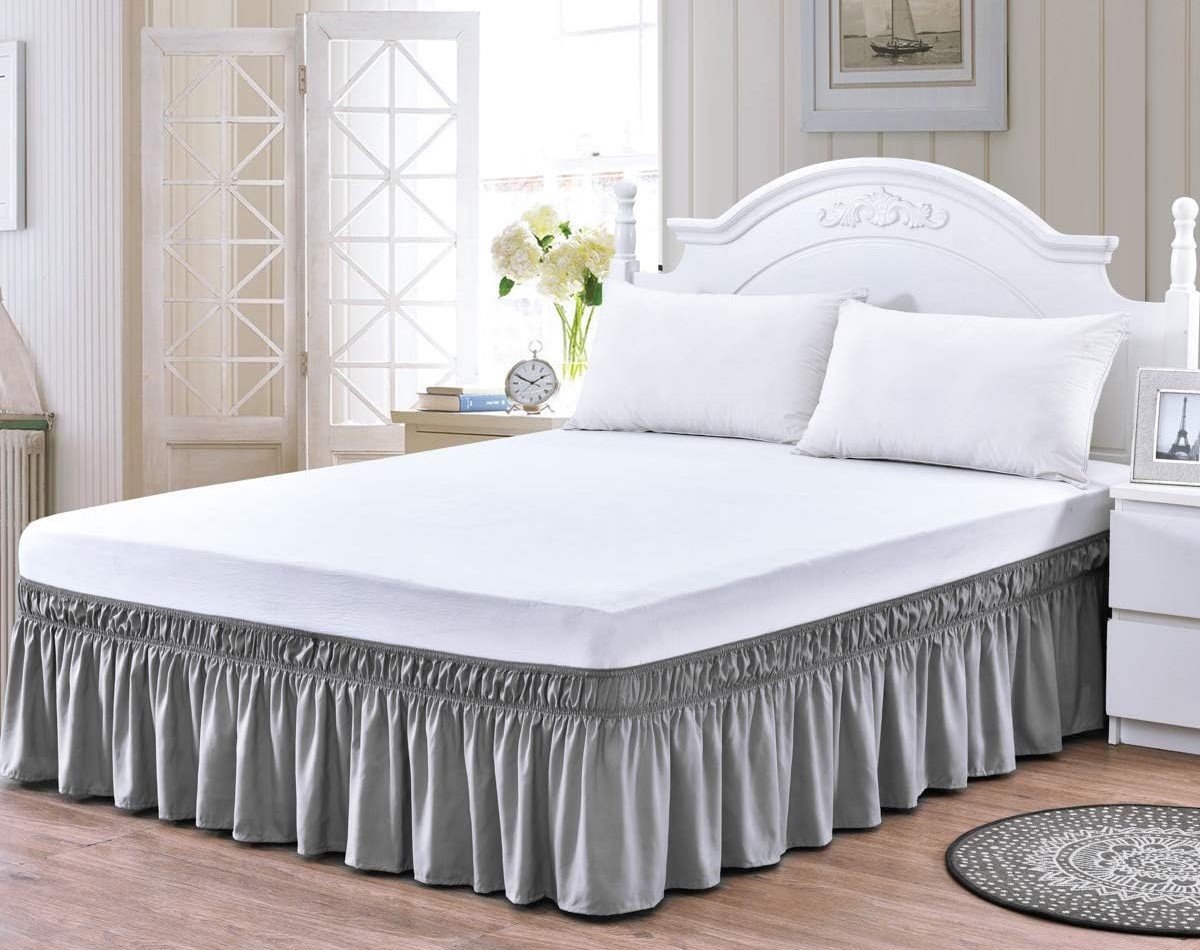
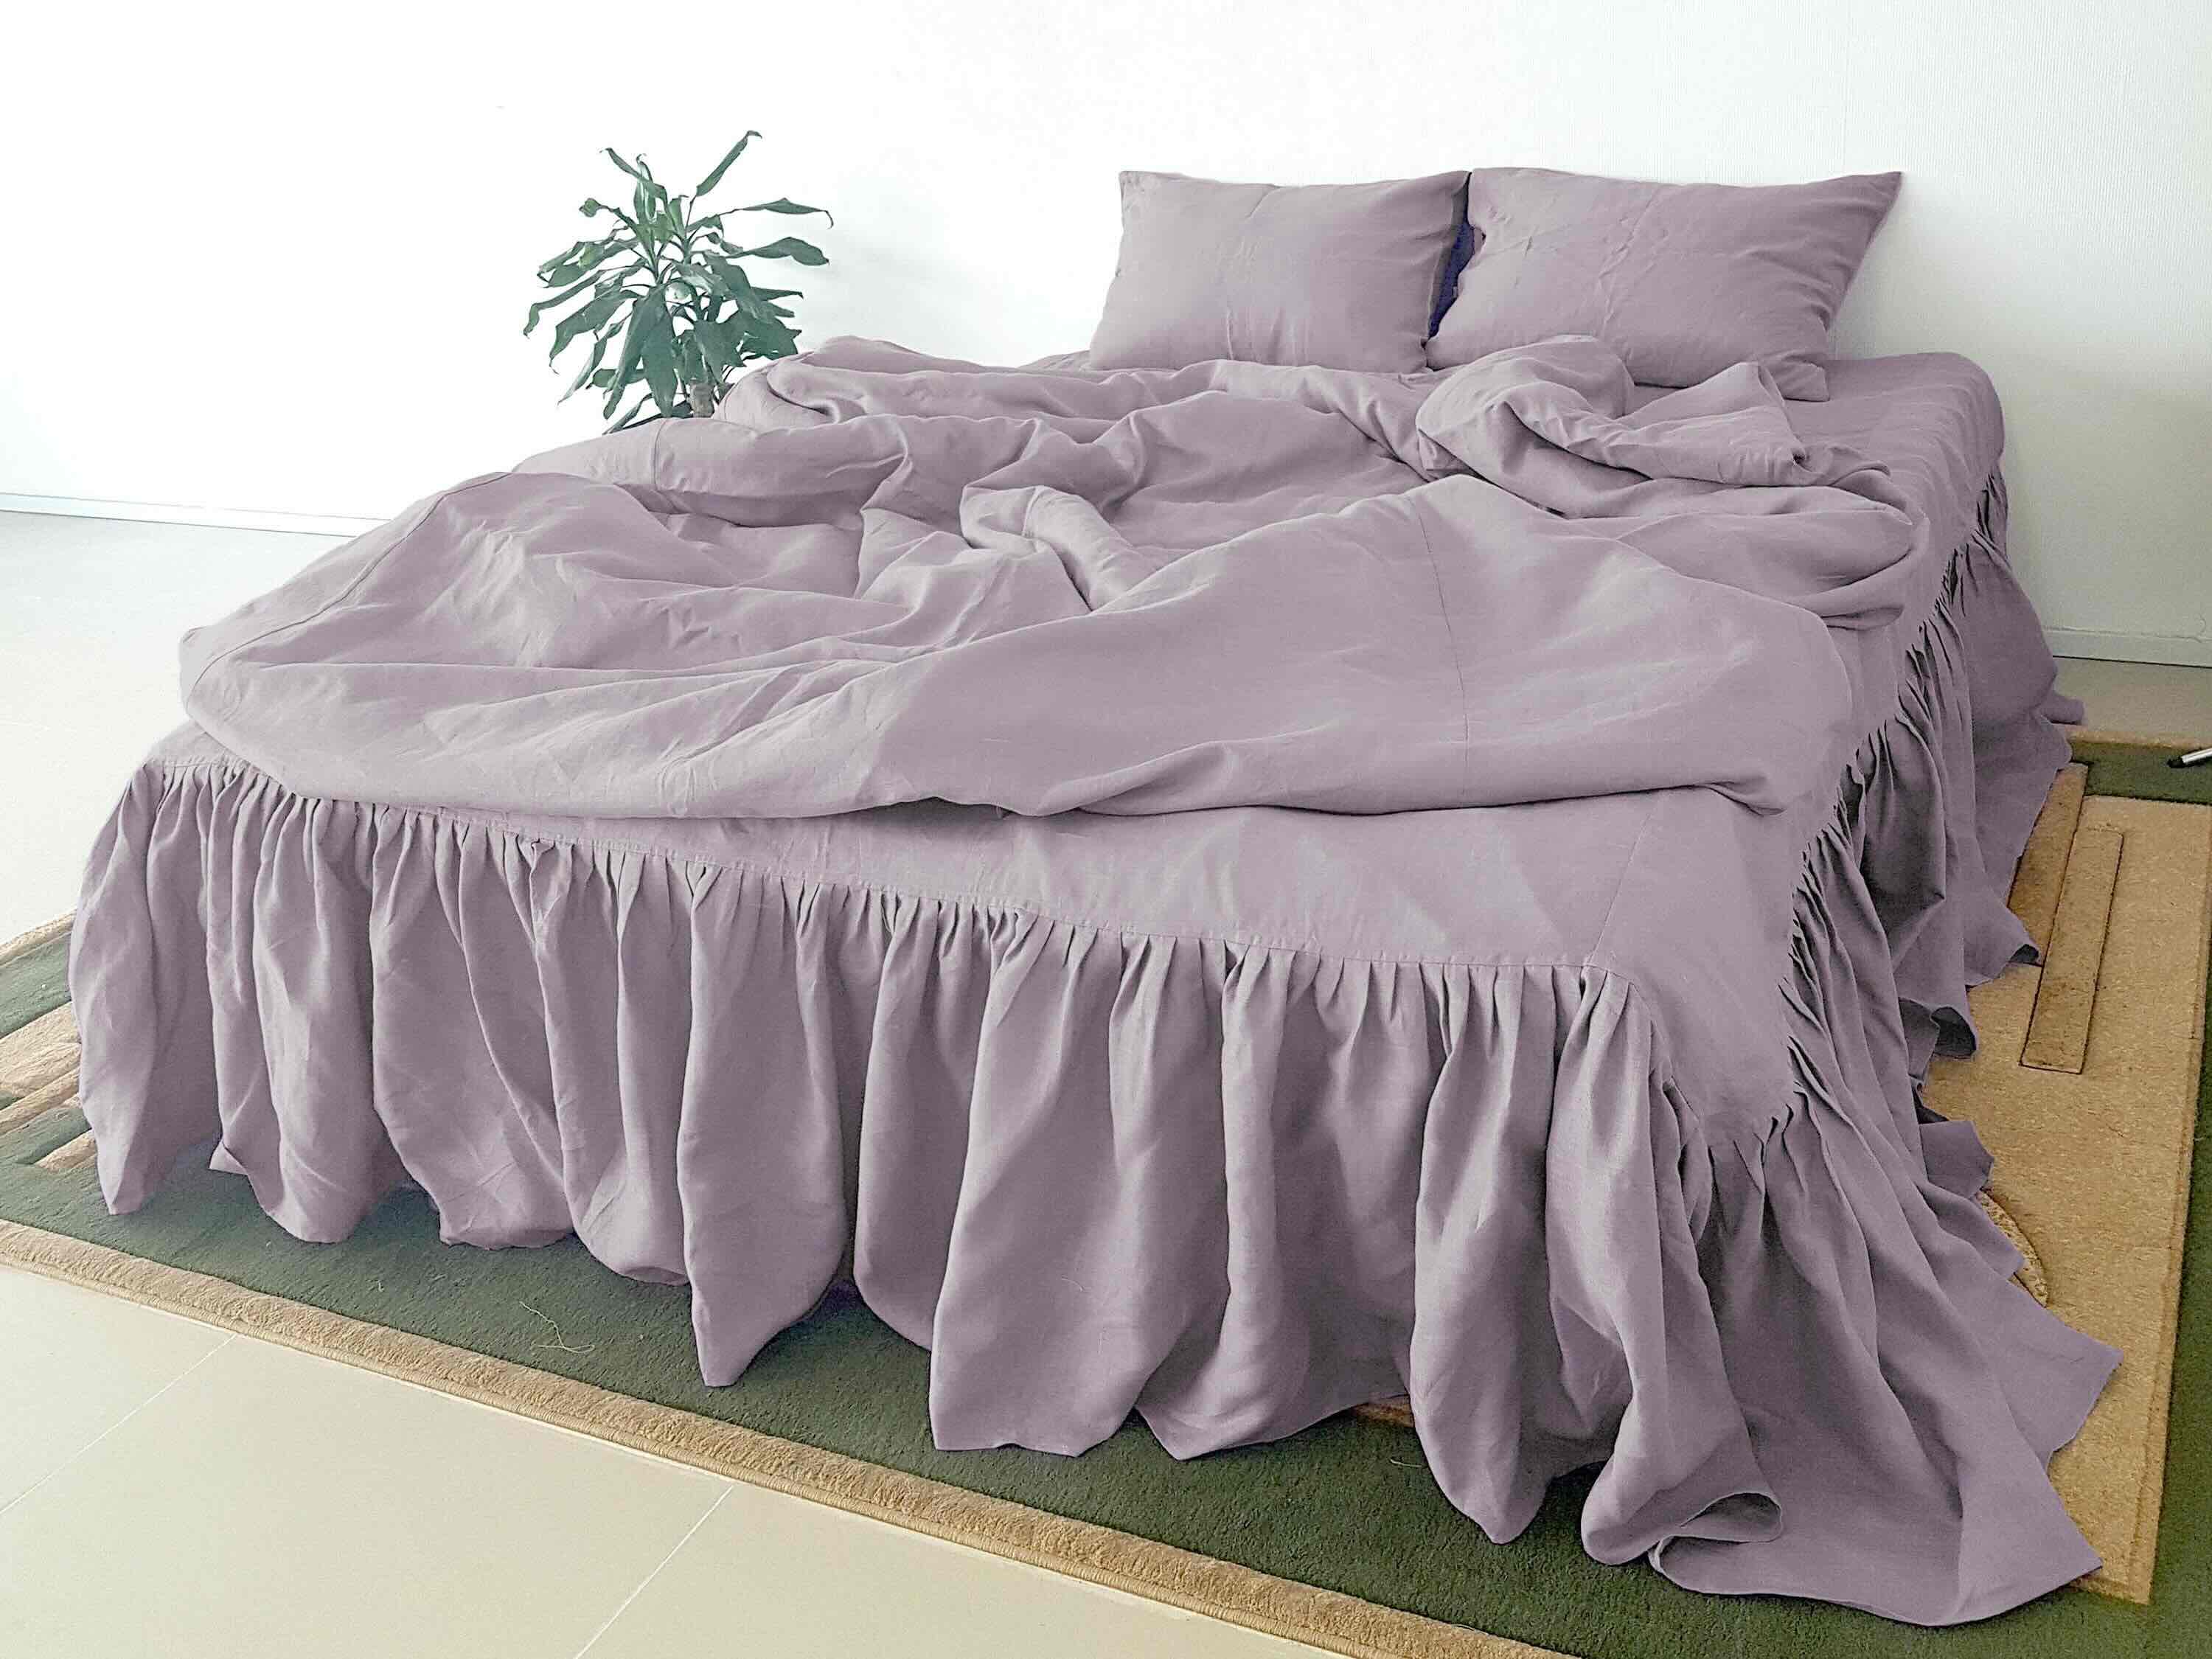
When it comes to decorating a bedroom, little details can make a big difference. One often overlooked element is the bed skirt. A bed skirt, also known as a dust ruffle, is a decorative piece of fabric that is placed between the mattress and the box spring. It not only adds a touch of elegance to the bed but also helps to hide any under-bed storage and create a cohesive look in the room.
If you’re looking to add a touch of sophistication to your bedroom decor, why not try sewing your own bed skirt? In this article, we’ll guide you through the process of creating a pleated bed skirt that will elevate the style of your bedroom.
Before we get started, let’s gather all of the materials you’ll need:
- Fabric of your choice
- Measuring tape
- Sewing machine
- Thread
- Pins
- Scissors
- Elastic band
- Iron
Now that we have everything we need, let’s prepare the fabric for our bed skirt.
Key Takeaways:
- Elevate your bedroom decor by sewing a pleated bed skirt to add elegance and sophistication while hiding under-bed storage. Follow the steps to create a professional-looking bed skirt that complements your style and fits your bed perfectly.
- Securely attach the bed skirt to the box spring using an elastic band for a snug fit that stays in place even with movement. Take your time, measure accurately, and sew with care to achieve a polished and tailored look.
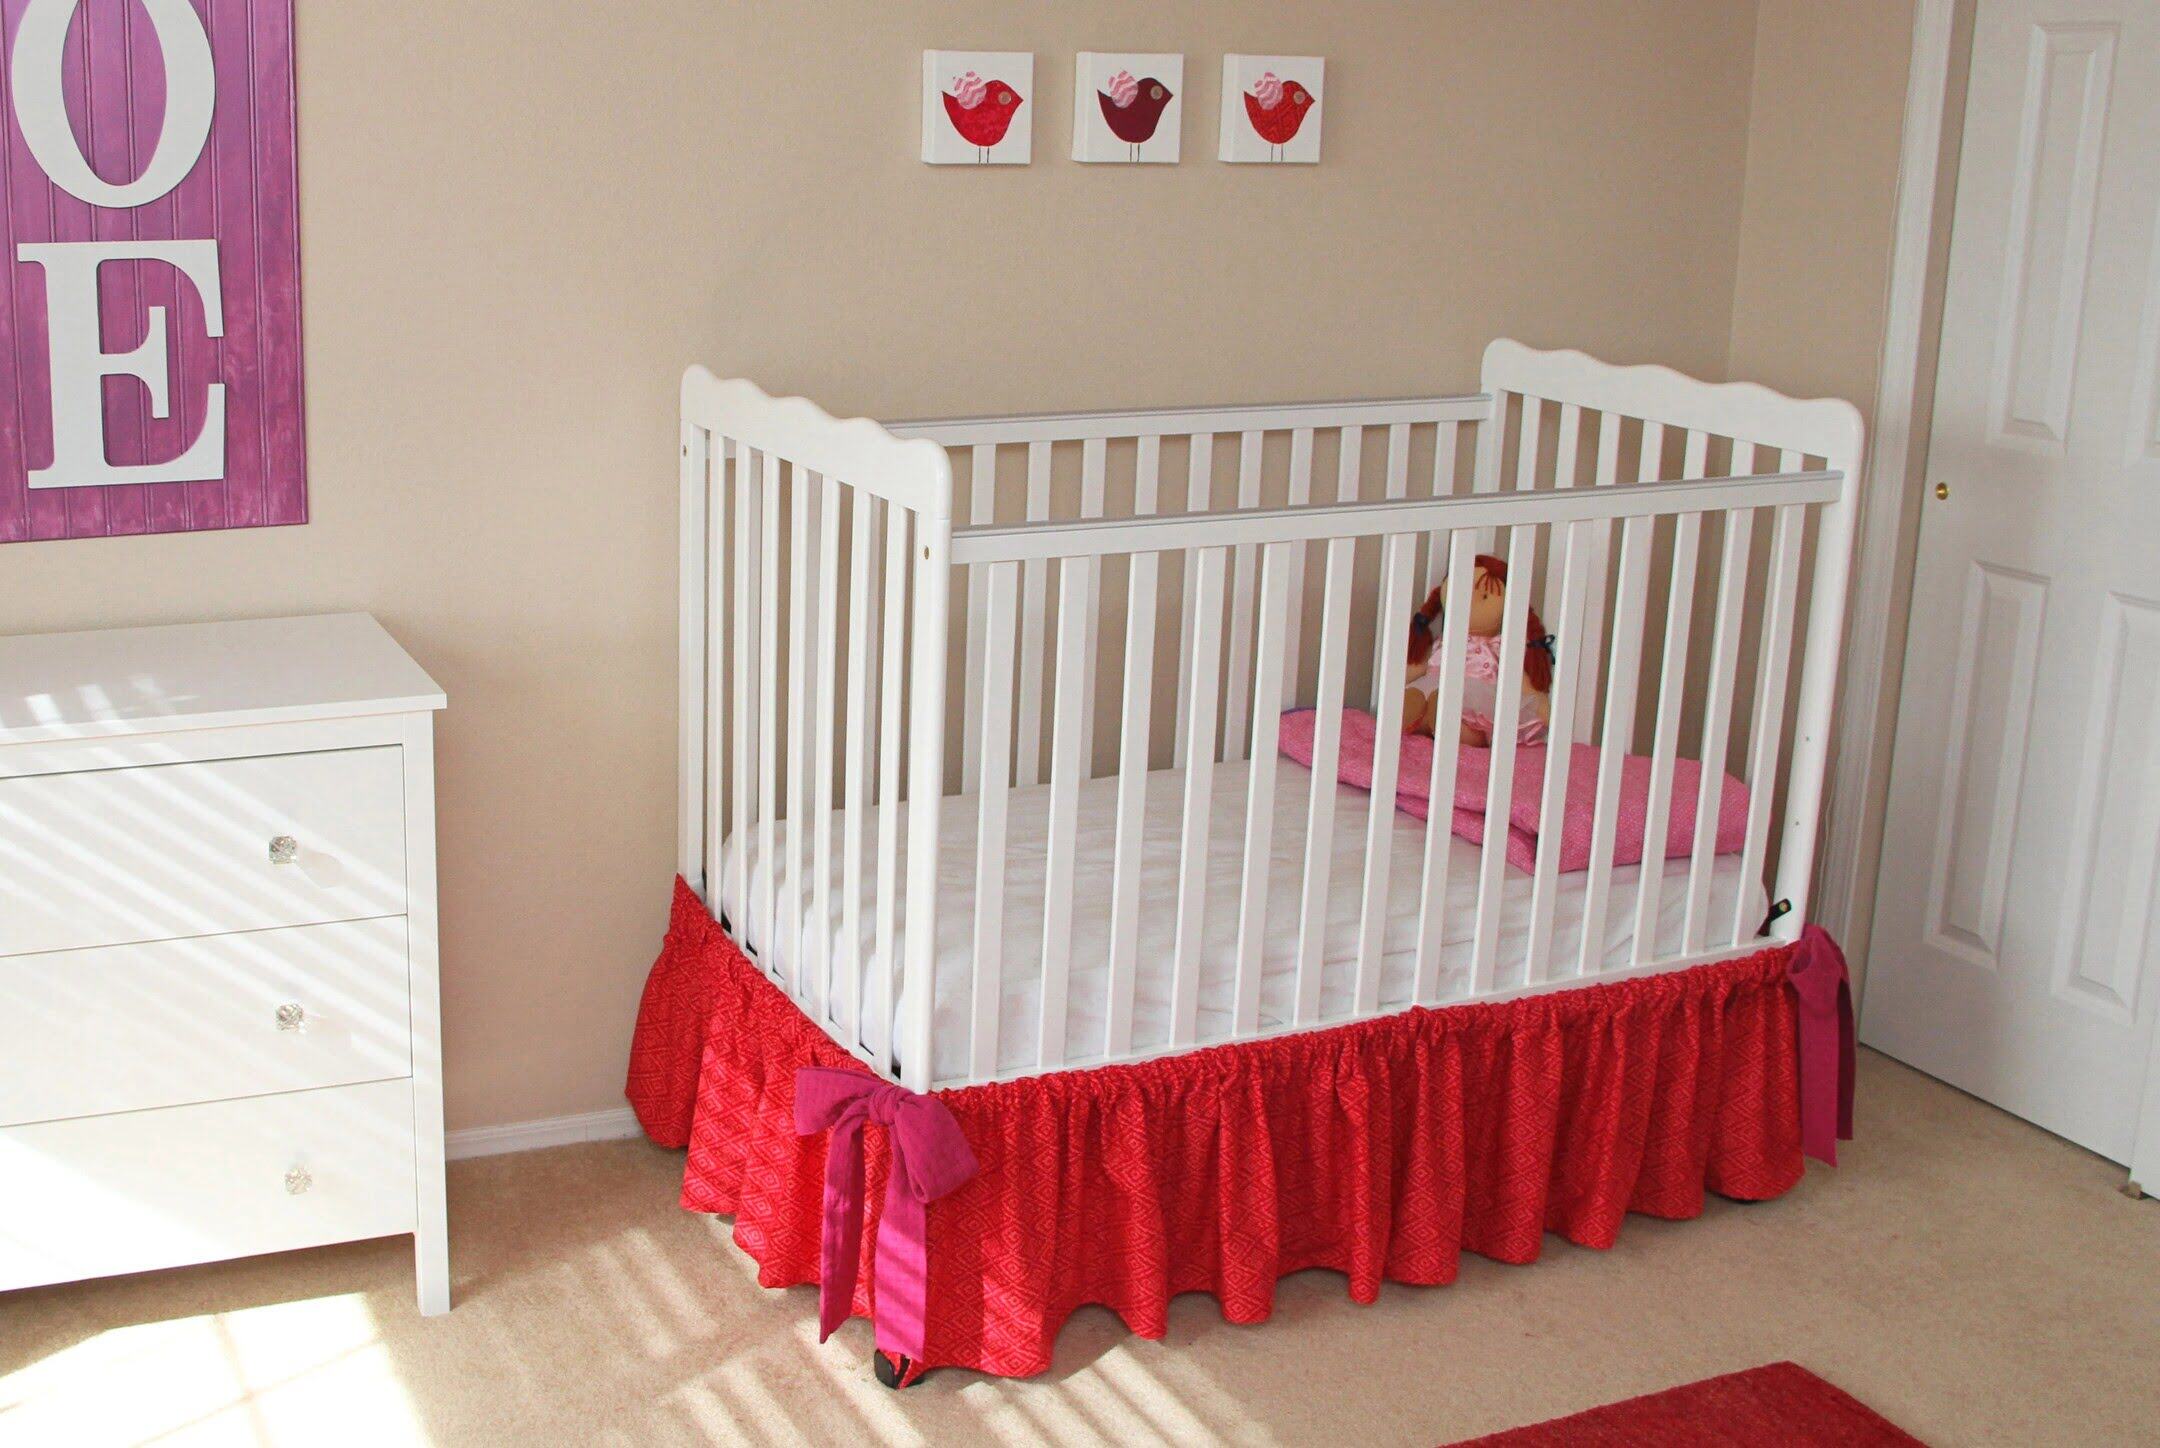
Read more: How To Make A Pleated Crib Bed Skirt
Materials Needed
Before you begin sewing your bed skirt, gather the following materials:
- Fabric of your choice: Select a fabric that complements your bedroom decor. The amount of fabric you’ll need will depend on the size of your bed and the length of the bed skirt. Measure the width and length of your bed and add a few inches to account for seam allowances. Consider using a medium-weight fabric like cotton or linen for a durable and elegant finish.
- Measuring tape: A measuring tape will help you accurately measure the dimensions of your bed and the fabric.
- Sewing machine: A sewing machine will make the sewing process much faster and easier. If you don’t have access to a sewing machine, you can hand stitch your bed skirt, but it may take longer.
- Thread: Choose a thread color that matches or complements your fabric. You’ll need enough thread to sew the entire bed skirt.
- Pins: Pins will be used to hold the fabric in place while sewing. They will help ensure accurate and even pleats.
- Scissors: Sharp fabric scissors are essential for cutting your fabric. They will help you achieve clean and precise cuts.
- Elastic band: An elastic band will be used to secure the bed skirt to the box spring, keeping it in place.
- Iron: An iron is useful for pressing the fabric to create crisp pleats and seams. It will give your bed skirt a polished and professional look.
Once you have gathered all of the materials, you’re ready to begin sewing your bed skirt.
Preparing the Fabric
Before you start cutting and sewing your bed skirt, it’s important to prepare your fabric for the best results. Follow these steps to ensure your fabric is ready for the sewing process:
- Wash and iron the fabric: If your fabric is washable, it’s a good idea to wash it before you start. This will remove any dirt or chemicals and prevent shrinkage later on. Once the fabric is clean, iron it to remove any wrinkles or creases. Pressing the fabric will make it easier to work with and ensure accurate measurements.
- Fold the fabric: Fold your fabric in half, with the right sides facing each other. This will create a double layer of fabric, which is necessary for sewing the bed skirt.
- Measure the fabric: Using your measuring tape, measure the width and length of your folded fabric. This will determine the size of your bed skirt. Be sure to leave a few extra inches on each side to account for seam allowances.
- Secure with pins: Once you have measured and marked the dimensions of your bed skirt, secure the layers of fabric together with pins. This will prevent the fabric from shifting as you cut and sew.
By following these steps, you’ll have your fabric prepared and ready to be transformed into a beautiful bed skirt. Now, it’s time to move on to measuring and cutting.
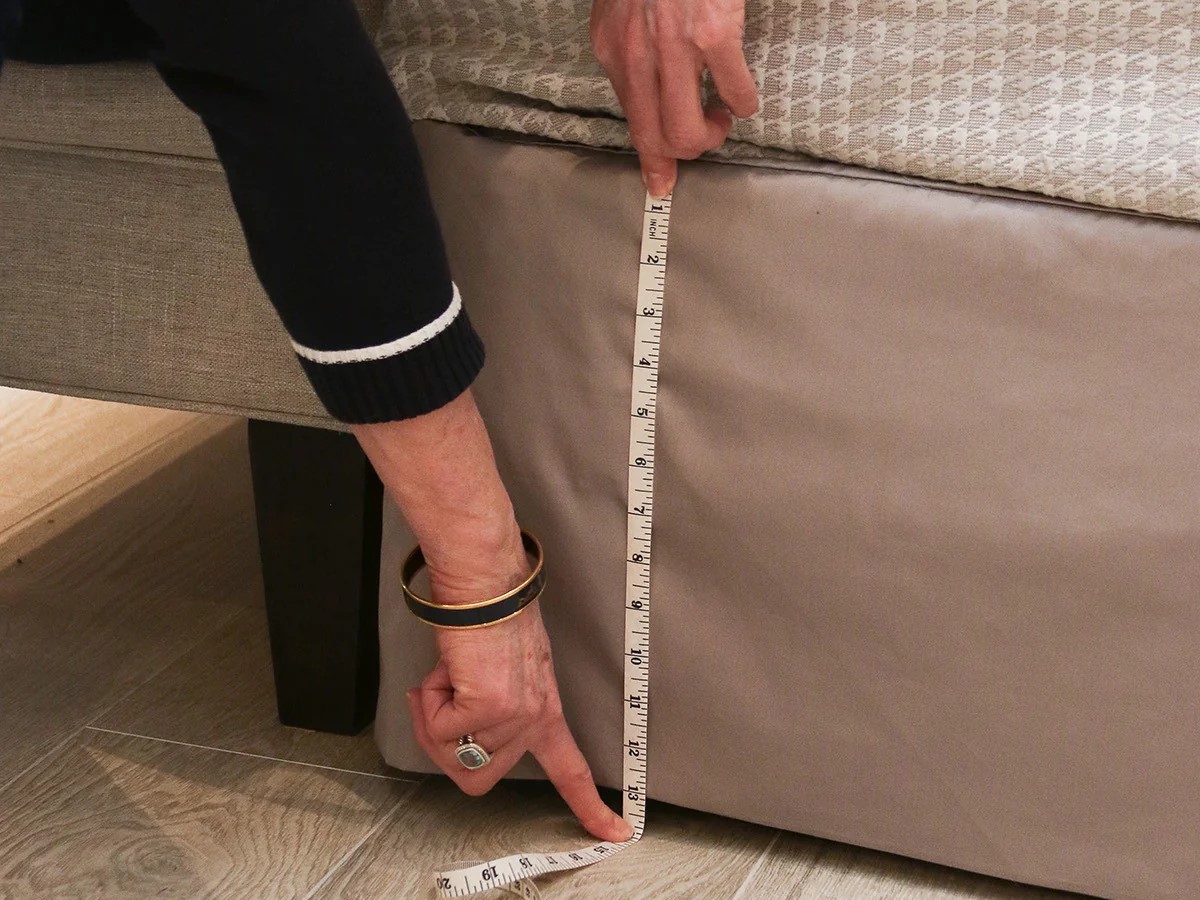
Measuring and Cutting
Now that your fabric is prepared, it’s time to measure and cut it to the appropriate size for your bed skirt. Follow these steps to ensure accurate measurements:
- Measure the length: Start by measuring the distance from the top of the box spring to the desired length of your bed skirt. Take into account any additional height you want to add for a more dramatic look. Write down this measurement as the length of your bed skirt.
- Measure the width: Next, measure the distance around the perimeter of your bed. Take this measurement and add a few inches to allow for fullness and gathers. Write down this measurement as the width of your bed skirt.
- Mark the measurements: Using a fabric marker or chalk, mark the measurements on your fabric. Use a ruler or a straight edge to ensure straight lines and precise markings.
- Cut the fabric: With the measurements marked, use your fabric scissors to carefully cut along the lines. Take your time to achieve clean and straight edges.
Once you have finished cutting the fabric, set aside any remaining scraps for future projects. Now that you have the fabric cut to size, it’s time to move on to creating the pleats.
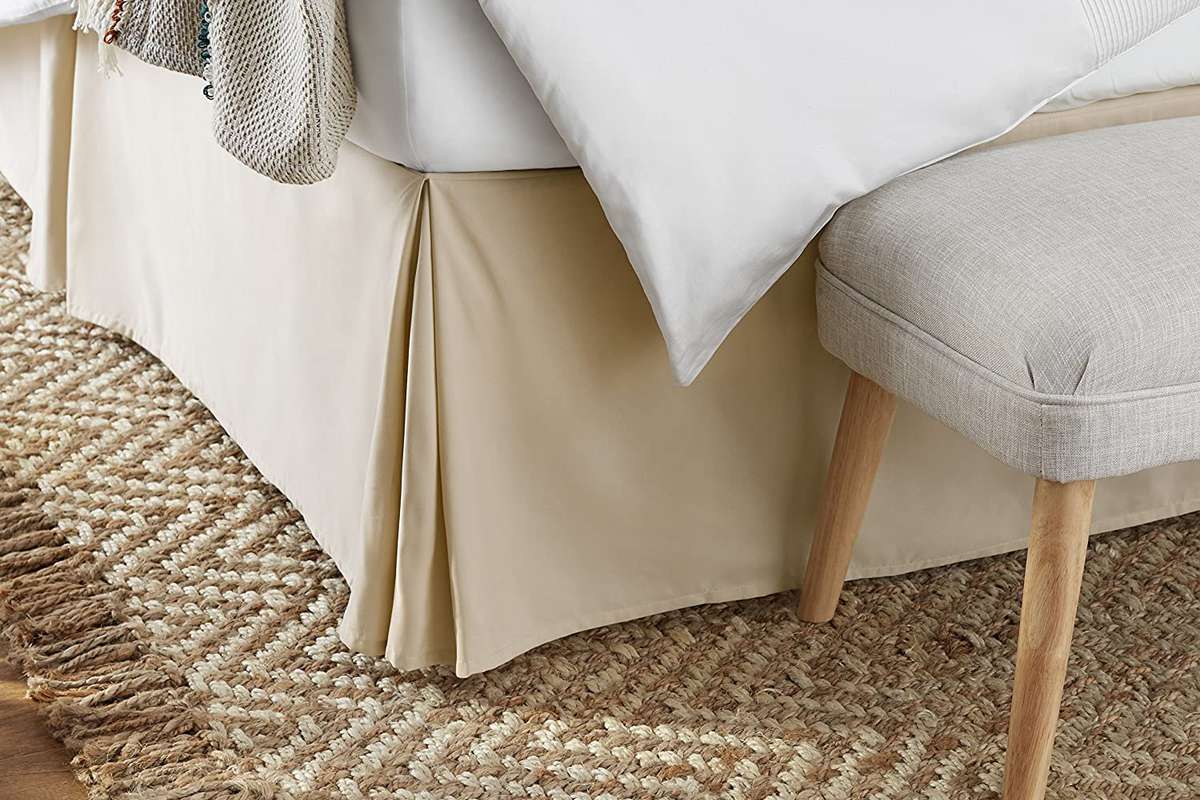
Creating the Pleats
Now it’s time to add some beautiful pleats to your bed skirt. Pleats not only give a neat and tailored look but also allow the fabric to drape elegantly. Follow these steps to create the pleats:
- Start at the center: Begin by folding the fabric in half lengthwise, with the right sides facing each other. This will help you locate the center of the fabric.
- Mark the pleat placement: Using pins or fabric markers, mark the pleat placement on the top folded edge of the fabric. Make sure the pleats are evenly spaced and aligned. You can experiment with different pleat widths, such as 2 inches or 3 inches, depending on the desired appearance.
- Create the pleats: To create each pleat, bring the marked pin or marker down to align with the bottom edge of the fabric. Fold the fabric along this line, creating a pleat. Secure the folded pleat using pins or clips. Repeat this process for all marked pleat placements along the top edge of the fabric.
It’s important to ensure that you have an equal number of pleats on each side of the bed skirt to maintain symmetry. Take your time to create neat and even pleats, as this will enhance the overall look of your bed skirt.
With the pleats in place, it’s time to move on to attaching the pleats to the fabric.
When sewing a pleated bed skirt, be sure to measure and mark your pleats evenly to ensure a professional and polished look. Use pins to hold the pleats in place before sewing for accuracy.
Read more: What Is A Bed Skirt For
Attaching the Pleats
Now that you have created the pleats, it’s time to secure them in place by attaching them to the fabric. Follow these steps to ensure the pleats are securely attached:
- Remove the pins or clips from the pleats, one at a time.
- Using your sewing machine, stitch a straight line across the top of the pleat, about a quarter-inch from the edge of the fabric. This will secure the pleat in place.
- Continue stitching across all the pleats, making sure to backstitch at the beginning and end of each pleat to reinforce the stitching.
As you sew the pleats, take care to maintain an even distance from the top edge of the fabric. This will ensure that the pleats are securely attached and create a crisp and polished look.
Once you have attached all the pleats, take a moment to press them with an iron. This will help set the pleats and give them a professional appearance.
With the pleats securely attached, it’s time to move on to hemming the skirt.
Hemming the Skirt
Now that the pleats are attached, it’s time to hem the edges of the bed skirt. Hemming will give your bed skirt a finished look and prevent fraying. Follow these steps to hem the skirt:
- Measure the desired length for the hem. Depending on your preference, you can choose a narrow hem or a wider hem.
- Mark the hemline with pins or fabric markers, ensuring that the hemline is even all around the bed skirt. Consider using a ruler or a straight edge to guide your markings.
- Fold the fabric at the hemline and press it with an iron to create a crisp fold.
- Secure the folded hem with pins or clips, making sure the fabric is evenly folded and the edges align.
- Using your sewing machine, stitch along the folded hemline, about a quarter-inch from the edge. Backstitch at the beginning and end to secure the stitches.
Take your time when hemming the bed skirt to ensure neat and even stitching. Press the hemline once again after sewing to give it a polished finish.
With the hem complete, your bed skirt is almost ready to be attached to the bed. But first, let’s explore how to secure the bed skirt to the box spring using an elastic band.
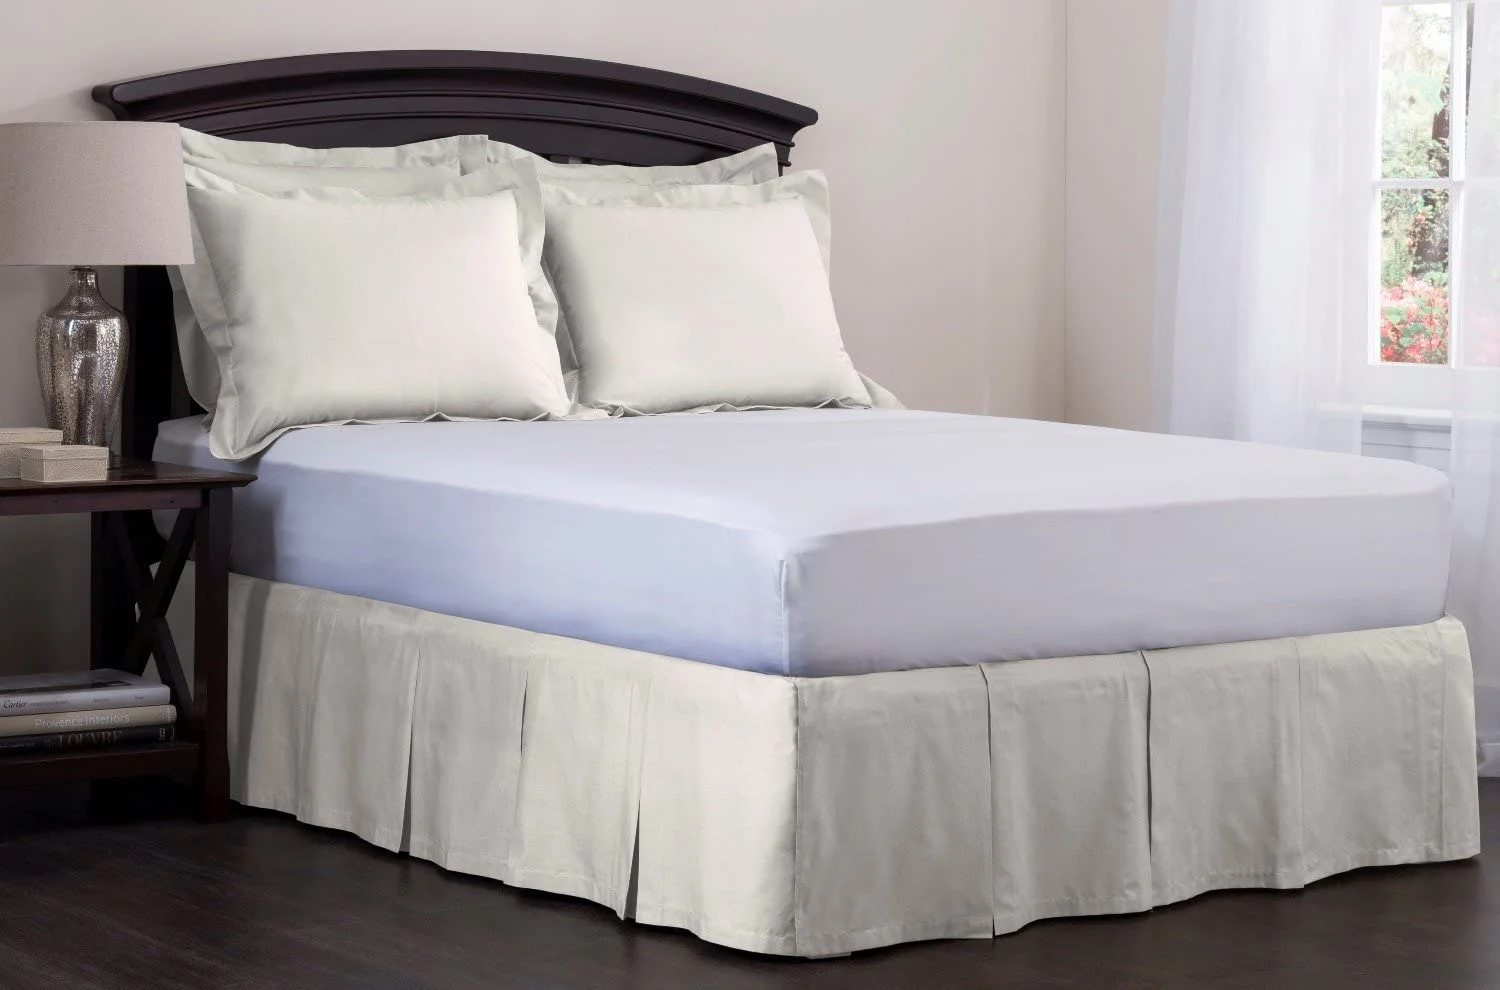
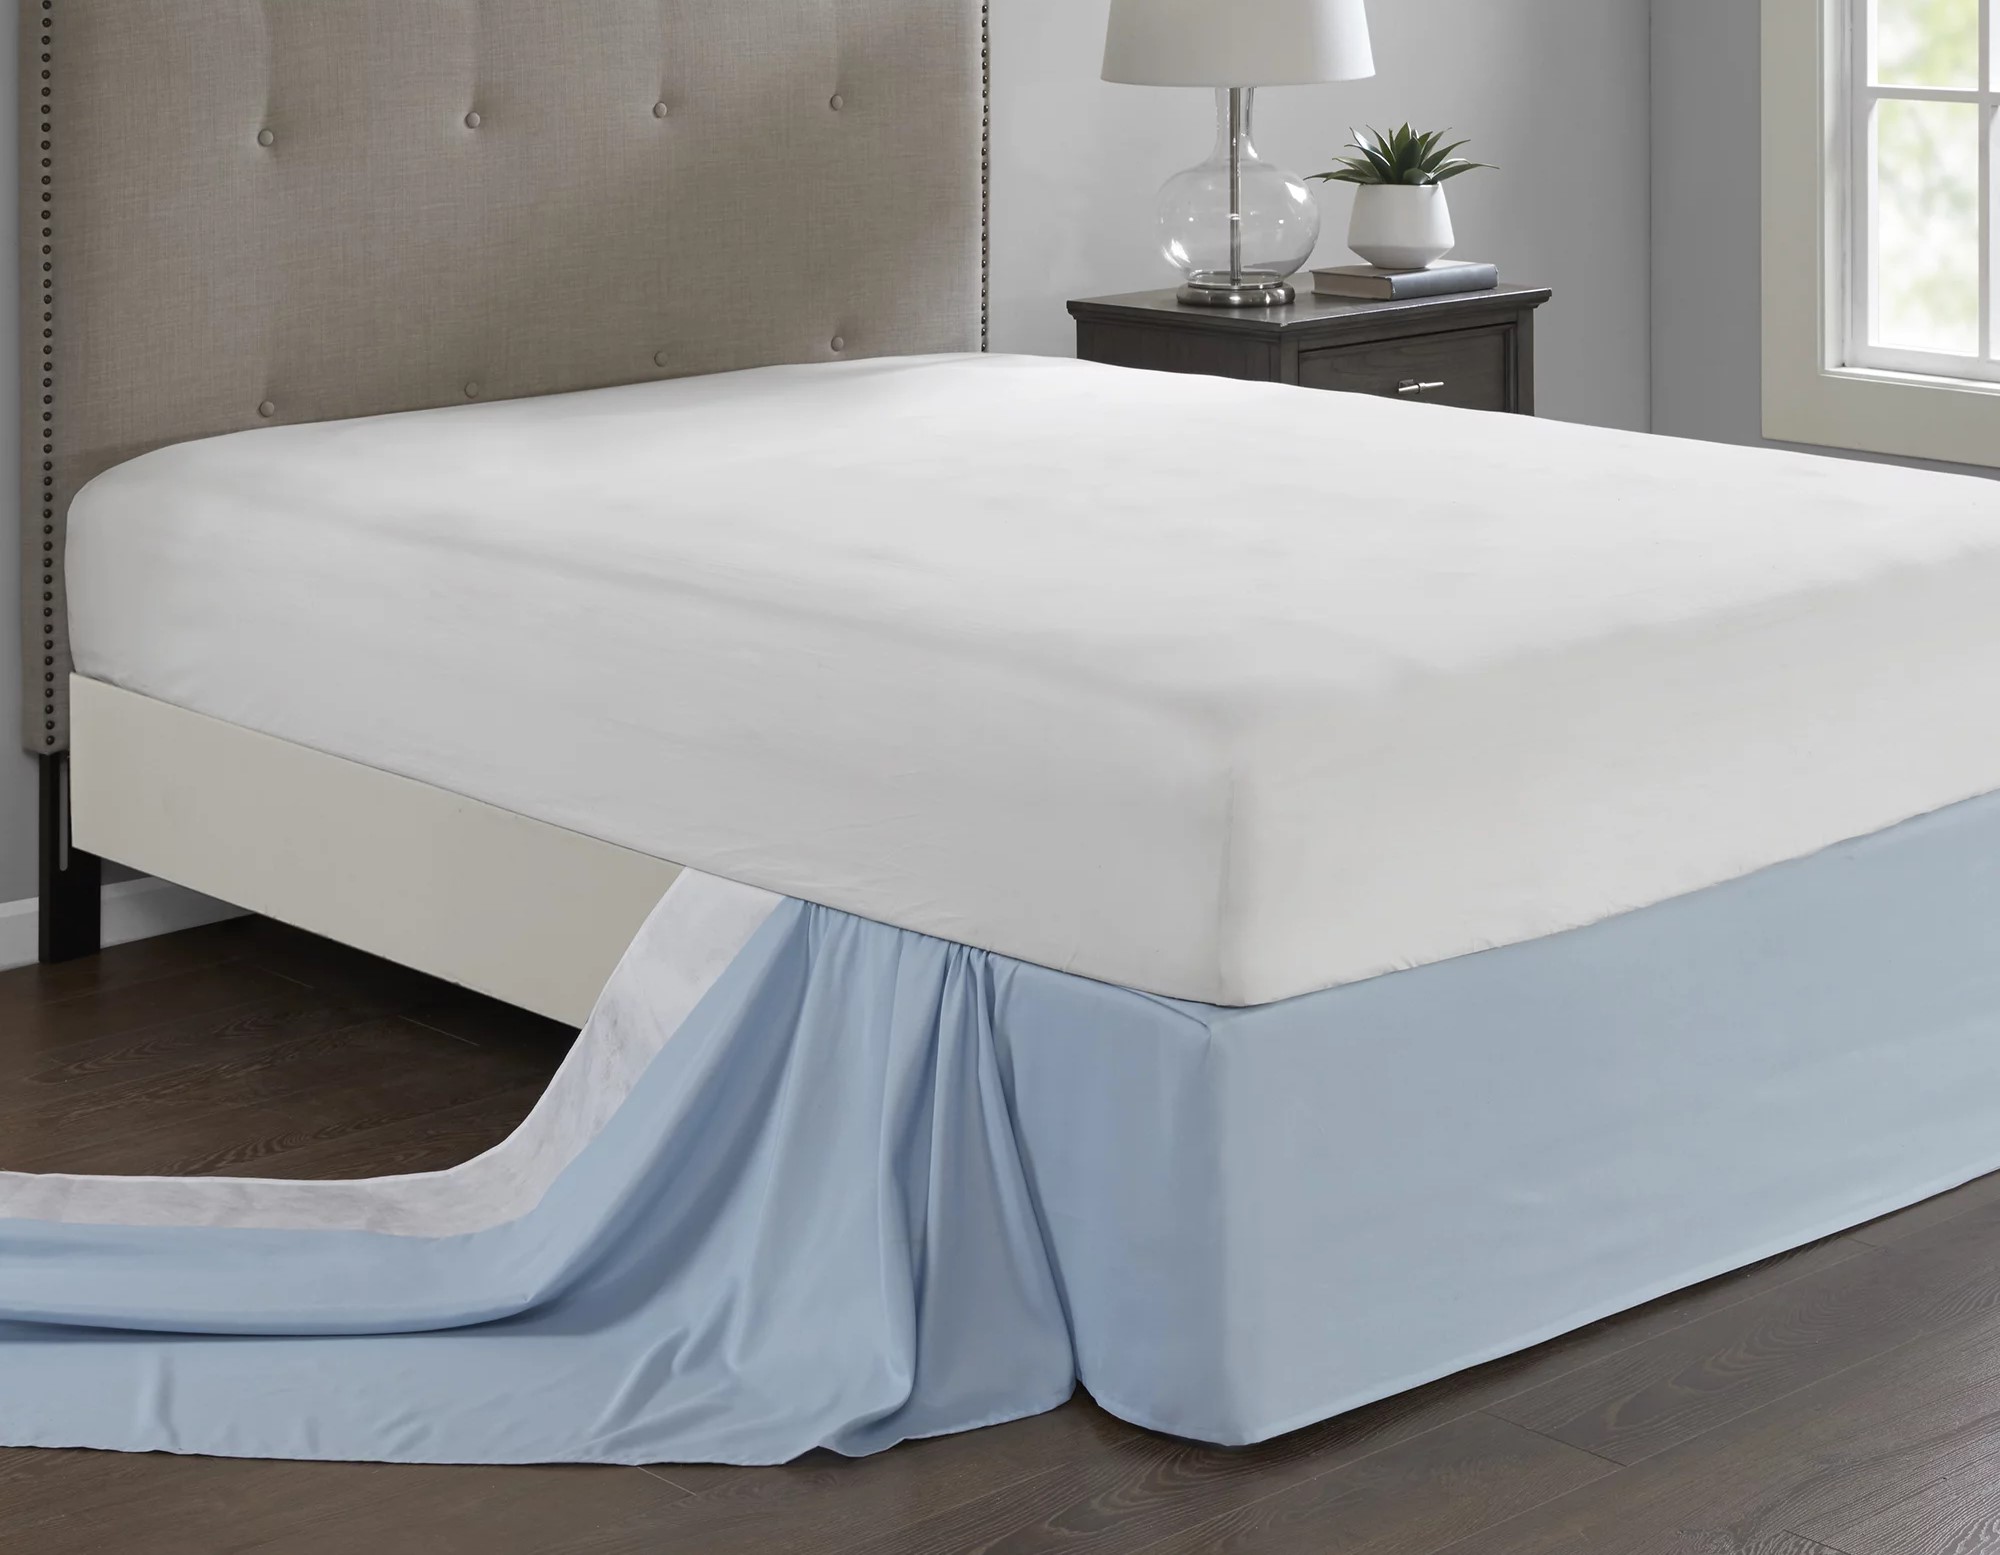
Attaching the Skirt to the Bed
Now that your bed skirt is hemmed and ready, it’s time to attach it to the bed. Follow these steps to securely fasten the bed skirt to the box spring:
- Measure the distance around the bottom perimeter of the box spring or mattress.
- Cut a piece of elastic band that matches the measured length, allowing for a slight stretch.
- Mark even intervals along the top edge of the bed skirt where the elastic will be attached. These intervals will ensure that the bed skirt is evenly distributed around the bed.
- Pin or clip the elastic band to the inside of the bed skirt at the marked intervals.
- Using a zigzag stitch on your sewing machine, sew the elastic to the bed skirt, stretching it slightly as you sew. This will create a snug fit and prevent the bed skirt from slipping.
By attaching the elastic band to the bed skirt, you’ll have a secure and neatly fitted bed skirt that stays in place even with movement. Once you have sewn the elastic in place, check that the bed skirt fits properly and adjust the elastic tension if needed.
And just like that, your bed skirt is ready to enhance the overall look of your bed and bedroom. Let’s wrap up this article with a quick review.
Conclusion
Creating your own bed skirt is a rewarding and creative way to elevate the style of your bedroom. By sewing a pleated bed skirt, you can add a touch of elegance and sophistication to your bed while also hiding any under-bed storage. With the right materials and a little bit of sewing know-how, you can achieve a professional-looking bed skirt that perfectly fits your bed and complements your bedroom decor.
In this article, we covered all the necessary steps to sew a bed skirt pleated, from preparing the fabric and measuring and cutting it to creating and attaching the pleats. We also discussed hemming the skirt and attaching it securely to the bed using an elastic band.
Throughout the process, remember to take your time, measure accurately, and sew with care. Pressing your fabric and pleats with an iron will give your bed skirt a polished and tailored look. Don’t forget to choose a fabric that suits your style and complements your existing decor.
Now that you have the knowledge and the steps to sew a bed skirt, it’s time to put your skills to the test and create your own custom-made bed skirt. Have fun with the process, and enjoy the transformation it brings to your bedroom. Happy sewing!
Frequently Asked Questions about How To Sew A Pleated Bed Skirt
Was this page helpful?
At Storables.com, we guarantee accurate and reliable information. Our content, validated by Expert Board Contributors, is crafted following stringent Editorial Policies. We're committed to providing you with well-researched, expert-backed insights for all your informational needs.


0 thoughts on “How To Sew A Pleated Bed Skirt”