
Articles
How To Make A Split Corner Bed Skirt
Modified: February 25, 2024
Discover articles on how to make a split corner bed skirt for a stylish and polished bedroom look. Follow our step-by-step guide for expert tips and tricks.
(Many of the links in this article redirect to a specific reviewed product. Your purchase of these products through affiliate links helps to generate commission for Storables.com, at no extra cost. Learn more)
Introduction
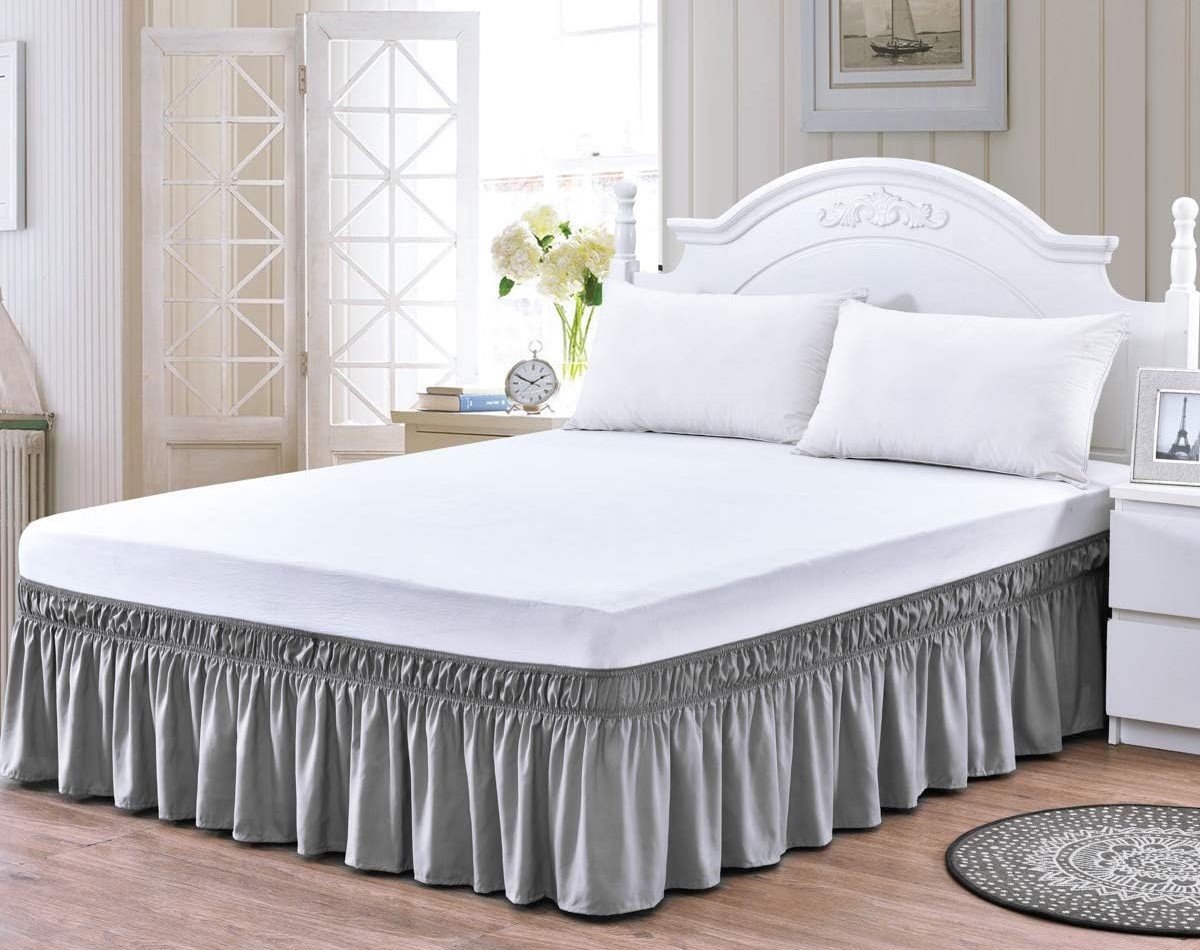
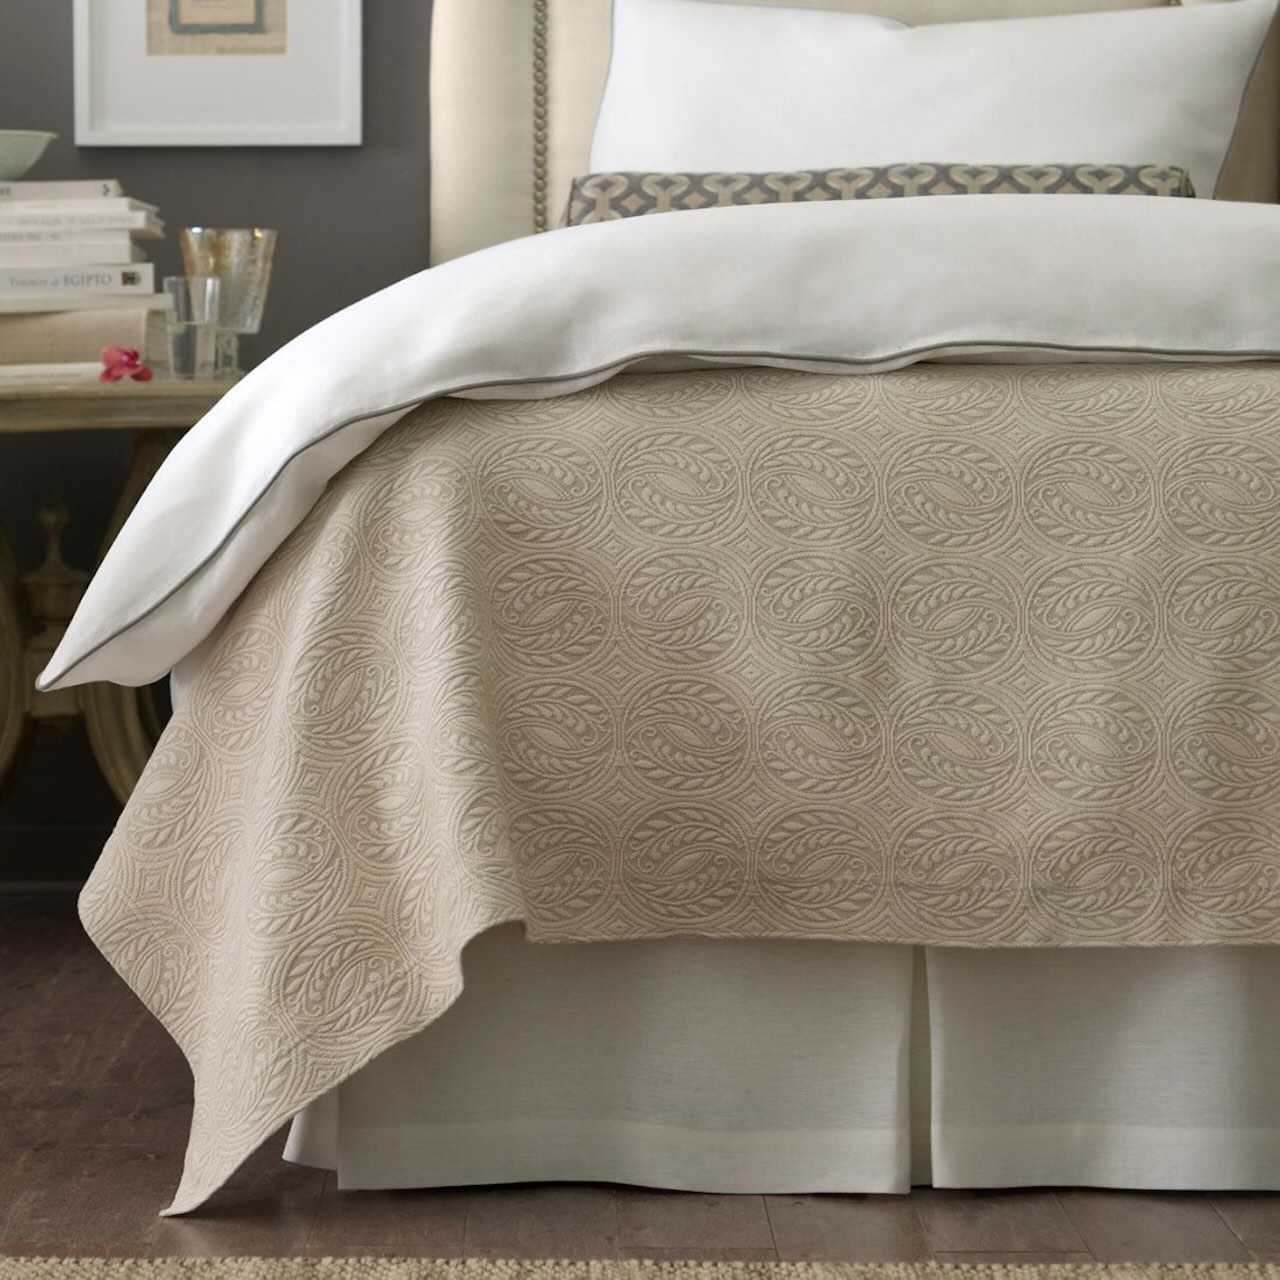
When it comes to home decor, even the smallest details can make a big difference. One often overlooked element is the bed skirt. A bed skirt not only adds a touch of elegance to your bedroom decor but also serves a practical purpose by hiding the space underneath the bed.
If you have a bed with split corners, finding the perfect bed skirt can be a challenge. However, making your own split corner bed skirt is a simple and rewarding DIY project that allows you to customize the color, fabric, and style to match your bedroom decor.
In this article, we will guide you through the step-by-step process of making a split corner bed skirt. With a few materials and some basic sewing skills, you’ll have a beautifully tailored bed skirt that will transform the look of your bed.
So, let’s gather our materials and get started on this fun and creative project!
Key Takeaways:
- Transform your bedroom decor with a custom split corner bed skirt, adding elegance and functionality while concealing clutter. Enjoy a stylish and cozy sleeping oasis with your personalized creation.
- Embrace creativity and DIY skills to make a professional-looking split corner bed skirt, tailored to your personal style and bedroom decor. Enjoy the satisfaction of crafting a beautiful and practical home accent.
Read also: 9 Best Split Corner Bed Skirt for 2025
Materials Needed
- Fabric of your choice – Make sure to measure the dimensions of your bed to determine the amount of fabric needed.
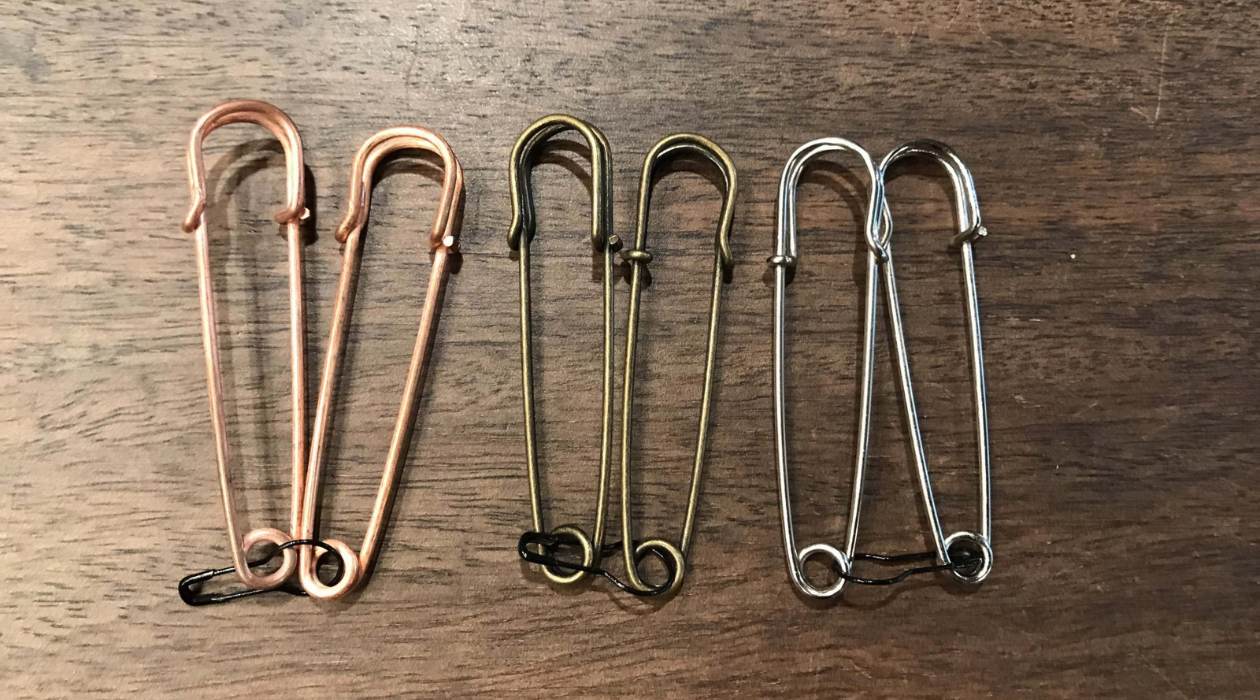
- Pins
- Scissors
- Thread
- Measuring tape
- Sewing machine (optional) – You can also sew the bed skirt by hand if you don’t have a sewing machine.
- Elastic (optional) – This is required if you want to add an elastic band to the bed skirt for a secure fit.
- Iron
Before diving into the project, make sure you have all the necessary materials on hand. Take some time to choose the fabric that best matches your bedroom decor and personal style. Whether you prefer a solid color, a pattern, or a textured fabric, the choice is entirely up to you. Just ensure that the fabric is of good quality and durable.
Once you have gathered all the materials, you’re ready to move on to the next step: measuring your bed.
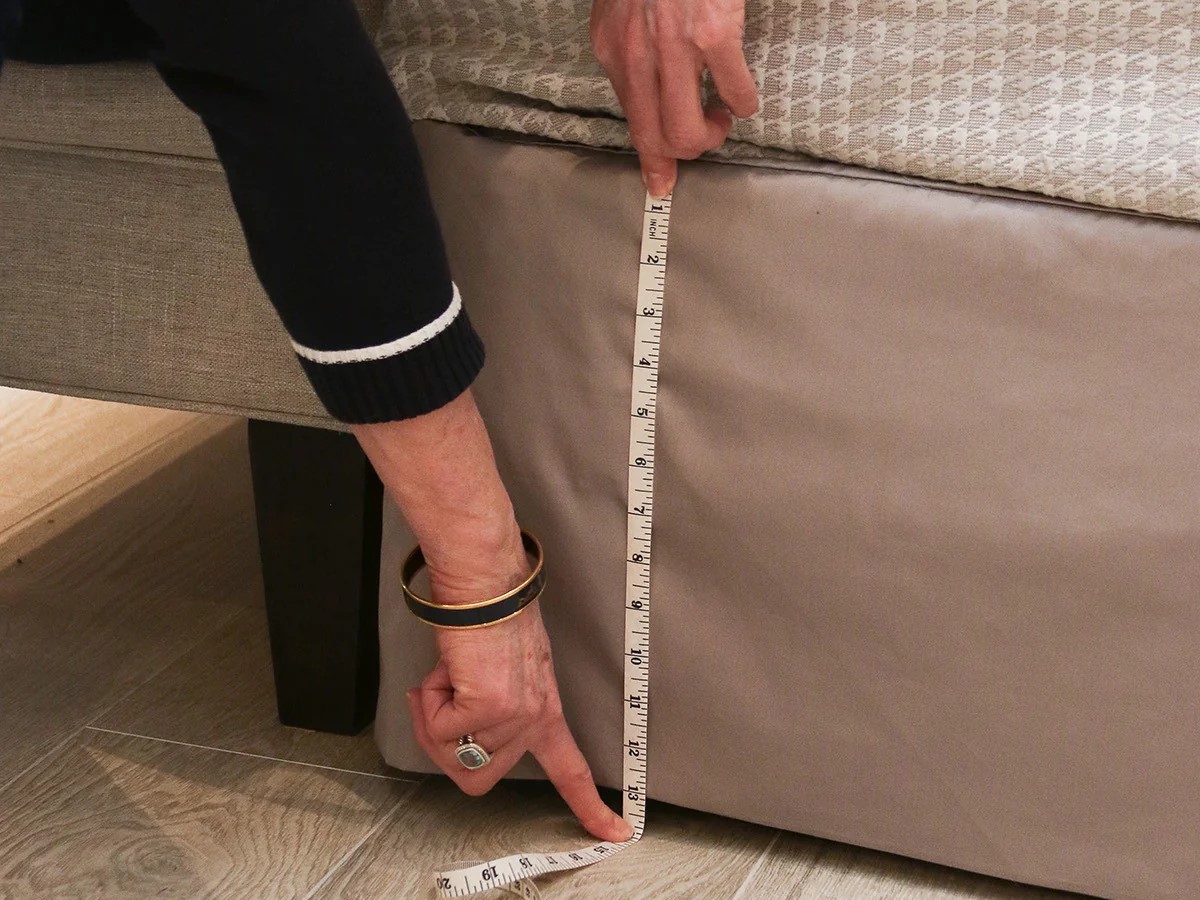
Step 1: Measure the Bed
Before you start cutting your fabric, it’s important to measure the dimensions of your bed to ensure a proper fit for the bed skirt. Grab a measuring tape and follow these steps:
- Start by measuring the length of each side of the bed. Measure from the top mattress edge to the floor, taking into account any box spring or foundation that may affect the length.
- Next, measure the width of the bed, again from the top mattress edge to the floor. Be sure to measure both the head and foot sides.
- If your bed has split corners, measure the depth of each corner from the edge of the mattress to where the split begins.
Write down the measurements you have obtained and use them as a reference when cutting the fabric.
It’s important to note that bed sizes can vary, so these measurements are specific to your own bed. Taking accurate measurements ensures that your bed skirt will fit perfectly and give your bed a polished and tailored look.
Now that you have your measurements, let’s move on to the exciting part – cutting the fabric!
Step 2: Cut the Fabric
Now that you have measured your bed, it’s time to cut the fabric for your split corner bed skirt. Follow these steps:
- Spread out your fabric on a flat surface, making sure it is free from wrinkles and folds.
- Using your measuring tape and the measurements you took in Step 1, mark the length and width of the bed skirt on the fabric using pins or fabric markers. Be sure to leave a little extra fabric for seam allowances, usually about 1 inch.
- If your bed has split corners, mark the depth of each corner by measuring from the edge of the fabric and making a diagonal line towards the corner. This will create a triangle shape at each corner.
- Carefully cut along the marked lines to create the main rectangular shape of the bed skirt, with the added triangle shapes at the corners.
Once you have cut the fabric, give it a quick ironing to remove any wrinkles and ensure a smooth finish. Remember, the accuracy and precision of your cutting will result in a well-fitted and professional-looking bed skirt.
With the fabric cut and ready, it’s time to move on to the next step – attaching the fabric to the mattress.
Step 3: Attach the Fabric to the Mattress
With the fabric cut to the appropriate size, it’s time to attach it to the mattress. There are a few different methods you can use for this step, depending on your preferences and sewing skills. Let’s explore two common methods:
Read more: How To Make A Bed Skirt
Method 1: Using a Sewing Machine
- Place the fabric on the bed with the right side facing down, ensuring that the corners align with the mattress corners.
- Starting from one corner of the bed, fold a small portion of the fabric, about an inch, under and pin it to the underside of the mattress. Repeat this process for each corner and along the sides of the bed, securing the fabric in place.
- Using a sewing machine, sew a straight stitch along the pinned edge of the fabric, about ½ inch from the edge. This will secure the fabric to the mattress.
- Continue sewing along the sides of the bed, removing the pins as you go. Be sure to backstitch at the beginning and end of each seam for added durability.
Method 2: Hand Sewing
- Follow the same steps as Method 1 for folding and pinning the fabric to the underside of the mattress.
- Thread a needle with thread that matches the color of the fabric, and knot the end.
- Starting from one corner, sew a running stitch through the folded edge of the fabric, making small, even stitches along the pinned edge.
- Continue sewing along the sides of the bed, removing the pins as you go. Make sure to knot the thread securely at the end of each seam.
Whichever method you choose, take your time and ensure that the fabric is securely attached to the mattress. This will prevent the skirt from shifting or moving out of place with regular use.
Now that the fabric is attached, let’s move on to the next step – creating the split corners.
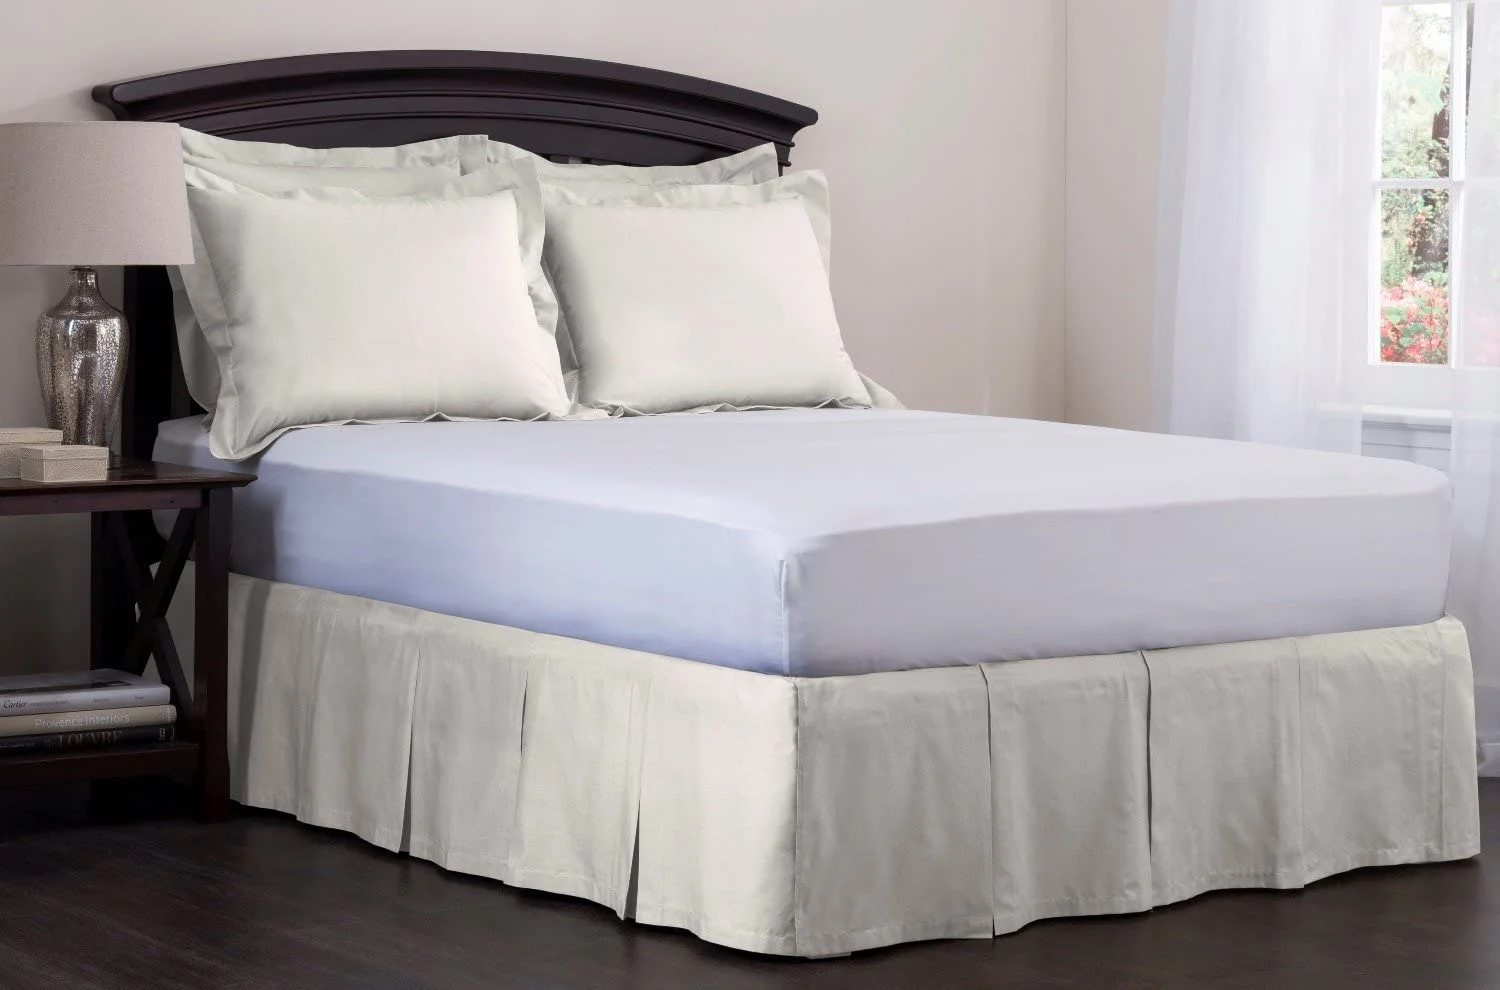
Step 4: Create the Split Corners
If your bed has split corners, this step is crucial to ensure a proper fit for your bed skirt. Creating split corners allows the fabric to neatly drape around each corner without bunching or bulging. Here’s how to create the split corners:
- Lay the fabric flat on the bed with the right side facing up. Locate the marked triangle shapes at each corner.
- Starting from the tip of the triangle, cut along the diagonal line towards the corner of the fabric. This will create a V-shaped opening at each corner.
- Fold under the raw edges of the V-shaped opening, approximately ¼ inch, and secure them in place with pins.
- Using either a sewing machine or needle and thread, sew a straight stitch along the folded edges, about ¼ inch from the edge. This will create a clean finish and prevent fraying.
Be careful while sewing the corners to ensure that the stitches are straight and even. Taking the time to create well-defined split corners will enhance the overall look and fit of your bed skirt.
With the split corners complete, we can now move on to the next step – attaching the skirt to the bed frame.
When making a split corner bed skirt, be sure to measure the drop length accurately to ensure a proper fit. This will help you avoid any unnecessary adjustments or alterations later on.
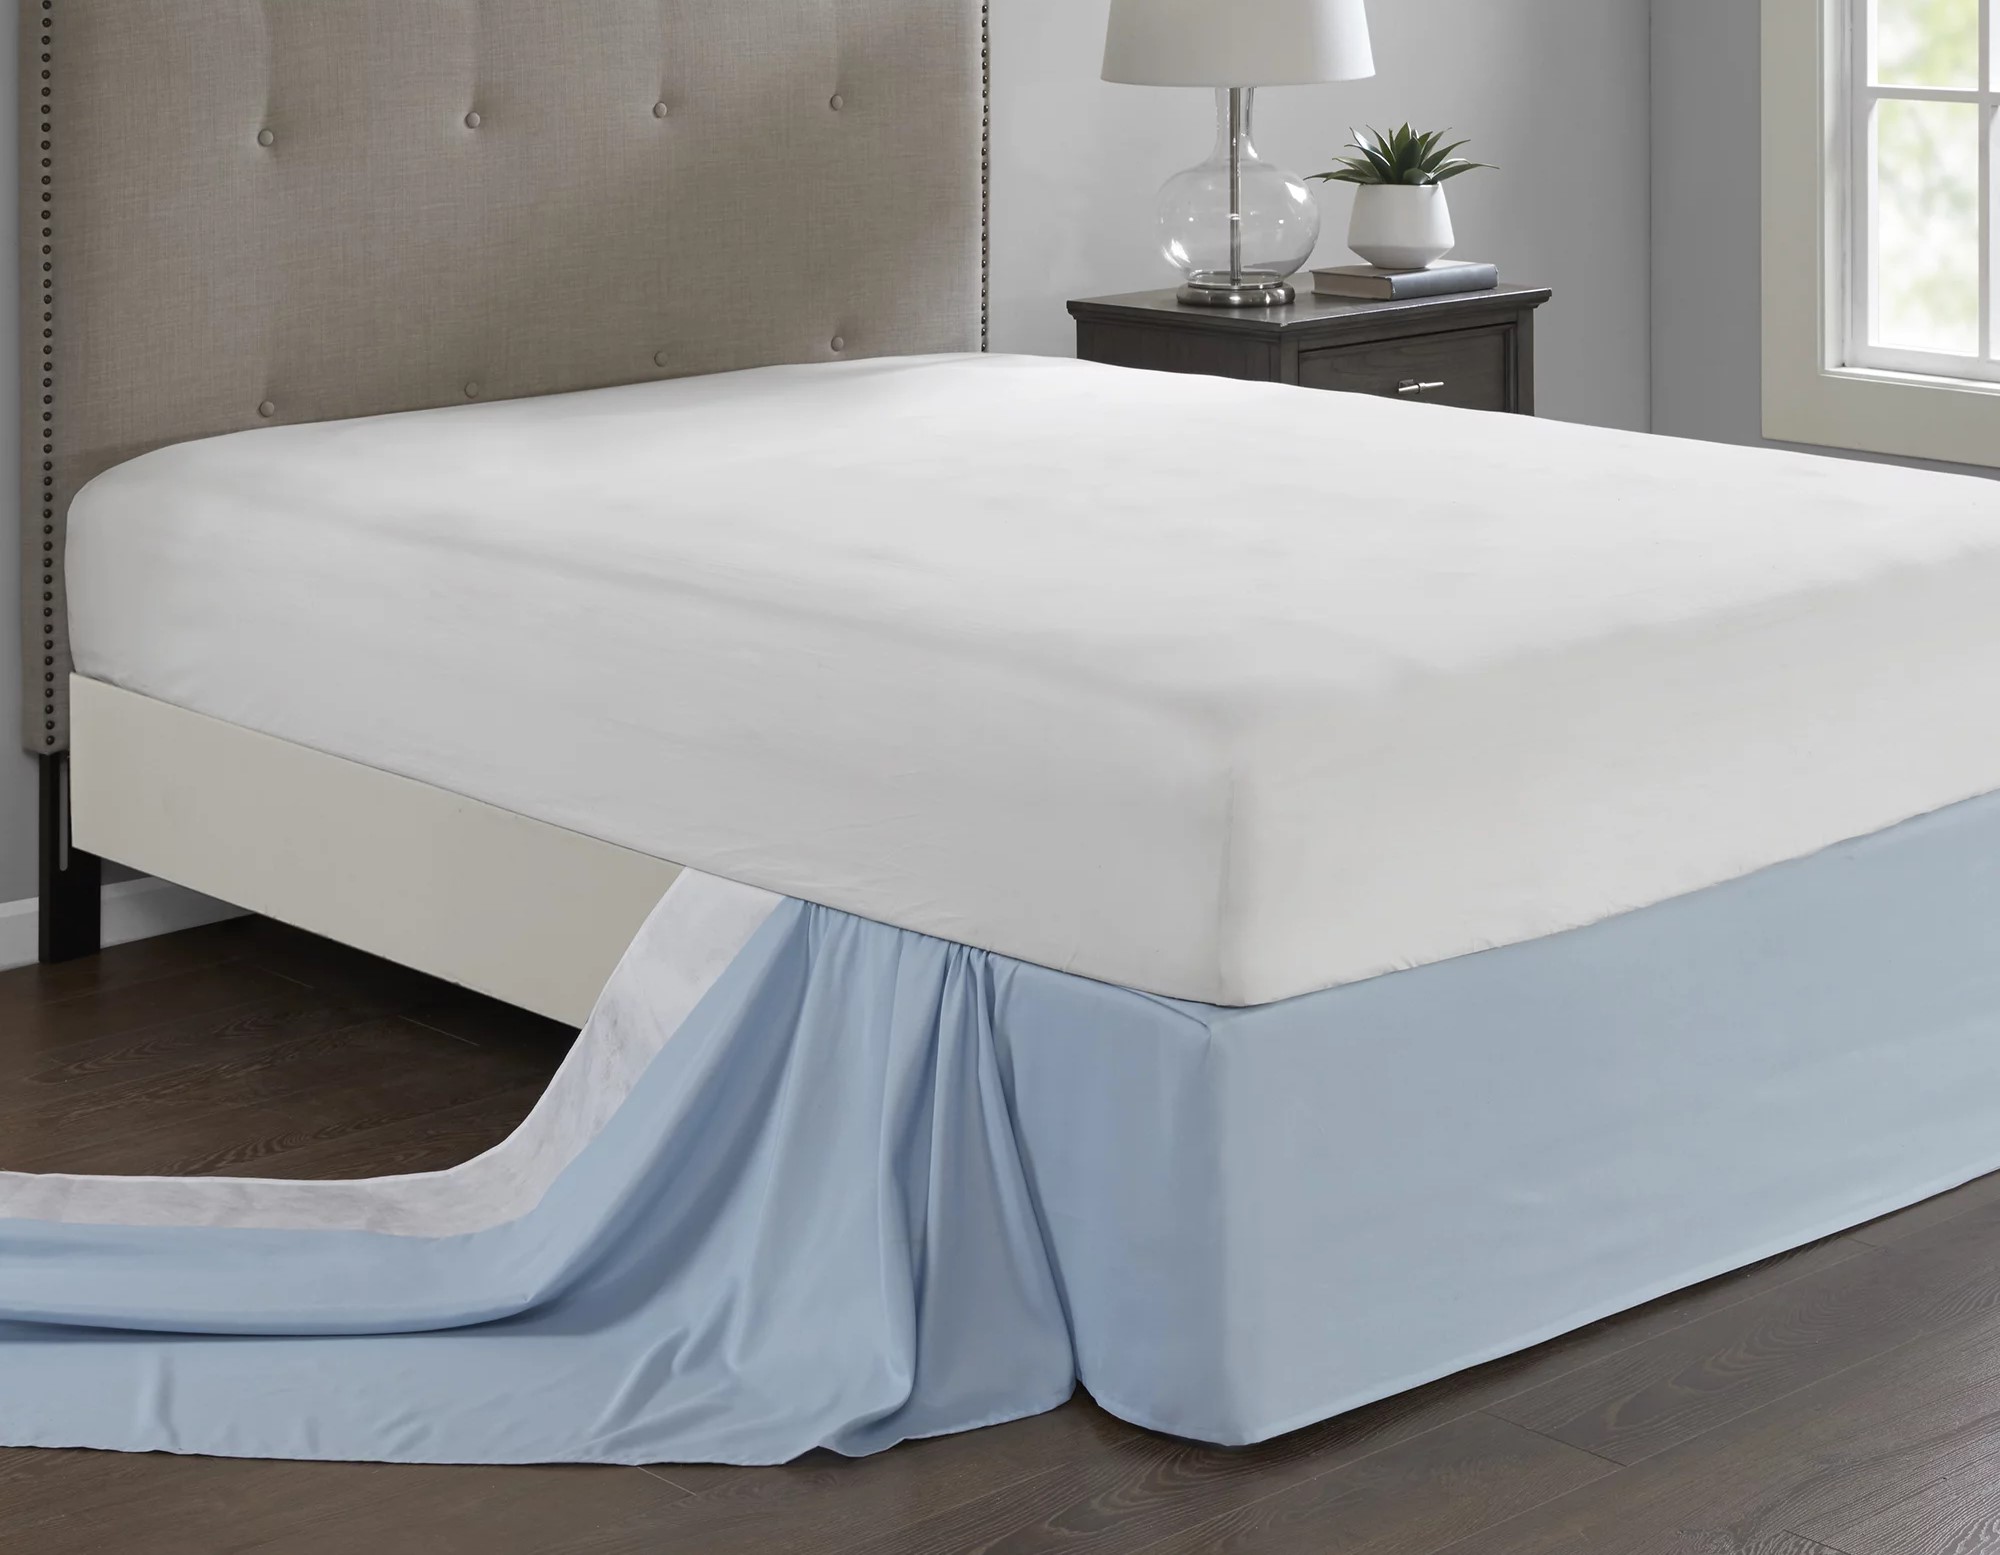
Step 5: Attach the Skirt to the Bed Frame
Now that the fabric is securely attached to the mattress and the split corners are created, it’s time to attach the bed skirt to the bed frame. This step ensures that the bed skirt stays in place and maintains its elegant appearance. Follow these steps:
- With the bed skirt fabric still on the bed, lift the mattress slightly and tuck the fabric under the mattress. Make sure the fabric is evenly distributed and extends to the desired length.
- Secure the fabric in place by using straight pins or safety pins. Place the pins strategically along the top edge of the bed skirt, attaching it to the box spring or directly onto the bed frame.
- If you want extra security and a more professional finish, you can sew a strip of elastic onto the top edge of the bed skirt. Measure the length needed for the elastic, ensuring a snug fit, and sew it in place using a zigzag stitch.
Attaching the bed skirt to the bed frame ensures that it stays in place, even with daily use. The pins or elastic band will prevent the bed skirt from shifting or bunching, keeping your bed looking beautifully tailored.
Now that you have attached the bed skirt to the bed frame, let’s move on to the final step – adding the finishing touches.
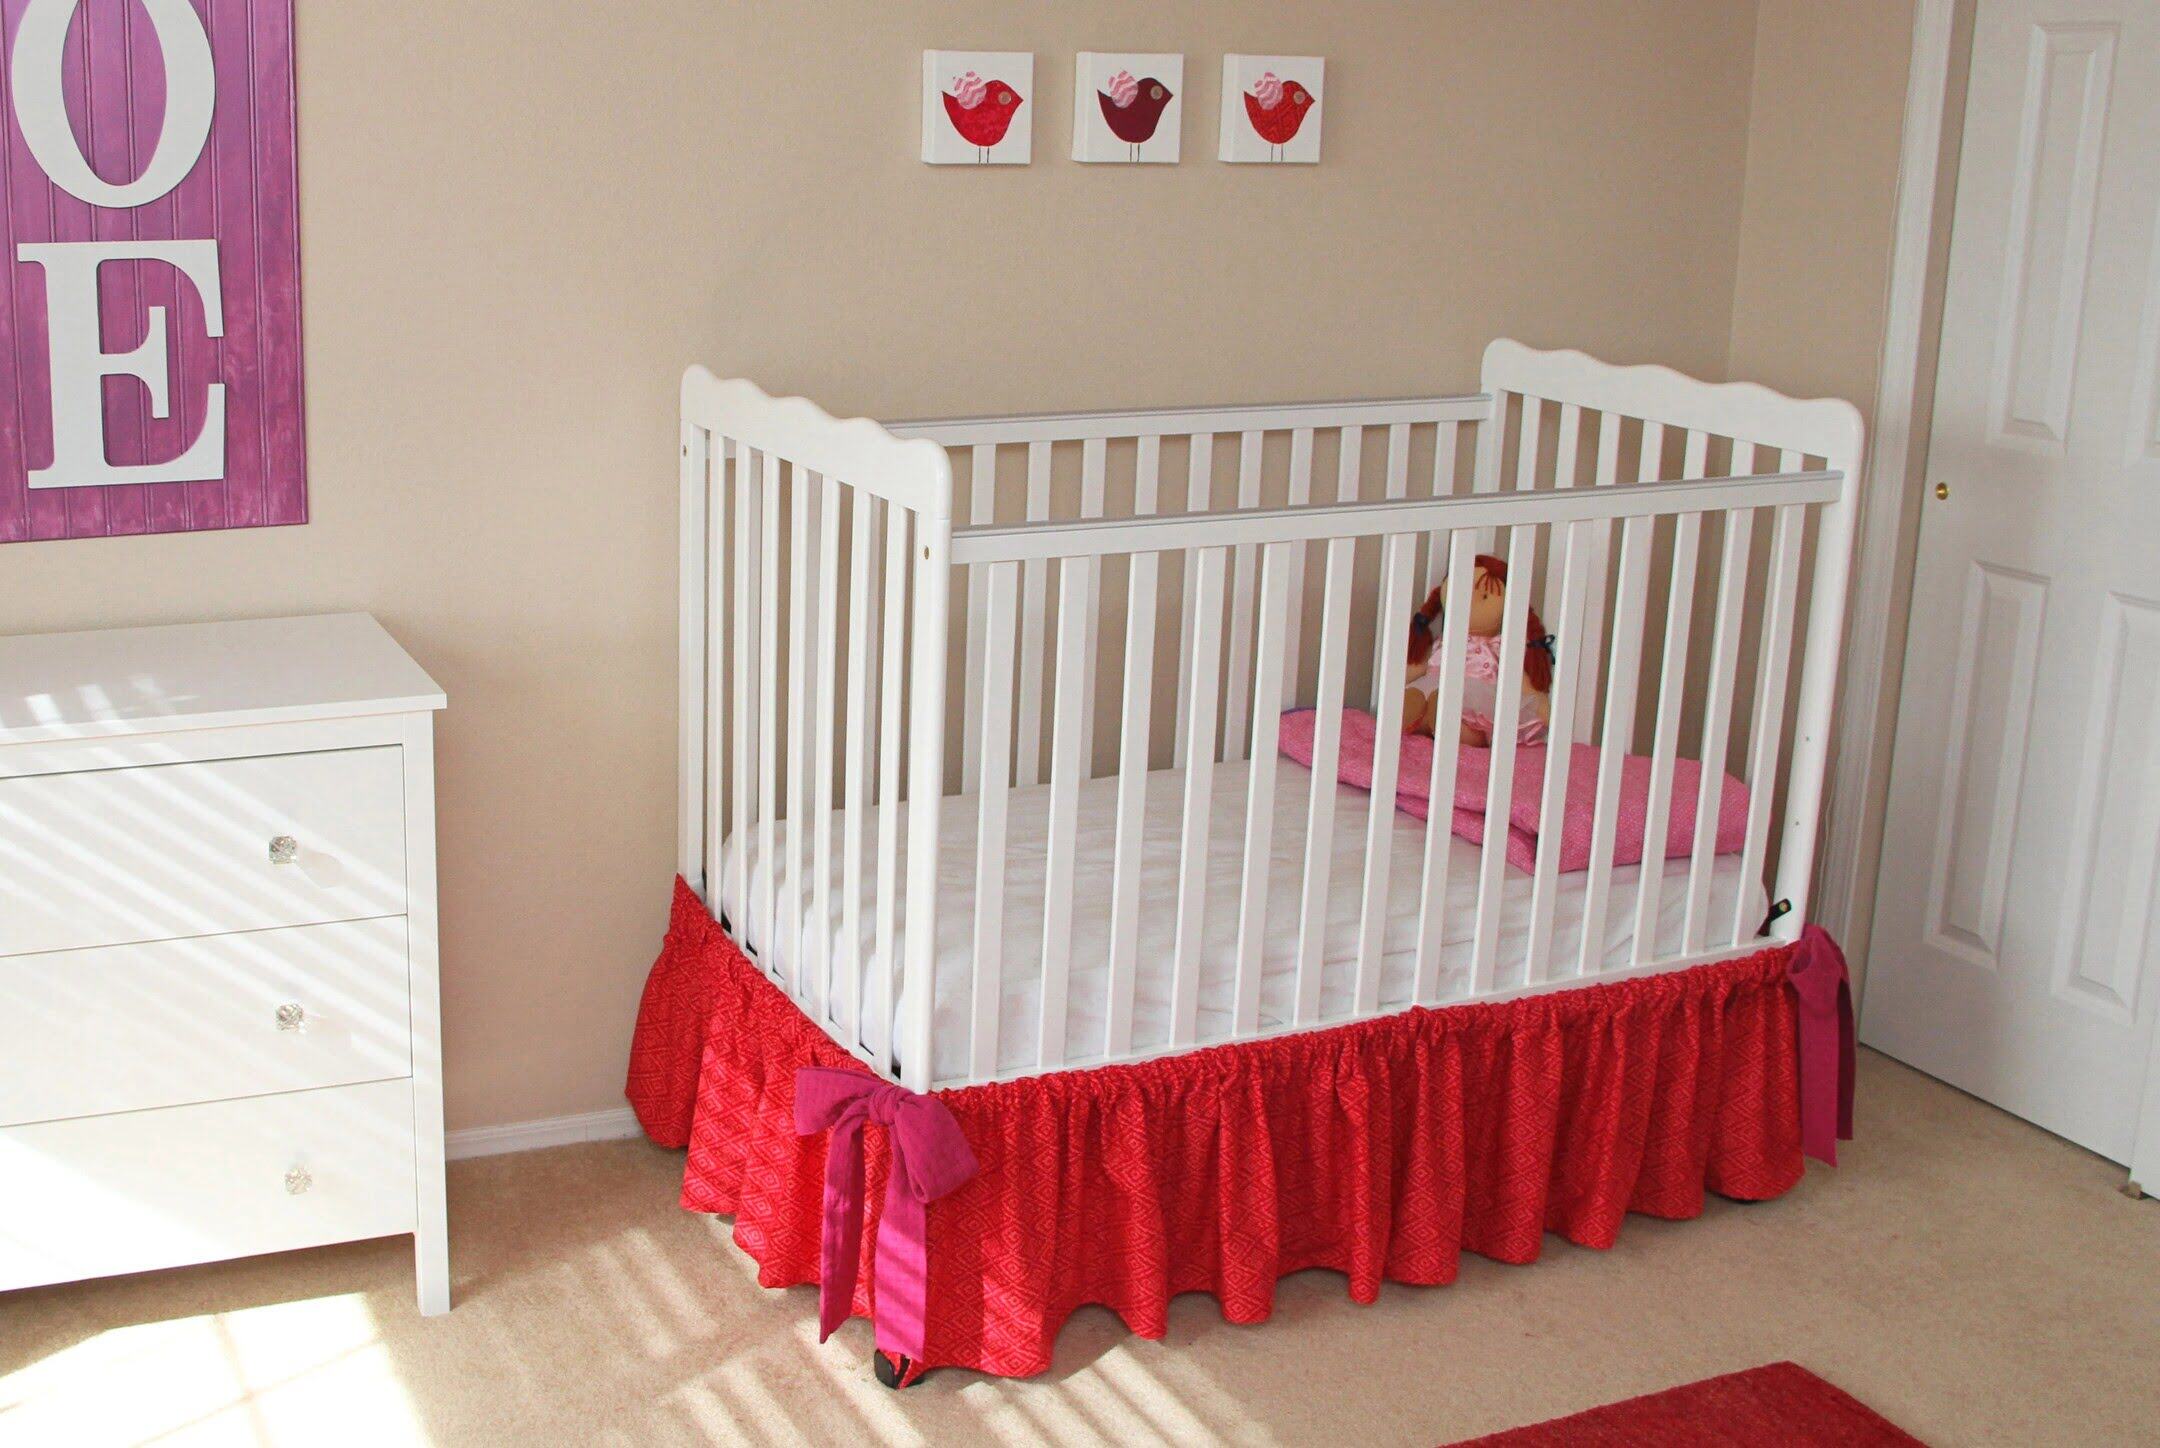
Read more: How To Make A Pleated Crib Bed Skirt
Step 6: Finishing Touches
With the bed skirt securely attached to the bed frame, it’s time to add the finishing touches to complete the look. These final details will give your bed a polished and elegant appearance. Follow these steps:
- Smooth out any wrinkles or folds in the fabric for a neat and tidy look. You can use your hands or gently iron the fabric if necessary.
- Adjust the length of the bed skirt, if needed, to ensure it falls evenly around the bed. You can trim any excess fabric using scissors, making sure to leave a small allowance for hemming.
- If desired, you can hem the bottom edge of the bed skirt for a clean and finished look. Fold under the raw edge of the fabric, approximately ½ inch, and secure it with pins. Use a sewing machine or hand stitch a straight stitch along the folded edge to create a hem.
- Once you are satisfied with the length and appearance of the bed skirt, make a final check to ensure everything is secure and in place. Adjust any pins or elastic bands as needed.
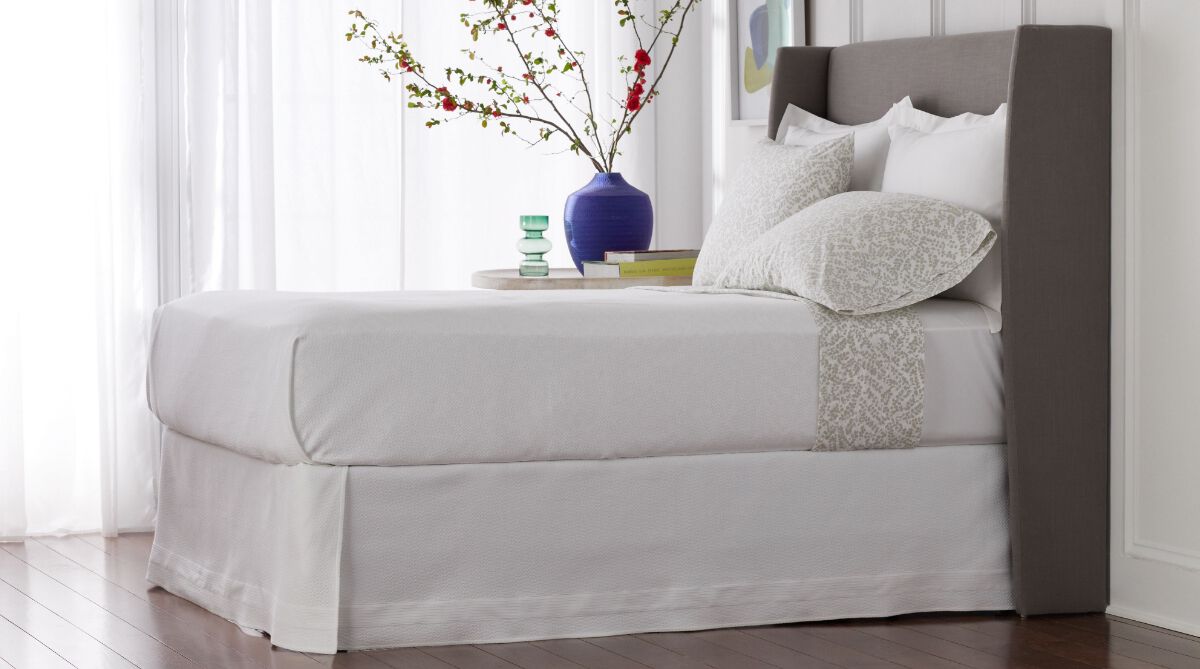
Now step back and admire your handiwork! Your custom-made split corner bed skirt adds a touch of elegance and sophistication to your bedroom decor.
Remember, a well-crafted bed skirt not only enhances the look of your bed but also provides functionality by concealing any storage or clutter underneath. It is a small detail that can make a big difference in the overall aesthetic of your bedroom.
Congratulations on completing your split corner bed skirt project! Enjoy the transformed look of your bed and the satisfaction of creating something beautiful with your own hands.
Finally, it’s time to enjoy a good night’s sleep in your stylish and cozy bedroom!
Conclusion
Congratulations on successfully making your own split corner bed skirt! By following these step-by-step instructions, you have transformed the look of your bed and added a stylish touch to your bedroom decor.
Creating a custom bed skirt allows you to choose the fabric, color, and design that best suits your personal style and complements your existing decor. Not only does a bed skirt add a touch of elegance, but it also serves a practical purpose by hiding the space underneath the bed and giving your bedroom a neater appearance.
Throughout this DIY project, you measured your bed, cut the fabric, attached it to the mattress and bed frame, created split corners, and added the finishing touches. With a little time and effort, you have achieved professional-looking results and can enjoy a beautifully tailored bed.
Remember, you can always personalize your bed skirt further by adding decorative trim or embellishments, such as lace or ribbon, to enhance its visual appeal. Let your creativity guide you and make it uniquely yours.
We hope this article has provided you with valuable insights and guidance for making a split corner bed skirt. Now you can enjoy a well-dressed bed that not only enhances the overall look of your bedroom but also provides functionality and convenience.
So, go ahead and showcase your DIY skills by adding a touch of elegance to your sleeping oasis. Happy crafting!
Frequently Asked Questions about How To Make A Split Corner Bed Skirt
Was this page helpful?
At Storables.com, we guarantee accurate and reliable information. Our content, validated by Expert Board Contributors, is crafted following stringent Editorial Policies. We're committed to providing you with well-researched, expert-backed insights for all your informational needs.


0 thoughts on “How To Make A Split Corner Bed Skirt”