Articles
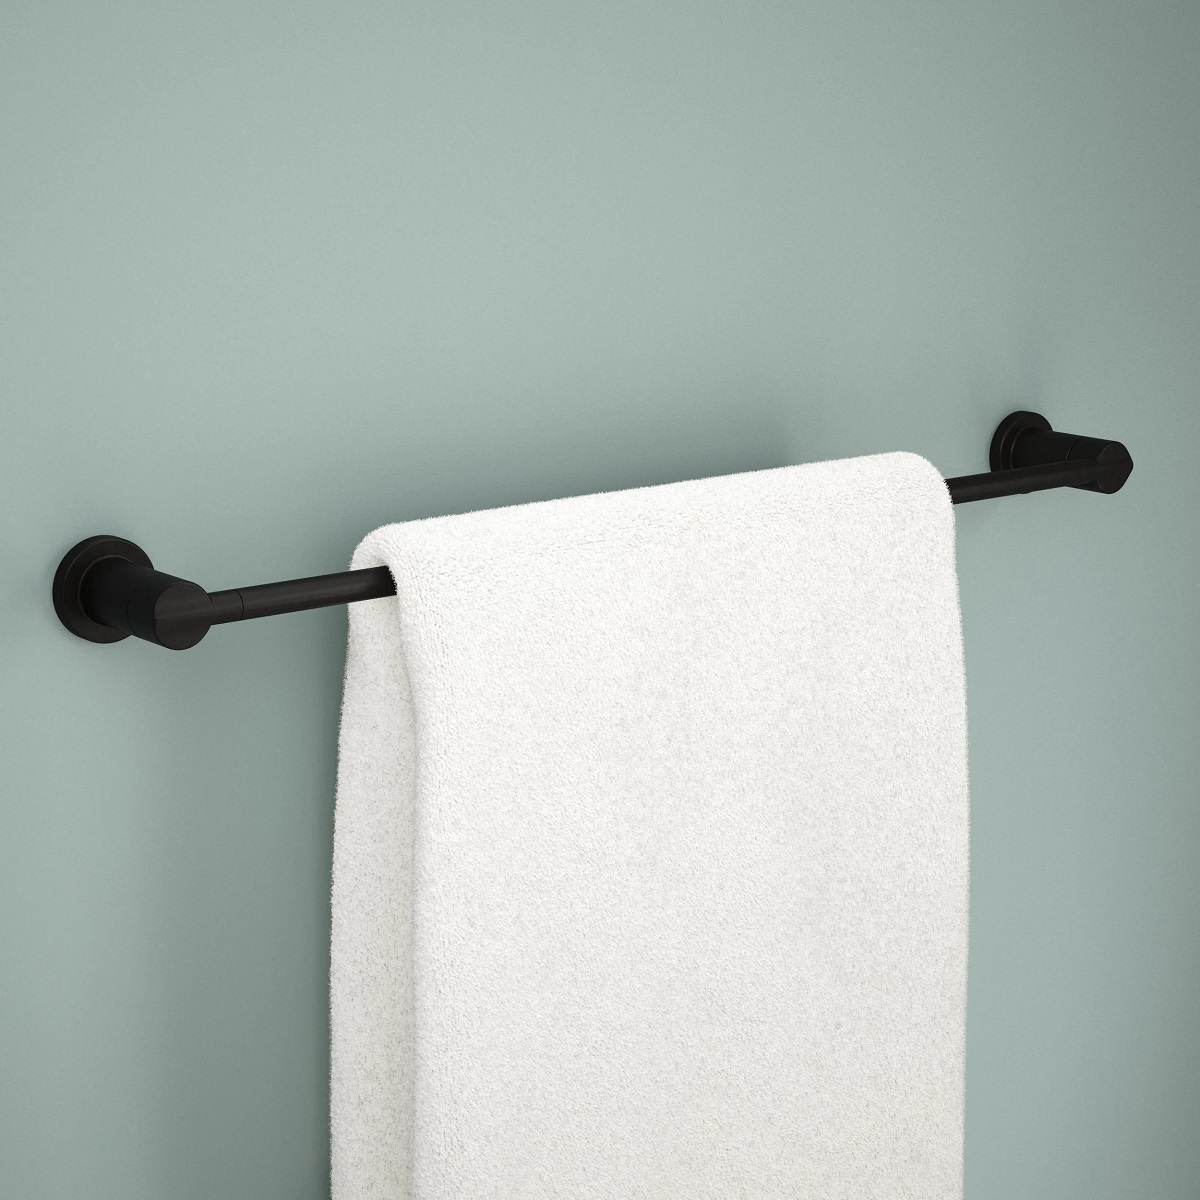
How To Make A Galvanized Pipe Towel Bar
Modified: October 20, 2024
Learn how to make a stylish towel bar using galvanized pipes with this step-by-step guide. Find more articles on DIY home decor projects.
(Many of the links in this article redirect to a specific reviewed product. Your purchase of these products through affiliate links helps to generate commission for Storables.com, at no extra cost. Learn more)
Introduction
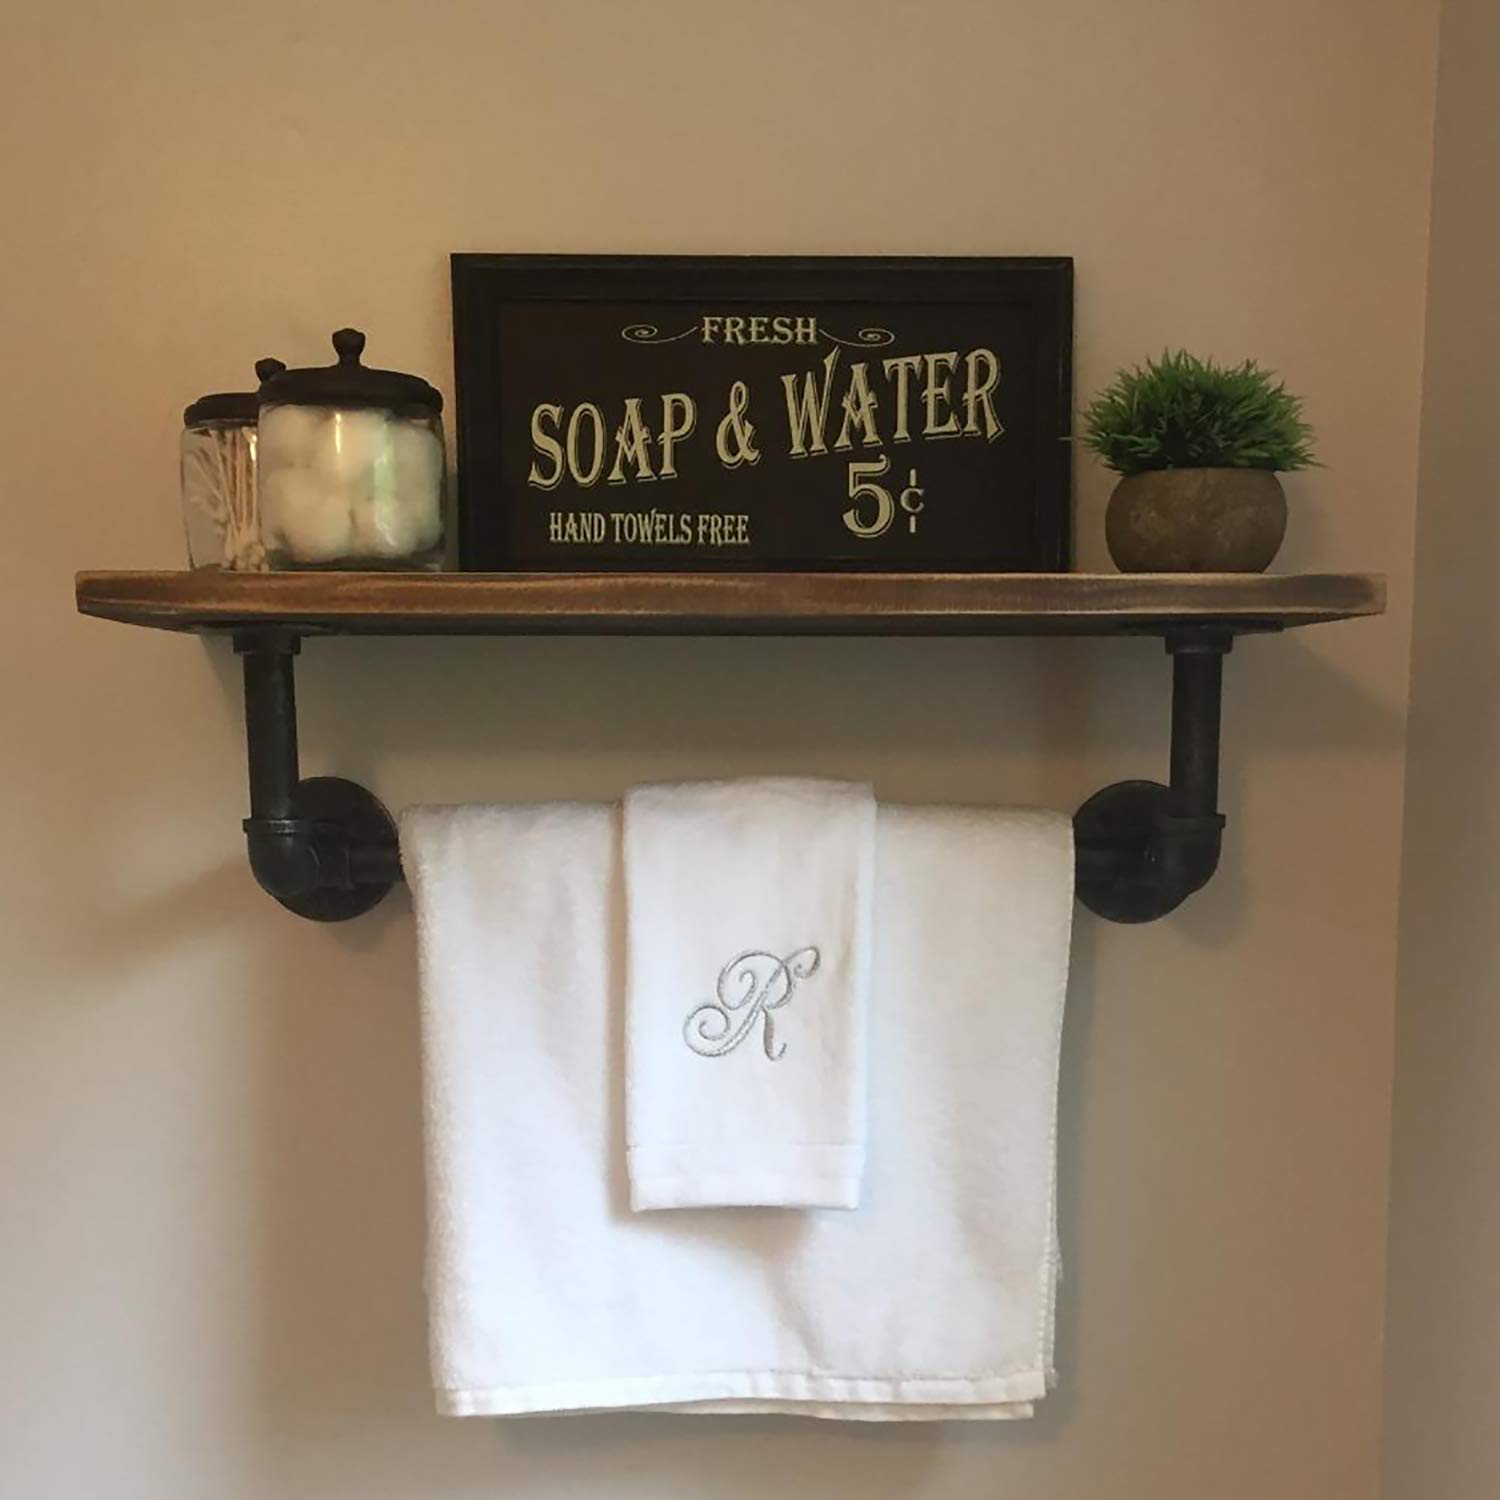
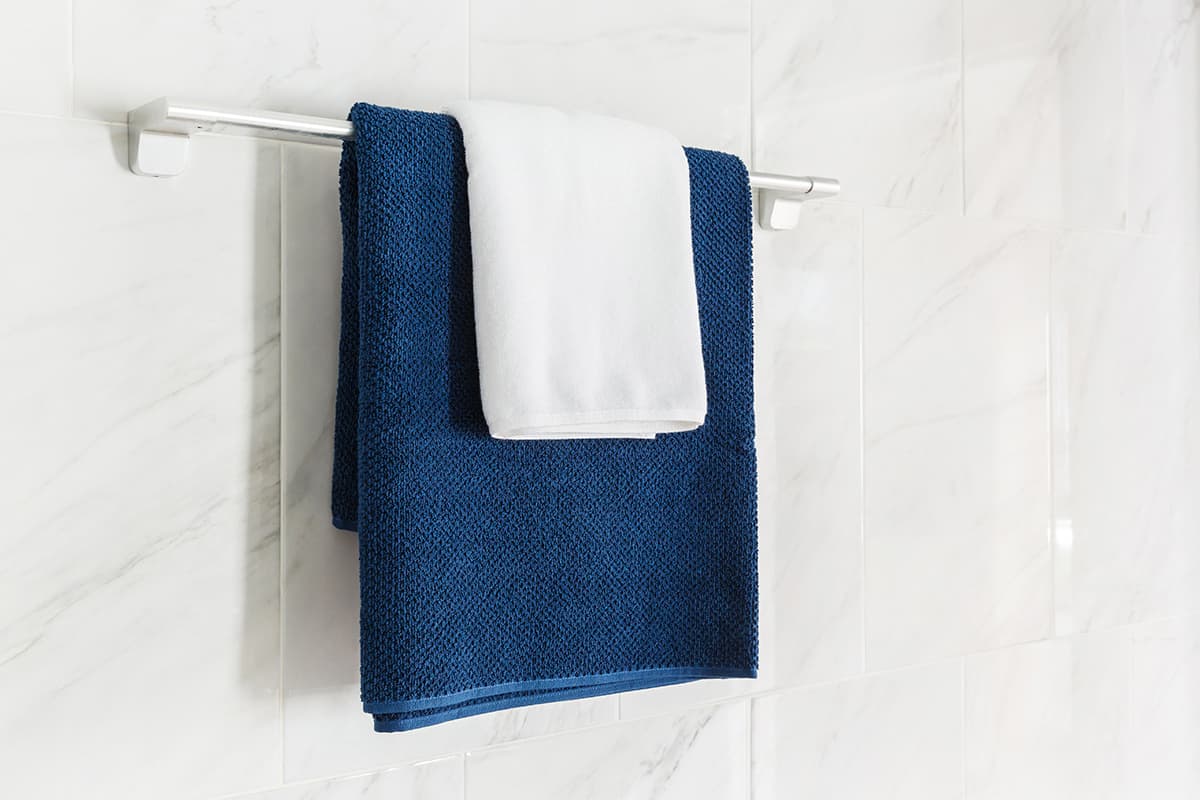
Welcome to this step-by-step guide on how to make a galvanized pipe towel bar. If you’re looking to add a touch of industrial charm to your bathroom or kitchen, a galvanized pipe towel bar is a perfect choice. Not only is it functional, but it also adds a unique and stylish element to any space.
Galvanized pipes are known for their durability and resistance to corrosion, which makes them an excellent choice for DIY projects. With just a few materials and some basic tools, you can create a towel bar that will withstand the test of time.
In this article, we will walk you through the process of measuring, cutting, cleaning, and assembling the galvanized pipe towel bar. Whether you’re a seasoned DIY enthusiast or a beginner, this guide will provide you with all the information you need to successfully complete this project.
So, let’s gather the materials and get started!
Key Takeaways:
- Create a durable and stylish towel bar by following simple steps to measure, cut, clean, and assemble a galvanized pipe. Add an industrial charm to your bathroom or kitchen with this DIY project.
- Enjoy the satisfaction of making a sturdy towel bar that adds a unique touch to your space. Follow the step-by-step guide to securely attach the flanges, pipe, and set screws for a functional and visually appealing addition to your home.
Read more: How To Make A Wooden Towel Bar
Materials Needed
To make a galvanized pipe towel bar, you will need the following materials:
- Galvanized pipe: Choose a length that suits your desired towel bar size. It’s recommended to use a ½ inch or ¾ inch diameter pipe.
- Pipe cutter: This tool will help you accurately cut the galvanized pipe to your desired length.
- Sandpaper or steel wool: You’ll need this to clean the pipe and remove any rough edges.
- Galvanized pipe flanges: These are the mounting brackets that will attach the towel bar to the wall. Make sure the size matches the diameter of the pipe you’ve chosen.
- Wall anchors and screws: These will be used to securely attach the flanges to the wall.
- Level: It’s important to ensure your towel bar is level, so a spirit level or a laser level will come in handy.
- Screwdriver or drill: You’ll need these tools to secure the flanges and pipe to the wall.
- Towels or any other accessories you’d like to hang on the towel bar.
These materials are readily available at most hardware stores, and you might already have some of them in your toolbox. Now that you have everything you need, let’s move on to the next step: measuring and cutting the pipe!
Step 1: Measure and Cut the Pipe
The first step in making a galvanized pipe towel bar is to measure and cut the pipe to your desired length. Follow these steps:
- Measure the space where you plan to install the towel bar. Consider the length and height of the towels you want to hang and ensure there is enough space for them without obstructing any doors or other fixtures.
- Using a tape measure, mark the desired length on the galvanized pipe. Double-check your measurements to ensure accuracy.
- Securely clamp the pipe in a vise or a workbench to prevent it from moving while cutting.
- Using a pipe cutter, carefully cut the pipe at the marked point. Rotate the cutter around the pipe, tightening slowly with each rotation until the pipe is completely cut.
- Once the cut is complete, remove any burrs or sharp edges using sandpaper or steel wool. Smooth the edges to ensure they are safe and free from any potential injury.
It’s important to measure accurately and cut the pipe precisely to achieve a professional-looking towel bar. Take your time with this step to ensure the best results.
Now that you have your desired length of pipe, let’s move on to cleaning and preparing it for installation.
Step 2: Clean and Prepare the Pipe
Before assembling the towel bar, it’s essential to clean and prepare the galvanized pipe to remove any dirt, grease, or debris. Follow these steps to clean and prepare the pipe:
- Begin by wiping down the entire surface of the pipe using a clean cloth to remove any loose dirt or dust.
- If the pipe has any visible grease or grime, you can use a mild detergent mixed with warm water to clean it. Gently scrub the surface with a soft brush or sponge to remove any stubborn stains.
- Rinse the pipe thoroughly with clean water to remove any soap residue.
- Inspect the pipe for any rough or sharp edges. If you notice any, use sandpaper or steel wool to smooth them out. This step will help prevent any accidents or injuries while handling the towel bar.
- Dry the pipe completely using a clean towel or let it air dry before proceeding to the next step.
By cleaning and preparing the galvanized pipe, you’ll ensure that the towel bar looks pristine and is free from any contaminants. This step will also help the paint or finish adhere better if you decide to add a decorative touch to the pipe later on.
Now that the pipe is clean and ready, it’s time to move on to attaching the flanges to the wall. Let’s get started on step 3!
When assembling the towel bar, make sure to use a level to ensure that the pipes are straight and evenly spaced. This will give your towel bar a professional and polished look.
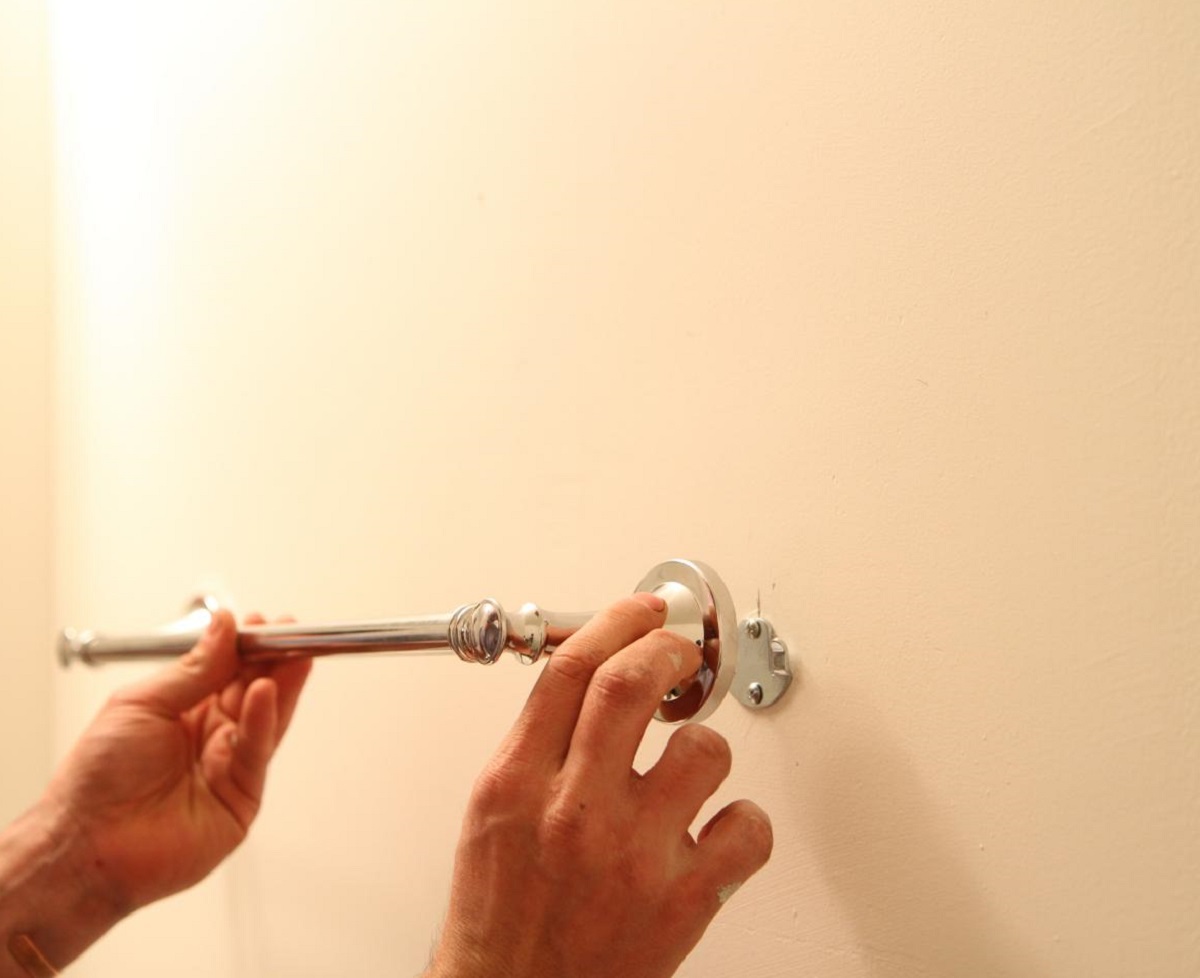
Step 3: Attach the Flanges to the Wall
Now that you have a clean and prepared galvanized pipe, it’s time to attach the flanges to the wall. The flanges serve as the mounting brackets for your towel bar. Follow these steps:
- Decide on the desired height and position for your towel bar on the wall. Use a tape measure and a pencil to mark the locations where the flanges will be installed. Ensure that the marks are level and evenly spaced.
- Using a drill, create pilot holes at the marked locations for the wall anchors. The size of the drill bit should match the size of the wall anchors you are using.
- Insert the wall anchors into the pilot holes. Gently tap them into place using a hammer, ensuring that they are flush with the wall.
- Take the flanges and align them with the wall anchors. Insert the screws through the holes in the flanges and into the wall anchors.
- Tighten the screws with a screwdriver or drill until the flanges are securely attached to the wall. Ensure that they are level and straight by using a level.
Attaching the flanges securely to the wall is crucial to ensure that your towel bar can support the weight of the towels. Take your time with this step to ensure proper installation.
Now that the flanges are securely attached, let’s move on to the next step: attaching the pipe to the flanges.
Read more: How To Make A PVC Pipe Towel Rack
Step 4: Attach the Pipe to the Flanges
With the flanges securely attached to the wall, it’s time to attach the galvanized pipe to the flanges. Follow these steps:
- Take one end of the galvanized pipe and screw it into one of the flanges. Rotate the pipe clockwise until it is tightly secured in the flange.
- Hold the other end of the pipe and align it with the remaining flange.
- Slowly rotate the pipe clockwise, threading it into the second flange. Continue rotating until the pipe is tightly secured in the flange.
- Ensure that the pipe is level by using a spirit level or a laser level. Adjust the position as necessary.
It’s important to ensure that the pipe is securely threaded into the flanges to prevent any potential loosening or wobbling of the towel bar. Taking your time with this step will help create a sturdy and functional towel bar.
Now that the pipe is attached to the flanges, let’s move on to the final step: securing the towel bar in place.
Step 5: Secure the Towel Bar
With the pipe attached to the flanges, the final step is to secure the towel bar in place. Follow these steps:
- Double-check that the towel bar is level and properly aligned.
- Once you are satisfied with the positioning, use a screwdriver or drill to tighten the set screws on the flanges. These screws will secure the pipe to the flanges and prevent it from rotating or coming loose.
- Make sure to tighten the set screws evenly on both flanges to ensure a balanced and secure towel bar.
- Give the towel bar a gentle tug to test its stability. It should feel firm and not move or wobble.
By securing the towel bar with the set screws, you ensure its stability and longevity. Regularly check the set screws to make sure they remain tight over time.
Congratulations! You have successfully made a galvanized pipe towel bar. Now you can proudly hang your towels or other accessories on this unique and stylish addition to your bathroom or kitchen.
Remember to periodically clean and maintain the towel bar to keep it looking its best. You can use a damp cloth to wipe away any dirt or residue that may accumulate over time.
Thank you for following this step-by-step guide. We hope you enjoy your newly created galvanized pipe towel bar for years to come!
Conclusion
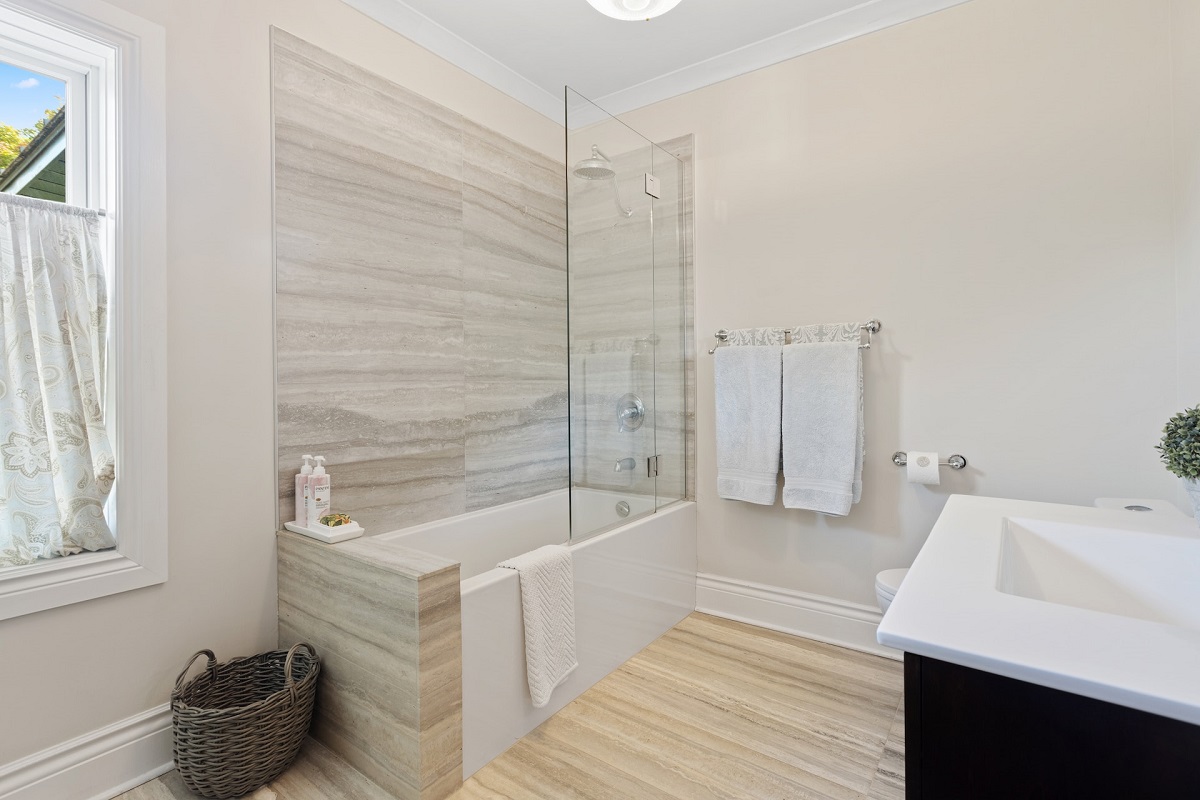
Congratulations on completing your galvanized pipe towel bar! By following the steps in this guide, you have created a functional and visually appealing addition to your bathroom or kitchen. The industrial charm of a galvanized pipe adds a unique touch to any space, making your towel bar stand out.
Throughout this project, you learned how to measure and cut the pipe, clean and prepare it for installation, attach the flanges to the wall, secure the pipe to the flanges, and finally, secure the towel bar in place. Taking the time to properly measure, cut, and clean the pipe, as well as securely attach it to the flanges and wall, ensures a sturdy and reliable towel bar.
With your newly installed galvanized pipe towel bar, you can now hang your towels with ease and add a touch of industrial style to your space. Don’t limit yourself to towels – you can also use the bar to hang other items like bathrobes or even kitchen utensils.
Remember to periodically check the towel bar and tighten any set screws that may have become loose over time. This will help maintain its stability and ensure it lasts for years to come.
We hope you found this guide helpful and that you enjoyed the process of making your own galvanized pipe towel bar. Get creative and customize it further by adding paint or other decorative elements to match your personal style and the overall aesthetic of your space.
Thank you for taking the time to learn and complete this DIY project. Enjoy your new towel bar and the functional and stylish addition it brings to your home!
Frequently Asked Questions about How To Make A Galvanized Pipe Towel Bar
Was this page helpful?
At Storables.com, we guarantee accurate and reliable information. Our content, validated by Expert Board Contributors, is crafted following stringent Editorial Policies. We're committed to providing you with well-researched, expert-backed insights for all your informational needs.


0 thoughts on “How To Make A Galvanized Pipe Towel Bar”