Articles
How To Make A Wrap-Around Bed Skirt
Modified: August 22, 2024
with this step-by-step guide.
(Many of the links in this article redirect to a specific reviewed product. Your purchase of these products through affiliate links helps to generate commission for Storables.com, at no extra cost. Learn more)
Introduction
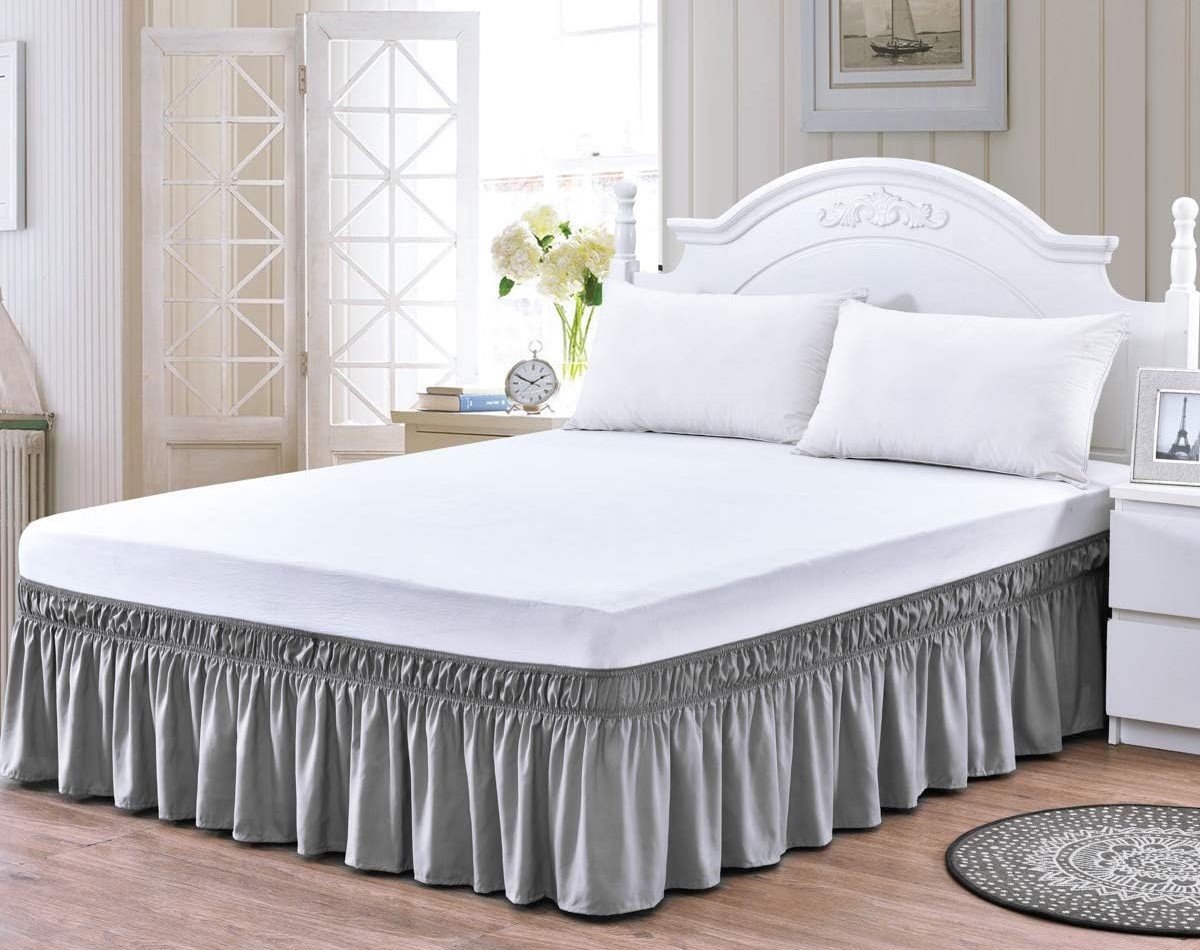
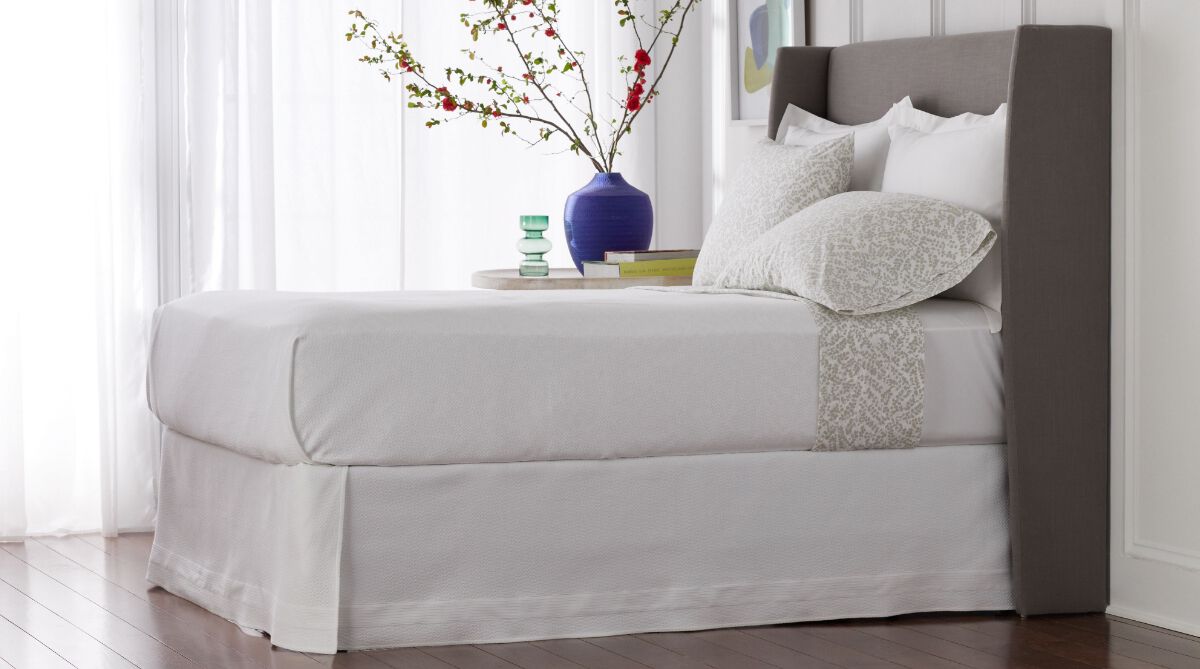
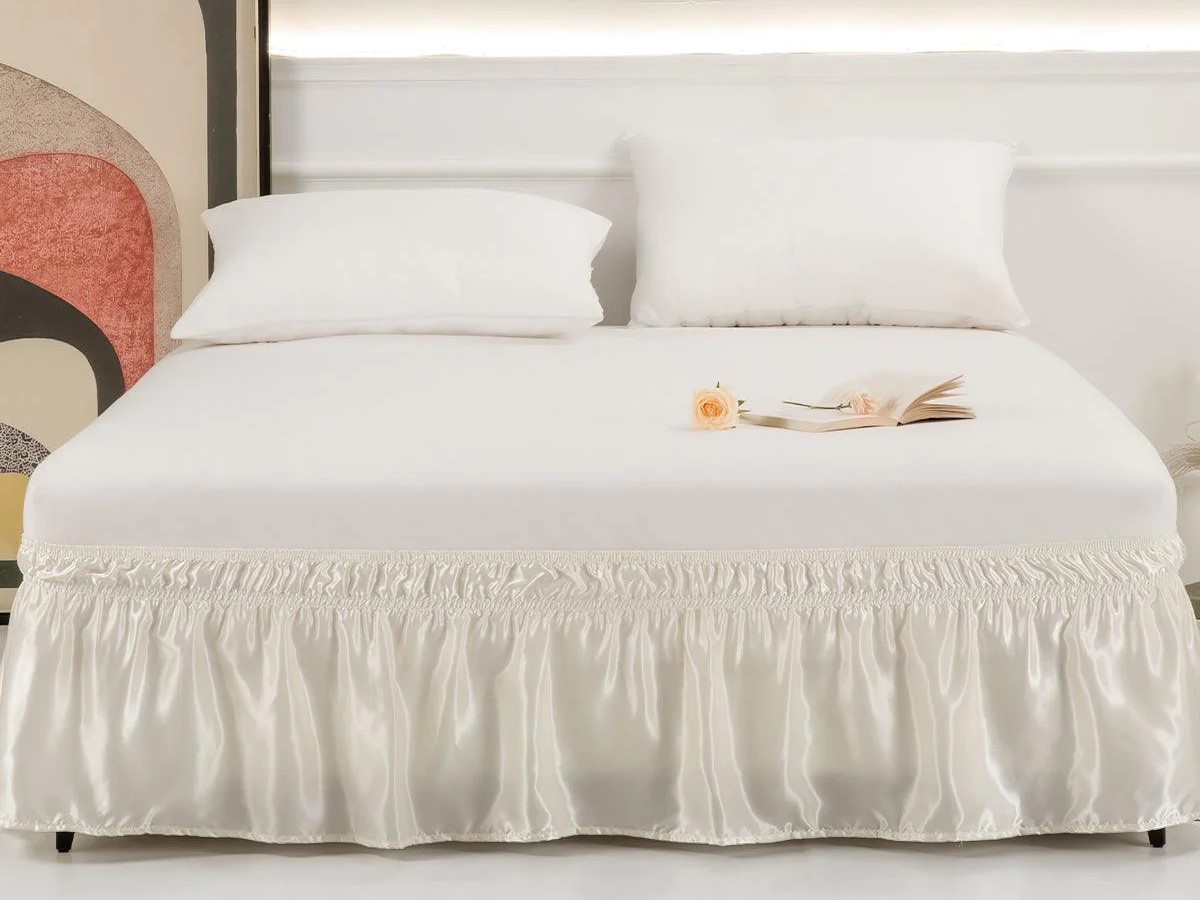
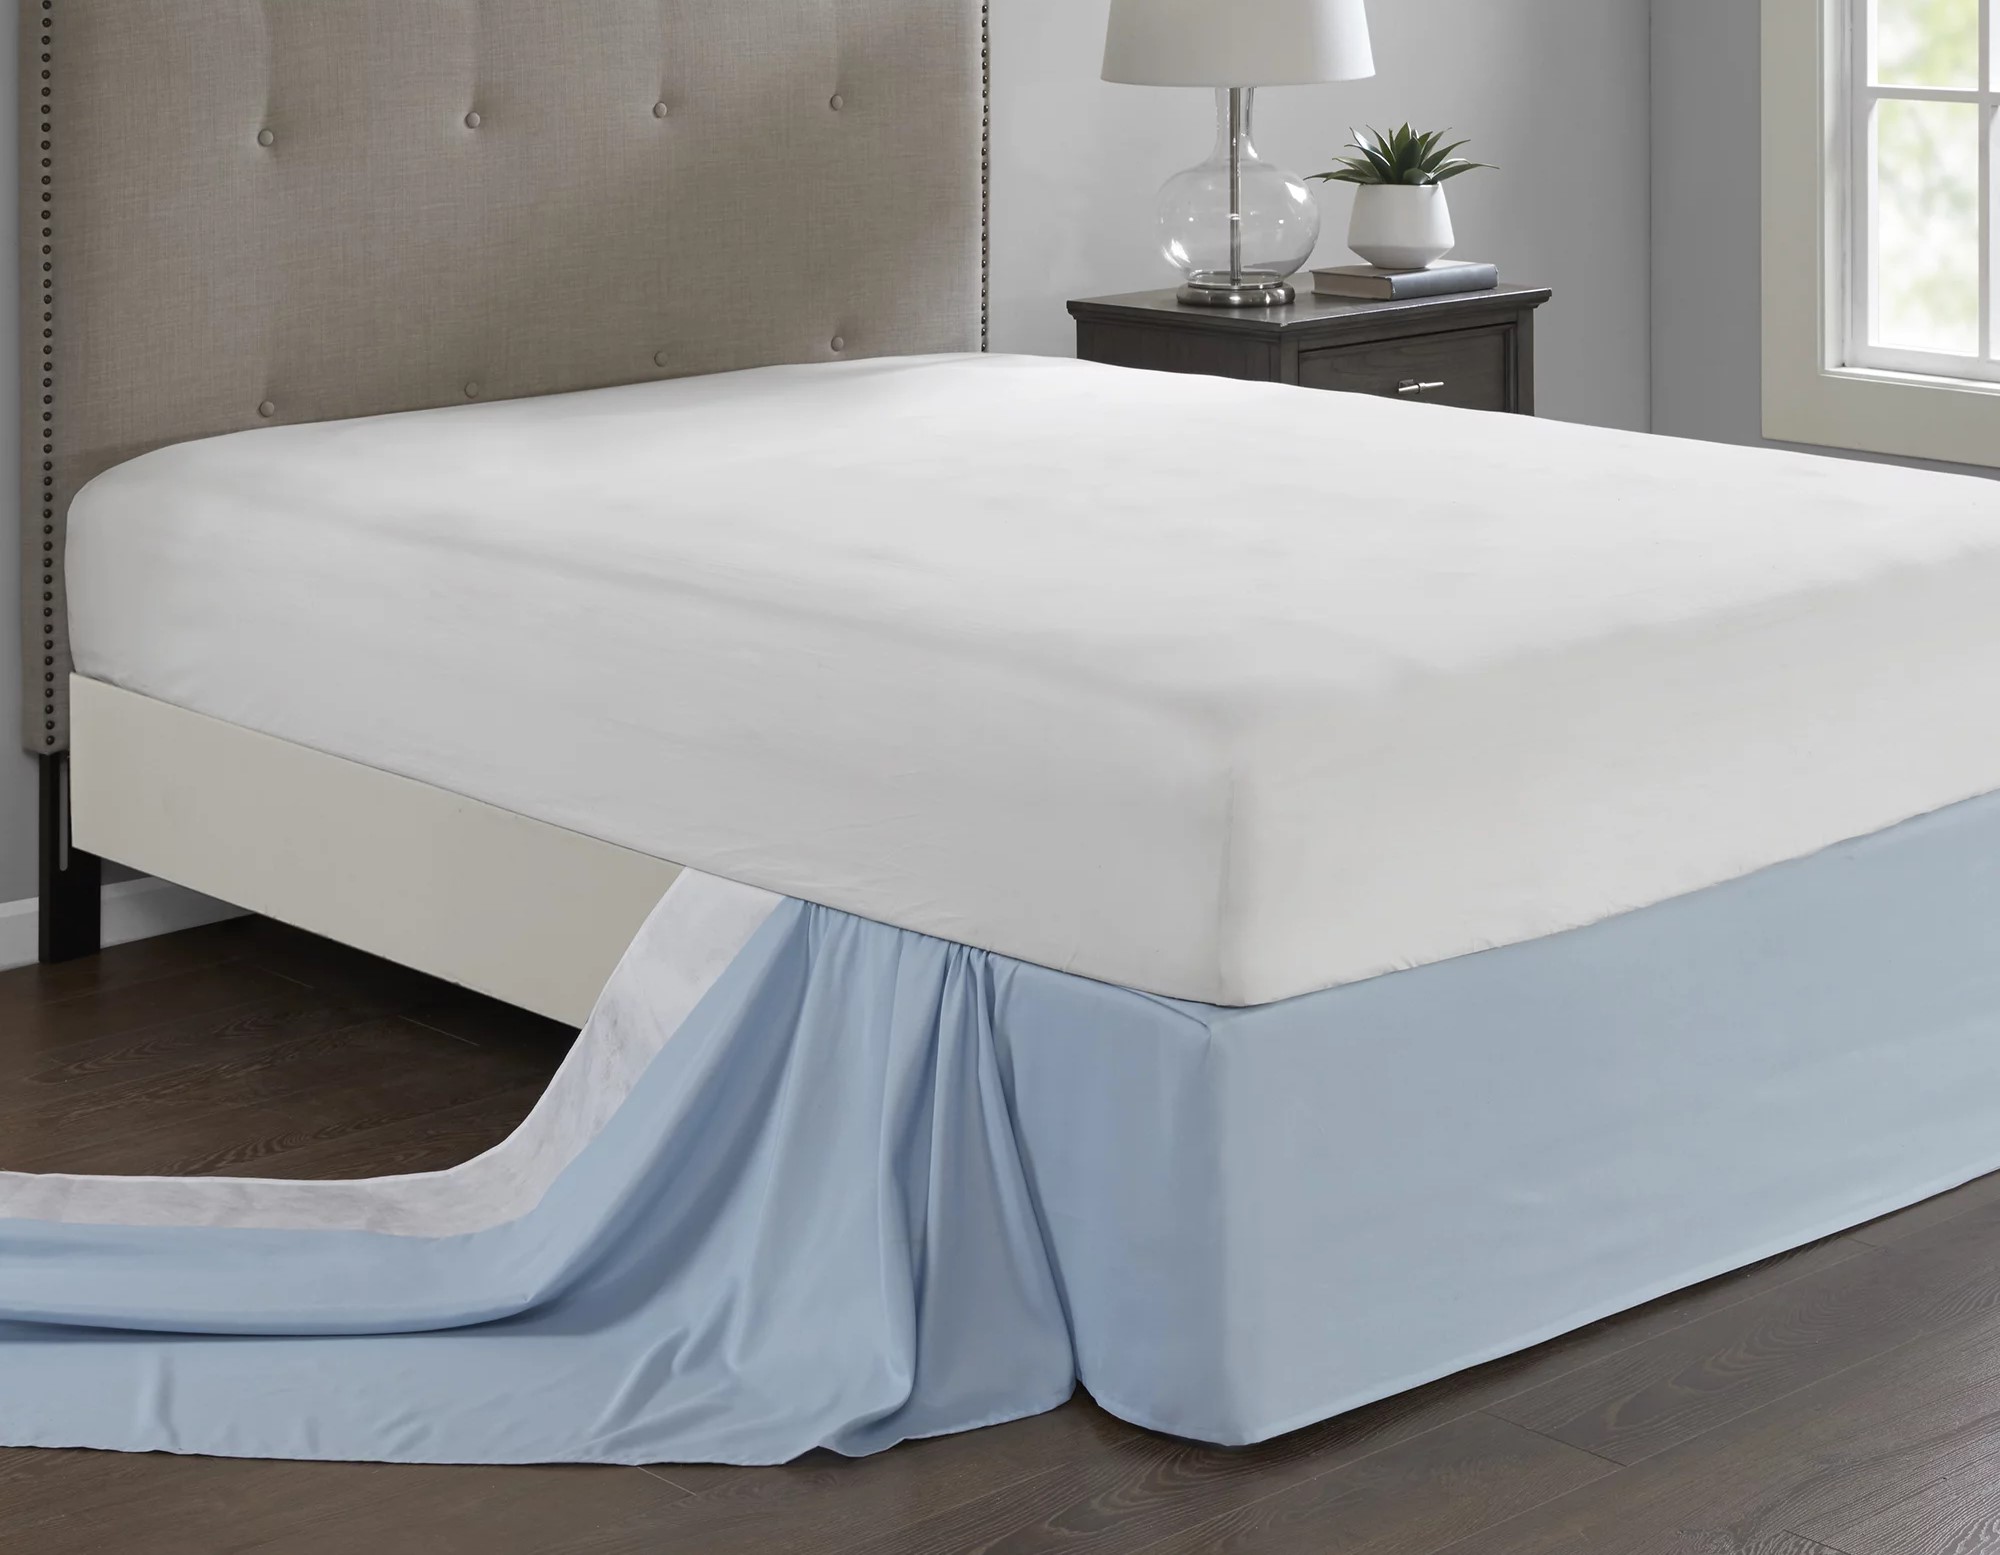
When it comes to decorating a bedroom, even the smallest details can make a big difference. One often overlooked element is the bed skirt. Bed skirts not only add a touch of elegance to the room but also serve a practical purpose by concealing the unsightly box spring or storage space beneath the bed. While there are many types of bed skirts available in the market, a wrap-around bed skirt offers a sleek and seamless look.
In this article, we will guide you through the process of making your own wrap-around bed skirt. By following these steps, you can create a customized bed skirt that perfectly fits your bed and complements your bedroom décor.
Before we delve into the steps, let’s gather the necessary supplies:
- Fabric measuring tape
- Fabric scissors
- Fabric of your choice
- Thread in a matching color
- Pins
- Sewing machine or needle for hand-sewing
- Velcro or elastic
- Iron and ironing board
This comprehensive list of supplies will ensure you have everything you need to complete the project successfully. Once you have gathered these supplies, you’re ready to move on to the next step: measuring the bed.
Key Takeaways:
- Create a customized wrap-around bed skirt to perfectly fit your bed and complement your bedroom decor. Pay attention to detail, choose the right fabric, and add finishing touches for a polished and seamless finish.
- Transform the look of your bedroom with a DIY wrap-around bed skirt. Take pride in your creation, add decorative pleats and fabric bows, and enjoy the refined and elegant touch it brings to your entire bedroom.
Read also: 12 Superior Wrap Around Bed Skirt for 2025
Step 1: Gathering Supplies
Before you dive into making your wrap-around bed skirt, it’s essential to make sure you have all the necessary supplies at hand. Here’s a breakdown of the items you’ll need:
- Fabric Measuring Tape: A fabric measuring tape is a must-have tool for accurate measurements. It will help you determine the dimensions of your bed and cut the fabric accordingly.
- Fabric Scissors: Good quality fabric scissors will make cutting the fabric a breeze. Make sure they are sharp and able to handle the thickness of the fabric you choose.
- Fabric: Choose a fabric that suits your bedroom decor and is appropriate for a bed skirt. Cotton or a cotton blend fabric is a popular choice as it is durable and easy to work with.
- Thread in a Matching Color: Select a thread color that matches your fabric to ensure a seamless appearance.
- Pins: Pins are essential for holding your fabric in place as you cut and sew. Make sure to have plenty on hand.
- Sewing Machine or Needle for Hand-Sewing: Depending on your preference and sewing expertise, you can either use a sewing machine or hand-sew your bed skirt panels together. Choose the method that you are most comfortable with.
- Velcro or Elastic: To attach the bed skirt to the box spring or mattress, you will need either Velcro strips or elastic. Velcro offers a more adjustable fit, while elastic provides a snug and secure attachment.
- Iron and Ironing Board: It’s essential to have an iron and ironing board to press and smooth out the fabric before cutting and sewing. This will ensure a professional-looking and wrinkle-free result.
Once you have gathered all the necessary supplies, you are ready to move on to the next step: measuring the bed.
Step 2: Measuring the Bed
Accurate measurements are crucial for making a well-fitting wrap-around bed skirt. Follow these steps to measure your bed properly:
- Start by removing any existing bed skirt or bedding from your bed.
- Measure the length of the bed from the top edge to the floor on one side. Write down this measurement.
- Move to the opposite side of the bed and measure the width from one edge to the other. Note down this measurement as well.
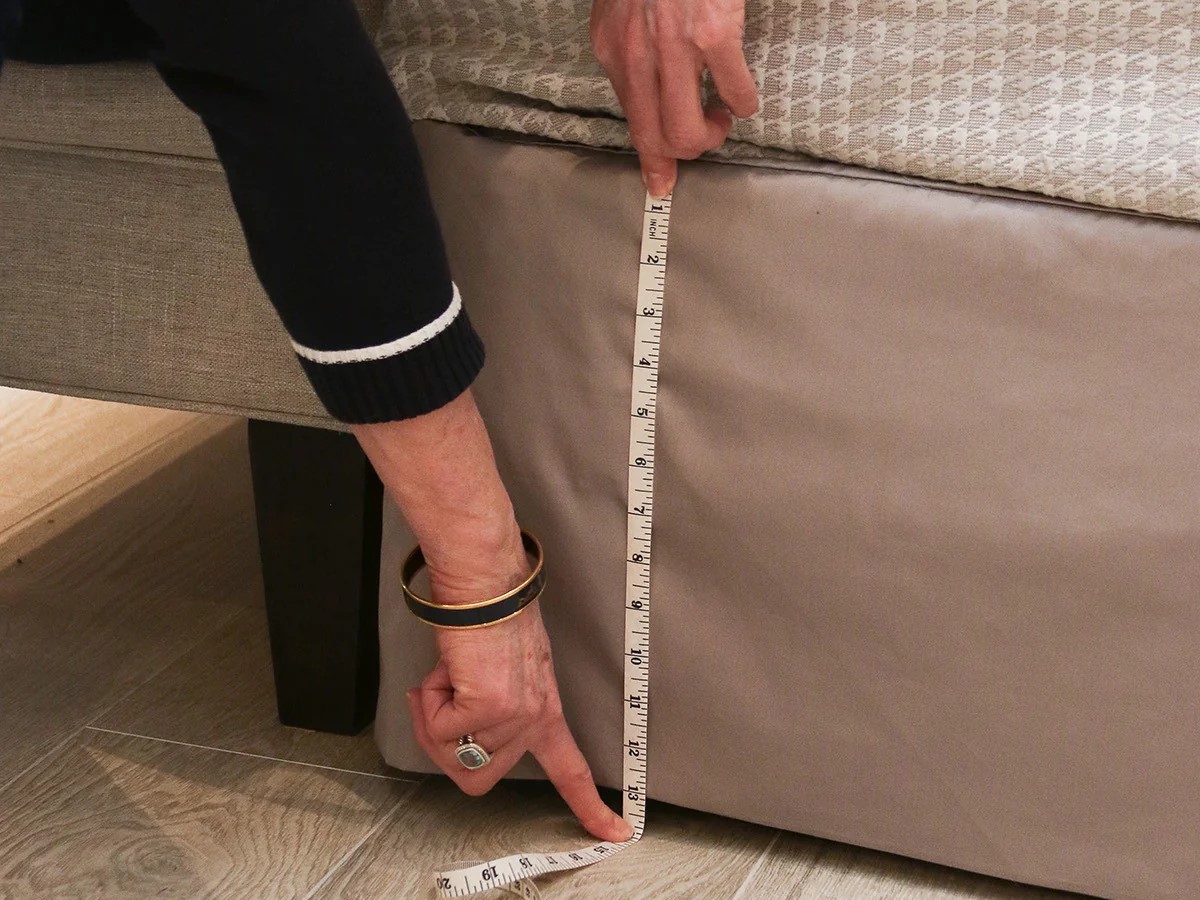
- Next, measure the height from the top of the box spring or mattress to the floor. Write down this measurement as the drop length.
- Measure each side of the bed individually to account for any variations in the bed frame’s size.
- Once you have all the measurements, add an extra inch to both the width and length to allow for seams and a seamless fit.
By taking accurate measurements, you will ensure that your wrap-around bed skirt perfectly fits your bed and has the ideal drop length. This step is crucial for achieving a polished and professional result.
Now that you have measured your bed, it’s time to move on to the next step: selecting the fabric.
Step 3: Selecting the Fabric
The fabric you choose for your wrap-around bed skirt can make a significant impact on the overall look and feel of your bedroom. Consider the following factors when selecting the fabric:
- Bedroom Decor: Take into account the existing color scheme and style of your bedroom. Choose a fabric that complements the overall aesthetic and enhances the ambiance of the room.
- Durability: Opt for a fabric that is sturdy and long-lasting. Bed skirts are prone to wear and tear, so selecting a durable fabric will ensure that your bed skirt continues to look great for years to come.
- Ease of Maintenance: Consider how easy it is to clean and maintain the fabric. Machine-washable fabrics are convenient and practical, as they can be easily taken off and cleaned whenever needed.
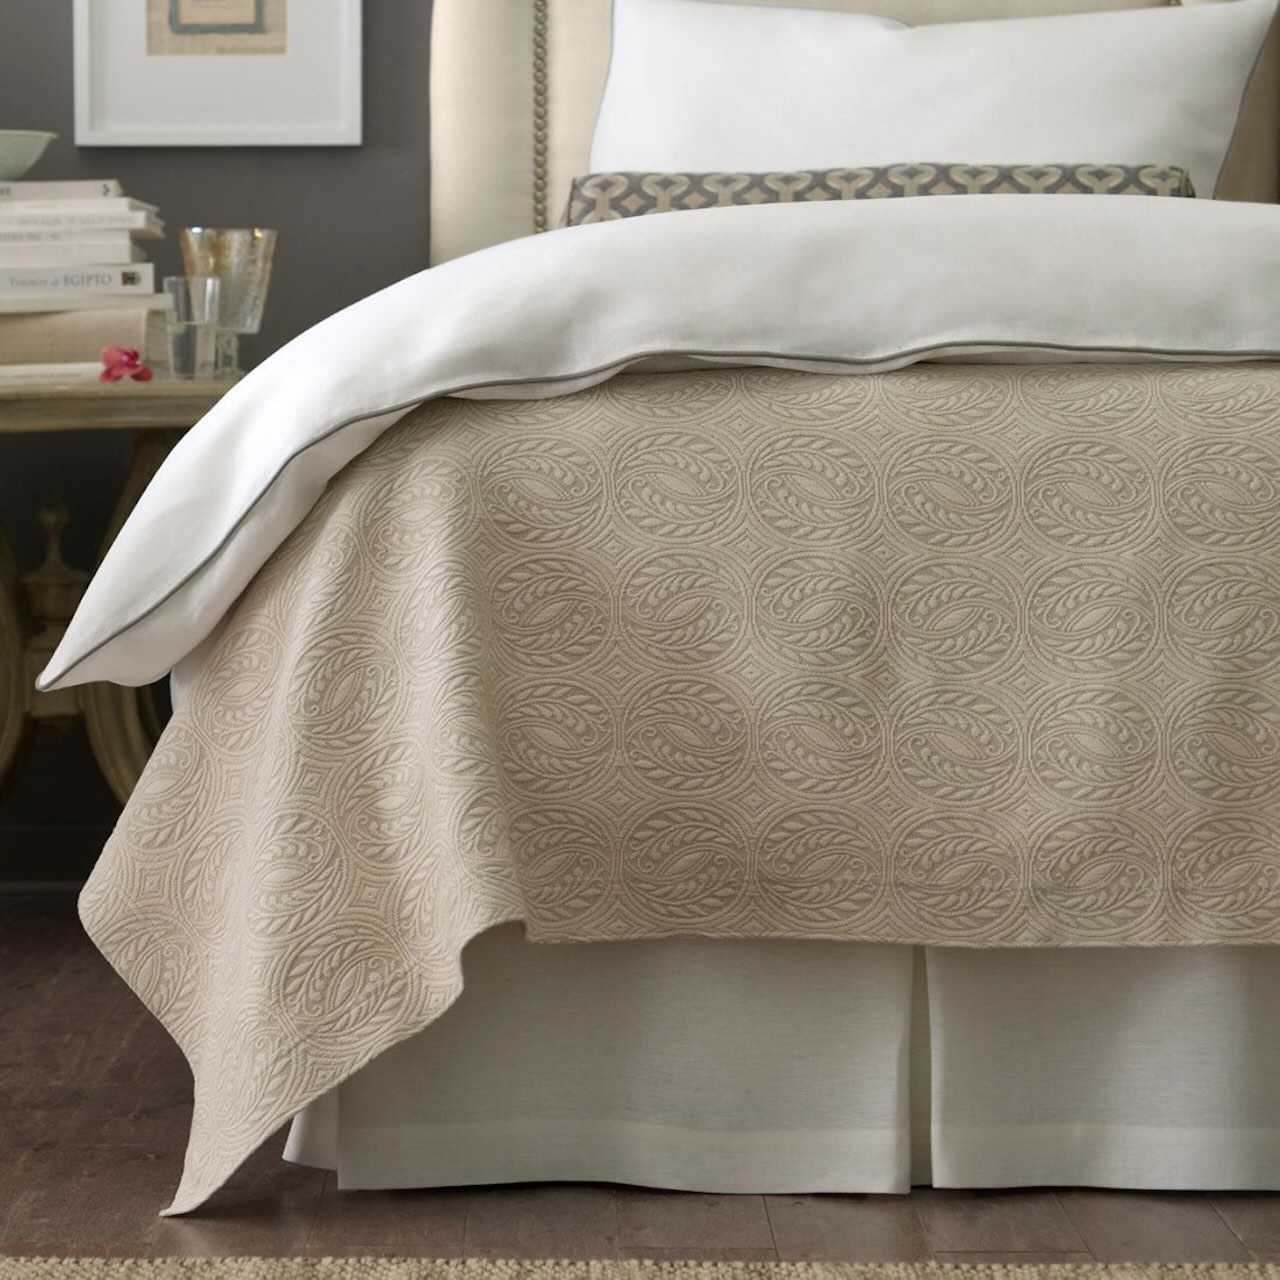
- Texture and Pattern: Think about the texture and pattern of the fabric. A smooth and sleek fabric can create a polished and sophisticated look, while a fabric with a subtle pattern or texture can add visual interest to the bed.
Cotton or cotton blend fabrics are popular choices for bed skirts. They are breathable, easy to work with, and come in a wide range of colors and patterns. However, you can also explore other options such as linen, silk, or polyester, depending on your preference and budget.
Once you have chosen the fabric, ensure that you have enough yardage based on the measurements you took earlier. It’s better to have a little extra fabric to work with rather than falling short.
With the fabric selected, it’s time to move on to the next step: cutting the fabric.
Step 4: Cutting the Fabric
Now that you have your fabric and measurements ready, it’s time to cut the fabric for your wrap-around bed skirt. Follow these steps to ensure precise and accurate cuts:
- Start by preparing a large, flat surface to work on, such as a table or clean floor. This will provide ample space to lay out the fabric.
- Take your fabric and fold it in half lengthwise, ensuring that the right sides of the fabric are facing each other.
- Place the fabric on your work surface and smooth out any wrinkles or creases with an iron if needed.
- Using your fabric measuring tape and the measurements you took earlier, mark the dimensions of the bed skirt onto the fabric with a fabric pen or chalk. Be sure to add the extra inch for seams and a seamless fit.
- Carefully cut along the marked lines to create the main panel of the bed skirt. You should now have a rectangular piece of fabric that corresponds to the dimensions of your bed.
- To create the side panels of the bed skirt, measure the drop length from the top edge of the main panel and mark it horizontally at regular intervals along the fabric. These marks will be the guide for cutting the side panels.
- Cut along the marked lines to create the side panels. The number of side panels will depend on the number of sides your bed has, typically either three or four.
Remember to double-check your measurements before cutting the fabric to ensure accuracy and minimize mistakes.
Once you have cut all the fabric panels, separate them and set them aside. You are now ready to move on to the next step: sewing the panels together.
Read more: How To Make A Bed Skirt
Step 5: Sewing the Panels
Now that you have cut the fabric panels for your wrap-around bed skirt, it’s time to sew them together. Follow these steps to assemble the panels:
- Start by laying out the main panel flat on your work surface with the right side facing up.
- Take one of the side panels and align its top edge with the corresponding edge of the main panel, ensuring that the right sides are facing each other.
- Pin the two panels together along the top edge, securely holding them in place.
- Using a sewing machine or needle and thread, sew along the pinned edge with a straight stitch, making sure to backstitch at the beginning and end for reinforcement.
- Repeat steps 2-4 for each of the remaining side panels, attaching them to the main panel one at a time.
- Once all the side panels are attached, open up the panels and press the seams open with an iron. This will give your bed skirt a neat and professional finish.
By taking your time and sewing each panel carefully, you will ensure that the bed skirt is securely assembled and ready for the next step.
With the panels sewn together, it’s time to move on to the next step: attaching the panels to the bed.
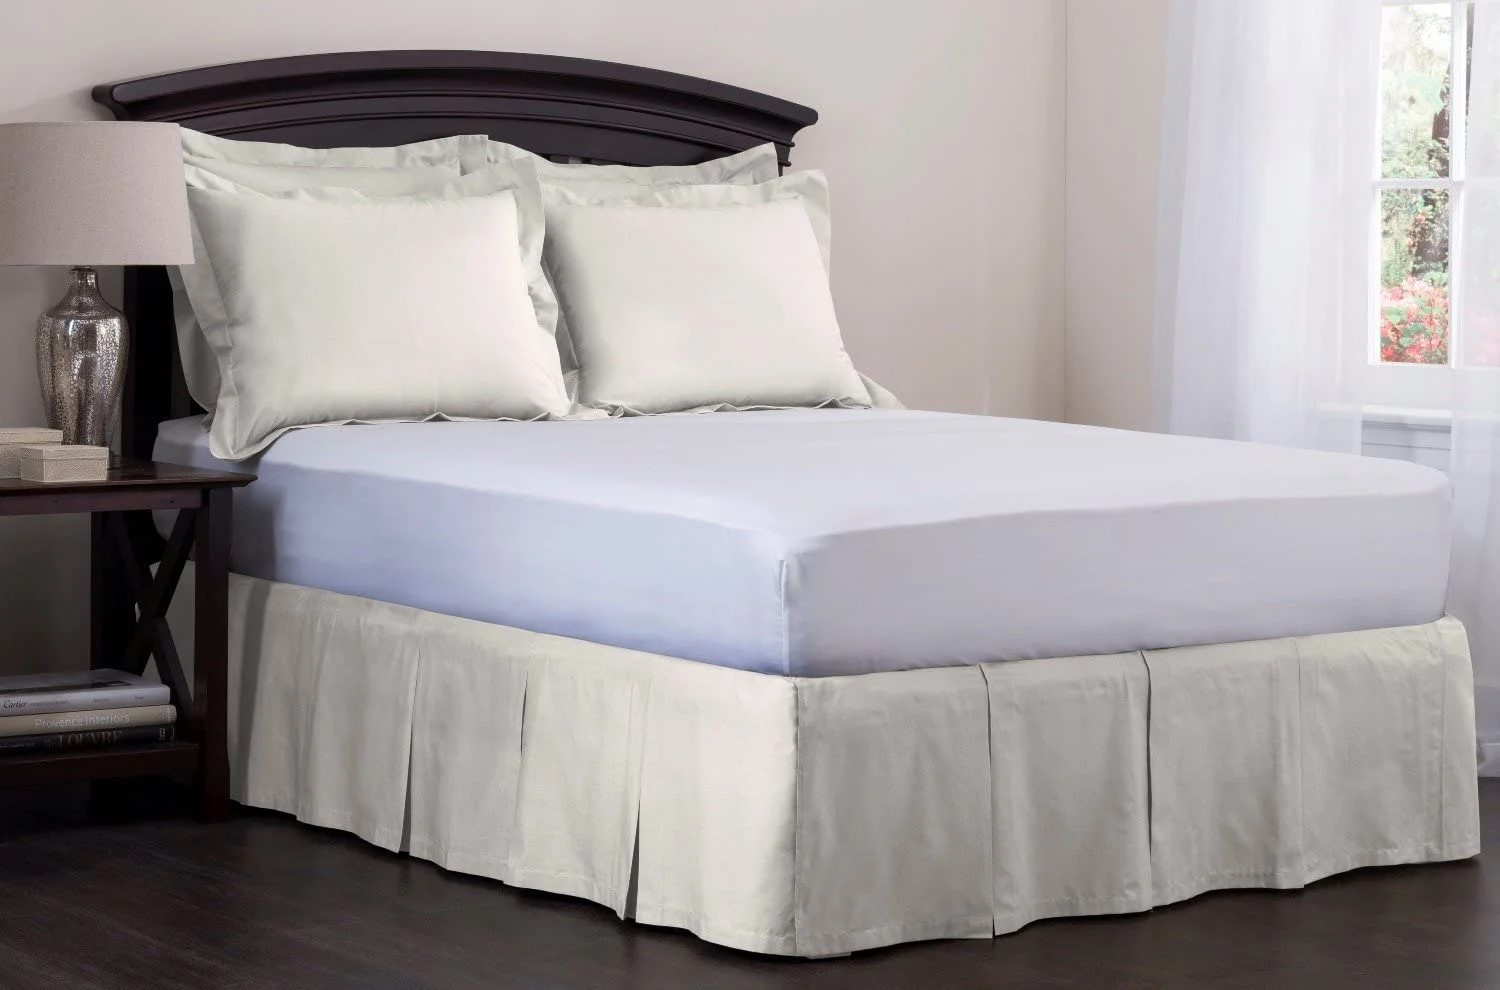
When making a wrap-around bed skirt, measure the drop length from the top of the box spring to the floor, then add 2 inches for seam allowance. This will ensure a perfect fit for your bed skirt.
Step 6: Attaching the Panels
Now that you have sewn the panels together for your wrap-around bed skirt, it’s time to attach them to the bed. Follow these steps to securely fasten the bed skirt in place:
- Start by placing the assembled bed skirt around the box spring or mattress, ensuring that the right side is facing outward and the raw edges are facing the bed frame.
- With the help of a partner, hold the bed skirt in place while you adjust the positioning for an even and balanced appearance.
- Once you are satisfied with the placement, use pins to secure the bed skirt to the box spring or mattress at regular intervals. Make sure to insert the pins through the bed skirt and into the fabric or material of the bed.
- Step back and check if the bed skirt is evenly distributed and hanging straight. Make any necessary adjustments before moving on to the next step.
- Now it’s time to sew the bed skirt to the box spring or mattress. Remove the pins one by one as you sew, ensuring that the bed skirt is held firmly in place and the stitches are hidden from view.
- You can either use a sewing machine or hand-sew with a needle and thread. If using a sewing machine, choose a stitch that will securely attach the bed skirt without causing any damage to the material of the bed.
Take your time during this step to ensure that the bed skirt is attached securely and evenly. This will give your bed a polished and tailored look.
With the panels attached to the bed, it’s time to move on to the next step: hemming the skirt.
Step 7: Hemming the Skirt
Now that you have attached the panels of your wrap-around bed skirt to the bed, it’s time to hem the skirt for a finished look. Follow these steps to hem the skirt:
- Start by flipping the bed skirt up so that the raw edges are facing you.
- Measure the desired length for the hem, keeping in mind that it should just brush the floor without dragging or bunching up.
- Once you have determined the hem length, fold the fabric over to create a double-fold hem.
- If necessary, use pins to hold the folded hem in place temporarily.
- Proceed to sew along the folded edge of the hem, using a straight stitch. Make sure to backstitch at the beginning and end for added durability.
- Continue sewing along the entire perimeter of the bed skirt, hemming each side with the same technique.
As you sew, make sure to maintain an even and straight line to achieve a clean and professional-looking hem. Take your time and pay attention to detail for the best result.
Once you have hemmed the entire skirt, remove any remaining pins and give it a final press with an iron to smooth out any wrinkles or creases.
The hemming step adds the finishing touch to your bed skirt, giving it a polished and tailored appearance.
With the skirt hemmed, it’s time to move on to the next step: adding Velcro or elastic.
Step 8: Adding Velcro or Elastic
To ensure that your wrap-around bed skirt stays securely in place, it’s important to add either Velcro or elastic. Follow these steps to attach them:
If you choose Velcro:
- Start by measuring the length of each side of the bed where the bed skirt will be attached.
- Cut Velcro strips to match the measured length, ensuring that you have both the hook side and the loop side.
- Working on one side at a time, attach the hook side of the Velcro to the top edge of the bed skirt, on the inside of the skirt, by sewing it securely in place.
- Attach the loop side of the Velcro to the corresponding location on the mattress or box spring, ensuring it aligns with the Velcro on the bed skirt.
- Repeat the process for the remaining sides of the bed skirt, attaching the Velcro strips to ensure a snug and secure fit.
If you choose elastic:
- Start by measuring the length of each side of the bed where the bed skirt will be attached.
- Cut elastic bands to match the measured length, ensuring that you have enough to stretch slightly for a secure fit.
- Sew one end of the elastic band to the top edge of the bed skirt on the inside of the skirt.
- Stretch the elastic slightly and sew the other end to the corresponding location on the mattress or box spring, making sure it’s securely attached.
- Repeat the process for the remaining sides, attaching the elastic bands to provide a snug and adjustable fit.
Whether you choose Velcro or elastic, ensure that it is securely attached and provides a tight fit to keep the bed skirt in place, even with movement.
With the Velcro or elastic added, your wrap-around bed skirt is almost complete. Let’s move on to the final step: the finishing touches.
Read more: How To Build Wrap Around Porch
Step 9: Finishing Touches
To complete your wrap-around bed skirt and add those final touches, follow these steps:
- Carefully inspect the bed skirt for any loose threads or uneven seams. Trim any excess threads and make any necessary adjustments to ensure a clean and polished look.
- Give the entire bed skirt a final press with an iron to smooth out any wrinkles and create a crisp appearance.
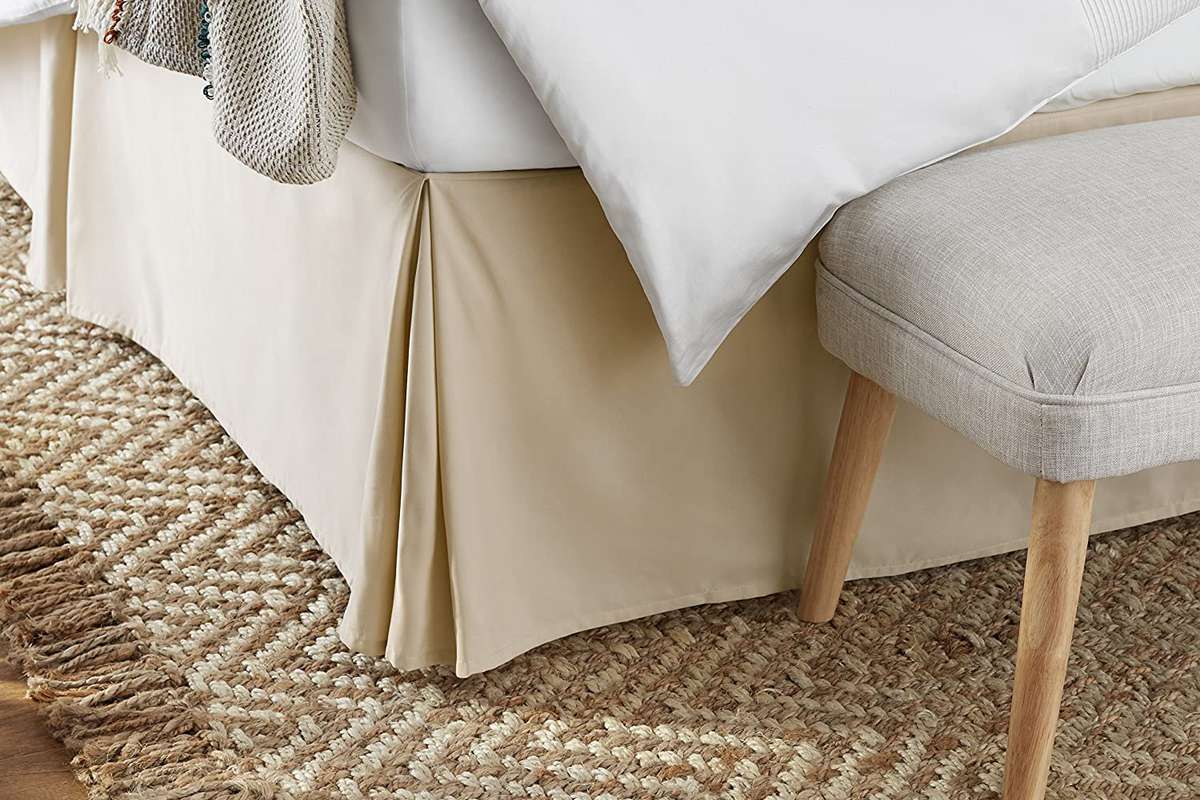
- Create decorative pleats, if desired, by gently folding the fabric at regular intervals along the bed skirt. Use pins to temporarily hold the pleats in place, and adjust them until you achieve the desired look.
- Attach small fabric bows or trims to the corners of the bed skirt for an added touch of elegance and flair.
- Finally, step back and admire your beautifully crafted wrap-around bed skirt. Make any final adjustments as needed to ensure it is perfectly positioned and enhances the overall aesthetic of your bedroom.
By paying attention to these finishing touches, you can elevate the look of your bed and create a cohesive and sophisticated bedroom decor.
Congratulations! You have successfully made your own wrap-around bed skirt. Enjoy the refined look it brings to your bed and the added charm it adds to your bedroom.
Remember to periodically check and clean your bed skirt to maintain its appearance and prolong its lifespan. With proper care, your DIY bed skirt will continue to enhance your bedroom for years to come.
Thank you for following this step-by-step guide. Happy decorating!
Note: Validate the HTML encoding.
Conclusion
Creating a custom wrap-around bed skirt is a rewarding DIY project that can transform the look of your bedroom. By following the steps outlined in this article, you can make a bed skirt that perfectly fits your bed and complements your bedroom decor. From gathering the necessary supplies to hemming the skirt and adding Velcro or elastic, each step plays a crucial role in achieving a polished and seamless finish.
Throughout the process, it’s important to pay attention to detail and take accurate measurements. Choosing the right fabric is key to achieving the desired aesthetic and ensuring the bed skirt’s durability. By adding Velcro or elastic, you can ensure that the bed skirt stays securely in place even with movement.
Don’t forget the importance of the finishing touches. Trim loose threads, press the bed skirt for a crisp appearance, and consider adding decorative pleats or fabric bows to elevate the overall look.
By taking the time to create your own wrap-around bed skirt, you can customize it to your preferences and add a touch of elegance to your bedroom. Plus, you can take pride in your DIY creation and enjoy the satisfaction of making something with your own hands.
Now, it’s time to step back and admire your beautiful bed skirt. You have successfully completed a project that not only enhances your bed but also adds a stylish and refined touch to your entire bedroom.
Thank you for joining us on this DIY journey. We hope you found this article informative and inspiring. Happy decorating!
Note: Validate the HTML encoding.
Frequently Asked Questions about How To Make A Wrap-Around Bed Skirt
Was this page helpful?
At Storables.com, we guarantee accurate and reliable information. Our content, validated by Expert Board Contributors, is crafted following stringent Editorial Policies. We're committed to providing you with well-researched, expert-backed insights for all your informational needs.


0 thoughts on “How To Make A Wrap-Around Bed Skirt”