Articles
How To Sharpen A Blender Blade
Modified: August 25, 2024
Learn how to sharpen a blender blade with these easy-to-follow articles. Keep your blender performing at its best for smooth and efficient blending.
(Many of the links in this article redirect to a specific reviewed product. Your purchase of these products through affiliate links helps to generate commission for Storables.com, at no extra cost. Learn more)
Introduction
Welcome to our guide on how to sharpen a blender blade! Over time, the blade of your blender can become dull and less effective at blending ingredients smoothly. Instead of investing in a new blender, you can save money by sharpening the blade yourself. Sharpening the blender blade is a simple process that can be done with a few tools and some basic knowledge.
Before we dive into the process, it’s important to note that safety should always be a top priority when working with any kind of sharp object. Make sure to follow the safety precautions and instructions carefully to avoid any accidents or injuries.
In this article, we will walk you through each step of the process, from cleaning the blade to reassembling the blender. By the end, you’ll have a sharp blender blade that will make your blending tasks effortless and efficient.
Key Takeaways:
- Save money and extend the lifespan of your blender by sharpening the blade at home. Follow safety precautions, clean the blade, and use the right tools for efficient sharpening.
- Prioritize safety, gather the necessary tools, and follow step-by-step instructions to sharpen and reassemble your blender blade. Test the blade’s sharpness for optimal blending performance.
Read more: How To Sharpen Food Processor Blades
Safety Precautions
Before you begin sharpening your blender blade, it’s important to take some safety precautions to protect yourself and prevent any accidents. Here are some essential safety measures to keep in mind:
- Unplug the blender: Before you start working on the blade, make sure to unplug the blender from the power source. This will prevent any accidental injuries while handling the blade.
- Use protective gear: Wear protective gloves to protect your hands from cuts and scrapes. Additionally, safety goggles can prevent any debris or metal particles from getting into your eyes.
- Work in a well-ventilated area: When sharpening the blade, some metal shavings or dust may be released. Make sure to work in a well-ventilated area to avoid inhaling any particles.
- Keep children and pets away: It’s best to perform the blade sharpening process in an area where children and pets cannot reach. Store all tools and equipment out of their reach to prevent any accidents.
- Handle the blade with caution: The blade of a blender is sharp, so handle it with care. Avoid any unnecessary contact with the blade and hold it by the base or handle rather than the sharp edges.
- Follow manufacturer’s instructions: Different blender models may have specific instructions for removing and reassembling the blade. Make sure to consult the manufacturer’s manual or website for any specific guidelines.
By following these safety precautions, you can ensure a safe and accident-free experience while sharpening your blender blade. Now, let’s move on to the tools and materials you’ll need for the process.
Tools and Materials Needed
Before you begin sharpening your blender blade, it’s important to gather all the necessary tools and materials. Here’s a list of what you’ll need:
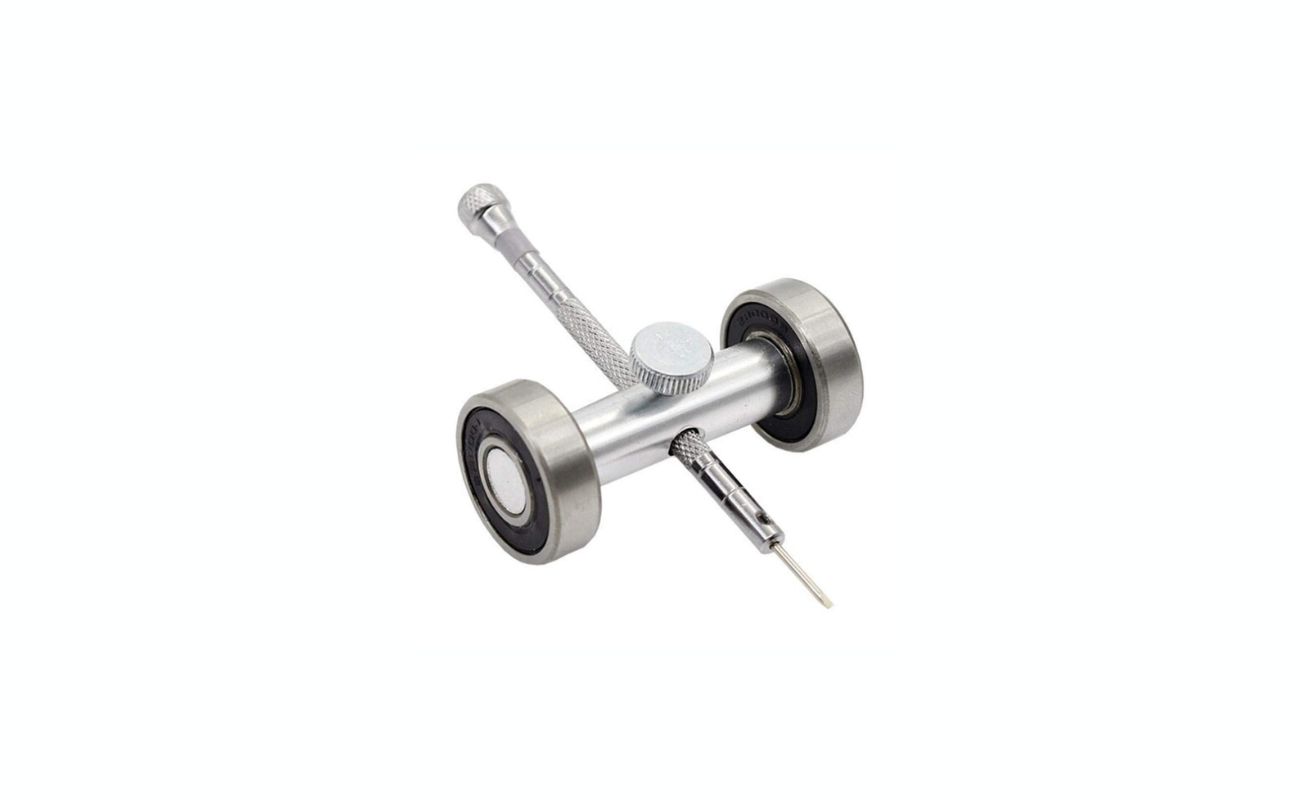
- Screwdriver: A screwdriver will be needed to remove the blender blade assembly from the blender base. Make sure you have the appropriate size and type of screwdriver that fits the screws on your blender.
- Cleaning supplies: Prepare some warm soapy water or a mild detergent to clean the blender blade before sharpening. You’ll also need a scrub brush or sponge to remove any debris or residue from the blade.
- Sharpening tool: There are different options for sharpening the blade, such as a sharpening stone or a sharpening rod. Choose a tool that is suitable for the type of blade you have and follow the manufacturer’s instructions for proper use.
- Lubricant: A food-grade lubricant or mineral oil can be used to lubricate the blade once it has been sharpened. This will help reduce friction and ensure smooth blending.
- Cloth or towel: Keep a clean cloth or towel nearby to wipe down the blade and remove any excess oil or residue.
Once you have gathered all the necessary tools and materials, you’re ready to proceed with the blade sharpening process. Let’s move on to the first step: cleaning the blender blade.
Step 1: Cleaning the Blender Blade
Before sharpening the blender blade, it’s important to clean it thoroughly. Over time, food particles and residue can accumulate on the blade, affecting its performance. Follow these steps to clean the blender blade:
- Unplug the blender from the power source and make sure it is turned off.
- Fill a sink or a container with warm soapy water or a mild detergent.
- Remove the blender jug or container from the blender base.
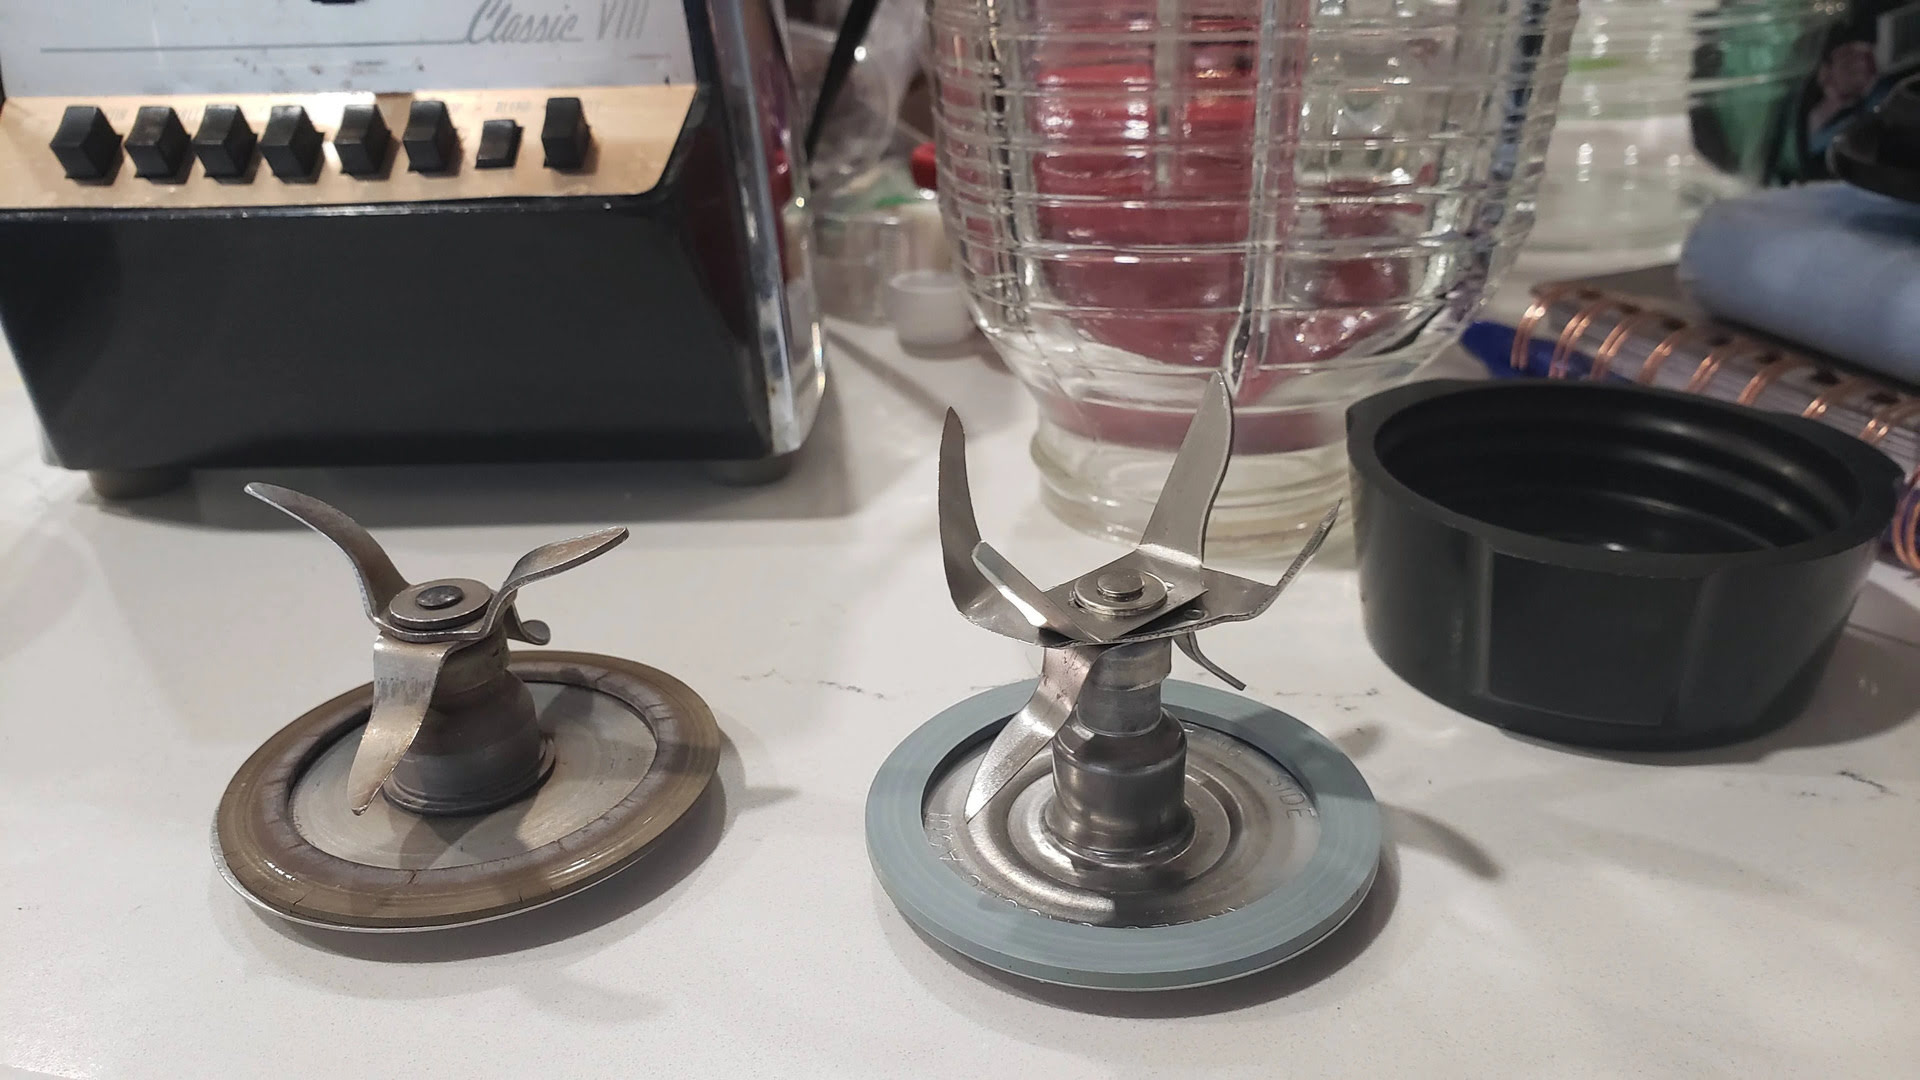
- Detach the blade assembly from the blender jug or container. Refer to the manufacturer’s instructions for your specific blender model, as different blenders may have different ways to remove the blade assembly.
- Place the blade assembly in the soapy water and let it soak for a few minutes.
- Using a scrub brush or sponge, gently scrub the blade to remove any food particles or residue. Pay attention to the edges and crevices of the blade.
- Rinse the blade thoroughly with clean water to remove any soap or detergent residue.
- Inspect the blade to ensure all debris has been removed. If there are any stubborn stains or residues, repeat the cleaning process or use a non-abrasive cleaner.
- Dry the blade completely with a clean cloth or towel.
Once the blade is clean and dry, you can proceed to the next step of removing the blade assembly from the blender. Make sure to handle the blade with caution, as it can still be sharp. Refer to the manufacturer’s instructions for your specific blender model to safely remove the blade assembly.
Next, we will move on to Step 2: Removing the Blade Assembly.
Step 2: Removing the Blade Assembly
Now that the blender blade is clean, it’s time to remove the blade assembly from the blender. Follow these steps to safely remove the blade assembly:
- Make sure the blender is unplugged from the power source and turned off.
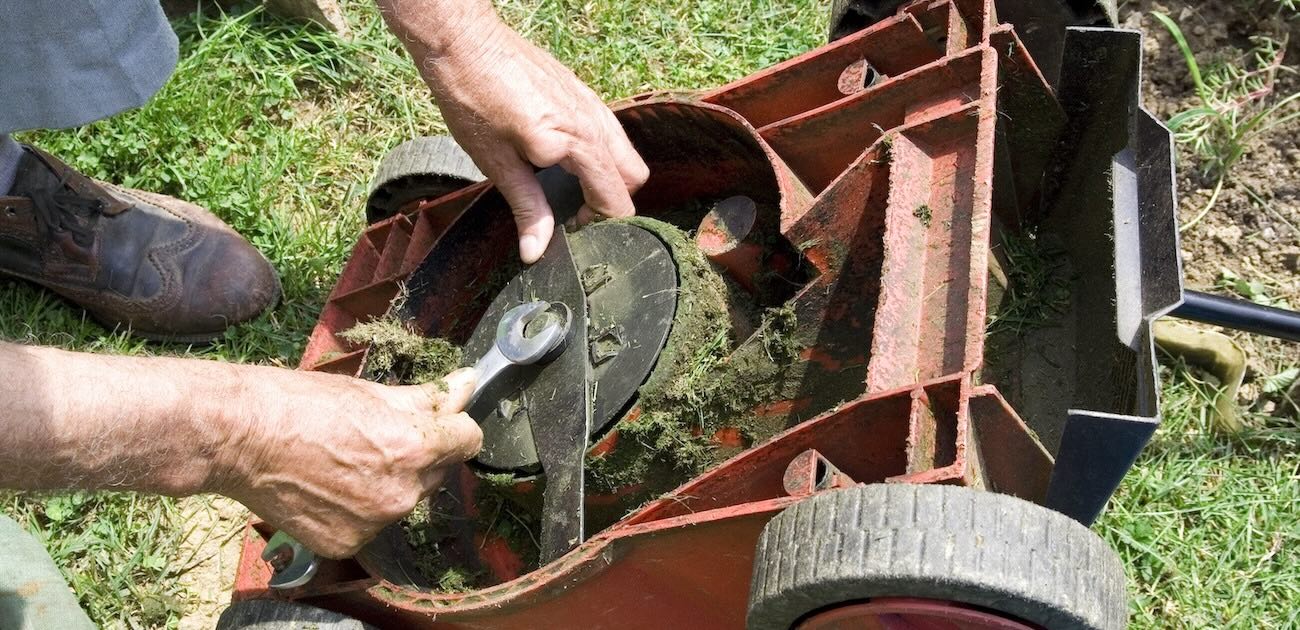
- Refer to the manufacturer’s instructions for your specific blender model to locate the screws or clips holding the blade assembly in place.
- Using the appropriate size and type of screwdriver, carefully loosen and remove the screws that secure the blade assembly. If your blender has clips, gently release them to detach the assembly.
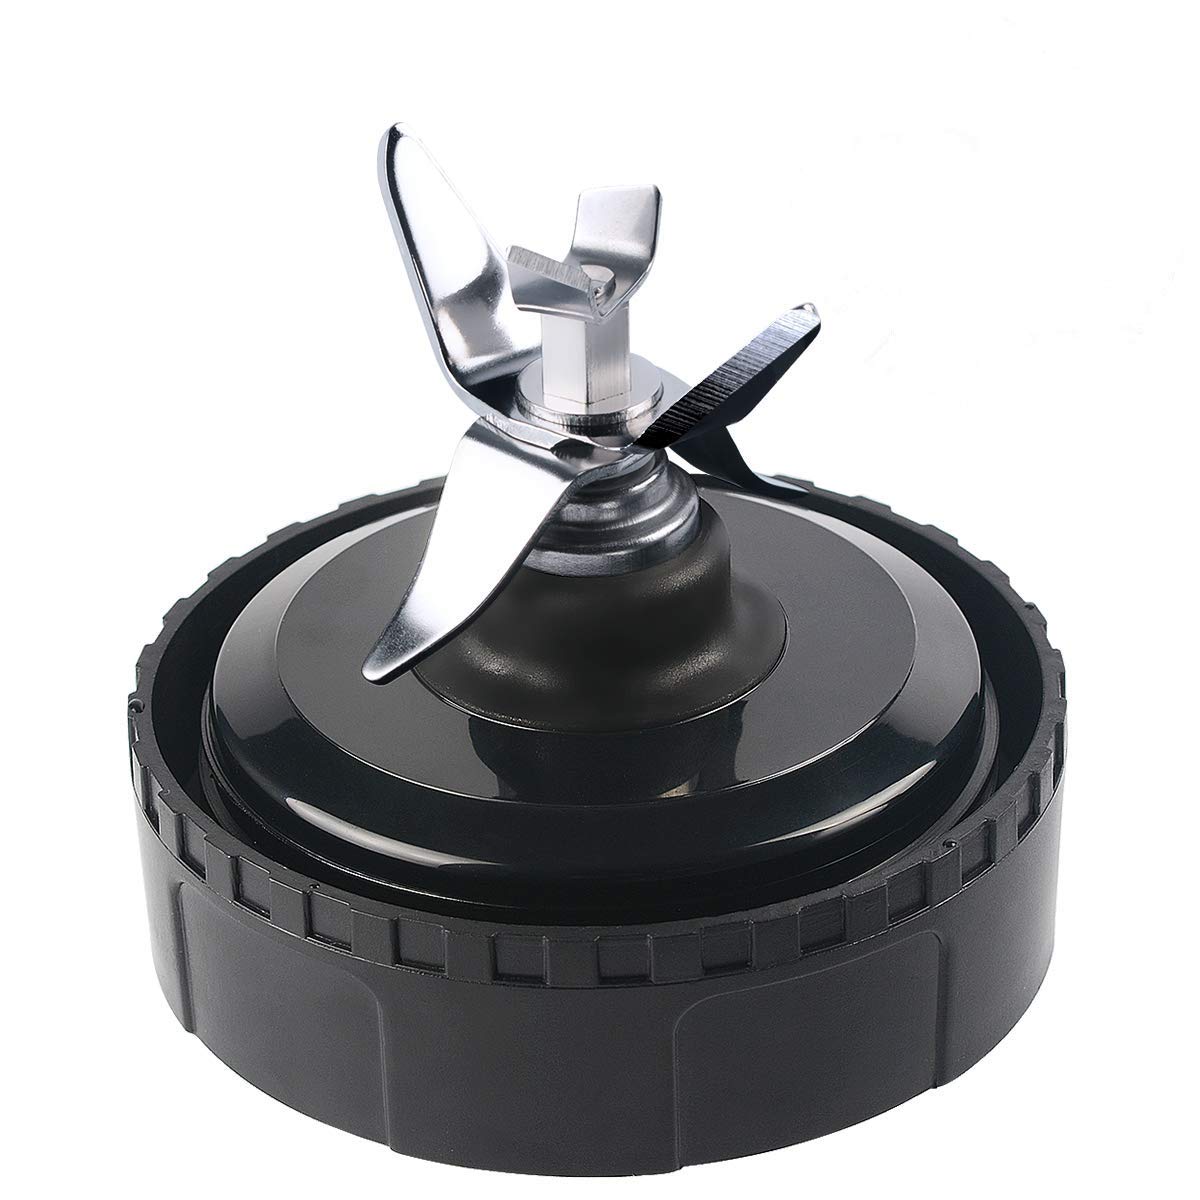
- Once the screws or clips are removed, carefully lift the blade assembly out of the blender.
- Place the blade assembly on a clean and flat surface.
As you remove the blade assembly, be cautious not to damage or misplace any components. Keep the screws or clips in a safe place to ensure they are not lost during the sharpening process.
With the blade assembly now detached from the blender, we can move on to the next step: sharpening the blender blade.
Note: Some blender models may have a non-removable blade assembly. In such cases, it is not possible to remove the blade for individual sharpening. Instead, you can try sharpening the blade while it is still attached to the blender, following the same sharpening process.
To sharpen a blender blade, use a sharpening stone or a rotary tool with a grinding attachment. Gently run the blade against the stone or grinding attachment to remove any dull edges and restore sharpness. Be sure to clean the blade thoroughly before using it again.
Read more: How To Sharpen Clipper Blades With Sandpaper
Step 3: Sharpening the Blender Blade
Once the blade assembly is removed from the blender, it’s time to sharpen the blender blade. Follow these steps to effectively sharpen the blade:
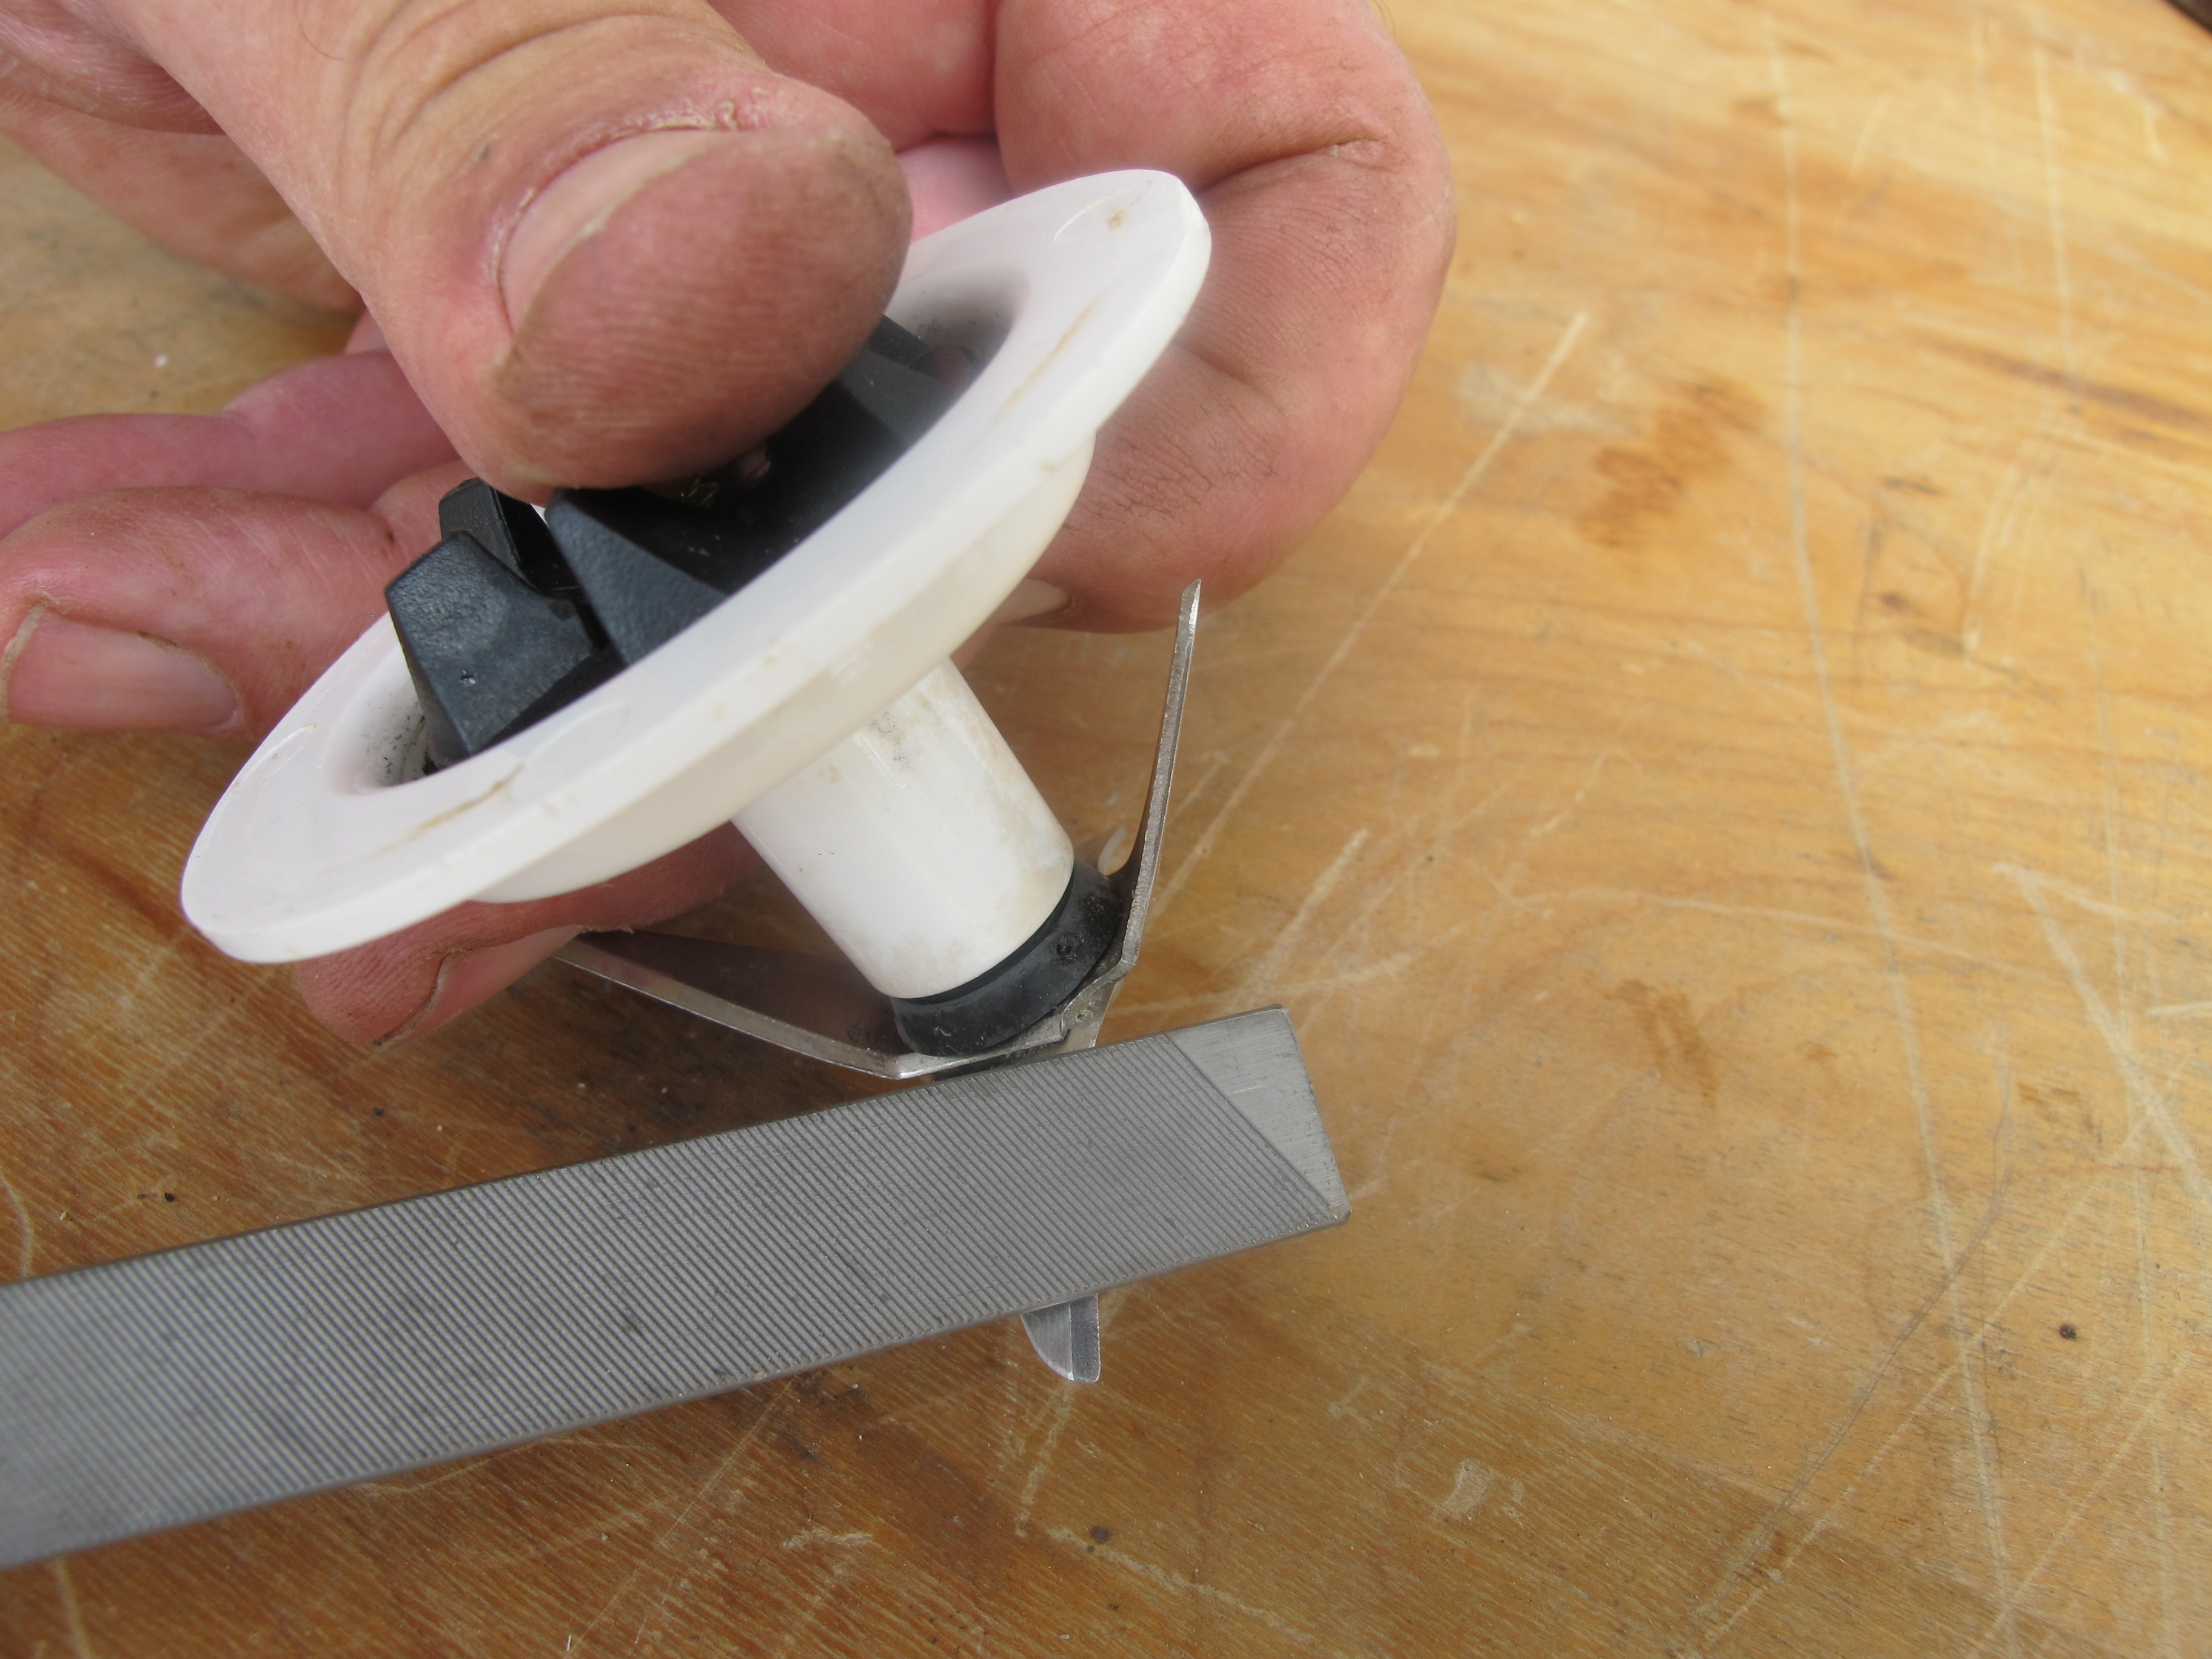
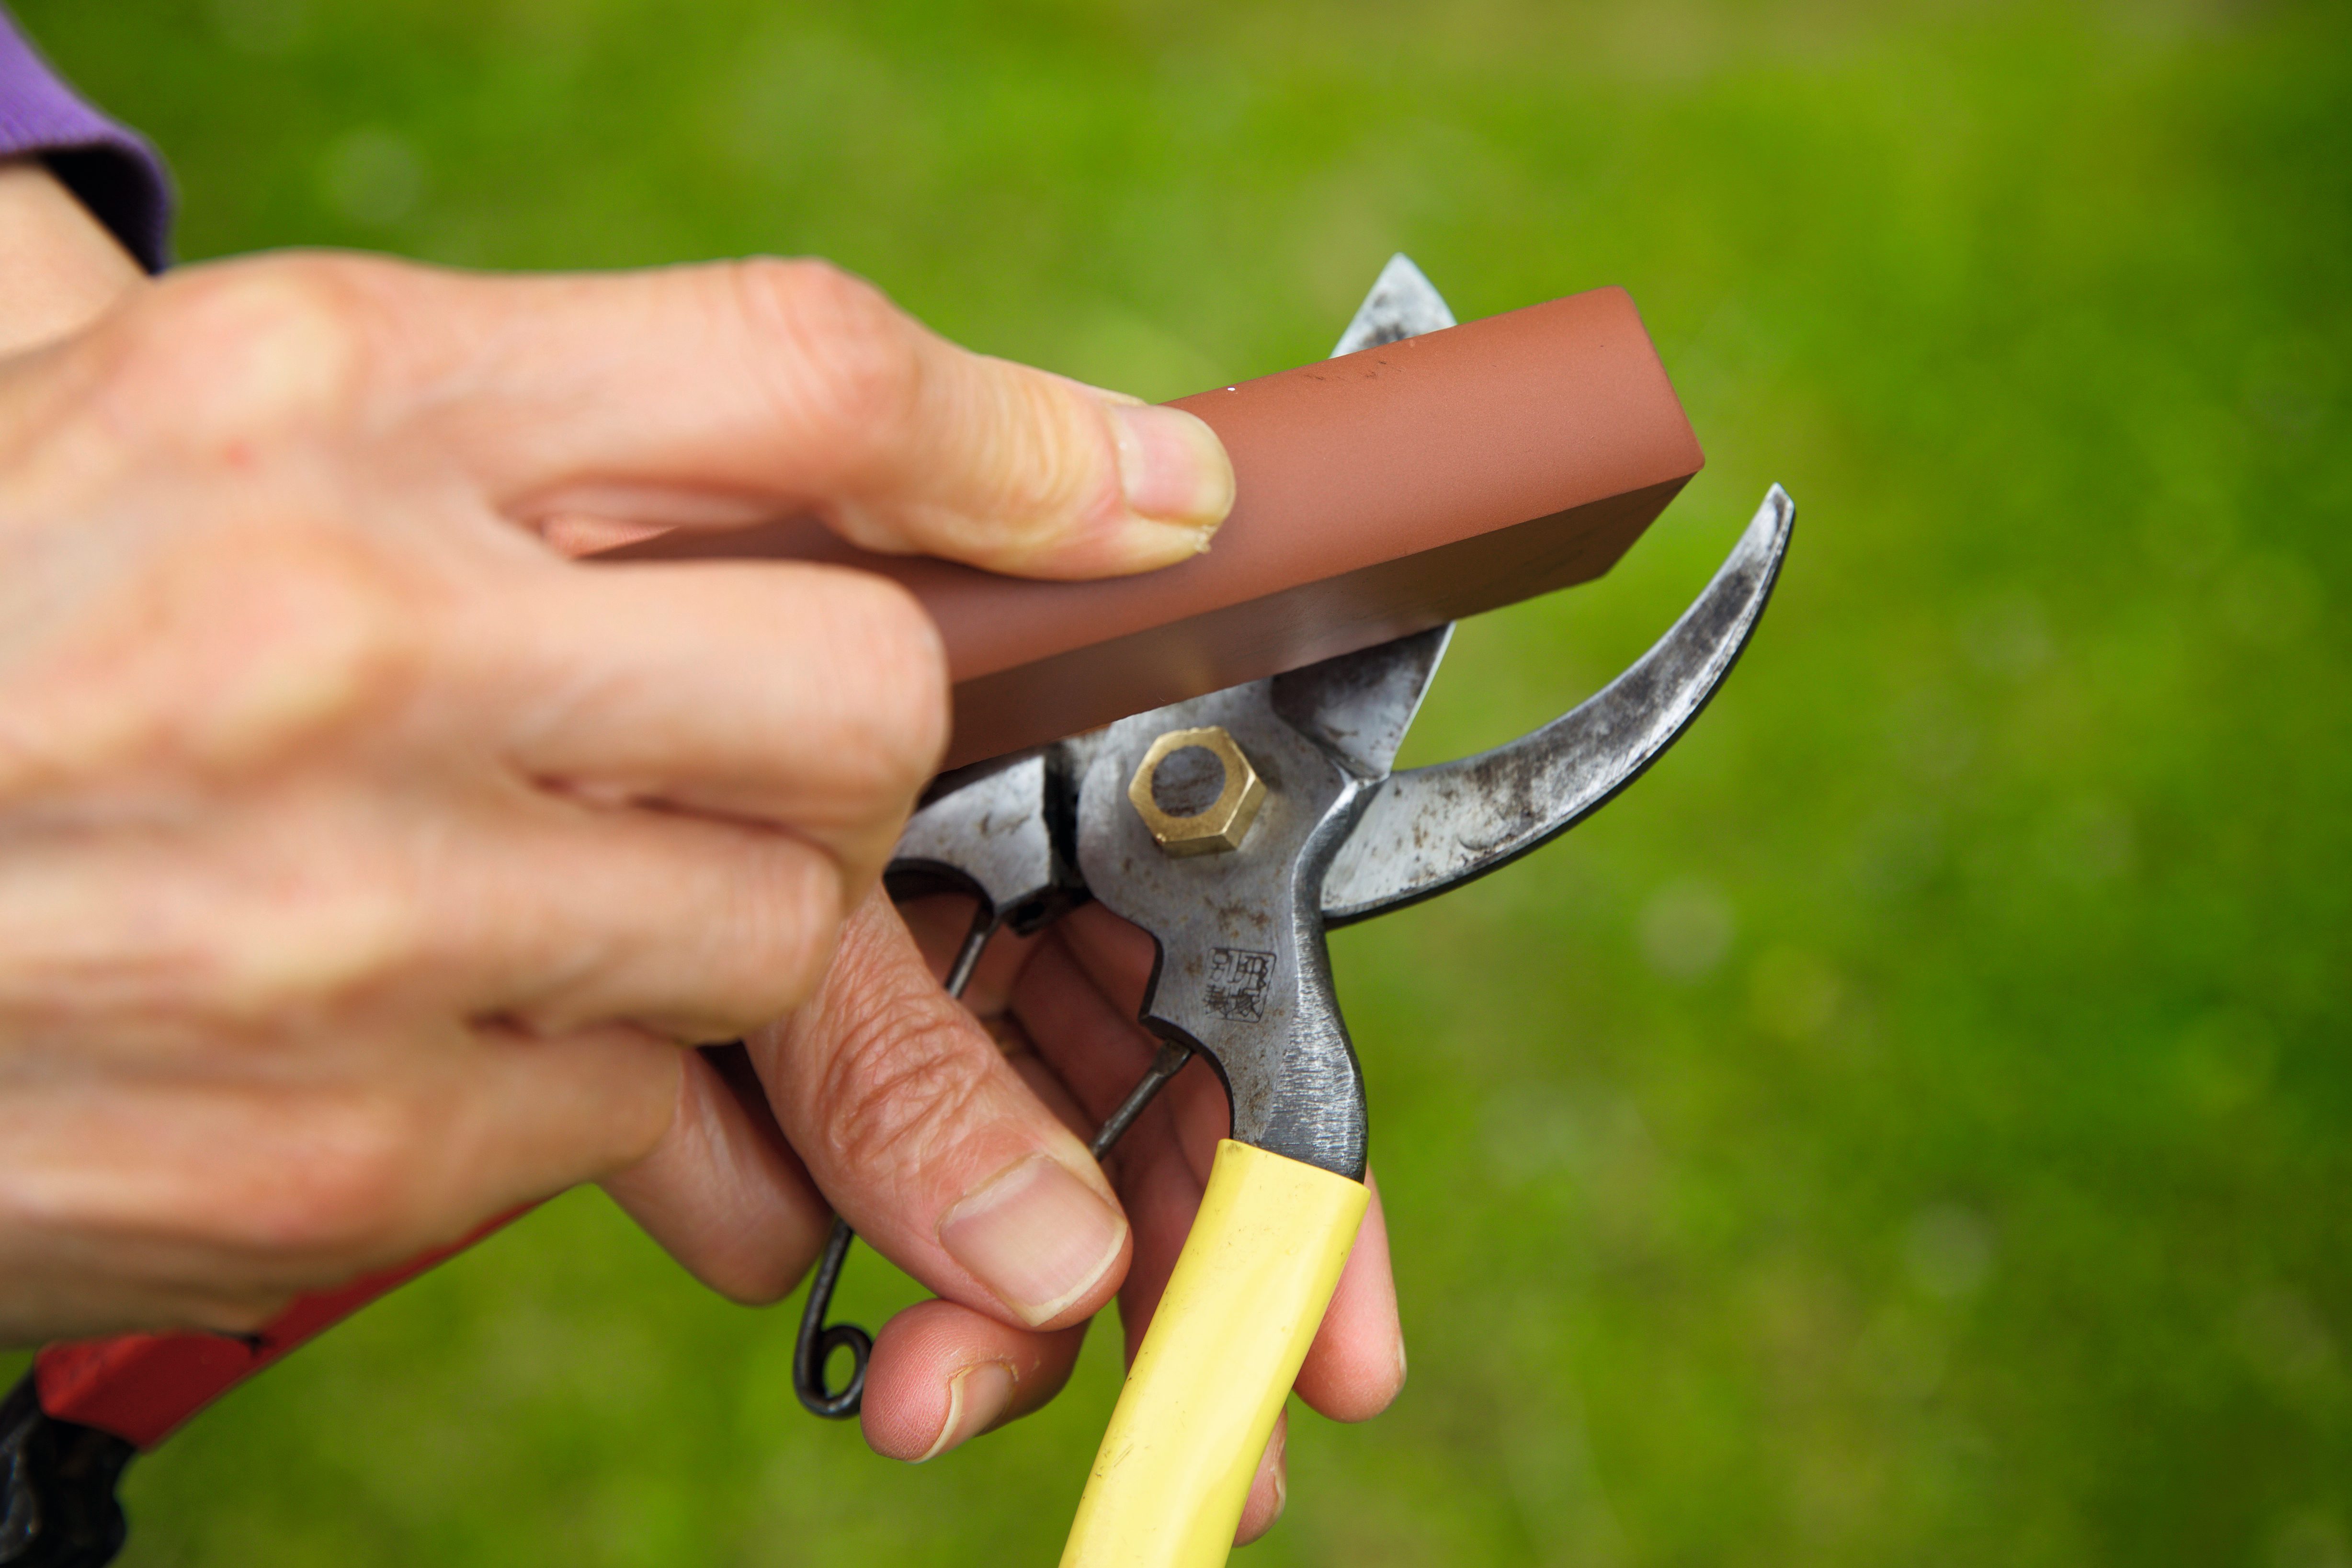
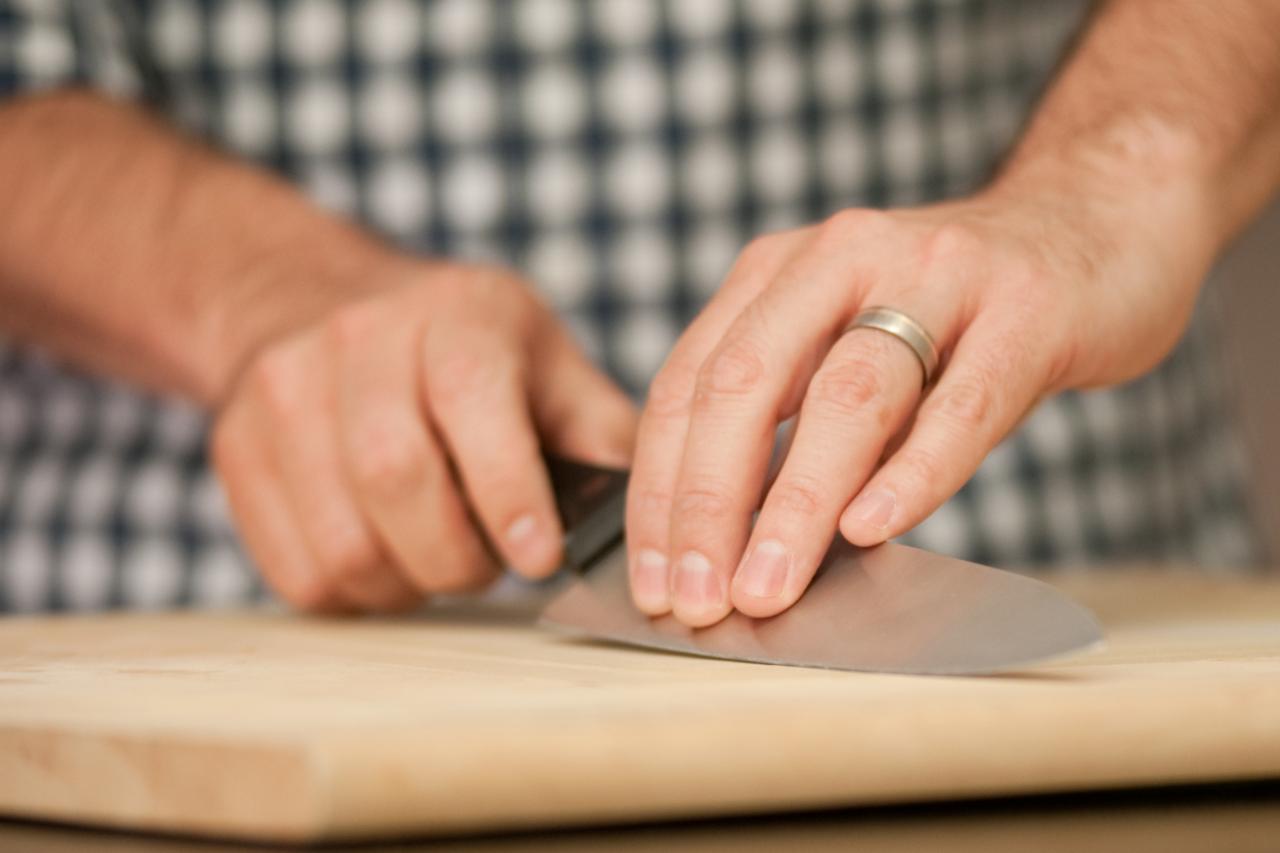
- Select the appropriate sharpening tool for your blender blade. A sharpening stone or a sharpening rod are popular options for sharpening blades.
- Hold the blade securely with one hand, ensuring that your fingers are away from the sharp edges.
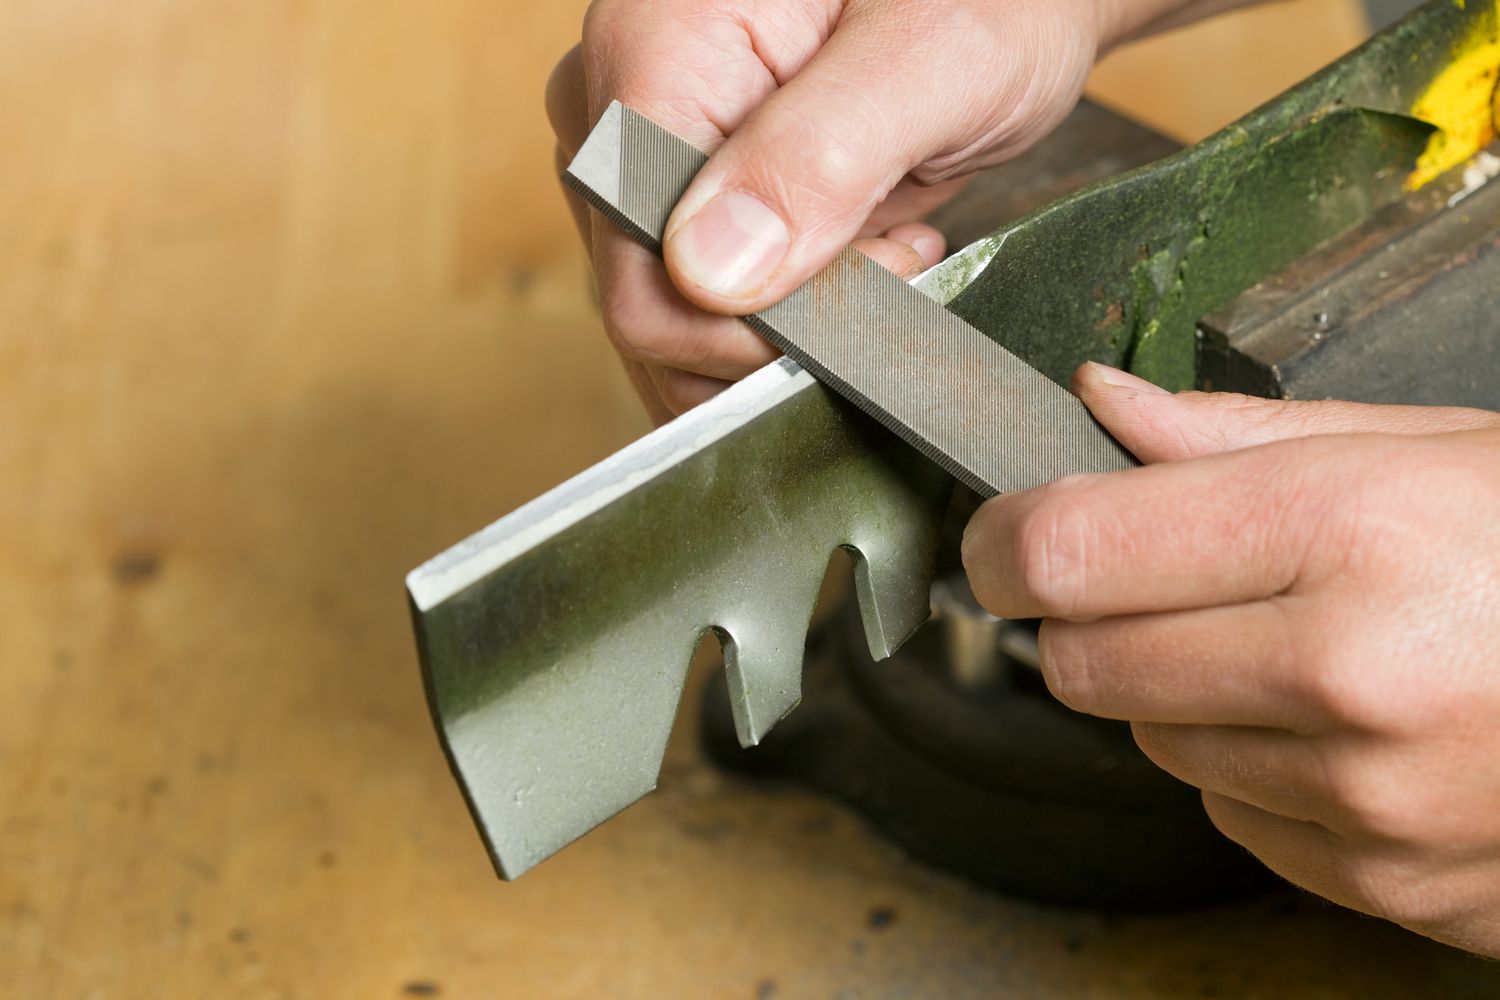
- With the other hand, position the sharpening tool against the edge of the blade at a 20 to 30-degree angle. Ensure that the tool is in contact with the entire edge of the blade.
- Apply light pressure and move the sharpening tool along the entire length of the blade, from the base to the tip. Repeat this process several times, alternating sides if necessary.
- Continue sharpening the blade until you feel the edge becoming sharper. Be mindful not to apply too much pressure, as this could damage the blade.
- Make sure to sharpen both sides of the blade evenly to maintain balance and optimal performance.
- Once you are satisfied with the sharpness of the blade, rinse it under clean water to remove any metal shavings or debris.
- Dry the blade thoroughly with a clean cloth or towel.
Remember, the key to sharpening a blender blade is to maintain a consistent angle and apply gentle pressure throughout the process. Take your time and focus on achieving an even and sharp edge.
Now that the blender blade is sharpened, we can move on to the next step: reassembling the blender.
Step 4: Reassembling the Blender
Now that the blender blade is sharpened, it’s time to reassemble the blender. Follow these steps to properly reassemble the blender:
- Retrieve the blade assembly and ensure that it is clean and dry.
- Align the blade assembly with the opening in the blender base.
- Insert the blade assembly into the blender, making sure it fits securely.
- If your blender requires screws to secure the blade assembly, use the appropriate screwdriver to tighten the screws. Ensure that they are securely fastened, but be careful not to overtighten them.
- If your blender has clips, carefully slide and secure the clips into place to hold the blade assembly.
Once the blade assembly is reattached to the blender, give it a gentle wiggle or spin to ensure that it is properly seated and securely fastened.
With the blade assembly reassembled, we can move on to the final step: testing the blade’s sharpness.
Step 5: Testing the Blade’s Sharpness
After sharpening and reassembling the blender blade, it’s crucial to test its sharpness before using it for blending. Follow these steps to test the blade’s sharpness:
- Ensure that the blender is unplugged from the power source and turned off.
- Fill the blender jug or container with some water, leaving enough space for blending.
- Place the blender jug or container onto the blender base and secure it in place.
- Turn on the blender and let it blend the water for a few seconds
- Observe the blending process closely. If the blender blade cuts through the water smoothly without any hesitation or excessive noise, it indicates that the blade is sharp and ready for use.
- If the blending process is not smooth and there are signs of struggle or excessive noise, then the blade may need further sharpening or reassembly. Repeat the sharpening and reassembling process, ensuring that the blade is correctly aligned and securely fastened.
It’s important to remember that a sharp blender blade should effortlessly blend ingredients without any resistance. If you notice any issues during the testing process, it may be necessary to repeat the sharpening or reassembling steps until the desired sharpness is achieved.
Congratulations! You have successfully sharpened your blender blade and tested its sharpness. Your blender is now ready to handle all your blending tasks with precision and efficiency.
Remember to always follow the manufacturer’s instructions and practice proper safety precautions when using your blender. Regular maintenance, including blade sharpening, will help to extend the lifespan of your blender and ensure optimal performance.
Thank you for following our guide on how to sharpen a blender blade. Happy blending!
Conclusion
In conclusion, learning how to sharpen a blender blade is a cost-effective way to maintain the performance and efficiency of your blender. By following the steps outlined in this guide, you can easily sharpen the blender blade at home and save money on purchasing a new blender.
Throughout the process, it’s essential to prioritize safety by following the recommended safety precautions. Always unplug the blender, use protective gear, and work in a well-ventilated area to ensure a safe and accident-free experience.
Gathering the necessary tools and materials for the blade sharpening process, such as a screwdriver, cleaning supplies, sharpening tool, lubricant, and a cloth, will help you to efficiently complete the task.
Remember to start by cleaning the blender blade thoroughly with warm soapy water to remove any debris or residue. Then, proceed to remove the blade assembly from the blender base using the appropriate tools and following the manufacturer’s instructions.
Sharpening the blender blade is the next crucial step. Use a sharpening stone or rod to carefully sharpen each side of the blade evenly, maintaining a consistent angle and applying gentle pressure. Rinse and dry the blade once it is sharpened.
When reassembling the blender, ensure that the blade assembly is securely fastened either with screws or clips to prevent any accidents during use. Finally, test the blade’s sharpness by blending water and observing for smooth blending without any resistance.
By regularly sharpening the blender blade, you can enhance the performance of your blender and ensure that it blends ingredients effortlessly. Remember to follow the manufacturer’s instructions for your specific blender model and consult the manual if needed.
Thank you for referring to our comprehensive guide on how to sharpen a blender blade. We hope you find success in sharpening your blender blade and enjoy the improved blending experience!
Frequently Asked Questions about How To Sharpen A Blender Blade
Was this page helpful?
At Storables.com, we guarantee accurate and reliable information. Our content, validated by Expert Board Contributors, is crafted following stringent Editorial Policies. We're committed to providing you with well-researched, expert-backed insights for all your informational needs.

0 thoughts on “How To Sharpen A Blender Blade”