Home>diy>Building & Construction>How To Sharpen A Construction Pencil
Building & Construction
How To Sharpen A Construction Pencil
Modified: May 6, 2024
Learn how to sharpen a construction pencil with our step-by-step guide. Perfect for building construction projects.
(Many of the links in this article redirect to a specific reviewed product. Your purchase of these products through affiliate links helps to generate commission for Storables.com, at no extra cost. Learn more)
Introduction
Welcome to the world of construction, where precision and accuracy are paramount. Whether you are a professional contractor or a DIY enthusiast, having a sharp construction pencil is essential for making accurate markings on various materials. A well-sharpened pencil ensures clean lines, reduces errors, and improves overall efficiency in your construction projects.
In this article, we will guide you through the process of sharpening a construction pencil. We will provide you with step-by-step instructions, highlight the necessary materials and tools, and offer tips to ensure optimal sharpening results. So, grab your construction pencils and let’s get started!
Key Takeaways:
- Precision and accuracy are crucial in construction, and a well-sharpened construction pencil is essential for clean lines and reduced errors. Follow the steps to achieve optimal sharpening results and enhance project efficiency.
- Choosing the right sharpener and applying consistent pressure during the sharpening process are key to achieving a well-sharpened construction pencil. Test the sharpness and apply finishing touches for optimal performance in construction projects.
Materials and Tools
To sharpen your construction pencil effectively, you will need the following materials and tools:
- A construction pencil
- A pencil sharpener
- A fine-grit sandpaper
- A soft cloth or paper towel
Let’s take a closer look at each of these items:
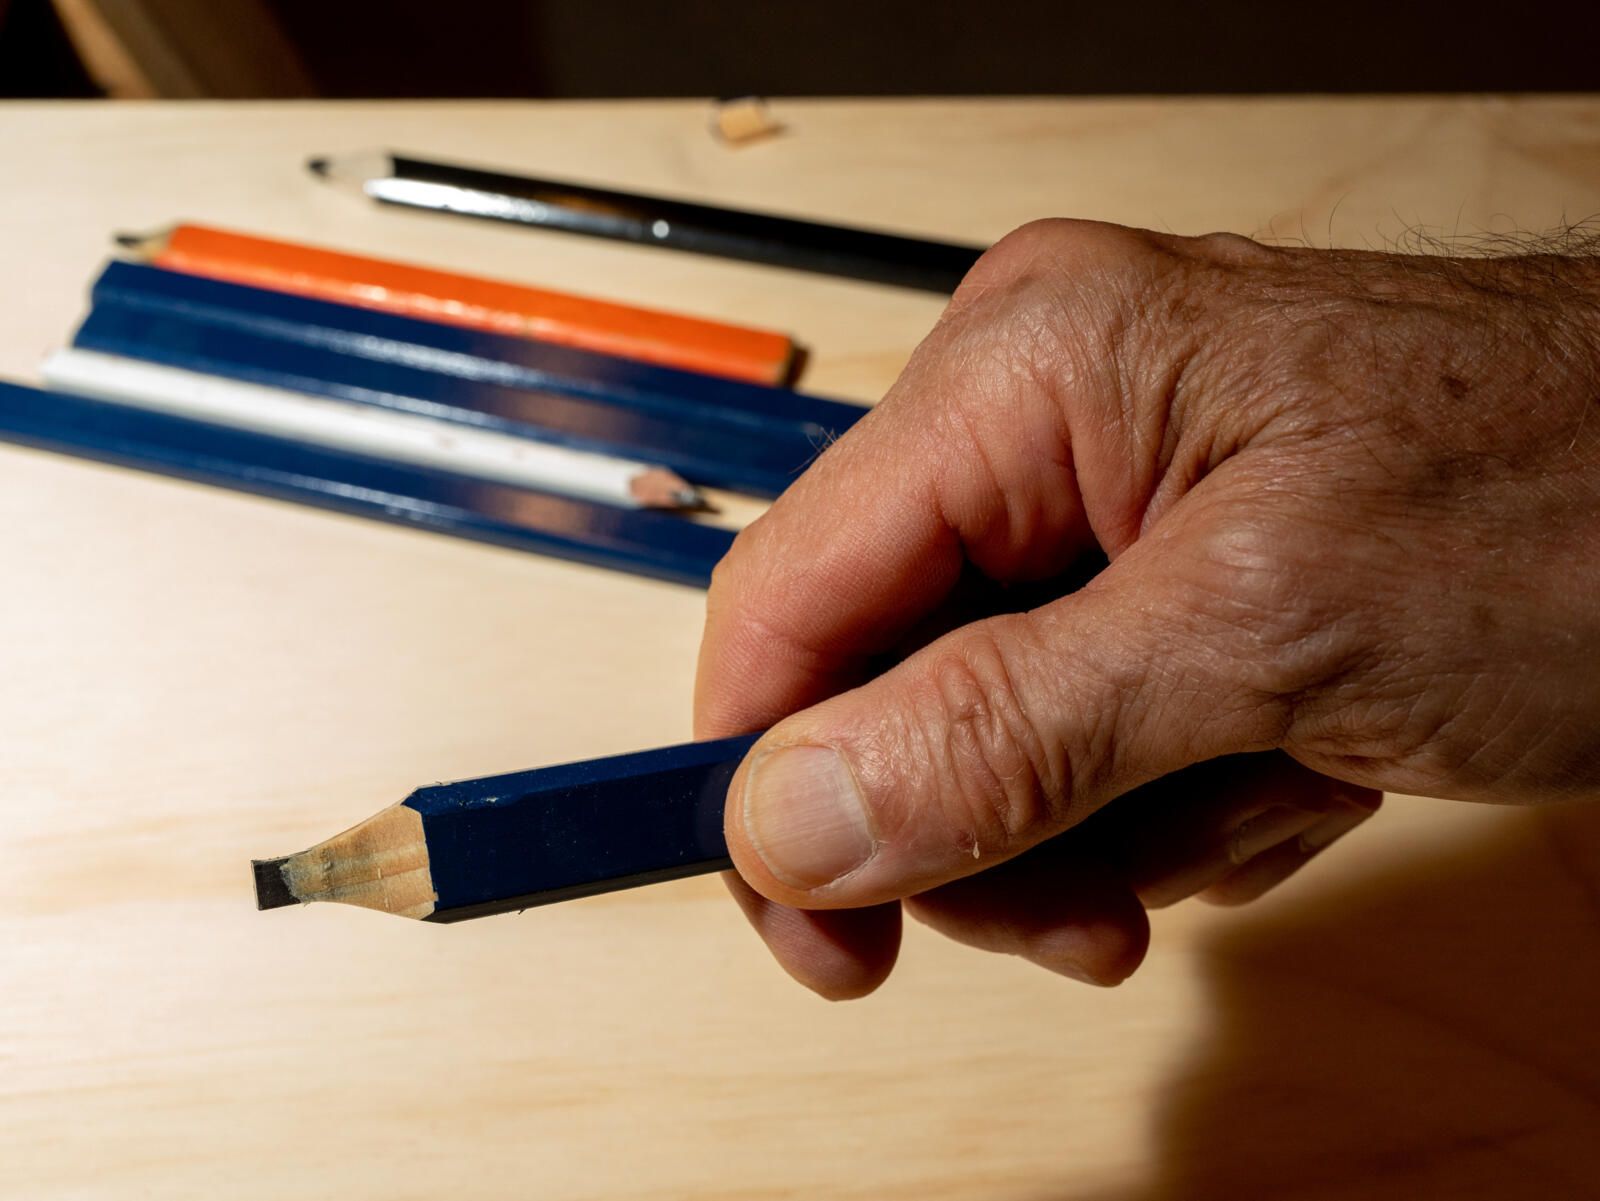
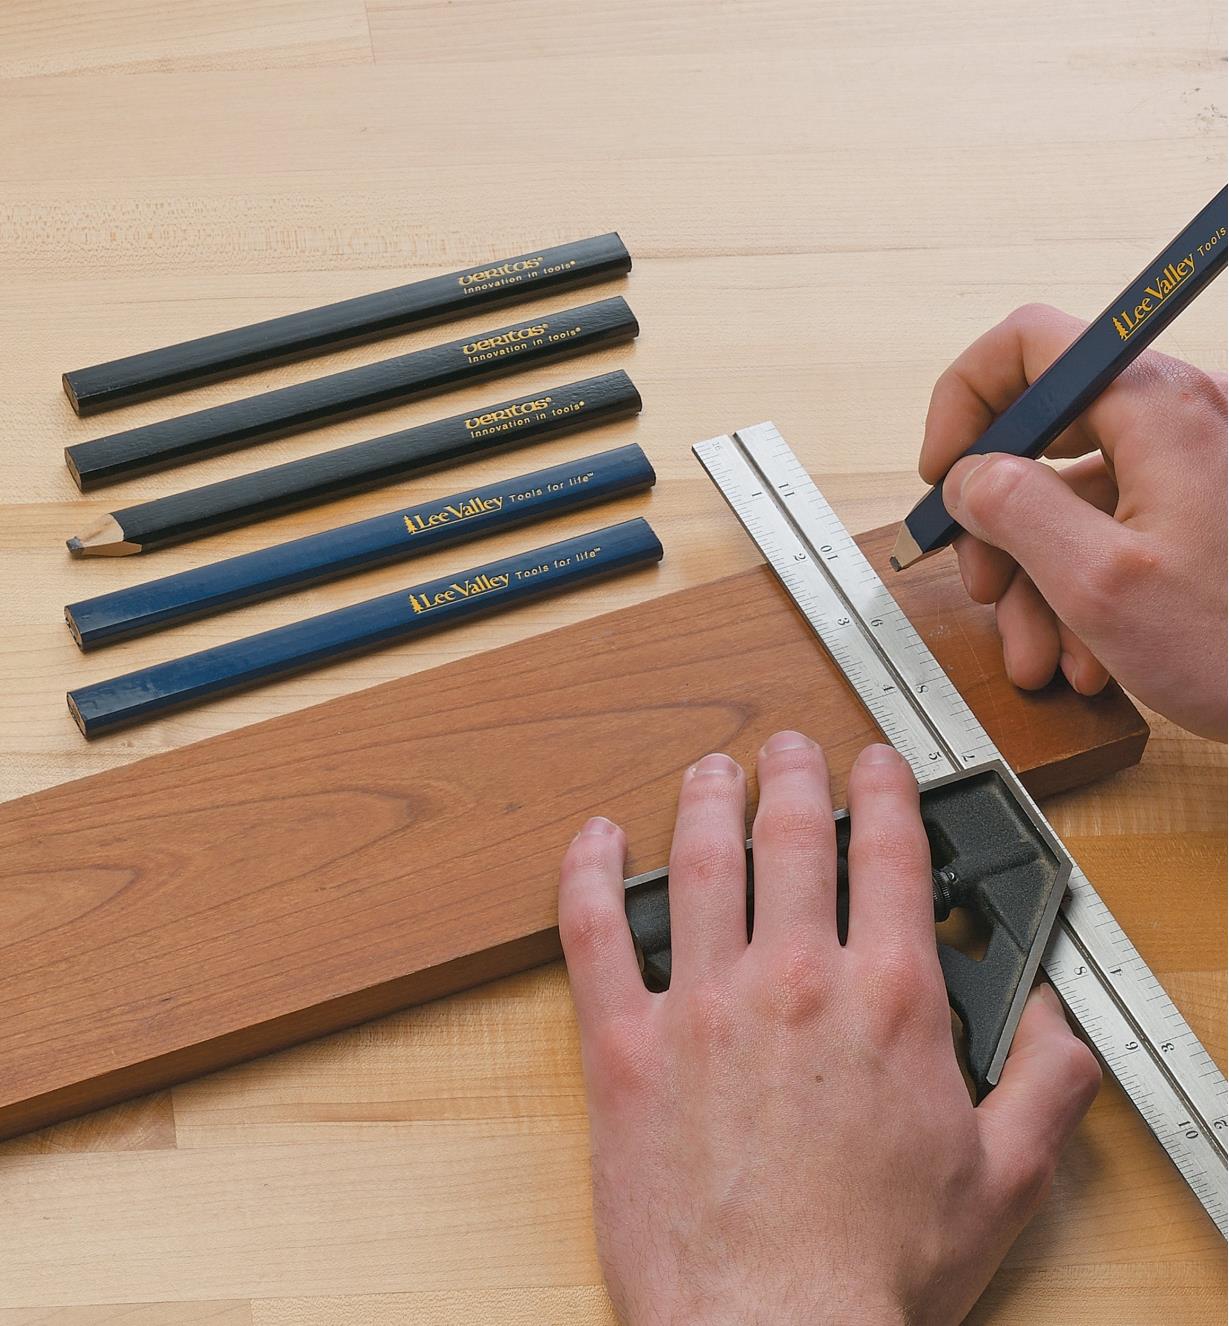
- A construction pencil: These pencils are specially designed for construction purposes and are often hexagonal in shape, providing a comfortable grip. They are usually available in various lead hardness options, such as HB or 2B, allowing you to choose the one that suits your needs.
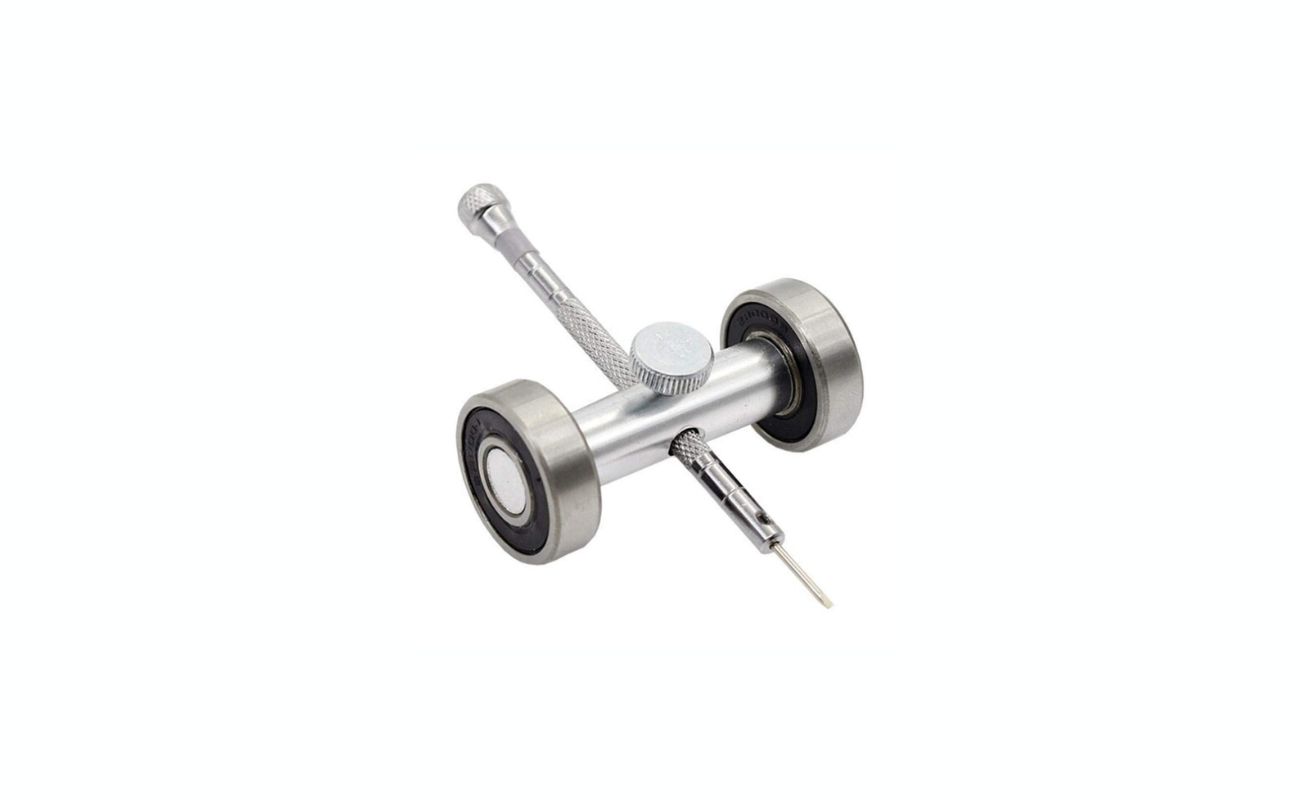
- A pencil sharpener: While any pencil sharpener can technically be used, it is recommended to invest in a sharpener specifically designed for construction pencils. These sharpeners typically have a larger opening and a sturdier build to handle the thicker lead found in construction pencils.
- A fine-grit sandpaper: This will be used for fine-tuning the sharpness of the pencil, ensuring that it is perfectly sharpened. Opt for sandpaper with a grit of around 400 or higher for the best results.
- A soft cloth or paper towel: This will be used to clean the pencil after sharpening, removing any excess graphite or debris.
Now that you have gathered all the necessary materials and tools, let’s proceed to the next steps of sharpening your construction pencil.
Step 1: Preparing the Pencil
Before you start sharpening your construction pencil, it is important to properly prepare it for the process. Follow these steps to ensure the best results:
- Inspect the pencil: Take a close look at your construction pencil and check for any visible damage or irregularities. If the pencil is damaged, such as having a broken tip or a splintered body, it is best to replace it with a new one for optimal sharpening.
- Clean the pencil: Use a soft cloth or paper towel to wipe away any dirt, dust, or debris from the pencil. This will prevent the sharpening process from being hindered by these particles and ensure a smooth and even sharpening result.
- Choose the length: Determine the desired length of your pencil’s tip. For construction purposes, a shorter and more precise tip is often preferred. However, it ultimately depends on your personal preference and the specific requirements of your project.
By properly inspecting and cleaning your construction pencil and deciding on the desired tip length, you are now ready to move on to the next step – choosing the right sharpener to achieve a perfectly sharpened pencil.
Step 2: Choosing the Right Sharpener
When it comes to sharpening a construction pencil, using the right sharpener is crucial. Follow these guidelines to choose the appropriate sharpener for the task:
- Consider the pencil diameter: Construction pencils typically have a thicker lead compared to standard pencils. Look for a sharpener with a larger opening that can accommodate the diameter of your construction pencil.
- Opt for a sturdy build: Construction pencils are often made of robust and durable materials, so it is essential to choose a sharpener that can withstand the pressure and force applied during the sharpening process. Look for sharpener models with a sturdy build that are specifically designed for heavy-duty use.
- Look for a reliable blade: The blade in the sharpener should be sharp and in good condition to ensure a clean and precise cut on the pencil. Consider models with high-quality blades or replaceable blades for consistent sharpening results.
- Consider portability: If you often work on construction sites or need to carry your sharpener with you, consider a portable and compact design that fits easily in your toolbox or pocket.
By selecting a sharpener that meets these criteria, you can ensure a smooth sharpening process and a well-sharpened construction pencil. Now, let’s move on to the next step – inserting the pencil into the sharpener.
Step 3: Inserting the Pencil into the Sharpener
Now that you have the right sharpener, it’s time to insert your construction pencil into the sharpener for sharpening. Follow these steps for proper insertion:
- Firmly hold the sharpener: Grasp the sharpener with one hand, ensuring a stable grip. This will prevent any accidental slips or movement during the sharpening process.
- Align the pencil: Position the construction pencil upright, with the tip pointing downward. Align the pencil with the opening of the sharpener, ensuring that it is centered for an even sharpening.
- Gently insert the pencil: With a gentle but firm pressure, insert the pencil into the sharpener’s opening. Push it in until it is securely held by the sharpener’s mechanism.
- Avoid applying excessive force: It is important not to apply excessive force when inserting the pencil. Applying too much pressure can lead to the tip breaking or the pencil getting stuck in the sharpener.
Once you have successfully inserted the construction pencil into the sharpener, you are ready to move on to the next step – actually sharpening the pencil to achieve a precise and sharp tip.
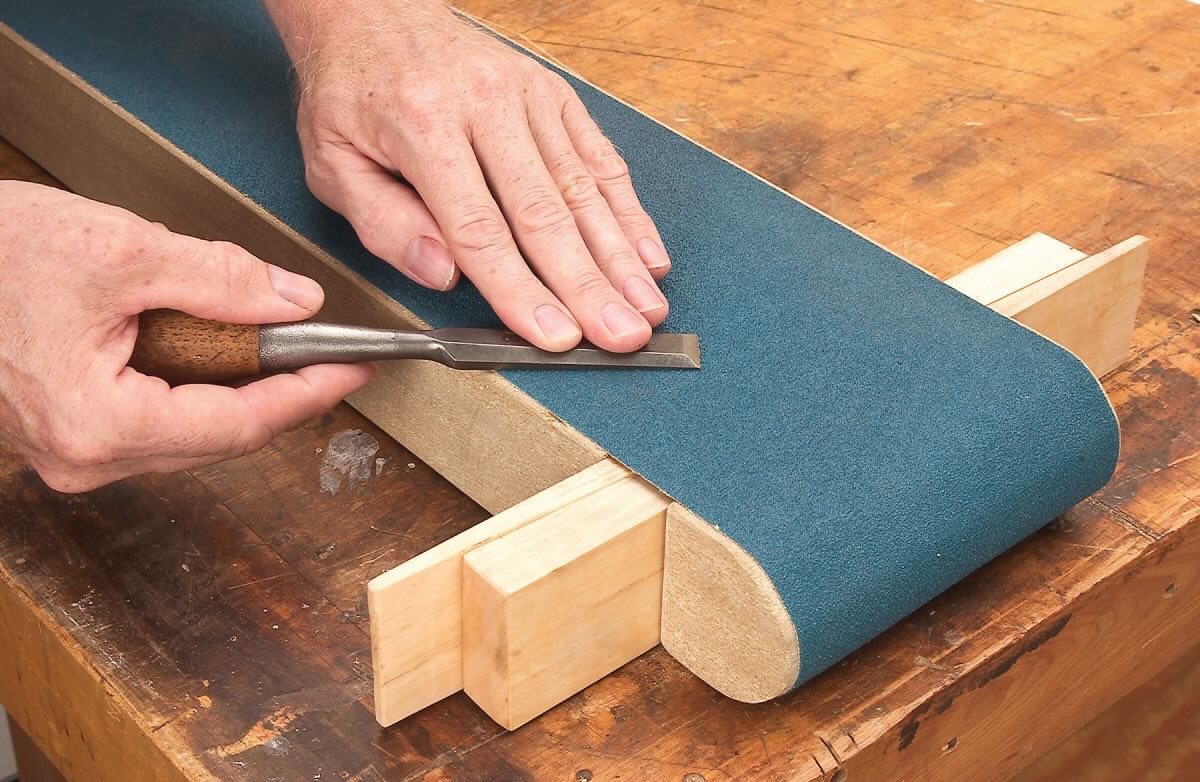
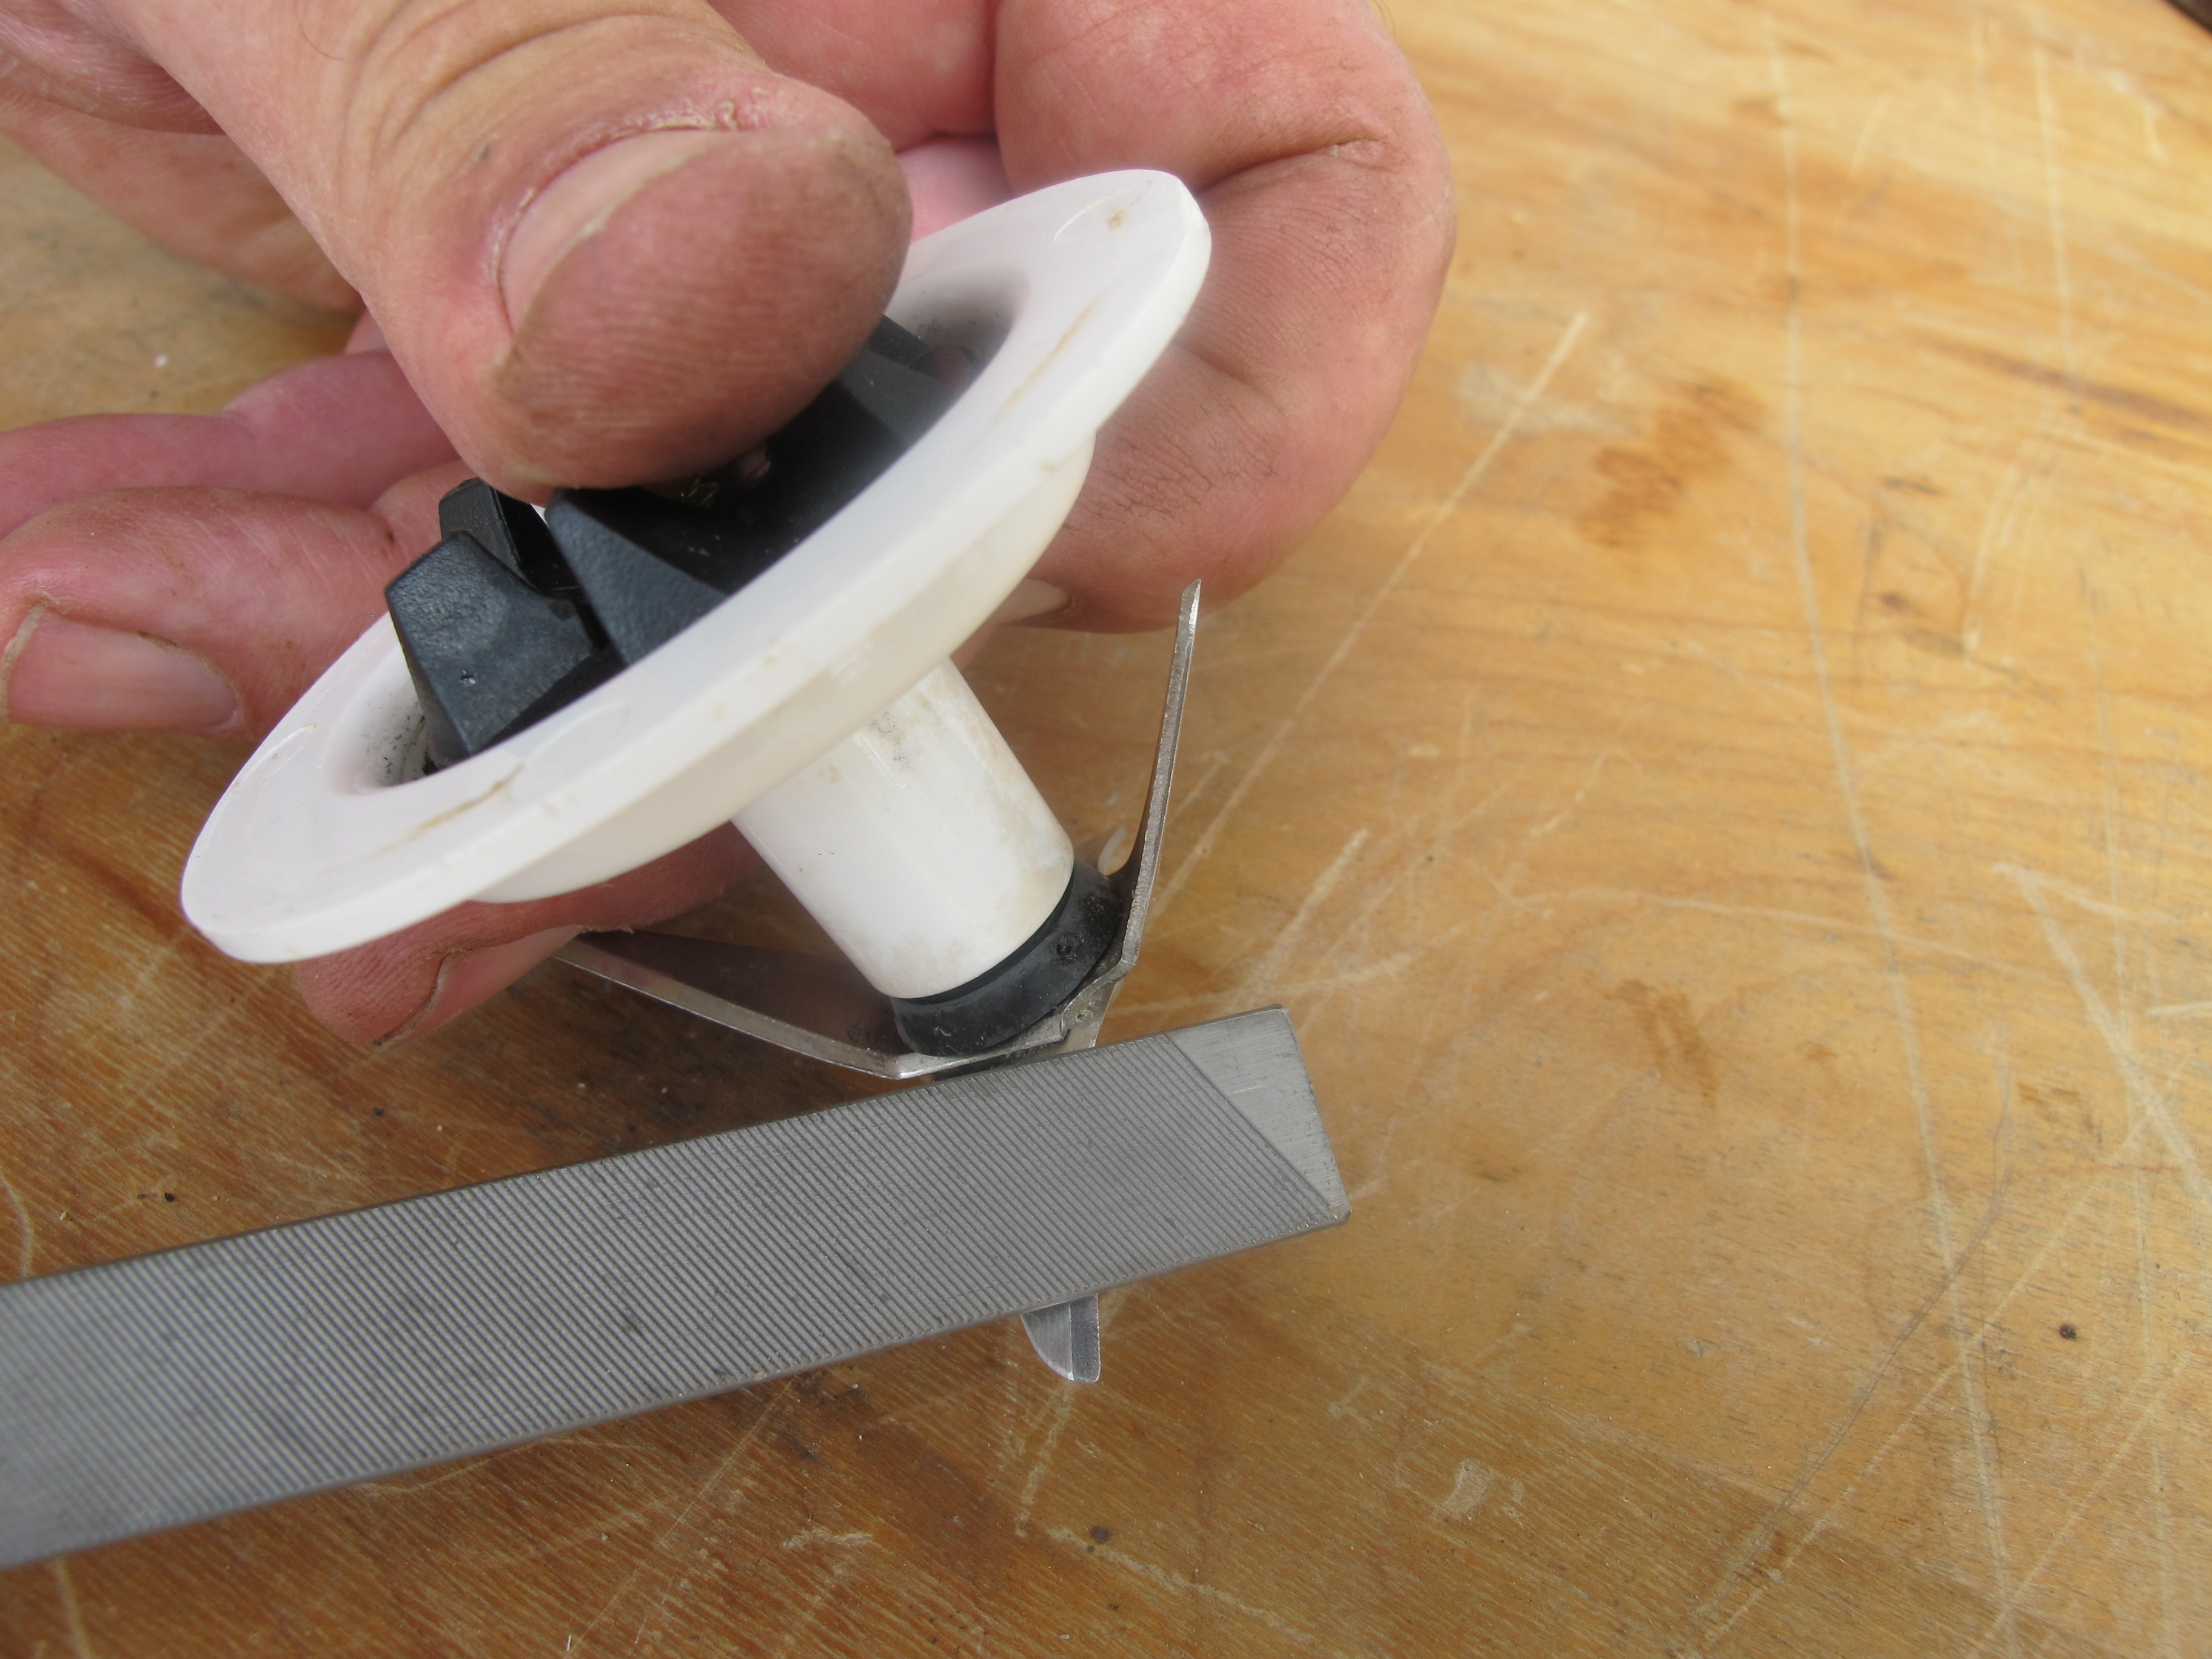
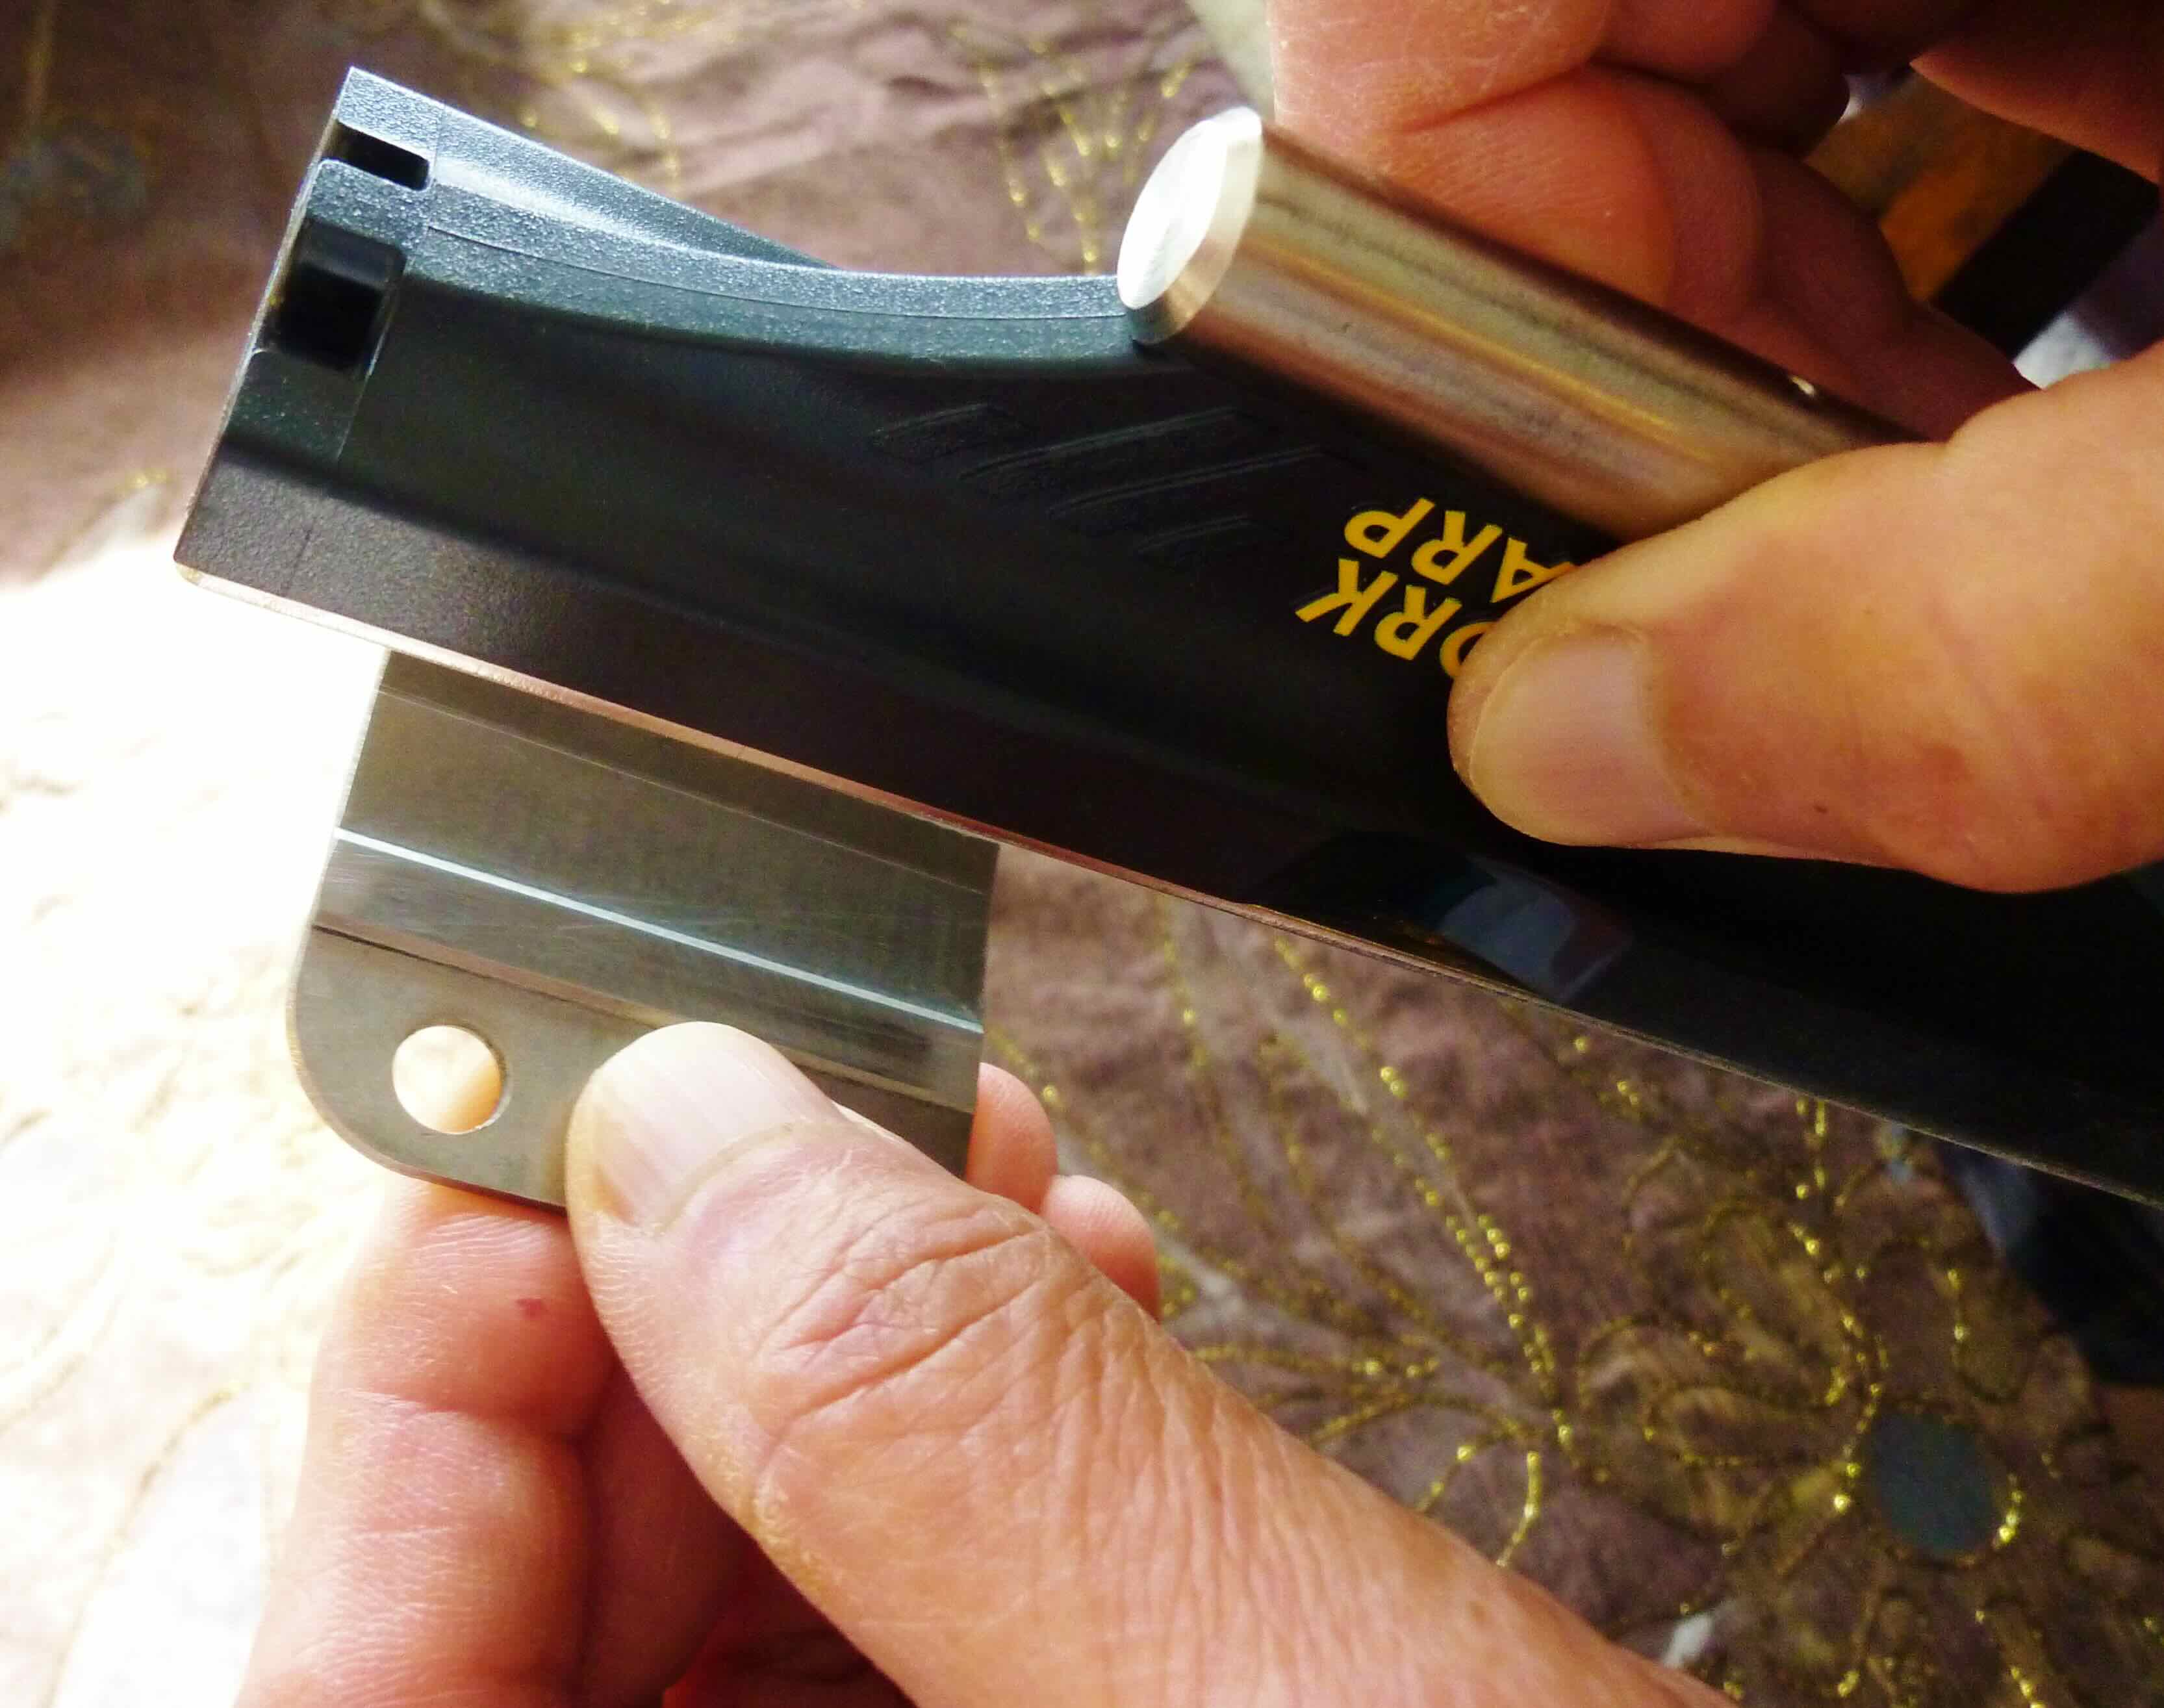
When sharpening a construction pencil, use a utility knife to carefully shave off the wood and expose the lead. This will give you a precise and durable point for marking on various surfaces.
Read also: 15 Best Construction Pencil For 2025
Step 4: Sharpening the Pencil
With your construction pencil inserted securely in the sharpener, it’s time to start sharpening the pencil to create a sharp, precise tip. Follow these steps for effective sharpening:
- Rotate the sharpener: Begin by rotating the sharpener in a clockwise or counter-clockwise motion, depending on the design of the sharpener. This rotation will engage the blade inside the sharpener and start the sharpening process.
- Apply consistent pressure: As you rotate the sharpener, apply a steady and even pressure. Avoid using too much force, as this can lead to over-sharpening or breaking the pencil tip. Let the sharpener’s blade do the work.
- Rotate multiple times: Continue rotating the sharpener multiple times, checking the pencil periodically to monitor the sharpening progress. The number of rotations will depend on the desired sharpness and length of the tip.
- Sharpen one side at a time: To achieve a symmetrical tip, it is recommended to sharpen one side of the pencil first and then switch to the other side. This will help maintain a balanced and precise tip.
Remember to take your time and be patient during the sharpening process. Rushing can lead to uneven results or an overly sharpened tip. Once you are satisfied with the sharpness of the pencil, proceed to the next step – testing the sharpness.
Step 5: Testing the Sharpness
After sharpening your construction pencil, it’s important to test the sharpness of the tip to ensure it meets your requirements. Follow these steps to assess the sharpness:
- Clear any debris: If there are any pencil shavings or debris left on the tip, gently wipe them away using a soft cloth or your finger. This will give you a clear view of the sharpness.
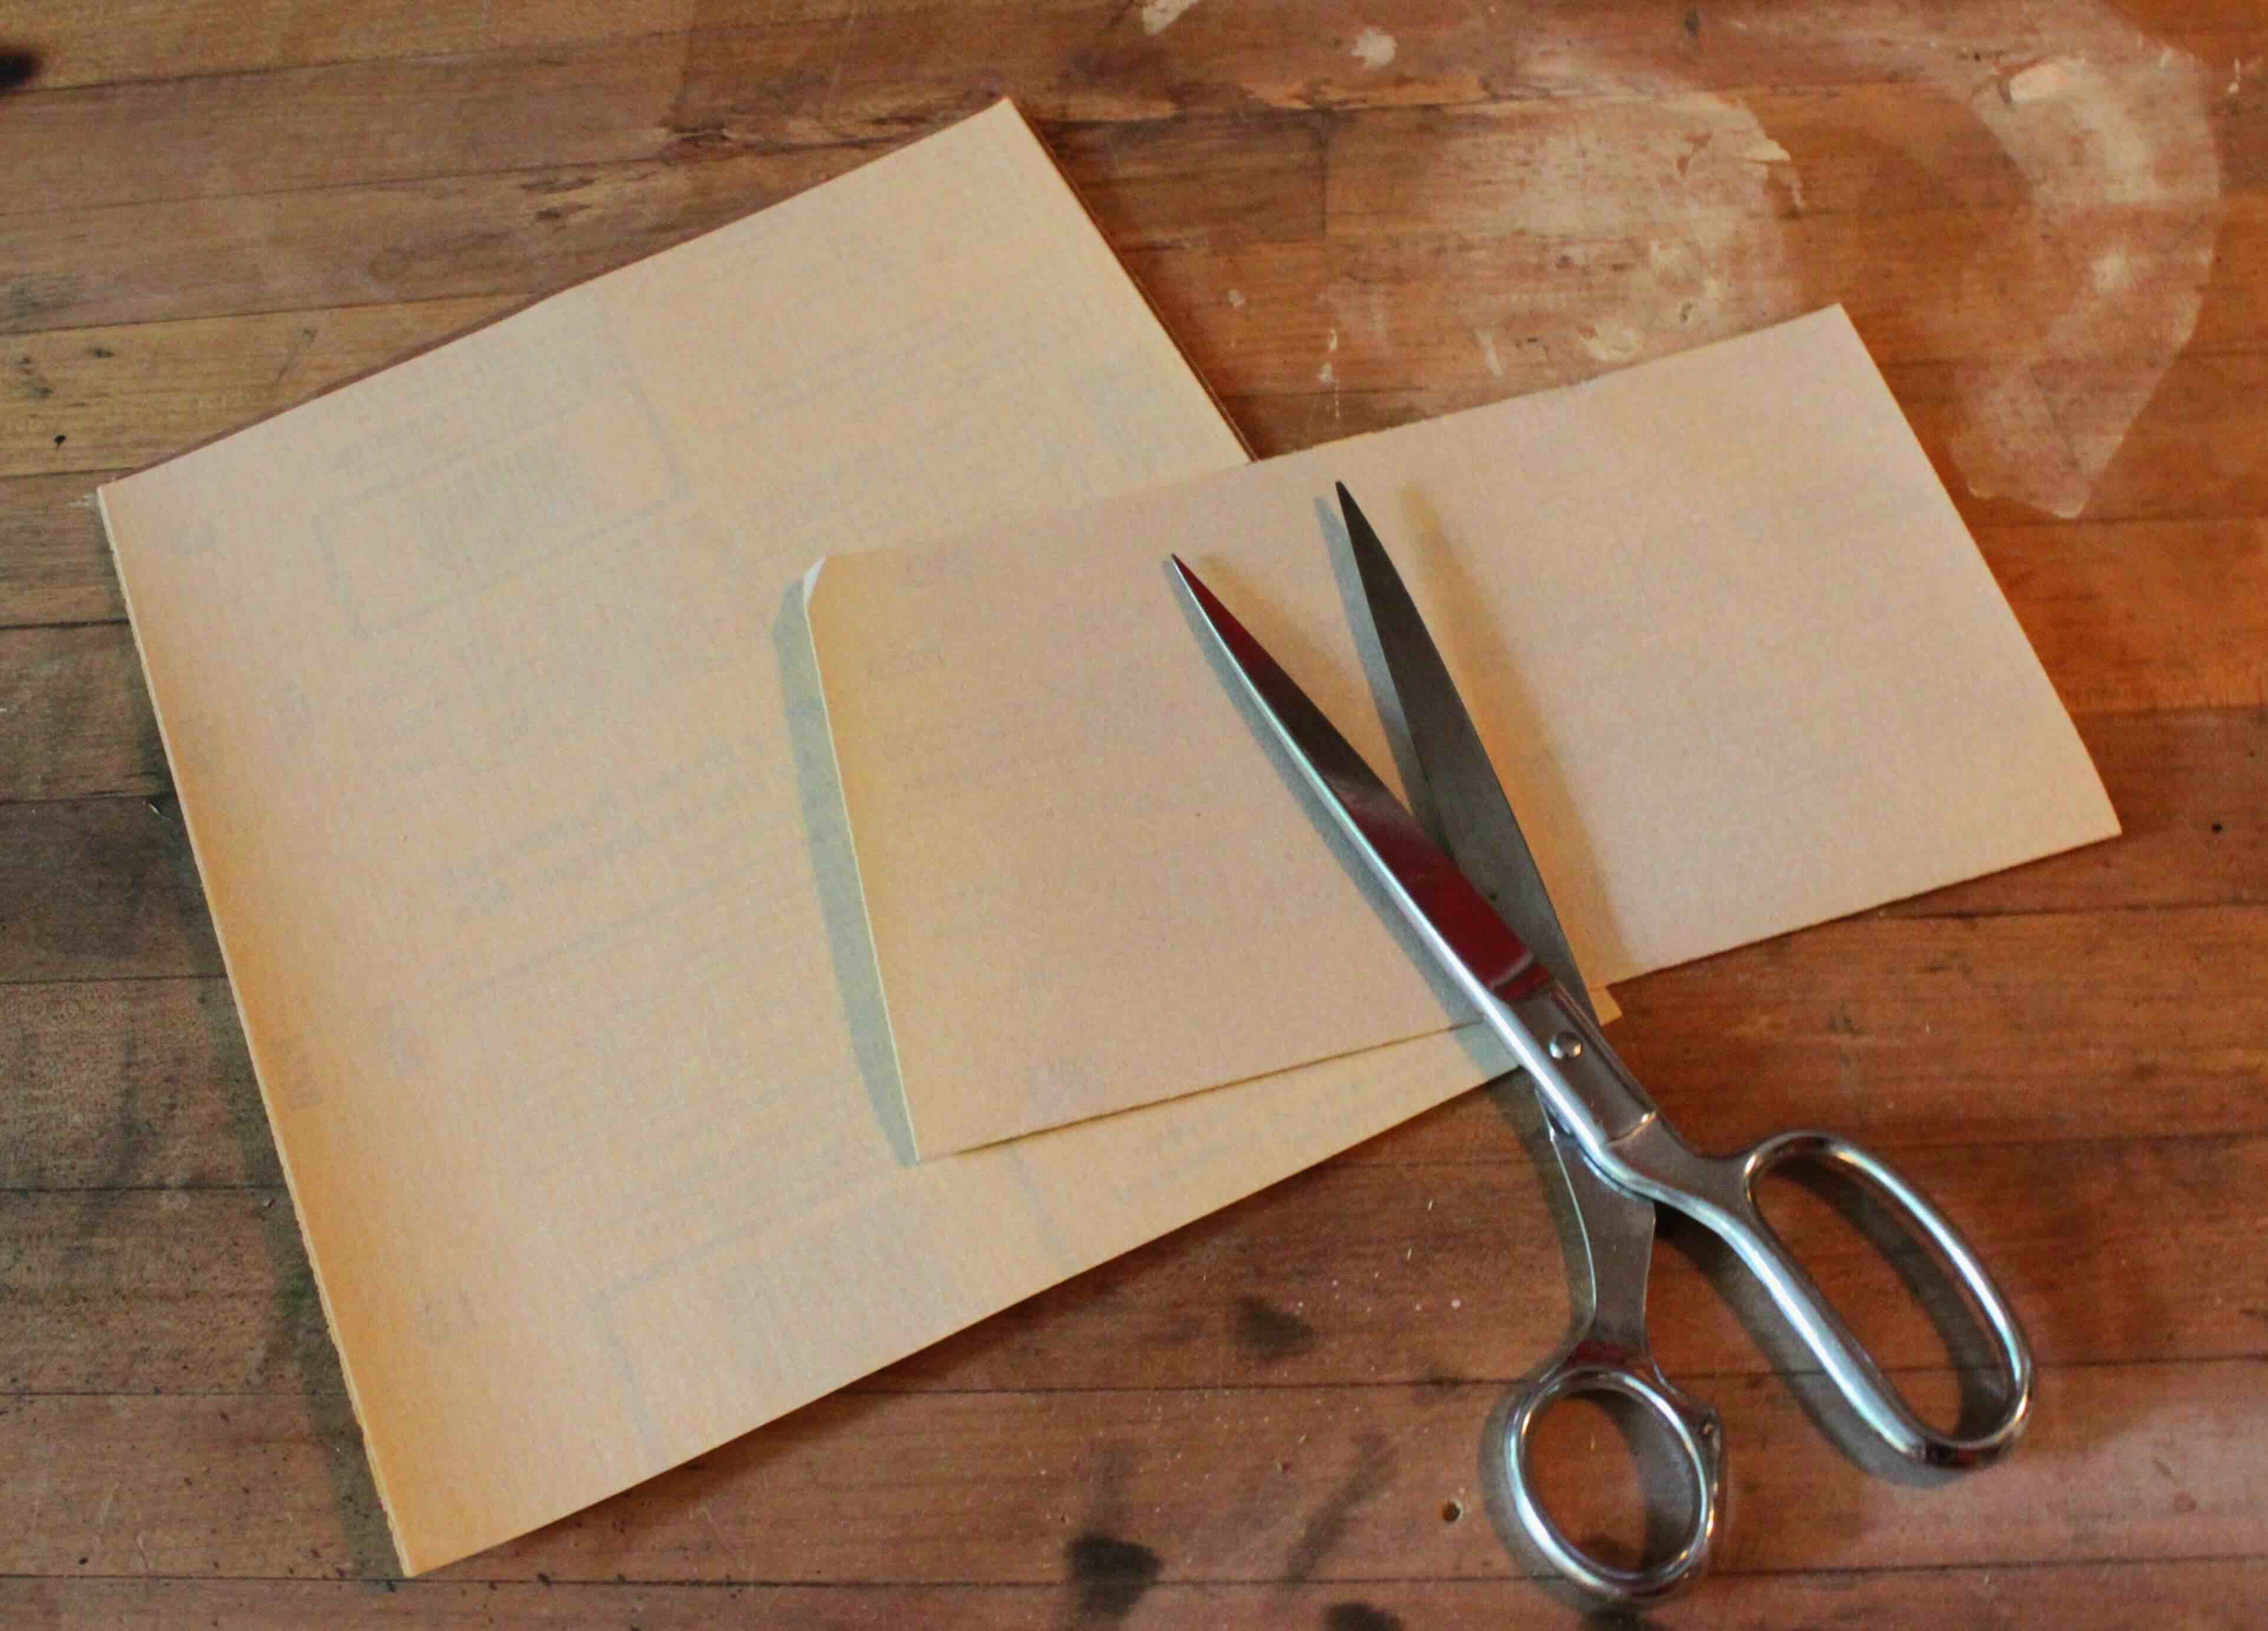
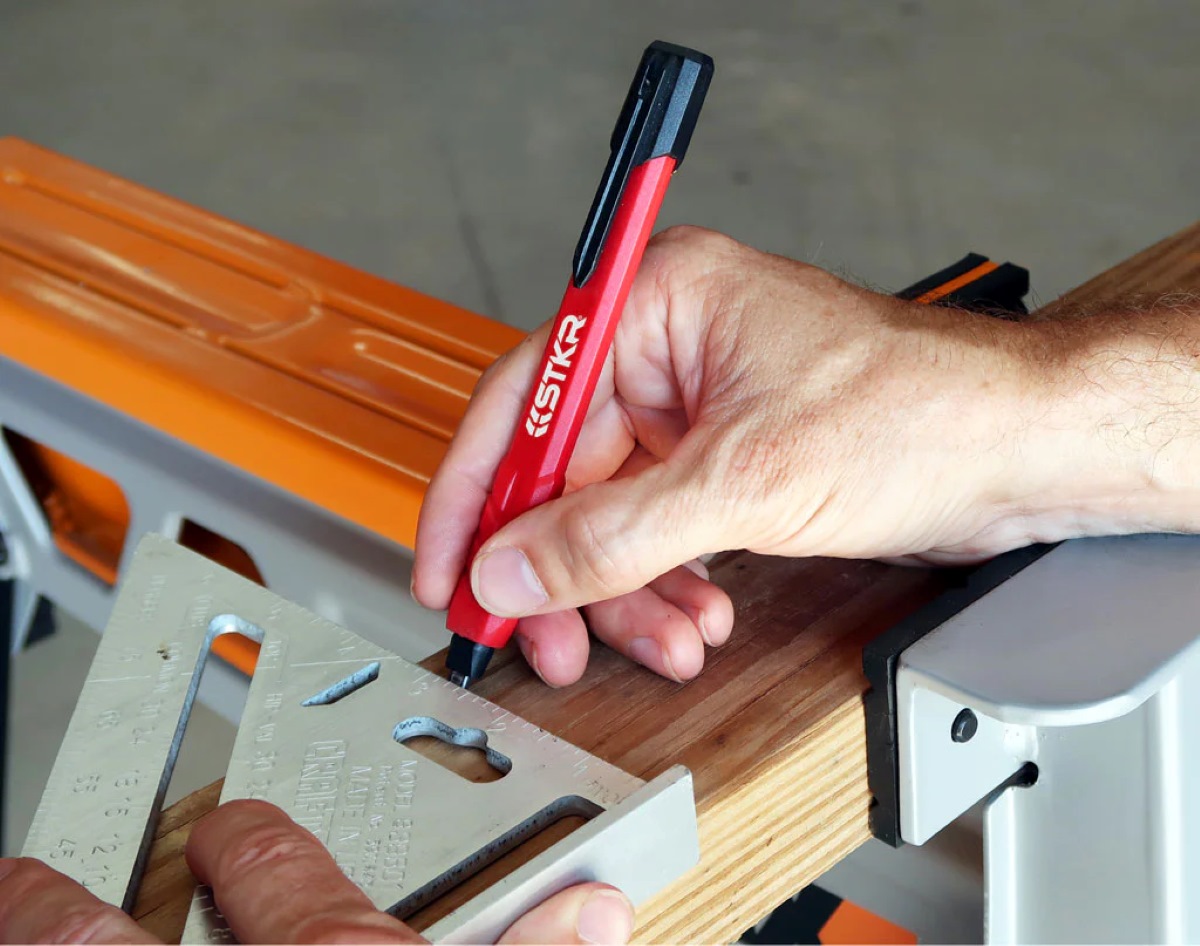
- Make a test mark: Find a scrap piece of material similar to what you will be working on, such as wood or concrete. Lightly press the tip of the pencil against the material and make a mark. Pay attention to the clarity and depth of the mark.
- Assess the mark: Examine the mark closely. If the line is clean, precise, and easily visible, it indicates that the pencil is adequately sharpened. However, if the line is faint or the graphite smudges, it may require further sharpening.
- Adjust sharpening if needed: If the test mark does not meet your expectations, repeat the sharpening process by inserting the pencil back into the sharpener and rotating it a few more times. Check the sharpness again with another test mark until you achieve the desired result.
Remember that the sharpness preference may vary depending on your specific project or personal preference. It’s important to find the right balance between a sharp point and one that is firm enough to withstand use without breaking. Once you are satisfied with the sharpness, proceed to the final step – applying some finishing touches.
Step 6: Finishing Touches
After sharpening and testing the sharpness of your construction pencil, it’s time to apply some finishing touches to ensure optimal performance. Follow these steps to complete the process:
- Remove excess graphite: Use a soft cloth or paper towel to gently wipe away any excess graphite or pencil shavings from the tip and the body of the pencil. This will prevent smudging and keep your hands clean when using the pencil.
- Check the grip: Inspect the grip section of the construction pencil. If it feels smooth or slippery, you can use a fine-grit sandpaper to lightly sand the grip surface, providing a slightly rougher texture for improved hold and control.
- Secure the cap: If your construction pencil comes with a cap or a retractable mechanism, make sure to securely close or retract it when not in use. This will protect the sharpened tip and prevent accidental injuries.
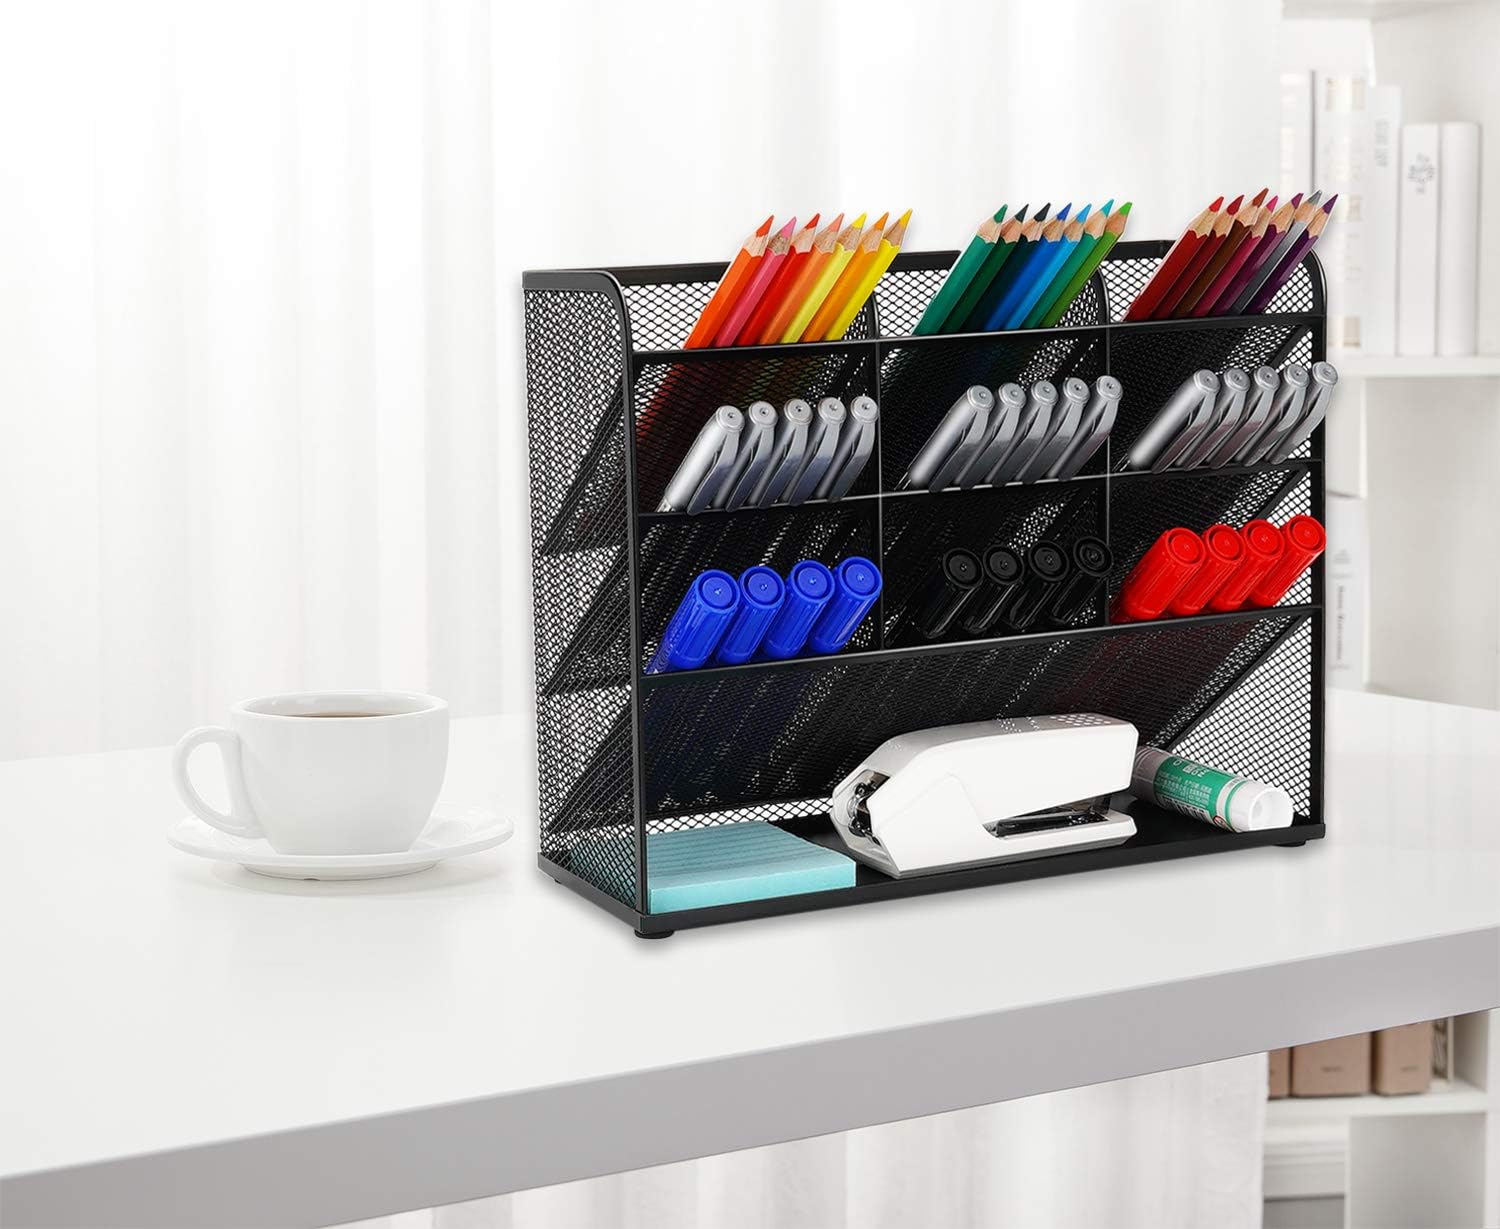
- Store properly: Store your sharpened construction pencil in a dry and safe place. Avoid exposing it to extreme temperatures or excessive moisture, as these can affect the performance and longevity of the pencil.
By following these finishing touches, you are ensuring that your construction pencil is in optimal condition and ready for use in your upcoming projects. Remember to repeat the sharpening process whenever the pencil becomes dull to maintain precise markings.
Congratulations! You have successfully learned how to sharpen a construction pencil. With a sharp pencil in hand, you are now equipped to tackle your construction projects with accuracy and efficiency. Happy building!
Conclusion
Sharpening a construction pencil is a fundamental skill for anyone involved in building and construction. A well-sharpened pencil ensures clear and accurate markings, leading to precise measurements and improved overall project efficiency.
In this article, we have provided you with a comprehensive guide on how to sharpen a construction pencil. We covered the essential materials and tools you need, the steps to prepare the pencil, choose the right sharpener, insert the pencil into the sharpener, and sharpen the pencil. We also discussed how to test the sharpness and apply finishing touches to ensure optimal performance.
Remember to always inspect and clean your construction pencil before sharpening, choose a sharpener that can accommodate the thicker lead, and apply consistent but gentle pressure during the sharpening process. Test the sharpness on a scrap piece of material to ensure it meets your requirements, and make any necessary adjustments.
By following these steps and guidelines, you can achieve a well-sharpened construction pencil that will enhance the quality and accuracy of your construction projects. As you continue to practice and sharpen your pencil, you will develop a feel for the optimal sharpness and find the right balance between a sharp point and durability.
Keep your sharpened construction pencils in a secure and dry place, and always remember to close or retract the cap when not in use to protect the tip. Regularly replace your pencils as needed to maintain optimal performance.
Now that you have mastered the art of sharpening a construction pencil, you are ready to embark on your building and construction endeavors with confidence and precision. Happy sharpening!
Now that you've mastered sharpening a construction pencil, why not dive deeper into more hands-on activities? If you’re curious about the perks of crafting things yourself, our guide on why DIY projects are so rewarding will definitely spark your interest. For those with a passion for crafting from wood, don't miss our roundup of the top woodworking trends set to make waves next year. Both articles are packed with insights and tips to help you elevate your crafting skills.
Frequently Asked Questions about How To Sharpen A Construction Pencil
Was this page helpful?
At Storables.com, we guarantee accurate and reliable information. Our content, validated by Expert Board Contributors, is crafted following stringent Editorial Policies. We're committed to providing you with well-researched, expert-backed insights for all your informational needs.

0 thoughts on “How To Sharpen A Construction Pencil”