Home>Renovation & DIY>Tools & Equipment>How To Sharpen Scissors With Sandpaper
Tools & Equipment
How To Sharpen Scissors With Sandpaper
Published: December 20, 2023
Learn how to sharpen scissors with sandpaper easily at home using simple tools and equipment. Keep your scissors sharp for all your cutting needs.
(Many of the links in this article redirect to a specific reviewed product. Your purchase of these products through affiliate links helps to generate commission for Storables.com, at no extra cost. Learn more)
Introduction
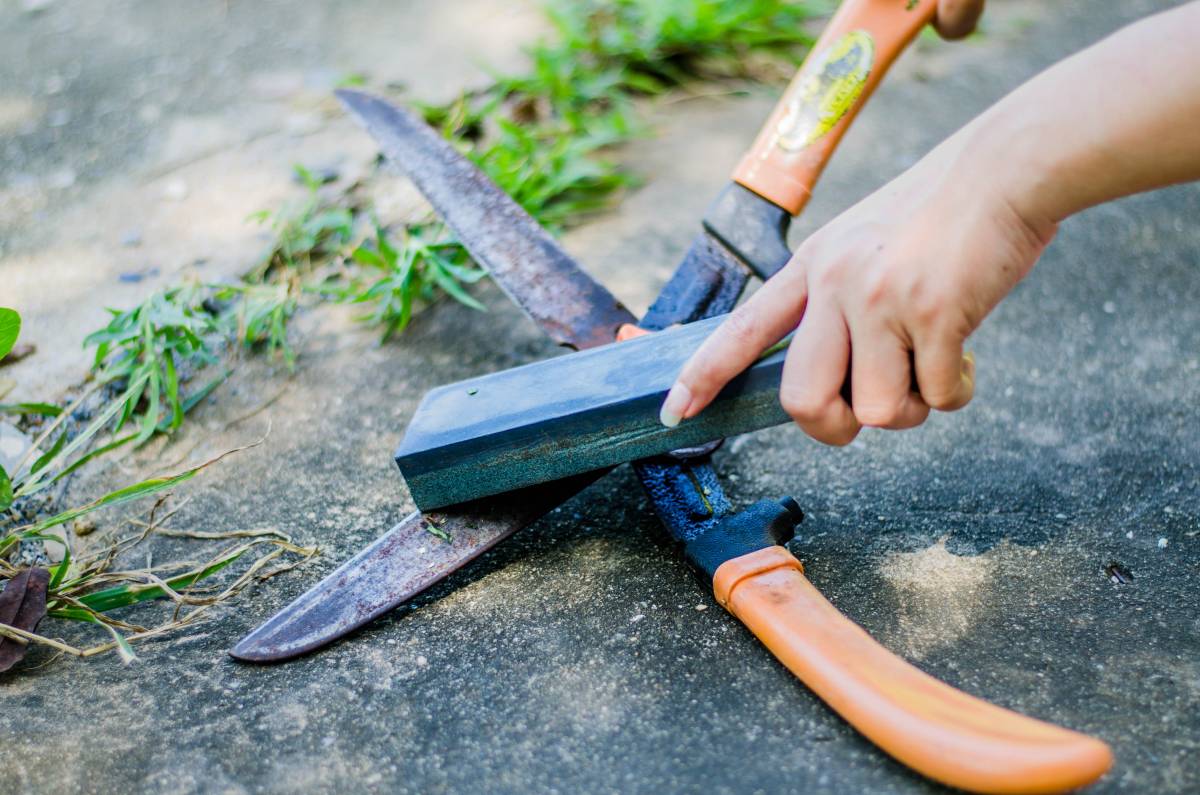
Sharpening scissors is an essential skill for anyone who wants to keep their cutting tools in optimal condition. Over time, scissors can become dull from regular use, making it challenging to achieve clean and precise cuts. While professional sharpening services are available, they can be costly and time-consuming. However, with the right materials and technique, you can easily sharpen your scissors at home using sandpaper.
In this guide, we will walk you through the step-by-step process of sharpening your scissors with sandpaper, a simple and effective method that can breathe new life into your trusty cutting tool. Whether you're a DIY enthusiast, a crafting aficionado, or simply someone who values the importance of maintaining sharp tools, this technique will help you restore your scissors to their former cutting glory.
By following these instructions, you'll be able to sharpen your scissors with ease, saving both time and money while ensuring that your cutting tasks are performed with precision and efficiency. So, gather your materials and let's embark on this journey to revitalize your scissors using the power of sandpaper.
Key Takeaways:
- Keep your scissors sharp and efficient by using sandpaper for DIY sharpening. Save time and money while ensuring precise cuts for your crafting and cutting tasks.
- With the right materials and technique, sharpening scissors with sandpaper is a cost-effective and rewarding skill. Empower yourself to maintain and prolong the lifespan of your essential cutting tools.
Read more: How To Sharpen Knife With Sandpaper
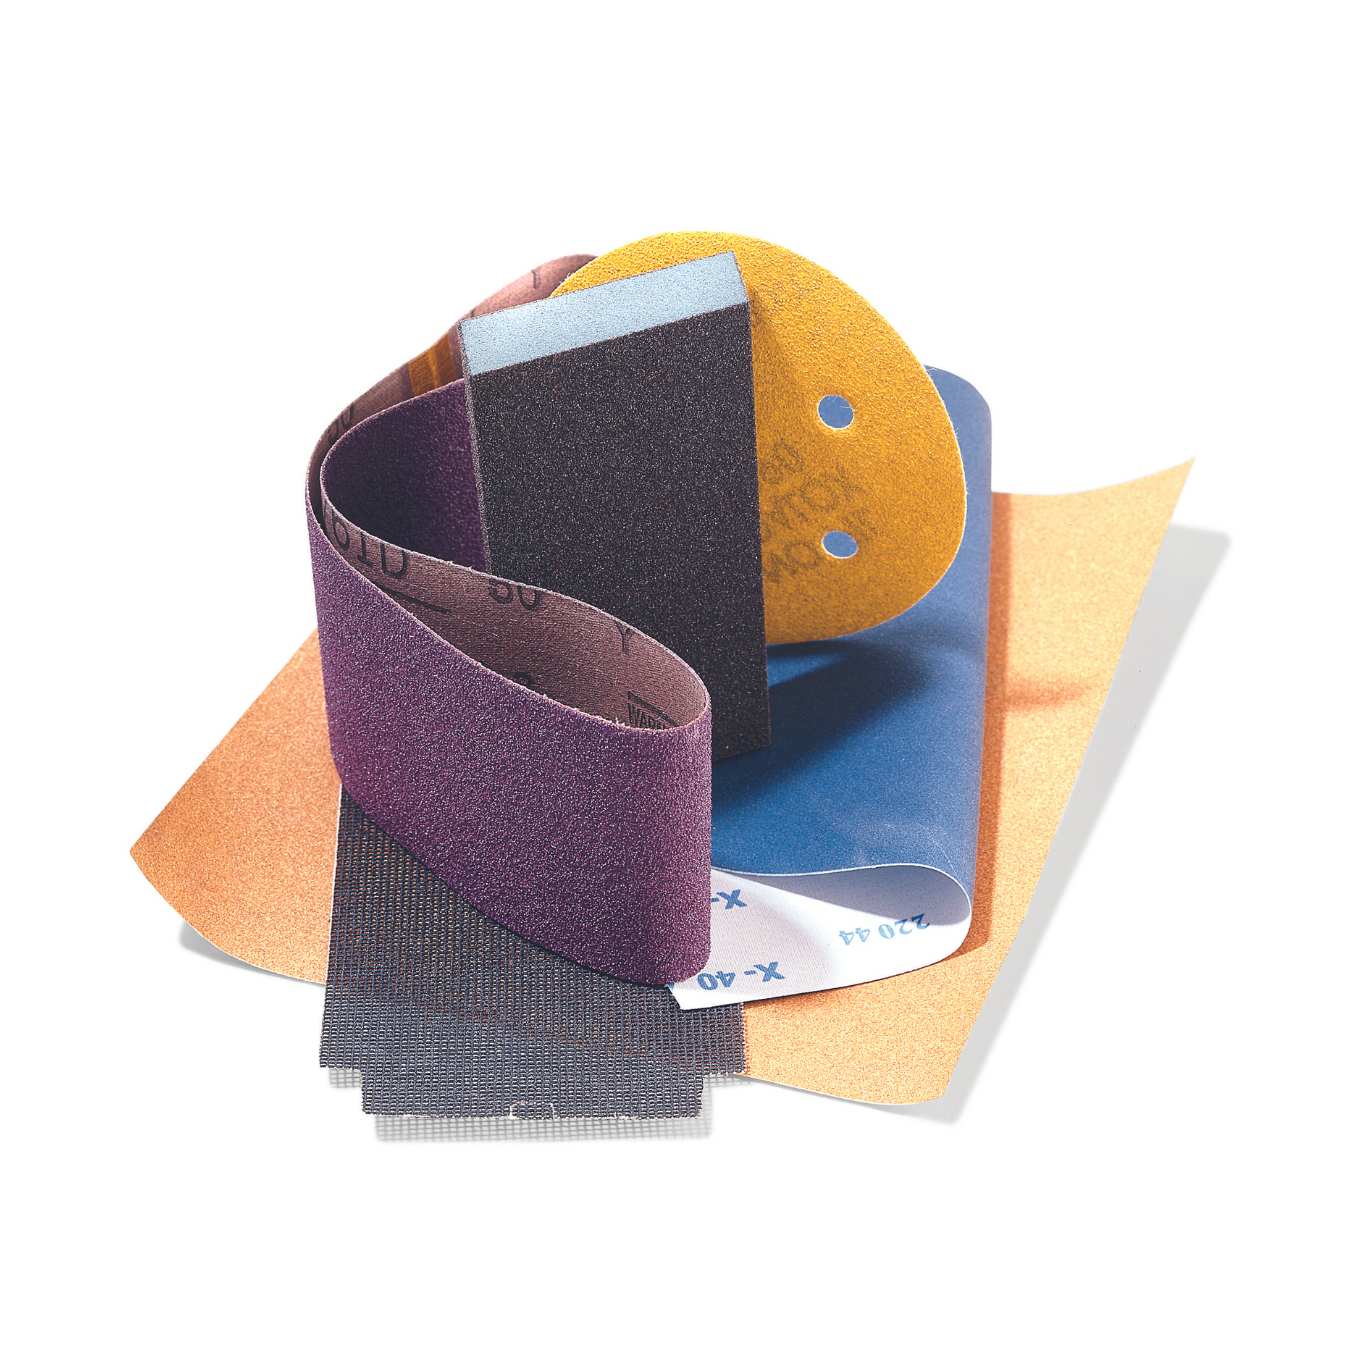
Materials Needed
Before you begin sharpening your scissors with sandpaper, it's important to gather the necessary materials. Fortunately, the items required for this DIY sharpening method are readily available and affordable. Here's what you'll need:
- Sandpaper: Choose a fine-grit sandpaper, preferably in the range of 600 to 1200 grit. The higher the grit number, the finer the sandpaper, which is ideal for achieving a smooth and sharp edge on your scissors.
- Scissors: The scissors you intend to sharpen. Ensure they are clean and free from any debris or sticky residues before starting the sharpening process.
- Flat Surface: A stable and flat work surface, such as a table or workbench, where you can comfortably work on sharpening the scissors.
- Cloth: A clean, soft cloth to wipe the scissors and remove any metal shavings that may accumulate during the sharpening process.
- Protective Gear (Optional): While not mandatory, wearing protective gloves can prevent accidental cuts and provide a better grip while handling the scissors and sandpaper.
Once you have gathered these materials, you'll be fully equipped to proceed with the scissors sharpening process using sandpaper. With these basic items in hand, you can restore the cutting power of your scissors and ensure they remain a valuable tool in your everyday tasks.
Step 1: Prepare the Sandpaper
Before delving into the actual sharpening process, it’s crucial to properly prepare the sandpaper for optimal results. Here’s a step-by-step guide to getting the sandpaper ready for sharpening your scissors:
- Select the Right Grit: As mentioned earlier, opt for a fine-grit sandpaper, ideally within the 600 to 1200 grit range. This finer grit will facilitate the creation of a smooth and sharp edge on the scissors, ensuring precision in your cutting tasks.
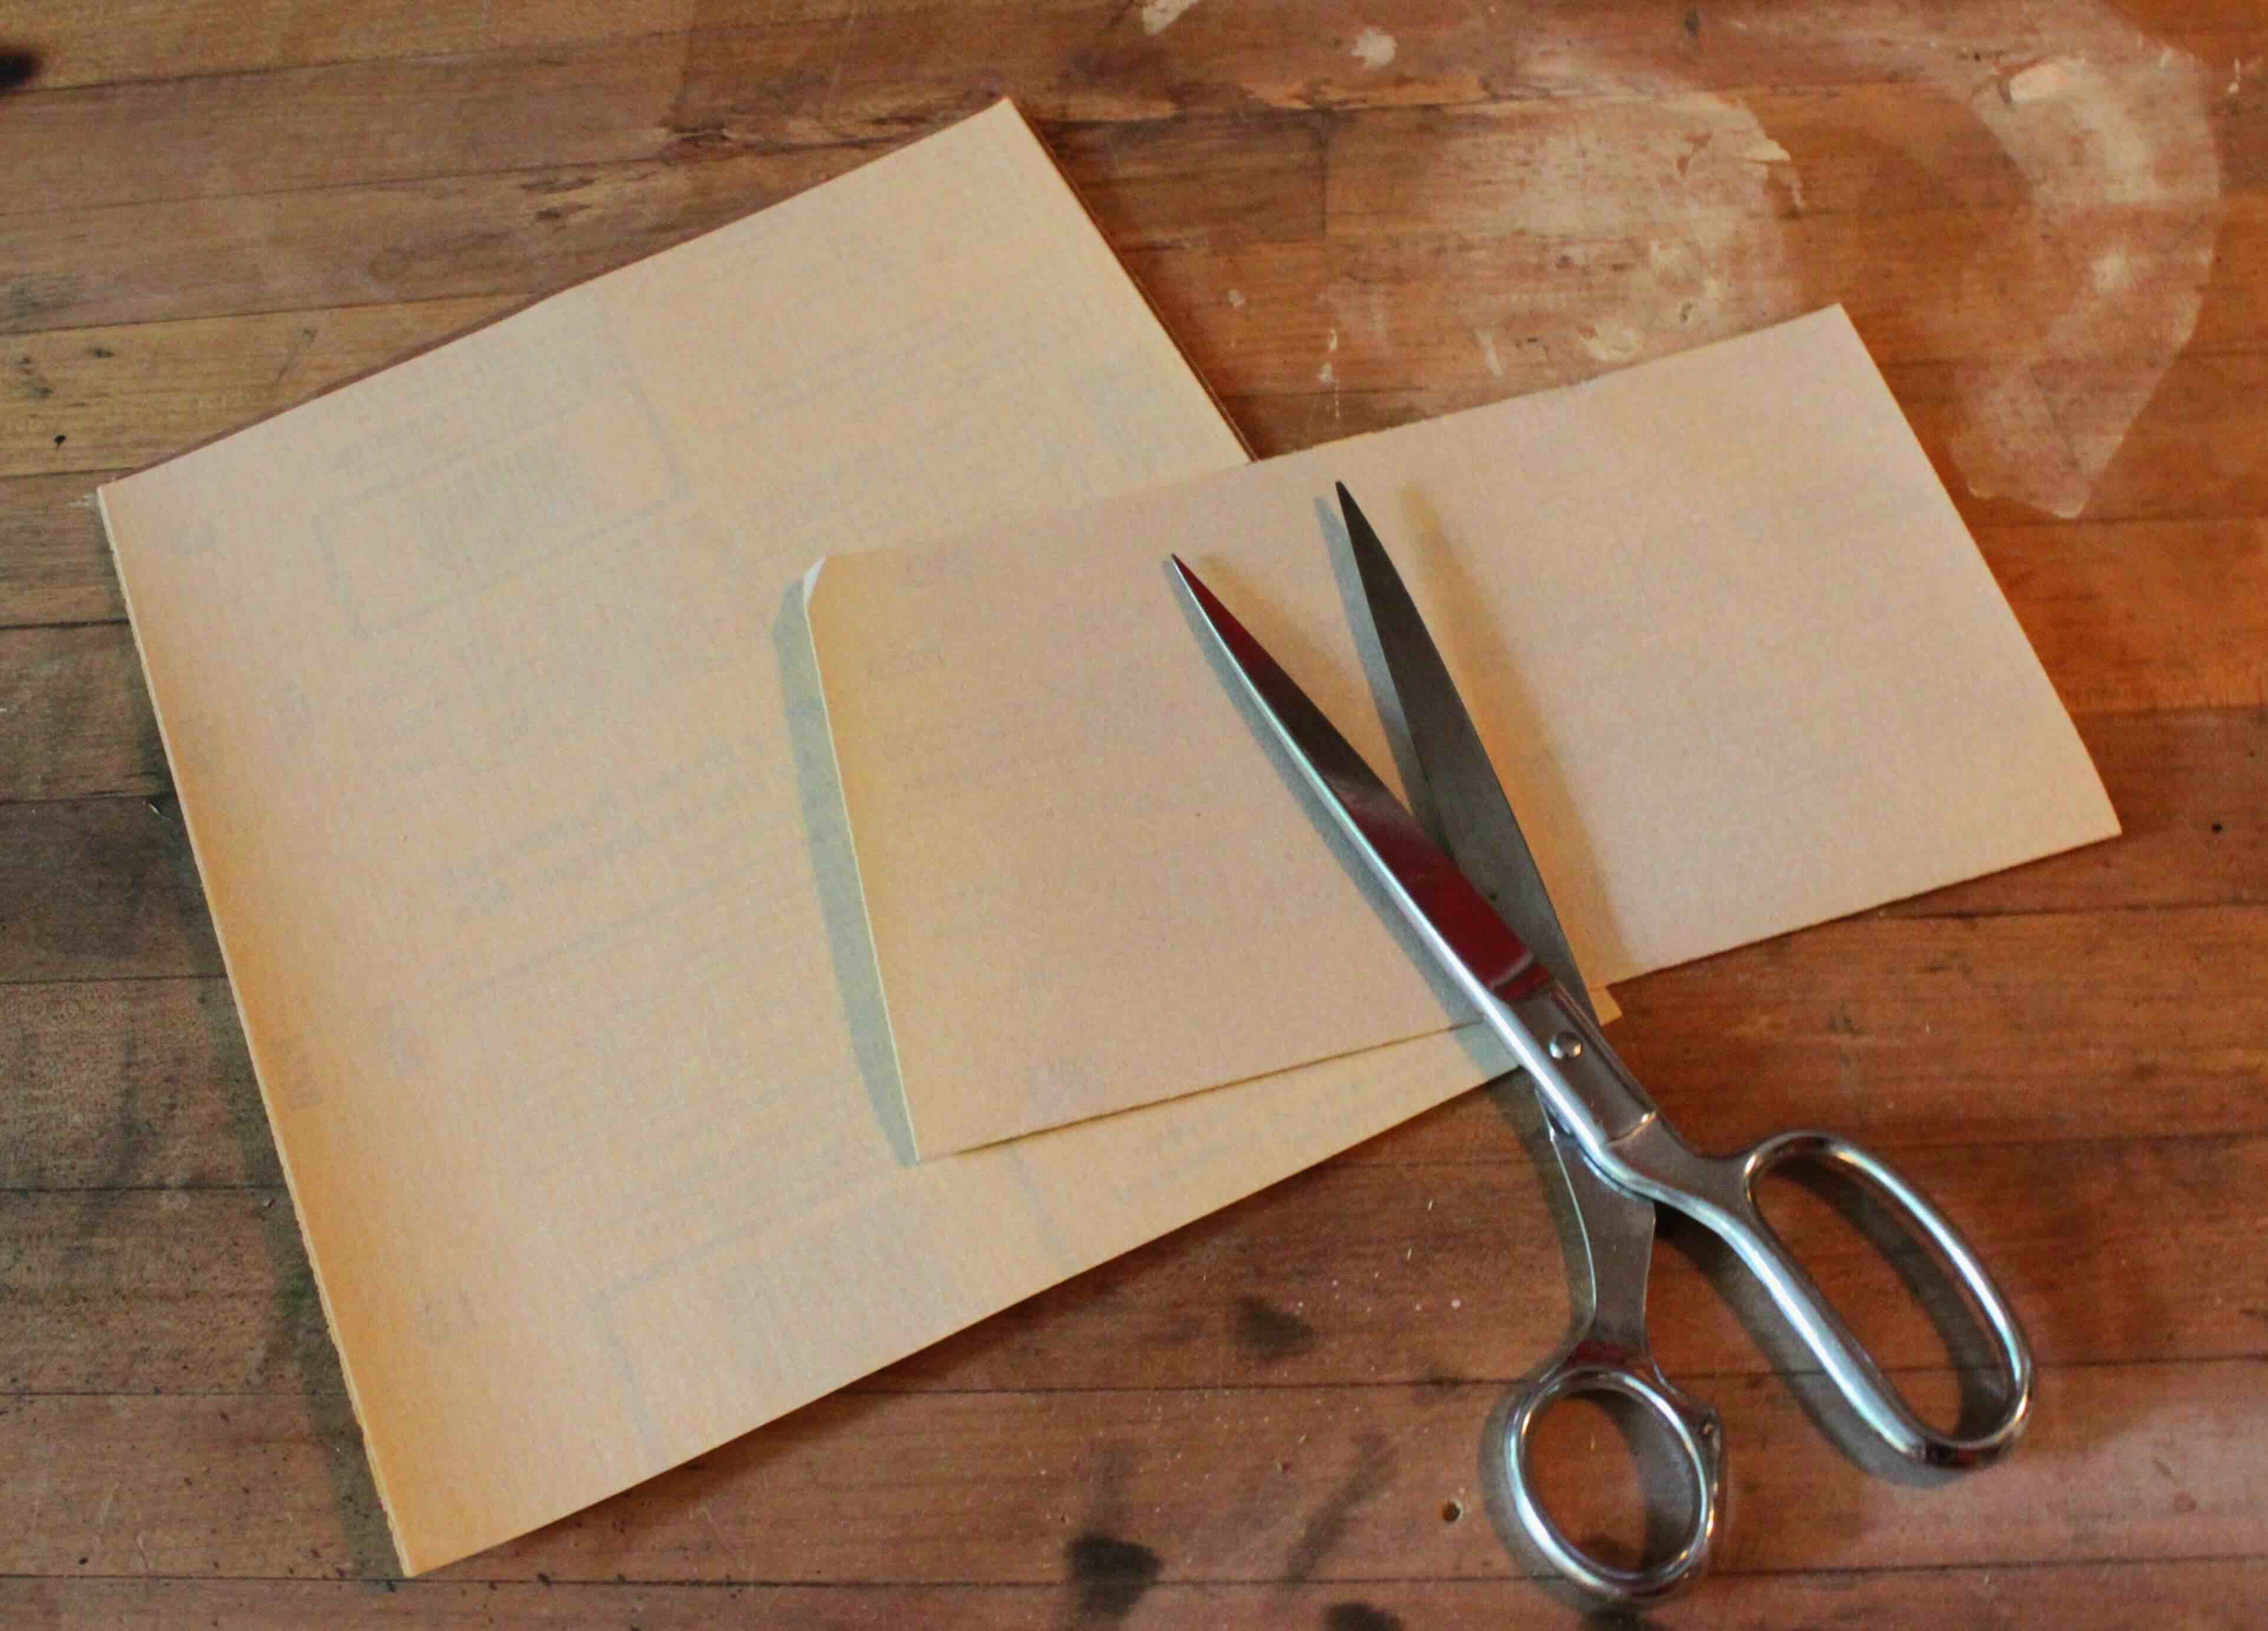
- Cut the Sandpaper: Using a pair of scissors or a utility knife, cut a piece of sandpaper large enough to comfortably accommodate the entire length of the scissor blades. Ensure that the piece is long and wide enough to cover the blades without leaving any edges exposed.
- Secure the Sandpaper: Place the cut piece of sandpaper on a flat and stable surface, such as a table or workbench. Use tape or clamps to secure the sandpaper in place, preventing it from moving during the sharpening process.
- Orientation of the Sandpaper: Position the sandpaper so that the grit side is facing up. This is the side that will come into contact with the scissors’ blades during the sharpening process.
- Smooth Out Any Wrinkles: Smooth out the sandpaper to eliminate any wrinkles or creases that may affect the sharpening process. A flat and even surface will ensure consistent sharpening across the entire length of the scissor blades.
By carefully preparing the sandpaper according to these steps, you’ll set the stage for an effective and efficient sharpening process. With the sandpaper properly prepped, you’ll be ready to move on to the next crucial step: sharpening the scissors to restore their cutting prowess.
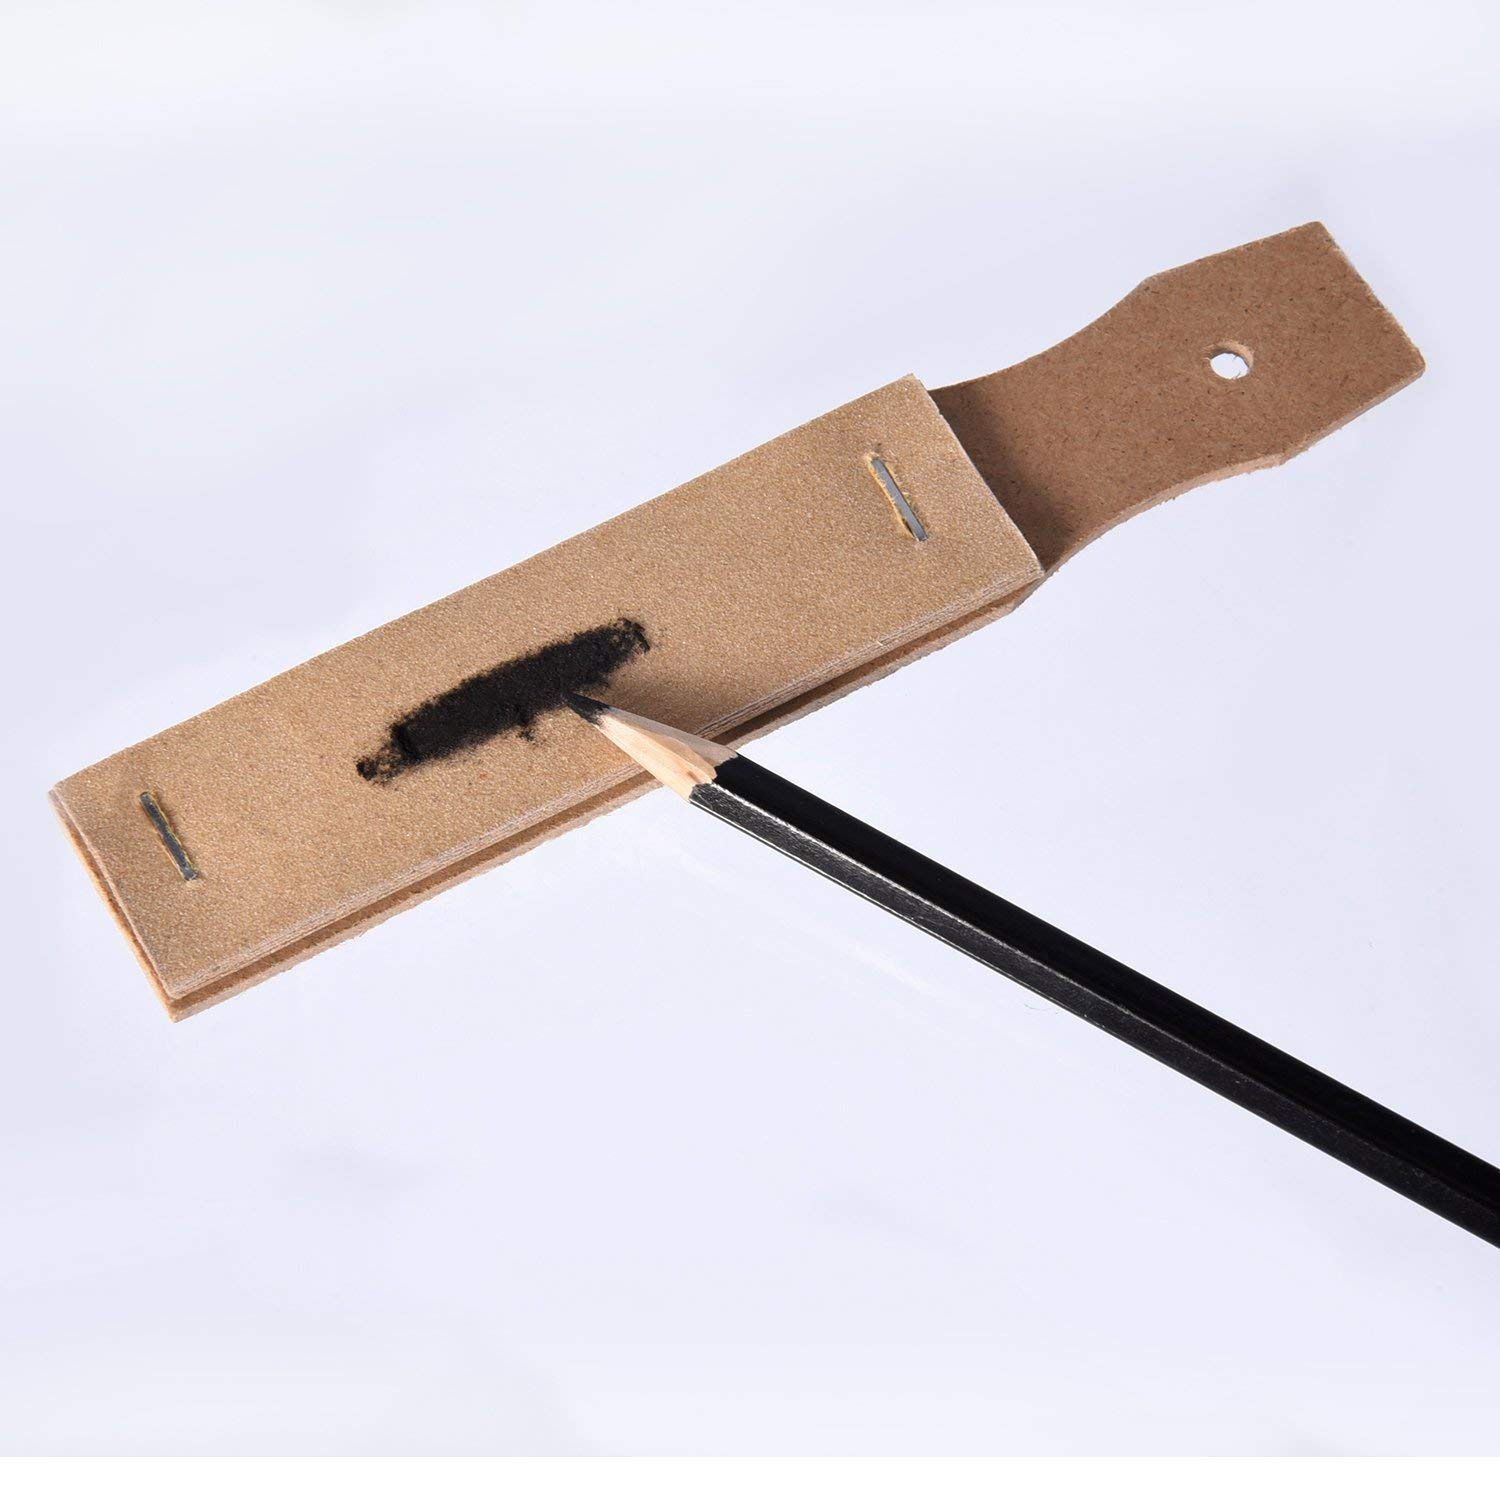
When sharpening scissors with sandpaper, fold the sandpaper in half with the rough side facing out. Then, simply cut through the sandpaper several times to sharpen the blades.
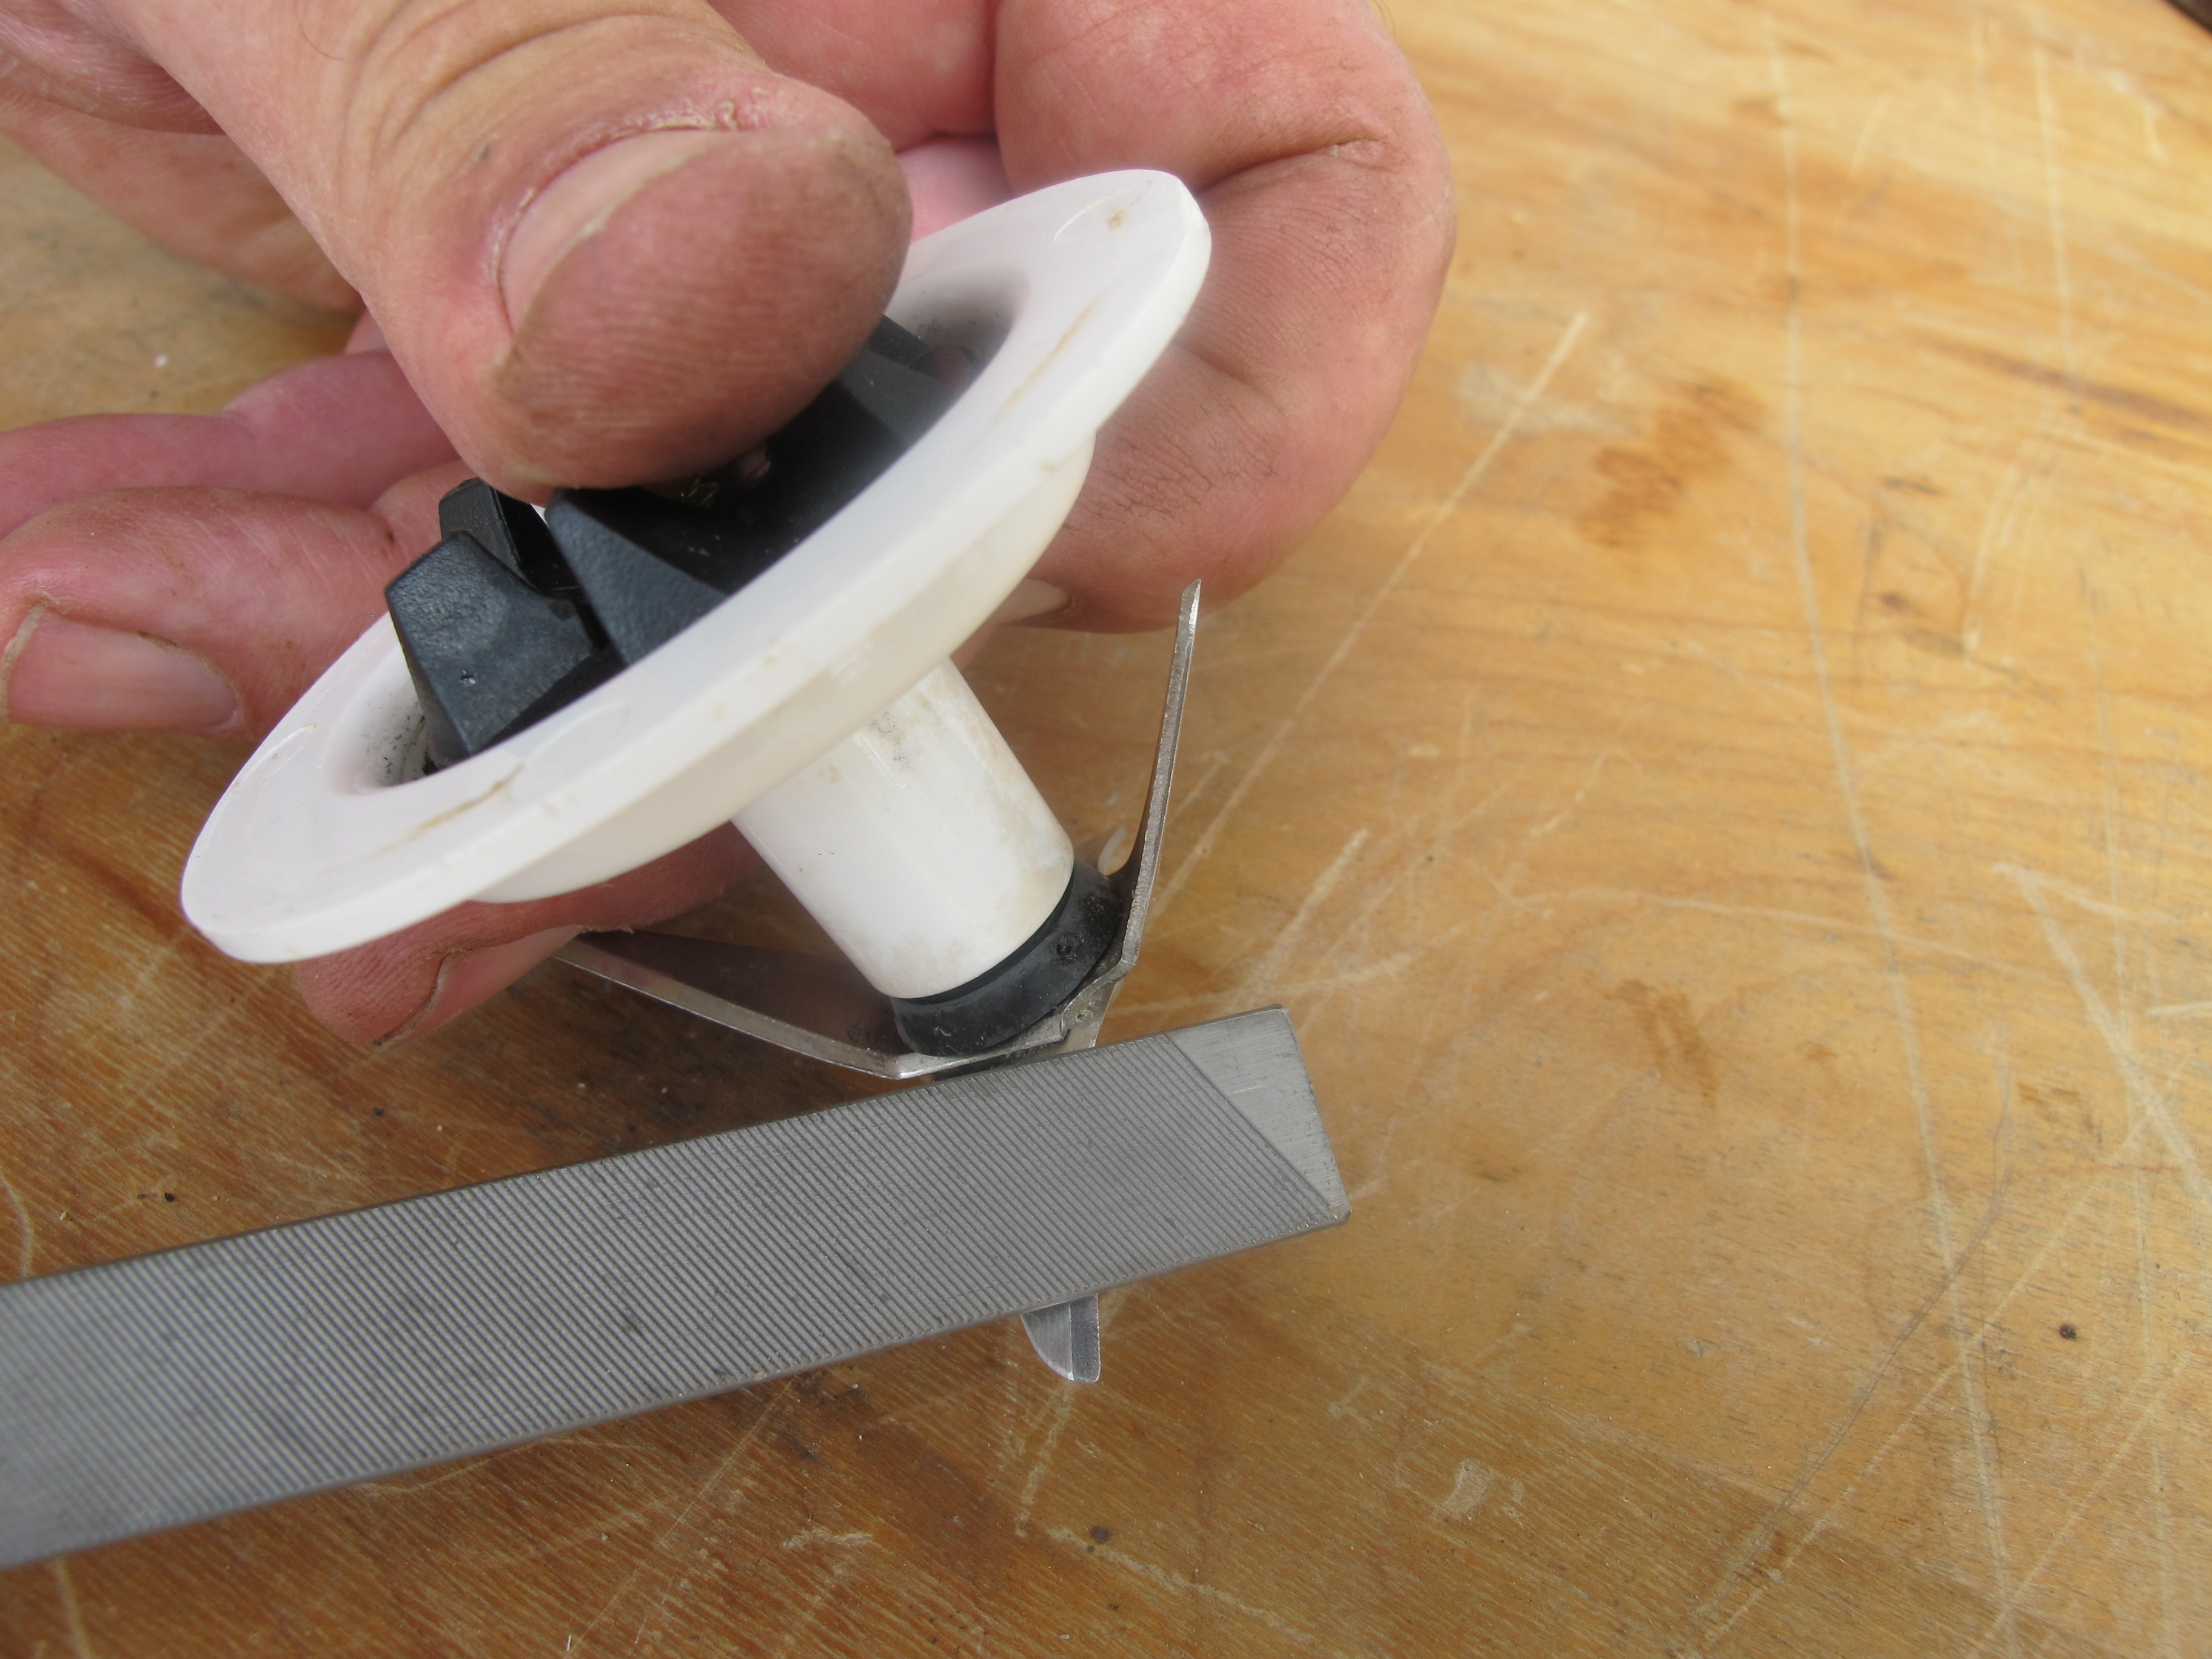
Step 2: Sharpening the Scissors
With the sandpaper prepared, it’s time to dive into the process of sharpening your scissors. Follow these step-by-step instructions to effectively sharpen the blades and restore their cutting edge:
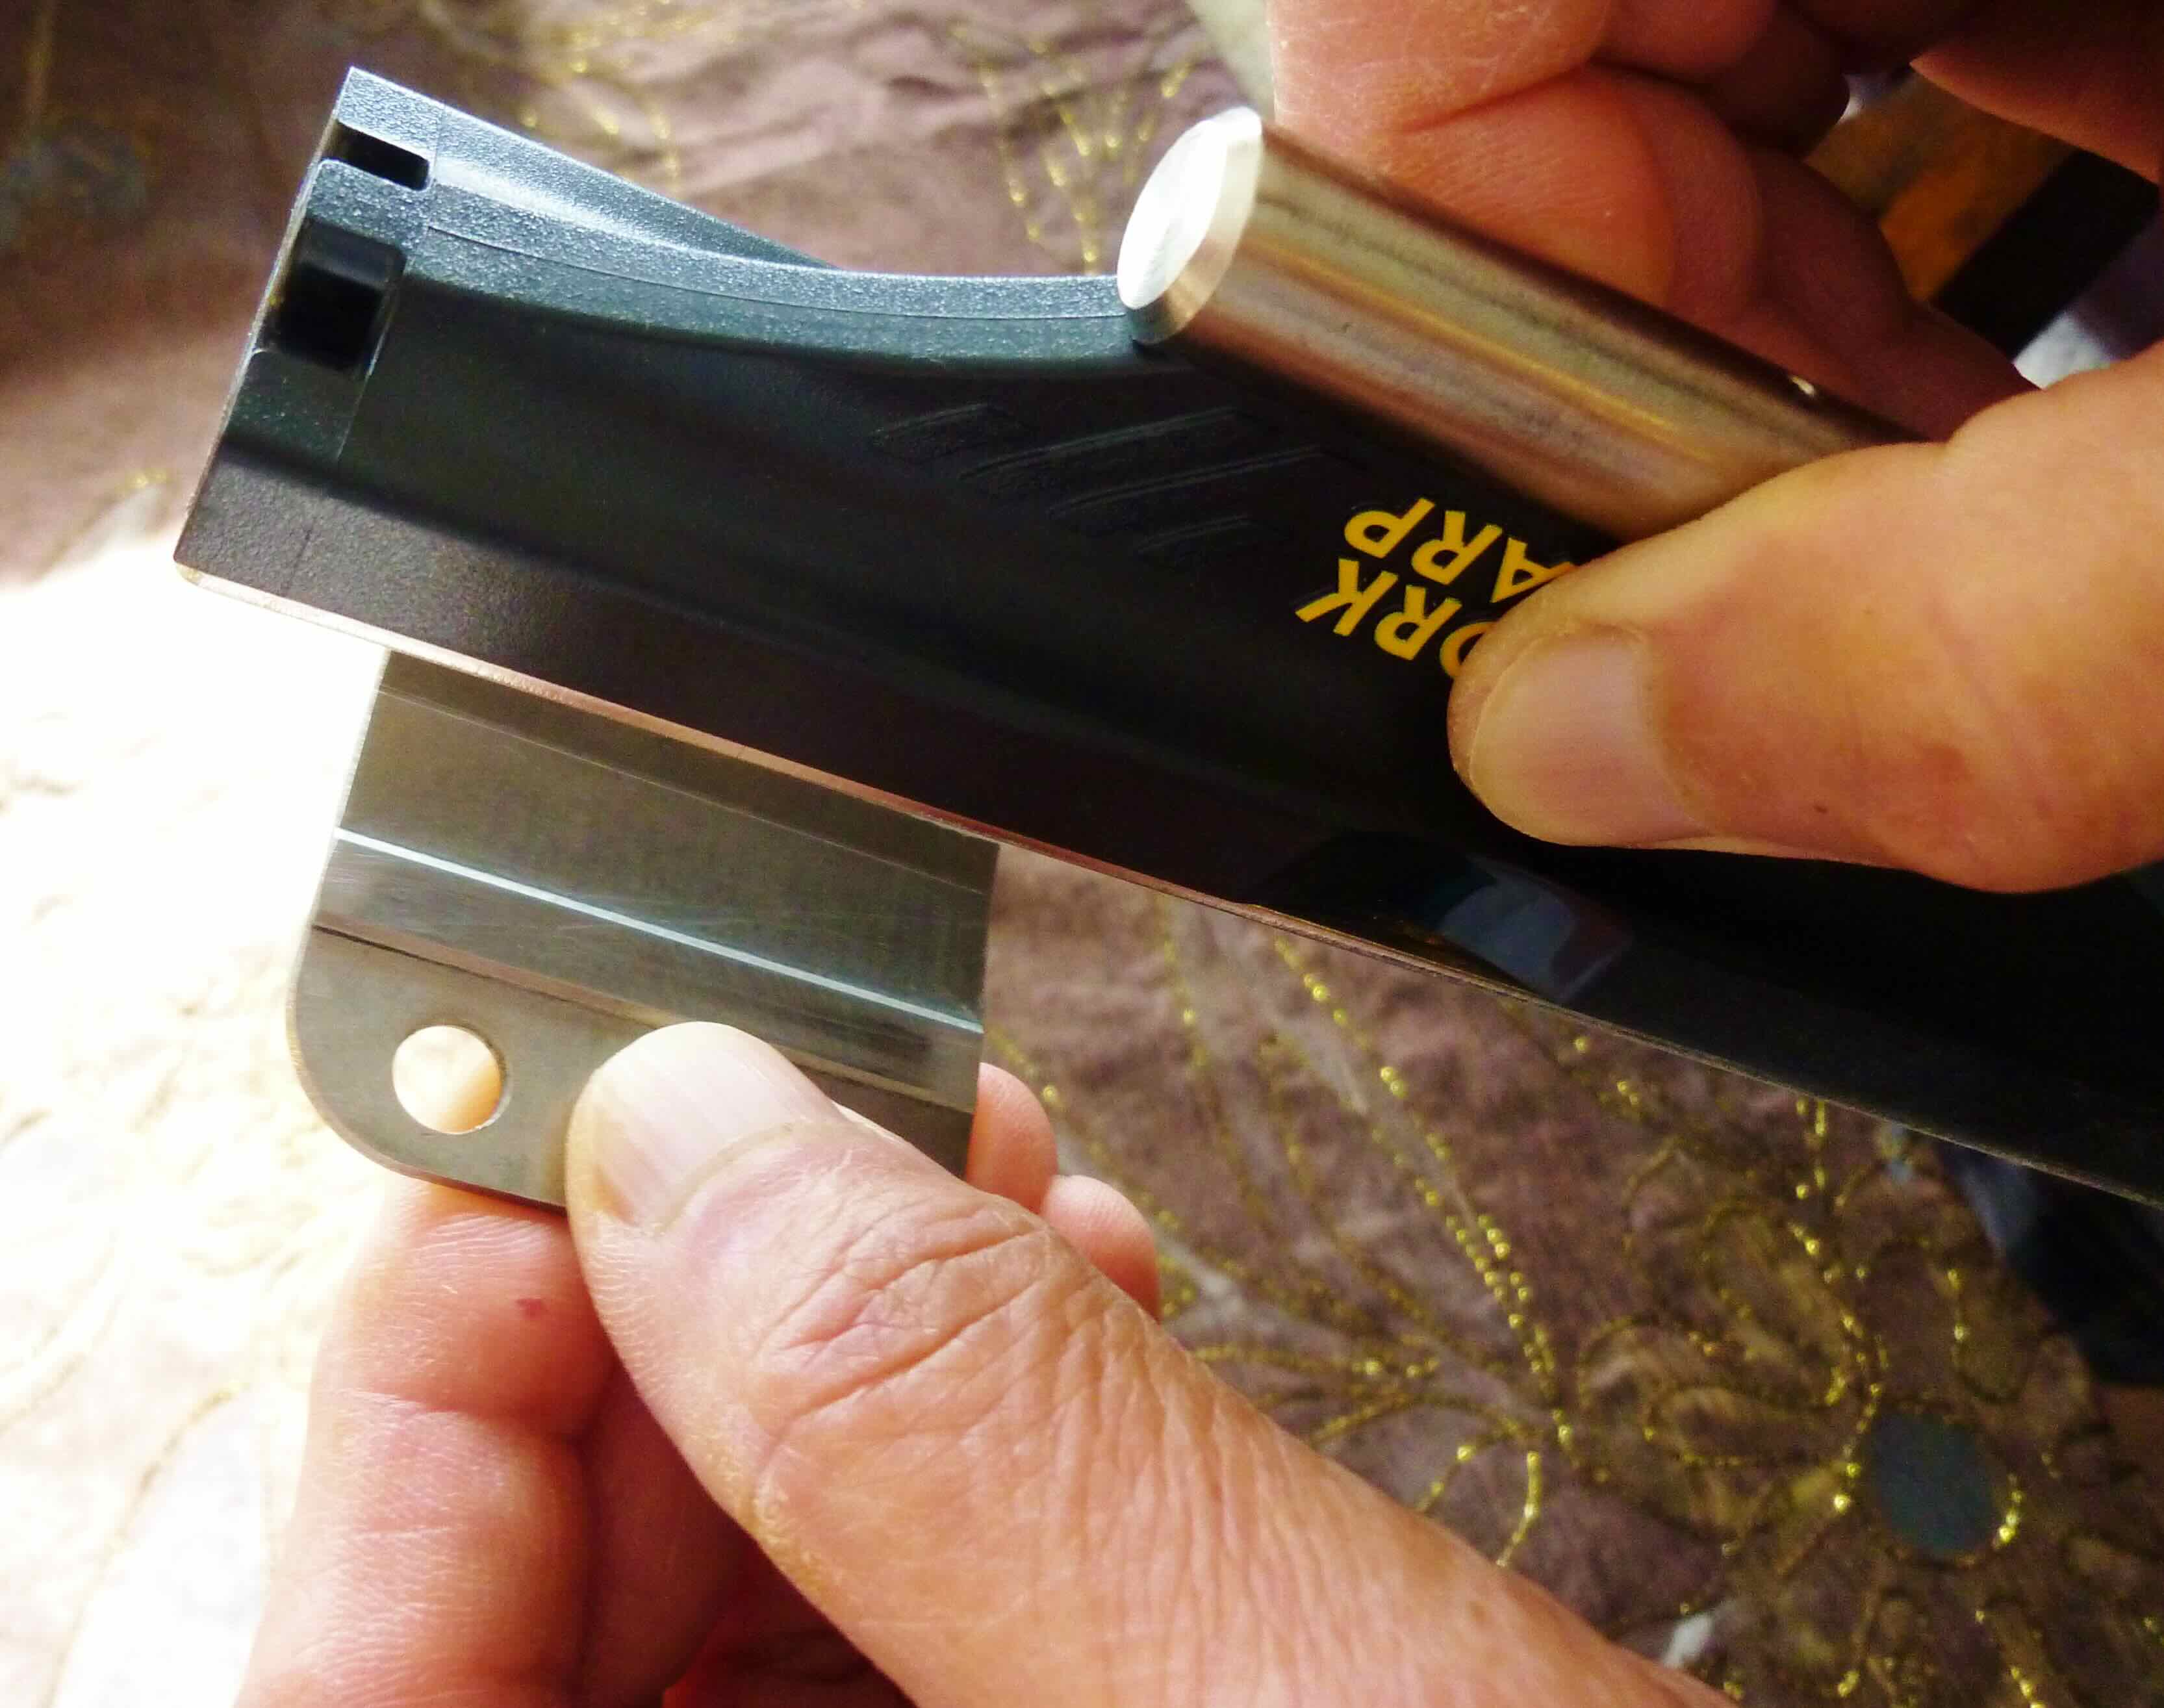
- Position the Scissors: Place the scissors on the secured sandpaper, ensuring that the entire length of the blades makes contact with the grit side of the sandpaper. Hold the scissors firmly to prevent slippage during the sharpening process.
- Angle of the Blades: Maintain a consistent angle while sharpening the scissors. A 15 to 30-degree angle is generally recommended for achieving a sharp edge. Apply gentle pressure and move the scissors across the sandpaper in smooth, even strokes.
- Even Pressure: Distribute pressure evenly across the entire length of the blades as you move them back and forth on the sandpaper. This will ensure that the entire cutting edge receives uniform sharpening, resulting in a consistent and effective cutting performance.
- Check Progress Periodically: After several strokes, lift the scissors from the sandpaper and inspect the blades for any signs of improvement. Look for a clean and uniform edge along the entire length of the blades. If necessary, continue the sharpening process until the desired sharpness is achieved.
- Alternate Sides: To ensure balanced sharpening, alternate the sides of the scissors after every few strokes. This will prevent one side from becoming sharper than the other, resulting in a well-aligned cutting edge.
By following these steps with precision and care, you’ll be able to effectively sharpen your scissors using sandpaper. This simple yet methodical approach will breathe new life into your scissors, allowing them to deliver precise and effortless cuts once again.
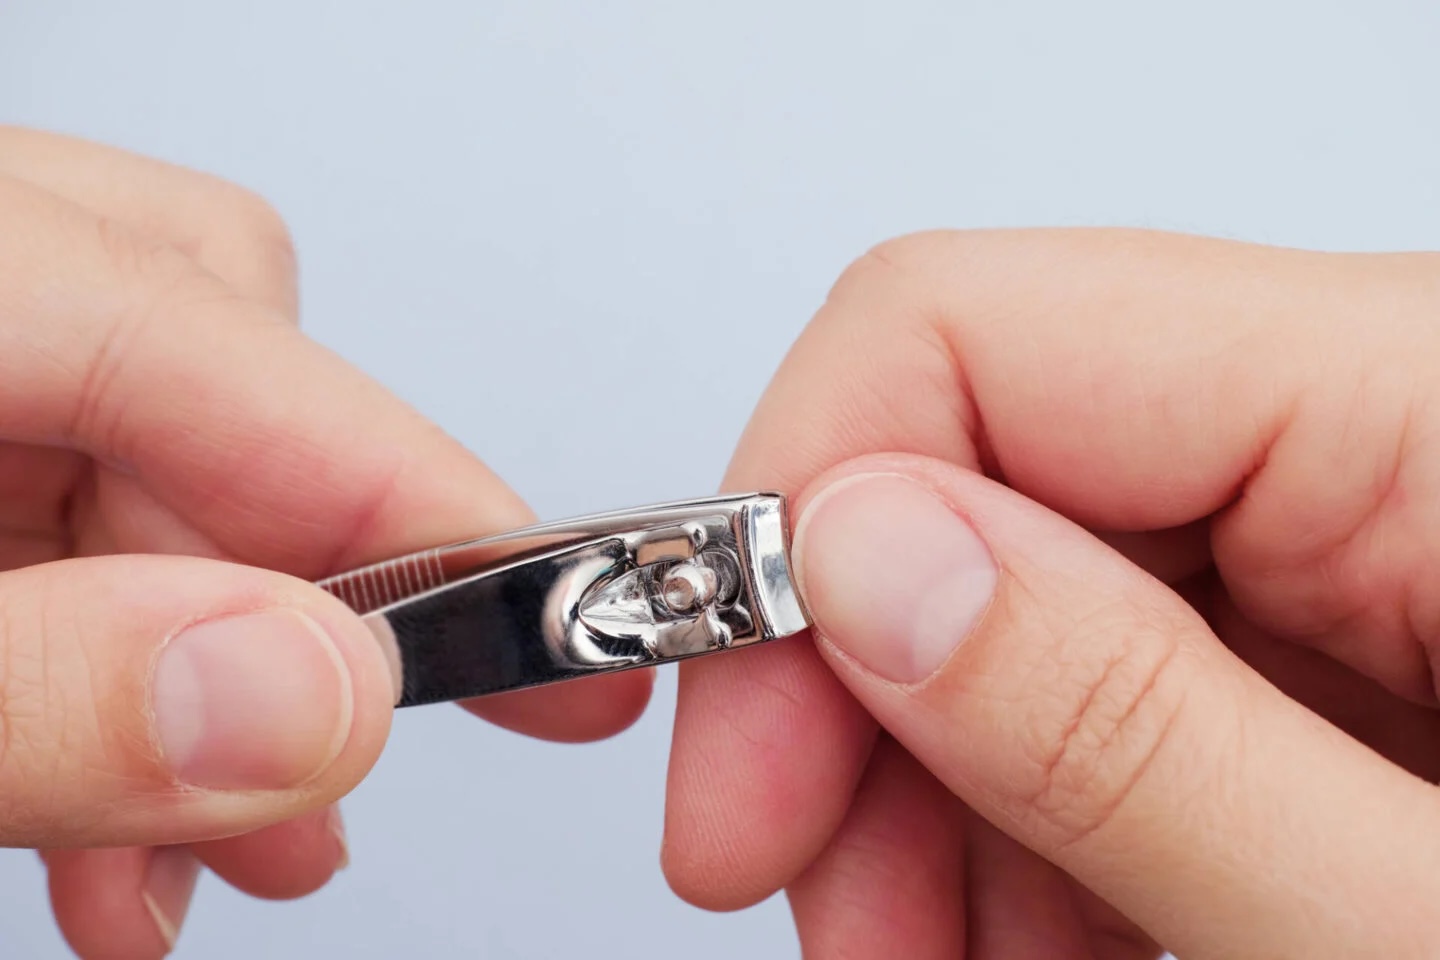
Step 3: Testing the Scissors
After completing the sharpening process, it’s essential to test the scissors to ensure that they have been restored to optimal cutting condition. Follow these steps to evaluate the sharpness and functionality of your newly sharpened scissors:
- Paper Test: Obtain a piece of paper and attempt to cut through it using the sharpened scissors. A well-sharpened pair of scissors should effortlessly glide through the paper, producing clean and precise cuts without snagging or tearing.
- Fabric Test: Test the scissors on a piece of fabric, such as cotton or linen. A sharp pair of scissors will smoothly cut through the fabric, allowing for precise and controlled movements without excessive fraying or resistance.
- Visual Inspection: Examine the blades of the scissors under adequate lighting. A properly sharpened pair of scissors will exhibit a consistent and uniform cutting edge along the entire length of the blades. There should be no visible nicks or dull spots that could impede cutting performance.
- Comfort and Control: Hold the scissors and assess the level of comfort and control during cutting motions. A well-sharpened pair of scissors should feel balanced and responsive, allowing for effortless cutting with minimal hand strain.
By conducting these tests, you’ll be able to ascertain the effectiveness of the sharpening process and identify any areas that may require further attention. If the scissors perform admirably in these tests, you can rest assured that they have been successfully sharpened and are ready to tackle your cutting tasks with precision and ease.
Read more: How To Sharpen Chisels With Sandpaper
Conclusion
Sharpening your scissors with sandpaper is a rewarding and cost-effective way to maintain the efficiency and functionality of your cutting tools. By following the simple yet precise steps outlined in this guide, you can breathe new life into your scissors and ensure that they remain indispensable assets in your daily tasks.
With the right materials and technique, you can achieve a sharp and durable edge on your scissors, allowing for clean and precise cuts without the need for professional sharpening services. This DIY approach not only saves time and money but also empowers you to take control of the maintenance and performance of your essential tools.
Remember, regular maintenance and sharpening will prolong the lifespan of your scissors, enabling them to deliver consistent and reliable cutting performance for years to come. Whether you’re an avid crafter, a DIY enthusiast, or simply someone who values the importance of well-maintained tools, sharpening your scissors with sandpaper is a skill worth mastering.
So, the next time your scissors start to feel dull and ineffective, reach for some sandpaper and embark on the journey to restore their sharpness. With a little effort and the right technique, you can transform your trusty pair of scissors into precision cutting instruments, ready to tackle any task with finesse and accuracy.
By incorporating this DIY sharpening method into your tool maintenance routine, you’ll ensure that your scissors remain sharp, reliable, and ever-ready to meet your cutting needs.
Frequently Asked Questions about How To Sharpen Scissors With Sandpaper
Was this page helpful?
At Storables.com, we guarantee accurate and reliable information. Our content, validated by Expert Board Contributors, is crafted following stringent Editorial Policies. We're committed to providing you with well-researched, expert-backed insights for all your informational needs.
0 thoughts on “How To Sharpen Scissors With Sandpaper”