Articles
How To Scribe To Fit Drywall And Wood Molding
Modified: December 7, 2023
Learn how to scribe wood molding to fit perfectly against drywall with our informative and detailed articles. Become a pro at precision carpentry today!
(Many of the links in this article redirect to a specific reviewed product. Your purchase of these products through affiliate links helps to generate commission for Storables.com, at no extra cost. Learn more)
Introduction
Welcome to the world of scribing! Scribing is a technique used in carpentry and woodworking to create a precise fit between two uneven surfaces, such as drywall and wood molding. It involves carefully shaping and cutting the material to ensure a seamless connection and a professional finish. In this article, we will guide you through the step-by-step process of scribing to fit drywall and wood molding, enabling you to achieve flawless results in your DIY or renovation projects.
Before we dive into the details, it’s important to familiarize ourselves with the tools and materials you will need for this project. Having the right equipment on hand will ensure that you can work efficiently and effectively. So gather your tools, put on your safety goggles, and let’s get started!
Key Takeaways:
- Achieve flawless carpentry results by mastering the art of scribing to fit drywall and wood molding. Patience, precision, and the right tools are essential for creating seamless and professional-looking installations.
- Elevate your DIY or renovation projects with the technique of scribing to fit drywall and wood molding. Attention to detail, accurate measurements, and careful fitting are the keys to achieving a seamless and snug connection.
Tools and Materials Needed
Before you begin scribing to fit drywall and wood molding, make sure you have the following tools and materials ready:
- A measuring tape: This will help you accurately measure the length and width of the area that needs to be scribed.
- A pencil: Use a pencil to mark the measurements and guide lines on the drywall and wood molding.
- A utility knife: A sharp utility knife will be essential for cutting the drywall and wood molding.
- A hand saw or miter saw: Depending on the type of cutting you need to do, a hand saw or miter saw will come in handy for cutting the wood molding to the desired lengths.
- A coping saw: This specialized saw is used for creating intricate cuts and shapes in the wood molding.
- A scribing tool: A scribing tool, also known as a compass or contour gauge, is used to transfer the contours of one surface onto another for an accurate fit.
- Sandpaper or a file: Sandpaper or a file will be required to smoothen any rough edges or imperfections on the cut surfaces.
- Wood glue or finishing nails: Depending on your preference, you can use either wood glue or finishing nails to secure the wood molding in place.
- Safety goggles and gloves: Safety should never be overlooked, so make sure to wear safety goggles and gloves to protect yourself from any potential hazards.
Now that you have all the necessary tools and materials ready, let’s move on to the step-by-step process of scribing to fit drywall and wood molding.
Step 1: Measuring and Marking
The first step in scribing to fit drywall and wood molding is to accurately measure and mark the areas that need to be cut and fitted. This will ensure a precise and seamless fit between the two materials.
Start by measuring the length and width of the area where the drywall and wood molding will meet. Use a measuring tape and take note of these measurements.
Next, transfer the measurements onto the drywall and wood molding using a pencil. Make sure to mark the areas that need to be cut and fitted with clear, visible lines. These marks will act as your guide throughout the process.
If the wall or surface you are working with is uneven or irregular, you may need to scribe both the drywall and the wood molding to create a flawless fit. In such cases, use a scribing tool to trace the contours of the uneven surface onto the drywall and wood molding. This will help you achieve a precise fit and ensure that the materials seamlessly blend together.
Once you have marked the areas that need to be cut and fitted on both the drywall and wood molding, you are ready to move on to the next step: cutting the drywall.
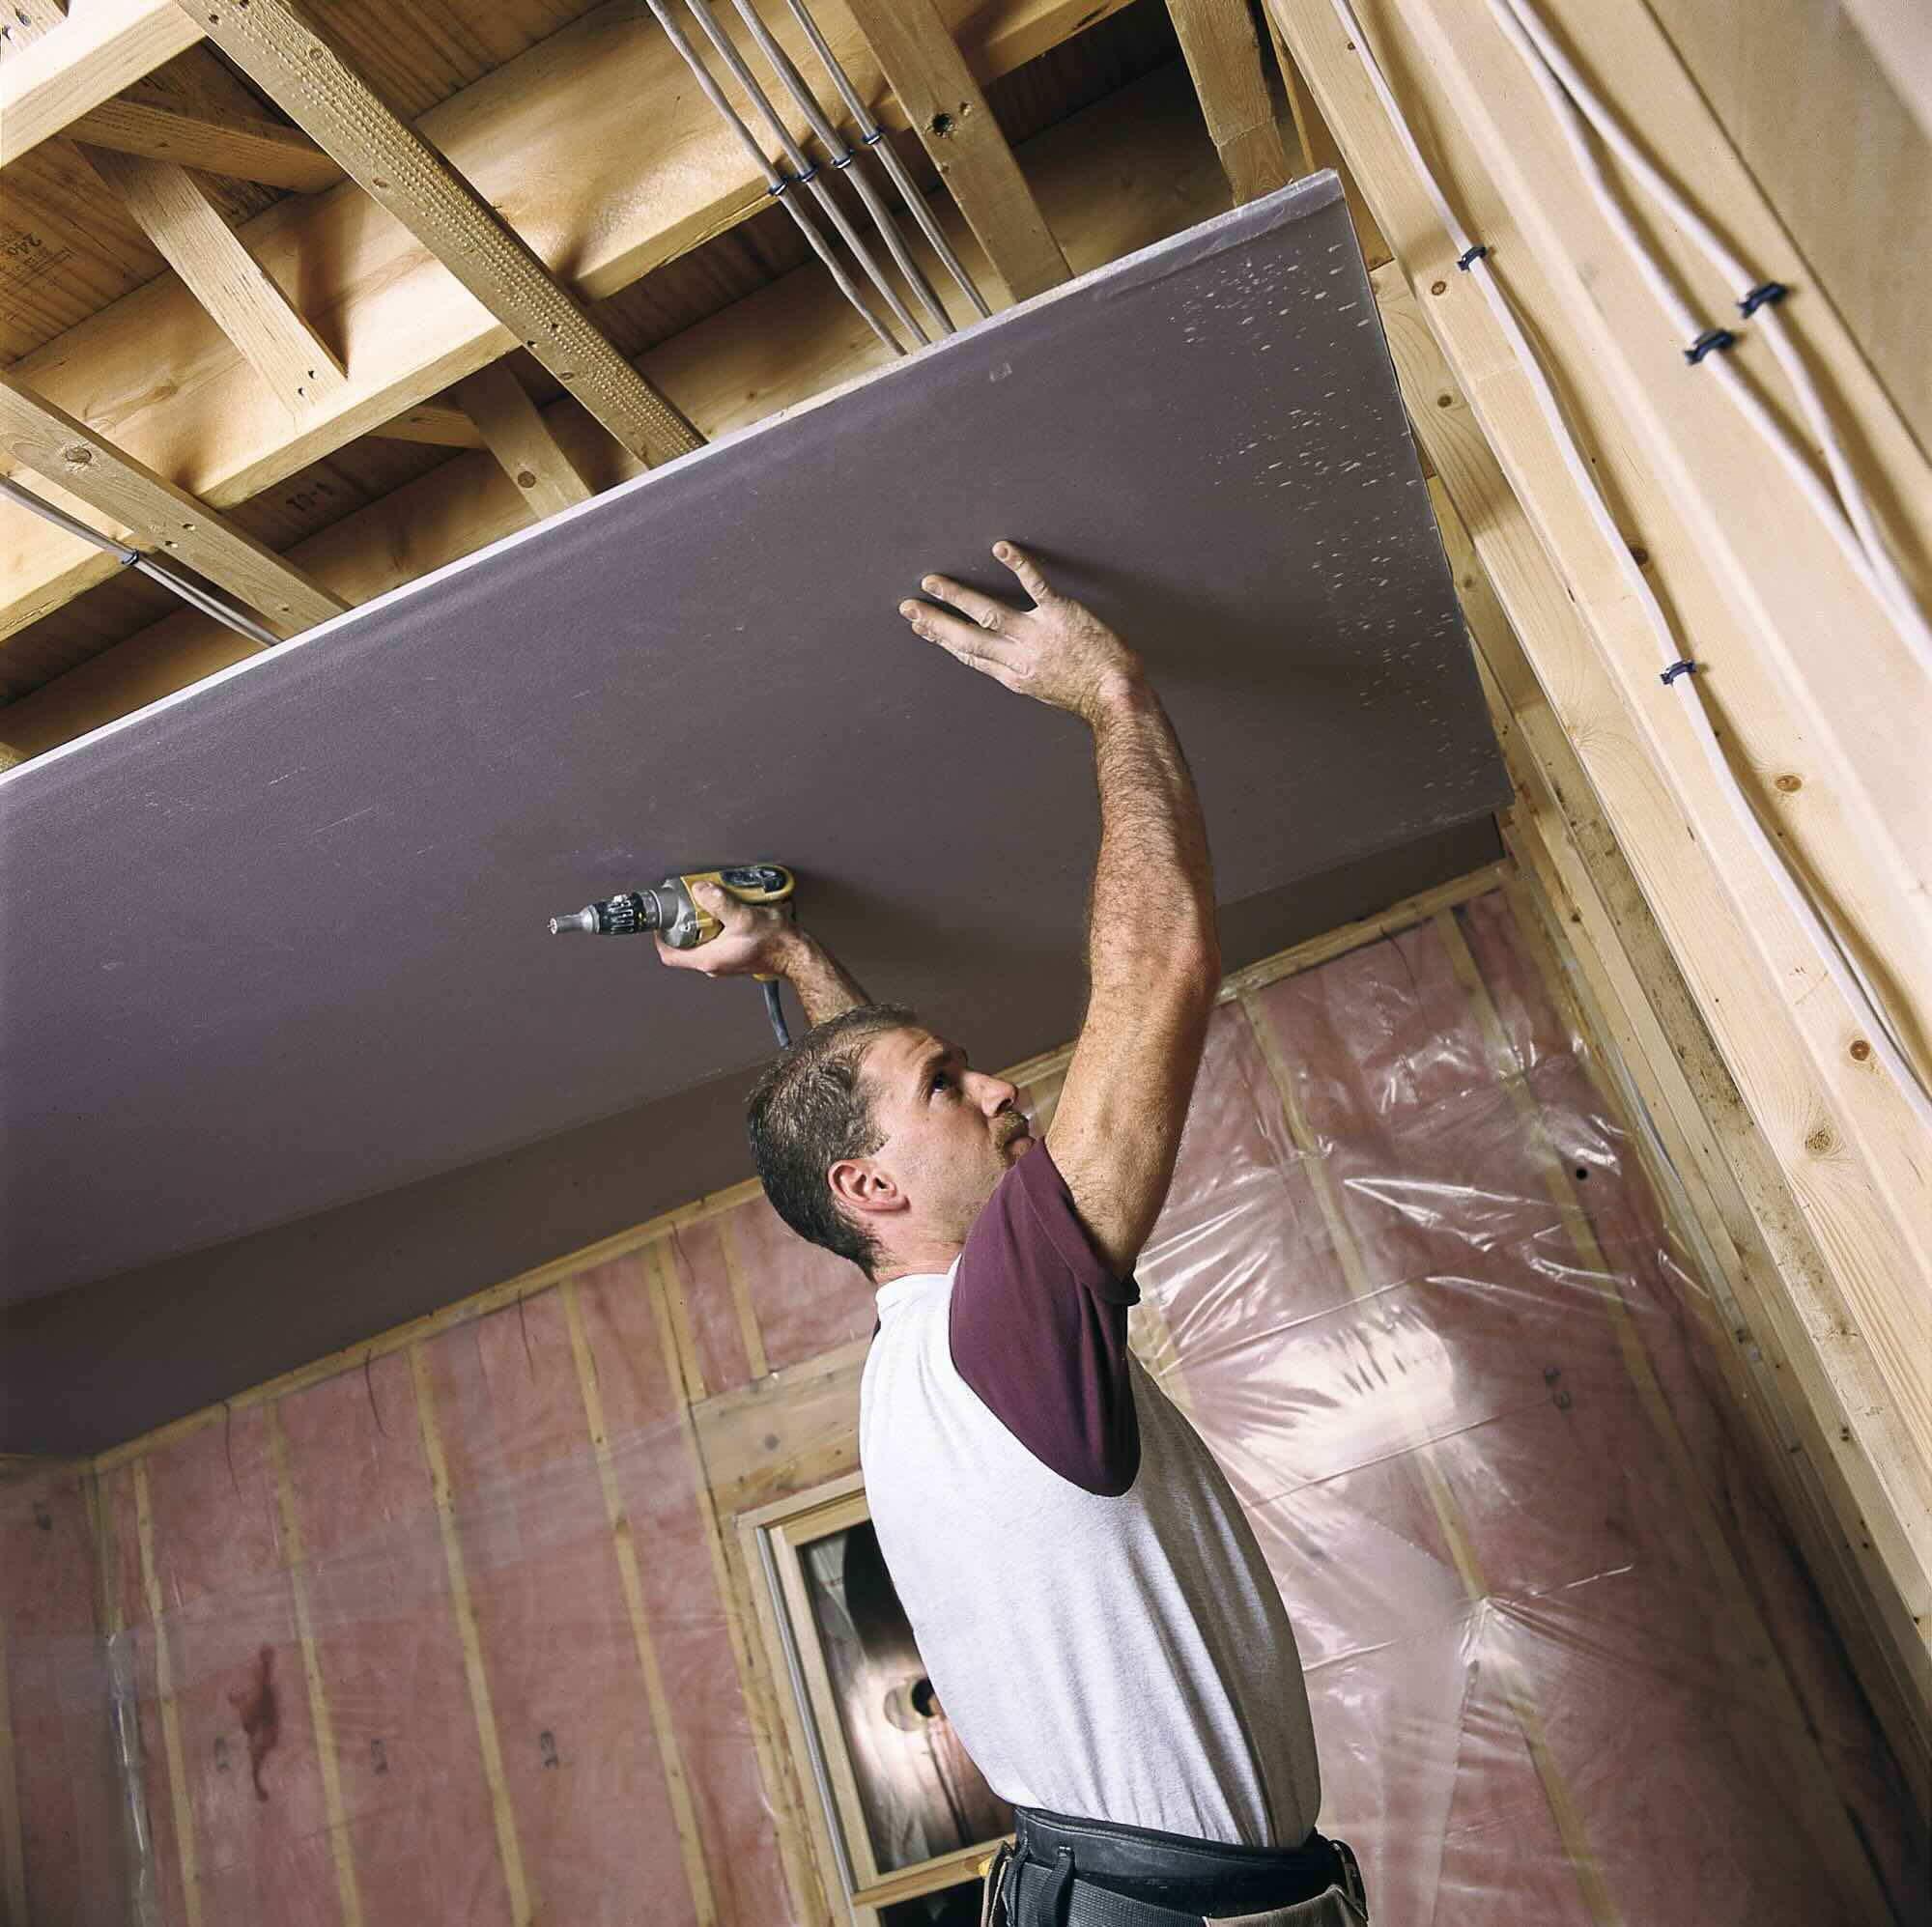
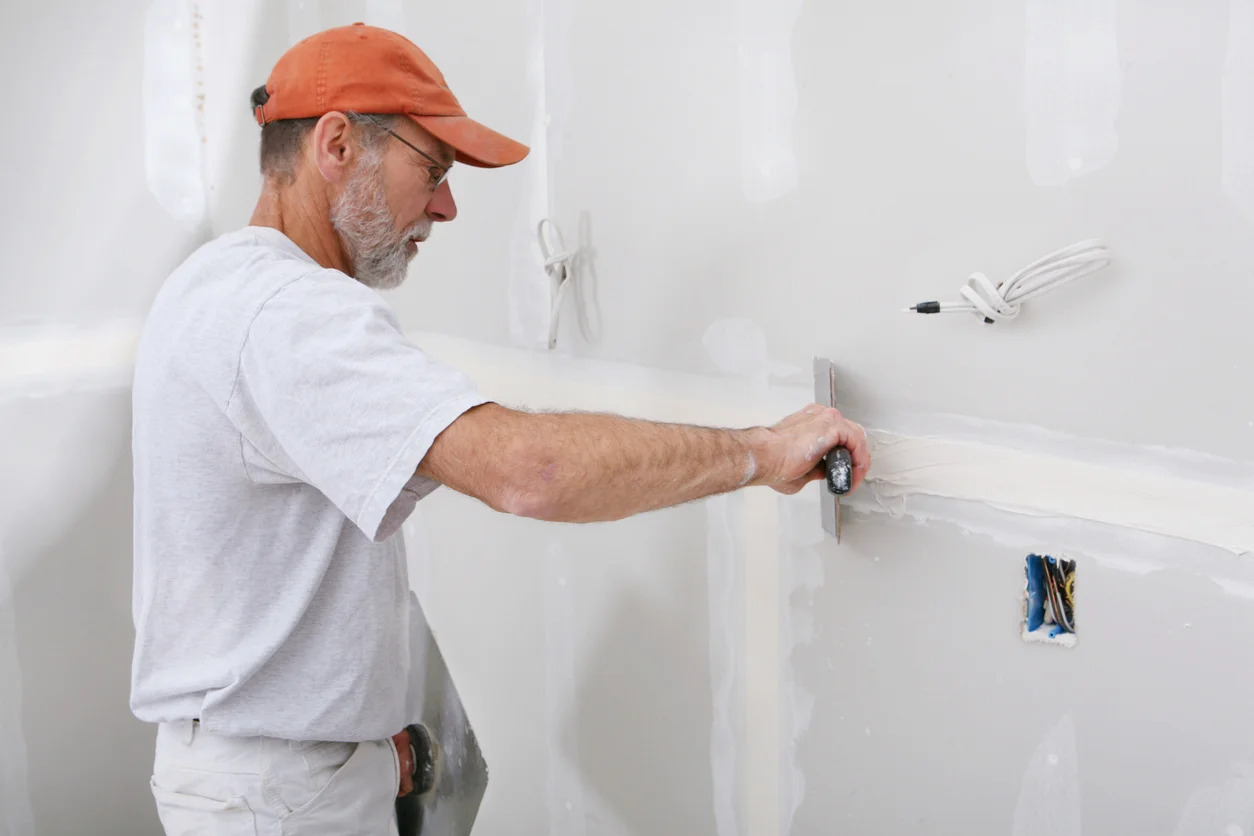
Step 2: Cutting Drywall
Now that you have measured and marked the areas on the drywall that need to be cut and fitted, it’s time to carefully cut the drywall to achieve a proper fit with the wood molding.
Start by placing the drywall on a stable work surface, making sure it is well-supported to avoid any damage. Use a utility knife to score along the marked lines on the drywall. Apply gentle, even pressure as you cut, being careful not to press too hard, which can cause the drywall to crack or break.
After scoring along the marked lines, bend the drywall away from the scored line to create a clean, accurate cut. If needed, use the utility knife to trim any excess or uneven edges for a more precise fit.
Remember to take your time when cutting the drywall and always exercise caution. It’s better to make multiple small cuts and gradually shape the drywall to fit, rather than rushing and potentially making irreversible mistakes.
Once you have successfully cut the drywall to the desired shape and size, it’s time to move on to the next step: cutting the wood molding to fit the drywall.
Step 3: Cutting Wood Molding
With the drywall cut and ready, it’s time to focus on cutting the wood molding to fit the contours of the drywall. This step requires precision and attention to detail to ensure a seamless and professional finish.
Start by measuring the length of the drywall where the wood molding will be installed. Use a measuring tape to get an accurate measurement, and mark the length on the wood molding accordingly.
Once you have marked the length, use a hand saw or miter saw to carefully cut the wood molding. Make sure to follow the marked line and use smooth, controlled motions to create a clean and accurate cut.
If your wood molding needs more intricate cuts to accommodate corners or angles, a coping saw will come in handy. This specialized saw is designed to make detailed curved cuts, allowing you to create precise and seamless joints.
After cutting the wood molding to the correct length and shape, take a moment to double-check the fit against the drywall. Make any necessary adjustments by filing or sanding down the edges of the wood molding for a perfect fit.
Remember, take your time and focus on achieving precise cuts. It’s better to make multiple small adjustments than to rush and end up with a poor fit between the wood molding and drywall.
Now that you have the wood molding cut and shaped to fit the drywall, it’s time to move on to the next step: fitting the drywall to the molding.
When scribing drywall to fit wood molding, use a compass to transfer the profile of the molding onto the drywall. Then, carefully cut along the scribed line for a precise fit.
Read more: What Is A Scribe In Construction
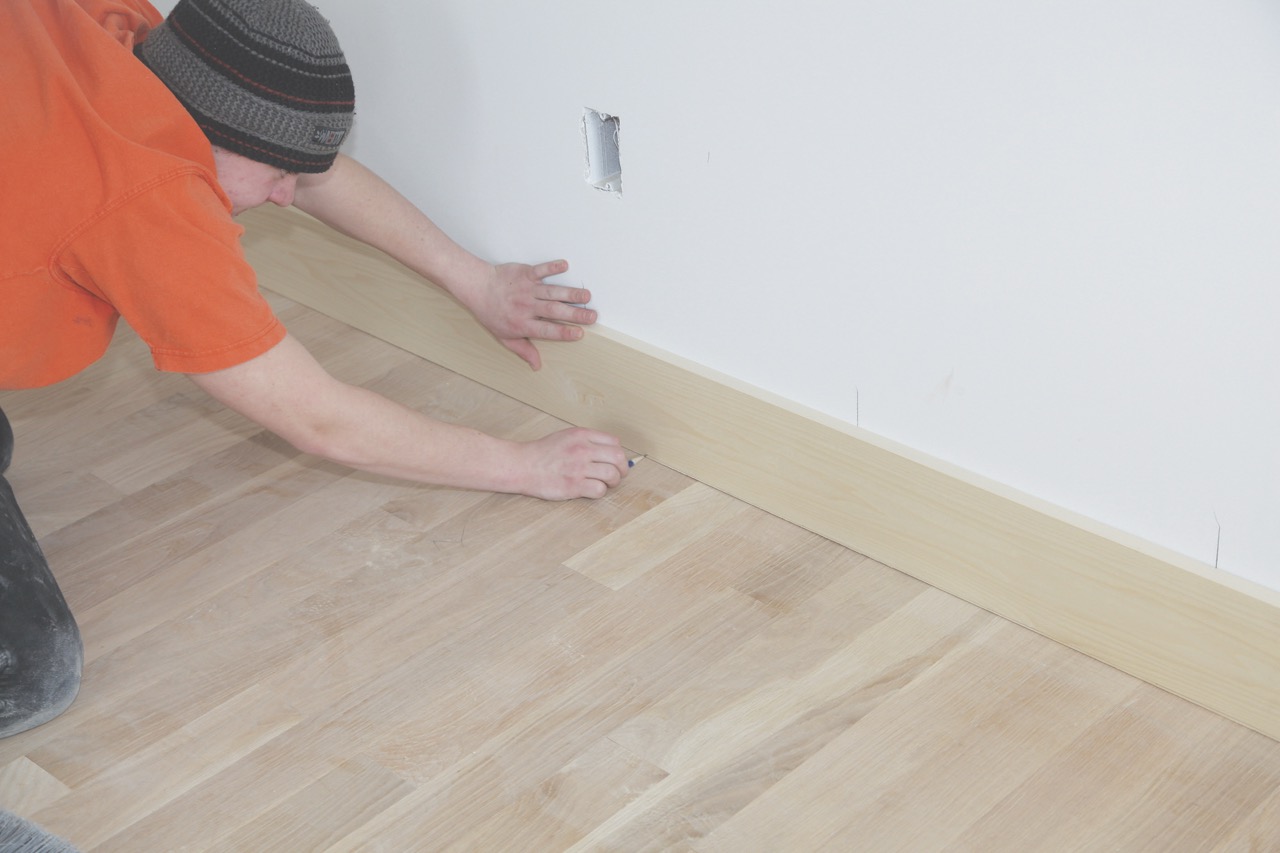
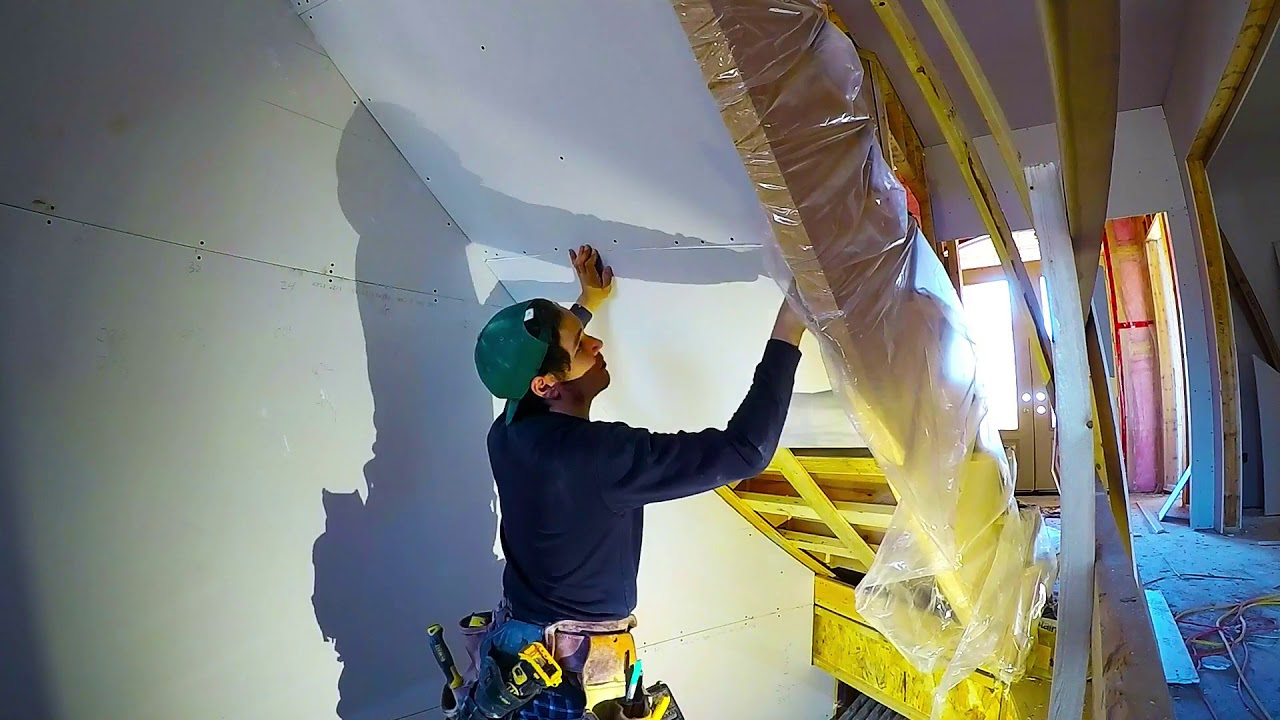
Step 4: Fitting Drywall to Molding
With the drywall and wood molding cut and prepared, it’s time to proceed to the fitting stage. This step involves carefully positioning the drywall against the wood molding to create a seamless and snug fit.
Begin by placing the drywall piece against the wall or surface where it will be installed. Align the edges of the drywall with the edges of the wood molding, ensuring a flush and even connection.
Using a pencil, mark any areas on the drywall that protrude beyond the edges of the wood molding. These markings will guide you during the scribing process.
Now, using a scribing tool or contour gauge, trace the contours of the wood molding onto the drywall by gently pressing the tool against the molding. This will transfer the exact shape of the molding onto the drywall.
Next, use a utility knife to carefully trim along the marked lines on the drywall. Take your time and use smooth, controlled cuts to achieve an accurate fit. Make sure to cut slightly inside the marked lines to allow for a snug fit against the wood molding.
Once you have scribed and cut the drywall to fit the contours of the wood molding, carefully position it against the molding again to check the fit. Make any necessary adjustments by trimming or smoothing any uneven edges.
When you are satisfied with the fit, move on to the next step: fitting the molding to the drywall.
Step 5: Fitting Molding to Drywall
Now that the drywall has been scribed and cut to fit the contours of the wood molding, it’s time to focus on fitting the molding to the drywall. This step will ensure a seamless connection between the two materials and provide a finished look to your project.
Start by positioning the wood molding against the drywall, aligning it with the scribed lines and ensuring a flush fit. Use a pencil to mark any areas where the molding needs to be trimmed or adjusted for a precise fit.
Using a coping saw or a hand saw, carefully cut along the marked lines to trim and shape the wood molding. Take your time to make accurate cuts, ensuring that the molding fits snugly against the drywall.
After making the necessary adjustments to the wood molding, position it against the drywall once again to check the fit. Verify that all the edges align properly and that the molding sits tightly against the drywall surface.
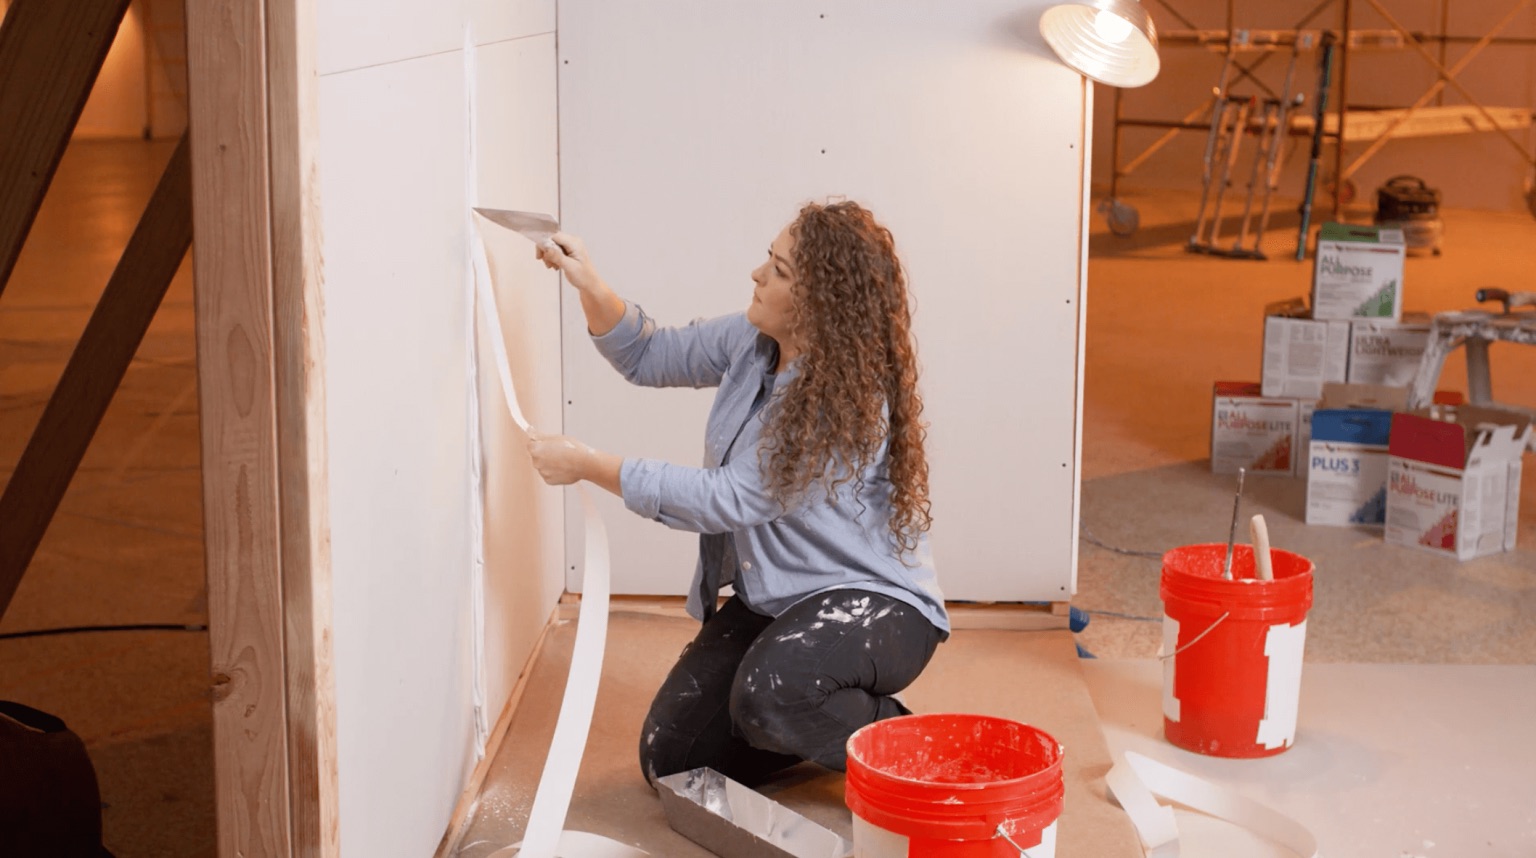
If you notice any gaps or unevenness between the molding and drywall, use sandpaper or a file to smooth out the edges and create a seamless transition. This step will enhance the overall appearance and ensure a professional finish.
Once you are satisfied with the fit and appearance of the wood molding against the drywall, it’s time to move on to the final step: securing the molding in place.
Step 6: Securing the Molding
Now that the drywall and wood molding are properly fitted together, it’s time to secure the molding in place to ensure a long-lasting and stable installation.
There are two common methods for securing wood molding to drywall: using wood glue or using finishing nails. The choice between the two methods depends on personal preference and the specific requirements of your project.
If you opt for using wood glue, apply a thin and even layer of wood glue to the back of the wood molding. Press the molding firmly against the drywall, making sure it aligns with the previously marked lines. Use clamps or painter’s tape to hold it in place while the glue dries. Follow the manufacturer’s instructions for drying time.
If you prefer using finishing nails, you will need a nail gun or a hammer and finishing nails. Position the wood molding against the drywall and, using a nail gun or hammer, carefully drive the nails through the molding and into the studs behind the drywall. Ensure that the nails are driven in at an angle to provide a secure hold without damaging the molding.
For a more secure installation, it’s recommended to use both wood glue and finishing nails. This will provide extra stability and prevent any potential movement or separation over time.
Once the wood molding is securely in place, take a moment to inspect the installation. Ensure that all edges are flush and even, and that the molding is firmly attached to the drywall.
Finally, allow sufficient time for the wood glue to dry or set completely before making any further adjustments or finishing touches to the project.
Congratulations! You have successfully scribed to fit drywall and wood molding. Step back and admire your handiwork, as you have achieved a seamless and professional-looking installation that enhances the overall aesthetic of your space.
Remember, practice makes perfect. With each project, your skills in scribing and fitting will improve, enabling you to tackle more complex and intricate carpentry tasks in the future.
Happy DIYing!
Conclusion
Scribing to fit drywall and wood molding is a valuable technique that allows you to achieve a seamless and professional finish in your carpentry and woodworking projects. By carefully measuring, marking, cutting, and fitting the drywall and wood molding, you can create a precise and snug connection that enhances the overall appearance of your space.
Throughout this article, we have guided you through the step-by-step process of scribing to fit drywall and wood molding, highlighting the tools and materials needed for the job. We emphasized the importance of taking accurate measurements, making precise cuts, and adjusting for a perfect fit.
Remember, patience and attention to detail are key as you work through each step. Take the time to double-check measurements, make small adjustments, and ensure a tight fit between the drywall and wood molding.
Whether you are embarking on a DIY project or tackling a renovation, scribing to fit drywall and wood molding will elevate the overall look and feel of your space. The seamless transition and precise connections achieved through this technique will leave no room for gaps or uneven edges.
So, equip yourself with the necessary tools and materials, follow the step-by-step process outlined in this article, and confidently undertake your next project. With practice and experience, you will master the art of scribing and be able to tackle even more intricate carpentry tasks in the future.
Now, go forth and create beautifully fitted drywall and wood molding installations that will impress and inspire!
Frequently Asked Questions about How To Scribe To Fit Drywall And Wood Molding
Was this page helpful?
At Storables.com, we guarantee accurate and reliable information. Our content, validated by Expert Board Contributors, is crafted following stringent Editorial Policies. We're committed to providing you with well-researched, expert-backed insights for all your informational needs.


0 thoughts on “How To Scribe To Fit Drywall And Wood Molding”