Home>Furniture & Design>Outdoor Furniture>How To Shut Off Outdoor Water Valve
Outdoor Furniture
How To Shut Off Outdoor Water Valve
Modified: February 18, 2024
Learn how to shut off your outdoor water valve to protect your outdoor furniture and prevent freezing during the winter. Follow these simple steps for proper maintenance and care.
(Many of the links in this article redirect to a specific reviewed product. Your purchase of these products through affiliate links helps to generate commission for Storables.com, at no extra cost. Learn more)
Introduction
When it comes to maintaining your outdoor living space, ensuring the proper functioning of your outdoor water valve is essential. Whether you're preparing for the winter months or need to make repairs to your outdoor plumbing, knowing how to shut off the outdoor water valve is a valuable skill for any homeowner. By following a few simple steps, you can safeguard your outdoor faucets and pipes from potential damage caused by freezing temperatures or perform maintenance without the risk of water flow. In this guide, we will walk you through the process of locating and shutting off your outdoor water valve, as well as draining any remaining water to prevent costly issues down the line. Let's dive in and equip you with the knowledge to confidently manage your outdoor water supply.
Key Takeaways:
- Safeguard your outdoor plumbing by locating and shutting off the outdoor water valve. Prevent frozen pipes and potential damage with simple steps and proactive measures.
- Drain remaining water from outdoor plumbing to mitigate the risk of frozen pipes and preserve the integrity of outdoor fixtures. Prepare for colder months and ensure year-round functionality.
Read more: Where Is The Outdoor Water Shut Off Valve
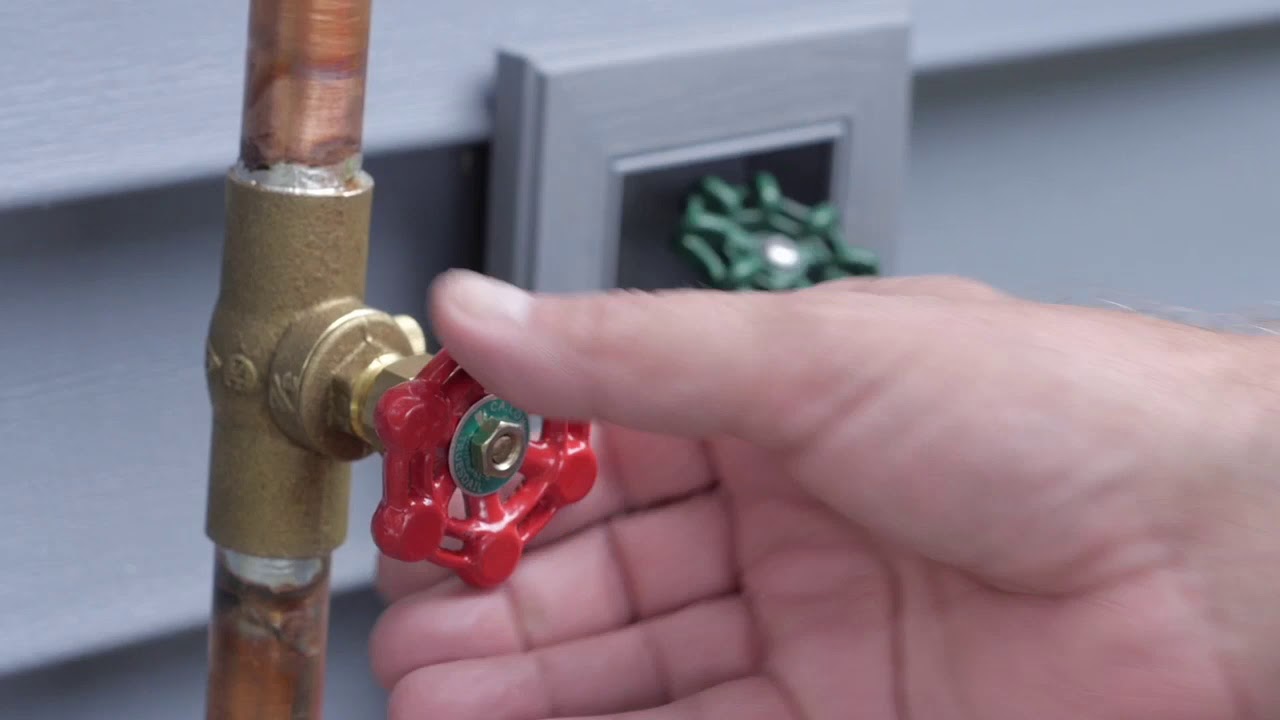
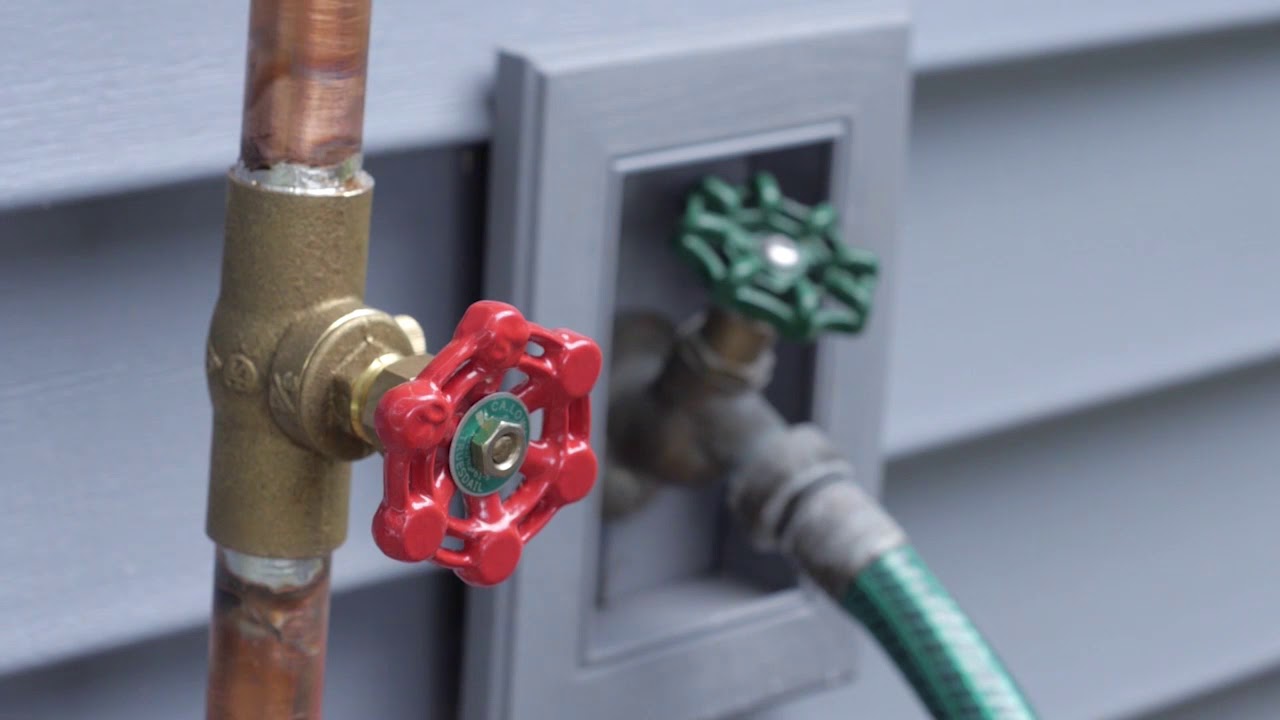
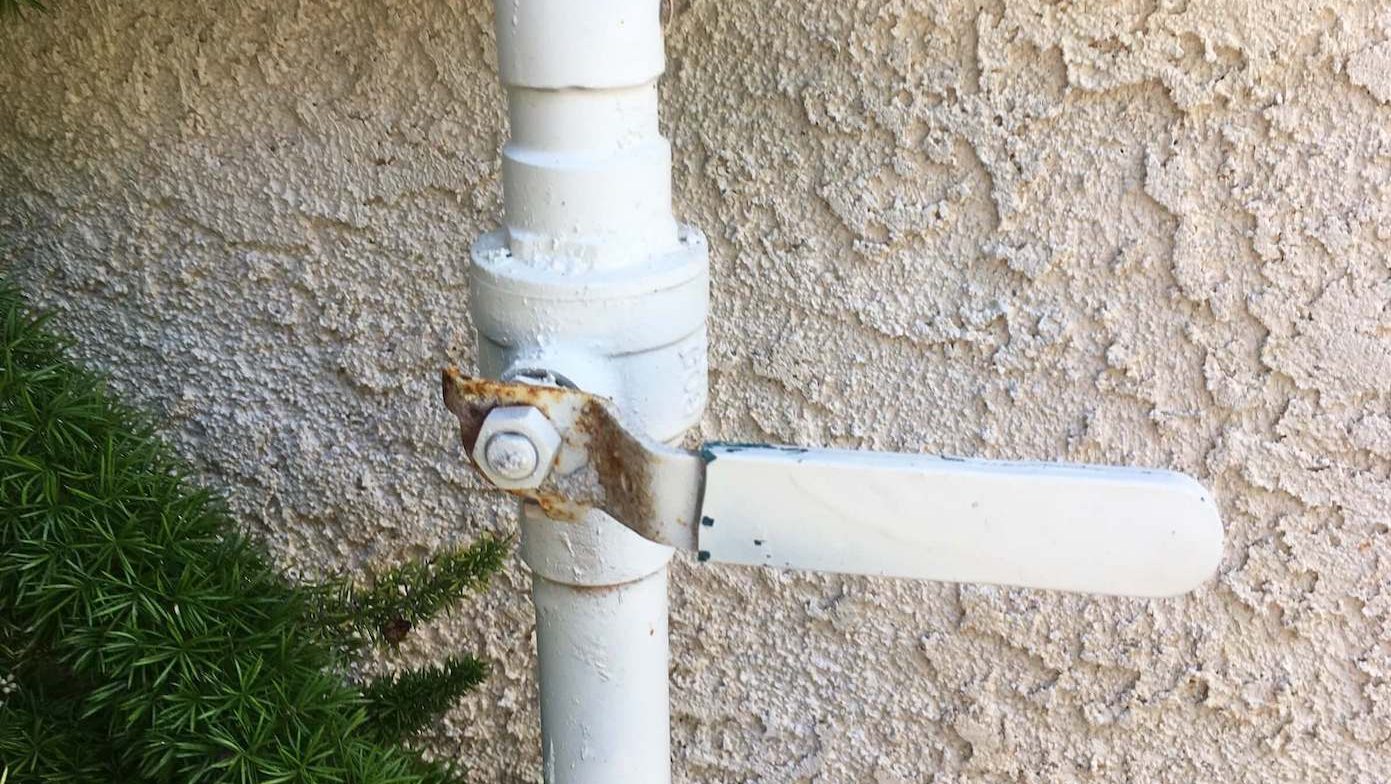
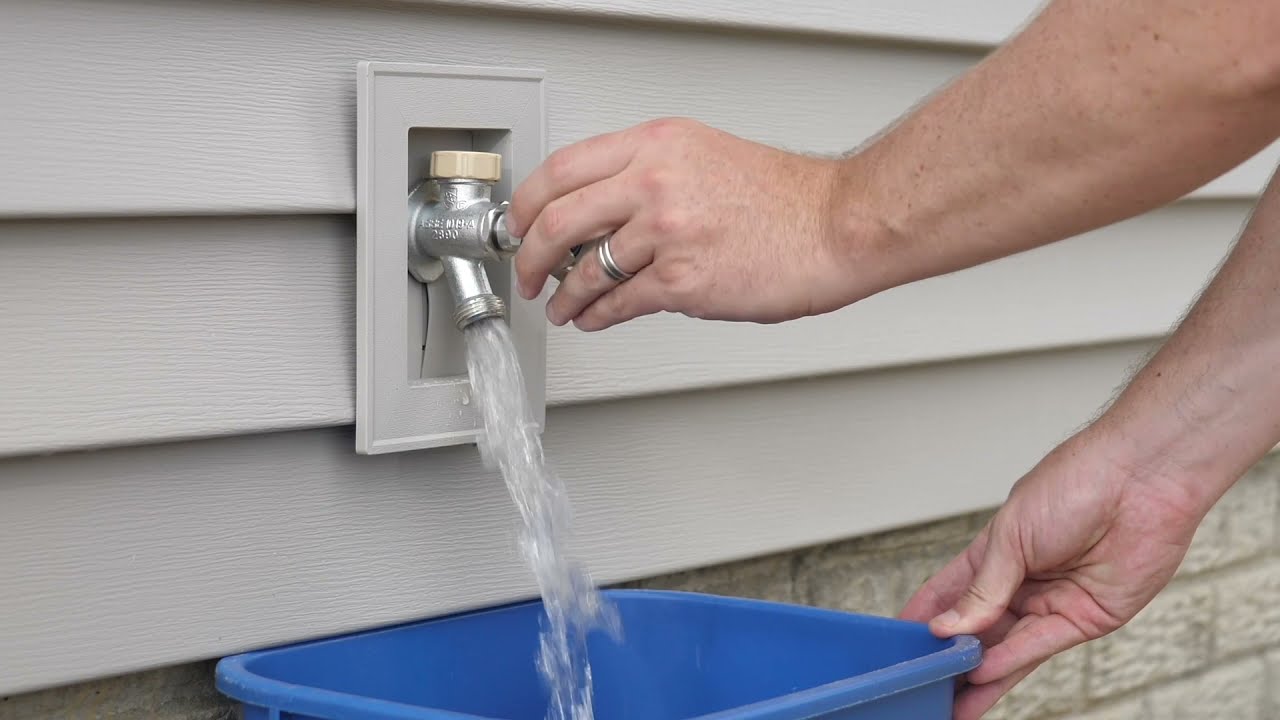
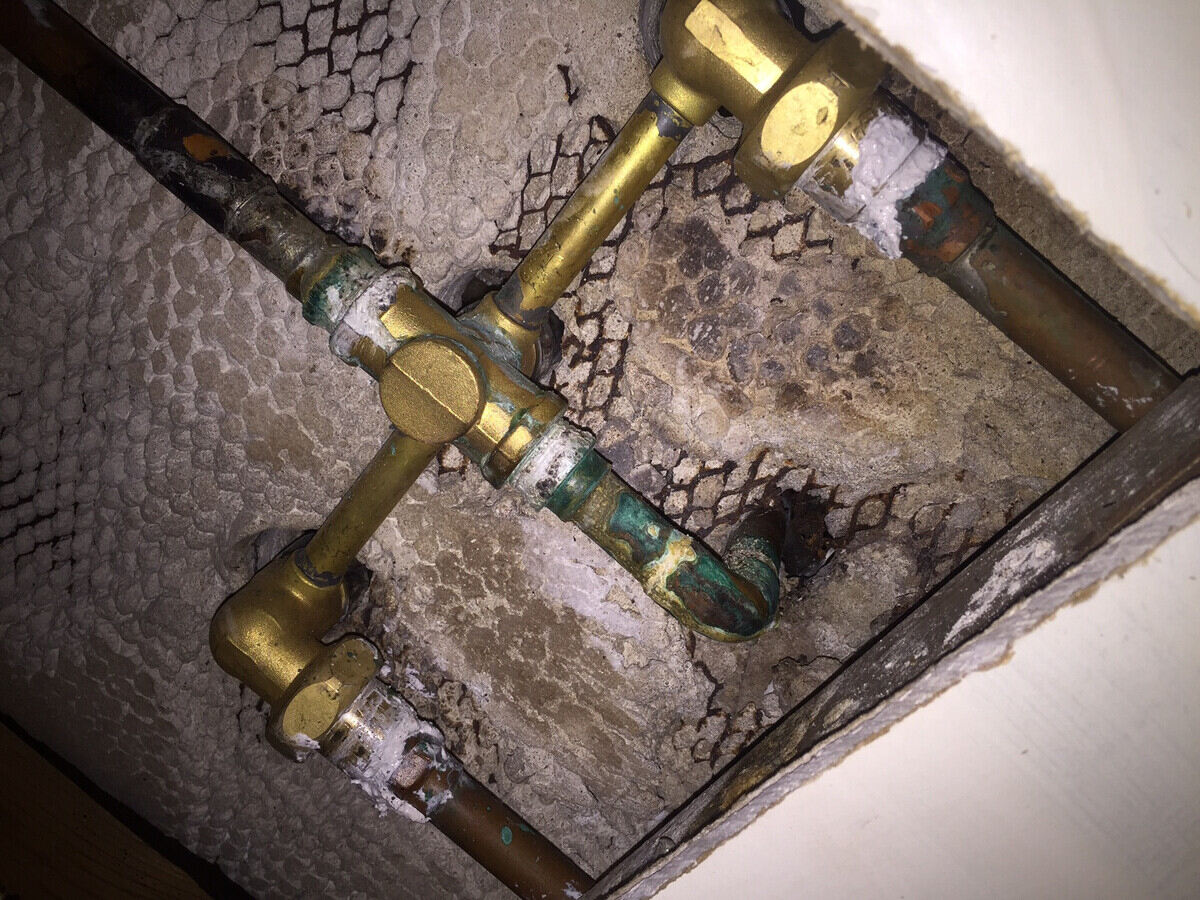
Step 1: Locate the Outdoor Water Valve
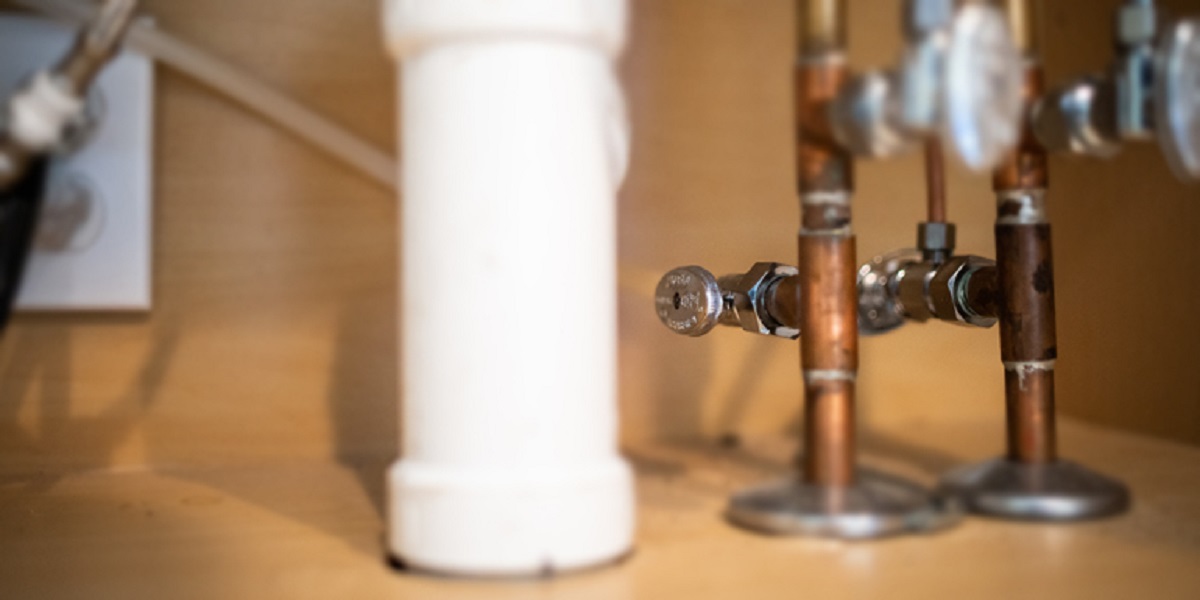
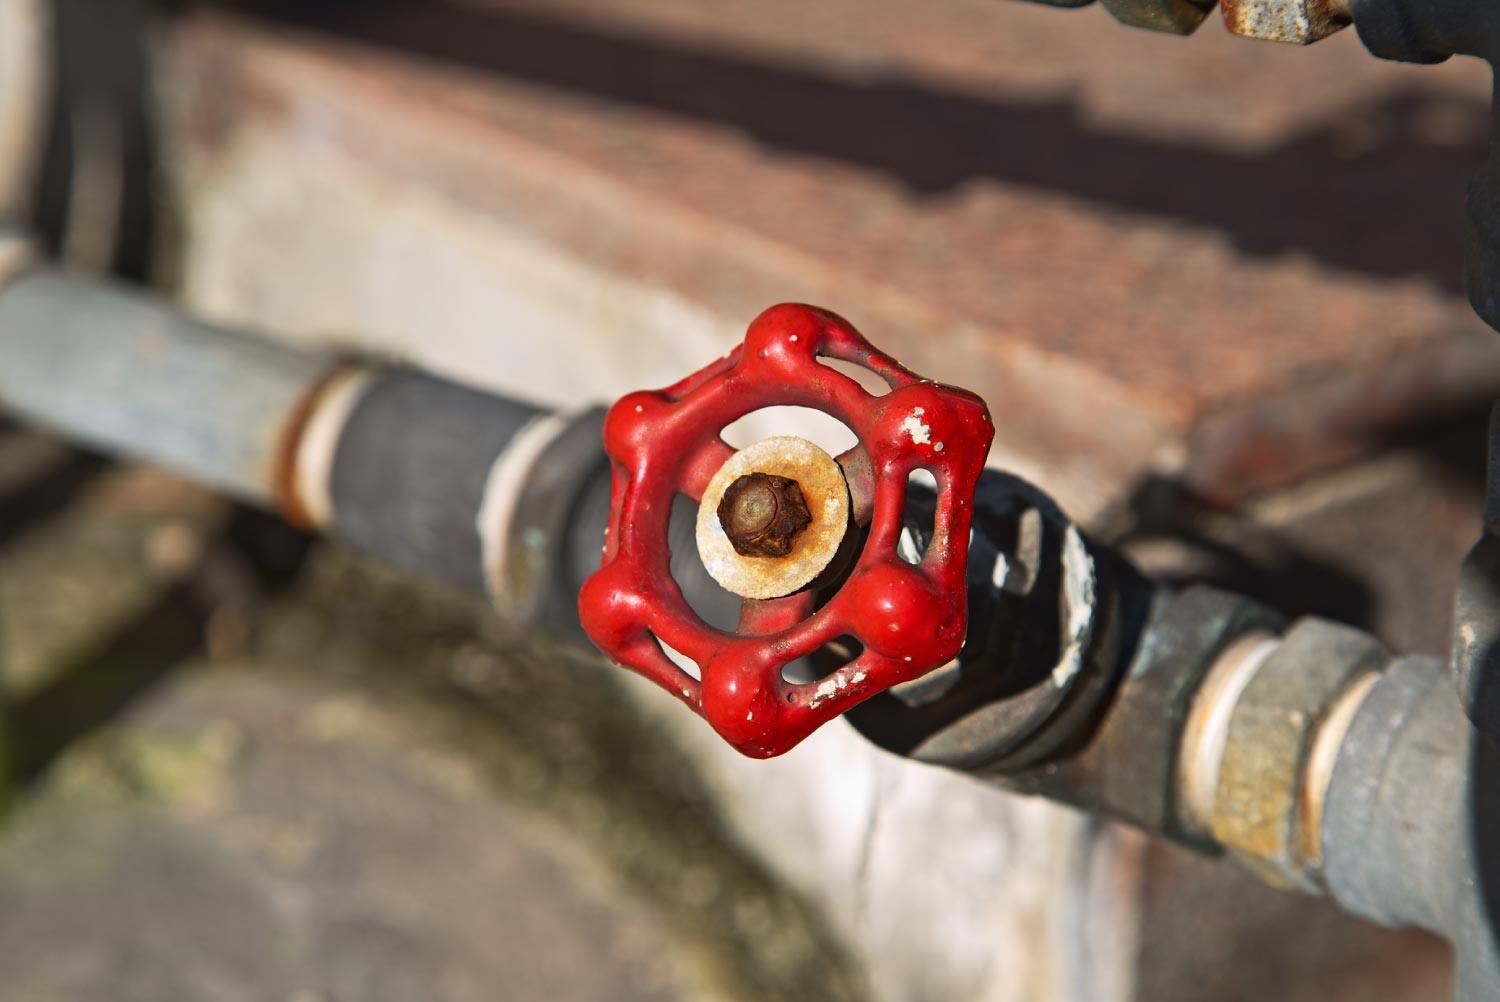
Before you can shut off your outdoor water supply, you need to know where the outdoor water valve is located. The outdoor water valve, also known as a hose bib or outdoor faucet, is typically situated on the exterior of your home. It is commonly found near the ground level, often on the side of the house or in the backyard. To locate the outdoor water valve, take a walk around the perimeter of your home and look for a protruding faucet with a handle. It may be near the garage, on the back wall of the house, or even concealed behind vegetation.
If you have multiple outdoor water outlets, such as in the front and back of your home, each one may have its own water valve. It’s important to identify all the outdoor water valves on your property, as you may need to shut off more than one if you have multiple outdoor faucets or irrigation systems.
Once you’ve located the outdoor water valve, take note of its position and accessibility. Ensure that the area around the valve is clear of any obstructions, making it easy to reach and operate when needed. Familiarizing yourself with the location of the outdoor water valve will save you time and effort when it comes to shutting off the water supply in the future.
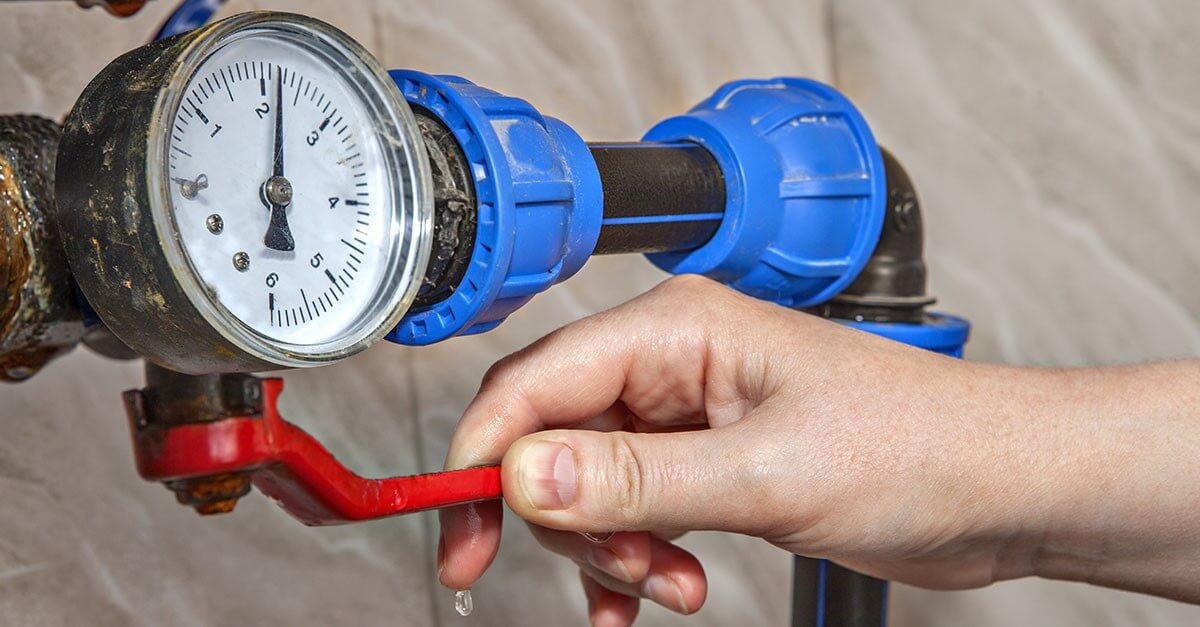
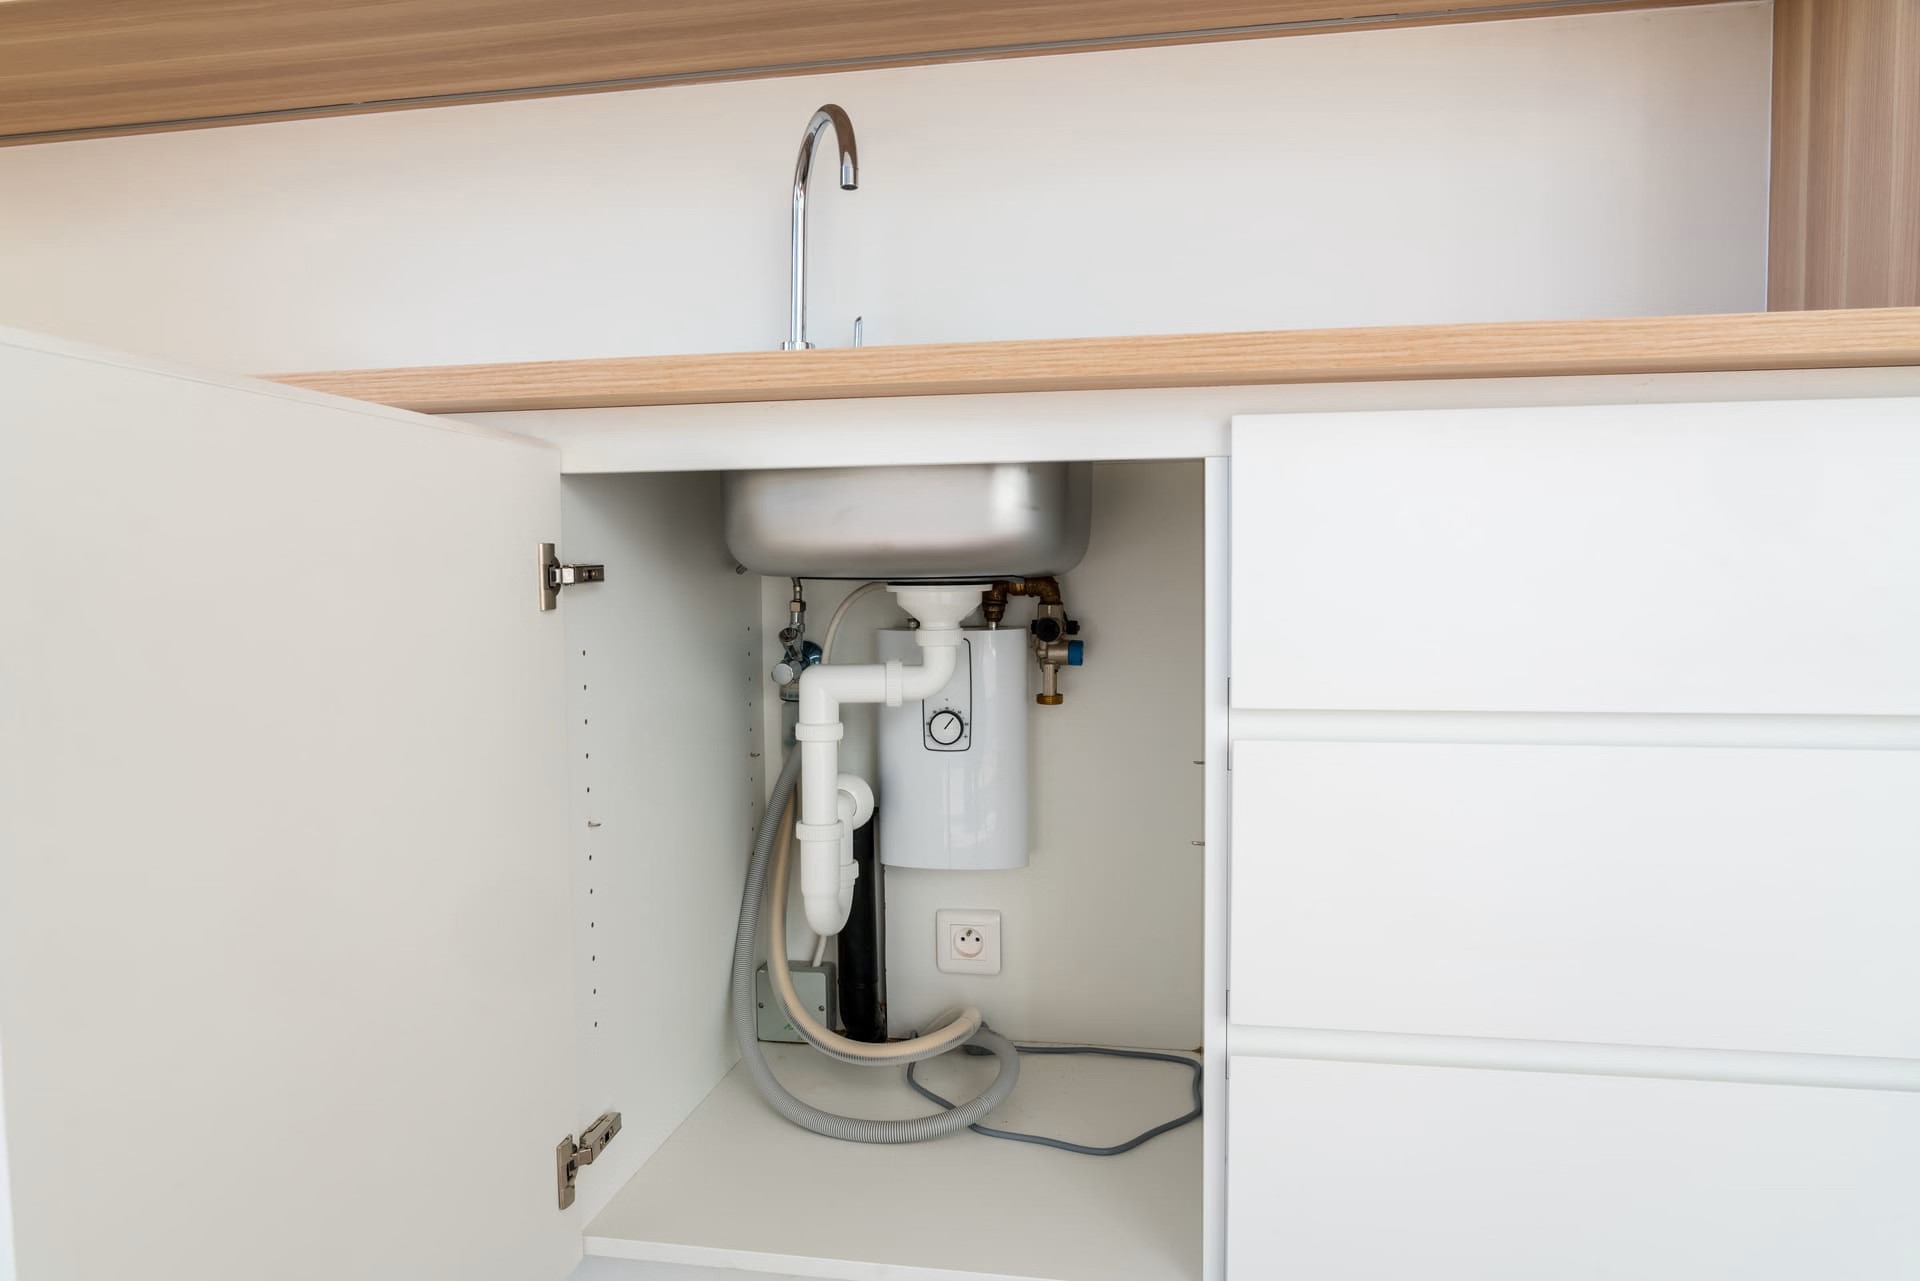
Step 2: Shut Off the Outdoor Water Valve
Now that you’ve located the outdoor water valve, it’s time to shut off the water supply. This step is crucial for various reasons, such as preventing frozen pipes during the winter or facilitating repairs and maintenance without water flow. Follow these steps to safely shut off the outdoor water valve:
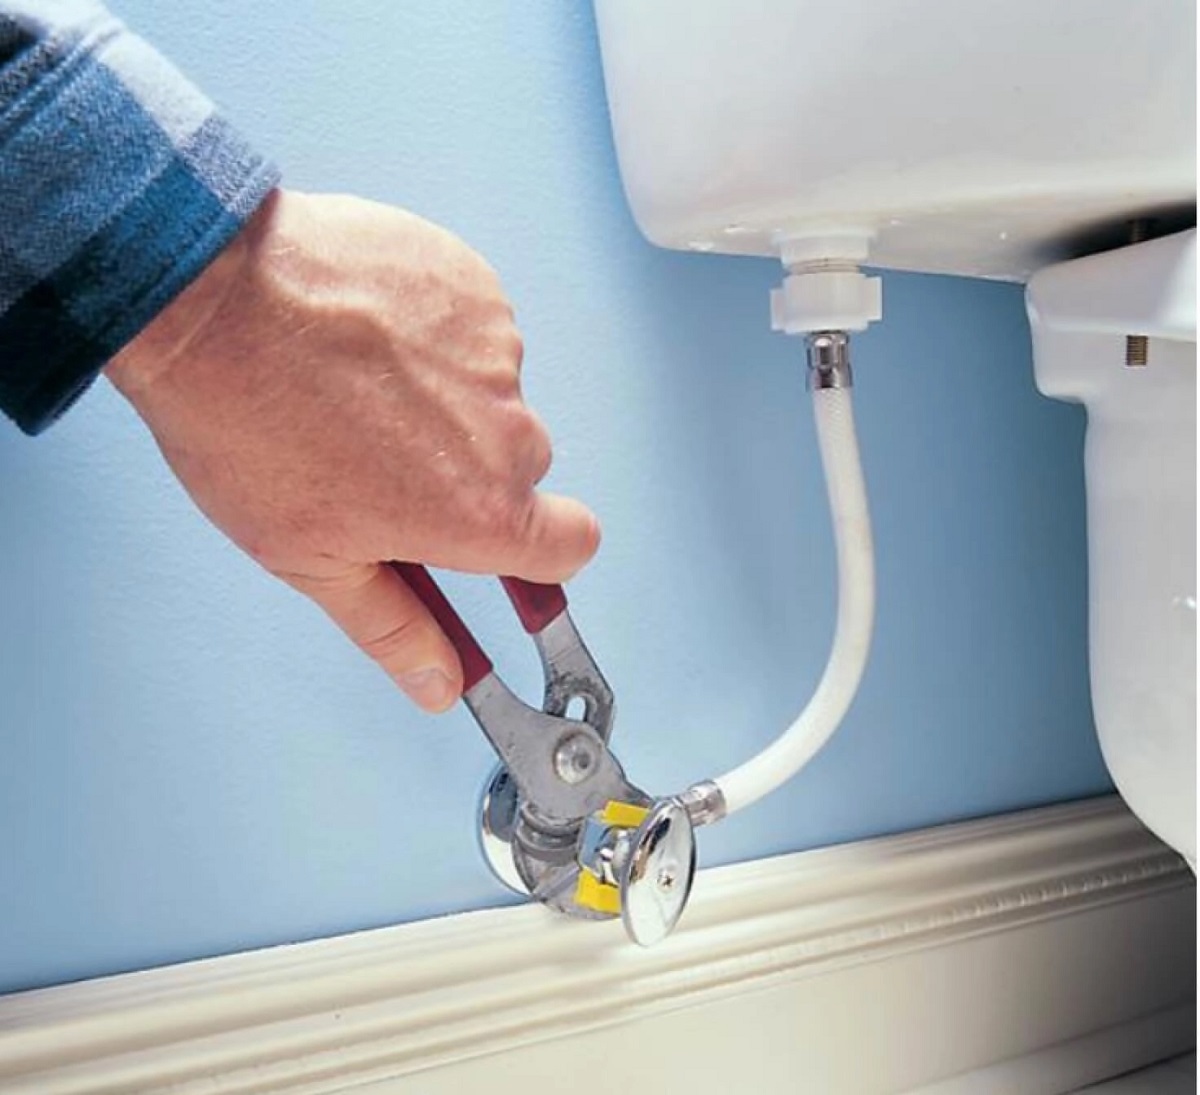
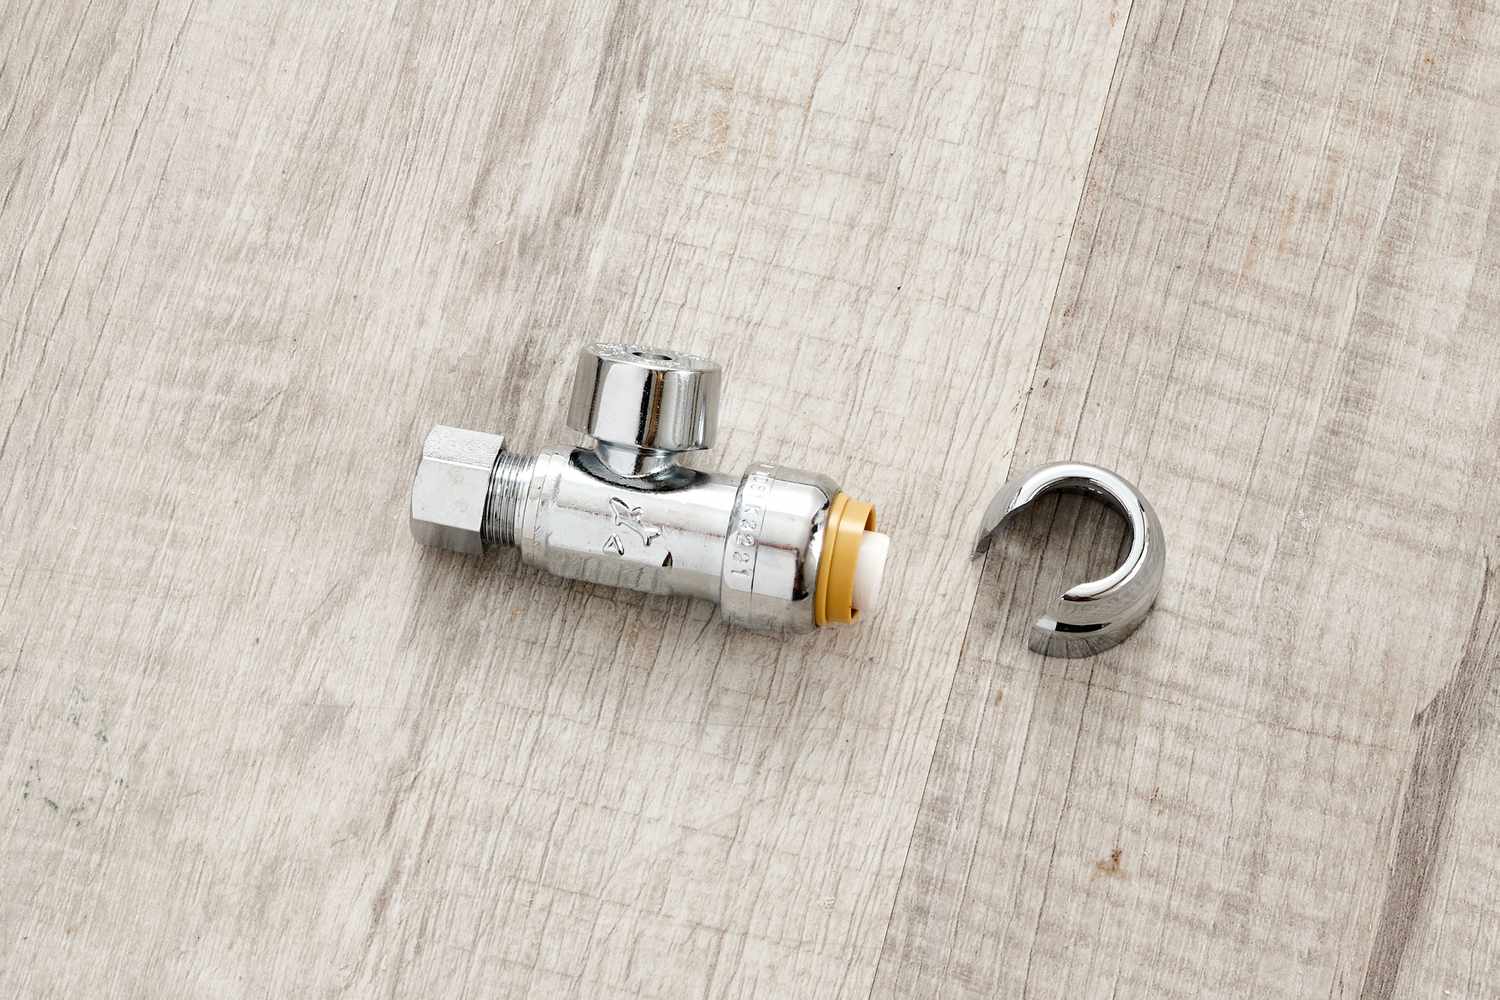
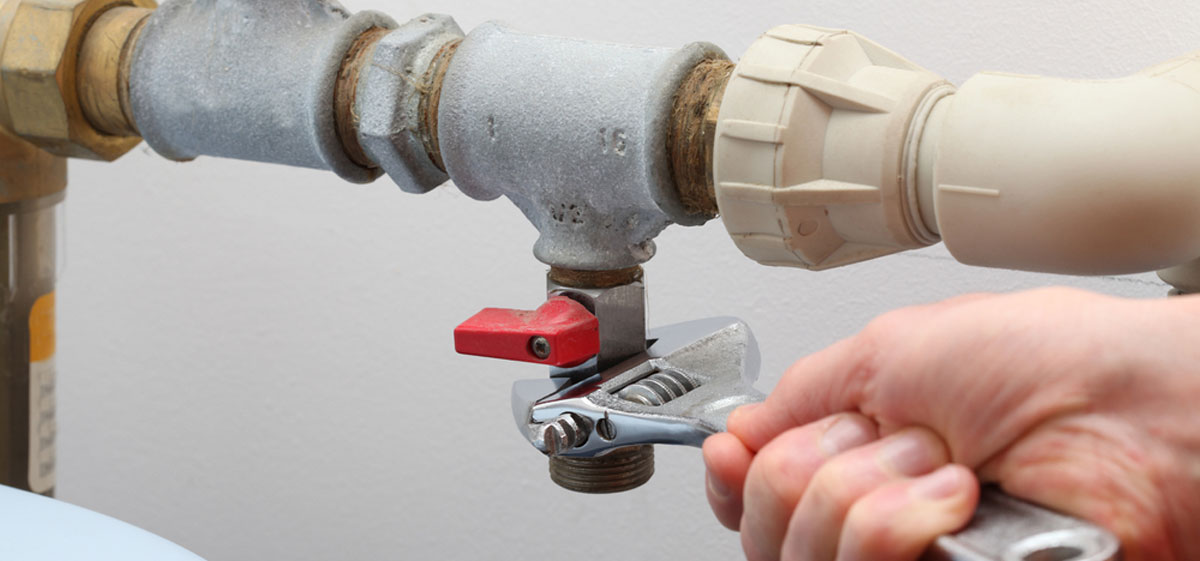
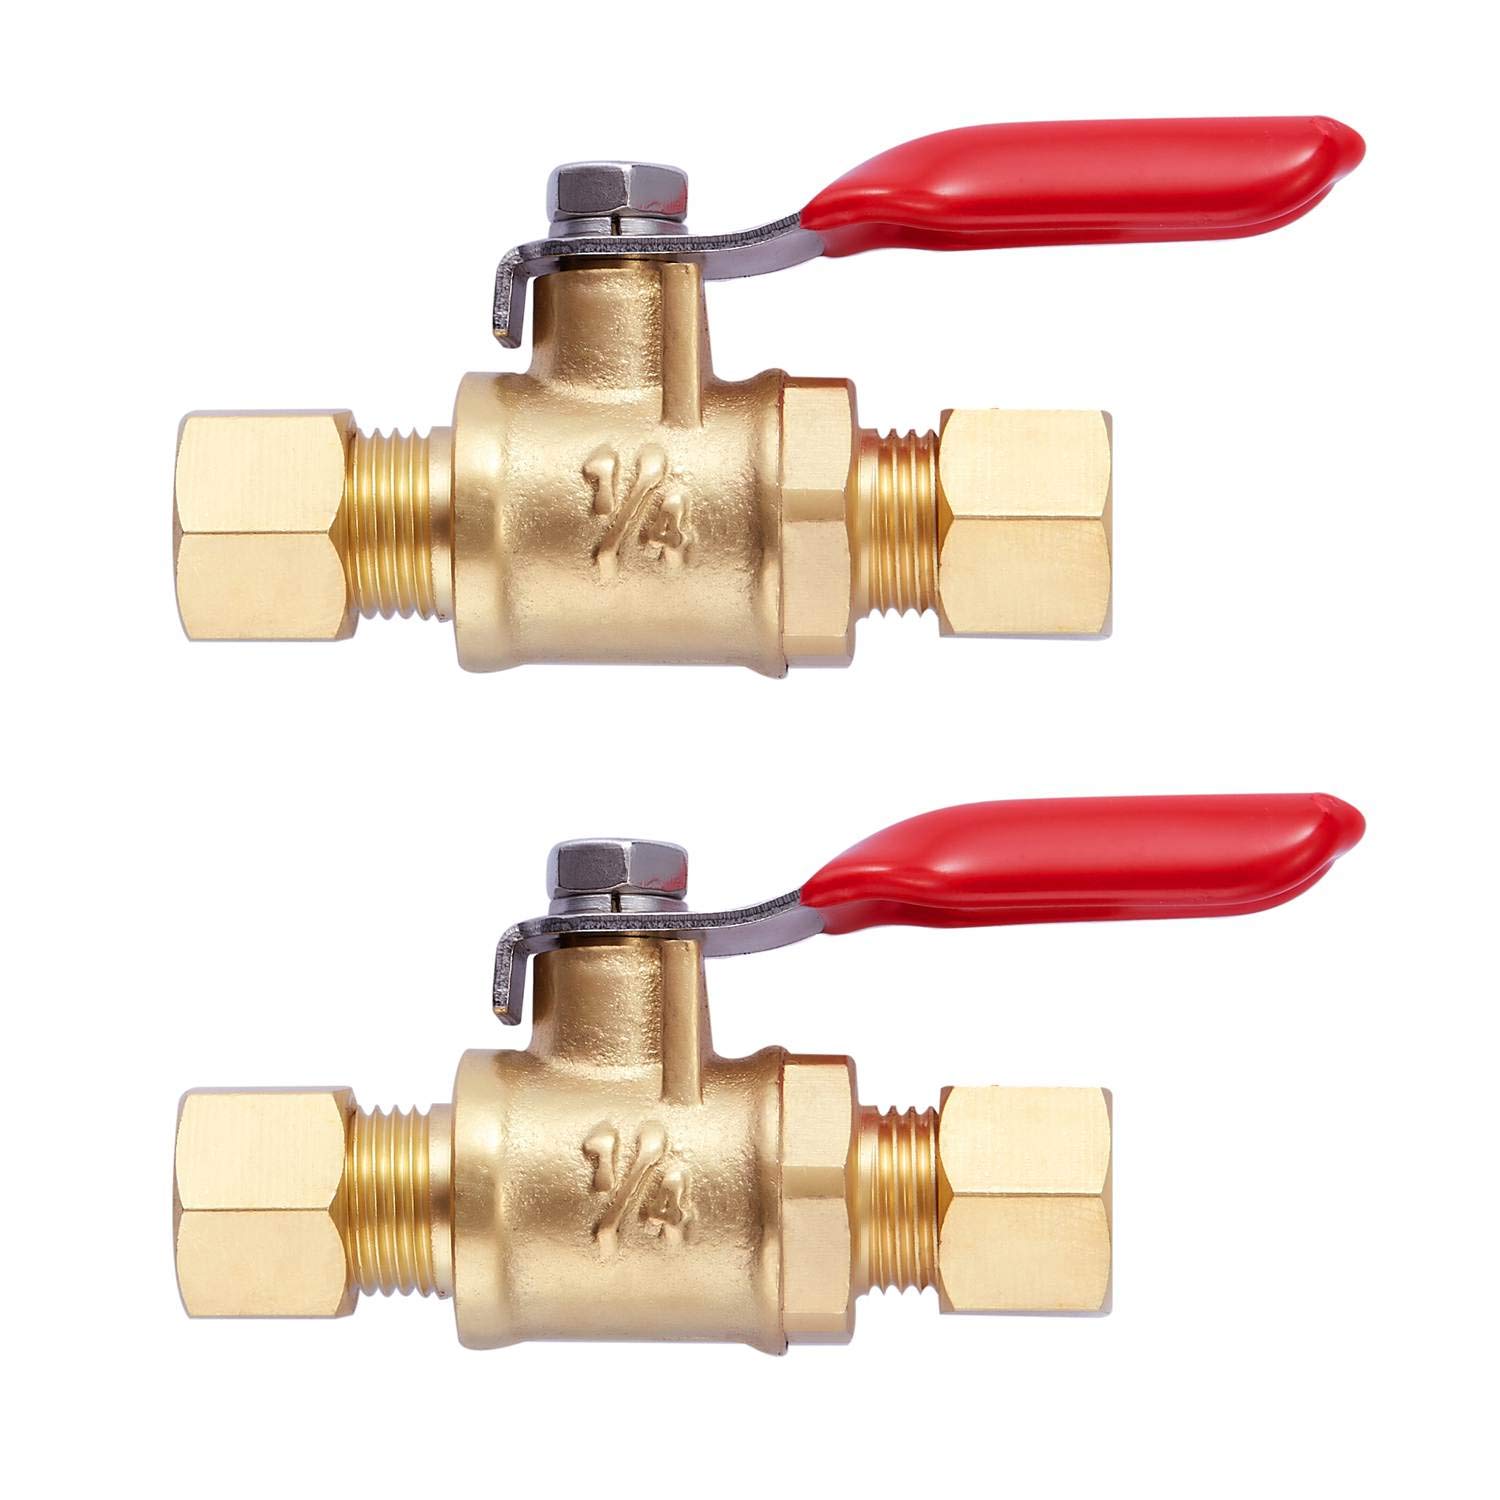
- Gather the necessary tools: Before proceeding, ensure you have the appropriate tools on hand. You may need a pair of pliers or a wrench to turn the valve, depending on its design.
- Tighten any leaks: If you notice any leaks around the outdoor water valve, address them before proceeding. Tightening loose connections or replacing worn washers can prevent water wastage and potential damage.
- Turn off the water: Using the handle on the outdoor water valve, turn it clockwise (to the right) to shut off the water supply. Apply gentle pressure to avoid forcing the valve, especially if it hasn’t been used for an extended period.
- Confirm the water flow: After turning the outdoor water valve, check any connected outdoor faucets or hoses to ensure that the water supply has been successfully shut off. If water continues to flow, revisit the valve and ensure it is fully closed.
By following these steps, you can effectively shut off the outdoor water valve, safeguarding your outdoor plumbing and fixtures from potential damage. Whether you’re preparing for the colder months or need to conduct repairs, having the knowledge to shut off the outdoor water supply is a valuable skill for any homeowner.
Make sure to turn off the outdoor water valve before the first freeze to prevent pipes from bursting. Locate the valve, usually near the water meter or in the basement, and turn it clockwise to shut off the water flow.
Step 3: Drain the Remaining Water
After successfully shutting off the outdoor water valve, it’s important to drain any remaining water from the outdoor plumbing system. This step is particularly crucial in regions where freezing temperatures are a concern, as trapped water can expand and cause pipes to burst. Additionally, draining the water helps prevent damage to outdoor faucets and fixtures during the colder months. Follow these steps to effectively drain the remaining water:
- Disconnect and drain hoses: If you have any hoses connected to outdoor faucets, disconnect them and drain any residual water. Coil the hoses and store them in a sheltered area to protect them from the elements.
- Open outdoor faucets: Open all outdoor faucets to allow any trapped water to escape. This includes any additional outdoor water outlets you may have, such as those connected to irrigation systems.
- Inspect for leaks: While the outdoor faucets are open, inspect them for any leaks or dripping water. Address any issues promptly to prevent water accumulation and potential damage.
- Consider insulation: In regions with extremely low temperatures, consider insulating outdoor faucets and exposed pipes to provide an extra layer of protection against freezing.
By draining the remaining water from your outdoor plumbing system, you can mitigate the risk of frozen pipes and potential damage to outdoor fixtures. This proactive measure is essential for preserving the integrity of your outdoor water supply and ensuring that your outdoor living space remains functional and well-maintained throughout the year.
Conclusion
Mastering the process of shutting off your outdoor water valve and draining the remaining water is a fundamental aspect of maintaining your outdoor living space. By following the steps outlined in this guide, you can effectively safeguard your outdoor plumbing system from potential damage caused by freezing temperatures and perform necessary maintenance with confidence. Taking the time to locate the outdoor water valve, shut off the water supply, and drain any remaining water ensures that your outdoor faucets, pipes, and fixtures remain in optimal condition.
Whether you’re preparing for the winter months, conducting repairs, or simply performing routine maintenance, these steps empower you to take proactive measures in caring for your outdoor water supply. Additionally, being familiar with the location and operation of the outdoor water valve allows you to respond promptly to any plumbing issues that may arise, minimizing the impact of potential water damage.
By incorporating these practices into your seasonal home maintenance routine, you can enjoy a well-maintained outdoor living space year-round. Remember to revisit these steps as needed, especially before the arrival of colder weather, to ensure that your outdoor water supply is properly managed and protected. With the knowledge and skills gained from this guide, you are well-equipped to maintain a functional and resilient outdoor plumbing system, contributing to the overall longevity and enjoyment of your outdoor living area.
Frequently Asked Questions about How To Shut Off Outdoor Water Valve
Was this page helpful?
At Storables.com, we guarantee accurate and reliable information. Our content, validated by Expert Board Contributors, is crafted following stringent Editorial Policies. We're committed to providing you with well-researched, expert-backed insights for all your informational needs.
0 thoughts on “How To Shut Off Outdoor Water Valve”