Home>diy>Building & Construction>How To Soundproof A Ceiling Without Construction
Building & Construction
How To Soundproof A Ceiling Without Construction
Modified: October 28, 2024
Learn how to soundproof your ceiling without the need for extensive building construction. Create a peaceful and noise-free environment with our expert tips and techniques.
(Many of the links in this article redirect to a specific reviewed product. Your purchase of these products through affiliate links helps to generate commission for Storables.com, at no extra cost. Learn more)
Introduction
Soundproofing a ceiling is essential for creating a peaceful environment free from unwanted noise disturbances. Whether you live in a busy urban area, have noisy neighbors, or simply want to enjoy a quieter home, soundproofing your ceiling can make a significant difference in reducing sound transmission from the floor above.
Many people assume that soundproofing a ceiling requires extensive construction work, such as removing the existing ceiling and installing specialized soundproofing materials. However, there are alternative methods that don’t involve major renovations or significant expenses. In this article, we will explore various techniques to soundproof your ceiling without construction.
Before diving into the specific methods, let’s first understand the basics of soundproofing. Soundproofing aims to minimize airborne and impact noises by reducing sound waves and preventing them from transferring through materials. By adding mass, increasing insulation, and eliminating gaps, you can effectively reduce the amount of sound that reaches your living space.
Assessing the condition of your ceiling is crucial to determine the appropriate soundproofing techniques. Factors such as the type of ceiling, the level of noise you want to mitigate, and your budget will influence the best approach for your situation.
Now let’s explore the various methods for soundproofing your ceiling without construction. From utilizing soundproofing materials to adding acoustic panels and sealing gaps, we will discuss practical and affordable options that can significantly improve sound insulation in your living space. Whether you’re a renter looking for temporary solutions or a homeowner seeking long-term improvements, these techniques can help create a more serene and peaceful environment.
Remember that soundproofing is a combination of different strategies. No single method can completely eliminate all noise, but a combination of approaches will provide the best results. Consider implementing multiple techniques for optimal sound reduction.
Now, let’s dive into the details of each method and discover how to soundproof your ceiling without construction. By following these steps, you’ll be on your way to enjoying a quieter and more tranquil living space in no time.
Key Takeaways:
- Soundproofing a ceiling without construction is achievable through methods such as using soundproofing materials, installing acoustic panels, sealing gaps, and utilizing carpets or rugs, providing a quieter living space.
- Understanding the basics of soundproofing, testing and reassessing results, and considering decorative options are crucial for effective sound insulation without major renovations.
Read more: How To Soundproof A Basement Ceiling
Understand the Basics of Soundproofing
Before you begin soundproofing your ceiling, it’s important to have a basic understanding of how sound travels and what factors contribute to sound transmission. By familiarizing yourself with these principles, you’ll be better equipped to choose the appropriate soundproofing techniques for your specific needs.
Soundproofing works by reducing sound waves and preventing them from transferring through materials. Sound waves can be airborne or impact-based, and they can travel through walls, floors, and ceilings. Here are some important concepts to grasp:
– Mass: Adding mass to a surface helps absorb and block sound waves. Materials with higher density, such as gypsum board, mass loaded vinyl, or acoustic foam, are effective for reducing sound transmission. Increasing the thickness of the material can also improve soundproofing capabilities.
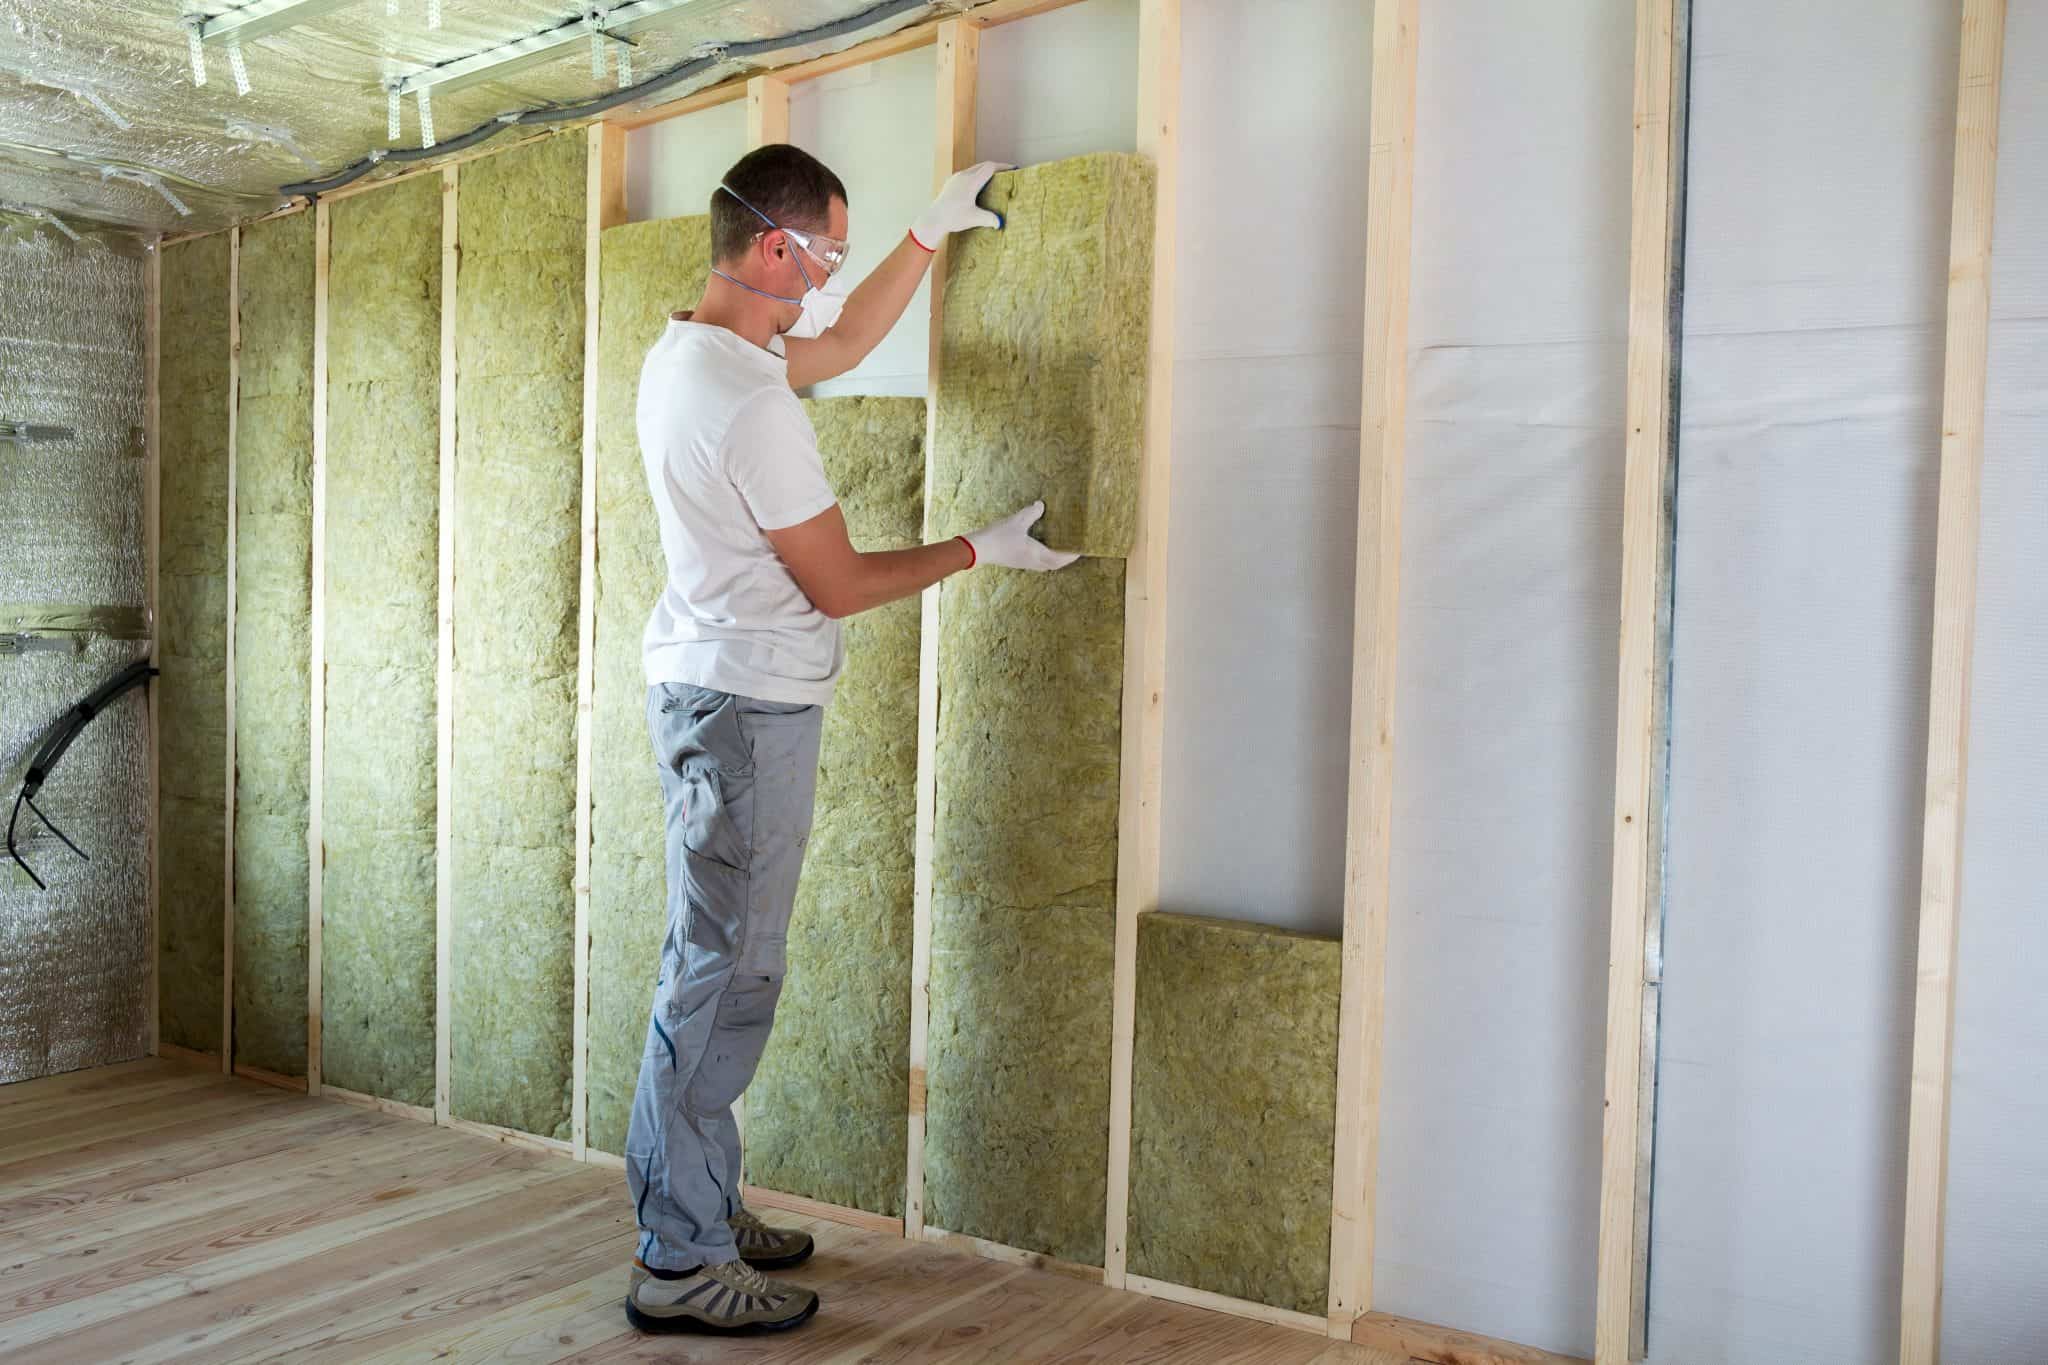
– Insulation: Sound insulation materials, such as mineral wool or fiberglass, help absorb sound waves and reduce their propagation. These materials are commonly used in wall cavities and can be installed in the ceiling to minimize airborne noise transfer.
– Green Glue: Green Glue is a specialized compound that is used between layers of building materials to enhance soundproofing. It works by converting sound energy into heat energy, providing added insulation against noise.
– Resilient Channels: Resilient channels are metal channels that are attached to the ceiling joists or wall studs before installing drywall. They create a gap between the ceiling and the drywall, preventing sound vibrations from easily transmitting through the structure.
– Acoustic Decoupling: Acoustic decoupling involves isolating the ceiling structure from the source of sound transmission. This is typically achieved by using materials like rubber pads, sound isolation clips, or floating ceiling systems. Acoustic decoupling helps minimize the transfer of impact noise, such as footsteps or objects being dropped.
By understanding these basic principles, you can make informed decisions about which soundproofing techniques to employ for your ceiling. Keep in mind that no single method can completely eliminate all noise, but by combining techniques that address both airborne and impact noise, you can significantly improve sound insulation in your living space.
In the next section, we will discuss how to assess your ceiling to determine the best soundproofing approach for your specific situation.
Assess Your Ceiling
Before starting any soundproofing project, it’s important to assess the condition of your ceiling to determine the best course of action. Understanding the materials used in your ceiling and identifying any existing gaps or vulnerabilities will help you choose the most appropriate soundproofing techniques.
Here are some steps to assess your ceiling:
1. Examine the Ceiling Material: Take a close look at the type of material used on your ceiling. Common materials include drywall, plaster, or even exposed beams. Each material has different soundproofing characteristics, so it’s important to know what you’re working with.
2. Check for Gaps and Cracks: Inspect your ceiling for any gaps, cracks, or holes that could allow sound to easily pass through. Pay close attention to areas around light fixtures, vents, or electrical outlets as they can be common sources of sound leaks.
3. Identify Flanking Paths: Flanking paths are indirect routes for sound to travel around or bypass a soundproof barrier. In the case of a ceiling, flanking paths can include open doorways, windows, or shared walls. Take note of any areas where sound might easily travel and consider how you can mitigate these pathways.
4. Determine Noise Sources: Identify the primary sources of noise that you’re trying to block. Is it footsteps from an upstairs neighbor, loud music, or airborne noise from a busy street? Understanding the nature of the noise will help you prioritize certain soundproofing techniques.
5. Assess Overall Ceiling Structure: Consider the overall structure of your ceiling. If it’s a suspended or drop ceiling, you may have more options for soundproofing compared to a solid concrete or plaster ceiling. Understanding the limitations and construction of your ceiling will guide your choice of soundproofing methods.
By assessing your ceiling thoroughly, you’ll gather the necessary information to determine the best course of action for soundproofing. Whether you’re dealing with a few gaps or cracks, or you have a more complex ceiling structure, understanding the condition of your ceiling will help you choose the appropriate soundproofing materials and techniques.
In the following sections, we will explore a variety of soundproofing methods that can be applied to improve the acoustic insulation of your ceiling without major construction work. Keep in mind that you may need to combine multiple techniques for optimal sound reduction, depending on your specific situation.
Use Soundproofing Materials
Using soundproofing materials is an effective way to enhance the sound insulation of your ceiling. These materials are designed to absorb or block sound waves, reducing the amount of noise that passes through. Here are some common soundproofing materials to consider:
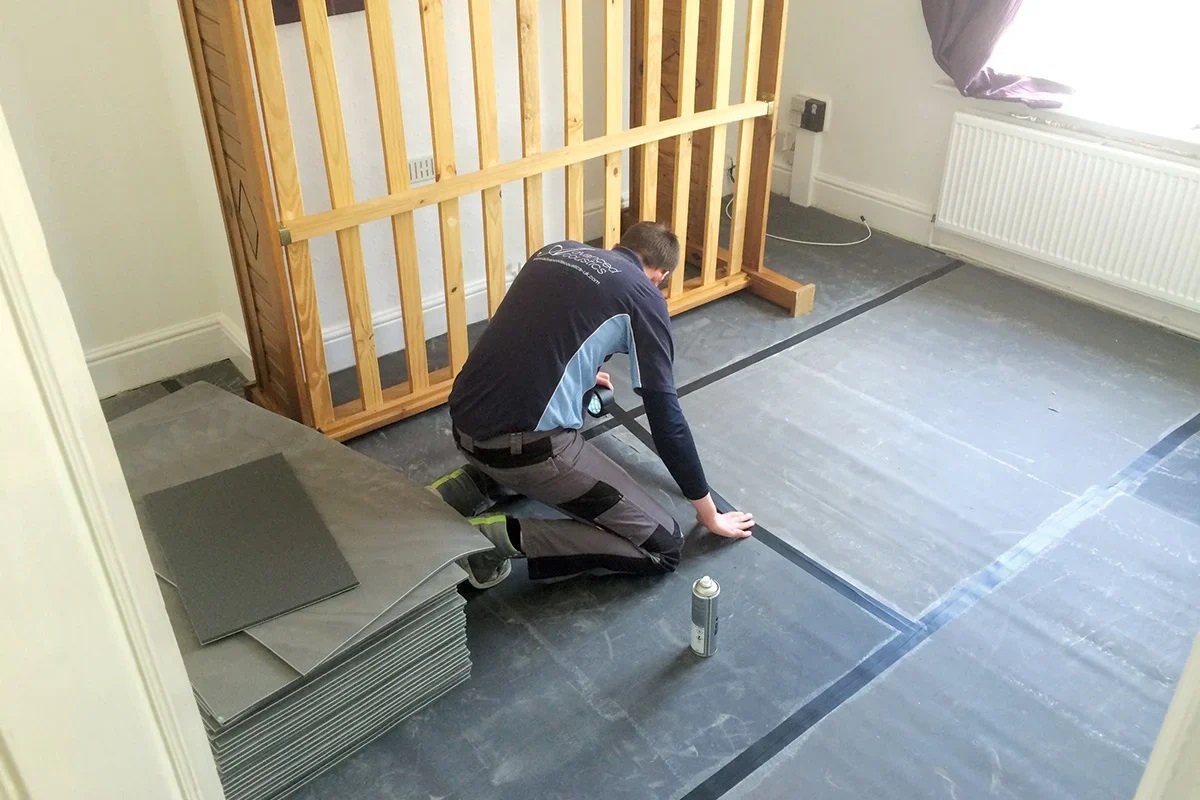
1. Mass Loaded Vinyl (MLV): Mass loaded vinyl is a dense and flexible material that is effective at blocking both airborne and impact noise. It can be installed directly onto the ceiling or layered between drywall sheets. MLV is relatively easy to work with and provides excellent soundproofing properties.
2. Acoustic Foam Panels: Acoustic foam panels, also known as sound-absorbing panels, are designed to reduce echoes and reverberations in a room. While they won’t block sound transmission entirely, they can improve the overall acoustics of your space. These panels are lightweight and can be easily mounted on the ceiling with adhesive or clips.
3. Fiberglass Insulation: Fiberglass insulation is a commonly used material for soundproofing. It helps to absorb sound waves and reduce their propagation. Insulation can be installed within ceiling cavities to minimize airborne noise transfer. However, it is important to wear protective gear when handling fiberglass insulation to avoid skin irritation.
4. Green Glue: Green Glue is an innovative soundproofing compound that is applied between layers of building materials, such as drywall. It converts sound energy into heat energy, reducing sound transmission. Simply apply the Green Glue compound onto one layer of drywall, sandwich it with another layer, and secure to your ceiling.
5. Resilient Channels: Resilient channels are metal strips that are attached to ceiling joists or wall studs before installing drywall. They create a separation between the structure and the drywall, reducing the transfer of sound vibrations. This method, known as acoustic decoupling, is effective for minimizing impact noise.
6. Soundproofing Paint: Soundproofing paint is a special type of paint that contains sound-dampening additives. While it won’t provide significant soundproofing on its own, it can help reduce echoes and improve room acoustics when combined with other soundproofing methods.
When using soundproofing materials, it’s essential to follow the manufacturer’s instructions and ensure proper installation. Combining multiple materials can yield the best results, as each material targets different aspects of soundproofing. Assess your ceiling and consider the level of sound insulation you require to determine which soundproofing materials will be most effective for your specific needs.
In the next section, we will discuss how to install acoustic panels to further enhance the soundproofing of your ceiling.
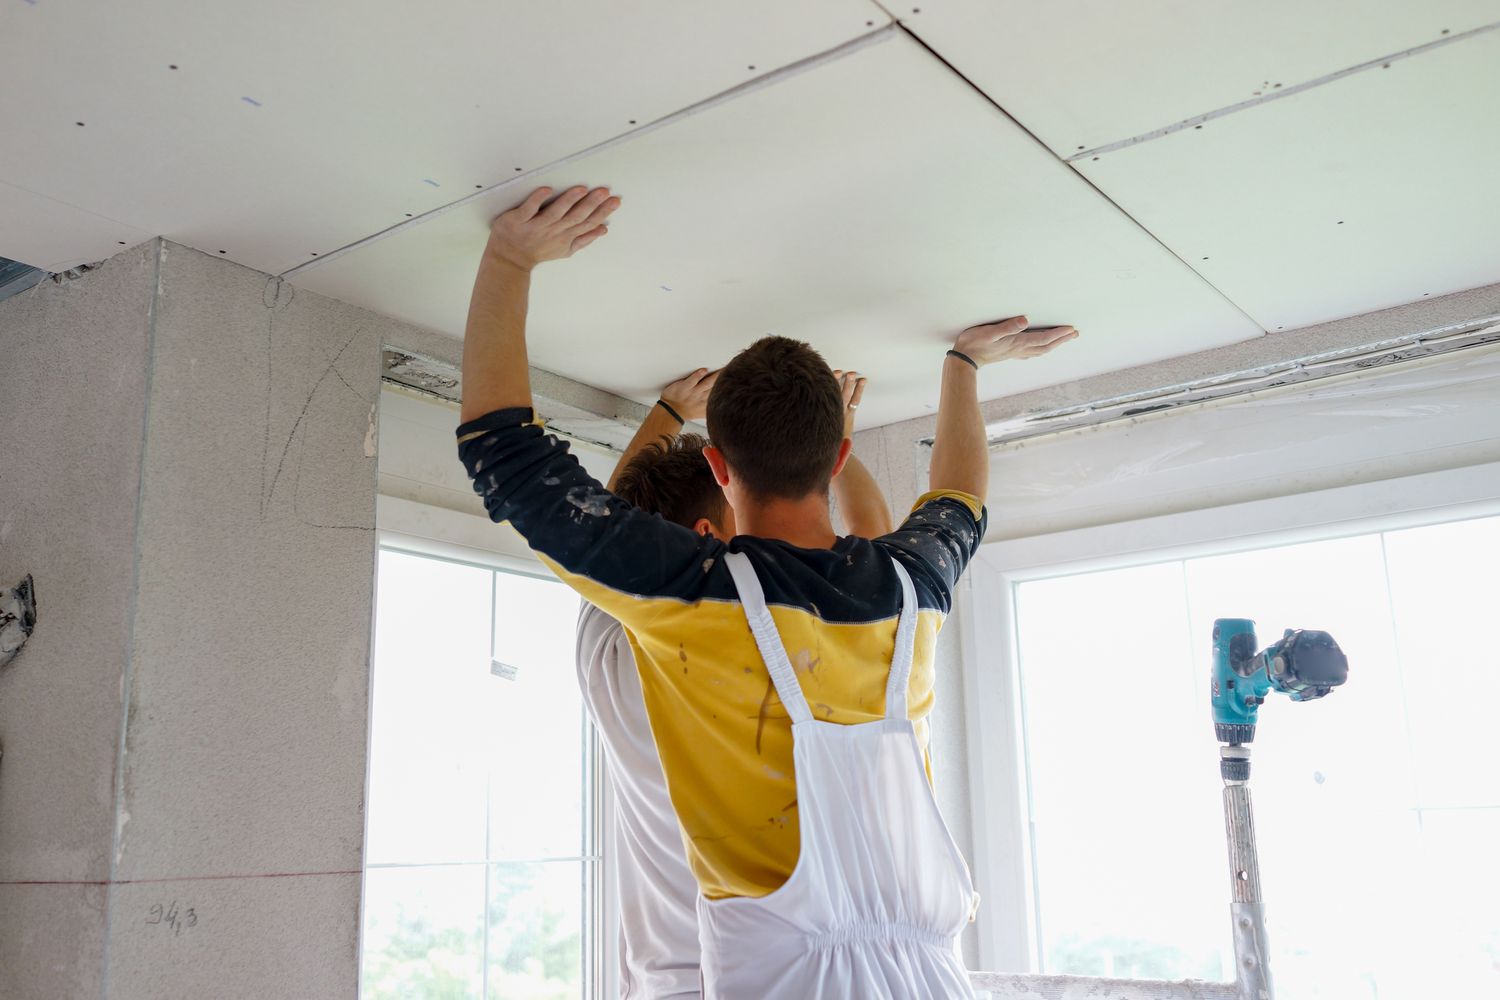
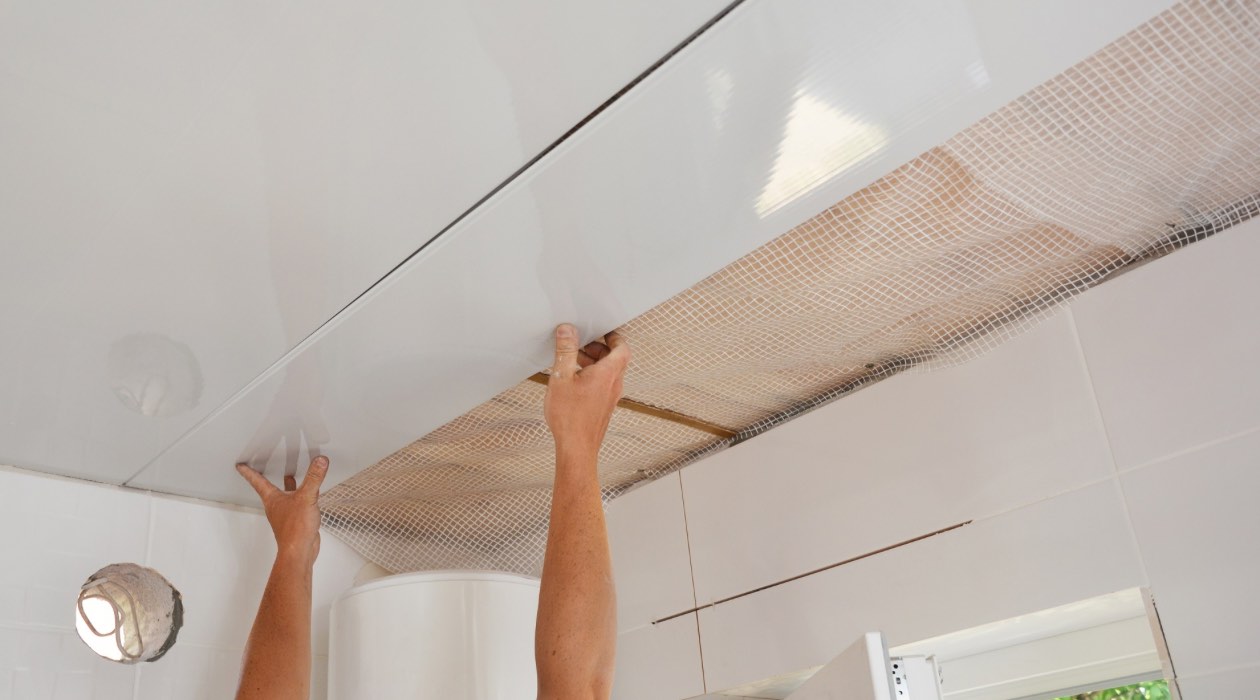
Install Acoustic Panels
Installing acoustic panels is a popular and effective method for soundproofing a ceiling. These panels are designed to absorb sound waves and reduce echo, improving the overall acoustics of a room. Here’s how you can install acoustic panels to enhance the soundproofing of your ceiling:
1. Measure and Plan: Start by measuring the dimensions of your ceiling to determine the number of panels you’ll need. Consider the placement of furniture and other fixtures in the room when planning the layout. It’s best to evenly distribute the panels across the ceiling for optimal sound absorption.
2. Choose the Right Panels: There are various types of acoustic panels available, including fabric-wrapped panels, foam panels, and perforated panels. Select panels that suit your aesthetic preferences and provide the desired soundproofing capabilities. Keep in mind that thicker panels generally offer better sound absorption.
3. Prepare the Ceiling: Before installing the panels, ensure that your ceiling is clean and free from any dust, debris, or loose paint. If needed, repair any cracks or fill in gaps to create a smooth surface.
4. Mounting Options: Acoustic panels can be mounted using a variety of methods. The most common options include adhesive bonding, Velcro strips, or mounting brackets. Follow the manufacturer’s instructions for your specific panel type to ensure proper installation.
5. Install Panels: Start by applying adhesive to the back of the panel, making sure to follow the recommended pattern provided by the manufacturer. Press the panel firmly against the ceiling, holding it in place for a few moments to ensure proper adhesion. Repeat this process for each panel, maintaining an even spacing between them.
6. Consider Panel Orientation: Depending on the type of acoustic panel, you may have the option to adjust its orientation for different sound absorption levels. Experiment with different angles and positions to find the configuration that works best for your space.
Acoustic panels not only improve soundproofing, but they can also add a visually appealing element to your ceiling. They come in various colors, patterns, and designs, allowing you to customize the aesthetic of your room while enhancing its acoustic performance.
Remember to follow the installation instructions provided by the manufacturer to ensure proper adhesion and achieve the desired soundproofing results. Also, consider consulting a professional if you’re unsure about the installation process or if you have specific soundproofing requirements.
In the next section, we will discuss how to seal any gaps or cracks in the ceiling to further enhance sound insulation.
Read more: How To Soundproof A Ceiling In An Apartment
Seal any Gaps or Cracks
Sealing gaps and cracks in your ceiling is a crucial step in soundproofing. These openings can allow sound to easily pass through, compromising the effectiveness of other soundproofing methods. By sealing these gaps, you can significantly reduce sound transmission. Here’s how to seal any gaps or cracks in your ceiling:
1. Inspect the Ceiling: Carefully examine your ceiling for any visible gaps, cracks, or holes. Common areas where gaps may occur include around light fixtures, vents, electrical outlets, or where the ceiling meets the walls.
2. Use Acoustic Caulk: Acoustic caulk is a flexible and sound-absorbing material specifically designed for sealing gaps and cracks. It remains pliable even after drying, providing an airtight and soundproof seal. Apply the caulk along the edges of gaps or cracks, ensuring complete coverage.
3. Fill in Larger Cracks or Holes: For larger gaps or holes, you may need to use a combination of acoustic caulk and a filler material, such as drywall compound or spackle. Fill in the gaps or holes using the appropriate filler, ensuring the surface is smooth and flush with the surrounding ceiling.
4. Install Weatherstripping: If you have gaps between the ceiling and any fixtures, such as attic access doors or ventilation covers, consider installing weatherstripping. This will create a tight seal and prevent sound from passing through these areas.
5. Address Electrical Outlets and Switches: Electrical outlets and switches can be significant sources of sound leaks. Seal them by removing the faceplates and applying acoustic sealant around the edges. You can also use foam gaskets designed for electrical outlets to provide an additional layer of soundproofing.
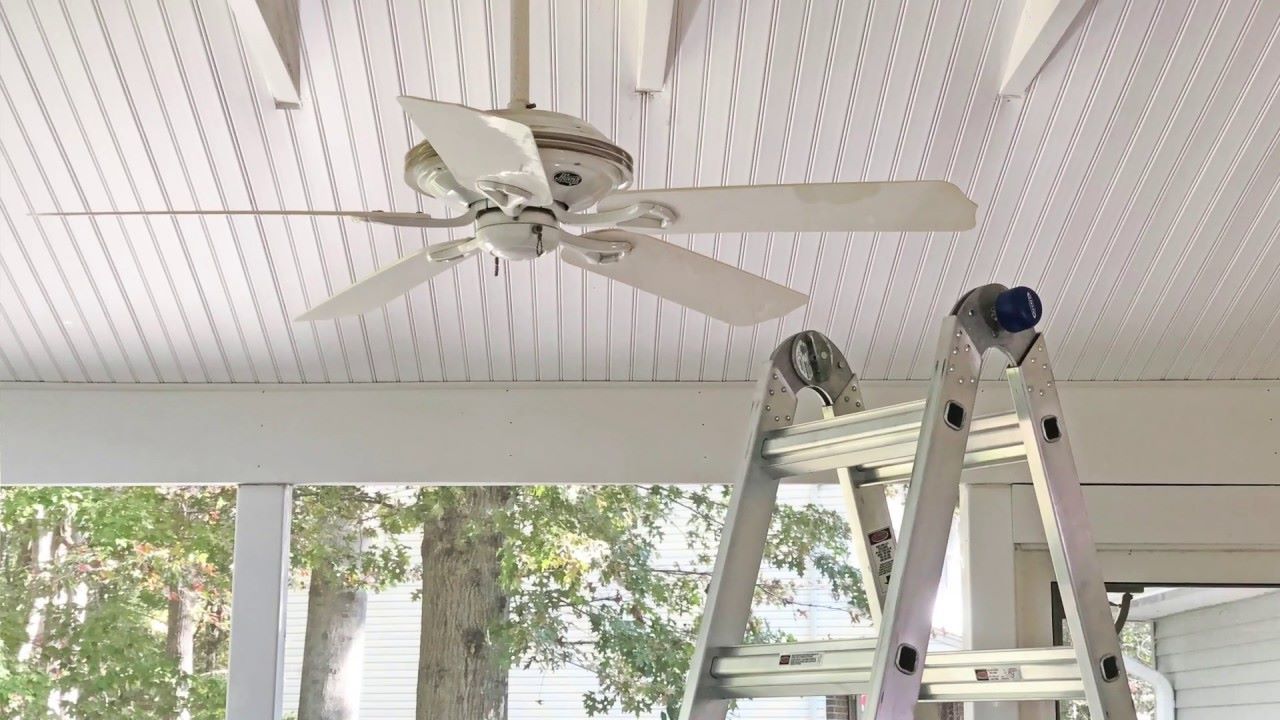
6. Insulate around Recessed Lighting: Recessed lighting fixtures can create gaps in the ceiling, allowing sound to travel through. Use insulation or specialized recessed light covers to seal around these fixtures while still allowing proper ventilation.
By thoroughly sealing any gaps or cracks in your ceiling, you can greatly enhance the soundproofing capabilities of your space. The goal is to create an airtight barrier that prevents sound from passing through these openings. Remember to follow safety precautions and use appropriate materials for the job.
In the next section, we will explore the use of soundproofing paint as an additional method to improve sound insulation in your ceiling.
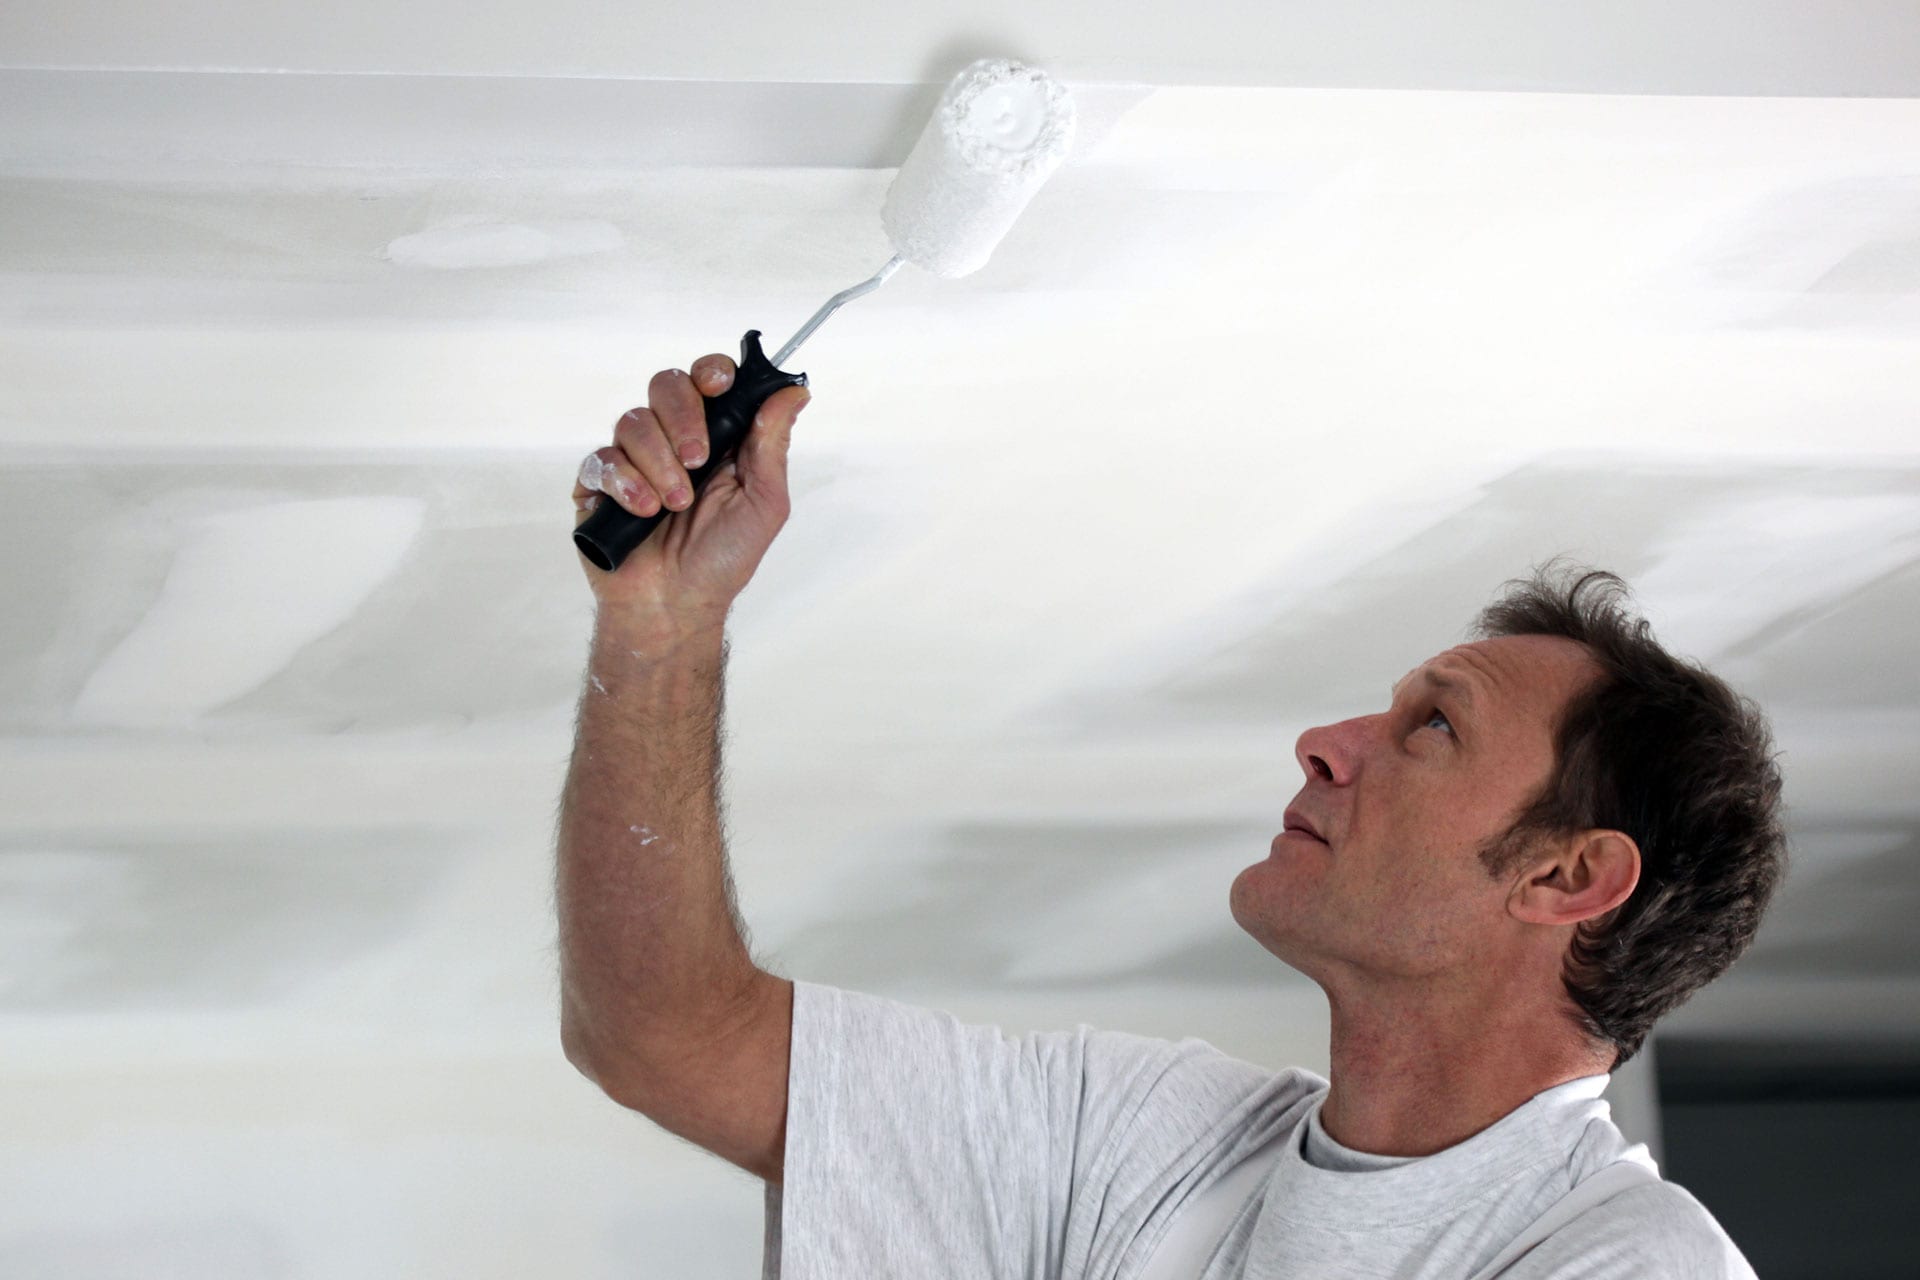
Use Soundproofing Paint
Soundproofing paint, also known as sound-dampening paint or acoustic paint, is a specialized coating designed to reduce noise and improve sound insulation. While it may not provide significant soundproofing on its own, it can be a valuable addition to your soundproofing efforts, especially when combined with other techniques. Here’s how you can use soundproofing paint to enhance the sound insulation of your ceiling:
1. Choose the Right Paint: Look for soundproofing paints specifically designed for noise reduction. These paints contain special additives that help absorb and dampen sound waves. Research different brands and read customer reviews to find a paint that suits your needs.
2. Prepare the Surface: Like any painting project, proper surface preparation is key. Clean the ceiling, removing any dirt, dust, or loose paint. Repair any cracks or imperfections and smooth out the surface to create an even base for the paint.
3. Apply the Soundproofing Paint: Follow the manufacturer’s instructions for the specific soundproofing paint you’ve chosen. Apply the paint using a roller or brush, ensuring even coverage across the entire ceiling. For optimal results, consider applying multiple coats as recommended by the manufacturer.
4. Allow Sufficient Drying Time: Give the paint ample time to dry and cure according to the manufacturer’s instructions. This is important to ensure the paint’s sound-dampening properties fully activate.
Soundproofing paint works by adding mass and density to the surface, helping to absorb sound waves and reduce noise transmission. While it may not completely eliminate all sounds, it can significantly reduce echoes and reverberations, improving the overall acoustics of your space.
When using soundproofing paint, keep in mind that it’s typically most effective on surfaces with minimal movement or impact, such as ceilings. Additionally, it’s important to note that soundproofing paint is best utilized as a supplementary method alongside other soundproofing techniques, such as adding insulation or using acoustic panels.
In the next section, we will discuss how hanging soundproof curtains can further enhance the sound insulation of your ceiling without construction work.
Use soundproofing materials like acoustic foam panels or soundproofing blankets to cover the ceiling. These materials can help absorb and block out sound without the need for construction.
Hang Soundproof Curtains
Hanging soundproof curtains is a simple and effective way to improve the sound insulation of your ceiling without the need for construction. These curtains are specially designed to absorb sound waves and reduce noise transmission. Here’s how you can hang soundproof curtains to enhance the soundproofing of your ceiling:
1. Choose Soundproof Curtains: Look for curtains specifically labeled as soundproof or acoustic curtains. These curtains are typically made with heavy, dense fabrics that have sound-absorbing properties. They often have multiple layers or backing materials that help block unwanted noise.
2. Measure and Install Curtain Rods: Measure the width of your window or the area you want to cover with curtains. Install curtain rods above your windows or along the ceiling, depending on your desired coverage. Ensure the curtain rods are securely fastened to support the weight of the soundproof curtains.
3. Hang the Curtains: Slide the soundproof curtains onto the curtain rods, making sure they are evenly distributed and hang slightly longer than the floor for optimal coverage. Adjust the curtains as needed to ensure they completely cover the window or desired area.
4. Close the Curtains: Once the curtains are hung, close them tightly to create a barrier between the window and the rest of the room. This will help reduce sound leakage and improve sound insulation.
Soundproof curtains work by absorbing sound waves and reducing echoes in the room. The heavy, dense fabrics used in these curtains help to block out external noise, such as street noise or loud neighbors. They can be particularly effective in reducing high-frequency sounds and echoes.
While soundproof curtains won’t completely eliminate all noise, they can significantly improve the acoustics of your space. They are especially beneficial if you have large windows or glass doors, as these areas tend to have less sound insulation compared to solid walls.
In addition to their soundproofing capabilities, soundproof curtains also offer other benefits, such as privacy, light control, and insulation. They can help regulate room temperature by blocking out some heat or cold from outside, depending on the fabric used.
When choosing soundproof curtains, consider the aesthetic appeal and style that will complement your existing decor. You can find a wide variety of colors, patterns, and designs to suit your personal preferences.
In the next section, we will discuss the use of Mass Loaded Vinyl (MLV) as an additional method to enhance the sound insulation of your ceiling without construction work.
Add Mass Loaded Vinyl
Adding Mass Loaded Vinyl (MLV) is a highly effective method for soundproofing your ceiling without the need for construction. MLV is a dense and flexible material that offers excellent soundproofing properties. By installing MLV on your ceiling, you can significantly reduce airborne and impact noise. Here’s how you can add MLV to enhance the sound insulation of your ceiling:
1. Measure and Cut: Measure the dimensions of your ceiling to determine the amount of MLV you’ll need. Use a sharp utility knife or scissors to cut the MLV into strips or panels that fit the size of your ceiling.
2. Prepare the Surface: Ensure that your ceiling is clean and free from any dust or debris. If there are any gaps or cracks, seal them with acoustic caulk or appropriate filler material before installing the MLV.
3. Apply Adhesive: Use a high-quality adhesive suitable for MLV to attach the material to your ceiling. Apply the adhesive evenly on the backside of the MLV, leaving no gaps or uneven areas.
4. Install the MLV: Carefully press the MLV onto the ceiling, starting from one end and working your way across. Smooth out any wrinkles or air bubbles as you go, ensuring a secure and tight fit against the ceiling surface.
5. Secure the Edges: To further enhance the soundproofing, secure the edges of the MLV by using nails, staples, or adhesive tape. This will ensure that the MLV remains in place and doesn’t sag over time.
6. Cover with an Acoustic Panel or Drywall: For a more aesthetically pleasing finish, you can cover the MLV with an acoustic panel or layer of drywall. This will provide a seamless appearance while further increasing sound insulation.
Mass Loaded Vinyl is an excellent soundproofing material because of its high density and flexibility. It effectively blocks airborne noise, such as voices, music, or traffic sounds, and reduces the impact noise caused by footsteps or objects being dropped.
In addition to its soundproofing capabilities, MLV also offers thermal insulation properties, helping to regulate temperature and energy efficiency in your space. It can contribute to a more comfortable and energy-efficient environment.
When using MLV, it’s important to follow the manufacturer’s instructions for installation and safety precautions. MLV is a dense material and can be heavy, so proper support and installation techniques are necessary. If you’re unsure about the installation process, it’s recommended to consult a professional.
Adding MLV to your ceiling can make a significant difference in reducing noise transmission and creating a quieter living space. However, keep in mind that combining MLV with other soundproofing techniques, such as sealing gaps or using acoustic panels, will yield the best results.
In the next section, we will discuss how utilizing carpet or rugs can further enhance the sound insulation of your ceiling without construction work.
Read more: How To Soundproof A Room In New Construction
Utilize Carpet or Rugs
Utilizing carpet or rugs on your floor can be an effective way to enhance the sound insulation of your ceiling without the need for construction work. Carpets and rugs act as sound absorbers, reducing both airborne and impact noise. Here’s how you can utilize carpet or rugs to improve the soundproofing of your ceiling:
1. Choose a Thick, Dense Carpet or Rug: Opt for a carpet or rug with a thick and dense pile. The thicker and heavier the material, the better it will be at absorbing sound waves. Look for carpets or rugs made from materials such as wool or thick synthetic fibers.
2. Cover a Large Area: Aim to cover a significant portion of your floor with the carpet or rug. The more surface area you cover, the more sound waves will be absorbed, resulting in better sound insulation for your ceiling.
3. Use a Rug Pad: Consider using a rug pad underneath the carpet or rug. Rug pads provide an extra layer of cushioning and help reduce impact noise, such as footsteps or furniture movement. They also prevent slipping and provide added comfort.
4. Secure the Edges: Make sure to secure the edges of the carpet or rug to prevent them from curling up or shifting. Use rug tape or adhesive strips to keep the edges firmly in place.
5. Layer Multiple Rugs: If you have a large space, consider layering multiple rugs on top of each other. This will further enhance sound absorption and add depth to your room’s decor.
Carpets and rugs are effective in absorbing sound waves and reducing echoes in a room. They also help soften footfall noise and minimize the impact sound generated by footsteps and furniture movement. By minimizing impact noise at the floor level, you can reduce the amount of noise that travels through the ceiling.
In addition to their soundproofing benefits, carpets and rugs also provide other advantages such as insulation, warmth, and comfort underfoot. They can help regulate the room’s temperature and add a cozy ambiance to your living space.
When selecting a carpet or rug, consider the color, texture, and design that will complement your existing decor. You can choose from a wide variety of options to suit your style preferences.
Utilizing carpet or rugs is a cost-effective and non-invasive method to improve sound insulation and create a quieter environment. Combined with other soundproofing techniques, such as sealing gaps or using acoustic panels, carpets or rugs can significantly enhance the overall soundproofing of your ceiling.
In the next section, we will discuss some decorative options that can also contribute to sound insulation while adding style to your ceiling without the need for construction work.
Consider Decorative Options
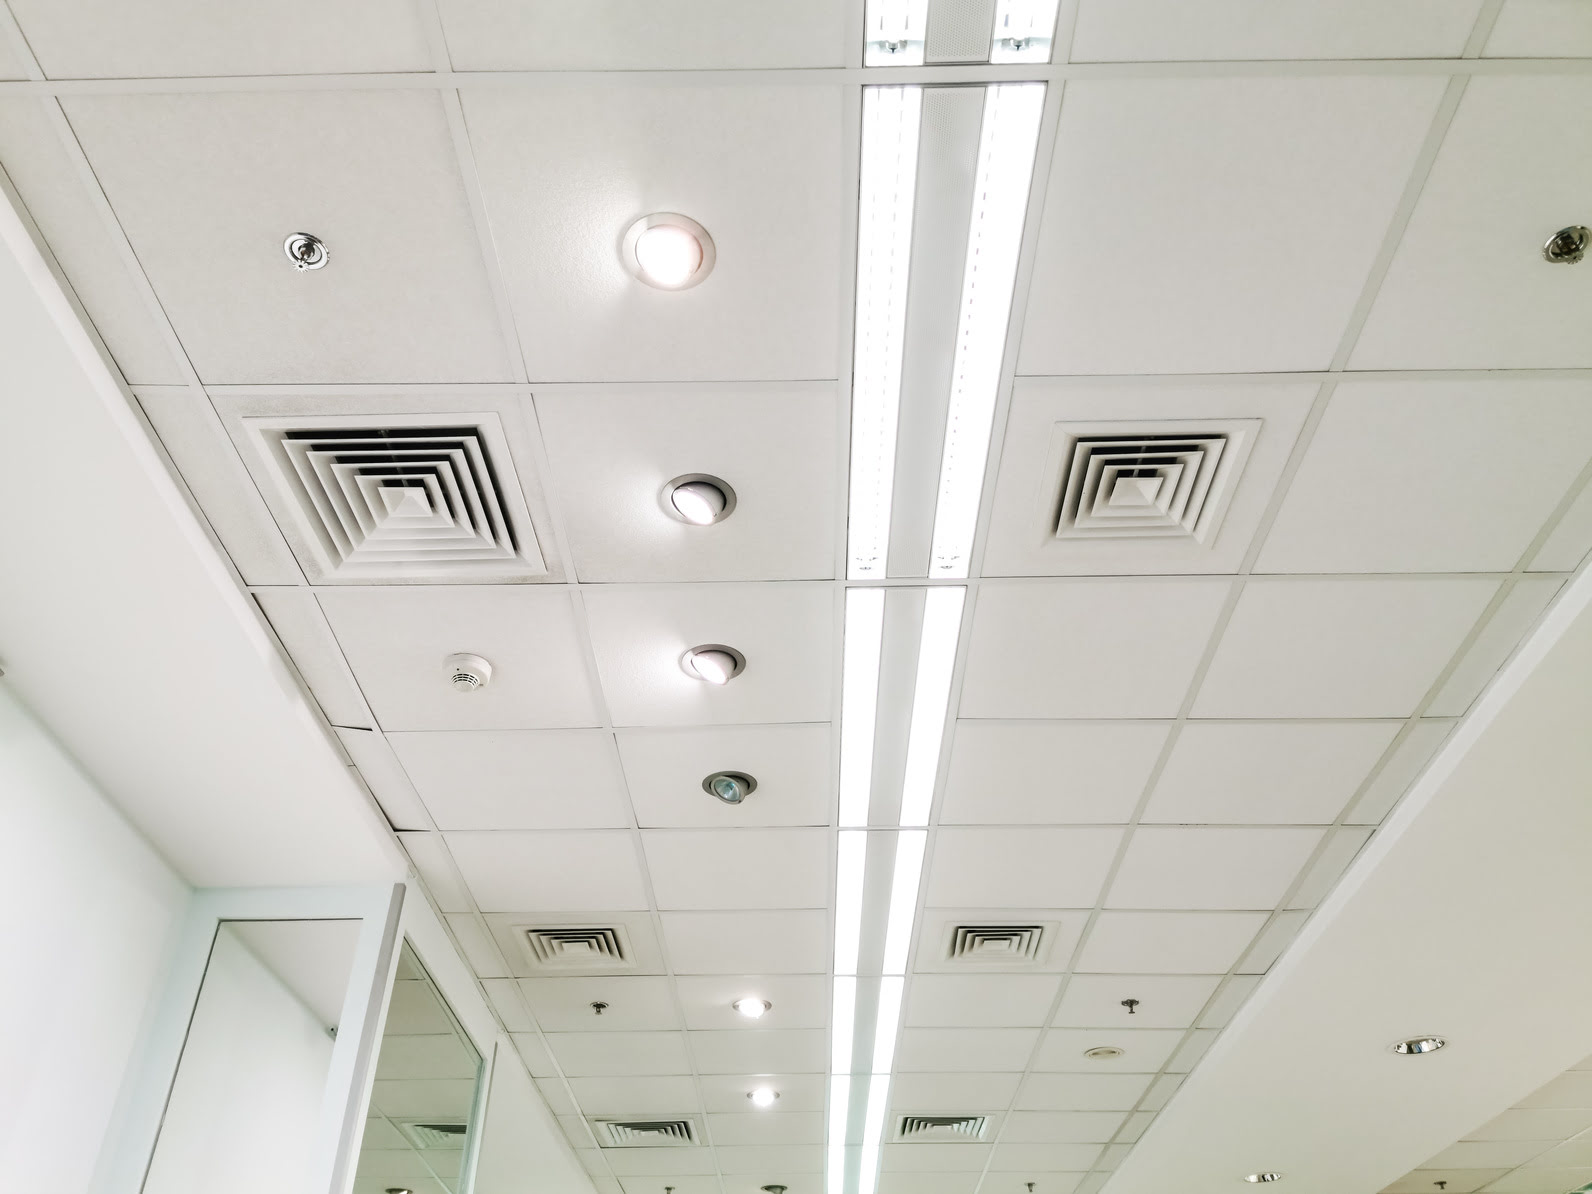
When soundproofing your ceiling without construction, you can also consider decorative options that not only enhance the aesthetics but also contribute to sound insulation. Here are some decorative options to consider:
1. Ceiling Tiles: Install decorative ceiling tiles that are specifically designed to improve sound absorption. These tiles come in various designs and textures, allowing you to customize the look of your ceiling while improving acoustics.
2. Fabric Wall Hangings: Hang fabric wall hangings or tapestries on your walls near the ceiling. These decorative pieces can help absorb and diffuse sound, reducing echoes and enhancing soundproofing.
3. Soundproof Wallpaper: Consider using soundproof wallpaper, which features sound-absorbing properties. Soundproof wallpaper comes in various styles and patterns, giving you the opportunity to add a decorative touch to your ceiling while also enhancing sound insulation.
4. Decorative Panels: Install decorative panels on your ceiling to not only enhance the visual appeal but also improve sound absorption. These panels can be made from materials such as wood, metal, or acoustic fabric, and can help reduce sound reflections and echoes.
5. Hanging Decorative Elements: Hang decorative elements, such as hanging plants, decorative curtains, or lightweight decorative objects, from your ceiling. These elements can help break up sound reflections and add a touch of style to your space.
By using decorative options that also contribute to sound insulation, you can enhance the overall aesthetics of your ceiling while improving its acoustic performance. These decorative elements add texture, color, and interest to your space while helping to reduce unwanted noise.
It’s important to note that decorative options alone may not provide significant soundproofing. However, when combined with other soundproofing techniques such as sealing gaps, using soundproof curtains, or adding insulation, they can contribute to a more comprehensive approach to soundproofing your ceiling.
In the next section, we will discuss the importance of testing and reassessing your soundproofing results, as well as offer some final tips before concluding our guide to soundproofing a ceiling without construction work.
Test and Reassess Soundproofing Results
After implementing various soundproofing techniques to improve the insulation of your ceiling without construction, it’s important to test and reassess the results. Soundproofing is not an exact science, and the effectiveness of different methods may vary depending on factors such as the source of the noise and the construction of your space. Here’s how you can test and reassess your soundproofing results:
1. Conduct a Sound Test: Create a controlled sound environment by playing a constant noise source, such as white noise or music, in one part of the room. Move to different areas of the room, including below the ceiling, and listen for the level of noise transmission. Note any improvements or areas that still require further soundproofing.
2. Seek Feedback: Ask friends or family members to help assess the soundproofing results. Have them listen from different areas of the room while you create different noise conditions. Their feedback can provide additional insights and help identify any areas that may need further attention.
3. Revisit Problem Areas: If certain areas of the ceiling still exhibit high levels of noise transmission, revisit those areas and reassess the soundproofing measures. Consider adding additional soundproofing materials or utilizing alternative techniques for better results.
4. Experiment with Adjustments: Fine-tune your soundproofing approach by making adjustments to the existing techniques. For example, try adding an extra layer of mass loaded vinyl, using thicker acoustic panels, or sealing any remaining gaps or cracks. Experimenting with different combinations can help you achieve the desired level of sound insulation.
5. Consult a Professional: If you’re still experiencing significant noise issues even after implementing various soundproofing methods, consider consulting a professional soundproofing expert. They can conduct a detailed assessment of your space and provide tailored recommendations for further improvement.
Remember that perfect soundproofing is challenging to achieve, and some level of noise may still be present even after employing various techniques. The goal of soundproofing is to minimize noise as much as possible and create a more comfortable living environment.
In addition to testing and reassessing, regular maintenance is also important to ensure the longevity of your soundproofing measures. Periodically check for any signs of wear or damage and repair or replace as needed.
Please note that the effectiveness of soundproofing techniques may vary depending on factors such as the type and quality of materials used, the structure of the building, and the specific noise sources. It’s recommended to research and choose reputable products and follow manufacturer guidelines for the best results.
In the next section, we will summarize the main points discussed and conclude our guide to soundproofing a ceiling without construction work.
Conclusion
In conclusion, soundproofing a ceiling without construction is a feasible and effective way to enhance the sound insulation of your living space. By applying the right techniques and utilizing various soundproofing materials, you can significantly reduce unwanted noise and create a more peaceful environment.
Throughout this guide, we explored several methods for soundproofing a ceiling without construction. Understanding the basics of soundproofing, assessing your ceiling, using soundproofing materials, installing acoustic panels, sealing gaps and cracks, utilizing soundproofing paint, hanging soundproof curtains, adding mass-loaded vinyl, utilizing carpet or rugs, considering decorative options, and testing and reassessing the results are all important steps in the soundproofing process.
Remember that soundproofing is a combination of techniques and materials. Each method addresses a different aspect of sound transmission, and utilizing multiple approaches will provide the best results. It is important to assess your specific situation, consider the nature of noise you want to block, and choose the appropriate soundproofing techniques accordingly.
While soundproofing a ceiling without construction can significantly reduce noise transmission, it is important to note that no method can completely eliminate all noise. Some level of sound may still be present, especially if the noise source is particularly loud or persistent. However, by implementing soundproofing measures, you can minimize noise and create a more peaceful and enjoyable living environment.
Additionally, it’s important to regularly test and reassess your soundproofing results to identify any areas that may require further attention or adjustments. Fine-tuning your soundproofing approach based on feedback and experimentation will help you achieve the desired level of sound insulation.
Lastly, if you encounter challenges or require expert advice, don’t hesitate to consult a professional soundproofing expert who can provide tailored recommendations based on your specific needs.
By following the techniques outlined in this guide and customizing them to suit your situation, you can successfully soundproof your ceiling without undertaking extensive construction work, resulting in a quieter, more serene living space.
Frequently Asked Questions about How To Soundproof A Ceiling Without Construction
Was this page helpful?
At Storables.com, we guarantee accurate and reliable information. Our content, validated by Expert Board Contributors, is crafted following stringent Editorial Policies. We're committed to providing you with well-researched, expert-backed insights for all your informational needs.


0 thoughts on “How To Soundproof A Ceiling Without Construction”