Articles
How To Make Soundproofing Curtains
Modified: October 20, 2024
Discover effective ways to make your home quieter with soundproofing curtains. Read our informative articles for tips and techniques to reduce noise and create a peaceful environment.
(Many of the links in this article redirect to a specific reviewed product. Your purchase of these products through affiliate links helps to generate commission for Storables.com, at no extra cost. Learn more)
Introduction
Welcome to the world of soundproofing curtains! If you are tired of dealing with unwanted noise infiltrating your living space, then soundproofing curtains might be the perfect solution for you. These innovative curtains are designed to reduce and absorb sound waves, creating a quieter and more peaceful environment. In this article, we will explore what soundproofing curtains are, discuss their benefits, provide a step-by-step guide on how to make them, and offer maintenance tips to keep them in optimal condition.
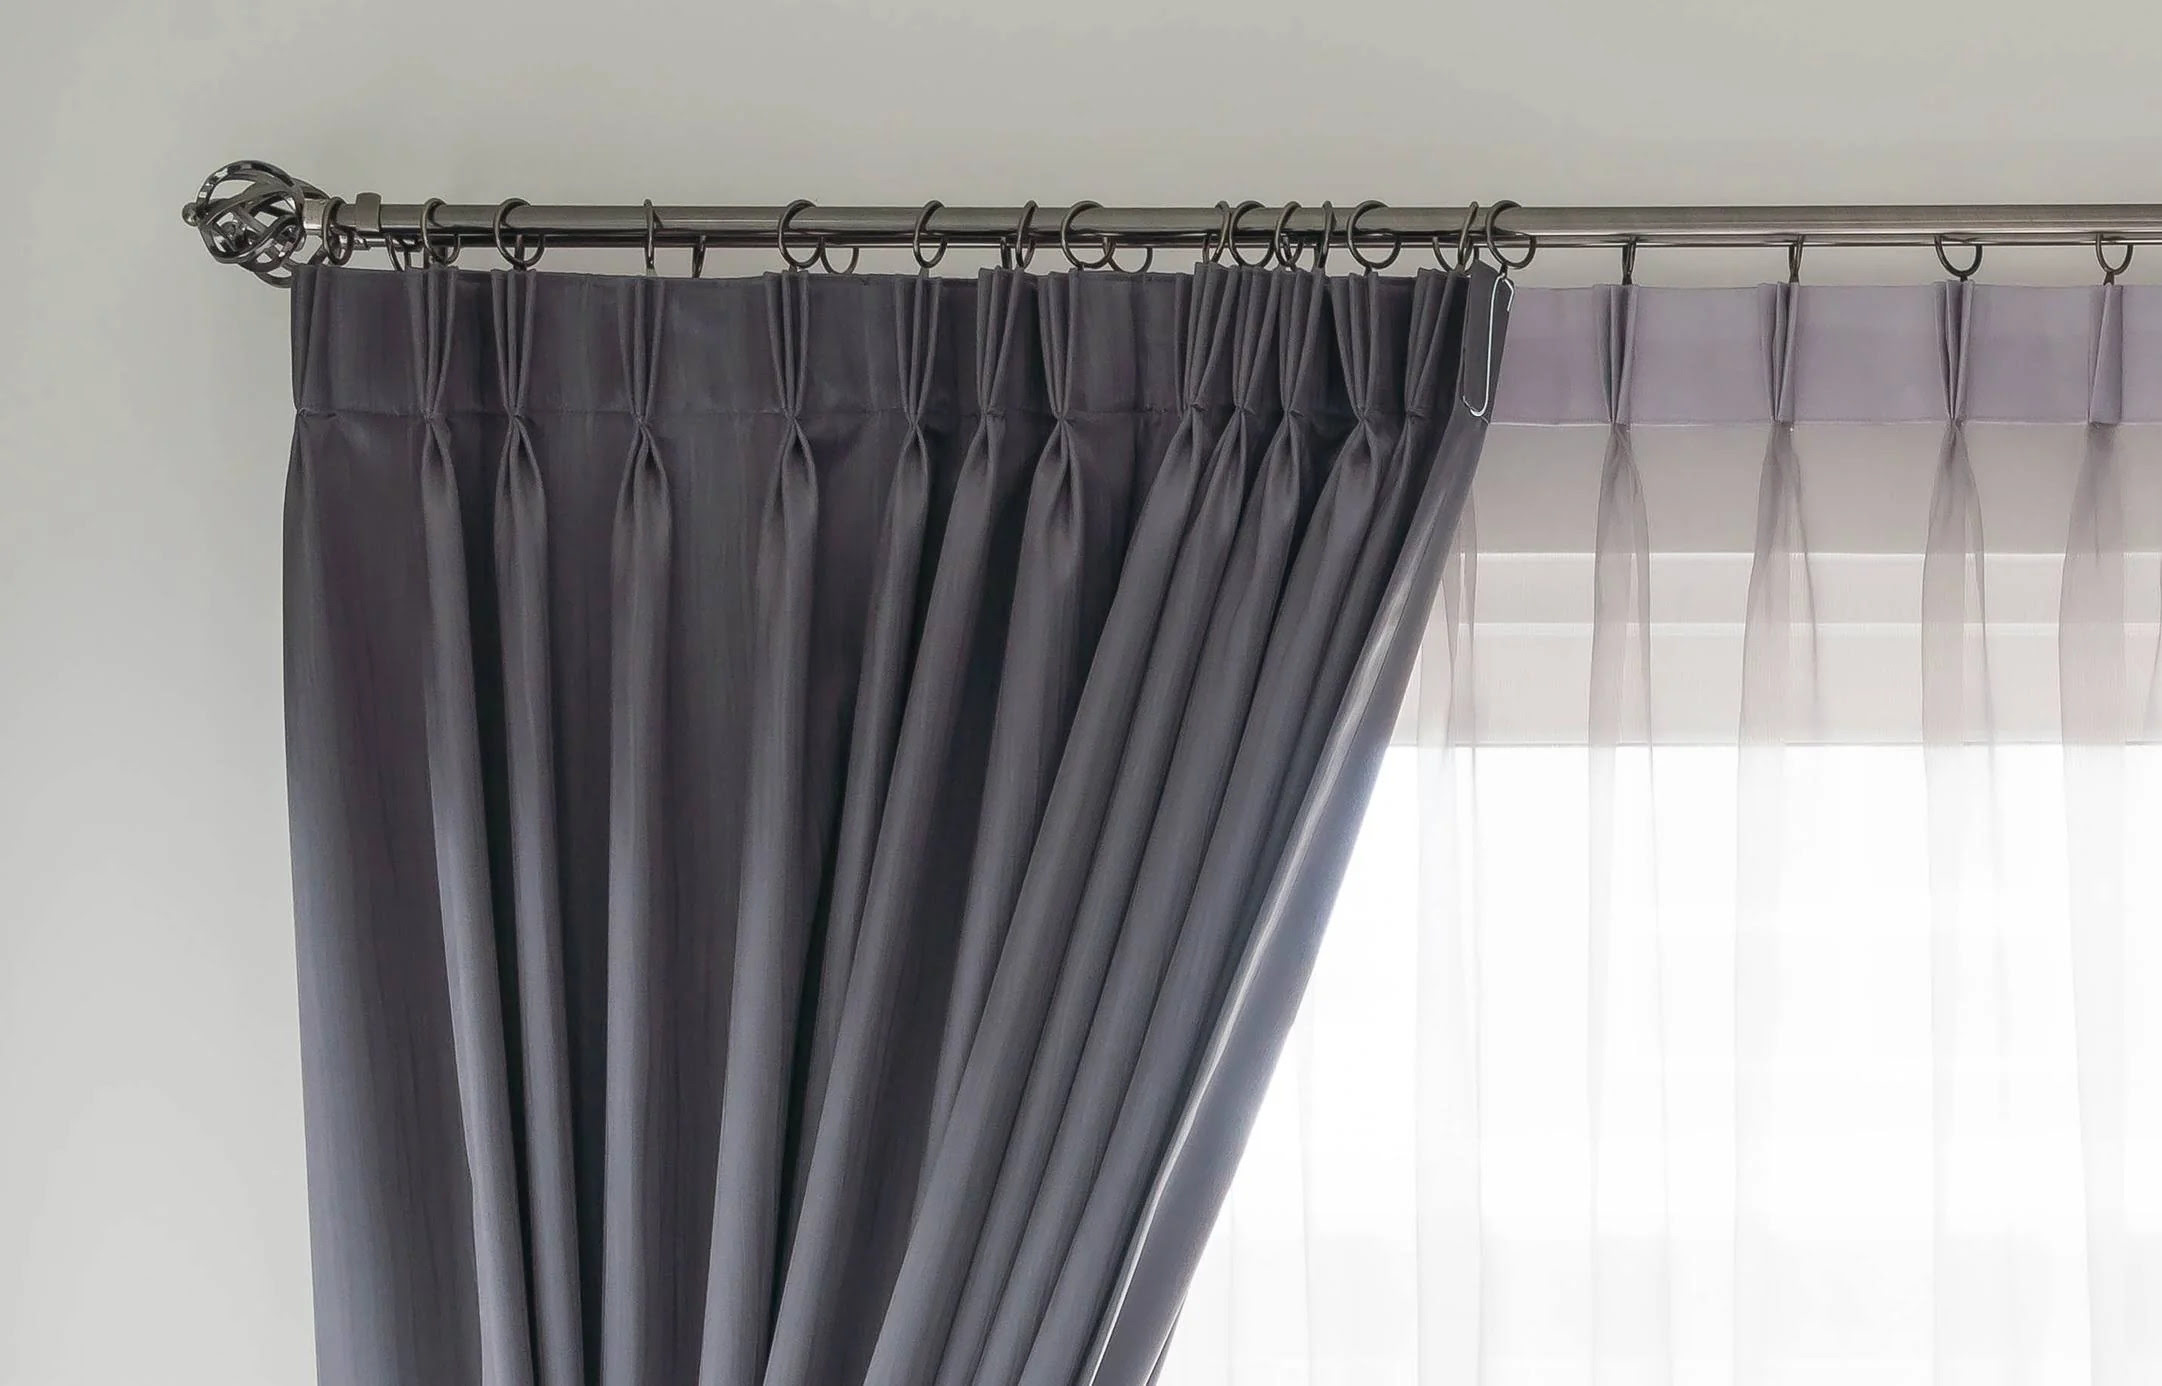
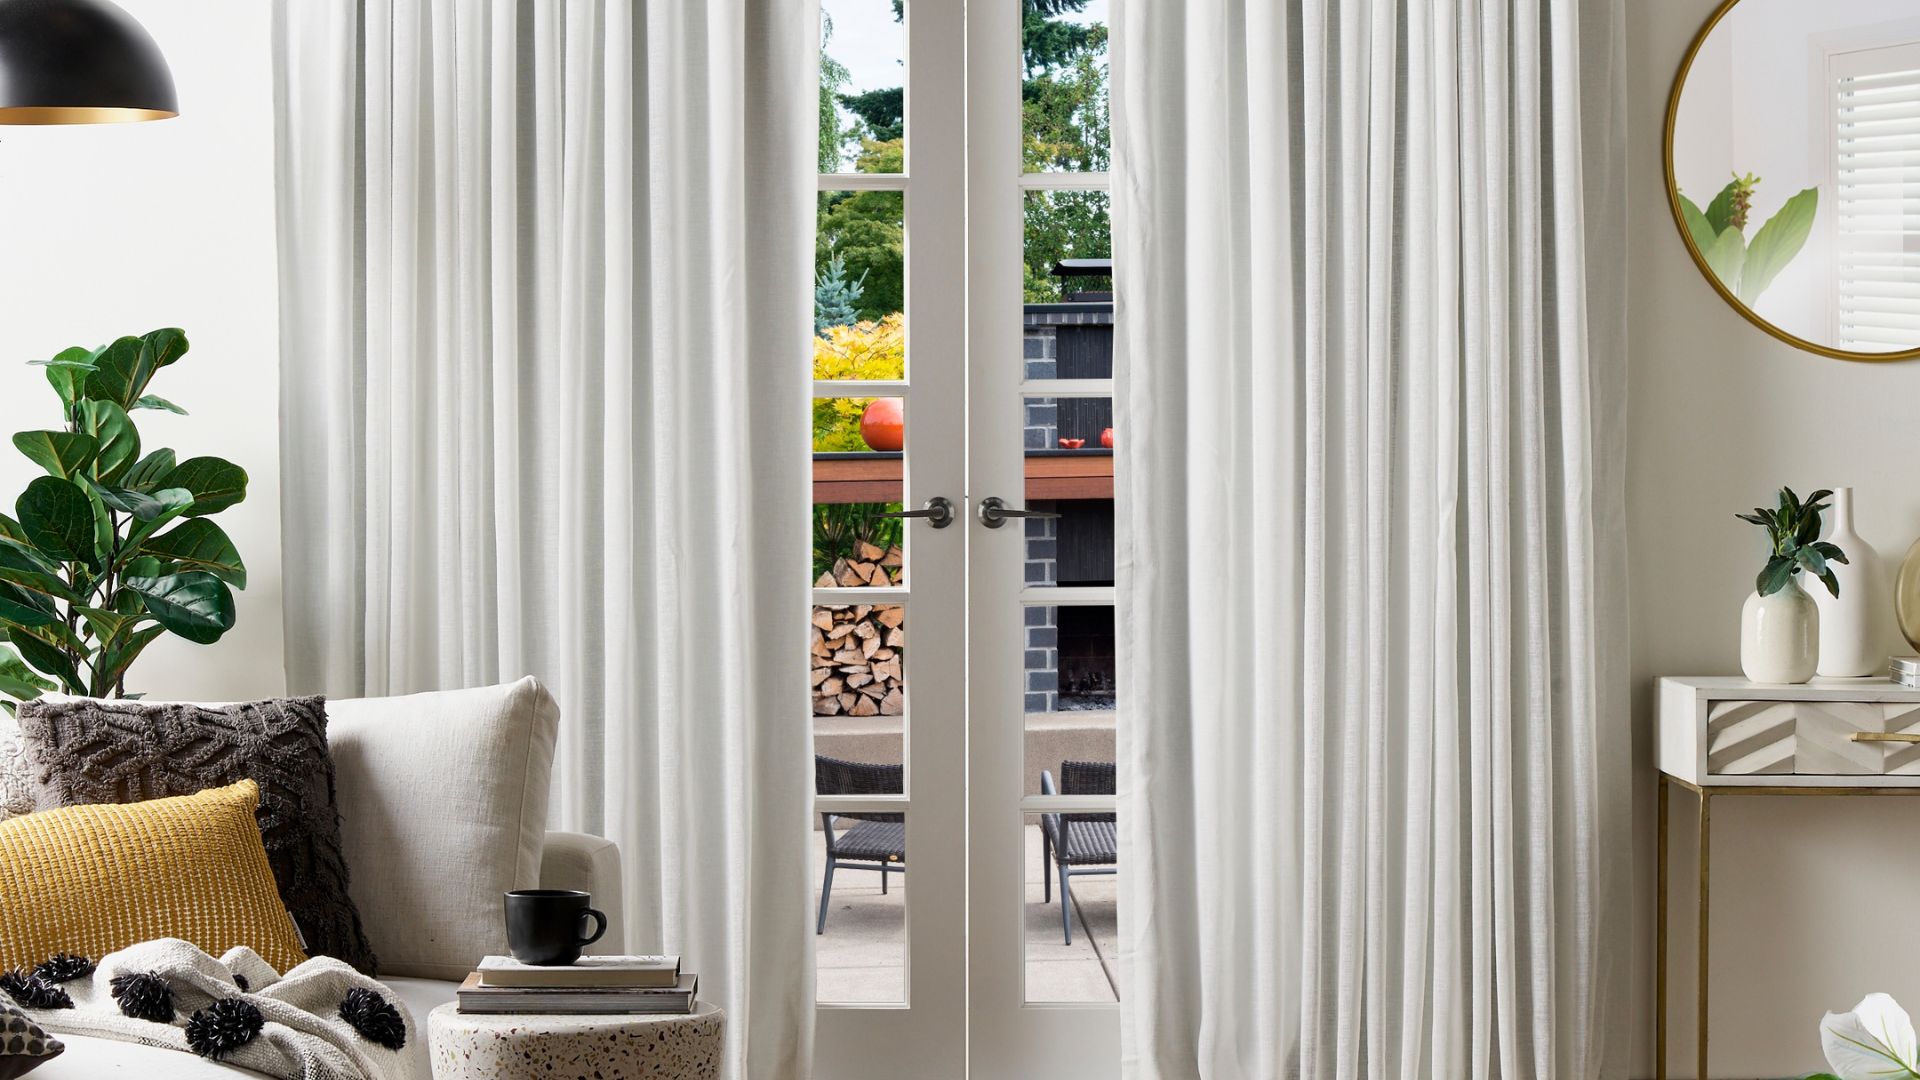
Living in a noisy environment can be frustrating and detrimental to our well-being. Whether you live near a busy street, have noisy neighbors, or simply desire a quieter atmosphere, soundproofing curtains can make a significant difference. These curtains are thick and dense, usually made with multiple layers of fabric and sound-absorbing materials, such as mass-loaded vinyl or fiberglass. When hung properly, they can help block out external noises, reduce echo, and even improve the acoustics of a room.
There are numerous benefits to using soundproofing curtains. Firstly, they provide a cost-effective alternative to traditional soundproofing methods, such as installing acoustic panels or soundproofing foam. Soundproofing curtains are relatively easy to make and can be customized to fit any window or door. Additionally, they are portable, meaning you can take them with you if you move to a new location.
Another advantage of soundproofing curtains is their versatility. They not only block out noise but also offer privacy and light control. Many soundproofing curtains are designed with blackout properties, which prevent sunlight from entering the room. This is especially beneficial for individuals sensitive to light or those who work night shifts and need to sleep during the day.
Soundproofing curtains are also an eco-friendly option. By creating a barrier against outside noise, they can help reduce energy consumption by minimizing the need for air conditioning or heating to compensate for noise-related temperature changes. Additionally, by keeping unwanted noise out, soundproofing curtains contribute to creating a sustainable and peaceful living environment.
Before embarking on the journey of making your own soundproofing curtains, there are a few factors to consider. The size of the window or door, the level of noise you are trying to block, and the overall aesthetic of your space will all impact the materials and measurements needed for your curtains. In the following sections, we will guide you through the process of making soundproofing curtains step-by-step, ensuring you have all the necessary information to create your own tranquil oasis.
Key Takeaways:
- Create a Tranquil Oasis
Soundproofing curtains offer a practical and cost-effective solution for reducing noise and creating a peaceful living space. By making your own curtains, you can transform your environment into a tranquil oasis, free from unwanted disturbances. - Enhance Comfort and Privacy
Soundproofing curtains not only reduce noise but also provide enhanced privacy, improved sleep quality, and energy efficiency. By choosing the right fabric and adding soundproofing materials, you can create a comfortable and serene living or working space.
Read also: 13 Best Soundproofing Curtains for 2025
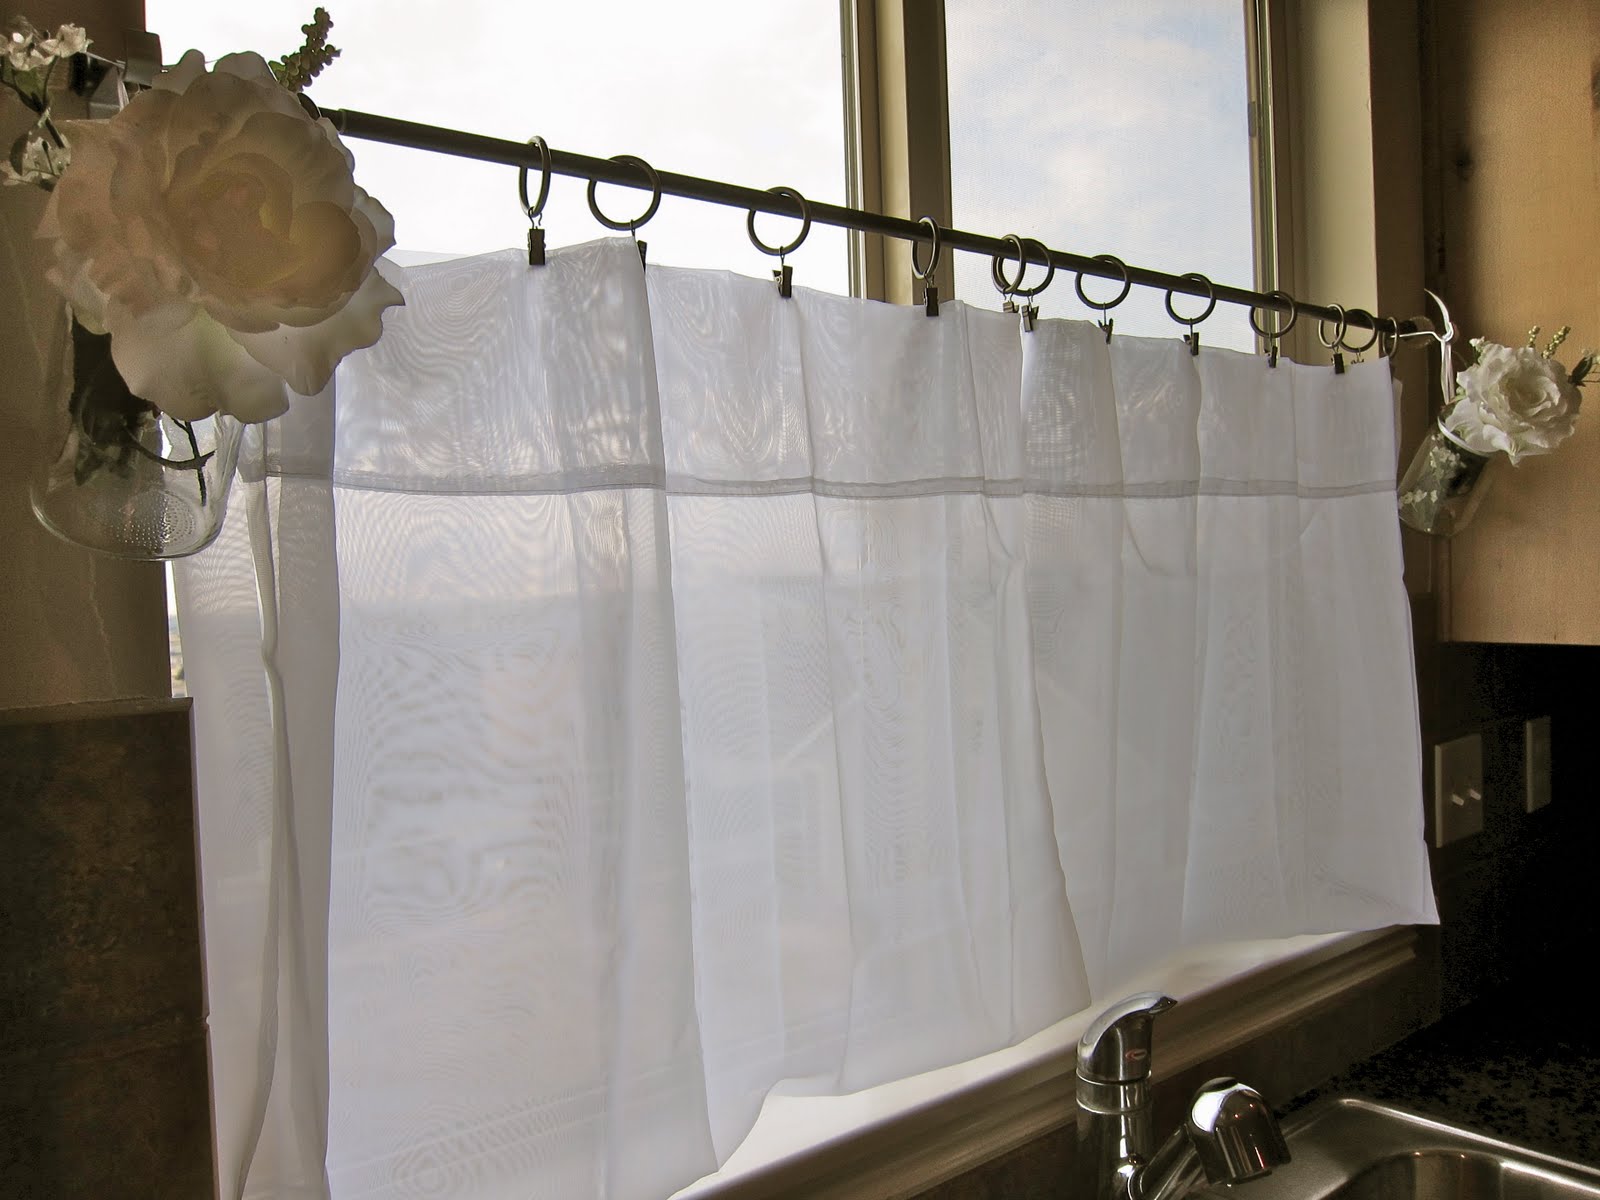
What are Soundproofing Curtains?
Soundproofing curtains, also known as acoustic curtains or noise-reducing curtains, are specially designed window coverings that help block out external noise and create a quieter environment. Unlike regular curtains, which are primarily used for privacy and light control, soundproofing curtains are constructed with additional layers and materials to absorb and reduce sound waves.
These curtains are typically made with thick and dense fabrics, such as velvet, suede, or heavyweight cotton, that have excellent sound-absorbing properties. In addition to the fabric, soundproofing curtains often incorporate soundproofing materials, such as mass-loaded vinyl (MLV) or fiberglass, to further enhance their noise-blocking capabilities.
The key principle behind soundproofing curtains is their ability to disrupt and absorb sound waves. When sound waves hit the curtains, the multiple layers of fabric and soundproofing materials help break up the waves, preventing them from passing through and entering your space. This results in a significant reduction in the amount of noise that can penetrate the room.
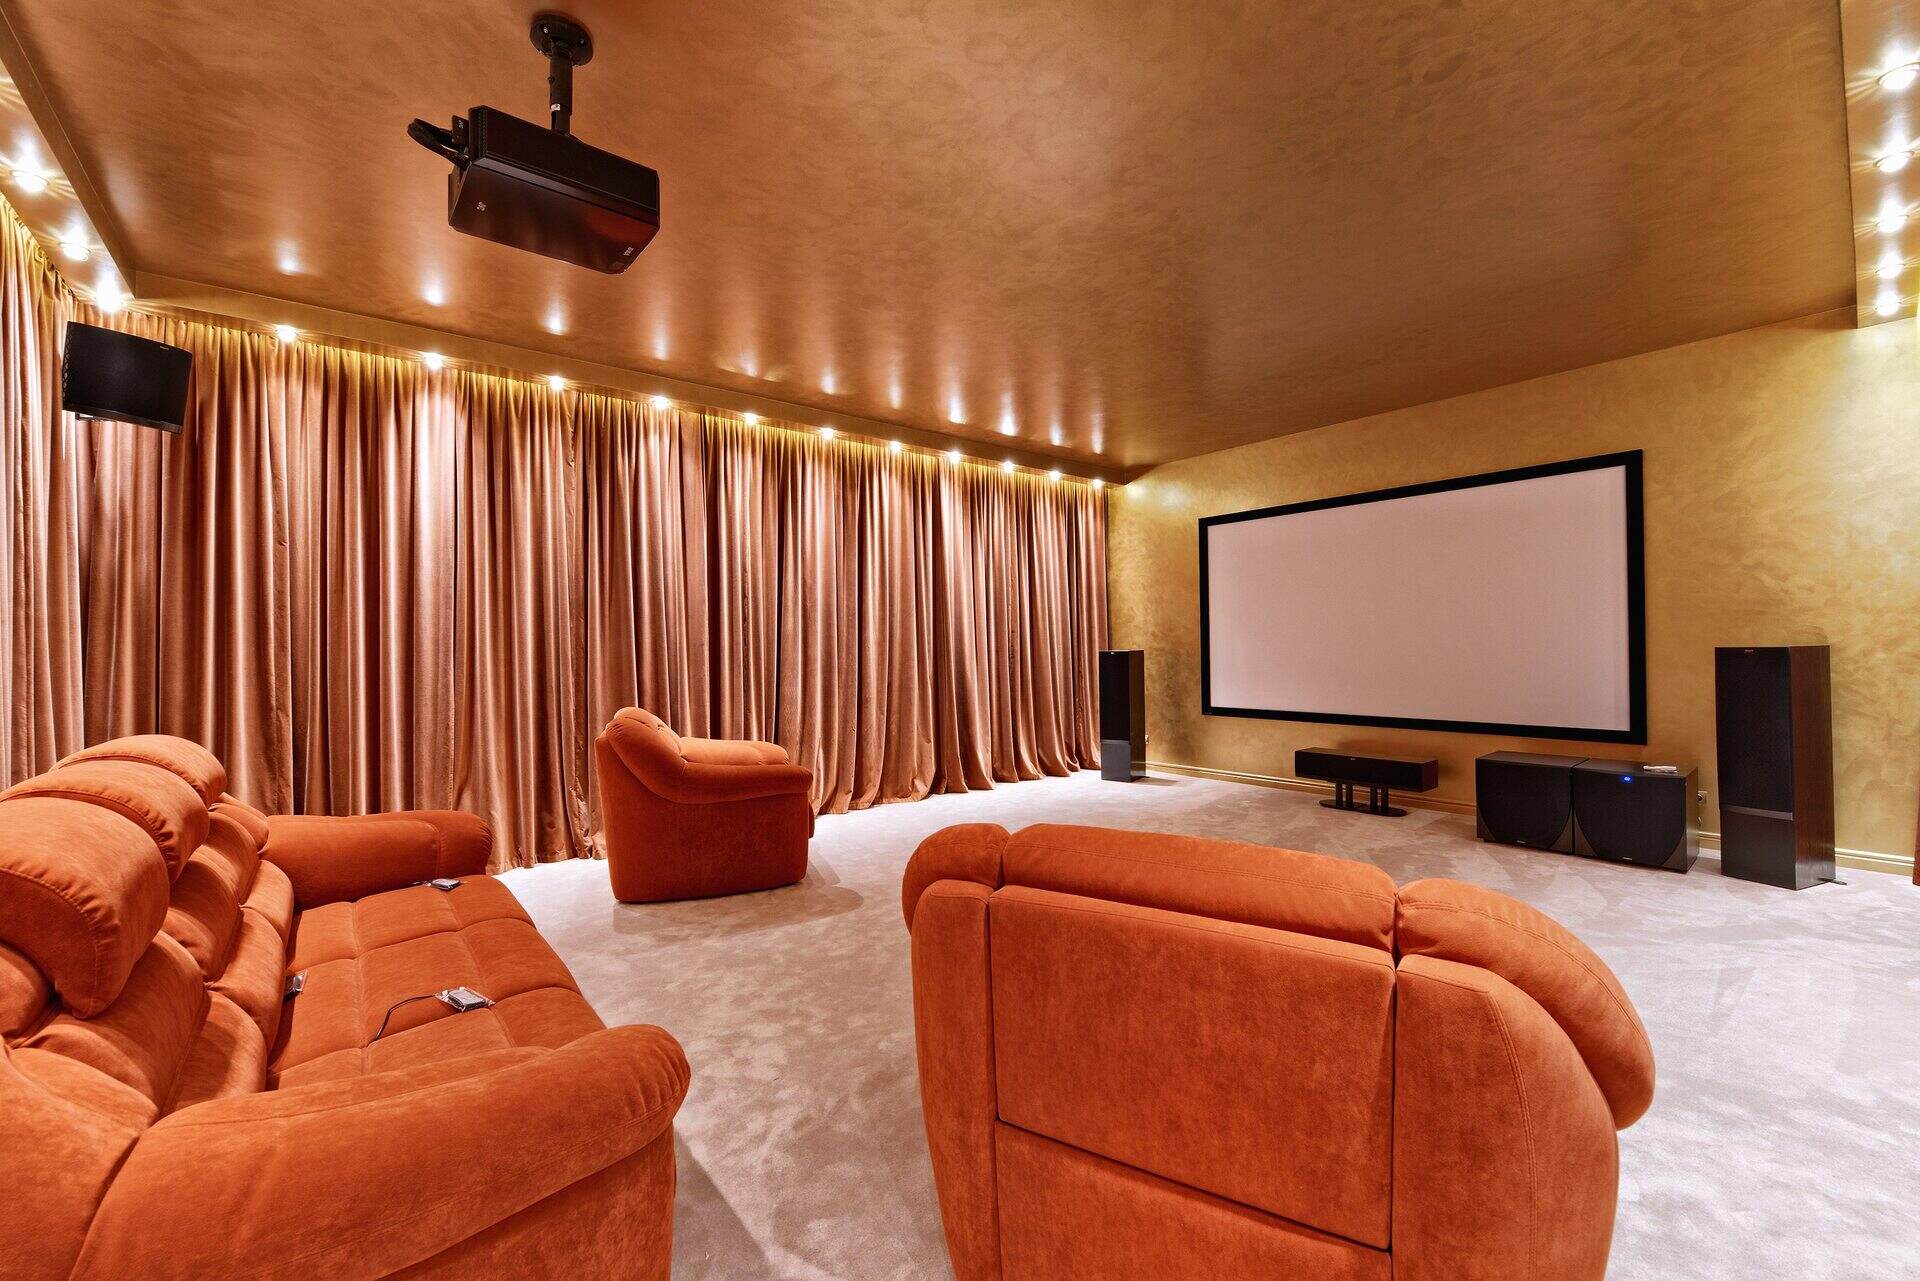
Soundproofing curtains offer a practical and cost-effective solution for individuals looking to minimize noise disturbance in their homes or offices. They can be used in various settings, such as bedrooms, living rooms, home offices, recording studios, or any space where noise reduction is desired.
In addition to blocking external noise, soundproofing curtains also have the added benefit of improving the acoustics within a room. By absorbing sound waves, these curtains help reduce echo and reverberation, creating a more balanced and controlled sound environment.
One of the key advantages of soundproofing curtains is their versatility. They come in a wide range of sizes, designs, and colors, allowing you to choose the perfect style to complement your existing decor. Some soundproofing curtains even offer additional features, such as thermal insulation or blackout properties, providing energy-saving benefits and light control.
It is important to note that while soundproofing curtains can significantly reduce noise, they cannot completely eliminate it. The effectiveness of soundproofing curtains depends on various factors, including the thickness and density of the materials used, the level of noise you are trying to block, and the overall structure of the room.
Overall, soundproofing curtains offer an affordable and practical solution for creating a quieter and more comfortable living space. Whether you are dealing with loud neighbors, street noise, or simply want to enjoy a peaceful environment, soundproofing curtains can help you achieve the tranquility you desire.
Benefits of Soundproofing Curtains
Soundproofing curtains offer a range of benefits that make them a popular choice for individuals seeking to reduce noise and create a peaceful living or working environment. Here are some of the key advantages of using soundproofing curtains:
- Noise Reduction: The primary benefit of soundproofing curtains is their ability to reduce noise. Whether you live in a noisy neighborhood, near a busy street, or have loud neighbors, these curtains can significantly dampen the external sounds that enter your space.
- Improved Sleep Quality: By blocking out noise from traffic, construction, or other sources, soundproofing curtains create a more conducive sleeping environment. They help minimize disturbances, allowing you to enjoy a peaceful and uninterrupted night’s sleep.
- Enhanced Privacy: Soundproofing curtains not only reduce noise but also provide an added layer of privacy. These curtains are often made with thick and opaque fabrics, making it difficult for outsiders to see into your space.
- Energy Efficiency: Soundproofing curtains can also contribute to energy efficiency. The thick and dense materials used in these curtains help to insulate your space, reducing heat loss during winter and heat gain during summer. This can result in energy savings and a more comfortable indoor temperature.
- Improved Acoustics: In addition to reducing external noise, soundproofing curtains also improve the acoustics within a room. They help absorb sound waves, reducing echo and reverberation, which can create a more pleasant and balanced sound environment.
- Customization Options: Soundproofing curtains come in a variety of designs, colors, and sizes, allowing you to choose the perfect style to match your interior decor. This ensures that you can achieve both the desired noise reduction and an aesthetically pleasing look.
- Portability: Unlike permanent soundproofing solutions, such as installing acoustic panels, soundproofing curtains are portable. This means you can easily move them from one room to another or even take them with you when you move to a new location.
- Cost-Effective Solution: Compared to other soundproofing methods, such as adding extra insulation or installing acoustic treatments, soundproofing curtains are a more affordable option. They offer a cost-effective way to significantly reduce noise without the need for extensive renovations.
By combining noise reduction, privacy, energy efficiency, and versatility, soundproofing curtains provide a comprehensive solution to create a peaceful and comfortable living or working space. Whether you are dealing with external noise or seeking a more serene environment, soundproofing curtains are an excellent investment in creating a quieter and more enjoyable atmosphere.
Factors to Consider Before Making Soundproofing Curtains
Before diving into the process of making your own soundproofing curtains, it is important to consider a few factors to ensure the success of your project. Taking these factors into account will help you determine the right materials, measurements, and design elements for your curtains. Here are some key factors to consider:
- Noise Level: Determine the level of noise you are trying to block. Understanding the intensity and frequency of the noise will help you choose the appropriate materials and thickness for your soundproofing curtains.
- Window or Door Size: Measure the dimensions of the window or door where you plan to hang the soundproofing curtains. This will determine the amount of fabric and soundproofing materials you will need.
- Style and Aesthetics: Consider the overall style and aesthetics of your space. Choose a fabric pattern and color that complements your existing decor and personal preferences.
- Desired Functionality: Determine the additional functionalities you want your curtains to have. For example, do you need blackout properties for light control? Are thermal insulation properties important to you?
- Durability and Maintenance: Consider the durability and ease of maintenance of the chosen fabrics and soundproofing materials. Ensure that they are suitable for frequent use and can withstand regular cleaning or maintenance.
- Budget: Set a budget for your soundproofing curtain project. This will help you determine the type and quality of materials you can afford.
- Skill Level: Consider your sewing skills and equipment. If you are a beginner, opt for simpler designs and techniques. If you are more experienced, you can explore more intricate designs and details.
- Installation Method: Think about how you want to hang your soundproofing curtains. Will you be using curtain rods, hooks, or a different method? This will influence the measurements and construction of your curtains.
- Availability of Materials: Consider the availability of the specific materials you need for your soundproofing curtains. Research local fabric stores or online suppliers to ensure you can source all the necessary materials.
By taking these factors into consideration, you can tailor your soundproofing curtains to meet your specific needs and preferences. It will help you make informed decisions about the materials, measurements, and design elements, ensuring that your DIY project is successful and yields the desired noise reduction and aesthetic appeal.
Step-by-Step Guide on Making Soundproofing Curtains
Creating your own soundproofing curtains is a rewarding DIY project that can significantly reduce noise and enhance the comfort of your living space. Follow this step-by-step guide to make your own soundproofing curtains:
- Gather the Materials: Collect all the materials you will need for your soundproofing curtains. This includes fabric, soundproofing materials such as mass-loaded vinyl (MLV) or fiberglass, thread, sewing machine, scissors, measuring tape, and curtain hooks or rods.
- Measure and Cut: Measure the dimensions of your window or door and add a few inches to account for seams. Cut the fabric according to these measurements, ensuring that you have enough fabric for both curtain panels.
- Add Soundproofing Materials: Place the soundproofing material, such as MLV or fiberglass, between the two layers of fabric. Make sure the soundproofing material extends to the edges and corners of the fabric.
- Pin and Sew: Pin the layers of fabric together, ensuring that the soundproofing material is securely held in place. Sew along the edges of the fabric, leaving a small opening at the top or bottom to insert the curtain rod or hooks.
- Create Hems: Hem the sides and bottom of the curtain to give it a finished look. Fold the fabric over about an inch and sew along the edge to secure the hem.
- Add Curtain Hooks or Rods: If you are using curtain hooks, attach them to the top of the curtain panel. If you are using a curtain rod, insert it through the top hem of the curtain.
- Hang and Adjust: Hang the completed soundproofing curtains on your window or door. Adjust them to ensure they hang evenly and reach the desired length.
- Test and Make Adjustments: Test the effectiveness of your soundproofing curtains by closing them and observing the reduction in noise. If necessary, make any adjustments to improve their performance by adding additional soundproofing material or reinforcing seams.
- Enjoy the Benefits: Sit back and enjoy the quieter and more peaceful environment created by your soundproofing curtains. Notice the difference in noise reduction and improved acoustics in your living space.
Remember to refer to the manufacturer’s instructions when working with specific soundproofing materials and fabrics. It is also important to practice safety precautions, such as wearing protective gloves, if working with certain types of soundproofing materials. With the right tools, materials, and careful execution, you can create effective and stylish soundproofing curtains that enhance the comfort of your home or office.
Read more: How To Make A Shower Curtain
Materials Needed
To create your own soundproofing curtains, you will need the following materials:
- Fabric: Choose a thick and dense fabric with good sound-absorbing properties. Velvet, suede, or heavyweight cotton are popular choices. The amount of fabric needed will depend on the dimensions of your window or door.
- Soundproofing Material: Opt for soundproofing materials such as mass-loaded vinyl (MLV) or fiberglass. These materials help absorb and block sound waves. The amount of soundproofing material required will depend on the size of your curtains.
- Thread: Use a high-quality thread that matches the color of your fabric for sewing the layers together.
- Sewing Machine: A sewing machine will make the process faster and more efficient. Ensure that your machine is in good working condition before starting the project.
- Scissors: Sharp fabric scissors are essential for cutting the fabric to the correct size and trimming excess material.
- Measuring Tape: Use a measuring tape to accurately measure the dimensions of your window or door, as well as the length of fabric needed.
- Pins: Pins will help hold the layers of fabric and soundproofing material together while you sew them.
- Curtain Hooks or Rods: Choose curtain hooks or rods that are appropriate for your specific curtain design and the type of curtain rod or track you have in your space.
- Iron: An iron will be useful for pressing and steaming the fabric, ensuring a neat and professional finish.
- Optional: Lining Fabric: If desired, you can add a lining fabric to further enhance the soundproofing capabilities of your curtains. This is an additional layer that can be attached to the back of the main fabric.
Ensure that you have all the necessary materials before starting your project. Take accurate measurements and double-check your calculations to ensure you have enough fabric and soundproofing material for your curtains. With these materials at hand, you’ll be ready to create your own effective and stylish soundproofing curtains.
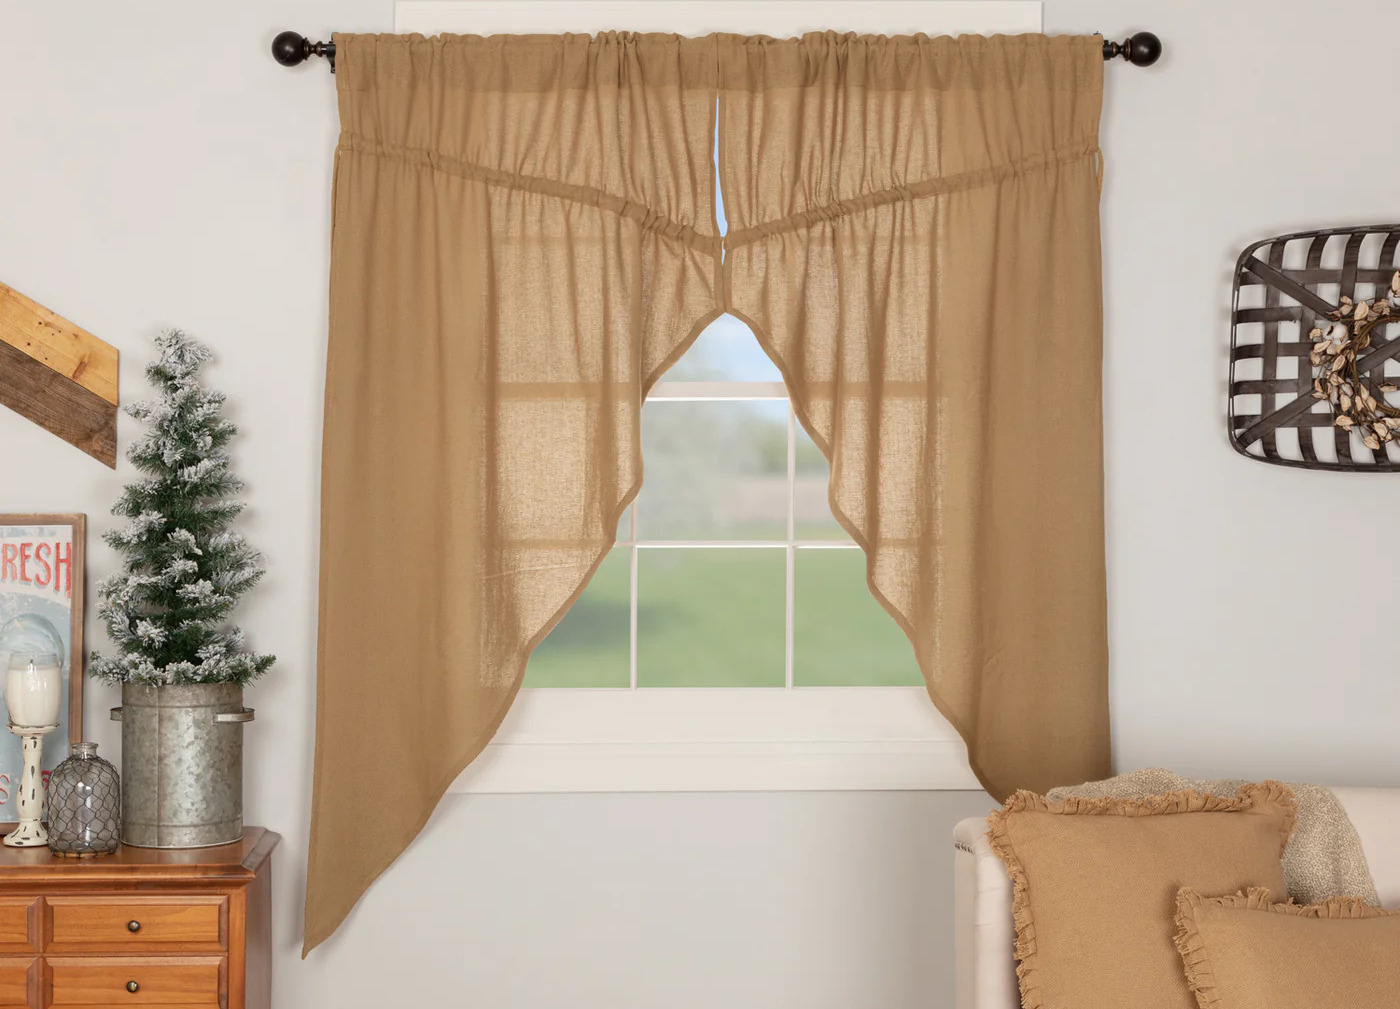
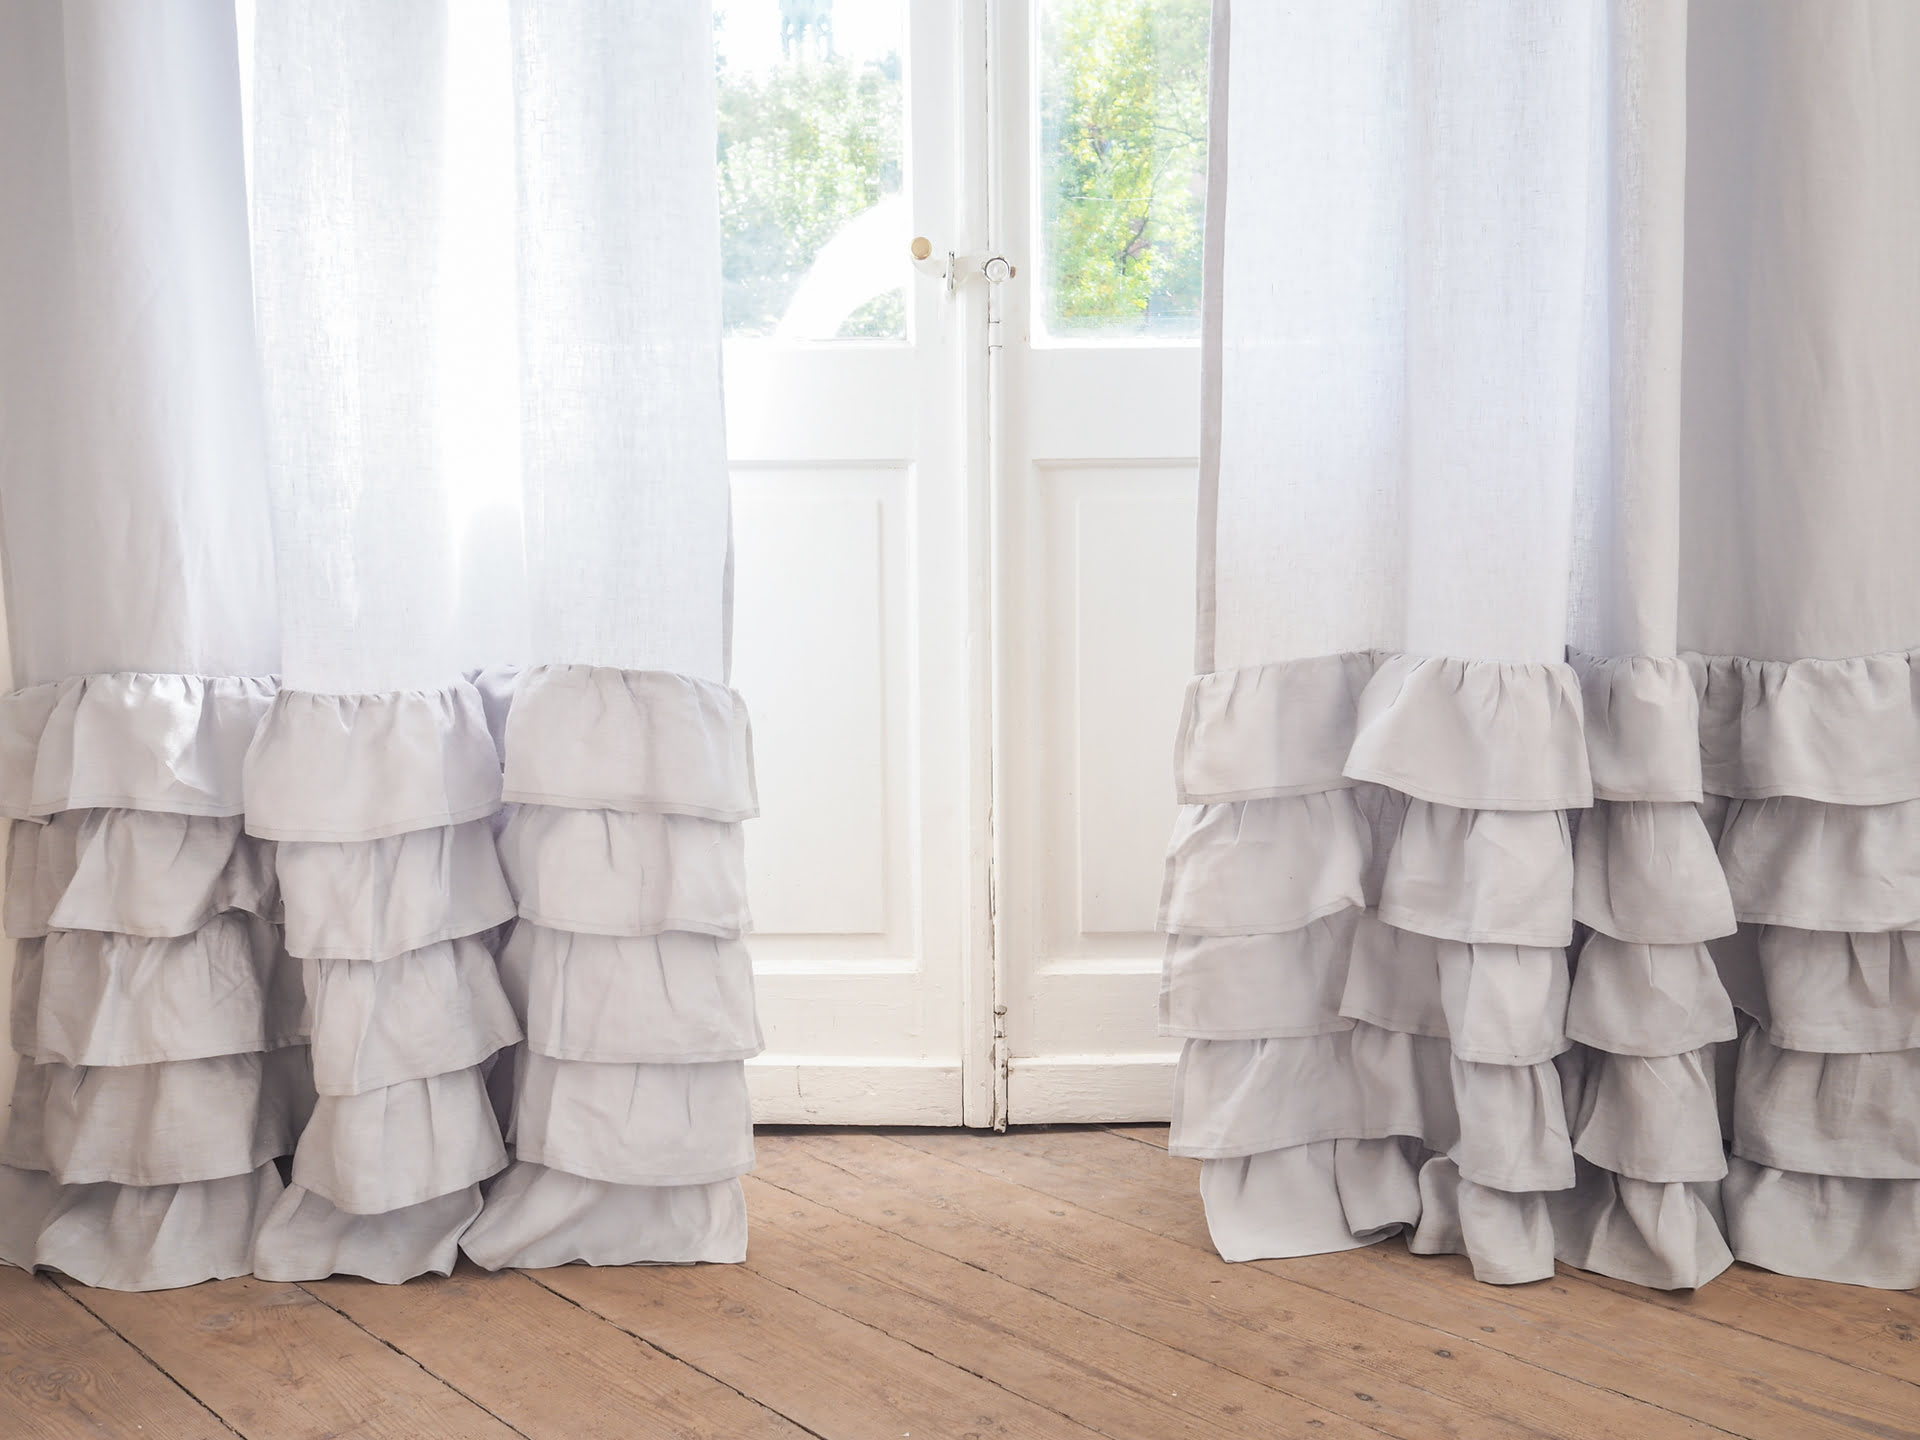
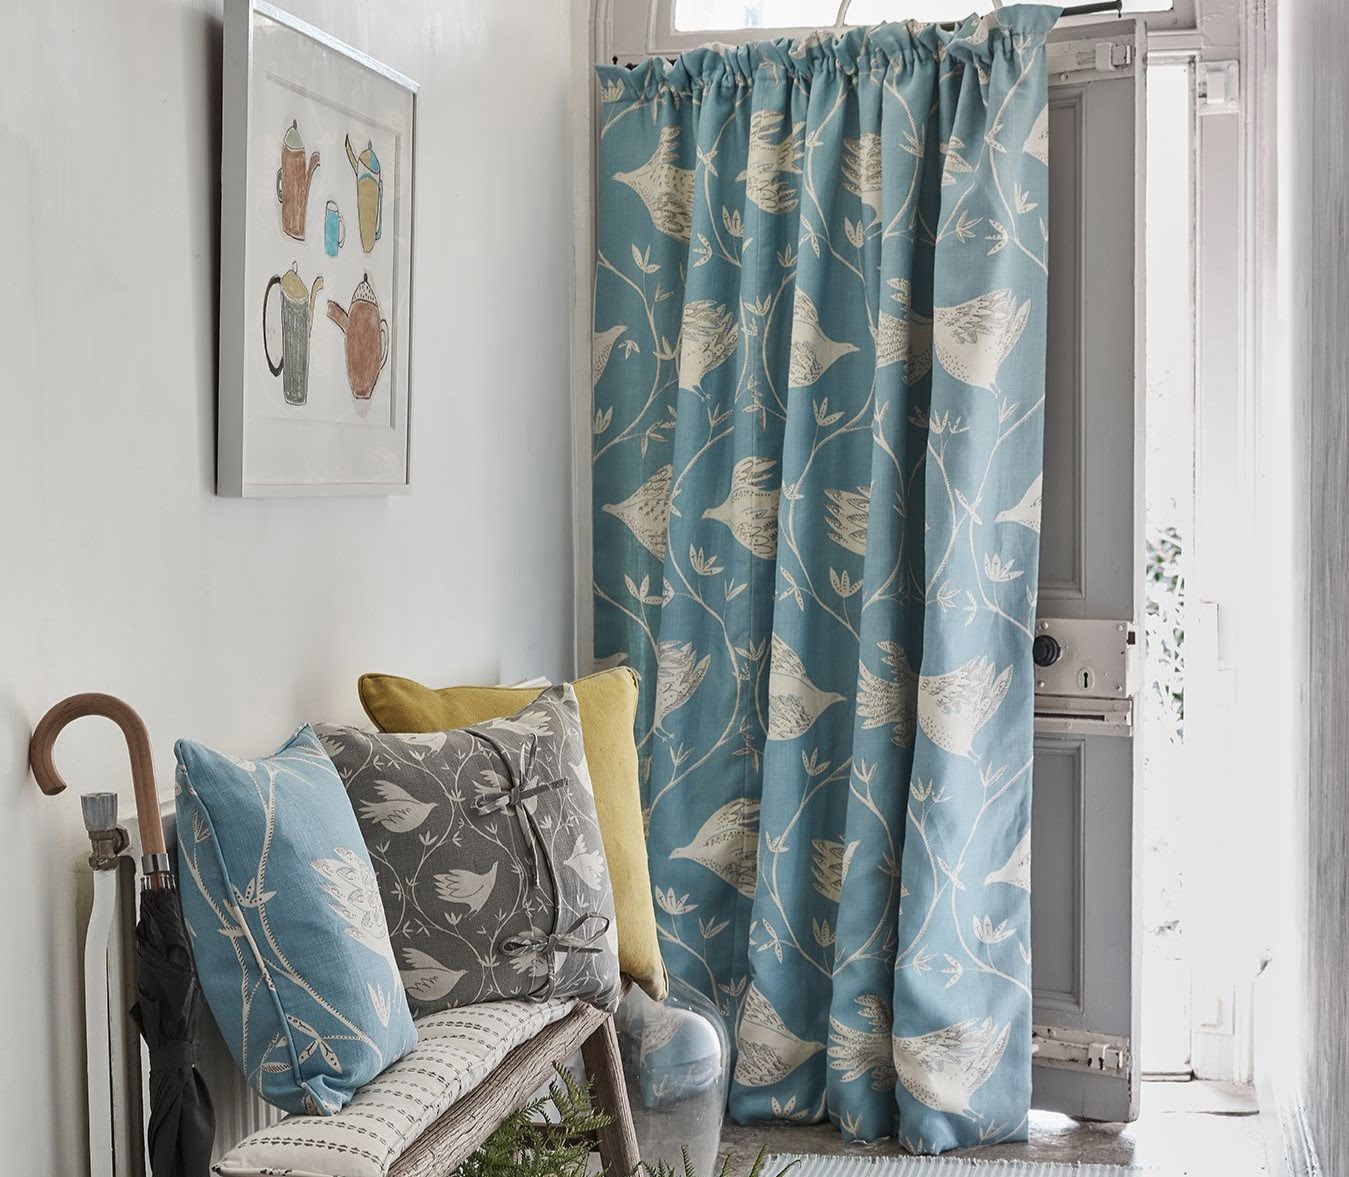
Choosing the Right Fabric
When it comes to creating soundproofing curtains, the choice of fabric plays a crucial role in their effectiveness. The right fabric will not only enhance the soundproofing capabilities but also contribute to the overall aesthetics of your space. Here are some factors to consider when choosing the right fabric for your soundproofing curtains:
- Thickness and Density: Opt for a fabric that is thick and dense. This type of fabric will help absorb and block sound waves more effectively than thinner fabrics. Consider fabrics like velvet, suede, or heavyweight cotton, as they are known for their sound-absorbing properties.
- Tight Weave: Look for fabrics with a tight weave. Fabrics with a tighter weave will offer better soundproofing capabilities as they provide less space for sound waves to pass through. Avoid fabrics with a loose or open weave, as they may allow more sound to penetrate through the curtains.
- Double Layering: Consider using double layers of fabric for your soundproofing curtains. This adds an extra barrier to block sound waves. Choose fabrics that are compatible in terms of thickness and density to maintain the desired soundproofing abilities.
- Acoustic Properties: Some fabrics are specifically designed with acoustic properties in mind. These fabrics are engineered to absorb sound waves and reduce echo within a room. Look for fabrics labeled as acoustic or sound-absorbing for optimal soundproofing performance.
- Blackout Properties: If light control is also a concern, consider fabrics with blackout properties. These fabrics not only provide soundproofing benefits but also block out sunlight, creating a dark and peaceful environment. This is particularly useful for bedrooms or home theaters.
- Aesthetics: Choose a fabric that complements your existing decor and personal style. There is a wide range of options available in various colors, patterns, and textures. Consider the overall aesthetic of your space and select a fabric that enhances its visual appeal.
- Maintenance: Evaluate the maintenance requirements of the fabric. Opt for fabrics that are easy to clean and resistant to staining. This ensures that your soundproofing curtains remain in good condition and can be easily maintained over time.
- Budget: Consider your budget when selecting fabric for your soundproofing curtains. There is a range of options available at different price points. Keep in mind that thicker and more specialized fabrics may come at a higher cost.
When choosing the right fabric for your soundproofing curtains, consider a combination of functionality and aesthetics. It is important to strike a balance between achieving effective noise reduction and creating a visually appealing space. By selecting the appropriate fabric, you can create soundproofing curtains that not only block out unwanted noise but also enhance the overall ambiance of your room.
When choosing soundproofing curtains, look for ones with a heavyweight fabric and a dense weave to effectively block out noise. Additionally, consider adding a layer of blackout fabric to further enhance soundproofing capabilities.
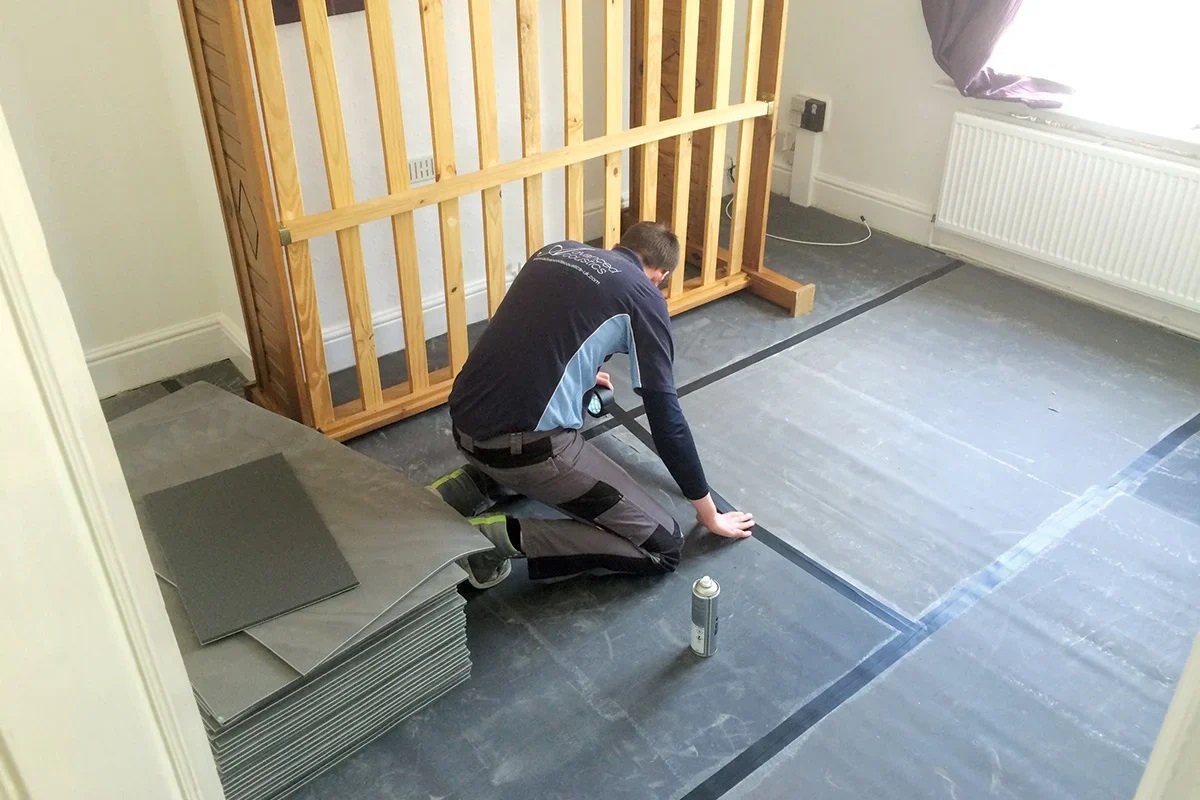
Measuring and Cutting the Curtains
Accurate measurements and precise cutting are essential for creating soundproofing curtains that fit your windows or doors perfectly. Here is a step-by-step guide on how to measure and cut your curtains:
- Measure the Window or Door: Use a measuring tape to measure the width and height of the window or door where you plan to hang the curtains. Measure from edge to edge, taking into account any frames or trim.
- Add Seam Allowances: Add a few extra inches to your measurements to account for hems and seams. This will ensure that the curtains have enough fabric to fit properly and hang correctly.
- Consider Overlap: If you want your curtains to overlap in the center when closed, subtract around 4 to 6 inches from the total width measurement. This will allow for the desired overlap when the curtains are closed.
- Calculate the Fabric Width: Determine the width of the fabric panels by dividing the total width measurement by two. This will give you the width for each curtain panel. If you want more fullness, multiply the calculated width by a factor of 1.5 to 2.
- Mark and Cut the Fabric: Using a fabric marker or chalk, mark the measurements on the fabric, taking care to mark the dimensions for both curtain panels. Use fabric scissors to cut along the marked lines, ensuring clean and straight cuts.
- Check the Length: Measure the desired length of the curtains from the top to the bottom edge. Consider whether you want the curtains to reach the floor or hang slightly above it. Make sure to add a few extra inches for the top and bottom hems.
- Mark and Cut the Length: Mark the measurements for the length on the fabric, making sure to mark both curtain panels. Use fabric scissors to cut along the marked lines, ensuring that both panels are the same length.
- Consider Lining: If you plan to add a lining fabric to your curtains, repeat the measuring and cutting process for the lining fabric. The lining should match the measurements of the main fabric.
It is important to double-check your measurements before cutting the fabric to avoid any mistakes. Remember to be precise and take your time to ensure accurate cuts. If you are unsure or want to be cautious, it’s recommended to start with slightly larger dimensions and trim the excess fabric later if needed.
By following these steps, you can ensure that your soundproofing curtains are the correct size and fit snugly on your windows or doors. Accurate measurements and precise cutting are crucial for achieving optimal noise reduction and a professional-looking end result.
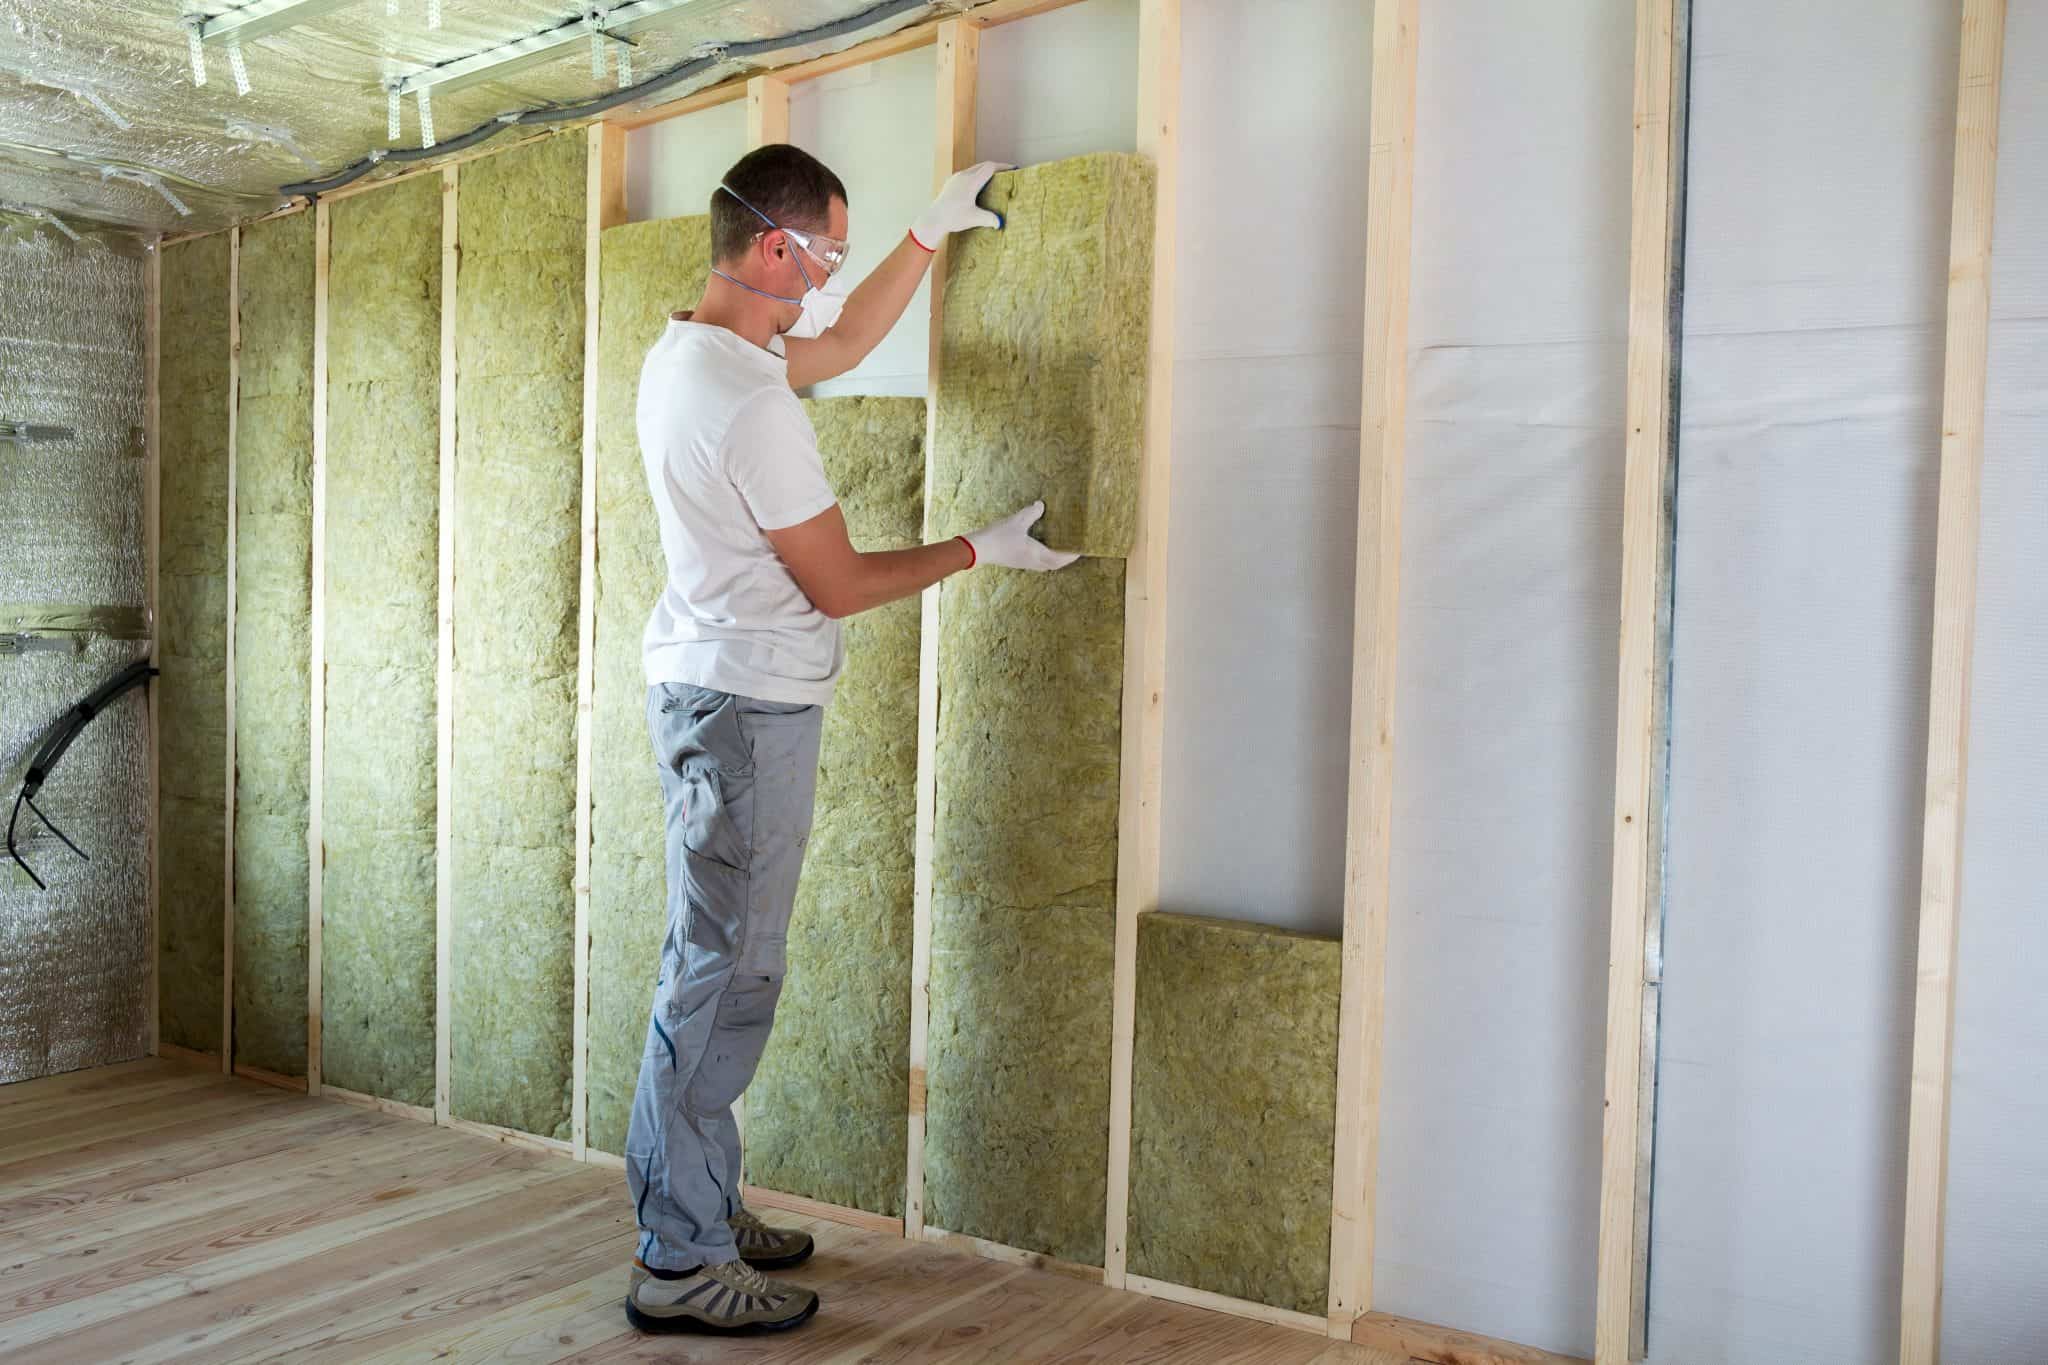
Adding Soundproofing Materials
Adding soundproofing materials to your curtains is a key step in enhancing their ability to block out unwanted noise. These materials help absorb and dampen sound waves, creating a more effective barrier. Here is a step-by-step guide on how to add soundproofing materials to your curtains:
- Choose the Right Soundproofing Material: Select the appropriate soundproofing material for your curtains. Common options include mass-loaded vinyl (MLV) and fiberglass. MLV is a dense and flexible material that effectively blocks sound, while fiberglass is known for its excellent sound absorption properties.
- Cut the Soundproofing Material: Measure the dimensions of your curtain panels and cut the soundproofing material to fit. It should be slightly smaller than the fabric panels to ensure it will be concealed within the seams when sewn together.
- Secure the Soundproofing Material: Place the soundproofing material between the layers of fabric. Ensure that it is evenly distributed, reaching the edges and corners of the curtain panels. The soundproofing material should lie flush with the fabric, with no gaps or creases.
- Pin the Layers Together: Use pins to secure the layers of fabric and the soundproofing material. Place pins along the edges of the curtain panels, making sure to secure all layers together. This will keep them in place as you sew the curtains.
- Sew the Layers Together: Using a sewing machine, sew along the edges of the curtain panels, double-checking that the soundproofing material remains in place. Sew as close to the edge as possible, ensuring that the stitches are secure and the layers are firmly attached.
- Trim Excess Material: Carefully trim any excess soundproofing material that extends beyond the edges of the curtain panels. This will help achieve clean and even seams when finishing the edges.
- Optional: Add Lining Fabric: If you want to further enhance the soundproofing capabilities of your curtains, you can add a lining fabric. Attach the lining fabric to the backside of the curtain panels, following the same steps as for the soundproofing material.
When adding soundproofing materials, it is important to ensure that they are securely attached and evenly distributed throughout the curtains. Take your time when pinning and sewing the layers together, and double-check that the soundproofing material is properly aligned with the fabric. By following these steps, you can create soundproofing curtains that effectively absorb and block out noise, creating a quieter and more peaceful environment in your living space.
Read more: How To Make Car Curtains
Sewing the Curtains
The sewing process is a crucial step in creating soundproofing curtains that are functional and visually appealing. With the right techniques and attention to detail, you can achieve professional-looking curtains that effectively block out unwanted noise. Here is a step-by-step guide on how to sew your soundproofing curtains:
- Prepare the Sewing Machine: Set up your sewing machine with the appropriate thread and needle for the fabric you are using. Ensure that the machine is threaded correctly and that the tension is adjusted properly.
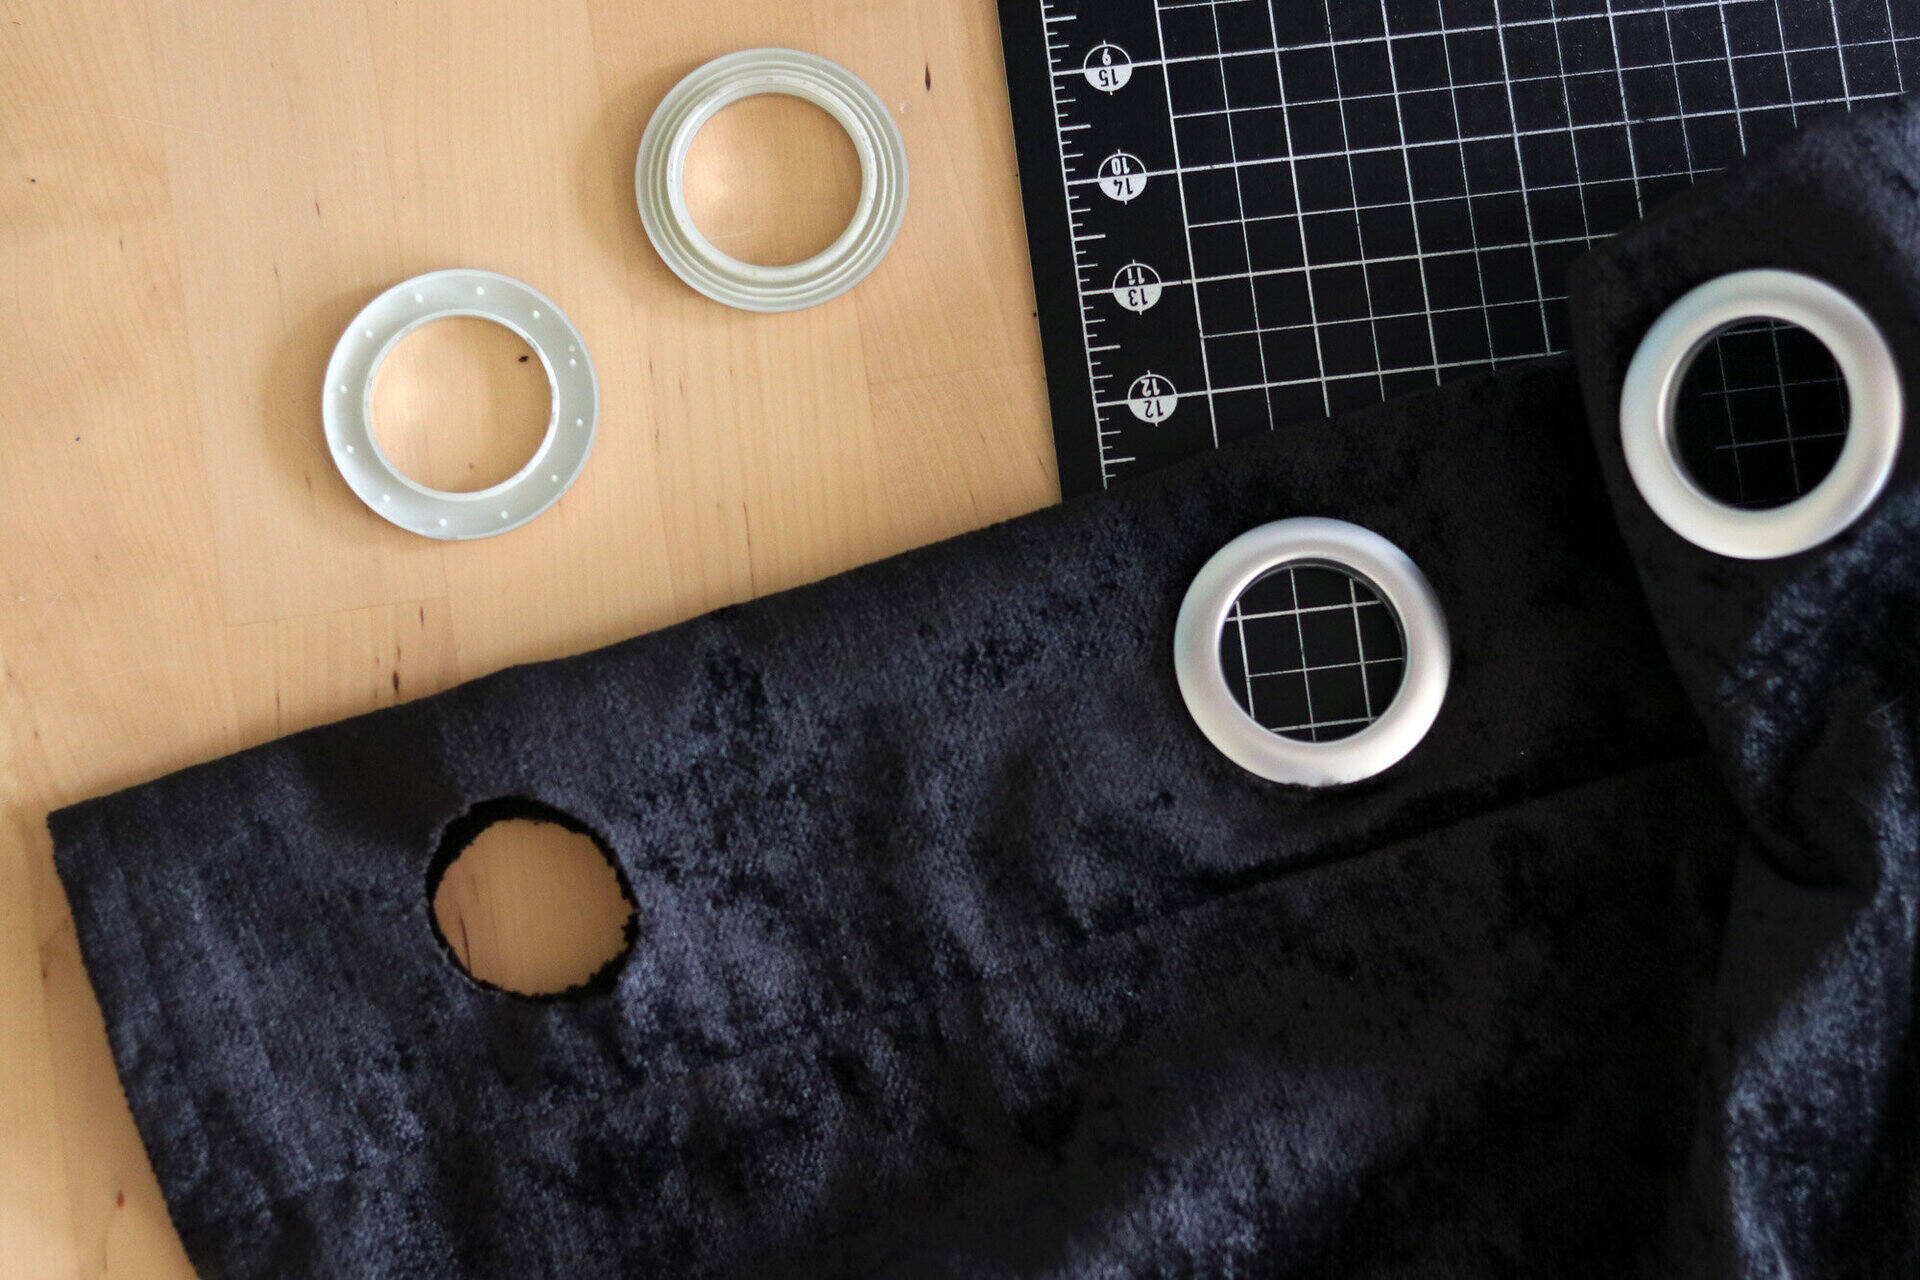
- Pin the Layers: Place the curtain panels with the right sides of the fabric facing each other. Pin along the sides and bottom, securing the layers together. Leave the top open for inserting curtain hooks or a rod.
- Start at the Bottom Corner: Begin sewing at one bottom corner of the curtain panel. Use a straight stitch or a stitch recommended for your fabric type. Backstitch at the beginning and end of the seam for extra durability.
- Stitch Along the Edges: Sew along the sides and bottom of the curtain panel, removing pins as you go. Use a seam allowance of ½ to 1 inch, depending on your preference and the weight of the fabric. Ensure that your stitches are straight and evenly spaced.
- Optional: Add Finishing Touches: If desired, add decorative details or trims to enhance the appearance of your curtains. This can include adding a contrasting binding to the edges or attaching decorative tassels or pom-poms.
- Hem the Top: Fold over the top of the curtain panel to create a hem that is wide enough to accommodate your curtain hooks or rod. Pin and sew the hem, ensuring that it is securely held in place.
- Remove Excess Threads and Press: Trim any excess threads and press your curtains with an iron, using a low heat setting suitable for your fabric. This will help achieve a neat and professional finish.
- Repeat for Other Curtain Panel: Repeat the above steps for the second curtain panel, ensuring that both panels are sewn and finished identically.
- Optional: Add Lining: If you have chosen to add a lining fabric, sew it to the backside of the curtain panels following the same steps as for the main fabric. The lining should match the measurements and shape of the curtain panels.
Take your time when sewing your curtains, paying attention to straight stitches and even seam allowances. Ensure that your stitches are secure and that the layers of fabric are held together firmly. Adding decorative details or trims can add a personalized touch to your curtains, enhancing their overall appearance. Remember to approach the sewing process with patience and precision, as it will greatly contribute to the final outcome of your soundproofing curtains.
Hanging and Testing the Soundproofing Curtains
After all the hard work of creating your soundproofing curtains, it’s time to hang them up and put them to the test. Proper installation and testing are crucial to ensure that your curtains effectively block out unwanted noise. Here is a step-by-step guide on how to hang and test your soundproofing curtains:
- Gather the Necessary Tools: Before you begin, make sure you have the necessary tools for hanging curtains. This may include a drill, curtain rods or tracks, screws, and any additional hardware specific to your window or door.
- Install the Curtain Rod or Track: Follow the manufacturer’s instructions to install the curtain rod or track securely. Use a level to ensure that it is perfectly straight.
- Attach Curtain Hooks or Rings: If you are using curtain hooks or rings, attach them to the top hem of each curtain panel. Space them evenly along the width, ensuring that the panels hang smoothly.
- Hang the Curtains: Slide the curtain hooks or rings onto the curtain rod or track. Adjust the curtains so that they are evenly spaced and hang at the desired length.
- Test for Noise Reduction: Close the soundproofing curtains and stand in the room where you want to reduce noise. Pay attention to the level of sound coming from outside. Observe any changes in noise level and assess the effectiveness of the curtains in blocking out unwanted noise. Compare the difference with the curtains open and closed.
- Making Adjustments: If you notice any gaps or areas where noise is still coming through, assess the source of the issue. It may be necessary to add extra soundproofing material or reinforce seams to improve performance. Make any necessary adjustments to ensure the curtains effectively reduce noise.
- Enjoy the Benefits: Sit back and enjoy the quieter and more peaceful environment created by your soundproofing curtains. Take time to appreciate the reduced noise and improved acoustics in your space.
It’s important to note that while soundproofing curtains can significantly reduce noise, they may not completely eliminate it. The effectiveness of the curtains will depend on factors such as the thickness of the fabric and soundproofing materials, the level of noise outside, and the overall structure of your space.
If the soundproofing curtains have not provided the desired level of noise reduction, consider revisiting the process and making any necessary adjustments. Experiment with different soundproofing materials or add additional layers of fabric to improve the curtains’ sound-absorbing capabilities.
By following these steps, you can hang and test your soundproofing curtains with confidence. Enjoy the quieter and more peaceful ambiance in your space, knowing that your DIY project has successfully minimized unwanted noise.
Maintenance and Care Tips
Maintaining and caring for your soundproofing curtains is essential to ensure their longevity and continued effectiveness. With proper care, you can extend the lifespan of your curtains and keep them in optimal condition. Here are some maintenance and care tips to follow:
- Regular Cleaning: Dust and debris can accumulate on your curtains over time, so it’s important to clean them periodically. Check the care instructions for your specific fabric and follow the recommended cleaning method. Most fabrics can be either hand-washed or machine-washed on a gentle cycle with mild detergent. Avoid using harsh chemicals or bleaching agents that can damage the fabric.
- Spot Cleaning: If you notice any spills or stains on your curtains, address them promptly. Blot the area with a clean cloth or sponge and mild soap and water solution. Avoid rubbing or scrubbing vigorously, as this can damage the fabric. Test any cleaning solution on a small, inconspicuous area of the curtain first to ensure it does not cause any discoloration or damage.
- Regular Maintenance: Inspect your curtains regularly for any signs of wear and tear. Check the seams, hems, and attachment points to ensure they are secure. Repair any loose threads or seams as soon as possible to prevent further damage.
- Protect from Sunlight: Direct and prolonged exposure to sunlight can cause fading or discoloration of your curtains. Use curtains lining or blinds to protect them from excessive UV rays. If possible, rotate or reposition your curtains periodically to distribute the sunlight exposure evenly and minimize fading.
- Proper Storage: If you need to temporarily remove your soundproofing curtains, store them properly to prevent damage. Ensure they are clean and fully dry before folding and storing them in a dry, well-ventilated area. Avoid crushing or compressing them excessively, as this can lead to wrinkles or creases that may be difficult to remove.
- Address Mold or Mildew: Mold or mildew can develop on curtains in damp environments. If you notice any signs of mold or mildew growth, treat it immediately. Remove the affected area using a mixture of water and mild detergent or a vinegar solution. Ensure the curtains are fully dry before rehanging them to prevent further mold or mildew growth.
- Professional Cleaning: For heavily soiled curtains, or if you are unsure about the proper cleaning method for your fabric, consider consulting a professional curtain cleaner. They will have the expertise and tools to clean and restore your curtains effectively.
Following these maintenance and care tips will help preserve the quality and performance of your soundproofing curtains for years to come. By keeping them clean and in good condition, you can continue to enjoy the benefits of reduced noise and improved acoustics in your space.
Remember that the specific maintenance requirements may vary depending on the fabric you have chosen, so always refer to the care instructions provided by the manufacturer for the best results.
Conclusion
Soundproofing curtains offer a practical and cost-effective solution for reducing noise and creating a more peaceful environment in your home or office. By blocking out external noises, these specially designed curtains help create a quieter and more comfortable living space. Whether you are dealing with traffic sounds, loud neighbors, or want to enhance the acoustics of a room, soundproofing curtains can make a significant difference.
In this article, we have explored what soundproofing curtains are and discussed their numerous benefits. We have covered the factors to consider before making soundproofing curtains, providing you with insights to make informed decisions. The step-by-step guide we provided helps you navigate the process of making your own soundproofing curtains, from measuring and cutting the fabric to sewing and hanging the curtains with precision.
By choosing the right fabric, adding soundproofing materials, and ensuring proper installation, you can maximize the effectiveness of your soundproofing curtains. Remember to regularly maintain and care for your curtains by following the provided maintenance tips to ensure their longevity and optimal performance.
Soundproofing curtains offer not only noise reduction, but also enhanced privacy, improved sleep quality, energy efficiency, and improved acoustics. They are a versatile and customizable option that can be tailored to suit your style and decor preferences.
So, if you are tired of dealing with unwanted noise infiltrating your living space, consider making your own soundproofing curtains. With the information and guidelines provided in this article, you can embark on the journey of creating a quieter and more comfortable environment for yourself and your loved ones.
By implementing soundproofing curtains, you can transform your space into a tranquil oasis, free from the disturbances of the outside world. Enjoy the serenity and peace that soundproofing curtains can bring, and experience the joy of a more harmonious and noise-controlled living or working space.
Frequently Asked Questions about How To Make Soundproofing Curtains
Was this page helpful?
At Storables.com, we guarantee accurate and reliable information. Our content, validated by Expert Board Contributors, is crafted following stringent Editorial Policies. We're committed to providing you with well-researched, expert-backed insights for all your informational needs.


0 thoughts on “How To Make Soundproofing Curtains”