Articles
How To Soundproof A Ceiling In An Apartment
Modified: October 20, 2024
Discover effective techniques and materials to soundproof the ceiling in your apartment with our informative articles. Enhance your living space and create a peaceful environment.
(Many of the links in this article redirect to a specific reviewed product. Your purchase of these products through affiliate links helps to generate commission for Storables.com, at no extra cost. Learn more)
Introduction
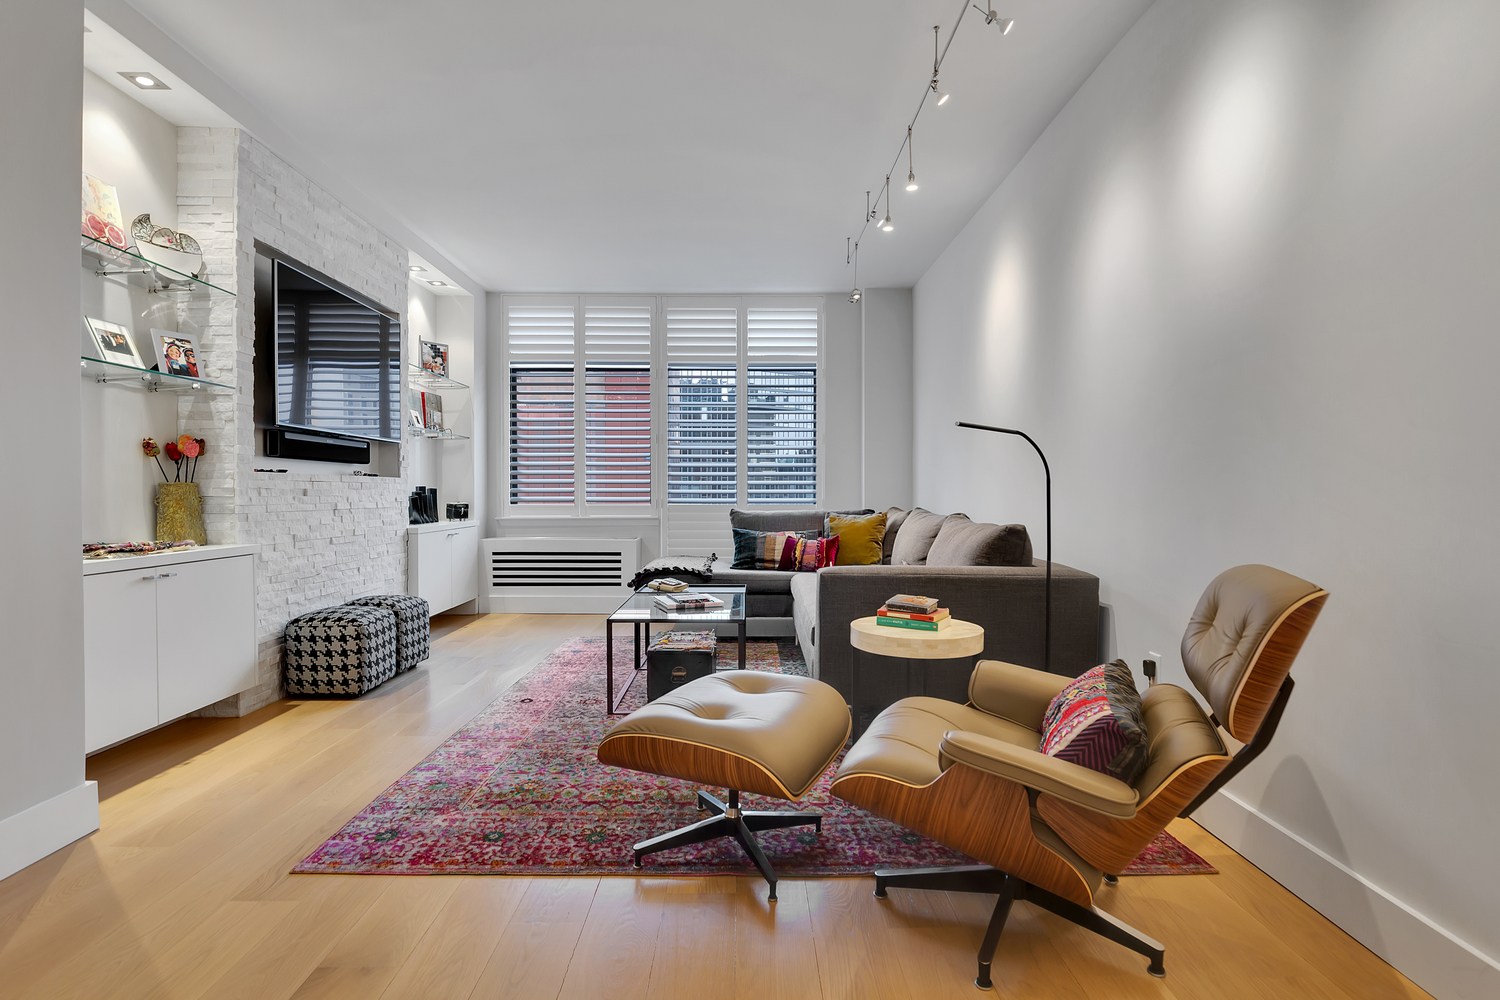
Living in an apartment can be convenient and comfortable, but it often comes with its share of noise disturbances. Whether it’s noisy neighbors, street traffic, or other external factors, the constant noise can disrupt your peace and tranquility. One effective solution to combat these issues is to soundproof your ceiling. By soundproofing your ceiling, you can significantly reduce the amount of noise that enters your living space, creating a quieter and more peaceful environment.
In this article, we will guide you through the process of soundproofing a ceiling in an apartment. We will discuss various methods and materials that can help mitigate noise and improve the overall acoustic quality of your living space. So, let’s dive in and learn how to soundproof your apartment ceiling!
Key Takeaways:
- Assess the specific noise issues in your apartment by identifying the source, measuring noise levels, analyzing the structure, and determining the type of noise. This will help you develop a targeted soundproofing strategy tailored to your needs.
- Utilize a combination of soundproofing materials such as mass loaded vinyl, acoustic panels, fiberglass insulation, green glue, and soundproofing foam to effectively reduce noise transmission and create a quieter, more peaceful living space.
Read more: How To Soundproof A Basement Ceiling
Assessing the Noise Problems in Your Apartment
Before embarking on the soundproofing process, it’s crucial to identify the specific noise problems in your apartment. Different noises may require different soundproofing techniques, so understanding the sources of the noise will help you determine the most effective approach. Here are some steps to assess the noise problems:
- Identify the source: Take some time to listen and pinpoint where the noise is coming from. Is it from the neighbors above or adjacent apartments? Is external noise seeping through the walls or windows? Understanding the source of the noise will help you focus your soundproofing efforts.
- Measure the noise level: Use a decibel meter or smartphone app to measure the noise level in the affected areas of your apartment. This will give you an objective measurement and help you gauge the effectiveness of your soundproofing efforts.
- Analyze the structure: Assess the construction of your apartment and identify potential avenues for noise transmission. Are there gaps, cracks, or thin walls that allow sound to pass through easily? Understanding the weaknesses in the structure will help you tailor the soundproofing methods accordingly.
- Determine the type of noise: Different types of noise require different approaches. Is it impact noise from footsteps or airborne noise like voices and music? Knowing the type of noise will help you choose the appropriate soundproofing materials and techniques.
By thoroughly assessing the noise problems in your apartment, you can develop a targeted soundproofing strategy that addresses the specific issues you are facing. Taking the time to understand the source, level, structure, and type of noise will ensure that you invest your efforts and resources wisely in the soundproofing process.
Understanding Different Types of Soundproofing Materials
When it comes to soundproofing your apartment ceiling, there are various materials available that can help you achieve better sound insulation. Understanding the different types of soundproofing materials will allow you to choose the most suitable options for your specific needs. Here are some common materials used in ceiling soundproofing:
- Mass Loaded Vinyl (MLV): MLV is a dense and flexible material that effectively blocks sound transmission. It is typically installed between layers of drywall or plasterboard to add mass and improve soundproofing. MLV is a popular choice for its high soundproofing performance.
- Acoustic Panels: Acoustic panels are designed to absorb sound waves and reduce echo. These panels are made of sound-absorbing materials such as foam or fiberglass and can be mounted on the ceiling to improve the acoustics of the room. Acoustic panels come in various sizes, shapes, and designs for aesthetic flexibility.
- Fiberglass Insulation: Fiberglass insulation is a common soundproofing material that is used to reduce airborne noise. It is typically installed between ceiling joists to trap sound waves and prevent them from traveling to other parts of the apartment. Fiberglass insulation is easy to install and provides good thermal insulation as well.
- Green Glue: Green Glue is a viscoelastic compound that is applied between layers of drywall or plywood. It converts sound energy into heat, effectively dampening vibrations and reducing sound transmission. Green Glue is ideal for retrofitting existing ceilings without the need for major construction.
- Soundproofing Foam: Soundproofing foam, also known as acoustic foam or egg crate foam, is designed to absorb sound waves and reduce reverberation. It is commonly used in recording studios, but can also be applied to apartment ceilings to improve sound insulation.
Each type of soundproofing material has its own unique properties and advantages. Depending on your specific noise problems and budget, you can choose a combination of these materials to achieve optimal soundproofing results. It’s important to research and consult with professionals to determine which materials will work best for your apartment ceiling.
Preparing the Ceiling for Soundproofing
Before you begin the installation of soundproofing materials, it’s essential to properly prepare the ceiling surface. Proper preparation will ensure that the soundproofing materials adhere well and provide optimal noise reduction. Here are the steps to prepare your ceiling for soundproofing:
- Clean the ceiling: Remove any dust, dirt, or debris from the ceiling surface using a soft brush or vacuum cleaner. A clean surface allows for better adhesion of soundproofing materials.
- Repair any existing damage: Inspect the ceiling for cracks, holes, or other damage. Fill in any gaps with spackling compound and smoothen the surface with sandpaper. This will create a seamless and even surface for the soundproofing materials.
- Ensure proper ventilation: Check for adequate ventilation in the room before soundproofing. Proper ventilation will prevent moisture buildup, which can lead to mold or mildew growth in the soundproofing materials.
- Remove fixtures and fittings: If there are any light fixtures, ceiling fans, or other fittings attached to the ceiling, carefully remove them before starting the soundproofing process. This will make the installation easier and ensure that the soundproofing materials cover the entire ceiling surface.
- Protect walls and floors: Cover the walls and floors with drop cloths or plastic sheets to protect them from any dust, debris, or adhesive during the soundproofing process. This will make the cleanup process much easier.
By properly preparing the ceiling surface, you create a clean and smooth canvas for the soundproofing materials. This ensures that the materials adhere well and perform optimally in reducing noise transmission. Taking the time to prepare the ceiling will contribute to the overall effectiveness and longevity of your soundproofing efforts.
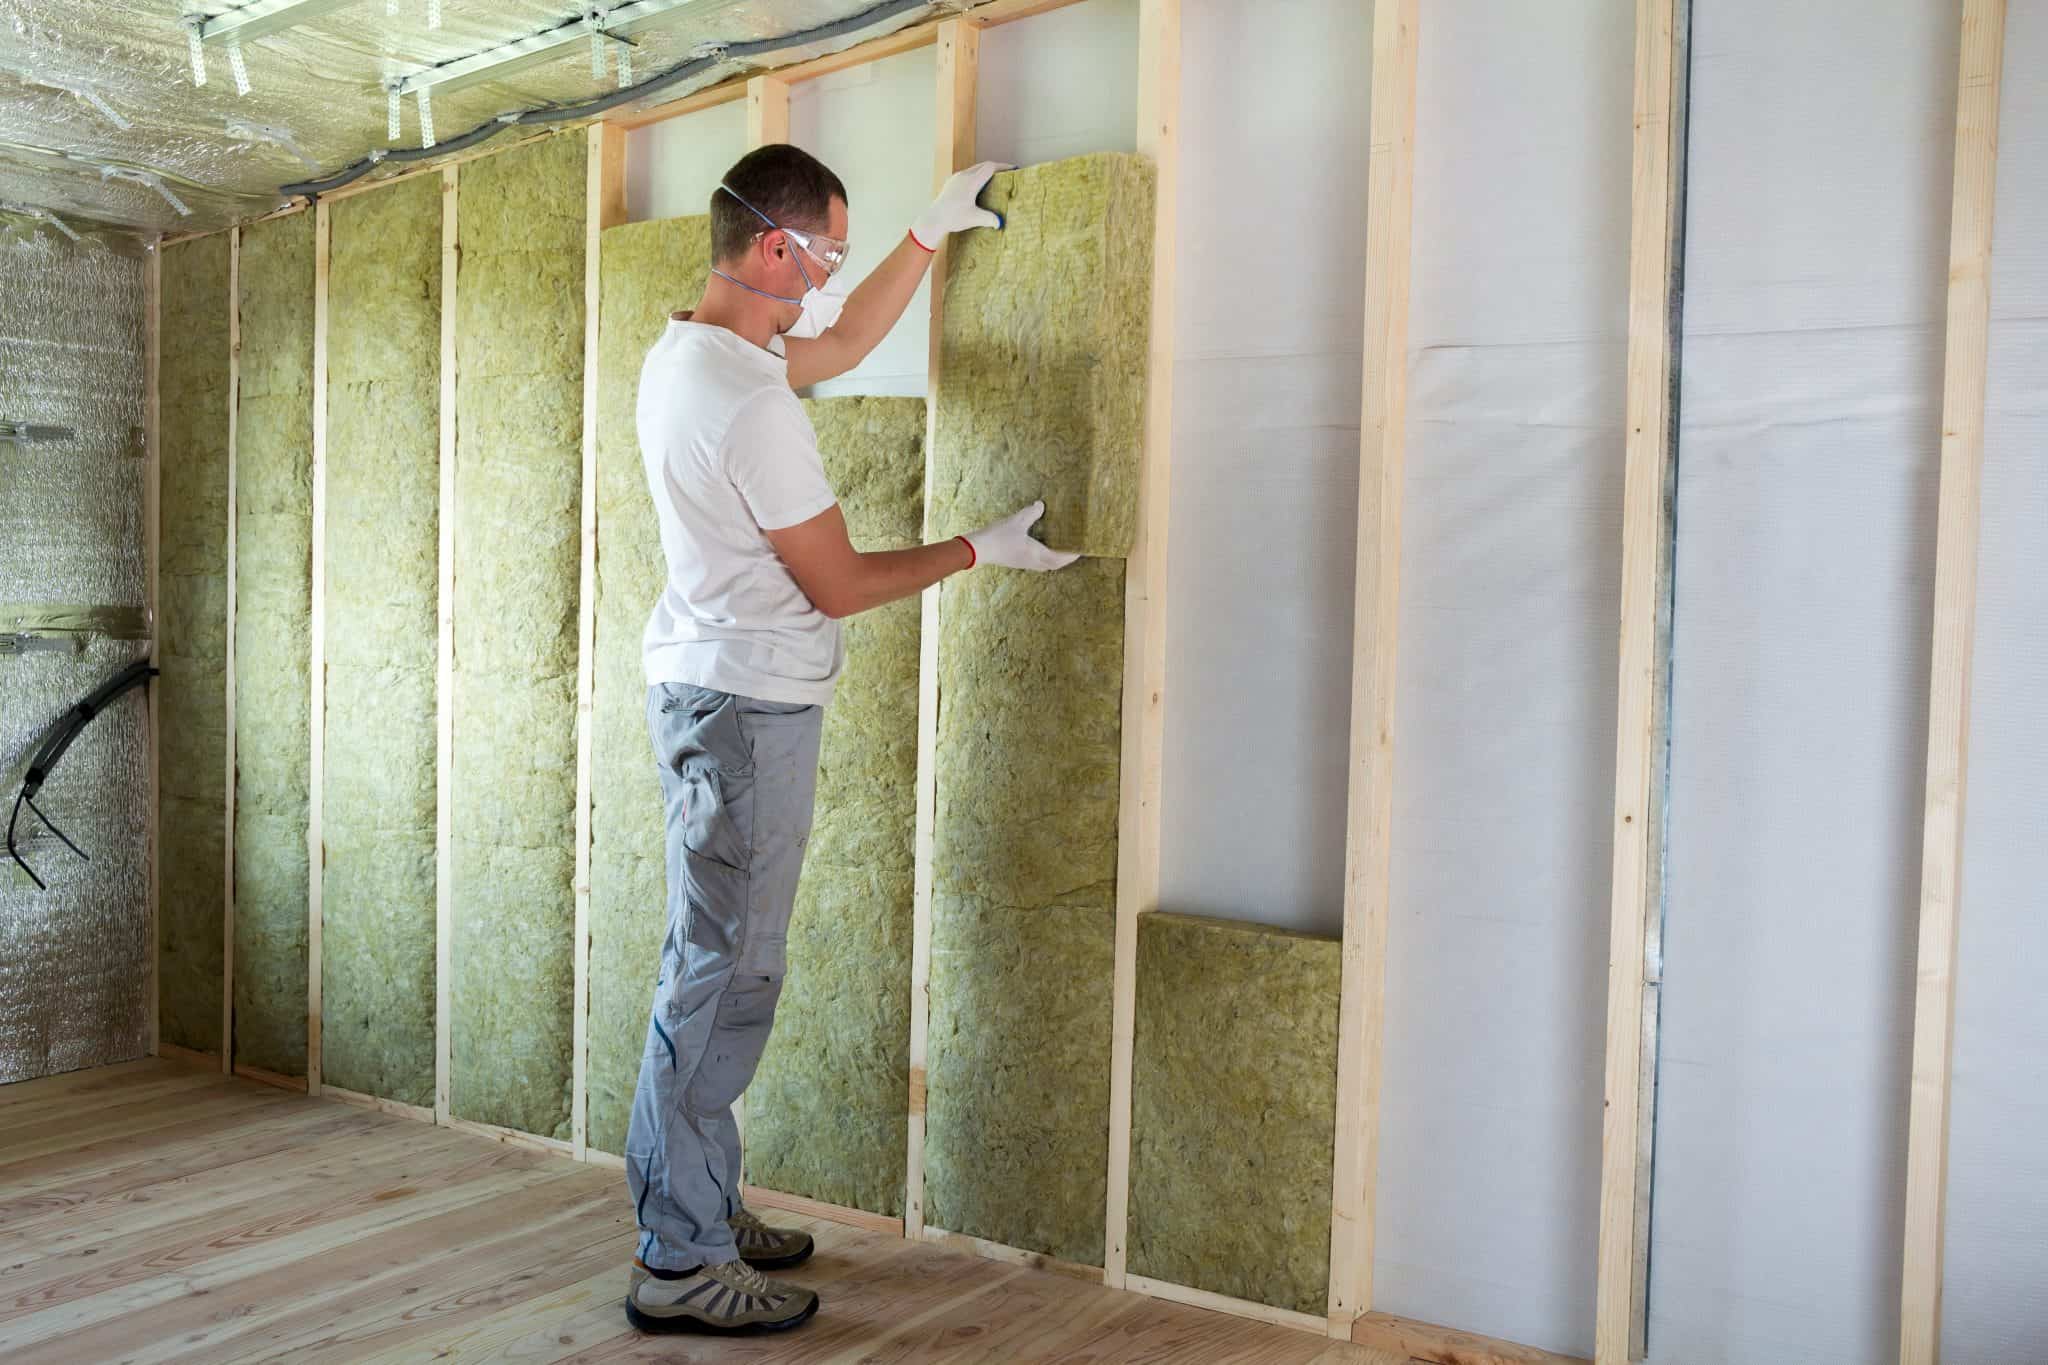
Installing Soundproofing Insulation
Soundproofing insulation is a crucial component in reducing airborne noise and improving soundproofing performance. It acts as a barrier to absorb and trap sound waves, preventing them from traveling to other parts of your apartment. Here is a step-by-step guide to installing soundproofing insulation in your ceiling:
- Measure and cut the insulation: Measure the dimensions of the ceiling area and cut the soundproofing insulation accordingly. Use a utility knife or insulation cutter to achieve precise cuts.
- Wear protective gear: Before handling the insulation, it’s important to wear protective gear such as gloves, goggles, and a mask to protect yourself from fiberglass particles.
- Position the insulation: Place the insulation between the ceiling joists, ensuring a snug fit. Gently press it into place, making sure there are no gaps or spaces.
- Secure the insulation: Use insulation supports or wire clips to keep the insulation in place. This will prevent shifting or sagging over time.
- Repeat for the entire ceiling: Continue installing the soundproofing insulation in all areas of the ceiling, covering the entire surface.
- Seal any gaps: Inspect the installed insulation for any gaps or spaces. Use caulk or spray foam to seal any openings, ensuring airtightness and preventing sound leakage.
Soundproofing insulation is an effective way to reduce airborne noise in your apartment. It not only improves the sound insulation but also enhances thermal insulation, making your living space more energy-efficient. Make sure to follow proper safety procedures when handling the insulation materials and take the necessary precautions to protect yourself.
Remember, soundproofing insulation is just one part of the overall soundproofing process. Combining it with other soundproofing techniques, such as using acoustic panels or soundproofing paint, will yield the best results in creating a quieter and more peaceful living environment.
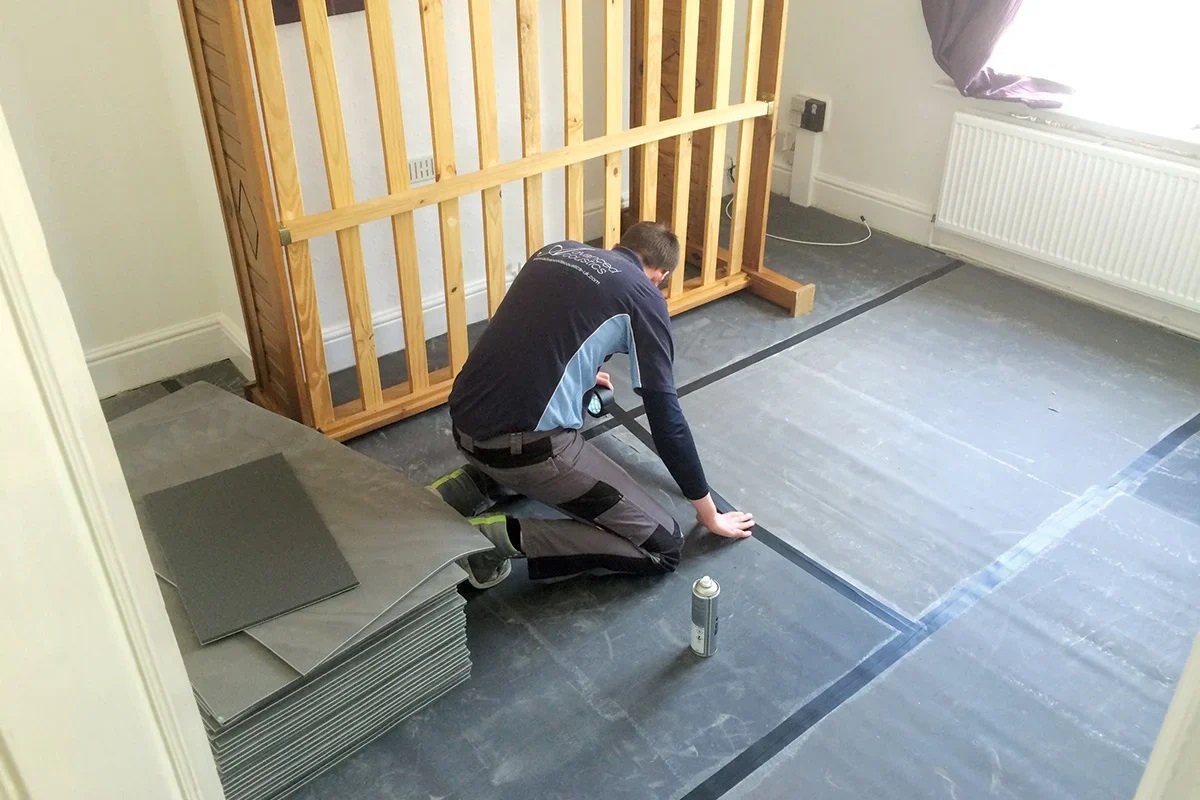
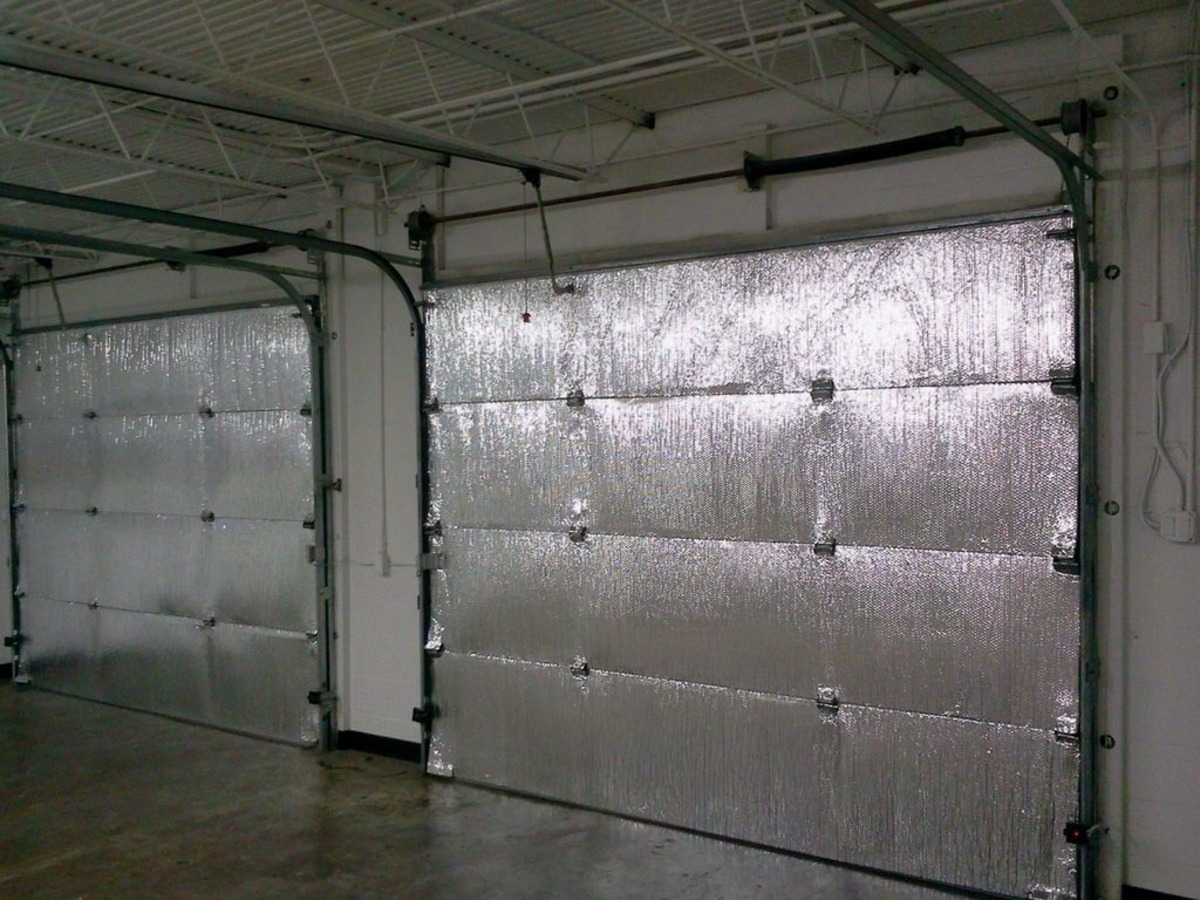
Applying Soundproofing Panels or Tiles
Soundproofing panels or tiles are an excellent addition to your ceiling soundproofing efforts, as they provide both sound absorption and a visually appealing finish. These panels or tiles are designed to reduce echo and block noise transmission. Here’s a step-by-step guide on how to apply soundproofing panels or tiles to your apartment ceiling:
- Measure the ceiling: Measure the dimensions of the ceiling and determine the number of panels or tiles required. This will help you plan the layout and ensure a precise installation.
- Prepare the panels or tiles: If the panels or tiles require any cutting or trimming to fit specific areas, use a utility knife or appropriate cutting tool to achieve the desired dimensions.
- Clean the ceiling: Ensure the ceiling surface is clean and free of any dust or debris. This will allow for better adhesive adherence and a more secure installation.
- Apply adhesive: Depending on the type of panels or tiles, apply the recommended adhesive to the back or edges. Follow the manufacturer’s instructions for the proper application of the adhesive.
- Position the panels or tiles: Carefully place the panels or tiles on the ceiling, aligning them with each other and the desired layout. Apply gentle pressure to ensure a secure bond with the adhesive.
- Secure the panels or tiles: Use screws, nails, or other recommended fasteners to further secure the panels or tiles to the ceiling. This will provide additional support and prevent them from falling or sagging over time.
- Finishing touches: Once all the panels or tiles are in place, check for any gaps or uneven surfaces. Fill in any gaps with caulk or sealant to ensure a seamless and professional finish.
Soundproofing panels or tiles not only enhance the acoustic quality of your apartment but also add a decorative element to the ceiling. They come in a variety of designs, colors, and materials, allowing you to choose a style that complements your overall aesthetic. Consider combining different types of panels or tiles to create a visually interesting and effective soundproofing solution.
Proper installation and adherence to safety guidelines are crucial when working with adhesives and fasteners. Follow the manufacturer’s instructions and take the necessary precautions to ensure a safe and successful application of the soundproofing panels or tiles.
Consider using soundproofing materials such as acoustic panels, mass loaded vinyl, and ceiling clouds to reduce noise transfer from upstairs neighbors. These materials can be easily installed and are effective in minimizing sound transmission.
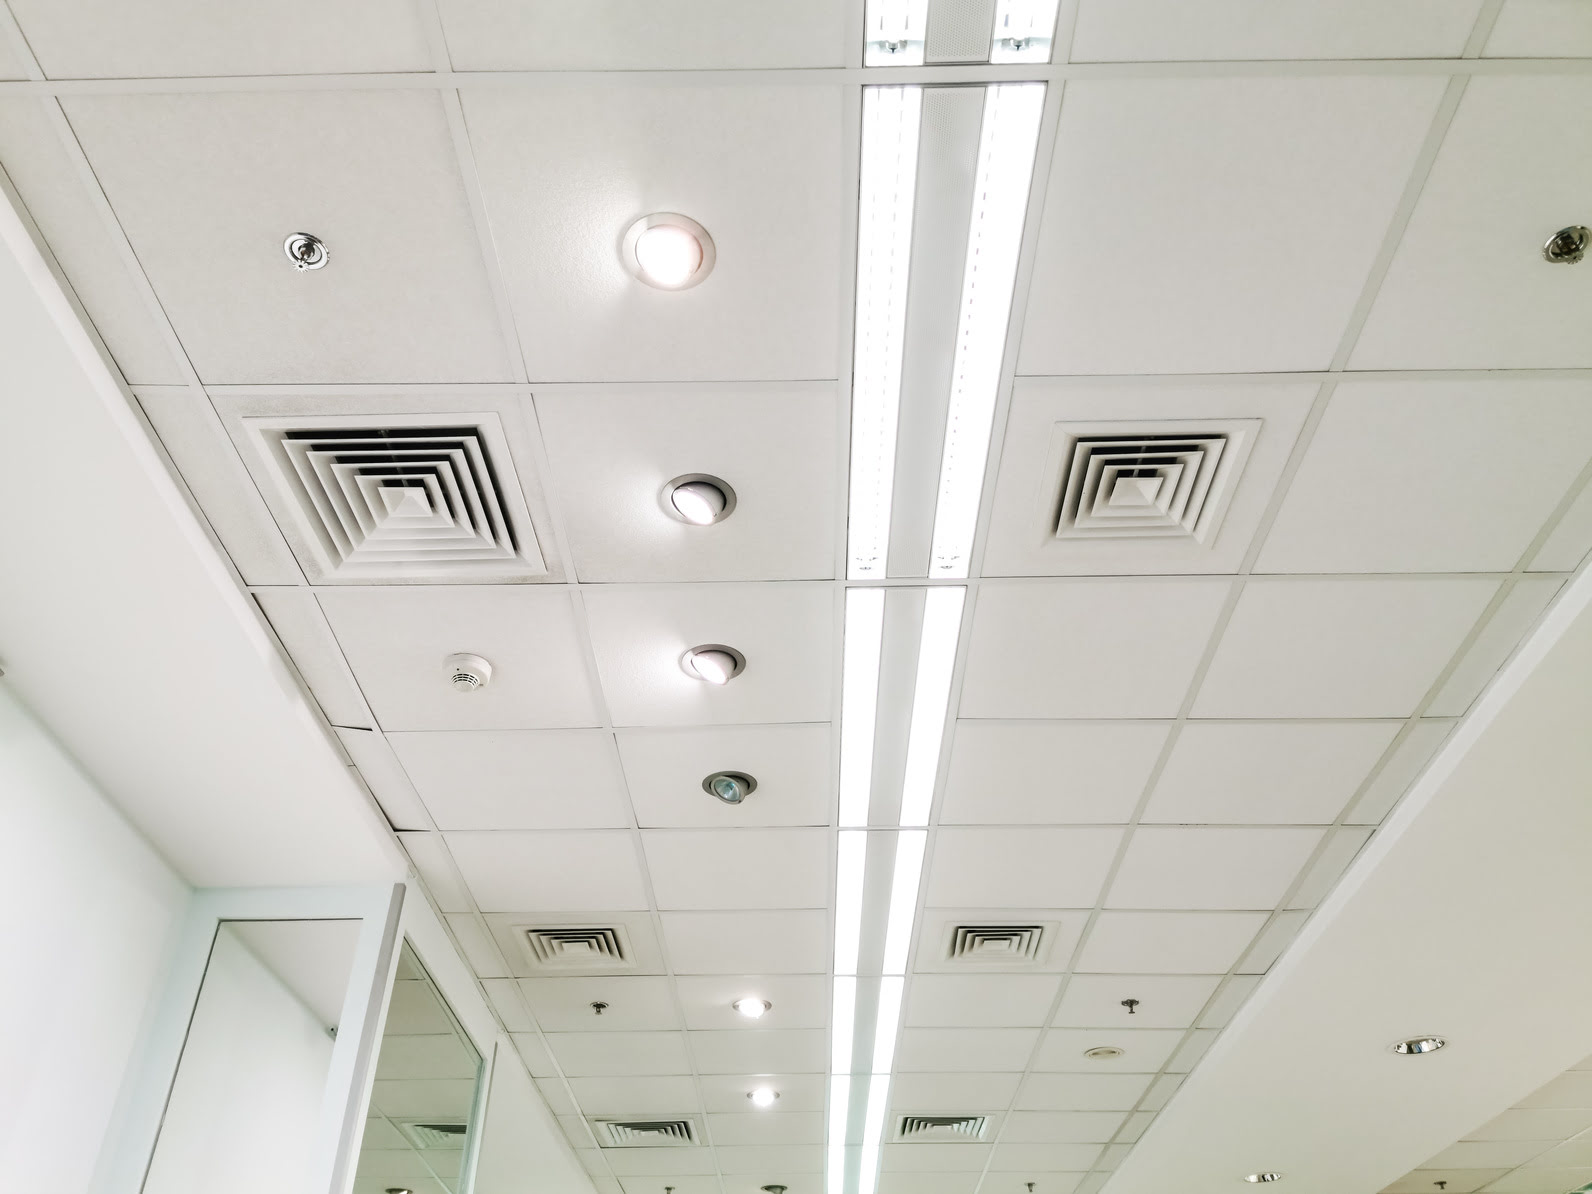
Sealing Cracks and Gaps in the Ceiling
One of the often overlooked aspects of soundproofing a ceiling is sealing any cracks or gaps that may allow noise to pass through. These small openings can significantly impact the effectiveness of your soundproofing efforts. Here’s a step-by-step guide on how to seal cracks and gaps in your apartment ceiling:
- Identify the cracks and gaps: Carefully inspect the ceiling for any visible cracks, gaps, or joints where noise can escape or enter. Pay attention to areas where the ceiling meets the walls, electrical outlets, light fixtures, and vents.
- Clean the areas: Before sealing, use a soft brush or vacuum cleaner to remove any dust, debris, or loose materials from the cracks and gaps. Clean surfaces ensure better adhesion and a more effective seal.
- Choose the right sealant: Depending on the size and location of the cracks and gaps, select an appropriate sealant such as caulk, silicone, or foam. Consider factors like flexibility, durability, and acoustic properties when making your choice.
- Apply the sealant: Use a caulking gun or other application tool to carefully apply the sealant along the cracks and gaps. Ensure that the sealant fills the entire space and creates a complete seal. Smooth out the sealant with a caulk smoother or your finger for a professional finish.
- Clean up excess sealant: Immediately clean up any excess sealant before it dries. Use a damp cloth or sponge to wipe away the excess and create a neat and tidy seal.
- Allow the sealant to dry: Follow the manufacturer’s instructions regarding the drying time of the sealant. Avoid touching or disturbing the sealed areas until the sealant is fully cured.
- Inspect and repeat if necessary: After the sealant has dried, inspect the sealed areas for any missed spots or gaps. If necessary, apply additional sealant to ensure a complete and effective seal.
By sealing cracks and gaps in your apartment ceiling, you create an airtight barrier that prevents noise leakage. This step complements the soundproofing insulation and materials, ensuring optimal noise reduction and acoustic performance.
Remember, proper surface preparation, careful application, and the use of appropriate sealants are essential for achieving a solid and durable seal. Take your time and pay attention to detail to ensure a professional finish and long-lasting results.
Using Soundproofing Paint or Wallpaper
Soundproofing paint or wallpaper is another effective method to enhance the soundproofing capabilities of your apartment ceiling. These specialized products are designed to reduce noise transmission by adding an additional sound-absorbing layer to the surface. Here’s a step-by-step guide on how to use soundproofing paint or wallpaper:
- Choose the right product: Research and select a soundproofing paint or wallpaper that has good acoustic properties. Look for products with high Sound Transmission Class (STC) ratings, as they are more effective in blocking noise.
- Prepare the surface: Clean the ceiling surface and make sure it is smooth, dry, and free of any dust or debris. Repair any cracks or imperfections before applying the soundproofing paint or wallpaper.
- Follow the manufacturer’s instructions: Read and understand the instructions provided by the manufacturer of the soundproofing paint or wallpaper. Make note of any specific preparation or application techniques recommended for the product you have chosen.
- Apply the soundproofing paint or wallpaper: Use a roller brush or paintbrush to apply the soundproofing paint directly onto the ceiling surface. If using soundproofing wallpaper, follow the instructions for proper installation, including soaking it in water and allowing it to expand before hanging it on the ceiling.
- Allow for proper drying or curing: Give adequate drying or curing time as specified by the manufacturer. This will ensure that the soundproofing paint or wallpaper forms a solid and durable layer on the ceiling.
- Consider multiple coats: Depending on the level of soundproofing desired, you may need to apply multiple coats of soundproofing paint or additional layers of soundproofing wallpaper. Follow the manufacturer’s recommendations for best results.
- Finish the installation: Once the soundproofing paint or wallpaper has dried or cured, evaluate the finished application. Inspect for any missed spots or areas that need touch-ups. Make any necessary adjustments to achieve a complete coverage.
Soundproofing paint or wallpaper provides an additional layer of sound absorption to your apartment ceiling, enhancing its ability to block noise. It can be a convenient and cost-effective solution, especially if you prefer not to undertake major construction work or use bulky soundproofing materials.
However, it’s important to note that soundproofing paint or wallpaper may not provide the same level of sound reduction as other soundproofing materials. It is best used in combination with other soundproofing techniques for optimal results.
Before purchasing soundproofing paint or wallpaper, consider consulting with a professional or conducting thorough research to understand its limitations and determine if it is the right choice for your specific noise problems.
Installing Soundproofing Acoustic Panels
Soundproofing acoustic panels are a popular and effective solution for reducing noise and improving the acoustics of your apartment ceiling. These panels are specifically designed to absorb sound waves and minimize echo, creating a more pleasant and quiet environment. Here’s a step-by-step guide on how to install soundproofing acoustic panels:
- Measure the ceiling: Determine the number of panels needed by measuring the dimensions of the ceiling. Consider the layout and placement of the panels to ensure a balanced distribution.
- Prepare the panels: If the acoustic panels require any trimming or customization, use a sharp utility knife or saw to achieve the desired dimensions.
- Mark the installation points: Use a pencil or marker to mark the desired locations for the panels on the ceiling. Ensure that the marks are level and evenly spaced for a visually balanced installation.
- Apply adhesive or mounting hardware: Depending on the type of acoustic panels and the surface of your ceiling, apply the recommended adhesive or mounting hardware to the back of the panels. Follow the manufacturer’s instructions for proper application.
- Attach the panels to the ceiling: Carefully position the panels on the marked spots and press them firmly against the ceiling. Ensure that they are aligned properly and adhere securely to the surface.
- Secure the panels (if necessary): If the adhesive alone is not sufficient or if the panels are heavy, use additional screws or nails through the mounting hardware to secure them to the ceiling. Make sure to choose appropriate fasteners and follow proper installation guidelines.
- Repeat for all panels: Install each panel following the same process, ensuring a consistent and aesthetically pleasing arrangement.
- Check for any gaps or alignment issues: Once all the panels are installed, inspect the ceiling for any gaps or misalignments. Make any necessary adjustments to achieve a seamless and uniform appearance.
Soundproofing acoustic panels offer both functional and aesthetic benefits. They provide effective noise absorption, reducing echo and improving the overall acoustics of your apartment. Moreover, acoustic panels come in a variety of colors, textures, and designs, allowing you to customize your ceiling to suit your personal style and preferences.
It’s important to follow the manufacturer’s instructions for proper installation, including the use of recommended adhesives or mounting hardware. This will ensure secure and long-lasting placement of the acoustic panels on your ceiling.
By installing soundproofing acoustic panels, you can transform your apartment into a quieter and more enjoyable space, free from excessive noise and reverberation.
Read more: How Far Apart Are Ceiling Studs
Soundproofing the Rest of the Room
While focusing on soundproofing the ceiling is essential, it’s also important to address noise transmission from other sources within the room. By implementing additional soundproofing techniques, you can create a more peaceful and serene living space. Here are some steps to soundproof the rest of the room:
- Seal windows and doors: Use weatherstripping or draft stoppers to seal any gaps or cracks around windows and doors. This will prevent outside noise from seeping into the room.
- Hang drapes or curtains: Use heavy, thick curtains or drapes to cover windows. These will act as a barrier to sound and help absorb noise coming from outside.
- Place rugs or carpets: Lay down thick rugs or wall-to-wall carpets to reduce impact noise and minimize sound reflection in the room.
- Fill bookcases or shelves: Fill bookcases or shelves with books or other objects to add mass and absorb sound waves. This will help reduce echo and improve the overall acoustics of the room.
- Use soundproofing panels: Install soundproofing panels on walls to further enhance insulation and reduce noise transmission from neighboring rooms or areas.
- Consider installing soundproofing curtains: Soundproofing curtains are specifically designed to block noise and provide additional insulation. They can be a valuable addition to windows or doorways, further reducing noise transfer.
- Minimize hard surfaces: Incorporate soft furnishings, such as plush furniture, cushions, and curtains, to absorb sound and minimize sound reflection in the room. Avoid large, bare walls or surfaces that can cause sound to bounce around.
- Use soundproofing paint or wallpaper: Extend the use of soundproofing paint or wallpaper beyond the ceiling to the walls. This will add an additional layer of sound absorption and further reduce noise transmission.
By implementing these additional soundproofing techniques, you can create a more comprehensive approach to reducing noise in your apartment. Remember that every little improvement contributes to creating a quieter and more peaceful living environment.
It’s important to note that the effectiveness of these measures may vary depending on the severity of the noise issues and the construction of your apartment. Consulting with soundproofing professionals or experts can provide valuable insights and recommendations tailored to your specific situation.
Conclusion
Soundproofing your apartment ceiling is a valuable investment that can significantly improve your living environment. Whether you’re dealing with noisy neighbors, traffic sounds, or other disturbances, the right soundproofing techniques and materials can help create a quieter and more peaceful space. By following the steps outlined in this article, you can successfully soundproof your apartment ceiling:
- Assess the noise problems in your apartment to determine the most effective soundproofing strategies.
- Understand the different types of soundproofing materials and choose the ones that suit your needs and budget.
- Properly prepare the ceiling by cleaning it and repairing any damage.
- Install soundproofing insulation to reduce airborne noise.
- Apply soundproofing panels or tiles to absorb sound waves.
- Seal cracks and gaps in the ceiling to prevent noise leakage.
- Consider soundproofing paint or wallpaper for additional noise reduction.
- Install soundproofing acoustic panels for enhanced sound absorption.
- Extend soundproofing techniques to the rest of the room.
Remember that soundproofing is a multi-step process, and combining various techniques can yield optimal results. Each apartment is unique, so it’s important to assess your specific noise problems and tailor the soundproofing solutions accordingly.
While soundproofing can significantly reduce noise transmission, it may not eliminate all sounds completely. However, it can create a more serene living environment and greatly improve your quality of life.
Whether you’re looking to create a peaceful home office, enjoy uninterrupted sleep, or simply have a quieter living space, investing in soundproofing your apartment ceiling is a worthwhile endeavor. So, put these techniques into action, and enjoy the benefits of a quieter and more peaceful apartment!
Frequently Asked Questions about How To Soundproof A Ceiling In An Apartment
Was this page helpful?
At Storables.com, we guarantee accurate and reliable information. Our content, validated by Expert Board Contributors, is crafted following stringent Editorial Policies. We're committed to providing you with well-researched, expert-backed insights for all your informational needs.


0 thoughts on “How To Soundproof A Ceiling In An Apartment”