
Articles
How To Start A Maytag Washer
Modified: October 20, 2024
Learn how to start a Maytag washer with easy step-by-step instructions. Read our informative articles on washer troubleshooting, maintenance, and repair.
(Many of the links in this article redirect to a specific reviewed product. Your purchase of these products through affiliate links helps to generate commission for Storables.com, at no extra cost. Learn more)
Introduction
Welcome to this comprehensive guide on how to start a Maytag washer. Maytag washers are known for their durability, efficiency, and powerful cleaning capabilities, making them a popular choice for many households. Whether you’re a new owner of a Maytag washer or simply looking for a refresher on the proper steps to start the machine, you’ve come to the right place.
In this article, we will walk you through a step-by-step process to ensure you start your Maytag washer correctly, from gathering the necessary supplies to monitoring the washing process. By following these instructions, you can be confident in achieving clean and fresh laundry every time.
So, let’s get started with the first step: gathering the necessary supplies.
Key Takeaways:
- Properly starting a Maytag washer involves gathering supplies, positioning the washer, connecting the water supply, adding detergent, and monitoring the washing process to achieve clean and fresh laundry every time.
- By following the step-by-step process and actively monitoring the washing cycle, you can ensure optimal performance of your Maytag washer while prolonging its lifespan and maintaining the quality of your laundry.
Read more: How To Drain A Maytag Washer
Step 1: Gathering necessary supplies
Before you begin using your Maytag washer, it’s essential to gather all the necessary supplies. This will ensure that you have everything on hand to start the washing process smoothly. Here’s a list of the supplies you’ll need:
- Laundry detergent: Choose a high-quality detergent that is suitable for your laundry needs. Look for options that are compatible with both top-loading and front-loading washers.
- Fabric softener (optional): If you prefer to use fabric softener to keep your clothes soft and fresh, make sure to have it available.
- Stain remover: Having a stain remover on hand can be useful for treating stubborn stains before washing.
- Sorting baskets or hampers: Use separate baskets or hampers to sort your laundry by color or fabric type. This will make the sorting process easier and ensure that you wash each load correctly.
- Laundry baskets or bags: These will be used to transport the sorted laundry to the washer.
- Measuring cup: If your detergent requires specific measurements, have a measuring cup ready to ensure you use the right amount.
- Water source: Make sure you have access to a water source, such as a sink with running water or a dedicated water supply for your washer.
By having these supplies prepared in advance, you can start the washing process smoothly without any interruptions. Once you have gathered all the necessary supplies, move on to the next step: positioning the washer.
Step 2: Positioning the washer
Once you have gathered all the necessary supplies, it’s time to position your Maytag washer in the desired location. Follow these steps to ensure proper positioning:
- Choose a level surface: Place your washer on a flat, stable surface to prevent it from shaking or moving during the wash cycle. Avoid placing it on an uneven or sloped surface.
- Allow for proper ventilation: Ensure there is enough space around the washer for adequate airflow. This will prevent overheating and improve the overall performance of the machine.
- Consider the proximity to power outlets and water source: Position the washer near a power outlet for easy access to plug it in. Additionally, make sure it is close to a water source, such as a sink or dedicated water supply.
By positioning your Maytag washer correctly, you can ensure optimal performance and convenience when using the machine. Once the washer is in the desired location, move on to the next step: connecting the water supply.
Step 3: Connecting the water supply
Now that your Maytag washer is properly positioned, it’s time to connect the water supply. Follow these steps to ensure a secure and functional connection:
- Check the hoses: Inspect the water supply hoses that came with your washer. Ensure that they are in good condition with no signs of damage or leaks. If any issues are detected, replace the hoses before proceeding.
- Connect the hoses: Attach one end of the hoses to the back of the washer, following the labeled hot and cold water connections. Make sure to tighten the connections securely by hand to avoid any leaks.
- Connect to the water source: Depending on your setup, connect the other end of the hoses to the designated hot and cold water valves. Again, tighten the connections by hand to ensure a secure fit.
- Turn on the water supply: Once the connections are securely in place, turn on the water supply valves to allow water to flow into the washer. Check for any leaks around the connections and tighten them if necessary.
Properly connecting the water supply is crucial for the efficient functioning of your Maytag washer. It ensures a steady flow of water for the wash cycles. With the water supply successfully connected, move on to the next step: plugging in the washer.
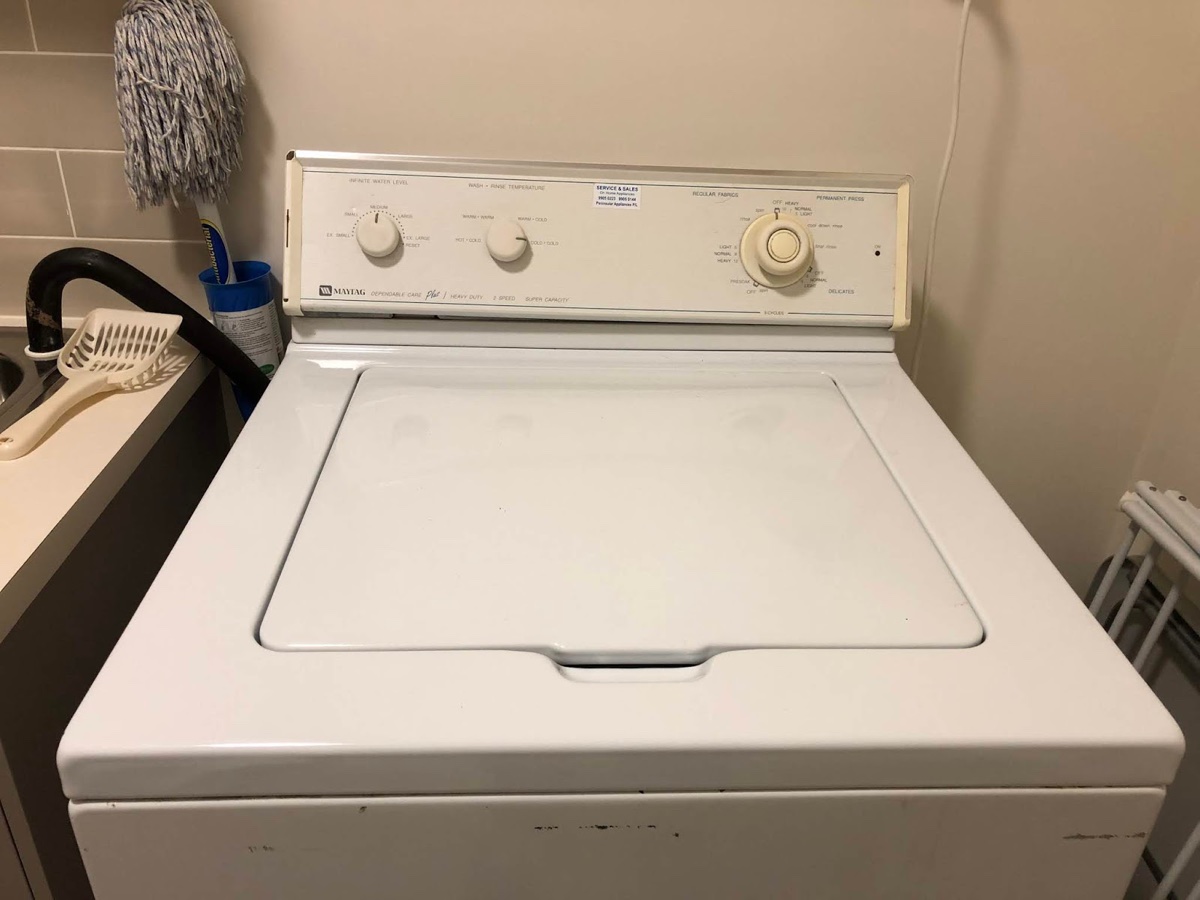
Step 4: Plugging in the washer
With the water supply properly connected, it’s time to plug in your Maytag washer. Follow these steps to ensure a safe and accurate power connection:
- Locate the power cord: Find the power cord attached to your washer. It is usually located at the back or the side of the machine.
- Check the outlet voltage: Before plugging in your washer, verify that the voltage of the outlet matches the voltage requirements of your Maytag washer. This information can be found in the user manual or on the machine itself.
- Plug it in: Once you have confirmed the outlet voltage, plug the power cord into a grounded electrical outlet. Ensure that the plug fits securely and does not come loose easily.
- Turn on the power: After plugging in the washer, locate the power button or switch on the control panel, if applicable. Switch it on to provide power to the machine.
By plugging in your Maytag washer correctly, you ensure a steady power supply for the machine to function optimally. With the washer now plugged in, we can move on to the next step: sorting and loading the laundry.
Read more: How To Fix Maytag Washer
Step 5: Sorting and loading laundry
Now that your Maytag washer is ready to go, it’s time to sort and load your laundry. Follow these steps to ensure the best results:
- Sort by color and fabric type: Separate your laundry into different piles based on color and fabric type. This step is crucial to prevent colors from bleeding onto other garments and ensure the appropriate wash cycle for each type of fabric.
- Check for stains: Before loading the laundry, inspect each garment for any stains or spots. Treat them with a stain remover according to the product instructions. Allow the stain remover to soak in before proceeding.
- Load the washer: Open the washer lid or door, depending on the model, and load the sorted laundry into the drum. Avoid overloading the washer to allow for efficient cleaning and movement of the garments.
- Distribute the load evenly: Once the laundry is loaded, distribute it evenly around the drum. This helps to balance the load and prevent the washer from shaking excessively during the wash cycle.
- Close the lid or door: After loading the laundry, close the lid or door securely. This ensures that the washer can operate properly and safely during the wash cycle.
By following these steps, you ensure that your laundry is properly sorted, stains are treated, and the load is distributed evenly in the washer. This sets the stage for effective cleaning. Now that the laundry is loaded, let’s move on to the next step: adding detergent and setting the controls.
Make sure the washer is plugged in and the water supply is turned on. Load the clothes, add detergent, and select the desired cycle and water temperature. Close the lid and press the start button to begin the wash cycle.
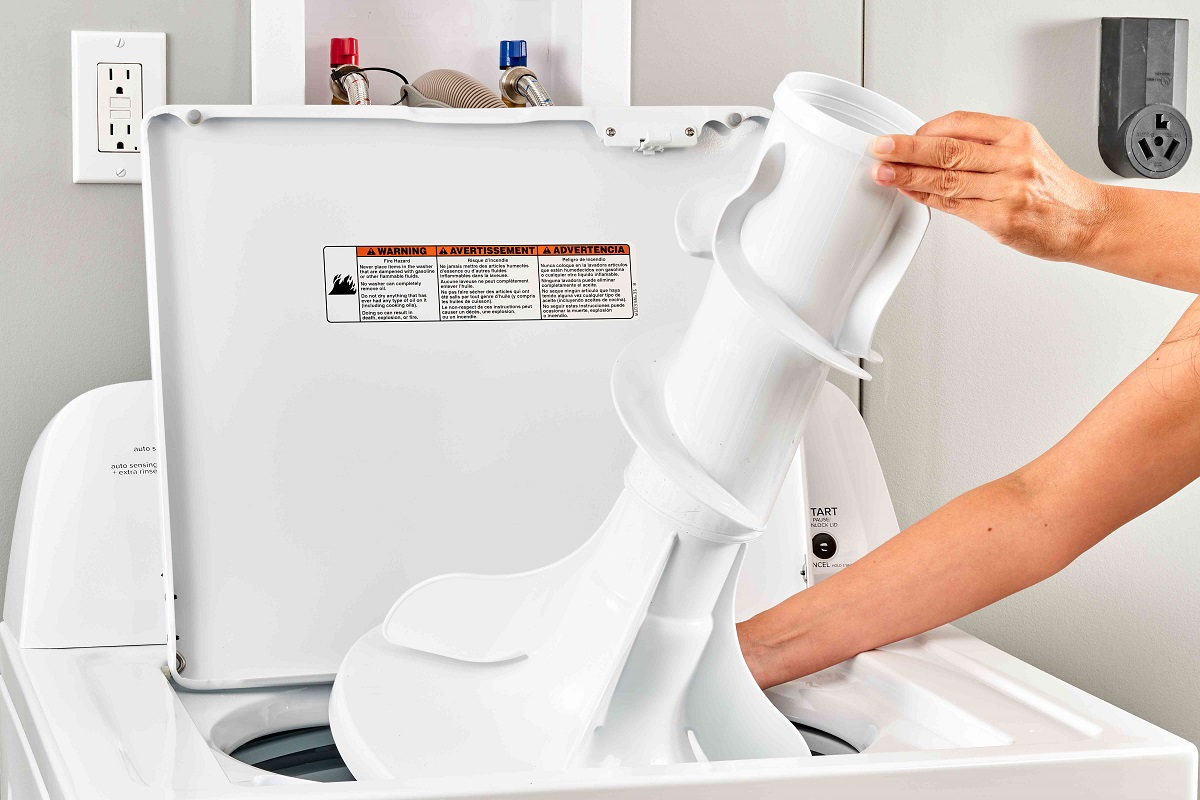
Step 6: Adding detergent and setting the controls
With your laundry sorted and loaded, it’s time to add detergent and set the controls on your Maytag washer. Follow these steps for a successful wash cycle:
- Choose the right detergent: Select a detergent that is compatible with your Maytag washer and suitable for the type of laundry you are washing. Read the packaging instructions for the recommended dosage based on load size and soil level.
- Measure the detergent: Use the measuring cup provided with the detergent or follow the instructions on the packaging to measure the correct amount of detergent for your load.
- Add detergent to the designated compartment: Locate the detergent dispenser compartment in your washer. It is usually labeled with symbols indicating where to add detergent. Pour the measured detergent into the appropriate compartment.
- Set the wash cycle: Depending on your Maytag washer model, select the appropriate wash cycle for your load. Common options include normal, delicate, heavy-duty, or specific cycles for different fabric types.
- Choose additional settings: Some washers offer additional settings, such as water temperature, rinse cycles, or spin options. Adjust these settings according to your preferences and laundry needs.
- Start the wash cycle: Once you have set the proper detergent and chosen the necessary controls and settings, press the start button to begin the wash cycle.
By adding the right amount of detergent and setting the controls correctly, you ensure that your laundry is cleaned effectively and efficiently. Now that the washer is running, let’s move on to the next step: monitoring the washing process.
Step 7: Starting the washer
Now that you have added detergent and set the controls on your Maytag washer, it’s time to start the machine. Follow these steps to begin the wash cycle:
- Double-check everything: Before starting the washer, double-check to ensure that the lid or door is closed securely, the detergent is properly added, and the controls are set correctly.
- Press the start button: Locate the start button on the control panel and press it to initiate the wash cycle. Some Maytag washers may have a delay start feature that allows you to set a specific time for the wash cycle to begin.
- Listen for the water filling: As the washer starts, listen for the sound of water filling the drum. This indicates that the wash cycle has begun, and the machine is working as intended.
- Monitor any additional features: If your Maytag washer has additional features, such as a prewash or soak cycle, pay attention to any prompts or alerts on the control panel and follow the instructions accordingly.
Starting the washer correctly ensures that the wash cycle begins smoothly and your laundry is being cleaned effectively. With the washer in motion, let’s move on to the next step: monitoring the washing process.
Step 8: Monitoring the washing process
As your Maytag washer is running, it’s important to monitor the washing process to ensure everything is progressing smoothly. Follow these steps to effectively monitor the cycle:
- Observe the cycle time: Take note of the estimated cycle time displayed on the control panel. This will give you an idea of how long the wash cycle is expected to run.
- Listen for abnormal noises: While the washer is running, pay attention to any unusual or loud noises. Grinding, clunking, or squeaking sounds may indicate a mechanical issue that needs to be addressed.
- Check for leaks: Periodically inspect the area around the washer for any signs of leaks. Look for water puddles or drip marks, and if any leaks are detected, immediately stop the washer and investigate the source of the problem.
- Ensure proper operation: Throughout the wash cycle, verify that the washer is functioning properly. Check if the drum is spinning, water is draining efficiently, and any additional features you selected are working as intended.
- Address any issues: If you notice any problems or malfunctioning during the wash cycle, refer to the user manual or contact Maytag customer support for troubleshooting guidance.
By actively monitoring the washing process, you can identify any issues early on and prevent potential damage to your Maytag washer or laundry. With the washing cycle underway, let’s move on to the next step: removing and drying the laundry.
Read more: How To Start Whirlpool Washer
Step 9: Removing and drying the laundry
Once the wash cycle is complete, it’s time to remove the laundry from your Maytag washer and prepare it for drying. Follow these steps for a successful laundry transition:
- Wait for the cycle to finish: Allow the washer to complete its entire cycle, including any rinse and spin cycles. Most Maytag washers have a signal or alert to indicate when the cycle is finished.
- Open the lid or door: Once the cycle is complete, open the lid or door of the washer. Take care when handling wet laundry as it can be heavy and slippery.
- Remove the laundry: Carefully remove the wet laundry from the washer and place it in a laundry basket or bag. Shake out or gently straighten any garments that may have become twisted or entangled during the wash cycle.
- Prepare for drying: Depending on your preferred drying method, separate the laundry into appropriate loads. Delicate fabrics may require air drying or a gentle setting, while other items can be placed in the dryer.
- Start the drying process: If using a dryer, follow the manufacturer’s instructions for loading and operating the machine. If air drying, find a suitable location with proper ventilation to hang or lay the garments flat.
By carefully removing and preparing your laundry for drying, you can ensure that your clothes, towels, and linens are ready for use or storage. Congratulations! You have successfully completed the process of starting and washing your laundry with a Maytag washer.
Before we conclude, let’s briefly summarize the steps:
- Gather necessary supplies
- Position the washer
- Connect the water supply
- Plug in the washer
- Sort and load the laundry
- Add detergent and set the controls
- Start the washer
- Monitor the washing process
- Remove and dry the laundry
By following these steps, you can confidently operate your Maytag washer and achieve clean, fresh laundry with ease. Happy washing!
Conclusion
Starting a Maytag washer may seem like a straightforward process, but understanding the proper steps and techniques can make a significant difference in the results. We’ve walked you through a comprehensive guide on how to start your Maytag washer, from gathering the necessary supplies to removing and drying the laundry.
By following these steps, you can ensure that your laundry is cleaned effectively and efficiently while prolonging the lifespan of your Maytag washer. Remember to gather all the necessary supplies, position the washer correctly, connect the water supply, plug it in, sort and load the laundry, add detergent, and set the controls accordingly.
Don’t forget to monitor the washing process to address any issues or abnormalities that may arise. By actively being aware of the cycle time, listening for any strange noises, checking for leaks, and ensuring proper operation, you can maintain your Maytag washer’s optimal performance.
Finally, once the wash cycle is complete, remove the laundry carefully and prepare it for drying. Whether you choose to use a dryer or air-dry the clothes, proper handling and care will ensure that your laundry is ready for use or storage.
We hope that this guide has provided you with a comprehensive understanding of how to start a Maytag washer. By following these steps and incorporating your own laundry preferences, you can achieve clean and fresh laundry with every wash. Enjoy the convenience and efficiency of your Maytag washer, and may it serve you well for years to come!
Frequently Asked Questions about How To Start A Maytag Washer
Was this page helpful?
At Storables.com, we guarantee accurate and reliable information. Our content, validated by Expert Board Contributors, is crafted following stringent Editorial Policies. We're committed to providing you with well-researched, expert-backed insights for all your informational needs.


0 thoughts on “How To Start A Maytag Washer”