Articles
How To Start A Power Washer
Modified: January 7, 2024
Learn how to start a power washer with our informative articles. Get expert tips and step-by-step instructions for a smooth and efficient cleaning process. Enhance your power washing skills today!
(Many of the links in this article redirect to a specific reviewed product. Your purchase of these products through affiliate links helps to generate commission for Storables.com, at no extra cost. Learn more)
Introduction
Starting a power washer can be a daunting task if you are unfamiliar with the equipment and the process involved. However, with the right guidance and a little practice, you’ll be able to power wash like a pro in no time. Whether you’re looking to clean your car, deck, or driveway, a power washer can make the job much easier and more efficient.
In this step-by-step guide, we will walk you through the process of starting a power washer and provide you with valuable tips and insights to help you get the best results. Before you dive into the world of power washing, it’s important to gather all the necessary equipment and familiarize yourself with the power washer itself.
Ready to unleash the cleaning power of your power washer? Let’s get started!
Key Takeaways:
- Proper preparation is essential for power washer success. Gather necessary equipment, familiarize yourself with the power washer, and connect the water supply to ensure a smooth and efficient cleaning process.
- Adjusting pressure and spray patterns, planning your approach, and thorough clean-up and maintenance are crucial steps for effective power washing. Prioritize safety and enjoy the benefits of a clean space.
Read more: How To Start A Gas Power Washer
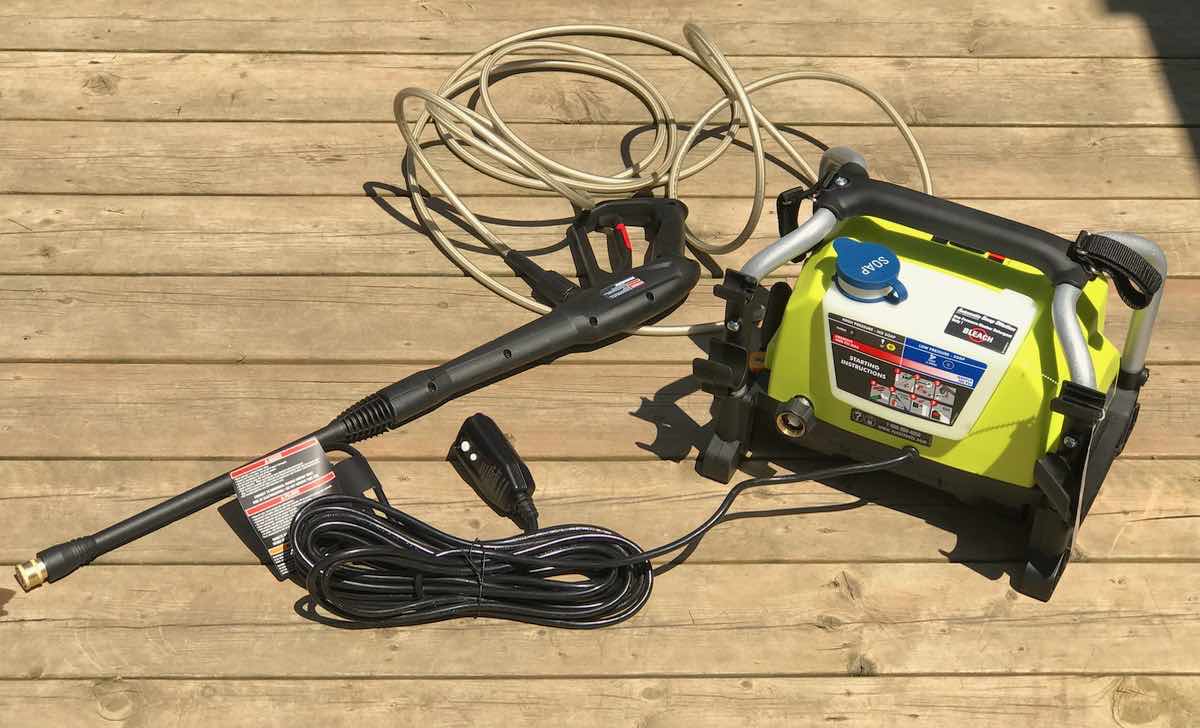
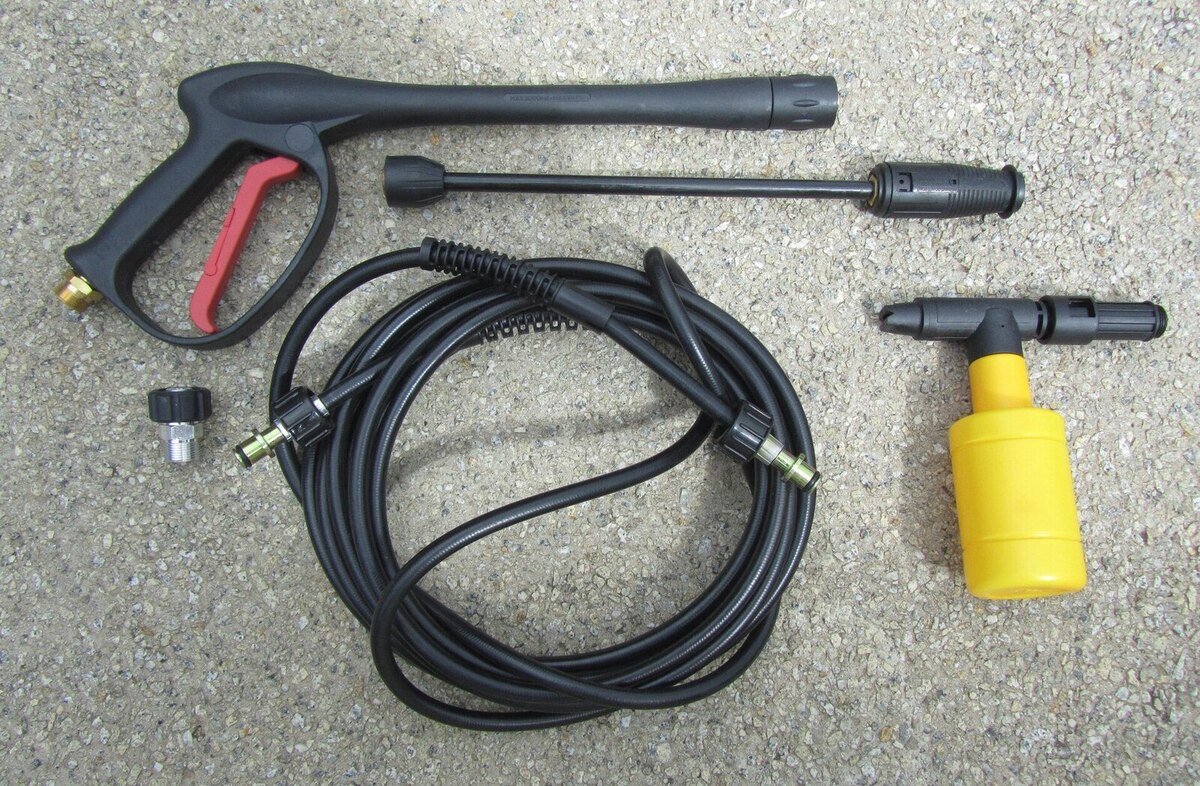
Step 1: Gather Necessary Equipment
Before you begin using a power washer, it’s important to gather all the necessary equipment to ensure a smooth and efficient cleaning process. Here are the essential items you will need:
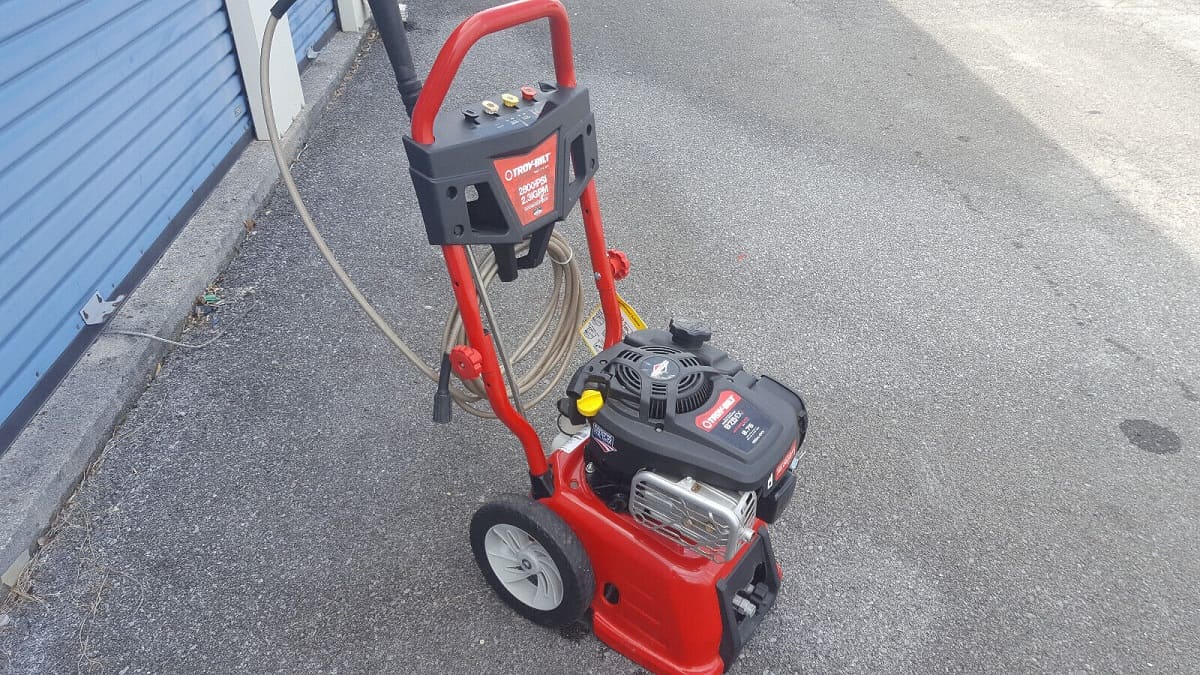
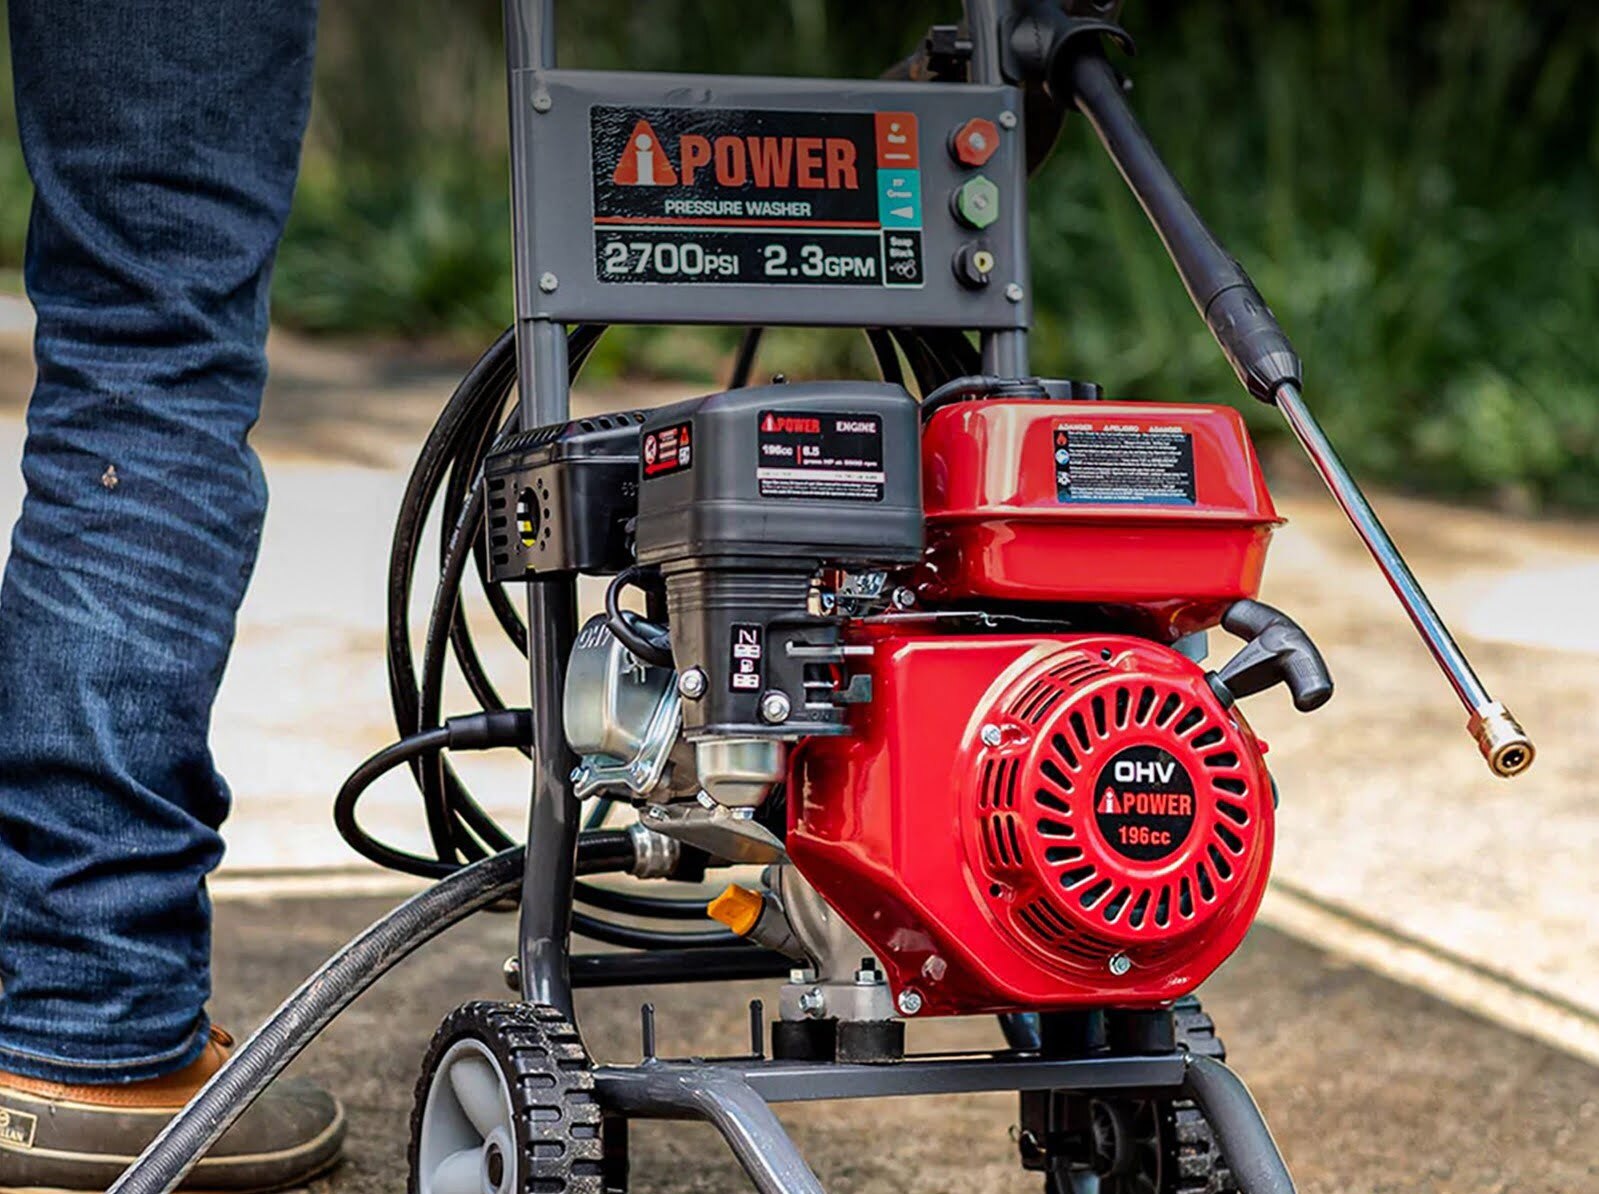
- Power washer: Choose a power washer that suits your needs, considering factors such as pressure level, water flow rate, and power source (electric or gas-powered).
- Nozzles: Power washers usually come with different types of nozzles, each designed for specific cleaning tasks. Make sure you have the appropriate nozzles for your cleaning project.
- Protective gear: Safety should always be a priority. Wear protective gear such as safety goggles, gloves, and closed-toe shoes to protect yourself from potential hazards.
- Hose: Ensure that you have a garden hose that can reach from the water source to your power washer. Opt for a high-quality hose that is compatible with your power washer’s water inlet.
- Detergent: Depending on the cleaning task, you may need specific detergents to help break down stubborn dirt and grime. Check the manufacturer’s instructions to determine the suitable detergent for your power washer.
- Extension cord: If you have an electric power washer, you may need an extension cord to reach the power outlet. Make sure the extension cord is heavy-duty and rated for outdoor use.
- Surface cleaner (optional): For larger surface areas like driveways or decks, a surface cleaner attachment can save you time and effort. Consider using a surface cleaner if you have a lot of ground to cover.
- Scraper or brush: Depending on the surface you’re cleaning, you may need a scraper or brush to remove any loose debris or caked-on dirt before using the power washer.
Once you have gathered all the necessary equipment, you’re ready to move on to the next step: familiarizing yourself with the power washer.
Step 2: Familiarize Yourself with the Power Washer
Before you use a power washer, it’s important to familiarize yourself with its key components and features. This will help you operate the equipment safely and effectively. Here’s what you need to know:
1. Read the User Manual: Start by thoroughly reading the user manual provided by the manufacturer. This will give you detailed information about your specific power washer model, including safety instructions, maintenance guidelines, and operating procedures.
2. Understand the Controls: Take a close look at the control panel or handle of the power washer. Identify the ON/OFF switch, pressure adjustment knob, and any other controls or buttons. Familiarize yourself with their functions and how to operate them.
3. Inspect the Wand and Hose: Examine the wand and hose for any damage or blockages. Ensure that all connections are tight and secure. A damaged or leaking hose can affect the performance of the power washer, so it’s crucial to address any issues before starting.
4. Learn the Nozzle Types: Different cleaning tasks require different nozzle types. Most power washers come with a variety of nozzles, including 0-degree, 15-degree, 25-degree, and 40-degree spray patterns. Understand the purpose of each nozzle and how to attach and detach them from the wand.
5. Take Note of Safety Features: Many power washers are equipped with safety features such as a trigger lock or a safety switch. Understand how these features work and utilize them to prevent any accidental spraying or injuries.
6. Check Fuel and Oil Levels (Gas-powered Models): If you’re using a gas-powered power washer, check the fuel and oil levels before starting. Follow the manufacturer’s recommendations for the specific type of fuel and oil to use.
7. Test the Trigger: Give the trigger a gentle squeeze to check if it moves freely. This will help you understand the level of pressure the power washer generates and how to control it during operation.
By familiarizing yourself with the power washer beforehand, you’ll feel more confident and prepared when it comes time to start the engine and begin the cleaning process. Let’s move on to the next step: preparing the power washer for use.
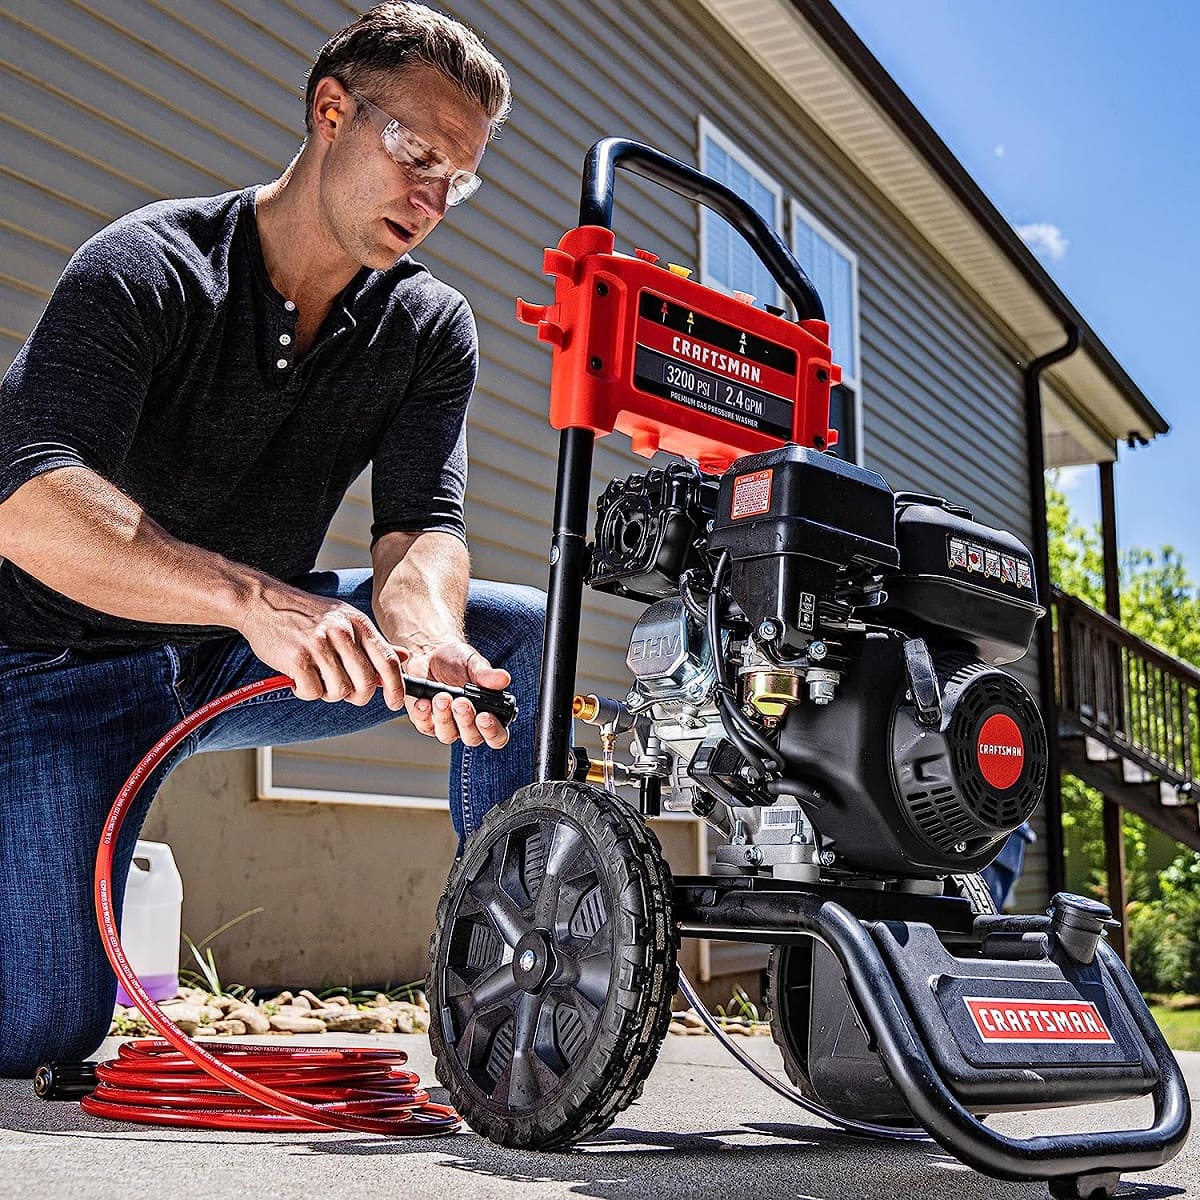
Step 3: Prepare the Power Washer for Use
Before you start using a power washer, it’s important to properly prepare it for operation. This will ensure its optimal performance and extend its lifespan. Follow these steps to prepare your power washer:
1. Check Water Source: Ensure that you have a sufficient water supply for your power washer. You may need to connect a garden hose to a water spigot or faucet. Make sure the water source has adequate pressure and volume to support the power washer’s requirements.
2. Inspect Water Inlet Filter: Most power washers have a water inlet filter that prevents debris from entering the pump. Check the filter and clean or replace it if necessary. A clogged filter can restrict water flow and affect the performance of the power washer.
3. Connect Hoses Properly: Attach the garden hose to the water inlet of the power washer. Ensure that the connection is tight and secure. If your power washer has a separate hose for detergent, connect it as well. Verify that all hoses are free from kinks or twists.
4. Turn On Water Supply: Open the water source or faucet to allow water to flow into the power washer. Check for any leaks or drips around the connections. If you notice any leaks, tighten the connections or replace the washers.
5. Prime the Pump (Gas-powered models): If you’re using a gas-powered power washer, follow the manufacturer’s instructions to prime the pump. This typically involves squeezing the wand trigger a few times to release any trapped air and ensure a consistent water flow.
6. Check Oil levels (Gas-powered models): Gas-powered power washers have an engine that requires oil. Check the oil level and top it up as needed. Refer to the user manual for the specific type of oil and the correct oil level for your power washer model.
7. Switch On the Power (Electric models): For electric power washers, simply connect the power cord to a suitable power outlet. Ensure that the cord is rated for outdoor use and is plugged into a grounded outlet. Verify that the ON/OFF switch or button is in the correct position.
8. Verify Fuel Levels (Gas-powered models): If you’re using a gas-powered power washer, check the fuel level in the tank. Fill it up with the recommended type of fuel, following the manufacturer’s instructions.
By properly preparing the power washer, you can avoid any complications or damage during operation. Once the power washer is ready, you can move on to the next step: connecting the water supply.
Step 4: Connect Water Supply
Connecting the water supply to your power washer is a crucial step in the setup process. Without a proper water supply, the power washer won’t function effectively. Follow these steps to connect the water supply:
1. Position the Power Washer: Ensure that the power washer is placed on a stable and level surface. This will prevent any unwanted movement or tipping during operation.
2. Locate the Water Inlet: Identify the water inlet on your power washer. It is usually labeled or marked. The inlet is where the garden hose will be connected.
3. Attach the Garden Hose: Take the garden hose and attach it firmly to the water inlet of the power washer. Twist the connector clockwise until it is securely in place. Make sure the connection is tight to prevent any leaks.
4. Check for Leaks: Before turning on the water supply, inspect all connections for any signs of leaks. If you notice any leaks, tighten the connections or replace the washers. It’s important to fix any leaks before proceeding.
5. Clear the Hose: Once the hose is connected, turn on the water source or faucet to allow water to flow through the hose. Hold the spray gun trigger to release any air trapped inside the hose. This will ensure a steady flow of water to the power washer.
6. Inspect the Water Filter: Some power washers have a water filter at the end of the garden hose or inside the water inlet. Check the filter and clean or replace it if necessary. A clogged filter can restrict water flow and affect the performance of the power washer.
7. Adjust Water Pressure: Depending on the specific power washer model and cleaning task, you may need to adjust the water pressure. Refer to the user manual to understand how to adjust the water pressure on your power washer. It’s important to find the right balance for optimal cleaning without causing damage to the surface.
By ensuring a proper and secure connection of the water supply, you can now move on to the next step: starting the power washer.
Before starting a power washer, make sure to read the user manual thoroughly to understand the safety precautions and proper operation of the machine. Always wear protective gear, including goggles and gloves, and ensure the area is clear of any obstacles before turning on the power washer.
Read more: How To Start A Samsung Washer
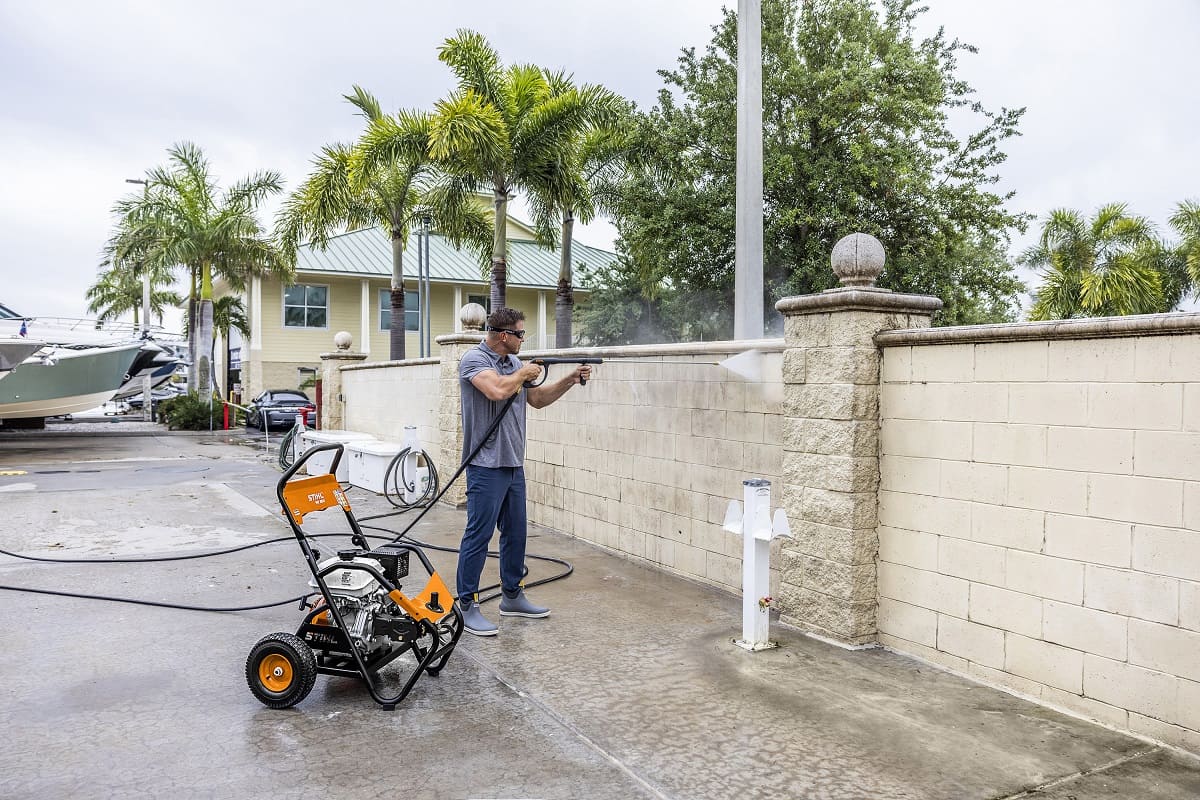
Step 5: Start the Power Washer
Now that you have prepared the power washer and connected the water supply, it’s time to start the engine and get ready for some cleaning action. Follow these steps to start your power washer:
1. Position Yourself: Stand in a comfortable and stable position, keeping a firm grip on the power washer. Make sure your feet are shoulder-width apart to maintain proper balance during operation.
2. Engage Safety Features: Check if your power washer has any safety features such as a trigger lock or a safety switch. Engage these features to prevent any accidental spraying.
3. Turn On the Power: Locate the ON/OFF switch or button on your power washer. Flip the switch or press the button to turn on the machine. If you’re using a gas-powered power washer, pull the recoil starter cord with a firm, smooth motion.
4. Allow the Engine to Warm Up (Gas-powered models): If you’re using a gas-powered power washer, allow the engine to warm up for a few minutes to ensure smooth and efficient performance. This will also help distribute oil throughout the components.
5. Verify Idle Speed (Gas-powered models): Gas-powered power washers usually have an idle speed adjustment that allows the engine to run smoothly when not under load. Check the user manual for instructions on adjusting the idle speed if necessary.
6. Test the Wand Trigger: Squeeze the wand trigger gently to test if the power washer is working properly. You should see a steady flow of water coming out of the nozzle. If the water flow is not consistent or the nozzle is clogged, address the issue before proceeding.
7. Adjust Pressure Settings: If your power washer allows for pressure adjustment, test different pressure levels on a small, inconspicuous area to find the right setting for your cleaning task. Avoid using excessive pressure as it can damage surfaces.
By following these steps, you will be able to start your power washer safely and efficiently. Now let’s move on to the next step: adjusting the pressure and spray pattern.
Step 6: Adjust Pressure and Spray Pattern
Adjusting the pressure and spray pattern of your power washer is crucial to ensure effective cleaning while protecting the surfaces you’re working on. Here’s how you can adjust the pressure and spray pattern:
1. Understand Pressure Levels: Familiarize yourself with the pressure options available on your power washer. Most models offer adjustable pressure settings to accommodate different cleaning tasks. Higher pressure is generally used for tougher stains and surfaces, while lower pressure is suitable for delicate surfaces.
2. Start with Low Pressure: Begin with the lowest pressure setting and test it on a small, inconspicuous area. Gradually increase the pressure if needed, but always be cautious and avoid using excessive pressure that may cause damage.
3. Adjust Spray Pattern: Power washers come with various spray patterns, including 0-degree (jet), 15-degree, 25-degree, and 40-degree. Each pattern provides a different angle and width of the spray. Some models also have a detergent spray pattern. Select the appropriate spray pattern for your cleaning task.
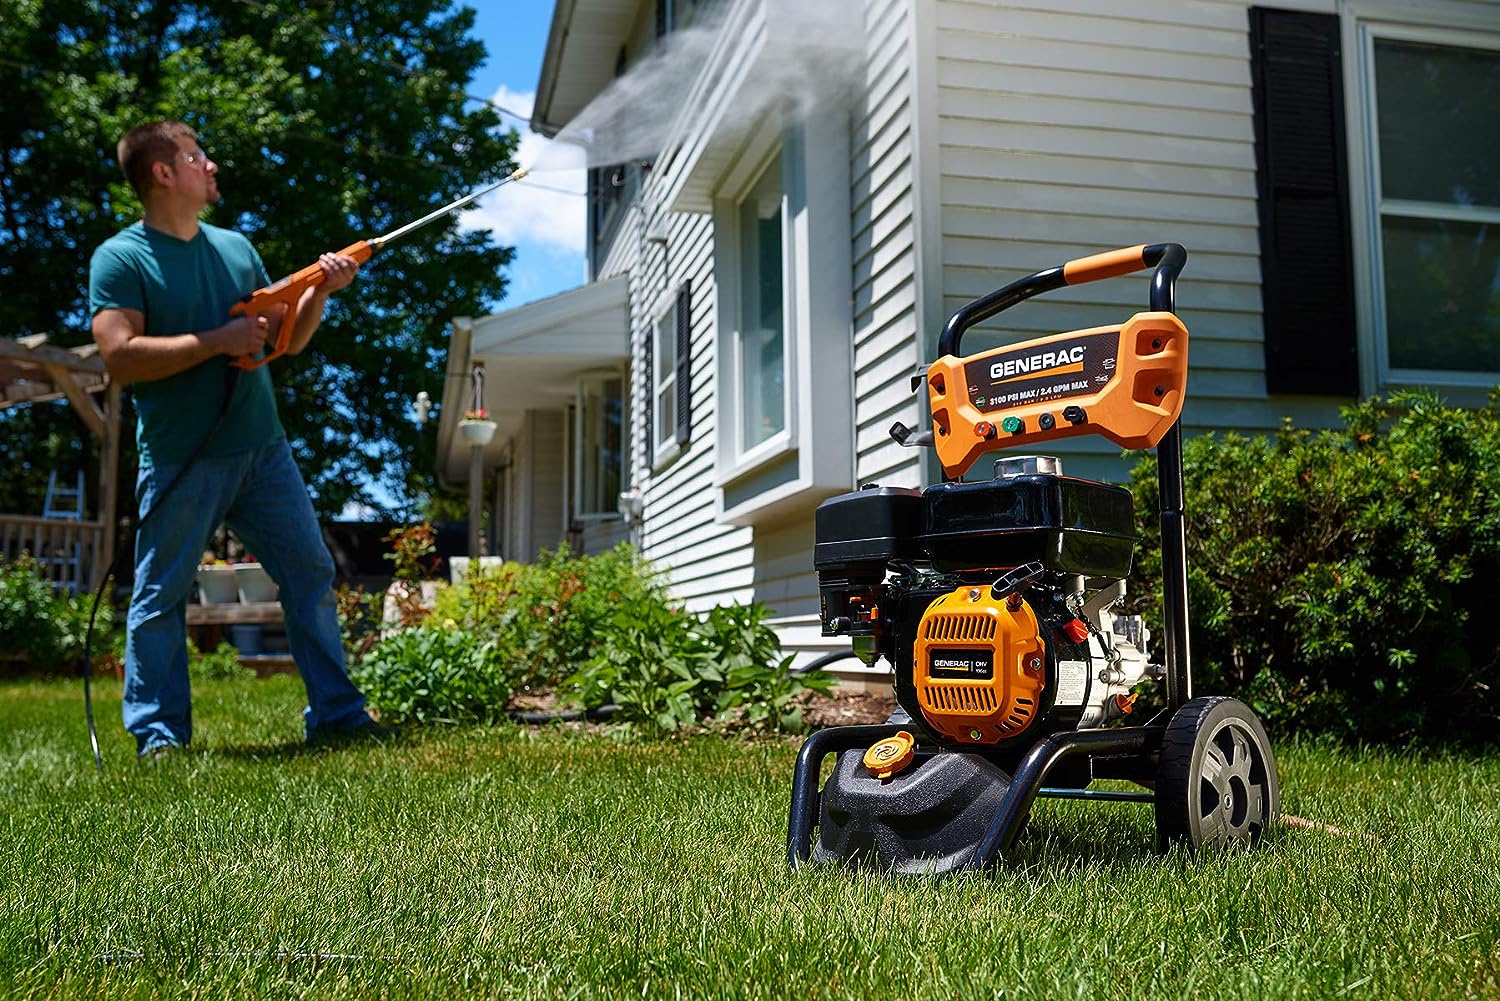
4. Consider the Surface Distance: The distance between the power washer nozzle and the surface can affect the pressure and effectiveness of cleaning. Start with a distance of around 12 inches and adjust as needed. A closer distance may provide more pressure but could also damage the surface.
5. Test on a Small Area: Before cleaning the entire surface, test the pressure and spray pattern on a small section. Observe the results and make adjustments if necessary. This allows you to ensure that the pressure and spray pattern are suitable for the specific surface and dirt or grime you’re dealing with.
6. Move the Spray Properly: When using the power washer, move the spray in a consistent motion, overlapping each pass to ensure even cleaning. Avoid staying in one spot for too long, as it can cause damage to the surface.
7. Use Detergents (If Applicable): If you’re using a detergent with your power washer, follow the manufacturer’s instructions for the correct application. Some power washers have a separate detergent spray pattern, while others have a built-in detergent tank.
By adjusting the pressure and spray pattern according to the specific cleaning task, you can achieve effective and efficient results without causing any damage. Let’s move on to the next step: getting started with the actual washing.
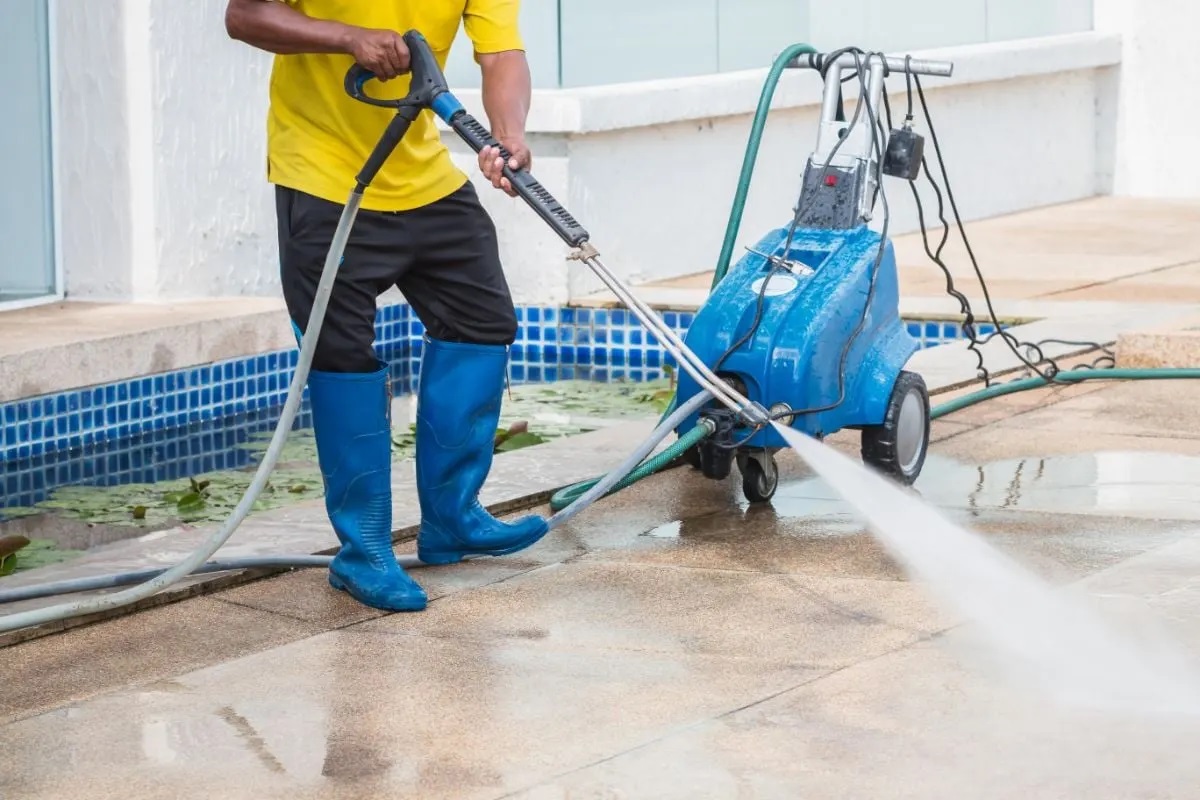
Step 7: Begin Washing
With your power washer properly set up and adjusted, it’s time to start the actual washing process. Here are the steps to follow for efficient and effective cleaning:
1. Plan Your Approach: Before you begin washing, it’s helpful to plan your approach. Start from one end of the surface and work your way systematically to the other end. This will ensure that you don’t miss any spots and avoid unnecessary overlap.
2. Pre-Wet the Surface: Before applying any detergent or starting the power washer, pre-wet the surface with a gentle spray. This helps to loosen dirt and prepare the surface for more thorough cleaning.
3. Apply Detergent (If Applicable): If you’re using a detergent, apply it according to the manufacturer’s instructions. Some power washers have a separate detergent nozzle or attachment, while others have a detergent tank. Allow the detergent to sit for the recommended amount of time to break down tough stains.
4. Start Washing: Hold the power washer wand with a firm grip and position it at an angle to the surface you’re cleaning. Start at the top and work your way down, using steady and overlapping strokes. Maintain a consistent distance from the surface to ensure even cleaning.
5. Adjust Pressure as Needed: While washing, you may need to adjust the pressure settings depending on the level of dirt and the surface being cleaned. Increase the pressure for stubborn stains or decrease it for more delicate surfaces. Regularly evaluate the results and make adjustments as necessary.
6. Clean in Sections: If you’re working on a large surface, it may be easier to clean in sections. This allows you to focus on one area at a time, ensuring thorough cleaning and preventing the detergent from drying on the surface.
7. Take Breaks When Needed: Power washing can be physically demanding, especially for larger projects. Take breaks as needed to rest and hydrate. This helps to maintain your energy levels and avoid fatigue.
8. Rinse Thoroughly: After washing the entire surface, rinse it thoroughly with clean water. This removes any remaining detergent and ensures a clean and residue-free finish.
By following these steps, you’ll be able to effectively and efficiently wash the surface with your power washer. Remember to take your time and be thorough, paying attention to stubborn stains and hard-to-reach areas. With the washing complete, it’s time to move on to the final step: clean up and maintenance.
Step 8: Clean Up and Maintenance
After you have finished power washing, it’s important to properly clean up and maintain your power washer to ensure its longevity and optimal performance. Follow these steps for a hassle-free clean up and maintenance process:
1. Turn Off the Power Washer: Once you have completed the washing process, turn off the power washer by flipping the ON/OFF switch or pressing the designated button. This will shut off the engine or motor.
2. Release Pressure: After turning off the power washer, release any remaining pressure by squeezing the wand trigger. This will prevent any potential damage to the equipment or accidental spraying.
3. Disconnect the Water Supply: Before moving onto clean up, disconnect the garden hose from the water inlet of the power washer. Drain any remaining water from the hose to prevent freezing or damage.
4. Rinse the Wand and Nozzles: To remove any leftover debris or detergent, rinse the power washer wand and nozzles with clean water. This ensures that they remain in good working condition for future use.
5. Clean the Power Washer: Wipe down the exterior of the power washer to remove any dirt or grime. Use a soft cloth or sponge and a mild detergent if needed. Avoid spraying water directly onto the power washer to prevent damage to electrical components.
6. Store Properly: After cleaning, store your power washer in a dry and well-ventilated area. Protect it from extreme temperatures, direct sunlight, and moisture. Follow the manufacturer’s instructions for any additional storage recommendations specific to your power washer model.
7. Perform Regular Maintenance: To keep your power washer in optimal condition, perform regular maintenance tasks such as checking and replacing oil and filters, inspecting hoses for wear and damage, and cleaning or replacing spark plugs if applicable. Follow the manufacturer’s guidelines for maintenance intervals and procedures.
8. Safety Reminder: Always prioritize safety during clean up and maintenance. Ensure that the power washer is turned off and unplugged before performing any maintenance tasks. Wear protective gear such as gloves and safety goggles to prevent any injuries.
By following these clean up and maintenance steps, you can prolong the life of your power washer and ensure its reliable performance for future cleaning tasks. Regular maintenance will also help identify any potential issues early on and prevent costly repairs down the line.
With proper care and maintenance, your power washer will continue to be a valuable tool for all your cleaning needs. Happy power washing!
Read more: How To Start A Maytag Washer
Conclusion
Congratulations! You have now learned how to start a power washer and complete a successful cleaning project. By following the step-by-step guide and familiarizing yourself with the necessary equipment and procedures, you’re well-equipped to tackle various cleaning tasks with confidence.
Remember, starting a power washer requires gathering the necessary equipment, familiarizing yourself with the power washer itself, preparing it for use, connecting the water supply, and adjusting the pressure and spray pattern. With these initial steps completed, you can begin washing by following a systematic approach, adjusting pressure levels as needed, and thoroughly rinsing the surface.
After your power washing project is finished, it’s important to properly clean up and maintain your power washer. This includes turning off the machine, releasing pressure, disconnecting the water supply, cleaning the wand and nozzles, and storing the power washer in a safe and dry place. Regular maintenance will ensure the longevity and optimal performance of your power washer for future cleaning tasks.
Whether you’re cleaning your car, deck, driveway, or any other surface, a power washer is a valuable tool that can make the job much easier and more efficient. By following the steps outlined in this guide, you are now equipped with the knowledge to use a power washer effectively and achieve impressive results.
Remember to prioritize safety throughout the process. Wear protective gear, follow the manufacturer’s instructions, and use caution when adjusting pressure levels or handling the power washer.
Now it’s time to put your newfound knowledge into action and enjoy the benefits of a clean and rejuvenated space. Happy power washing!
Frequently Asked Questions about How To Start A Power Washer
Was this page helpful?
At Storables.com, we guarantee accurate and reliable information. Our content, validated by Expert Board Contributors, is crafted following stringent Editorial Policies. We're committed to providing you with well-researched, expert-backed insights for all your informational needs.

0 thoughts on “How To Start A Power Washer”