Articles
How To Start A Samsung Washer
Modified: May 6, 2024
Learn how to start your Samsung washer with step-by-step articles from experts. Discover the ultimate guide to properly operating your Samsung washer.
(Many of the links in this article redirect to a specific reviewed product. Your purchase of these products through affiliate links helps to generate commission for Storables.com, at no extra cost. Learn more)
Introduction
Starting a Samsung washer may seem like a daunting task if you’re not familiar with the device. However, with a little guidance, you’ll quickly realize that it’s a straightforward process. Whether you’re a first-time owner or you’ve recently upgraded to a Samsung washer, this article will provide you with a step-by-step guide on how to start your Samsung washer effectively.
Before we jump into the details, it’s important to note that different models of Samsung washers may have slight variations in their setup, control panel, and features. Therefore, it’s crucial to consult the user manual provided with your specific model for any specific instructions or differences.
Now, let’s dive into the step-by-step process of starting your Samsung washer so that you can efficiently and effectively do your laundry.
Key Takeaways:
- Setting up and operating your Samsung washer is a straightforward process when following the step-by-step guide. From unpacking and connecting to selecting wash cycles and maintenance, you’ll be equipped to handle laundry with confidence.
- Familiarizing yourself with the control panel, loading the washer correctly, and monitoring the cycle’s progress are essential steps in ensuring efficient and effective laundry cycles. Regular maintenance and cleaning will prolong the lifespan of your Samsung washer.
Read more: How To Start A Samsung Dishwasher
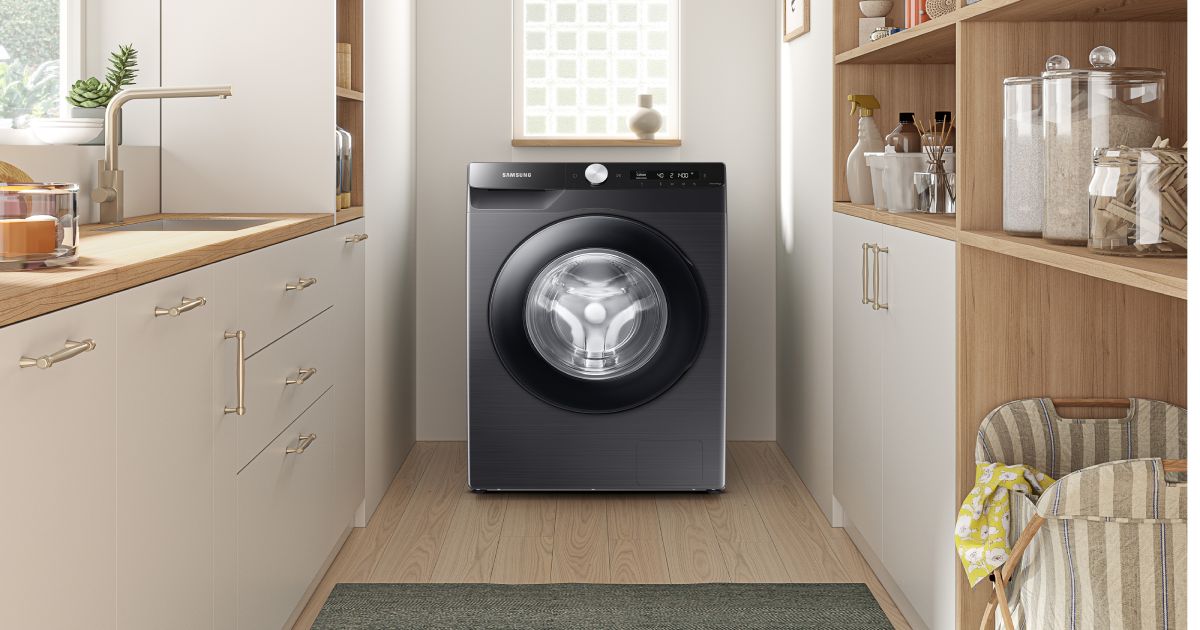
Step 1: Unpacking and Setup
When you first receive your Samsung washer, the initial step is to carefully unpack and set it up in the desired location. Here are the key steps to follow:
- Unbox the Washer: Start by removing all the packaging materials and accessories from the box. Make sure to keep them in a safe place, as you might need them later for installation or maintenance purposes.
- Check for Damage: Inspect the washer for any signs of damage that might have occurred during shipping. If you notice any issues, contact Samsung customer support for assistance.
- Select a Location: Choose a suitable location for your Samsung washer. It should be on a level surface, with enough space for proper ventilation and easy access to both water and power sources.
- Secure the Washer: Once you’ve decided on the location, use the supplied accessories, such as the leveling feet or brackets, to securely position and stabilize the washer.
- Connect the Water Inlet Hoses: Locate the water inlet connections on the back of the washer and attach the provided hoses. Ensure that the hot water hose is connected to the hot water faucet and the cold water hose to the cold water faucet.
- Connect the Drain Hose: Find the drain hose and secure it to a suitable drain point. Make sure it is properly attached to avoid leaks during operation.
- Plug in the Power Cord: Insert the power cord into an appropriate electrical outlet. Ensure that the outlet is grounded and matches the voltage requirements mentioned in the user manual.
- Test the Power Supply: Turn on the power supply and check if the display and control panel of the washer are functional.
Following these steps will help you properly unpack and set up your Samsung washer, ensuring that it is ready for the next stages of operation. Now, let’s move on to connecting the power and water supply.
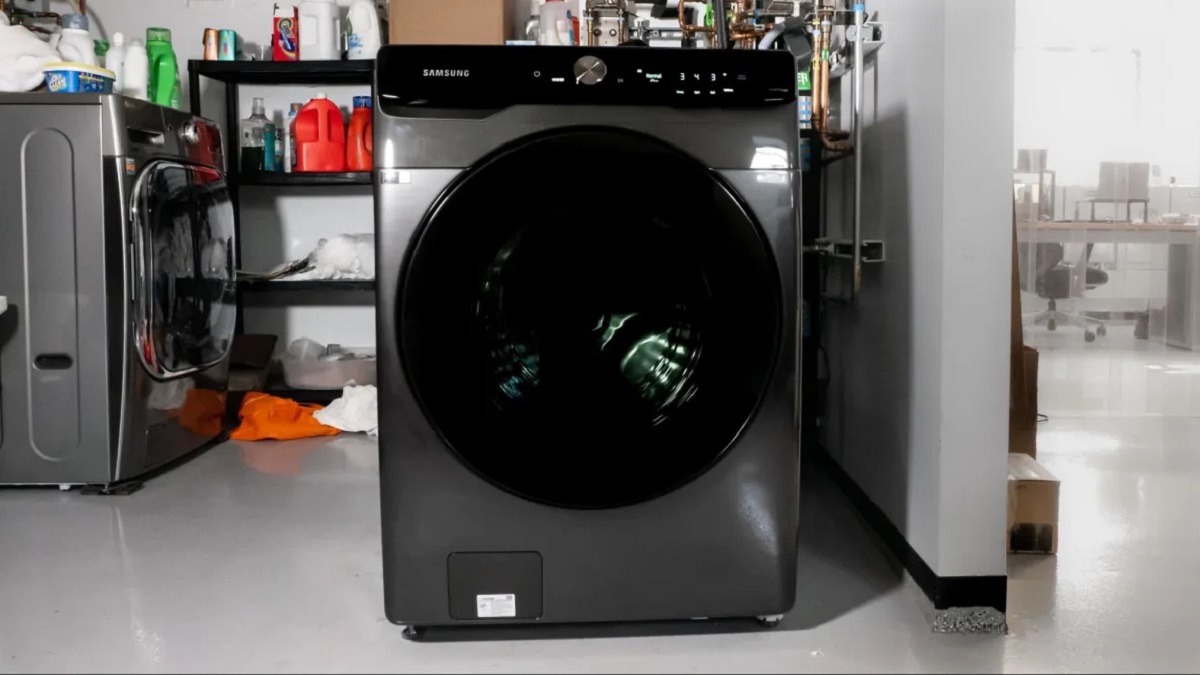
Step 2: Connecting Power and Water Supply
Once you have unpacked and positioned your Samsung washer, the next step is to connect the power and water supply. Follow these instructions to ensure a proper connection:
- Verify the Power Requirement: Check the voltage and frequency specifications mentioned in the user manual for your specific model. Make sure that the electrical outlet you are using matches these requirements.
- Plug in the Power Cord: Insert the power cord into a grounded electrical outlet. Ensure that the outlet is easily accessible and not obstructed by furniture or appliances.
- Connect the Water Inlet Hoses: Take the water inlet hoses that came with the washer and attach them to the corresponding hot and cold water faucets. Make sure to tighten the connections securely to prevent water leakage.
- Turn on the Water Supply: Open the water supply valves for both the hot and cold water faucets. This ensures that water can freely flow into the washer during operation.
- Check for Leaks: After connecting the water inlet hoses, inspect them and the connections for any signs of leakage. If you notice any leaks, tighten the connections further or replace the hoses if necessary.
- Run a Test Cycle: Before proceeding to the next step, it’s a good idea to run a test cycle to check if the water supply and drainage are working correctly. Refer to the user manual for instructions on how to run a test cycle on your specific model.
Connecting the power and water supply is a crucial step in starting your Samsung washer. By following these steps, you can ensure that your washer is ready to perform its cleaning magic. Now, let’s move on to the next step, which is familiarizing yourself with the control panel of the washer.
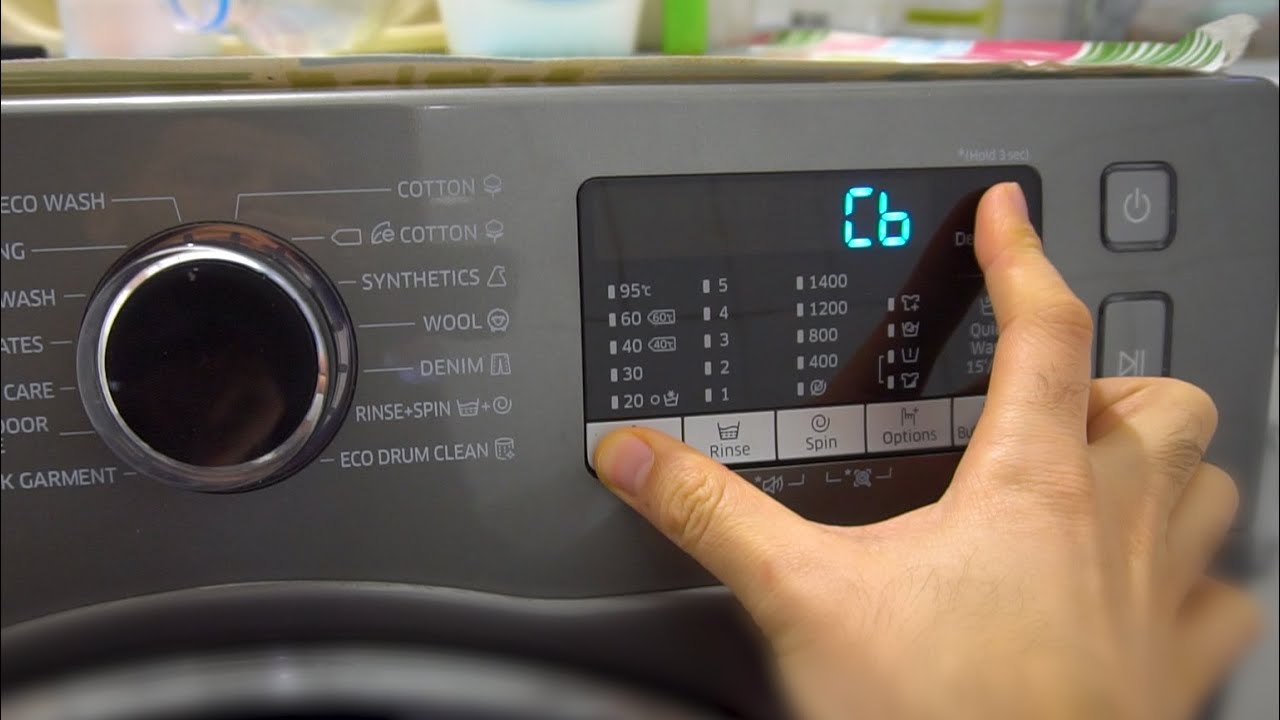
Step 3: Familiarizing with Control Panel
Before you can start using your Samsung washer effectively, it’s important to familiarize yourself with the control panel. The control panel contains all the buttons, knobs, and indicators necessary to operate the washer. Here’s how you can become acquainted with the control panel:
- Refer to the User Manual: The user manual provided with your Samsung washer will have a detailed diagram and explanation of the control panel for your specific model. Refer to this manual to identify the different buttons and their functions.
- Study the Display: Take a closer look at the display panel on your washer. It will show relevant information such as the wash cycle, time remaining, and any error codes. Understanding the display will help you navigate and select the appropriate settings.
- Identify the Buttons: Locate the various buttons on the control panel and learn their purpose. These may include buttons for power, start/pause, cycle selection, temperature, spin speed, and additional options. Each button typically has a corresponding icon or label to indicate its function.
- Explore Additional Features: Some Samsung washers offer additional features such as delay start, child lock, and pre-wash options. Take note of these features and their corresponding buttons on the control panel.
By familiarizing yourself with the control panel, you’ll be able to navigate through the different settings and options with ease. This will allow you to customize your wash cycles according to your specific needs. Now that you’re acquainted with the control panel, let’s move on to the next step: loading the washer.
Step 4: Loading the Washer
Loading the washer properly is essential to ensure effective cleaning and prevent any damage to your laundry or the machine itself. Follow these steps to load your Samsung washer correctly:
- Sort Your Laundry: Before loading the washer, sort your laundry into different piles based on color, fabric type, and washing instructions. This will help you choose the appropriate wash cycle and settings for each load.
- Check the Drum Capacity: Refer to the user manual or the markings inside the drum of your Samsung washer to determine the maximum weight of laundry that can be loaded for each cycle. Avoid overloading the washer, as it can affect the cleaning performance and put extra strain on the machine.
- Open the Door: Gently open the door of the washer. Some models may have a front-loading door, while others may have a top-loading design. Make sure the door is fully open and stable.
- Add Your Laundry: Place the sorted laundry into the drum of the washer. Distribute the items evenly, avoiding overcrowding to allow proper agitation and water circulation.
- Close the Door: Once all the laundry is loaded, close the door firmly. Double-check if the door is securely shut before proceeding.
Remember to always check the care labels on your clothes and follow the manufacturer’s instructions regarding water temperature, cycle selection, and any precautions for delicate items. By loading your Samsung washer correctly, you’ll be on your way to clean and fresh laundry. Now, let’s move on to selecting a wash cycle.
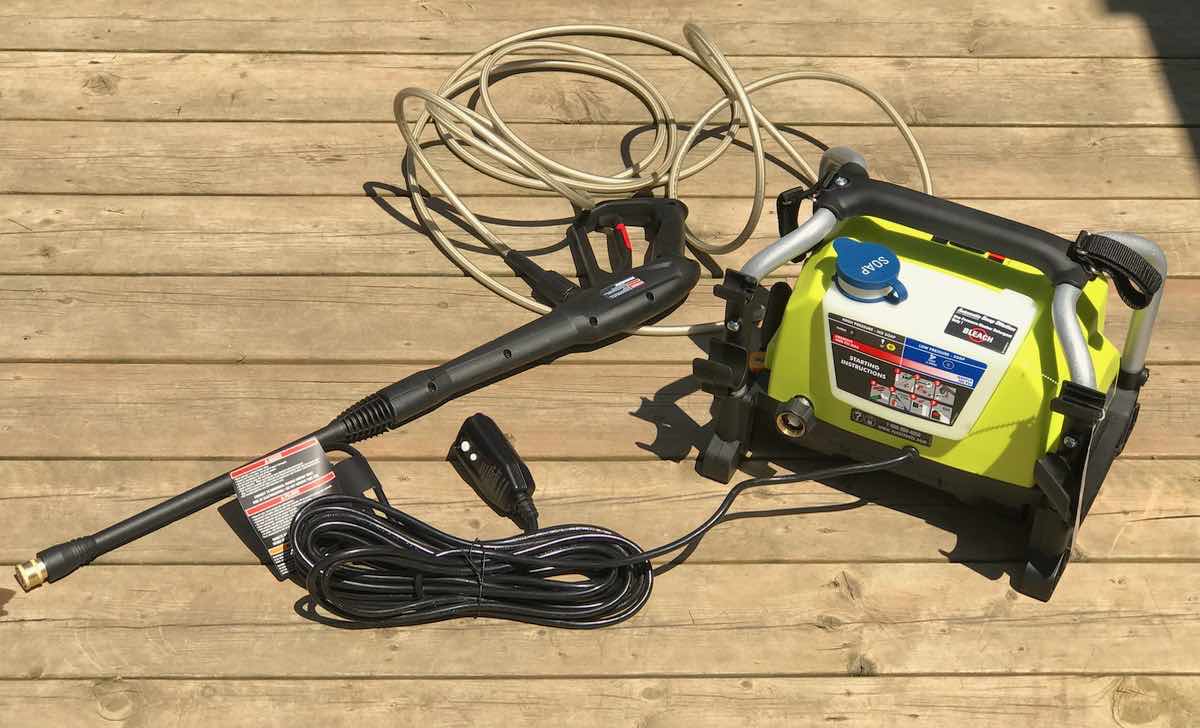
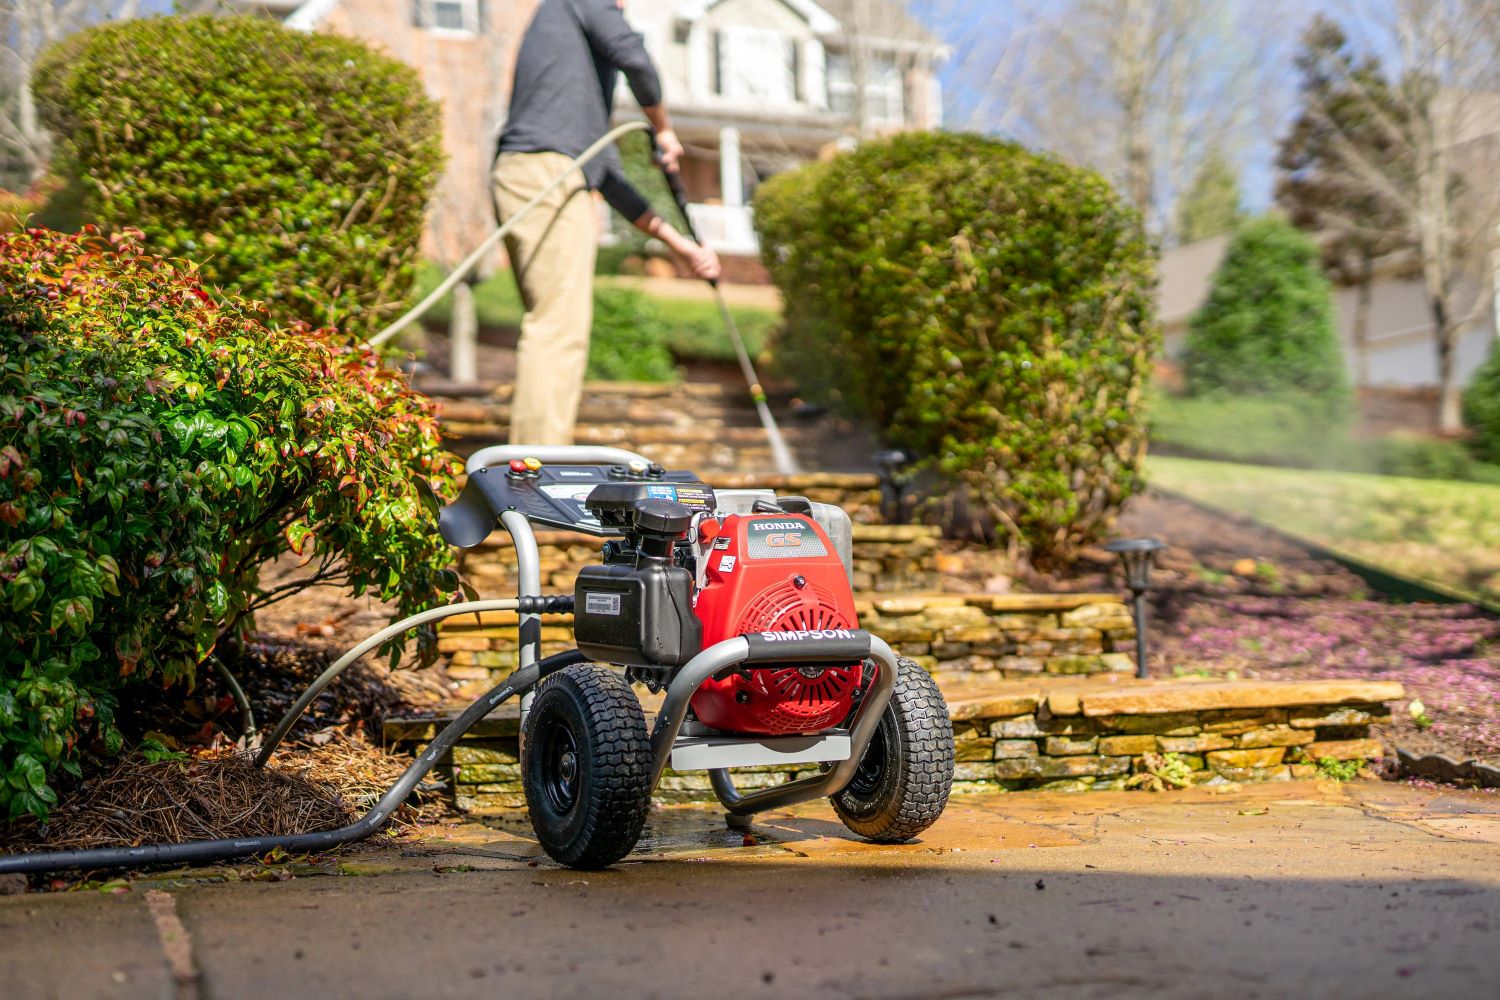
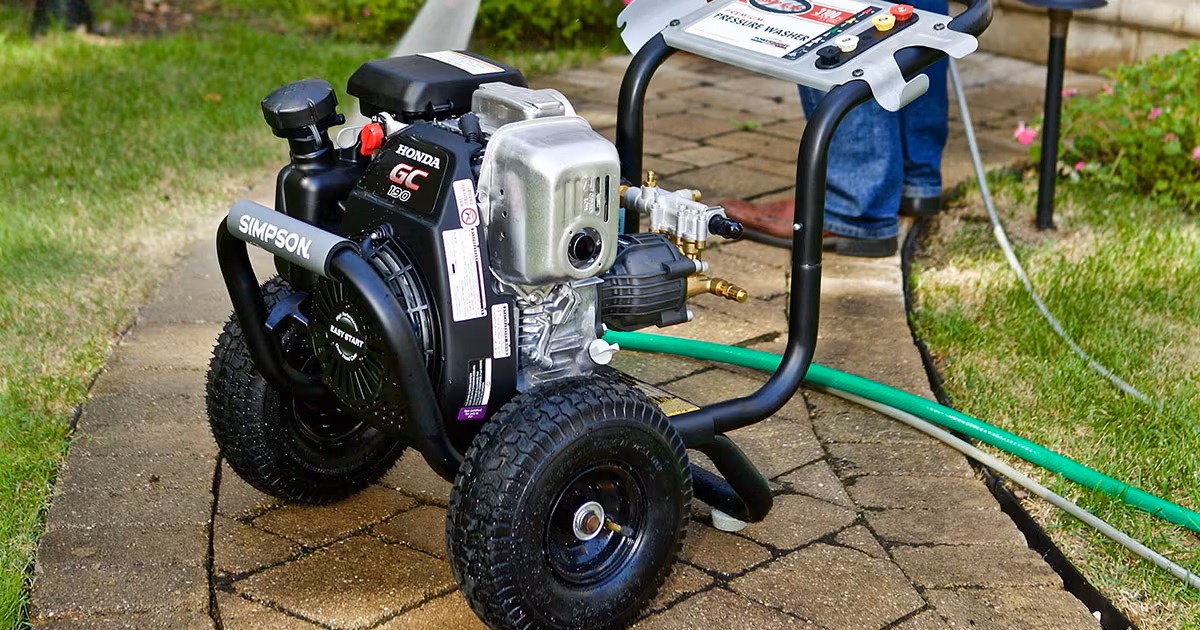
Read more: How To Start A Power Washer
Step 5: Selecting a Wash Cycle
To achieve the desired level of cleanliness and care for your clothing, it’s essential to select the appropriate wash cycle on your Samsung washer. Here’s how you can choose the right wash cycle:
- Refer to the User Manual: The user manual provided with your Samsung washer will have a comprehensive list of available wash cycles and their descriptions. Familiarize yourself with the different options and their specific uses.
- Consider Your Laundry: Take into account the type of fabrics, colors, and level of soiling of your laundry. For heavily soiled items, you might choose a more robust wash cycle, while delicate items may require a gentler cycle.
- Select the Cycle: On the control panel of your Samsung washer, locate the button or dial for cycle selection. Press the button or turn the dial to scroll through the available wash cycles. Stop on the cycle that suits your laundry needs.
- Adjust Additional Settings: Some wash cycles offer additional settings that can be adjusted according to your preferences. These settings may include water temperature, rinse options, spin speed, and more. Consult the user manual for guidance on these settings.
Choosing the right wash cycle ensures that your clothes are cleaned effectively while maintaining their quality. By considering the fabric type, level of soiling, and the available options on your Samsung washer, you’ll be able to make an informed decision. Now that you’ve selected a wash cycle, let’s move on to adjusting the wash settings.
Make sure to properly load the washer with the right amount of clothes, close the door securely, and select the appropriate cycle and settings before starting the machine. Always refer to the user manual for specific instructions.
Step 6: Adjusting Wash Settings
Adjusting the wash settings on your Samsung washer allows you to customize the cleaning process according to your specific needs. Here’s how you can make the necessary adjustments:
- Temperature Selection: Depending on the type of fabric and the level of dirtiness, you may need to adjust the water temperature. Most Samsung washers offer options for hot, warm, and cold water. Select the appropriate temperature setting that best suits your laundry.
- Rinse Options: Some wash cycles may offer different rinse options, such as extra rinse or pre-wash. If needed, you can select these additional rinse settings to ensure thorough cleaning and removal of detergent residue.
- Spin Speed: The spin speed of the washer determines how quickly the drum rotates during the spin cycle. Higher spin speeds can help extract more water from the clothes, reducing drying time. However, for delicate items, it’s advisable to choose a lower spin speed to prevent damage.
- Additional Options: Explore any additional options provided by your Samsung washer, such as special stain treatment, eco-friendly mode, or quick wash. These options can help tailor the wash process to your specific needs.
By adjusting the wash settings, you can ensure that your laundry is cleaned efficiently while taking into account factors such as fabric type, dirt level, and personal preferences. Now that you’ve customized the settings, it’s time to start the washer.
Step 7: Starting the Washer
After you’ve loaded your laundry and adjusted the wash settings on your Samsung washer, it’s time to start the machine. Follow these steps to begin the washing process:
- Double-Check: Before starting the washer, double-check that the door is securely closed and all the settings are correctly adjusted.
- Press the Power Button: Locate the power button on the control panel and press it to turn on the washer. The display should light up, indicating that the machine is ready for operation.
- Choose Start/Pause: On the control panel, there should be a start/pause button. Press this button to initiate the wash cycle. If you need to pause the cycle at any point, you can press the same button again.
- Monitor the Cycle: Once the washer has started, you can monitor the progress on the display panel. It will show the remaining time of the cycle, allowing you to plan your time accordingly.
Starting the washer is a simple process that requires just a few button presses. Once the machine is running, you can sit back and let it do the work while you attend to other tasks. So, you’ve successfully started your Samsung washer! In the next step, we’ll cover monitoring the progress of the cycle.
Step 8: Monitoring the Progress
As your Samsung washer continues with the selected wash cycle, it’s important to monitor the progress to ensure everything is running smoothly. Here are the key points to keep in mind while monitoring the cycle:
- Observe the Display: The display panel on your Samsung washer will provide important information about the progress of the cycle. It may show the timer counting down, the current stage of the cycle, or any error codes if applicable. Take note of any alerts or notifications displayed.
- Listen for Unusual Noises: While the washer is operating, listen for any unusual or loud noises. Some noise is normal, such as water filling or the sound of the drum spinning. However, grinding, banging, or excessive vibration may indicate a problem. If you notice any concerning noises, it’s advisable to pause the cycle and investigate further.
- Check for Leaks: Periodically inspect the area around the washer for any signs of water leakage. Ensure that the water inlet connections, drain hose, and detergent dispenser are securely attached and functioning properly. If you notice any leaks, stop the cycle and address the issue before continuing.
- Stay Nearby: It’s recommended to stay close to the washer during the cycle, especially if it’s your first time using a specific wash cycle or if you’ve made any adjustments. This allows you to respond quickly to any unexpected events or issues that may arise.
By closely monitoring the progress of the wash cycle, you can ensure that everything is running smoothly and address any potential problems early on. With diligent observation, you can enjoy the peace of mind that comes with a well-maintained washing process. After monitoring the progress, it’s time to move on to the next step: removing and transferring clothes.
Read more: How To Start Whirlpool Washer
Step 9: Removing and Transferring Clothes
Once the wash cycle on your Samsung washer is complete, it’s time to remove and transfer your clothes for the next steps in the laundry process. Follow these steps to safely handle your freshly washed laundry:
- Pause the Cycle: If your Samsung washer doesn’t automatically switch off at the end of the cycle, press the start/pause button to pause the machine.
- Open the Door: Once the cycle is paused, wait a few moments for any residual water to drain, if applicable. Then, carefully open the door of the washer.
- Remove Clothes: Starting from the top of the drum, remove your clothes one by one. Check each item for any remaining stains or soap residue before transferring it to the next step of the laundry process.
- Inspect the Drum: After removing all the clothes, take a quick look inside the drum of your Samsung washer. Ensure there are no items that got left behind during the transfer, such as socks or small clothing accessories.
- Close the Door: Once you’ve confirmed that the drum is empty, securely close the door of the washer. Ensure it’s properly aligned and locked in place.
By following these steps, you can safely and efficiently remove your clothes from the Samsung washer. Now, it’s time to proceed to the final step: maintaining and cleaning your washer for optimal performance.
Step 10: Maintaining and Cleaning the Washer
To ensure the longevity and optimal performance of your Samsung washer, regular maintenance and cleaning are crucial. Here are the key steps to follow:
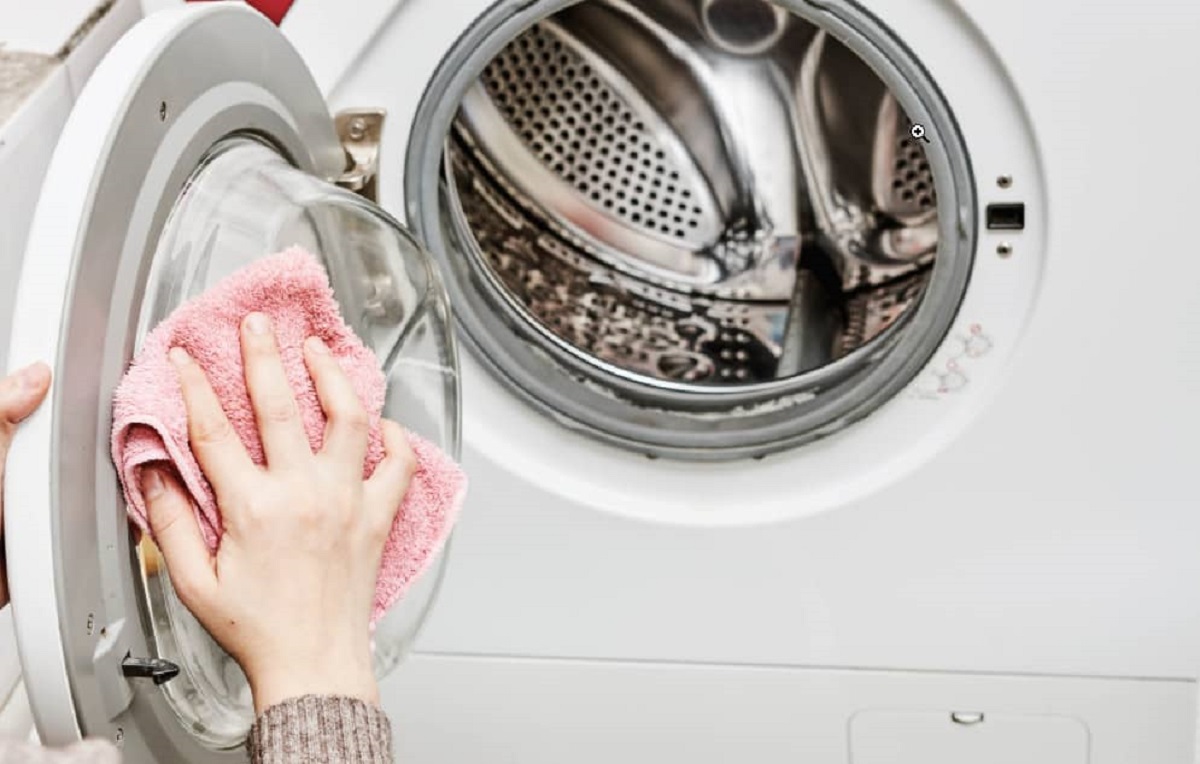
- Clean the Exterior: Wipe down the external surfaces of the washer with a damp cloth to remove any dust or dirt. Pay attention to the control panel, door, and detergent dispenser area. Avoid using harsh chemicals or abrasive cleaning agents.
- Clean the Drum: Regularly clean the drum of your washer to prevent the buildup of detergent residue, dirt, and lint. To clean the drum, you can run a cleaning cycle with hot water and a washer cleaner product recommended by Samsung. Refer to the user manual for specific instructions on the cleaning cycle.
- Clean the Detergent Dispenser: Remove the detergent dispenser tray and rinse it thoroughly with warm water to remove any soap residue. Use a soft brush or cloth to clean any stubborn buildup. Allow the tray to dry completely before reinserting it into the washer.
- Check and Clean the Filter: Samsung washers typically have a filter that collects lint, debris, and small objects. It’s important to regularly check and clean the filter to maintain proper water flow and prevent clogging. Refer to the user manual for instructions on how to locate and clean the filter.
- Maintain Proper Ventilation: Ensure that the area surrounding the washer has adequate ventilation to prevent overheating. The back of the washer should have sufficient space for air circulation and avoid any blockages.
By following these maintenance and cleaning steps, you can keep your Samsung washer in optimal condition and prevent any issues with performance or mold/mildew growth. Regular maintenance will also help prolong the lifespan of your washer, saving you time and money in the long run.
With the completion of Step 10, you have successfully learned how to maintain and clean your Samsung washer. By following all the steps in this guide, you can confidently start and operate your Samsung washer for efficient and effective laundry cycles.
Remember, always refer to the user manual provided with your specific model for any additional instructions or precautions. Happy laundry days with your Samsung washer!
Conclusion
Congratulations! You have reached the end of this comprehensive guide on how to start your Samsung washer. By following these step-by-step instructions, you are now equipped with the knowledge and confidence to effectively operate your washer and achieve clean and fresh laundry every time.
We began by unpacking and setting up the washer, ensuring it was placed in a suitable location and connected to the power and water supply correctly. We then familiarized ourselves with the control panel, allowing us to navigate the various options and settings available.
Next, we learned how to load the washer properly, considering the capacity and fabric of our laundry. We proceeded to select the appropriate wash cycle and adjust the necessary settings, such as water temperature and spin speed, to cater to our specific laundry needs.
After starting the washer, we emphasized the importance of monitoring the progress of the cycle, listening for any unusual noises, and checking for leaks. Once the cycle was complete, we safely removed and transferred the clothes for the next steps in the laundry process.
Finally, we concluded with the critical aspect of maintaining and cleaning the washer. Regularly cleaning the drum, detergent dispenser, and filter, as well as ensuring proper ventilation, will keep your Samsung washer in optimal condition and prolong its lifespan.
Remember, always consult the user manual provided with your specific model for any additional guidance or specifications.
With this knowledge in hand, you are now ready to confidently start and operate your Samsung washer. Enjoy the convenience, efficiency, and excellent cleaning performance it offers, allowing you to tackle your laundry with ease.
Now that you've mastered starting your Samsung washer, why not make your entire home as smart as your laundry setup? Dive into our latest article on home automation, where we cover cutting-edge tools and devices set to transform your living space in 2024. From smart thermostats to advanced security systems, learn how to integrate technology seamlessly into every corner of your home. Enhance your daily routines and boost your home's functionality with our expert insights.
Frequently Asked Questions about How To Start A Samsung Washer
Was this page helpful?
At Storables.com, we guarantee accurate and reliable information. Our content, validated by Expert Board Contributors, is crafted following stringent Editorial Policies. We're committed to providing you with well-researched, expert-backed insights for all your informational needs.


0 thoughts on “How To Start A Samsung Washer”