
Articles
How To Start Knitting A Baby Blanket
Modified: August 24, 2024
Learn the art of knitting a beautiful baby blanket with our helpful articles. Discover step-by-step instructions and tips for creating the perfect gift.
(Many of the links in this article redirect to a specific reviewed product. Your purchase of these products through affiliate links helps to generate commission for Storables.com, at no extra cost. Learn more)
Introduction
Knitting a baby blanket can be a rewarding and meaningful project. Whether you’re expecting a little one, have a friend or family member who is, or simply want to create a thoughtful gift, knitting a baby blanket allows you to showcase your creativity and craftmanship while providing a cozy and comforting item for a precious little bundle of joy.
In this article, we will guide you through the step-by-step process of starting and completing a baby blanket. We will cover everything from choosing the right knitting supplies to adding decorative stitches. So grab your knitting needles, select some soft and snuggly yarn, and let’s get started!
Before we dive into the knitting process, it’s important to note that knitting a baby blanket requires some basic knitting skills. If you’re new to knitting, don’t worry! There are many beginner-friendly patterns available that will help you build your skills as you go. Don’t be afraid to start with a simple pattern and gradually move on to more complex designs as you become more comfortable with the knitting techniques.
Additionally, keep in mind that the size of the baby blanket can vary depending on your preference and the intended use. While some blankets are made to completely cover a crib mattress, others are smaller and meant for wrapping and snuggling newborns. Consider the purpose and size of the blanket you want to create before selecting your supplies.
Now that we’ve covered the basics, let’s move on to the first step: choosing the right knitting supplies.
Key Takeaways:
- Knitting a baby blanket is a heartwarming and creative endeavor that requires careful consideration of yarn, needle size, and decorative stitches to produce a cherished and cozy keepsake for a precious little one.
- From selecting the right supplies to adding finishing touches, knitting a baby blanket is a labor of love that allows for personalization and creativity, resulting in a treasured and comforting gift for both baby and parents.
Read more: How To Knit A Baby Blanket On A Round Loom
Choosing the right knitting supplies
When it comes to knitting a baby blanket, selecting the right supplies is crucial. The materials you choose will not only determine the overall look and feel of the blanket but also impact the ease of knitting. Here are the key factors to consider:
1. Yarn: Opt for soft and gentle yarn that is suitable for a baby’s sensitive skin. Look for yarn labeled as “baby” or “soft” yarn, which tends to be made from lightweight and breathable materials. Acrylic and cotton blends are popular choices as they are both soft and easy to care for.
2. Needles: The needle size you choose depends on the thickness of the yarn and the desired drape of the blanket. Most baby blanket patterns suggest using needles in the range of US 6 to US 8 (4.0mm to 5.0mm). However, always refer to your specific pattern for needle size recommendations.
3. Gauge: Take the time to create a gauge swatch before starting your project. This involves knitting a small sample square using the selected yarn and needles to ensure your stitches per inch match the pattern’s recommendations. Adjust your needle size if necessary to achieve the correct gauge.
4. Other Tools: Apart from yarn and needles, you’ll need a few other essential knitting tools. These include scissors, stitch markers, a tapestry needle for weaving in ends, and a row counter to help you keep track of your progress.
5. Pattern: Find a baby blanket pattern that suits your skill level and personal style. There are countless free and paid patterns available, ranging from simple garter stitch designs to intricate lace or cable patterns. Choose a pattern that resonates with you and provides clear instructions for each step.
Once you have gathered all the necessary knitting supplies, you’re ready to move on to the next step: selecting the appropriate yarn and needle size.
Selecting the appropriate yarn and needle size
Choosing the right yarn and needle size is essential to ensure that your baby blanket turns out just the way you envision it. Here are a few considerations to take into account when selecting your materials:
Yarn Weight: Yarn weight refers to the thickness of the yarn. It is usually labeled on the yarn band as a number from 0 to 7, with 0 being the finest and 7 being the bulkiest. For baby blankets, it’s best to opt for a medium-weight yarn, such as DK (double knitting) or worsted weight. These yarns are lightweight enough to create a soft and comfortable blanket while still providing sufficient warmth.
Material: Baby blankets should be made from materials that are gentle and safe for a baby’s delicate skin. Common options include cotton, acrylic, and blends of these fibers. Acrylic yarns are often chosen for their affordability, durability, and ease of washing. Cotton yarns, on the other hand, are breathable and hypoallergenic, making them a great choice for babies with sensitive skin.
Color and Design: Consider the color and design elements of the yarn. Soft pastel shades or neutral colors are popular choices for baby blankets as they create a calming and soothing ambiance. However, don’t be afraid to get creative and incorporate fun and vibrant colors if that aligns with your personal style and the baby’s nursery theme.
Needle Size: The needle size you choose will depend on the yarn weight and the desired drape of the blanket. Generally, for medium-weight yarns, needle sizes ranging from US 6 to US 8 (4.0mm to 5.0mm) are recommended. However, always refer to your chosen pattern for specific needle size recommendations.
Gauge: Gauge refers to the number of stitches and rows per inch in your knitting. It is crucial to check the gauge stated in your pattern and create a gauge swatch before starting. Adjust your needle size if necessary to match the recommended gauge. This step ensures that your finished blanket will have the correct measurements and appearance.
By carefully considering these factors, you can confidently choose the yarn and needle size that will work best for your baby blanket project. In the next section, we will dive into the knitting process, starting with casting on stitches.
Casting on stitches
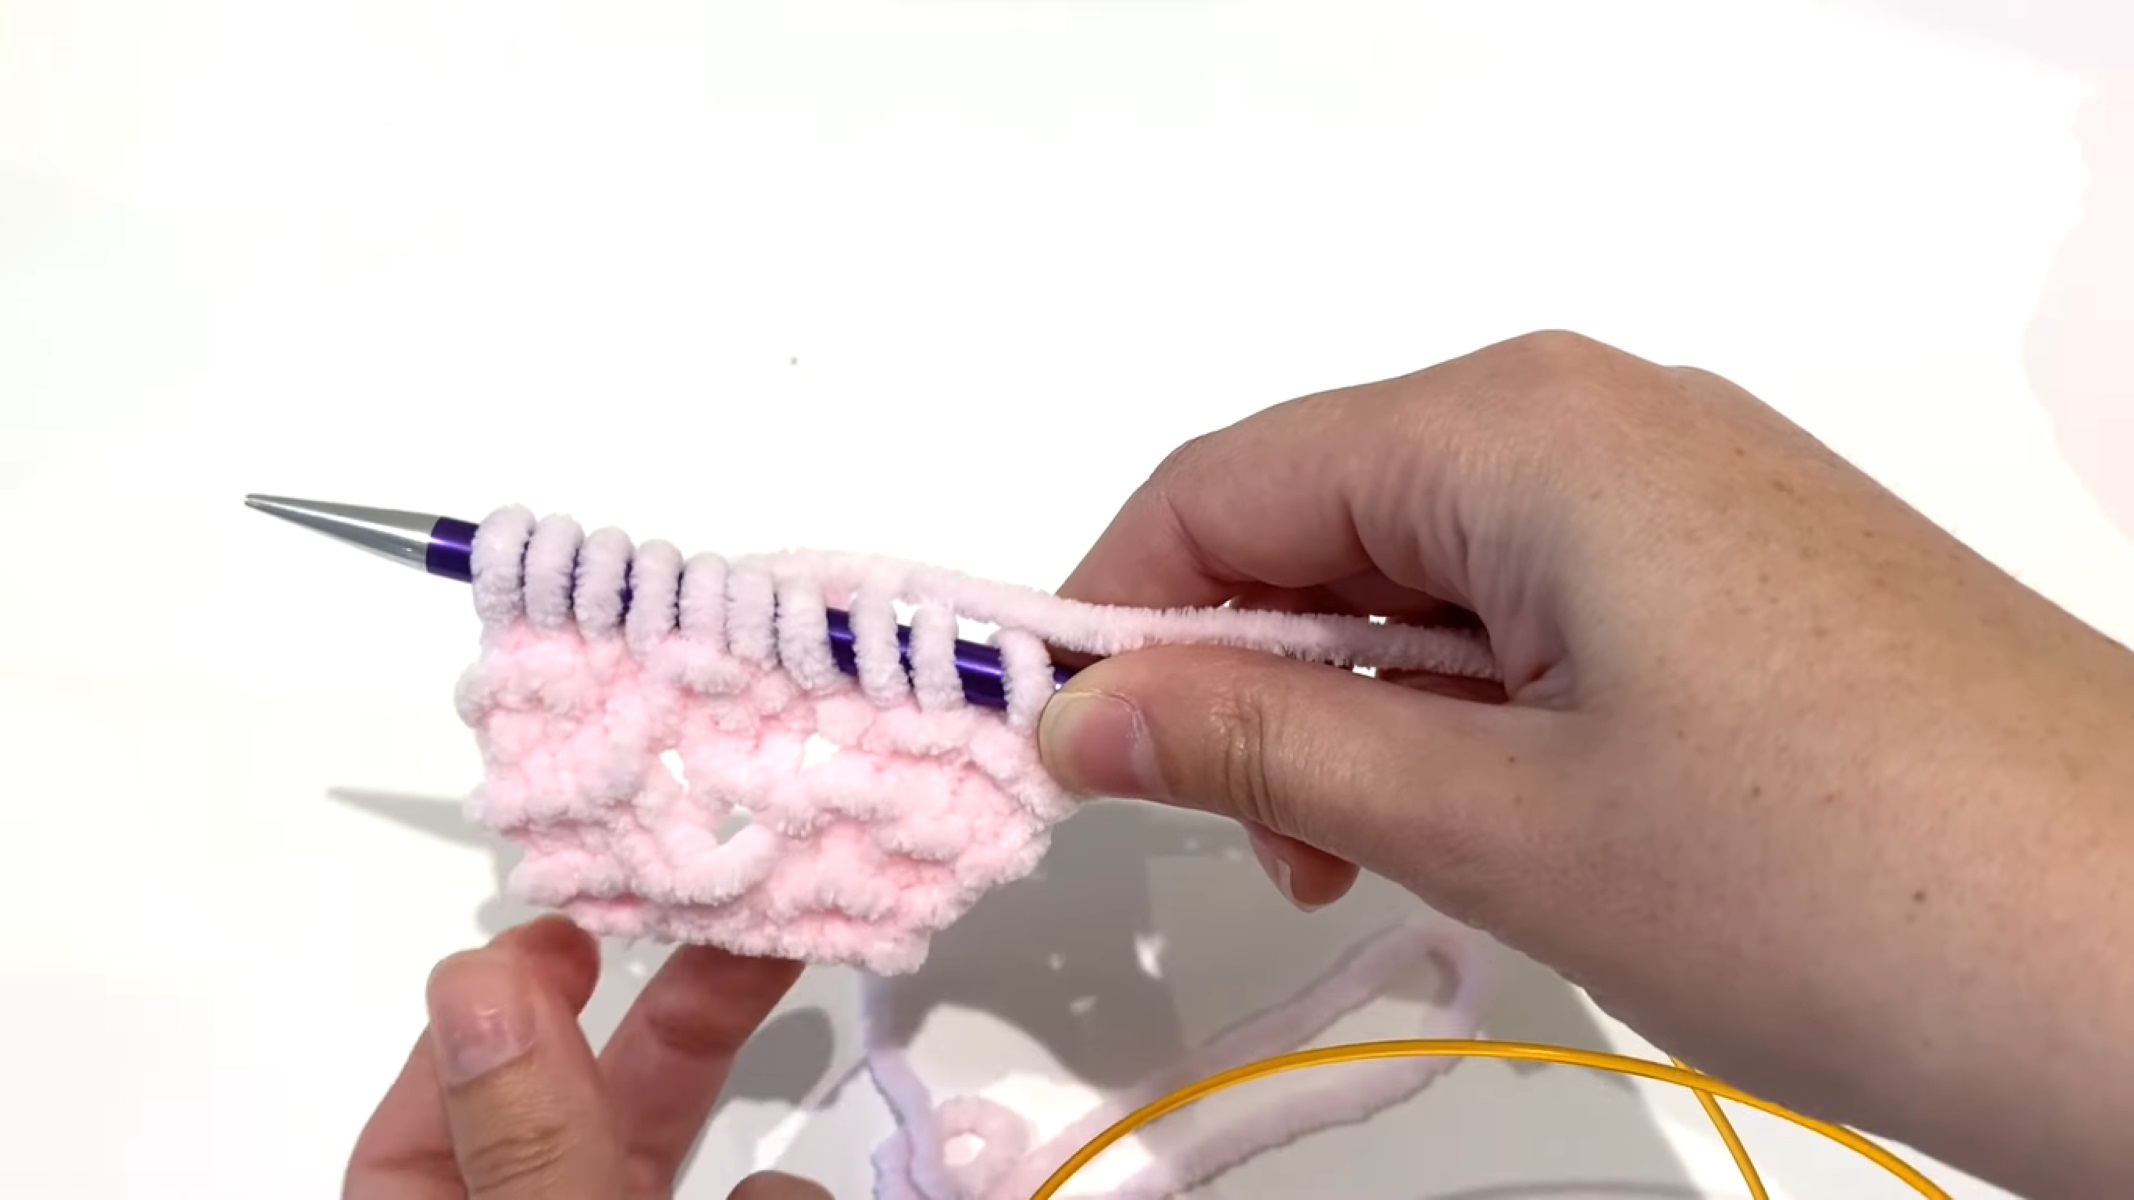
Now that you have your knitting supplies and have selected the perfect yarn and needle size, it’s time to begin the actual knitting process with casting on stitches. Casting on is the foundation of your blanket and sets the stage for the rest of the project. Here’s how to get started:
- Make a slip knot: Start by creating a slip knot at the end of your yarn. To do this, make a loop with the yarn and insert the working end through the loop. Gently pull the loop to tighten the knot, leaving a small loop at the other end of the yarn.
- Hold the needle: Hold the needle with the slip knot in your dominant hand. The slip knot should be on the end of the needle, leaving the tail of the yarn hanging down.
- Insert the needle: With your other hand, insert the needle into the slip knot from front to back, bringing the yarn over the top of the needle.
- Create the first stitch: With the yarn wrapped around the needle, pull it through the slip knot, creating a new loop on the needle. This loop will be your first stitch.
- Continue casting on: Repeat steps 3 and 4 to create additional stitches. Depending on your pattern, you may need to cast on a specific number of stitches. Count your stitches periodically to ensure you have the correct number.
- Even out your stitches: After you’ve cast on all your stitches, gently pull the working yarn to tighten but not too tight. Make sure your stitches are even and not too loose or too tight.
Remember, casting on sets the width of your baby blanket, so take your time and ensure you have the desired number of stitches before progressing to the next steps.
Now that you have successfully cast on your stitches, it’s time to start knitting the border. In the next section, we will guide you through this exciting phase of the baby blanket knitting journey.
Knitting the border
As you begin knitting the border of your baby blanket, you’ll create a frame that adds structure and visual appeal to the overall design. The border will also help prevent the edges of the blanket from curling over time. Here’s how to knit the border:
- Choose a border stitch: Select a border stitch pattern that complements your desired aesthetic. Simple garter stitch (knitting every row) or seed stitch (alternating knit and purl stitches) are popular options for clean and classic borders.
- Knit the first row: Start by knitting the first row of the border stitch pattern. If you’re using garter stitch, knit every stitch across the row. If you’re using seed stitch, follow the pattern instructions for the first row.
- Repeat the border pattern: Continue knitting each row of the border stitch pattern until your desired border width is reached. Make sure to keep track of your stitch count and row count if you’re following a specific pattern.
- Transition to the main body: Once you’ve completed the border, you’re ready to transition to the main body of the blanket. You can do this by switching to your chosen stitch pattern or simply continuing with the same stitch pattern you used for the border. The choice is yours!
- Ensure even tension: Throughout the border knitting process, it’s important to maintain even tension in your stitches. This consistency will help create a neat and uniform appearance in your blanket.
- Take breaks and relax: Knitting can be a relaxing and enjoyable activity, but it’s important to take breaks and rest your hands and wrists to avoid strain or fatigue. Stretching exercises can be helpful to keep your muscles loose and prevent stiffness.
By following these steps, you’ll be well on your way to knitting a beautiful and well-defined border for your baby blanket. Now, let’s move on to the next phase: creating the main body of the blanket.
When starting to knit a baby blanket, choose a soft and machine-washable yarn to ensure easy care. Also, use a simple stitch pattern to keep it manageable for beginners.
Creating the main body of the blanket
Now that the border is complete, it’s time to focus on creating the main body of the baby blanket. This is where you’ll showcase your chosen stitch pattern and bring your design to life. Here’s how you can create the main body of the blanket:
- Select your stitch pattern: Choose a stitch pattern that aligns with your desired aesthetic and skill level. Some popular stitch patterns for baby blankets include stockinette stitch, rib stitch, basketweave stitch, or even more intricate lace or cable patterns.
- Follow the pattern: If you’re using a specific pattern, carefully follow the instructions to create the stitch pattern. Pay attention to any stitch variations, row counts, and pattern repeats mentioned in the instructions.
- Keep track of your rows: It’s essential to keep track of your rows as you knit the main body of the blanket. One way to do this is by using a row counter. Alternatively, you can create a tally mark system on a piece of paper or use removable stitch markers to mark every tenth row.
- Maintain consistent tension: Consistent tension is key to achieving a uniform look throughout your blanket. Make sure to practice even tension as you knit each row to prevent loose or tight stitches that may affect the overall appearance of the blanket.
- Incorporate color changes (optional): If you wish to add color changes to your blanket, carefully introduce new yarn colors as instructed by your pattern. This can be done by joining the new yarn at the edge of the row and weaving in the yarn tails later to secure them.
- Double-check measurements: Periodically measure the width and length of your blanket against your intended dimensions. This will help ensure your blanket is turning out the way you envisioned and allow you to make adjustments if needed.
Take your time and enjoy the process of knitting the main body of your baby blanket. This is where your chosen stitch pattern will shine and create a beautiful texture that adds character to your project. Once you’ve completed the desired length of the main body, it’s time to move on to the next step: adding decorative stitches to enhance the design.
Adding decorative stitches
Adding decorative stitches to your baby blanket can elevate its visual appeal and make it truly unique. These stitches can be simple embellishments or more intricate patterns that create texture and interest. Here’s how you can add decorative stitches to enhance the design of your blanket:
- Select decorative stitch patterns: Choose decorative stitch patterns that complement the overall design and stitch pattern of your blanket. Consider options such as cables, lacework, bobbles, or eyelets. These stitches can be added in specific sections or scattered throughout the blanket for a more organic look.
- Plan stitch placement: Determine where you want the decorative stitches to be placed on your blanket. You can create a distinct border with the stitches or incorporate them within the main body of the blanket. Visualize the placement and the impact it will have on the design.
- Follow the stitch instructions: If you’re using a specific stitch pattern, carefully follow the instructions provided. Pay attention to any stitch variations, specific techniques, and row counts mentioned in the pattern. It’s helpful to practice the stitch on a swatch before incorporating it into your blanket to ensure you understand the technique.
- Maintain pattern consistency: As you work on the decorative stitches, strive to maintain pattern consistency with the rest of the blanket. This includes maintaining the same stitch tension and ensuring the decorative stitches align with the existing stitch pattern.
- Consider color changes (optional): Adding decorative stitches also provides an opportunity to introduce additional colors to your blanket. You can change yarn colors as instructed by the pattern or experiment with your own color choices to create a visually pleasing contrast.
- Weave in ends: As you add decorative stitches, make sure to securely weave in loose ends using a tapestry needle. This will ensure that the ends are neatly concealed within the fabric and will not unravel over time.
By incorporating decorative stitches, you can add a personal touch and elevate the design of your baby blanket. Take your time to perfect each stitch and enjoy the creative process. Once you’re satisfied with the decorative accents, it’s time to move on to binding off the stitches and preparing for the finishing touches.
Binding off the stitches
Binding off, also known as casting off, is the final step in knitting your baby blanket. It involves securing the stitches to prevent unraveling and creating a neat and finished edge. Here’s how you can bind off the stitches:
- Start with two stitches: Begin by knitting the first two stitches of your row in the usual manner.
- Pass the first stitch over: Slip the left-hand stitch (first stitch) over the right-hand stitch (second stitch) and off the needle. You should now have one stitch remaining on the right-hand needle.
- Knit one stitch: Knit the next stitch on your left-hand needle, leaving two stitches on your right-hand needle.
- Repeat the process: Pass the first stitch over the second stitch and off the needle. You should now have one stitch remaining on your right-hand needle.
- Continue binding off: Repeat the process of knitting one stitch and passing the previous stitch over until you have bound off all the stitches. This means you will have only one stitch remaining on your right-hand needle.
- Secure the last stitch: Cut the working yarn, leaving a tail of several inches. Thread the tail through the last stitch, and gently pull it tight to secure the stitch.
- Weave in ends: To give your blanket a polished look, take the time to weave in any loose ends. Use a tapestry needle to thread the yarn tails through the stitches on the wrong side of the blanket. This will ensure that the ends are hidden and the blanket has a clean finish.
Once all the stitches have been bound off and the ends are woven in, your baby blanket is almost complete! All that’s left to do is add the finishing touches and block the blanket to give it that final professional touch.
Now that you’ve successfully bound off the stitches, let’s move on to the next step: adding the finishing touches and blocking the blanket.
Finishing touches and blocking the blanket
As you near the completion of your baby blanket, there are a few finishing touches you can add to enhance its overall appearance. Additionally, blocking the blanket will help to even out the stitches and give it a smooth and professional finish. Here’s how to add the finishing touches and block your baby blanket:
- Check for any imperfections: Before proceeding with the finishing touches, inspect your blanket for any loose stitches, uneven edges, or areas that may require minor adjustments. Fix any imperfections by carefully unraveling and re-knitting those sections if needed.
- Trim excess yarn: Trim any excess yarn tails from the bind off and woven-in ends. Use sharp scissors to carefully cut the yarn tails close to the surface without cutting into the blanket itself.
- Consider adding a border (optional): If you feel that your baby blanket would benefit from a border, you can add one at this stage. Choose a simple stitch pattern, such as garter stitch or seed stitch, to frame the edges nicely. Knit the border directly onto the live stitches of the blanket, working your desired number of rows.
- Block the blanket: Blocking is the process of gently shaping the knitted fabric by wetting it and allowing it to dry in the desired shape. Fill a basin or sink with lukewarm water and a small amount of gentle detergent. Immerse your blanket in the water and gently press it down to ensure the entire blanket is saturated. Let the blanket soak for about 10 to 15 minutes.
- Squeeze out excess water: After soaking, gently squeeze out the excess water from the blanket. Avoid wringing or twisting the fabric, as this can distort the stitches. Instead, lightly press the blanket between your hands or roll it in a towel to remove the water.
- Shape and dry the blanket: Lay the damp blanket on a clean and flat surface, making sure it is in the desired shape and dimensions. Use rustproof T-pins or blocking wires to secure the edges and smooth out any wrinkles or curling. Allow the blanket to air dry completely before removing the pins or wires.
- Enjoy your beautiful baby blanket: Once the blanket is dry, remove the pins or wires, and admire your finished creation. Your baby blanket is now ready to be used, wrapped snugly around a little one, or given as a cherished gift.
By adding these finishing touches and blocking your blanket, you’ll ensure that it looks its best and maintains its shape over time. Take pride in your accomplishment and enjoy the warmth and comfort that your homemade baby blanket provides.
Congratulations on completing your baby blanket! We hope this guide has been helpful, and you feel inspired to continue exploring the art of knitting.
Read more: How To Wash A Knitted Blanket
Conclusion
Knitting a baby blanket is a fulfilling and gratifying project that allows you to showcase your creativity while creating a cherished item for a precious little one. By following the steps outlined in this article, you have learned how to start knitting a baby blanket, from choosing the right supplies to adding the finishing touches.
Throughout the process, you have discovered the importance of selecting the appropriate yarn and needle size, casting on stitches, knitting the border, creating the main body of the blanket, adding decorative stitches, binding off, and finally, blocking the blanket for a polished finish.
As you embark on your baby blanket knitting journey, remember to enjoy the process and embrace the artistic choices you make. Every stitch you knit carries a piece of your love and creativity, making the blanket truly special.
Whether you are knitting for your own baby, a family member, or a friend, the result will be a treasured keepsake that brings warmth and comfort. Your attention to detail, choice of stitch patterns, and dedication to creating a high-quality blanket will be appreciated by both the baby and their parents.
Don’t be afraid to personalize your baby blanket with colors, stitch variations, or even monogramming. Let your creativity shine and make it a true reflection of your style.
Congratulations on completing your baby blanket! As you wrap it around the little one or present it as a loving gift, take pride in your accomplishment. Your handmade creation is sure to bring joy and comfort for years to come, reminding everyone of the love poured into every stitch.
Now, gather your knitting supplies, choose a pattern, and start knitting your baby blanket. The possibilities are endless, and the final result will be a testament to your skill and creativity. Happy knitting!
Frequently Asked Questions about How To Start Knitting A Baby Blanket
Was this page helpful?
At Storables.com, we guarantee accurate and reliable information. Our content, validated by Expert Board Contributors, is crafted following stringent Editorial Policies. We're committed to providing you with well-researched, expert-backed insights for all your informational needs.
