Articles
How To Start A Corner To Corner Blanket
Modified: January 6, 2024
Learn everything you need to know about starting a corner to corner blanket with our comprehensive articles. Become a crochet expert today!
(Many of the links in this article redirect to a specific reviewed product. Your purchase of these products through affiliate links helps to generate commission for Storables.com, at no extra cost. Learn more)
Introduction
Have you ever wanted to learn how to crochet a cozy and unique blanket? A corner to corner blanket is a popular and versatile crochet pattern that can be easily customized to your desired size and style. Whether you’re a beginner or an experienced crocheter, creating a corner to corner blanket is a rewarding and enjoyable project that can be completed in no time.
In this article, we will guide you through the process of making a corner to corner blanket from start to finish. We will provide step-by-step instructions, helpful tips, and recommendations for materials to ensure your project turns out beautifully.
So grab your crochet hooks and let’s get started on this exciting crochet journey! By the end of this article, you’ll not only have a stunning corner to corner blanket but also a new set of crochet skills under your belt.
Key Takeaways:
- Creating a corner to corner blanket is a versatile and enjoyable crochet project suitable for all skill levels. The unique diagonal design allows for endless customization, making each blanket a one-of-a-kind masterpiece.
- From choosing the right yarn to adding finishing touches, the step-by-step guide provides valuable tips and techniques for creating a stunning corner to corner blanket. Embrace creativity, take breaks, and enjoy the crocheting journey!
Read more: How To Start Crocheting A Blanket
What is a Corner to Corner Blanket?
A corner to corner blanket, often abbreviated as C2C blanket, is a crochet technique that creates a unique diagonal design. Instead of working in rows or rounds like traditional crochet patterns, the corner to corner technique involves crocheting from one corner of the blanket to the opposite corner. This creates a visually appealing and modern-looking blanket.
The corner to corner technique is versatile and allows for endless design possibilities. You can use different colored yarns to create beautiful geometric patterns, stripes, or even incorporate images or motifs in your blanket. It’s a great way to showcase your creativity and add a personal touch to your crochet projects.
One of the advantages of the corner to corner technique is that it’s relatively easy to learn and perfect for crocheters of all skill levels. If you’re a beginner, this project can be a great introduction to new crochet stitches and techniques. For more experienced crocheters, it offers a chance to explore new design possibilities and challenge your skills.
Corner to corner blankets are also highly customizable in terms of size. You can easily adjust the size of your blanket by adding or subtracting rows. This makes it a great option for creating baby blankets, lap blankets, or even oversized blankets for your bed.
So if you’re looking to create a unique and eye-catching crochet blanket, a corner to corner blanket is the perfect project for you. Now that you know what a corner to corner blanket is, let’s move on to the materials you’ll need to get started.
Materials Needed
Before starting your corner to corner blanket project, it’s important to gather all the necessary materials. Here’s a list of items you’ll need:
- Yarn: Choose a yarn that suits your desired blanket size and the level of warmth and coziness you want to achieve. Opt for a soft and durable yarn that is suitable for the desired weather conditions. Acrylic or cotton yarns are commonly used for corner to corner blankets.
- Crochet Hooks: Select crochet hooks in various sizes to accommodate the thickness of your chosen yarn. The hook size will depend on the yarn weight and your personal tension. Check the yarn label for the recommended hook size, or use a larger hook for a more loose and drapey blanket, or a smaller hook for a tighter and denser texture.
- Tapestry Needle: This needle is essential for weaving in loose yarn ends and seaming different sections of your blanket together. Look for a blunt-tipped needle with a large eye that can easily accommodate your yarn.
- Scissors: A pair of sharp scissors is indispensable for cutting yarn and trimming any excess ends. Make sure they’re easily accessible while working on your project.
- Measuring Tape: A measuring tape or ruler is helpful for checking the size of your blanket as you work. It helps ensure that your project remains consistent and matches your desired dimensions.
- Stitch Markers: While not necessary, stitch markers can be useful for marking certain stitches or sections of your blanket. They help keep track of increases, decreases, or pattern repeats, especially in more intricate designs.
Once you’ve gathered all the necessary materials, you’re ready to move on to the next step: choosing your yarn. Let’s dive into this topic in the following section.
Step 1: Choosing Your Yarn
Choosing the right yarn for your corner to corner blanket is an important decision that can greatly impact the look and feel of your finished project. Here are some factors to consider when selecting your yarn:
- Yarn Weight: The weight of the yarn refers to its thickness. Yarns are typically categorized into different weight classes, such as lace, fingering, sport, worsted, and bulky. The weight of the yarn you choose will determine the overall size and weight of your blanket. Consider the level of warmth and drape you want your blanket to have. For a lightweight and delicate blanket, opt for lace or fingering weight yarn. For a heavier and cozier blanket, choose a worsted or bulky weight yarn.
- Yarn Fiber: Different yarn fibers have different properties, including softness, breathability, and durability. Common yarn fibers include acrylic, cotton, wool, and blends of these materials. Acrylic yarn is affordable and easy to care for, making it a popular choice for blankets. Cotton yarn is breathable and perfect for warmer climates. Wool yarn has excellent insulation properties but requires more care. Consider the characteristics you desire in your finished blanket when selecting the fiber.
- Color: The color of your yarn will determine the overall aesthetic of your corner to corner blanket. Choose colors that resonate with your personal style and match the intended purpose of the blanket. You can opt for solid colors for a classic look or experiment with variegated or self-striping yarns for a more visual interest. Consider the recipient’s preferences if you’re making the blanket as a gift.
- Quantity: Estimate how much yarn you’ll need based on the desired size of your blanket. Most yarn labels provide information on yardage or meters per skein. Once you have an estimate, it’s always a good idea to purchase slightly more yarn than you think you’ll need to account for any swatching, mistakes, or color changes.
When shopping for yarn, consider visiting your local yarn store to feel the textures and see the colors in person. This allows you to better judge the quality and match the hues. However, online shopping is also a convenient option, with many reputable online retailers offering a wide variety of yarn choices.
Now that you’ve chosen your yarn, it’s time to move on to the next step: crocheting the foundation chain. Let’s learn how to start the corner to corner blanket in the following section.
Step 2: Crocheting the Foundation Chain
Now that you have your yarn ready, it’s time to start crocheting the foundation chain for your corner to corner blanket. The foundation chain sets the width of your blanket.
Here’s how to crochet the foundation chain:
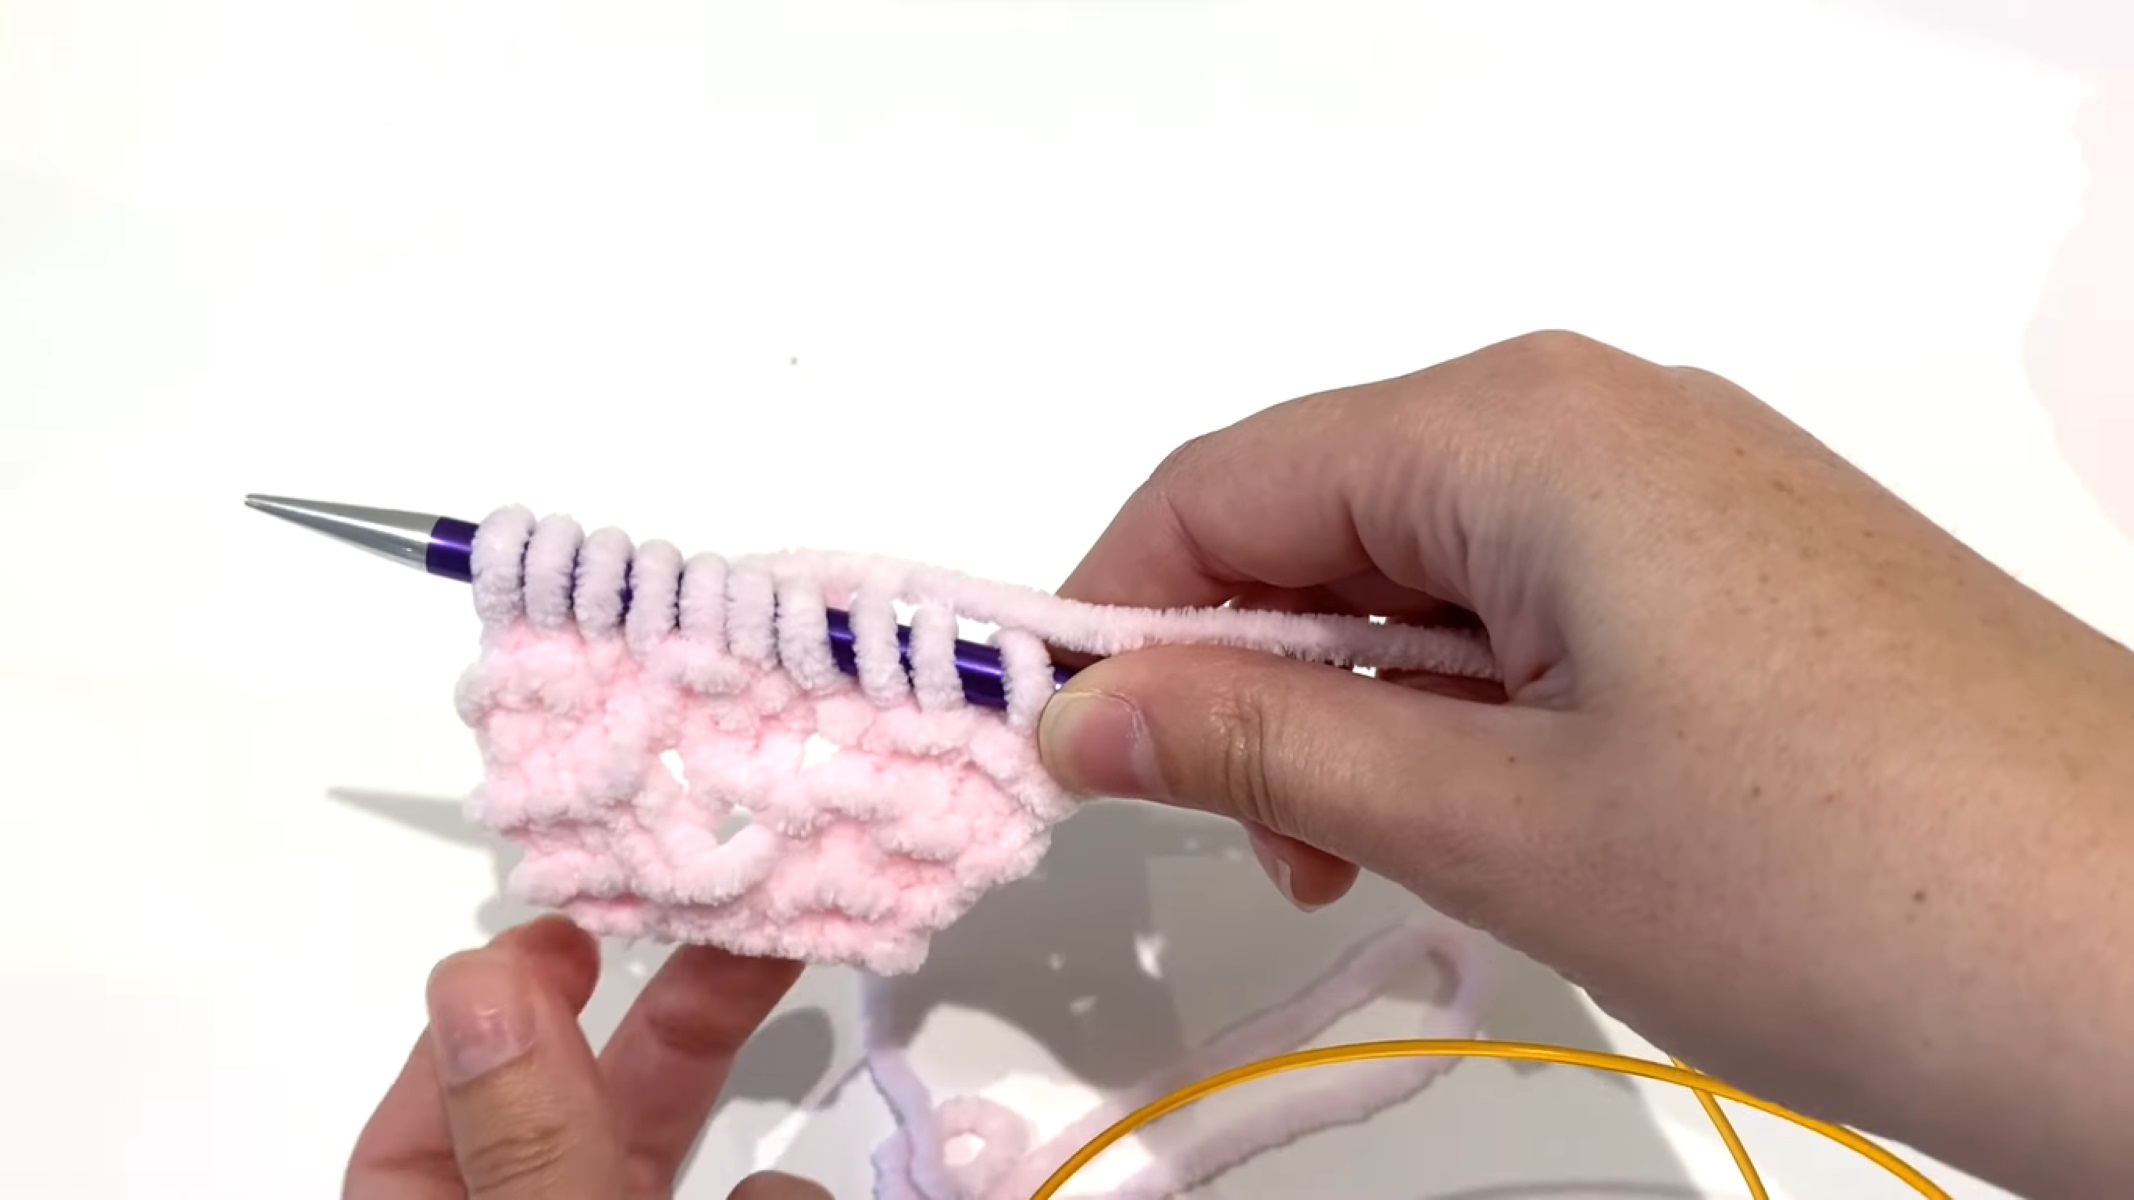
- Make a slip knot by creating a loop with the yarn tail. Insert your crochet hook through the loop and pull the working yarn to tighten the loop around the hook.
- Hold the crochet hook in your dominant hand and yarn over (YO) by wrapping the yarn from back to front around the hook.
- Using your hook, pull the yarn through the slip knot loop on your hook, creating a new loop on your hook.
- Repeat steps 2 and 3 until you reach the desired number of chains. To determine the length of the foundation chain, consider the dimensions of your blanket and the desired width. You can measure the chain as you go, placing a stitch marker every few chains to help keep track of the count.
Remember, the number of chains will depend on the size and pattern you’re following. Some patterns may provide specific instructions for the foundation chain, while others may have a suggested starting chain length.
Once you’ve completed the foundation chain, your blanket is ready for the next step: crocheting the first row. Continue reading for the instructions on how to proceed.
Read more: How To Start Knitting A Baby Blanket
Step 3: Crocheting the First Row
With the foundation chain completed, it’s time to start crocheting the first row of your corner to corner blanket. This row sets the stage for the diagonal design.
Follow these steps to crochet the first row:
- Insert your crochet hook into the fourth chain from the hook. This will serve as your first stitch.
- Yarn over (YO) by wrapping the yarn from back to front around the hook.
- Using your hook, draw the yarn through both loops on the hook, creating a single crochet (sc) stitch.
- To complete the first row, continue making single crochet stitches into each chain across the foundation chain. Each chain should have one single crochet stitch. The last stitch should be made into the last chain of the foundation chain.
After completing the first row, you’ll notice that your work starts to form a diagonal line. This is the beginning of the unique corner to corner design.
You can choose to change colors after the first row for a more visually appealing effect, or you can continue with the same color throughout your entire blanket.
It’s important to note that for subsequent rows, you’ll be increasing on one side and decreasing on the other side to maintain the diagonal shape. This will be explained in the following steps.
Now that you’ve completed the first row, it’s time to move on to step 4: increasing rows. This is where your blanket really starts to take shape. Continue reading to learn how to increase rows in the corner to corner technique.
When starting a corner to corner blanket, begin with a chain of 6 and work the first row into the 4th chain from the hook to create the first square. This will set the foundation for the rest of the blanket.
Step 4: Increasing Rows
Increasing rows in the corner to corner blanket is where the unique diagonal design becomes more pronounced. It involves adding more stitches to one side of the blanket while maintaining the same stitch count on the other side. This creates a triangular shape that gradually expands as you work.
Follow these steps to increase rows:
- Start by turning your work. This means flipping your blanket to the backside so that you can work on the next row.
- Increase in the first stitch of the row by making three double crochet stitches (dc) into the same stitch from the previous row.
- Continue working one double crochet stitch into each stitch across the row until you reach the last stitch.
- At the last stitch, make three double crochet stitches (dc) into that stitch.
The purpose of the increased stitches on one side is to maintain the diagonal shape. As you continue to increase rows, the diagonal line will become more pronounced, and the size of your blanket will gradually increase.
Remember to turn your work at the end of each row and follow the increasing pattern to maintain the diagonal shape. The number of stitches in each increase will depend on your specific pattern or desired design. Be sure to follow the instructions for your chosen corner to corner pattern.
Continue increasing rows as desired or until you reach your desired width for the blanket. Once you are ready to start decreasing rows, move on to step 5.
Now that you’ve learned how to increase rows, your blanket is taking shape! In the next step, we’ll cover how to decrease rows to create a tapered end. Keep reading to learn more!
Step 5: Decreasing Rows
Decreasing rows in the corner to corner blanket is the process of tapering the end and creating a straight edge. It involves reducing the number of stitches in each row until you reach the opposite corner of your blanket.
Follow these steps to decrease rows:
- Start by turning your work. This means flipping your blanket to the backside so that you can work on the next row.
- Work one double crochet stitch (dc) into each stitch across the row until you reach the last three stitches.
- To decrease, work a double crochet two together (dc2tog) stitch. Insert your hook into the next stitch, yarn over and pull up a loop. Insert your hook into the following stitch, yarn over and pull up a loop. Yarn over again and pull through all three loops on your hook.
- Work one double crochet stitch (dc) into the last stitch of the row.
Continue decreasing rows in this manner until you have reached the final stitch in your corner to corner blanket. The number of decrease rows you’ll need will depend on the size and desired shape of your blanket.
Remember to turn your work at the end of each row and follow the decreasing pattern to create a straight edge. The number of stitches you decrease will depend on your specific pattern or desired design. Always refer to the instructions for your chosen corner to corner pattern.
Once you’ve completed the decreasing rows, your blanket should have a tapered end, and all the stitches should be aligned in a straight line from the opposite corner.
Now that you’ve learned how to decrease rows, your corner to corner blanket is almost complete! In the next step, we’ll cover how to add a border or edging to give your blanket a finished look. Stay tuned!
Step 6: Adding Border or Edging
Adding a border or edging to your corner to corner blanket can provide a finishing touch and enhance the overall appearance of your project. It helps to define the edges, give your blanket a polished look, and even add some extra design elements.
Here are a few options for adding a border or edging to your blanket:
- Single Crochet Border: A simple and classic option is to add a border of single crochet stitches (sc) around the entire blanket. This creates a clean and even edge. You can choose to use the same color as your blanket or select a contrasting color for added visual interest.
- Shell Edging: Create a feminine and decorative border by working a shell stitch edging. To do this, you’ll crochet a sequence of double crochet (dc), chain (ch), and slip stitch (sl st) stitches in a pattern along the edge of your blanket. This adds texture and a delicate touch to your creation.
- Picot Edging: For a dainty and whimsical border, consider adding a picot edging. This involves creating small loops or decorative points along the edge of the blanket. Picot stitches are commonly made by chaining a few stitches and then slip stitching back into the base of the chain to create a small loop or point.
- Colorful Stripes: If you want to add a pop of color and playfulness to your blanket, you can create a border using different colored yarns. Work a few rows of single crochet stitches (sc) using contrasting colors, or even create a striped border by alternating colors for each row.
The choice of border or edging is entirely up to you and your personal style. Feel free to get creative and experiment with different crochet stitches, patterns, or colors to customize your corner to corner blanket exactly the way you want it.
Once you’ve completed the border or edging, your corner to corner blanket will have a polished and finished look. Now it’s time for the final step: Finishing touches and tips. Let’s learn how to complete your blanket in the next section.
Read more: How To Start A Loop Yarn Blanket
Step 7: Finishing Touches and Tips
Congratulations! You’re almost done with your corner to corner blanket. In this final step, we’ll cover some finishing touches and provide you with a few helpful tips to make your project even better.
Here are some finishing touches and tips:
- Weaving in Ends: Take the time to weave in any loose ends of yarn that may be sticking out from your blanket. Use a tapestry needle to thread the ends through several stitches on the backside of your work to secure them in place. This will give your blanket a neat and professional finish.
- Blocking: If your blanket requires blocking, consider blocking it to give the stitches a more refined appearance. Blocking involves wetting or steaming the blanket, then shaping and drying it to open up the stitches and improve the overall look and drape.
- Personalize Your Blanket: Consider adding personal touches to your blanket, such as appliques, patches, or embroidery. These embellishments can make your blanket truly one-of-a-kind and add sentimental value.
- Take Breaks: Crocheting can be addictive, but it’s important to take breaks and rest your hands to avoid strain or fatigue. Stretch your hands and wrists periodically and practice good ergonomics while crocheting.
- Experiment with Colors and Patterns: Don’t be afraid to try different color combinations and patterns. The corner to corner technique is versatile and allows for endless customization options. Have fun and let your creativity shine!
- Join Crochet Communities: Connect with other crocheters by joining online crochet communities, forums, or social media groups. You can share your progress, ask for advice, and get inspired by seeing what others are creating.
Remember, crocheting is a journey, and every project is a learning experience. Embrace any mistakes or challenges along the way and view them as opportunities to improve your skills.
Once you have completed the finishing touches and implemented these tips, your corner to corner blanket will be ready to showcase or gift to someone special. Enjoy the warmth and comfort of your beautiful creation!
With that, we come to the end of our step-by-step guide on how to make a corner to corner blanket. We hope you found this article helpful and that you have an enjoyable time creating your very own corner to corner masterpiece!
Happy crocheting!
Conclusion
In conclusion, creating a corner to corner blanket is a delightful and rewarding crochet project. Throughout this article, we’ve walked you through the process, from choosing the right yarn to adding the final touches. By following the step-by-step instructions and incorporating your own personal touches, you can create a beautiful and unique blanket that is sure to impress.
The corner to corner technique offers endless possibilities for customization and creativity. Whether you choose to create a classic striped blanket, a vibrant geometric design, or even an image or motif, the diagonal structure adds a modern and eye-catching touch to your crochet project.
While the step-by-step instructions guide you through the process, it’s important to remember that crocheting is an art form that allows for personal expression. Don’t be afraid to experiment with different colors, patterns, and techniques to make your corner to corner blanket truly one-of-a-kind.
As you embark on your corner to corner journey, remember to take breaks, enjoy the process, and connect with other crochet enthusiasts. Sharing your progress and seeking inspiration from crochet communities can enhance your experience and provide valuable insights and tips.
Lastly, remember that crocheting is a skill that you can continue to develop and refine. Each project builds on your knowledge and experience, allowing you to tackle more complex patterns and techniques in the future.
So, grab your crochet hooks, choose your favorite yarn, and get started on creating your own corner to corner blanket masterpiece. Whether you’re making a blanket for yourself or as a special gift, the time and effort you put into it will be greatly appreciated and cherished for years to come.
Happy crocheting!
Frequently Asked Questions about How To Start A Corner To Corner Blanket
Was this page helpful?
At Storables.com, we guarantee accurate and reliable information. Our content, validated by Expert Board Contributors, is crafted following stringent Editorial Policies. We're committed to providing you with well-researched, expert-backed insights for all your informational needs.


0 thoughts on “How To Start A Corner To Corner Blanket”