Articles
How To Stop Chimney Downdraft
Modified: October 20, 2024
Learn effective techniques and proven strategies in our informative articles on how to stop chimney downdraft and improve your fireplace ventilation.
(Many of the links in this article redirect to a specific reviewed product. Your purchase of these products through affiliate links helps to generate commission for Storables.com, at no extra cost. Learn more)
Introduction
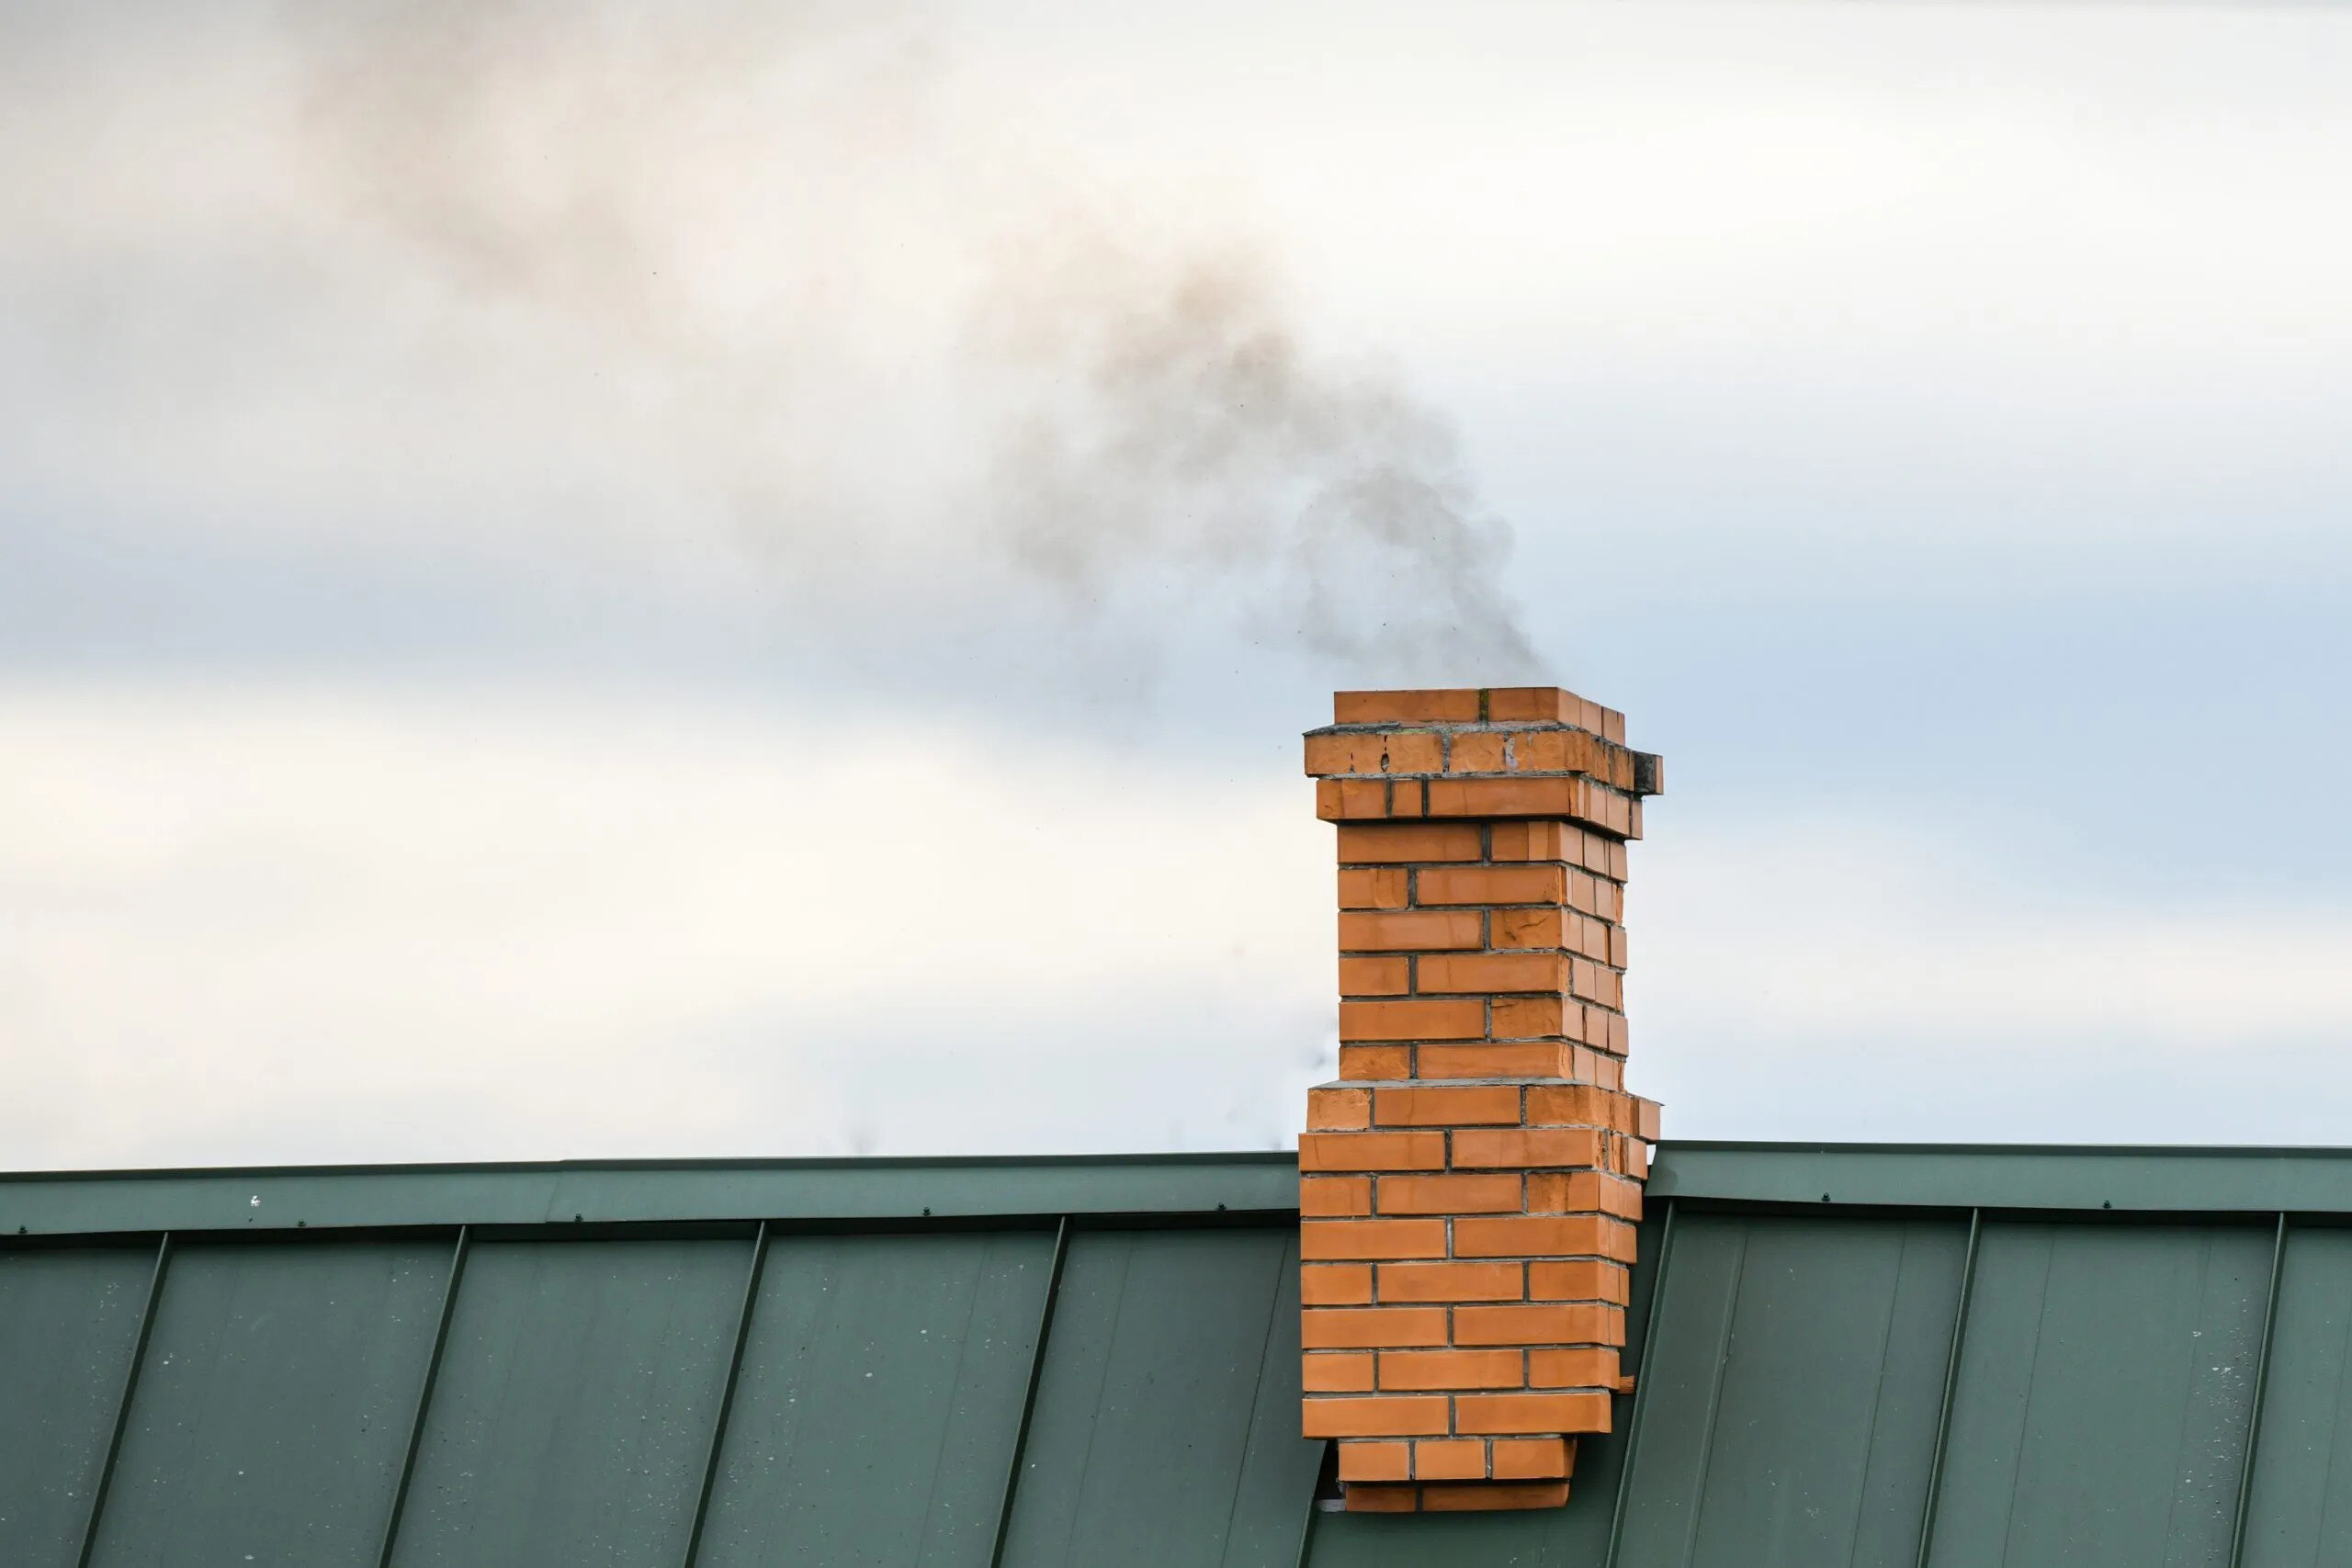
Having a cozy fireplace or a wood-burning stove is a wonderful way to create a warm and inviting atmosphere in your home. However, one common issue that can arise is chimney downdraft. Chimney downdraft occurs when there is an unwanted flow of air into the chimney, causing smoke and other byproducts to be pushed back into your living space instead of being safely vented outside.
Dealing with chimney downdraft can be frustrating and unpleasant, but there are effective solutions to combat this problem. In this article, we will explore the causes of chimney downdraft, signs to watch out for, and various techniques to stop it from happening. Whether you are a homeowner or a fireplace enthusiast, understanding chimney downdraft and how to prevent it will help you enjoy your fireplace to the fullest.
Key Takeaways:
- Understanding the causes and signs of chimney downdraft is crucial for preventing this frustrating issue. Implementing DIY techniques and seeking professional assistance can lead to a safe, efficient, and enjoyable fireplace experience.
- Techniques such as installing a chimney cap, sealing air leaks, clearing obstructions, and using a chimney balloon offer effective solutions for combating chimney downdraft. Regular chimney maintenance and inspections are essential for long-term fireplace enjoyment.
Read more: How To Stop Wind From Blowing Down Chimney
Understanding Chimney Downdraft
Chimney downdraft is the reverse flow of air down the chimney, which can lead to smoke and other combustion byproducts entering your living space instead of being expelled outside. This phenomenon occurs when the air pressure inside the chimney is lower than the air pressure outside, causing the air to flow in the opposite direction.
Several factors can contribute to chimney downdraft. One common cause is a difference in temperature between the inside and outside of the chimney. When the air inside the chimney is colder than the air outside, it creates a pressure difference that can push the air back down into the living space.
Another factor is wind pressure. High winds blowing against the chimney can create a negative pressure zone, causing the air to be drawn down the chimney instead of being expelled upwards. Additionally, the design and height of the chimney can also play a role in chimney downdraft. If the chimney is too short or does not have proper drafting, it may not effectively expel the smoke and combustion byproducts.
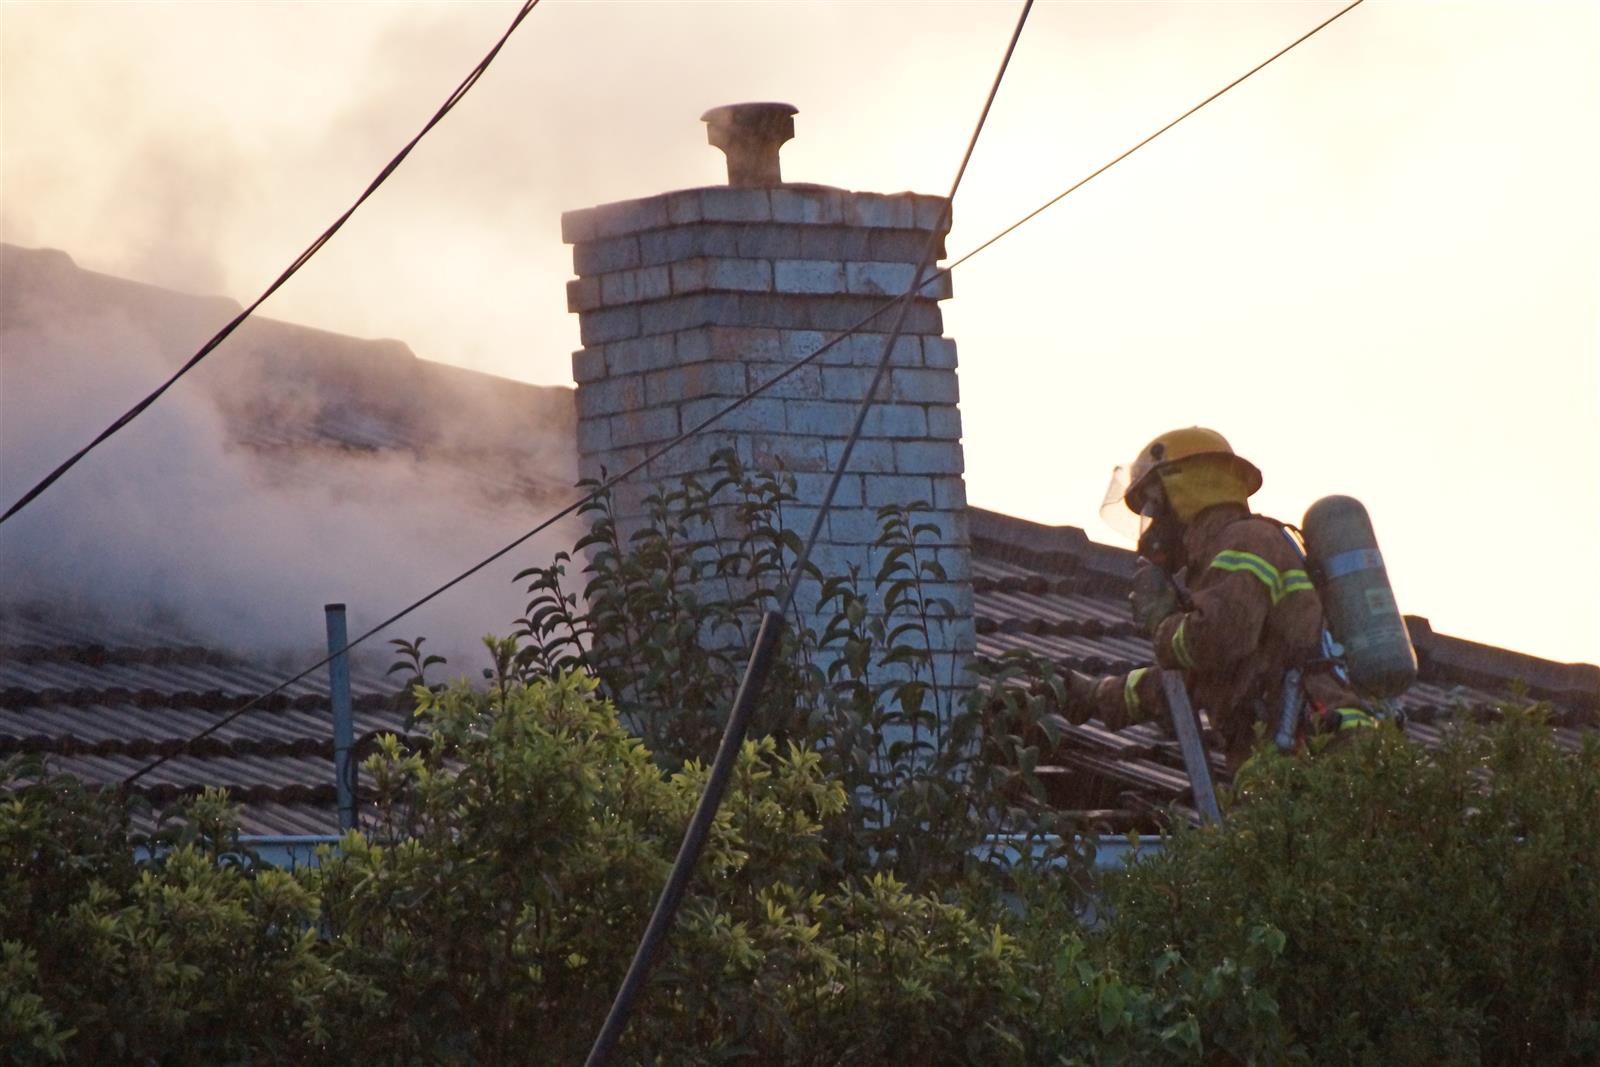
It’s important to understand chimney downdraft because it can have several negative effects. In addition to the unpleasant smoke and odor entering your home, chimney downdraft can also lead to poor indoor air quality, as the combustion byproducts contain harmful substances such as carbon monoxide. Furthermore, the accumulation of soot and creosote caused by chimney downdraft can increase the risk of chimney fires.
By understanding the causes and effects of chimney downdraft, you can take appropriate measures to eliminate or minimize this problem and ensure a safe and enjoyable fireplace experience.
Causes of Chimney Downdraft
Chimney downdraft can be caused by various factors. Understanding these causes can help you identify the root of the problem and implement effective solutions. Here are some common causes of chimney downdraft:
- Differences in Temperature: When the air inside the chimney is cooler than the outside air, it creates a pressure differential. This temperature difference can occur due to various reasons, such as cold weather, a lack of insulation in the chimney, or a chimney that is located on an exterior wall. The colder air inside the chimney can lead to downdraft as the warmer air outside pushes into the chimney.
- High Winds: Strong winds blowing against the chimney can disrupt the normal upward flow of air. The high wind speeds create a negative pressure zone, causing the air to be forced back down the chimney instead of being expelled upward. The severity of downdraft due to wind depends on the direction, speed, and consistency of the wind.
- Improper Chimney Design: The design and height of the chimney can also contribute to downdraft issues. A chimney that is too short may not be able to create enough draft to effectively pull the smoke up and out of the house. Additionally, obstructions such as trees, nearby buildings, or tall structures in the vicinity of the chimney can disrupt the airflow and lead to downdraft problems.
- Inadequate Air Supply: Another cause of chimney downdraft can be a lack of proper airflow into the house. When a fireplace or wood-burning stove is not getting enough combustion air, it can create negative pressure inside the house, which can push the smoke back down the chimney. This can happen if the house is too airtight or if there are insufficient air vents or openings for air to enter.
- Blockages or Obstructions: Any kind of blockage or obstruction in the chimney, such as bird nests, debris, or excessive creosote buildup, can impede the proper flow of air and lead to downdraft. These blockages disrupt the natural chimney draft and can cause the smoke to enter the living space instead of being vented outdoors.
It’s important to identify the specific cause or combination of causes contributing to chimney downdraft in order to effectively address the issue. By pinpointing the root cause, you can implement targeted solutions to alleviate downdraft and ensure a safe and efficient operation of your fireplace or wood-burning stove.
Signs of Chimney Downdraft
It’s important to be able to recognize the signs of chimney downdraft so that you can take appropriate measures to address the issue. Here are some common signs that indicate chimney downdraft:
- Smoke Filling the Room: One of the most obvious signs of chimney downdraft is smoke entering the room instead of being drawn up and out of the chimney. If you notice smoke lingering around the fireplace or spreading into the living space, it indicates that there is a problem with the chimney’s ability to properly vent the smoke.
- Strong Odors: Along with smoke, you may also notice strong odors of combustion byproducts, such as the smell of burnt wood or a lingering smoky odor, even when the fireplace is not in use. This is a clear indication of downdraft, as the byproducts are not being properly expelled from the chimney.
- Soot Buildup: Excessive soot buildup on the glass doors, walls, or surrounding surfaces of your fireplace or wood-burning stove can be a sign of downdraft. When the smoke is forced back into the living space, it leaves behind soot particles that settle on these surfaces.
- Difficulty Starting or Maintaining a Fire: If you find it challenging to start a fire or keep it burning consistently, it could be due to downdraft. When there is improper airflow in the chimney, it affects the combustion process, making it difficult to create a proper fire or sustain it.
- Backdrafting: Backdrafting occurs when you open a door or a window in the room where the fireplace is located, and smoke suddenly rushes into the room instead of going up the chimney. This is a clear indication of chimney downdraft and should be addressed promptly.
- Poor Indoor Air Quality: Chimney downdraft can have a negative impact on indoor air quality. If you and your family are experiencing symptoms such as headache, dizziness, or respiratory issues whenever the fireplace is in use, it could be a result of downdraft allowing harmful combustion byproducts to enter the living space.
Recognizing these signs early on can help you take the necessary steps to address chimney downdraft and ensure the safe and efficient operation of your fireplace or wood-burning stove. If you observe any of these signs, it is recommended to investigate further and implement appropriate solutions to prevent further downdraft issues.
Assessing and Preparing the Chimney
Before implementing any techniques to stop chimney downdraft, it’s essential to assess the condition of your chimney and make any necessary preparations. Here are some steps to follow:
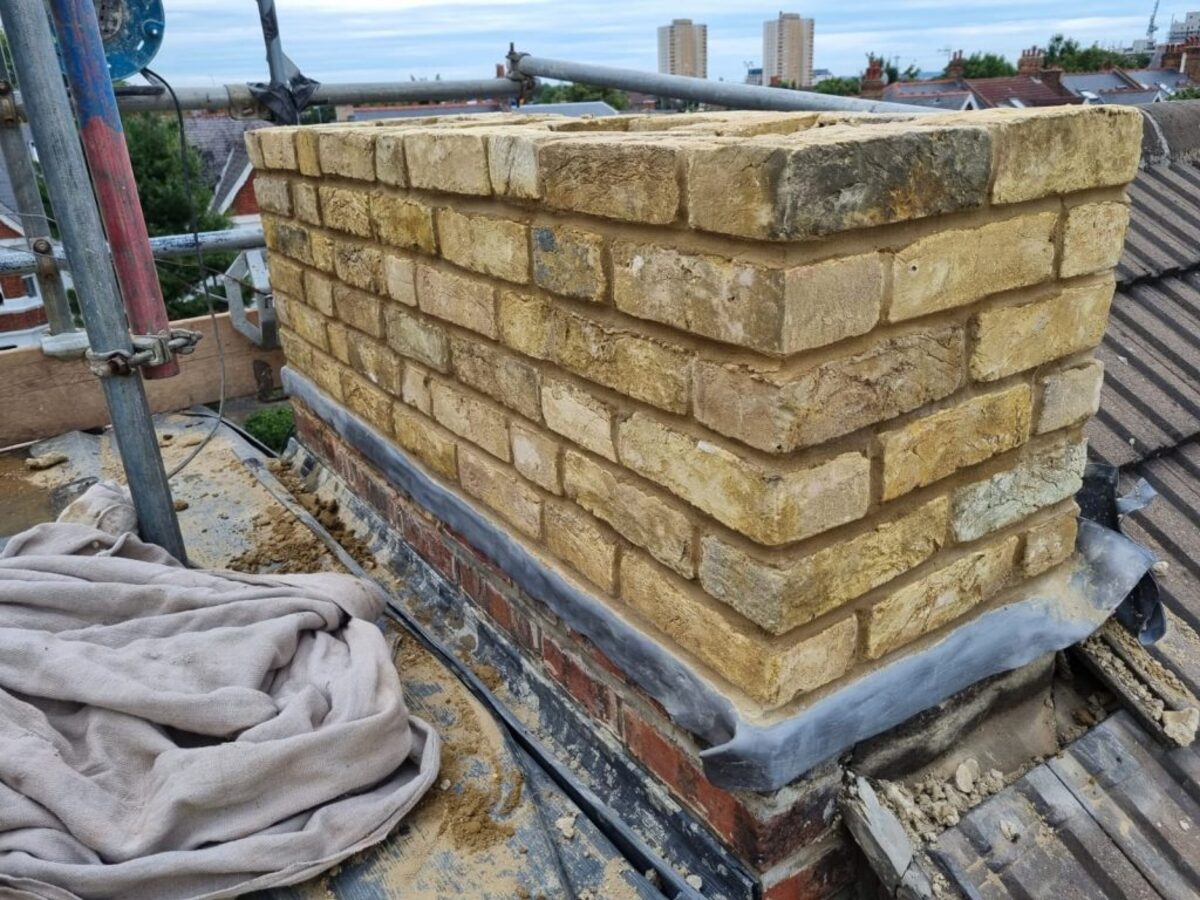
- Inspect the Chimney: Start by visually inspecting the chimney both from the exterior and the interior. Look for any obvious signs of damage or deterioration, such as cracks, missing bricks, or loose mortar joints. Check for any blockages or obstructions, such as bird nests, that may be hindering proper airflow.
- Clean the Chimney: If your chimney has a significant buildup of soot, creosote, or other debris, it’s important to have it cleaned by a professional chimney sweep. A clean chimney allows for proper airflow and reduces the risk of downdraft. Regular cleaning also helps prevent chimney fires and ensures the efficiency of your fireplace or wood-burning stove.
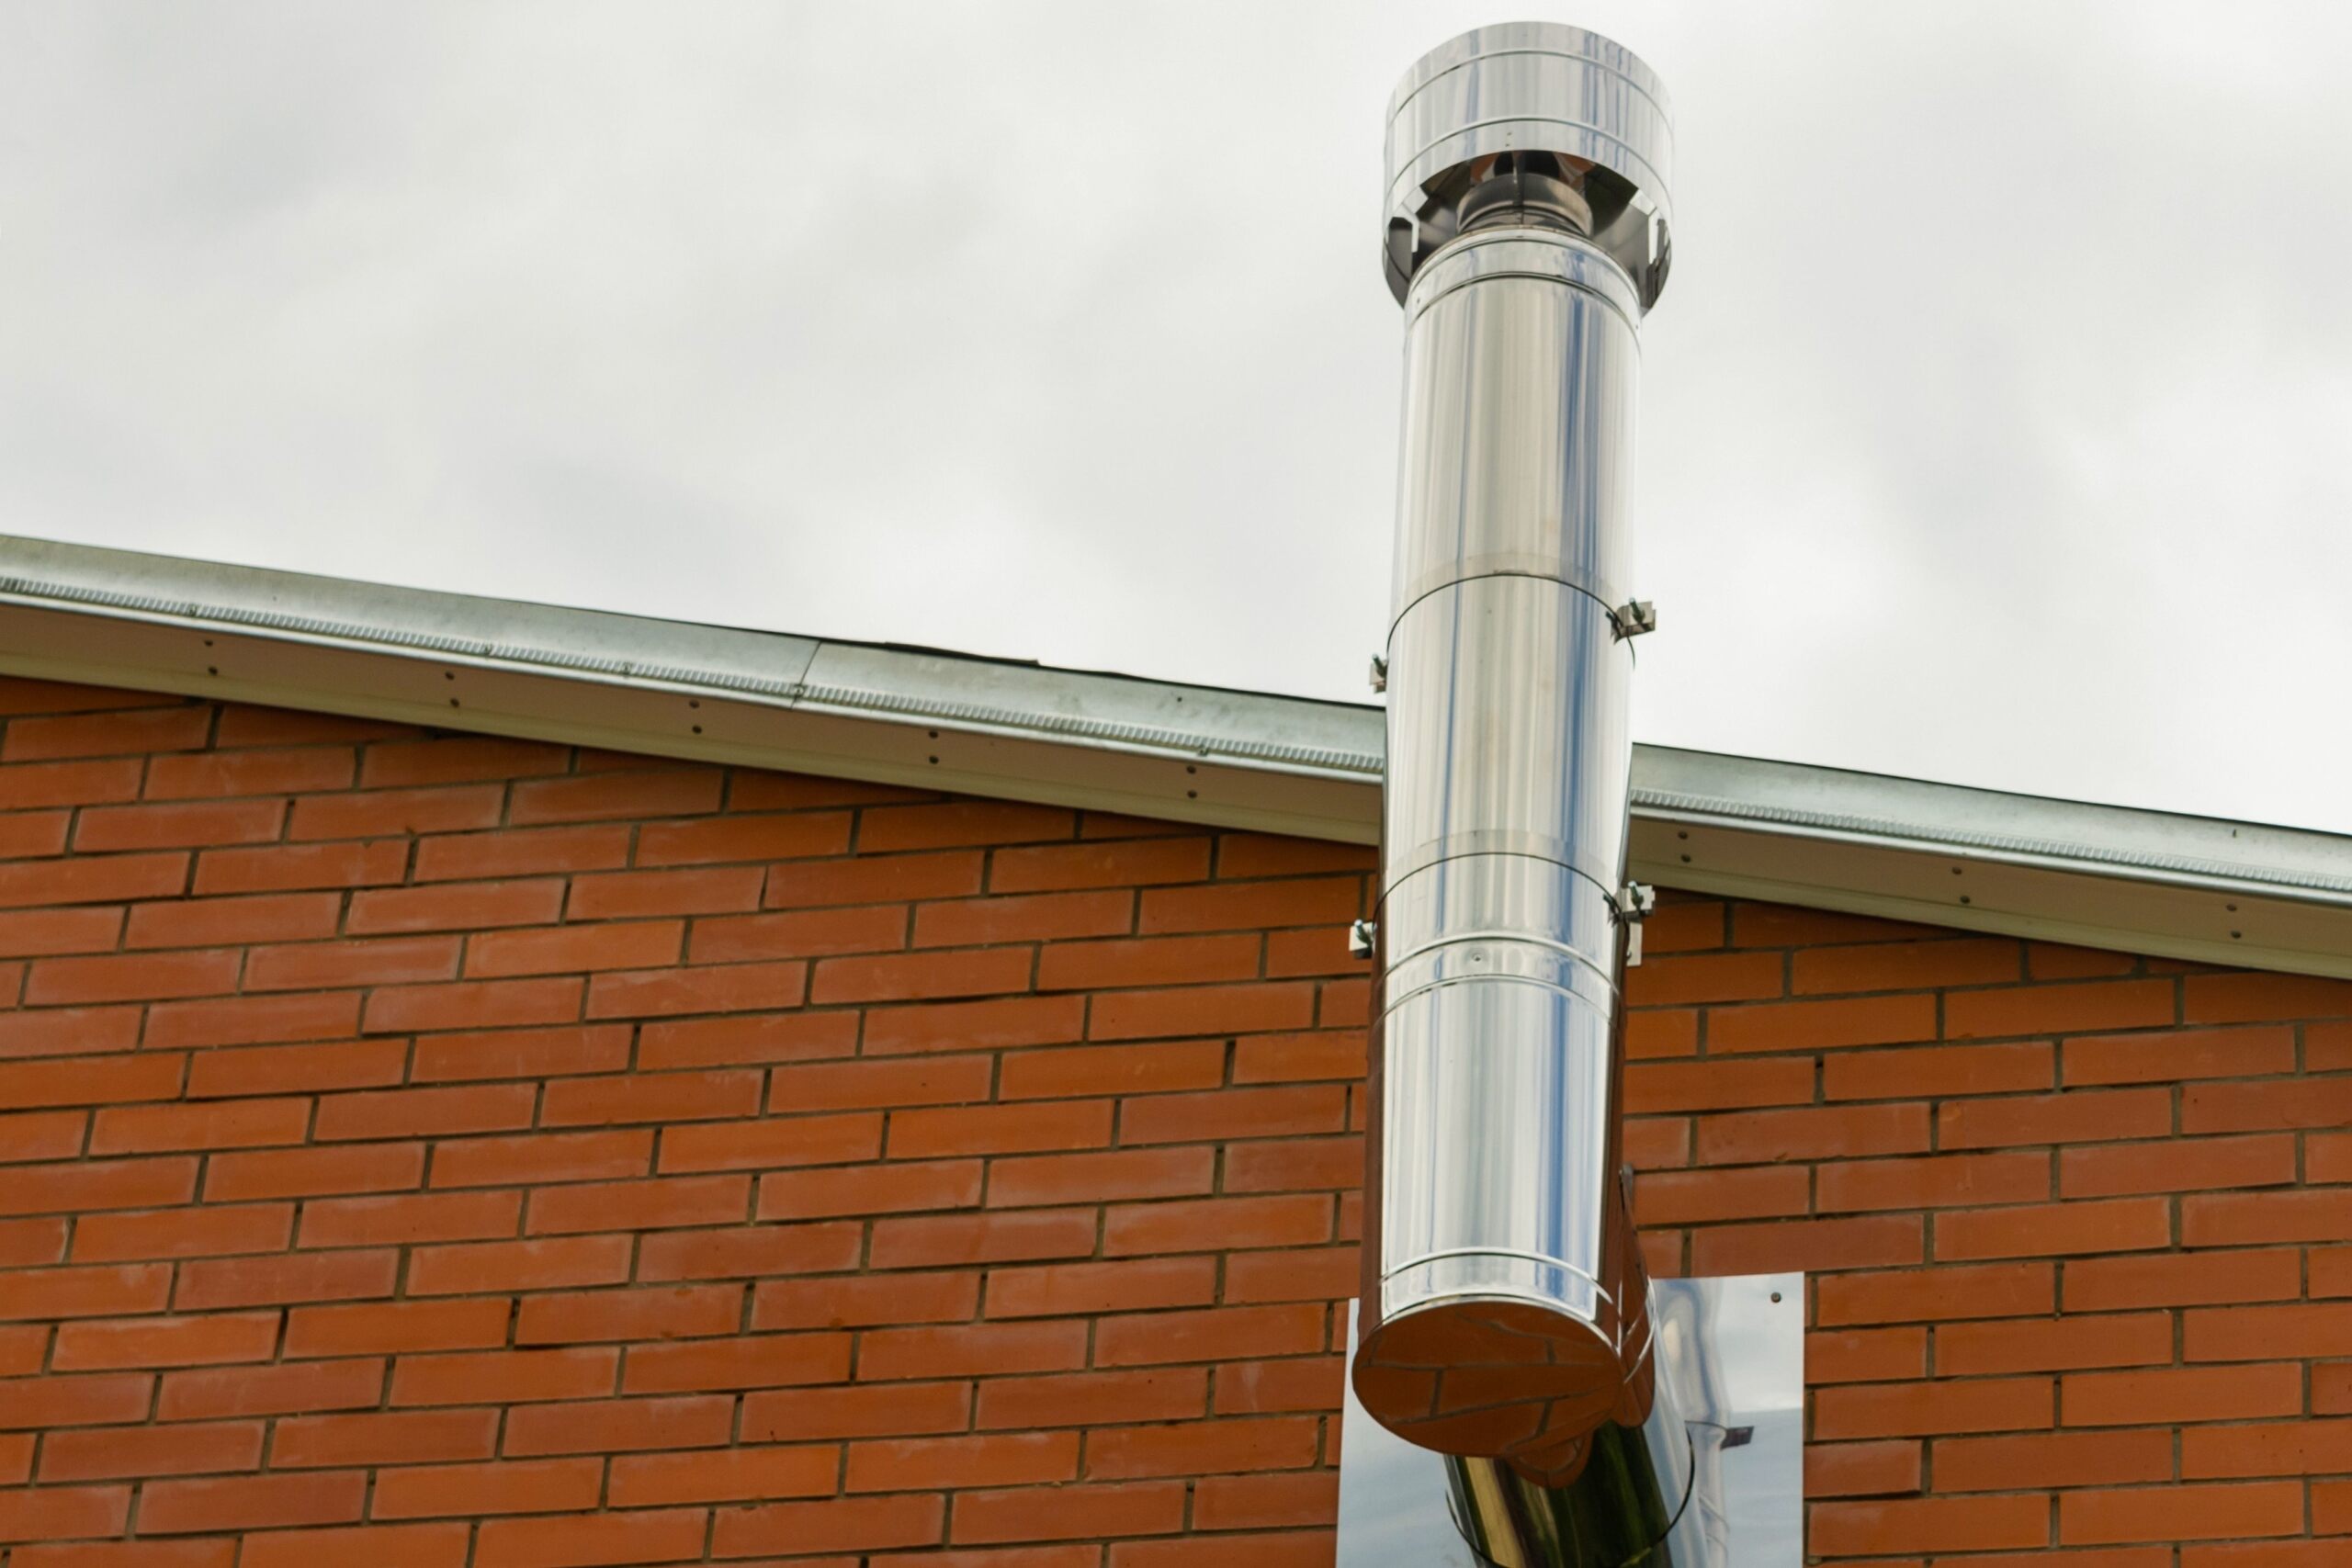
- Measure the Chimney Height: Assess the height of your chimney. It should be tall enough to effectively create draft and promote upward airflow. If your chimney is shorter than recommended, it may contribute to downdraft issues. Consider extending the height of the chimney if necessary, following local building codes and regulations.
- Check for Leaks: Inspect the chimney for any signs of air leaks. Common areas where leaks occur include the chimney cap, flashing, and the connection between the chimney and the roof. These leaks can disrupt the proper airflow and contribute to chimney downdraft. Seal any leaks using appropriate materials, such as chimney silicone or weather-resistant sealants.
- Ensure Proper Ventilation: Assess the overall ventilation in your home. Ensure that there is adequate airflow to support the proper functioning of the fireplace or wood-burning stove. Consider installing additional vents or creating openings to provide the necessary combustion air. Proper ventilation helps prevent negative pressure inside the house, reducing the likelihood of downdraft.
- Install Carbon Monoxide Detectors: As a safety precaution, install carbon monoxide detectors in your home, especially in the rooms adjacent to the fireplace or wood-burning stove. This will provide early warning in case downdraft causes the buildup of carbon monoxide, a colorless and odorless gas that can be harmful or even fatal in high concentrations.
By thoroughly assessing and preparing your chimney, you create a solid foundation for addressing chimney downdraft. It’s important to ensure that the chimney is in good condition, free from blockages, and properly sealed to support efficient airflow and prevent unwanted downdraft issues.
Techniques to Stop Chimney Downdraft
When it comes to stopping chimney downdraft, there are several techniques you can employ to improve the airflow and ensure proper ventilation. Here are some effective methods to combat chimney downdraft:
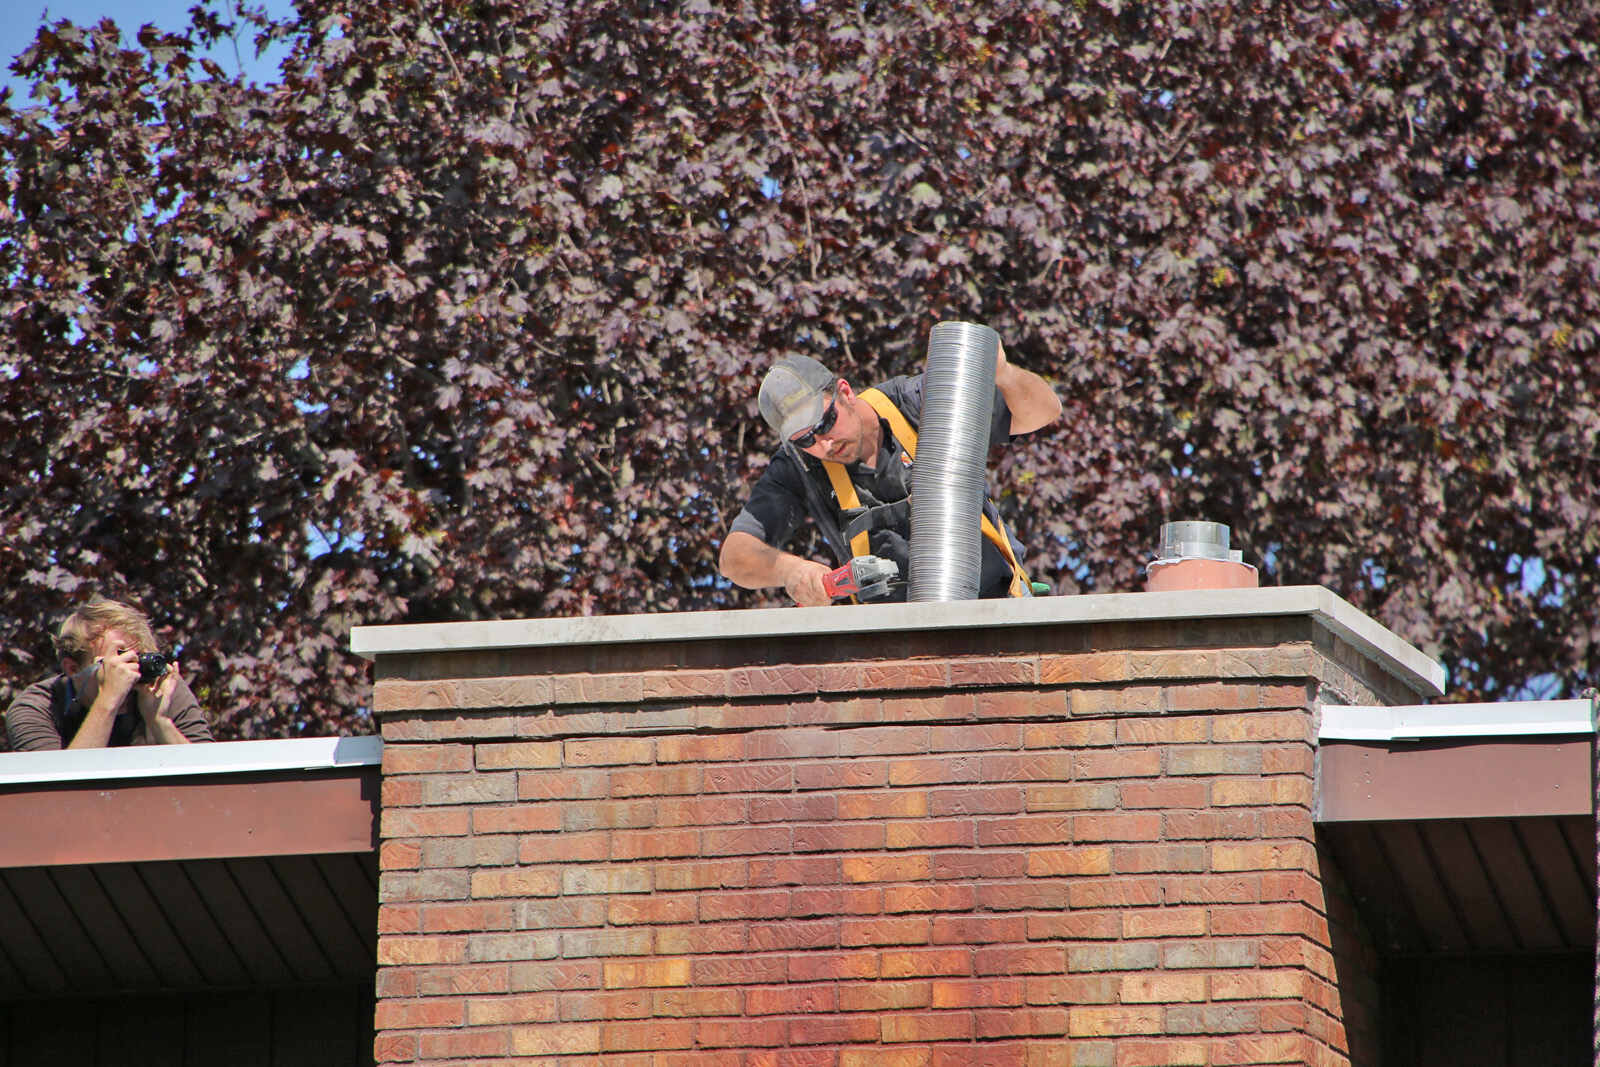
- Installing a Chimney Cap or Cowling: A chimney cap or cowling is a device that is installed at the top of the chimney. It serves multiple purposes, including preventing downdraft. The chimney cap or cowling acts as a barrier against wind and rain, minimizing the negative pressure that can cause downdraft. It also helps keep out birds, animals, and debris that can block the chimney and disrupt airflow.
- Sealing Air Leaks: Air leaks in the chimney system can contribute to downdraft. Identify any gaps, cracks, or areas where air might be entering or exiting the chimney. Use chimney silicone or weather-resistant sealants to seal these leaks. Pay close attention to the chimney cap, flashing, and connections between the chimney and the roof.
- Clearing Obstructions in the Chimney: Any blockages or obstructions in the chimney can hinder proper airflow and contribute to downdraft. Remove any bird nests, debris, or excessive creosote buildup. A professional chimney sweep can assist in thoroughly cleaning the chimney and ensuring it is free from any obstacles that can disrupt the airflow.
- Using a Chimney Balloon: A chimney balloon is an inflatable device that is inserted into the chimney flue to block the airflow. It helps prevent downdraft by creating a temporary seal that stops the flow of air in both directions. Ensure proper installation and follow the manufacturer’s instructions when using a chimney balloon.
- Increasing Chimney Height: If your chimney is shorter than recommended, it may not provide sufficient draft to prevent downdraft. Consider extending the height of the chimney to improve its effectiveness in promoting upward airflow. Consult with a professional to ensure compliance with local building codes and regulations.
- Using a Chimney Fan or Draft Inducer: A chimney fan or draft inducer is an electrical device that is installed on the chimney top or in the flue. It helps create positive pressure inside the chimney, overcoming downdraft and promoting proper ventilation. This solution is particularly effective in situations where other techniques alone may not be sufficient.
It’s important to note that while these techniques can help mitigate chimney downdraft, it is recommended to consult with a professional chimney specialist or a certified technician. They can assess your specific situation and provide expert guidance on the best course of action to effectively address downdraft issues specific to your chimney and home setup.
By implementing these techniques, you can significantly reduce or eliminate chimney downdraft, ensuring the safe and efficient operation of your fireplace or wood-burning stove, and enhancing your overall enjoyment of a cozy and warm atmosphere during cold weather.
Ensure proper chimney maintenance by regularly cleaning and inspecting the flue for any blockages or damage. Install a chimney cap to prevent downdrafts caused by wind. Consider using a chimney balloon to block the flue when not in use.
Installing a Chimney Cap or Cowling
Installing a chimney cap or cowling is a highly effective method to prevent chimney downdraft and improve the overall performance of your chimney. These devices are designed to cover the top opening of the chimney, providing a barrier against wind, rain, and other external elements. Here’s what you need to know about installing a chimney cap or cowling:
Benefits of a Chimney Cap or Cowling:
A chimney cap or cowling offers various benefits beyond preventing downdraft:
- Weather Protection: The cap or cowling acts as a shield, preventing rain, snow, and debris from entering the chimney. This helps extend the lifespan of the chimney by minimizing weather-related damage.
- Animal Exclusion: These devices prevent birds, squirrels, and other small animals from nesting or falling into the chimney. This avoids potential blockages and ensures uninterrupted airflow.
- Spark Arrestor: Some chimney caps incorporate a spark arrestor, which helps prevent sparks or embers from escaping the chimney and potentially causing a fire hazard.
- Improved Draft: By reducing wind pressure and blockages, a chimney cap or cowling can enhance the upward flow of air, promoting better draft and more efficient venting of smoke and combustion byproducts.
Types of Chimney Caps and Cowls:
There are various types of chimney caps and cowls available, including:
- Standard Chimney Cap: This is a basic cap that covers the chimney opening and provides protection against rain, snow, and animals. It usually features a mesh design to allow for proper airflow.
- Wind Directional Cap: This cap is designed to rotate based on the direction of the wind. It utilizes a wind vane to determine wind direction and improve draft efficiency by redirecting the air with the least resistance.
- Top-Mounted Damper Cap: Combining the functionality of a chimney cap and a top-mounted damper, this device provides both weather protection and energy efficiency. It seals the chimney when not in use, preventing drafts and reducing heat loss.
- Anti-Downdraft Cowl: Specifically designed to combat downdraft, this cowl features a unique design that creates a barrier against wind and redirects air to promote upward airflow.
Installation Process:
Here are the general steps to follow when installing a chimney cap or cowling:
- Clean the Chimney: Ensure the chimney is free from any obstructions, debris, or excessive soot before installing the cap or cowling.
- Measure the Chimney: Take accurate measurements of the chimney opening to ensure you select the appropriate size cap or cowling.
- Position the Cap or Cowling: Place the cap or cowling over the chimney opening, aligning it properly. Some devices may require securing with screws or clamps.
- Seal Any Gaps: Securely seal any gaps between the cap or cowling and the chimney using high-temperature silicone or other appropriate sealants. This helps prevent air leaks and water infiltration.
- Ensure Proper Fit: Double-check that the cap or cowling is securely in place and properly aligned. This ensures optimal functionality and longevity.
Remember to consult the manufacturer’s instructions for specific installation guidelines and recommendations for your chosen chimney cap or cowling. If you are unsure or uncomfortable with the installation process, it’s best to seek professional assistance to ensure a proper and safe installation.
By installing a chimney cap or cowling, you can effectively prevent chimney downdraft and enjoy the added benefits of weather protection, animal exclusion, and improved chimney draft. It’s a worthwhile investment that enhances the performance and safety of your chimney system.
Sealing Air Leaks
Sealing air leaks in your chimney is a crucial step in preventing chimney downdraft and ensuring efficient operation of your fireplace or wood-burning stove. Air leaks can disrupt the proper flow of air, allowing downdraft to occur and potentially pushing smoke and combustion byproducts back into your living space. Here’s what you need to know about sealing air leaks in your chimney:
Identifying Air Leaks:
The first step in sealing air leaks is to identify areas where air may be entering or exiting the chimney. Common areas prone to leakage include:
- Chimney Cap: Check the chimney cap for any gaps or cracks. Ensure that it is properly fitted and secure. A loose or damaged chimney cap can allow air to enter or exit the chimney.
- Flashing: The flashing is the metal strip that seals the area where the chimney meets the roof. Inspect the flashing for any signs of damage or separation. Damaged or improperly installed flashing can cause air leaks around the chimney.
- Mortar Joints: Examine the mortar joints between bricks or stone in the chimney. Look for any gaps, cracks, or deteriorated mortar. These openings can allow air to seep in or out of the chimney.
- Chimney Crown: The chimney crown is the topmost part of the chimney structure. Inspect it for any cracks, deterioration, or gaps. A damaged or poorly constructed chimney crown can be a significant source of air leaks.
- Chase Cover (For Prefabricated Chimneys): If you have a prefabricated chimney, also known as a chase, check the chase cover for damage or gaps. A damaged chase cover can allow air to enter or exit the chimney.
Sealing Techniques:
Once you have identified the areas of air leakage in your chimney, you can proceed with sealing them. Here are some common sealing techniques:
- Chimney Silicone or Sealants: High-temperature silicone or other appropriate sealants can be used to seal gaps and cracks in the chimney cap, flashing, mortar joints, and chimney crown. Apply the sealant generously, ensuring a tight seal. Follow the manufacturer’s instructions for the specific sealant you are using.
- Chimney Crown Repair: If the chimney crown is damaged or has significant cracks, it may require professional repair. A professional chimney contractor can assess the extent of the damage and perform necessary repairs or recommend the installation of a new chimney crown.
- Chase Cover Replacement: For prefabricated chimneys, if the chase cover is damaged or cannot be adequately sealed, it may need to be replaced. Consult with a professional to ensure proper sizing and installation of the new chase cover.
- Gasket Installation: In some cases, installing a gasket or weatherstripping material around the damper or between the damper and the chimney can help create a tighter seal. This can prevent air leakage through the damper assembly.
- Professional Help: If you are unsure about the proper sealing techniques or have extensive chimney damage, it’s recommended to seek professional assistance. A certified chimney specialist can accurately identify and seal air leaks, ensuring a safe and effective chimney system.
Regular Maintenance:
After sealing air leaks, it’s important to regularly inspect and maintain your chimney. Monitor the condition of the chimney cap, flashing, mortar joints, chimney crown, and chase cover (if applicable) to ensure they remain in good condition and free from air leaks. Regular maintenance helps prevent future air leaks and ensures the continued efficiency of your chimney system.
By sealing air leaks in your chimney, you can significantly reduce the occurrence of chimney downdraft and improve the overall operation of your fireplace or wood-burning stove. This not only enhances your comfort but also helps maintain good indoor air quality and ensures a safe and enjoyable fireplace experience.
Clearing Obstructions in the Chimney
Clearing obstructions in your chimney is a crucial step in preventing chimney downdraft and ensuring a safe and efficient fireplace or wood-burning stove. Obstructions such as bird nests, debris, or excessive creosote buildup can impede proper airflow, disrupt the chimney draft, and even pose a fire hazard. Here’s what you need to know about clearing obstructions in your chimney:
Identifying Obstructions:
The first step in clearing obstructions is to identify where they may be located in your chimney. Common types of obstructions include:
- Bird Nests: Chimneys often provide an attractive nesting spot for birds. Check for signs of bird activity, such as straw, twigs, or feathers, near the chimney opening or on the roof. A bird nest can block the chimney and hinder proper airflow.
- Debris: Debris such as leaves, branches, or other outdoor materials can find their way into an uncapped or improperly protected chimney. Debris accumulation can restrict airflow and contribute to downdraft.
- Creosote Buildup: Creosote is a sticky, flammable substance that accumulates on the walls of the chimney. Over time, creosote can accumulate and form thick deposits. Excessive creosote buildup restricts the airflow, increases the risk of chimney fires, and can contribute to downdraft.
Clearing Techniques:
Once you have identified the obstructions in your chimney, you can proceed with clearing them. Here are some common techniques:
- Professional Chimney Sweep: Hiring a professional chimney sweep is the safest and most effective way to clear obstructions from your chimney. A chimney sweep has the knowledge, experience, and specialized tools to remove bird nests, debris, and excess creosote safely and thoroughly. Regular chimney sweeping is essential to prevent obstructions and maintain the optimal performance of your chimney.
- Removing Bird Nests: If you discover a bird nest in your chimney, it’s important not to attempt to remove it yourself, as some bird species are protected by law. Contact a professional chimney sweep who will know how to remove the nest without harming the birds or violating any regulations.
- Clearing Debris: If your chimney has accumulated debris, such as leaves or branches, you can use a chimney brush with extension rods to gently sweep the debris out of the chimney. Take care not to damage the chimney liner or dislodge any components. However, for proper and thorough debris removal, it is still recommended to seek professional assistance.
- Creosote Removal: Removing excessive creosote buildup requires specialized tools and expertise. A professional chimney sweep will utilize techniques such as power brushing or chemical treatments to effectively remove creosote deposits from the chimney walls. Regular chimney cleaning and maintenance will help prevent excessive creosote buildup in the future.
Maintaining Chimney Clearances:
After clearing any obstructions, it’s crucial to take steps to maintain proper chimney clearances. Here are a few measures to consider:
- Install a Chimney Cap: A chimney cap is a protective device that covers the top opening of the chimney. It helps prevent the entry of birds, debris, and other obstructions into the chimney while allowing proper airflow.
- Regular Inspections: Schedule regular inspections of your chimney to identify and address any potential obstructions in their early stages. This proactive approach helps prevent downdraft and ensures the longevity and efficiency of your chimney system.
- Proper Fireplace Usage: Use your fireplace or wood-burning stove correctly to minimize the production of excess creosote. Burn only seasoned wood, ensure sufficient airflow, and avoid smoldering fires, as these practices can contribute to creosote buildup.
By clearing obstructions from your chimney and taking preventive measures to maintain clearances, you can ensure proper airflow, minimize the risk of chimney fires, and eliminate chimney downdraft. Regular chimney maintenance is essential for the safe and enjoyable use of your fireplace or wood-burning stove.
Using a Chimney Balloon
A chimney balloon is a practical and cost-effective solution for preventing chimney downdraft and improving the energy efficiency of your home. This inflatable device is inserted into the chimney flue and acts as a temporary seal, preventing air from entering or exiting the chimney. Here’s what you should know about using a chimney balloon:
How a Chimney Balloon Works:
A chimney balloon is made of durable, heat-resistant materials and is designed to fit snugly inside the chimney flue. When deflated, the balloon can be easily inserted into the flue. Once inside, it is inflated using a handheld or electric pump until it reaches the desired size, effectively sealing off the chimney and blocking airflow.
Benefits of Using a Chimney Balloon:
Using a chimney balloon offers several benefits:
- Preventing Downdraft: By creating a temporary seal, a chimney balloon helps stop chimney downdraft. It prevents outside air, including cold drafts and unwanted odors, from entering the living space through the chimney.
- Energy Efficiency: When your fireplace or wood-burning stove is not in use, a chimney balloon helps prevent heat loss by blocking the escape of warm air through the chimney. This can lead to energy savings and improved overall heating efficiency in your home.
- Easy Installation and Removal: Installing a chimney balloon is a simple DIY task. It can be easily inserted into the chimney flue and inflated to create an airtight seal. When you want to resume using the fireplace or wood-burning stove, the balloon can be deflated and removed just as easily.
- Cost-Effective Solution: Compared to other chimney draft solutions, a chimney balloon is a budget-friendly option. It provides an effective temporary seal without the need for extensive modifications or professional installation.
Tips for Using a Chimney Balloon:
Here are some tips to ensure safe and effective use of a chimney balloon:
- Choose the Right Size: Measure the dimensions of your chimney flue accurately to determine the appropriate size of the chimney balloon. Avoid using a balloon that is too small or too large, as it may not seal the flue effectively.
- Follow Manufacturer’s Instructions: Read and follow the manufacturer’s instructions carefully when installing and inflating the chimney balloon. Each product may have specific guidelines and recommendations for proper use and inflation.
- Regularly Check the Balloon: Inspect the balloon periodically to ensure it remains properly inflated and securely in place. If you notice any signs of deflation or leakage, reinflate or replace the balloon as needed.
- Remember to Remove the Balloon: Before lighting a fire or using your fireplace or wood-burning stove, it is essential to remove the chimney balloon completely. Failure to remove the balloon before starting a fire can lead to serious safety hazards and damage to the chimney.
- Consider Professional Inspection: If you are unsure about the compatibility of a chimney balloon with your specific chimney or if you have any concerns regarding its use, it is recommended to consult with a professional chimney specialist. They can assess your chimney and provide expert advice on whether a chimney balloon is suitable for your needs.
While a chimney balloon is an effective solution for temporary sealing and draft prevention, it should not be considered as a permanent replacement for other necessary chimney repairs or maintenance. Regular chimney inspections and cleaning by a professional are still essential to maintain the safety and optimal performance of your chimney system.
By using a chimney balloon, you can effectively prevent chimney downdraft, improve energy efficiency, and enhance the comfort of your home. It’s a cost-effective solution that provides flexibility while ensuring a more pleasant and controlled indoor environment.
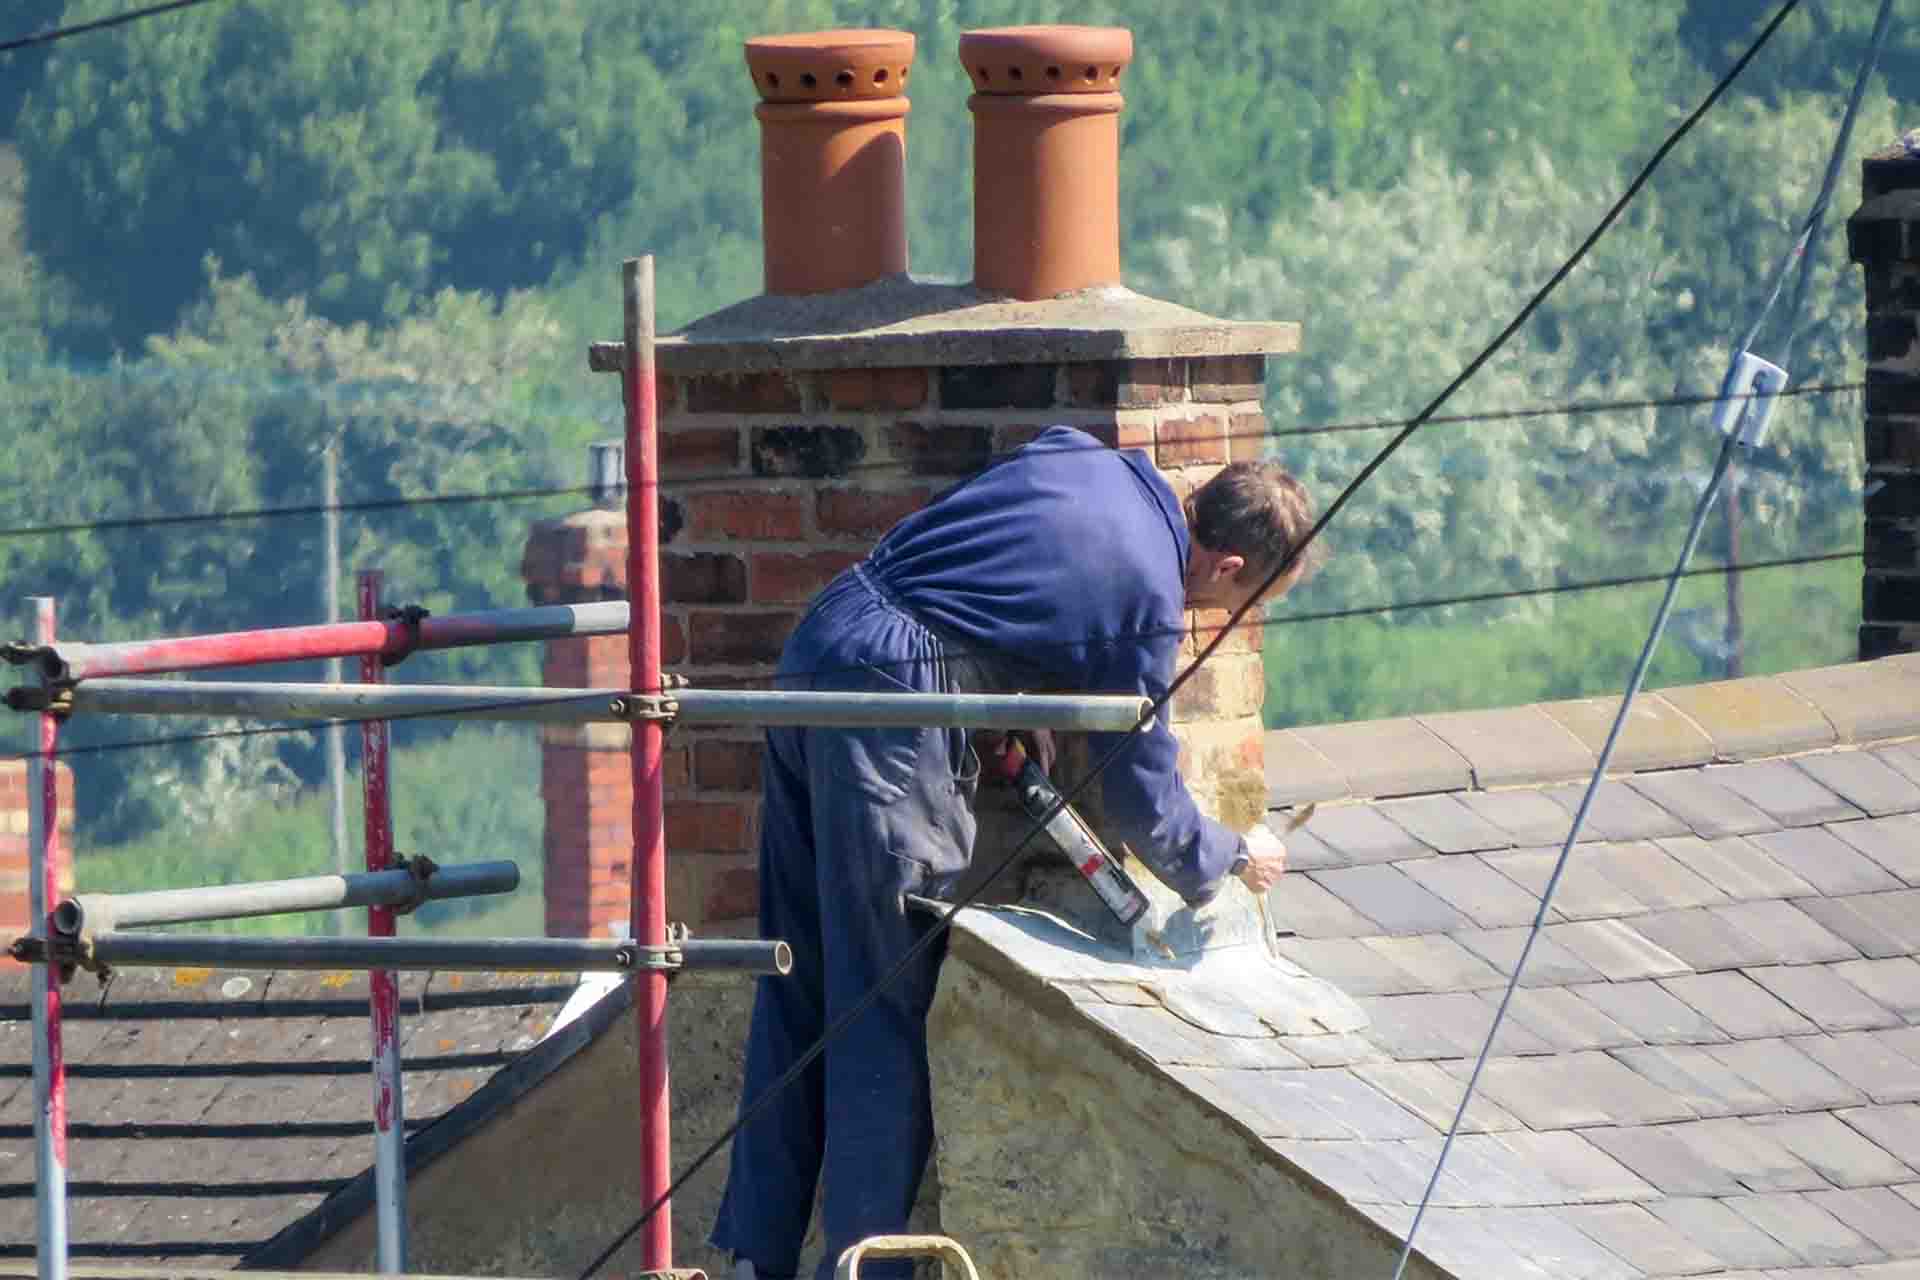
Professional Assistance for Solving Chimney Downdraft
While there are several techniques you can try to address chimney downdraft on your own, sometimes professional assistance may be necessary to effectively diagnose and solve the issue. Here are some reasons why seeking professional help is beneficial:
Expert Evaluation:
A certified chimney specialist or technician has the knowledge and expertise to thoroughly evaluate your chimney and identify the specific factors contributing to downdraft. They will conduct a comprehensive inspection of the chimney, taking into account various aspects such as chimney design, height, condition, and airflow dynamics. By thoroughly examining your chimney, they can provide accurate and tailored recommendations for addressing downdraft issues.
Proper Solution Recommendations:
Based on their evaluation, a chimney professional can recommend the most suitable solutions to address chimney downdraft. They will consider various factors such as the severity of downdraft, the specific causes involved, the construction of your chimney, and any local building codes or regulations that need to be followed. This ensures that the recommended solutions are appropriate and effective in solving your downdraft problem.
Specialized Equipment and Tools:
A professional chimney technician has access to specialized equipment and tools that are specifically designed for chimney inspections, cleanings, and repairs. These tools can accurately measure airflow, identify leaks, remove obstructions, and perform other necessary tasks to rectify downdraft issues. The use of these specialized tools ensures thorough and precise work, leading to better results.
Safe and Ethical Practices:
A certified chimney professional is well-versed in safety protocols and ethical practices when it comes to chimney inspections and repairs. They have the necessary training and equipment to work safely at heights and handle potential hazards such as creosote, combustion byproducts, and structural issues. Hiring a professional ensures that the work is carried out safely and in compliance with industry standards and regulations.
Comprehensive Service Package:
Many professional chimney service providers offer comprehensive packages that include not only inspection and diagnosis but also the implementation of recommended solutions. This means they can handle chimney cleaning, repairs, installation of chimney caps or cowls, sealing air leaks, and other necessary tasks to address downdraft. Having a professional handle the entire process from start to finish can save you time, effort, and potentially costly mistakes.
Long-Term Support and Maintenance:
After solving the downdraft issue, a professional chimney technician can provide guidance and recommendations for ongoing maintenance and prevention. They can advise you on proper fireplace or stove usage, frequency of chimney cleanings, and regular inspections to ensure that downdraft does not recur in the future.
Remember, chimney downdraft can be a complex issue with various contributing factors. While DIY attempts may be successful in some cases, the expertise and experience of a professional are invaluable in obtaining a long-term solution. Don’t hesitate to consult with a certified chimney specialist or technician to ensure a safe, efficient, and enjoyable fireplace experience in your home.
Conclusion
Chimney downdraft can be a frustrating problem that affects the performance and enjoyment of your fireplace or wood-burning stove. However, by understanding the causes and signs of chimney downdraft, as well as implementing appropriate techniques, you can effectively prevent or minimize this issue. From assessing and preparing your chimney to using techniques such as installing a chimney cap or cowling, sealing air leaks, clearing obstructions, and utilizing a chimney balloon, there are several methods at your disposal.
While DIY efforts can be helpful, it’s essential to recognize when professional assistance is necessary. A certified chimney specialist or technician can provide expert evaluation, recommend suitable solutions, and implement comprehensive services to address chimney downdraft effectively. Their expertise, specialized tools, adherence to safety protocols, and ongoing support ensure a thorough and long-term resolution to your downdraft concerns.
By taking the necessary steps to address downdraft, you not only improve the functionality of your chimney but also enhance the energy efficiency of your home, promote better indoor air quality, and reduce the risk of chimney fires. A well-maintained and properly functioning chimney allows you to fully enjoy the warmth and ambiance provided by your fireplace or wood-burning stove, creating a cozy and inviting atmosphere in your living space.
Remember, regular chimney maintenance, inspections, and cleanings are crucial for the continued performance and safety of your chimney system. Whether you’re seeking DIY solutions or professional assistance, prioritizing proper chimney care will ensure a long-lasting and hassle-free fireplace experience for years to come.
Frequently Asked Questions about How To Stop Chimney Downdraft
Was this page helpful?
At Storables.com, we guarantee accurate and reliable information. Our content, validated by Expert Board Contributors, is crafted following stringent Editorial Policies. We're committed to providing you with well-researched, expert-backed insights for all your informational needs.


0 thoughts on “How To Stop Chimney Downdraft”