Articles
How To Turn On A Gas Chimney
Modified: August 22, 2024
Learn how to turn on a gas chimney with our informative articles. Discover step-by-step instructions and safety tips for a cozy and warm home.
(Many of the links in this article redirect to a specific reviewed product. Your purchase of these products through affiliate links helps to generate commission for Storables.com, at no extra cost. Learn more)
Introduction
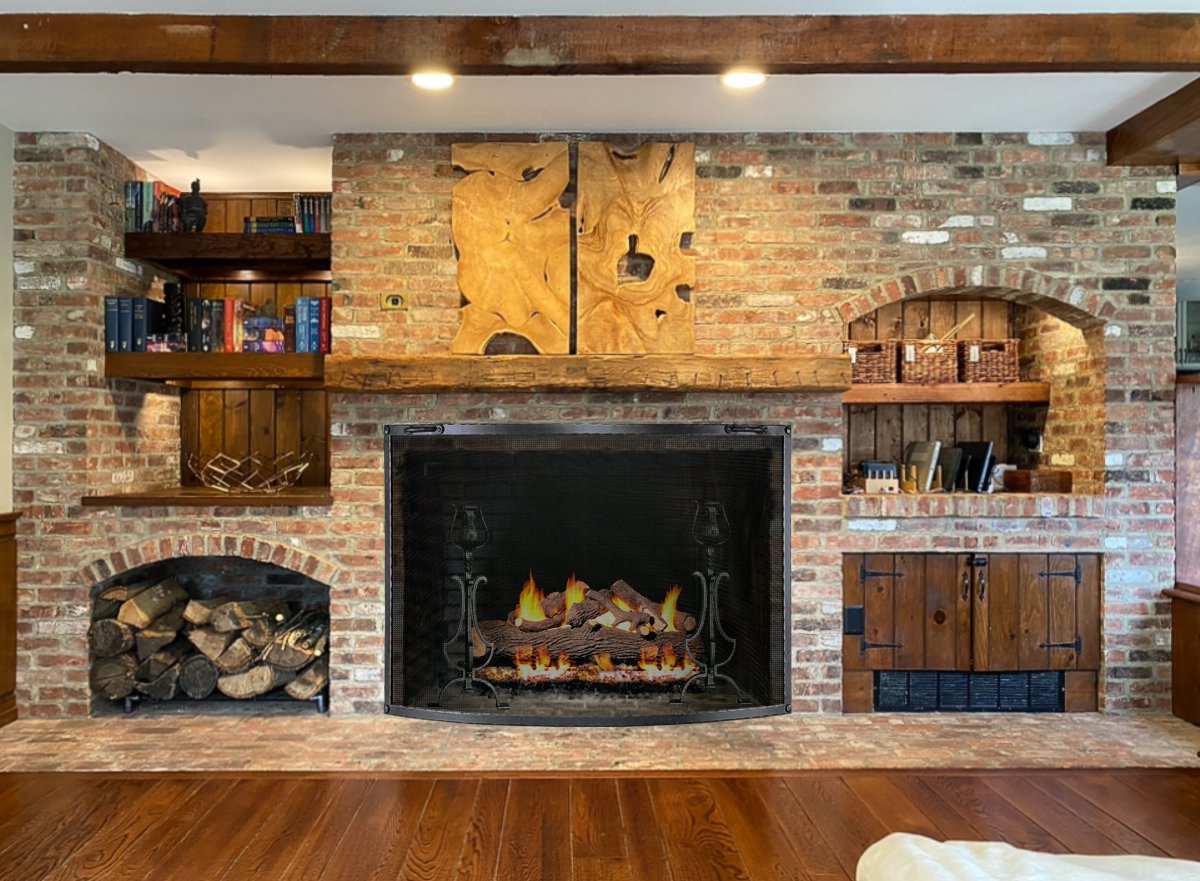
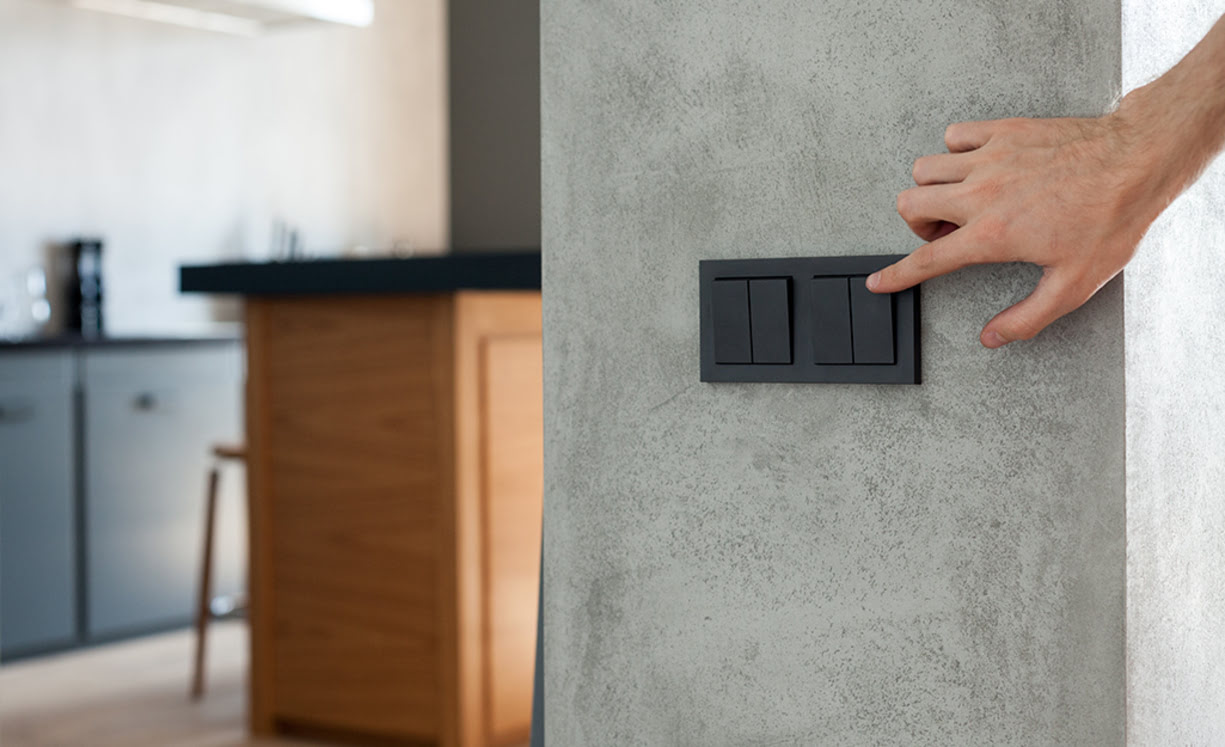
Welcome to our comprehensive guide on how to turn on a gas chimney. Gas chimneys are a popular choice for homeowners looking for an efficient and convenient way to heat their homes. Unlike traditional wood-burning fireplaces, gas chimneys offer instant warmth at the flick of a switch. However, if you’re unfamiliar with the process, turning on a gas chimney may seem overwhelming or daunting. But fear not! In this article, we will walk you through the step-by-step process to help you safely and easily turn on your gas chimney.
Before we dive into the details, it’s important to note that working with gas can be dangerous if not done correctly. If you have any concerns or doubts about the process, it’s always best to consult a professional gas technician to ensure your safety and the proper functioning of your gas chimney.
Now that we’ve got that out of the way, let’s gather the necessary equipment before we begin.
Key Takeaways:
- Stay safe and cozy by following our step-by-step guide to safely turn on your gas chimney. Prioritize ventilation, gas supply, and flame verification for a warm and worry-free experience.
- Remember to prioritize safety and consult a professional for any doubts. Regular maintenance and professional inspections are crucial for long-term efficiency and safety of your gas chimney.
Read more: How To Use Gas Chimney
Necessary Equipment
Before you can start the process of turning on your gas chimney, you’ll need to gather a few essential tools and equipment. Here’s a list of what you’ll need:
- Gas chimney user manual: It’s always a good idea to have the user manual handy, as it will provide specific instructions for your particular gas chimney model.
- Fireplace gloves: These heat-resistant gloves will protect your hands while working with the gas chimney.
- Long-stemmed lighter or fireplace matches: You’ll need a long-stemmed lighter or fireplace matches to ignite the pilot light.
Once you have all the necessary equipment, you’re ready to move on to the next step: checking for proper ventilation.
Step 1: Check for Proper Ventilation
Before turning on your gas chimney, it’s vital to ensure that there is proper ventilation in the room. Proper ventilation allows for the safe and efficient operation of the gas chimney, preventing the build-up of harmful gases like carbon monoxide.
Here’s what you need to do to check for proper ventilation:
- Inspect the chimney flue: Make sure that the chimney flue is clear of any obstructions that could prevent the flow of air. Check for any debris, nests, or blockages that could potentially interfere with the ventilation.
- Test the damper: The damper controls the flow of air through the chimney. Ensure that the damper opens and closes properly. If there are any issues, it may be necessary to adjust or repair the damper.
- Check for open windows or doors: Make sure that there are no open windows or doors in the room to prevent drafts that could disrupt the chimney’s ventilation.
- Ensure the room is adequately ventilated: It’s important to have fresh air circulating in the room to maintain proper ventilation. Consider opening a window or using a fan to improve airflow.
Once you’ve checked for proper ventilation, you can proceed to the next step, which is making sure the gas supply is turned on.
Step 2: Make Sure Gas Supply is Turned On
Before you can start the gas chimney, it’s important to ensure that the gas supply is turned on. Here’s how you can do that:
- Locate the gas main: The gas main is usually located outside your house, near the gas meter. It may be underground or above ground.
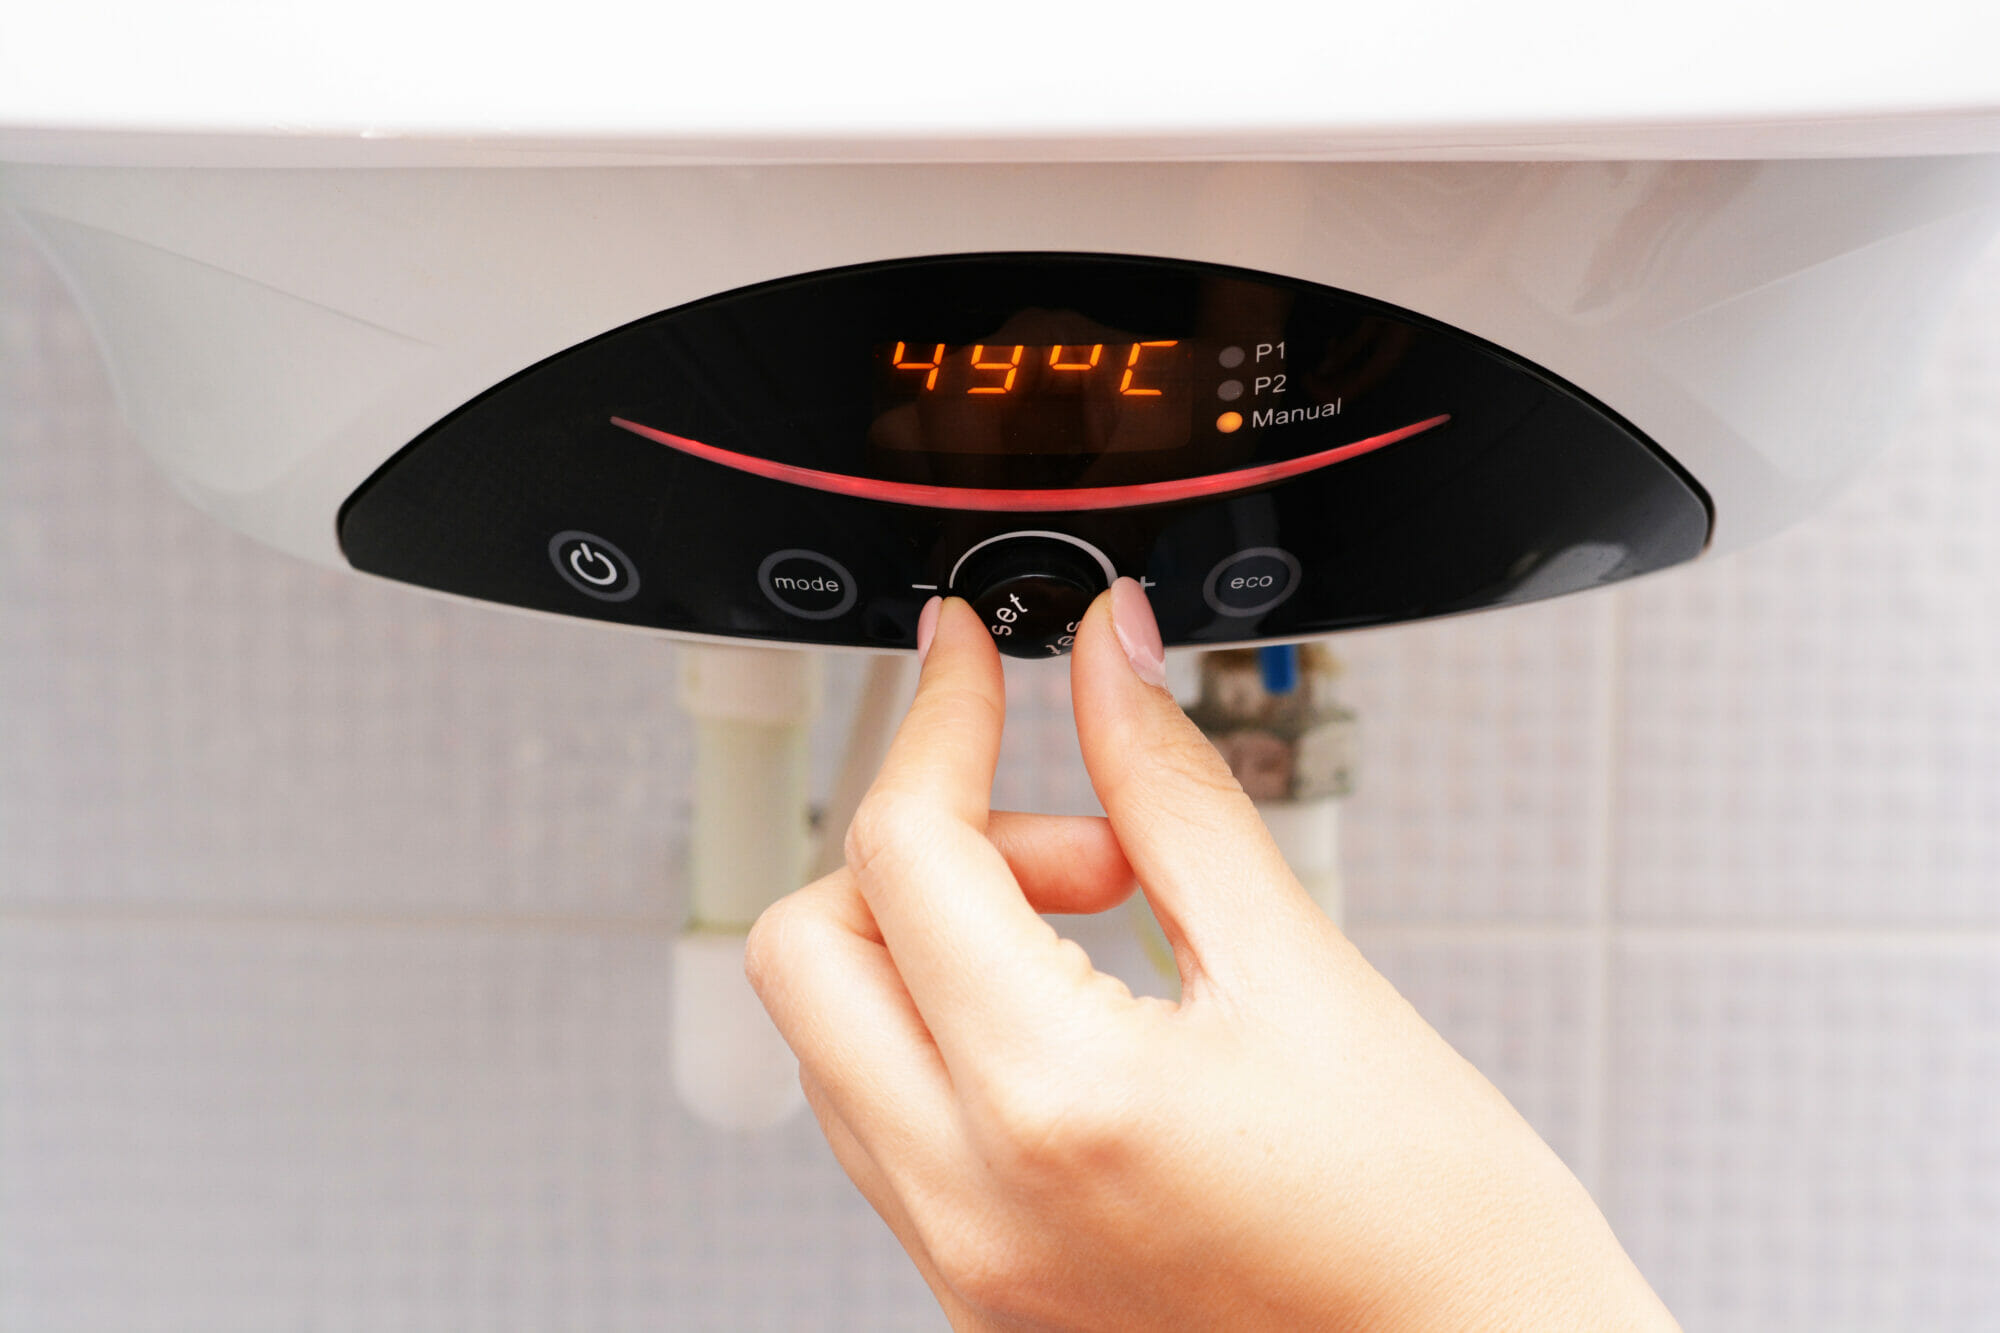
- Check the gas meter: Once you’ve located the gas main, take a look at the gas meter. You should see a round dial or a digital display. If the dial is moving or the display shows a gas reading, it means that the gas supply is turned on. If there is no movement or no reading, the gas supply may be turned off.
- Contact your gas provider: If you find that the gas supply is turned off, you will need to contact your gas provider to have it turned on. They will send a technician to your home to safely turn on the gas supply.
It’s important to note that working with gas can be dangerous, and it should only be done by a trained professional. If you’re unsure or uncomfortable with the process, it’s always best to contact a professional gas technician to assist you.
Once you’ve confirmed that the gas supply is turned on, you can move on to the next step of opening the gas valve.
Step 3: Open the Gas Valve
Now that you’ve confirmed that the gas supply is turned on, it’s time to open the gas valve of your gas chimney. Here’s what you need to do:
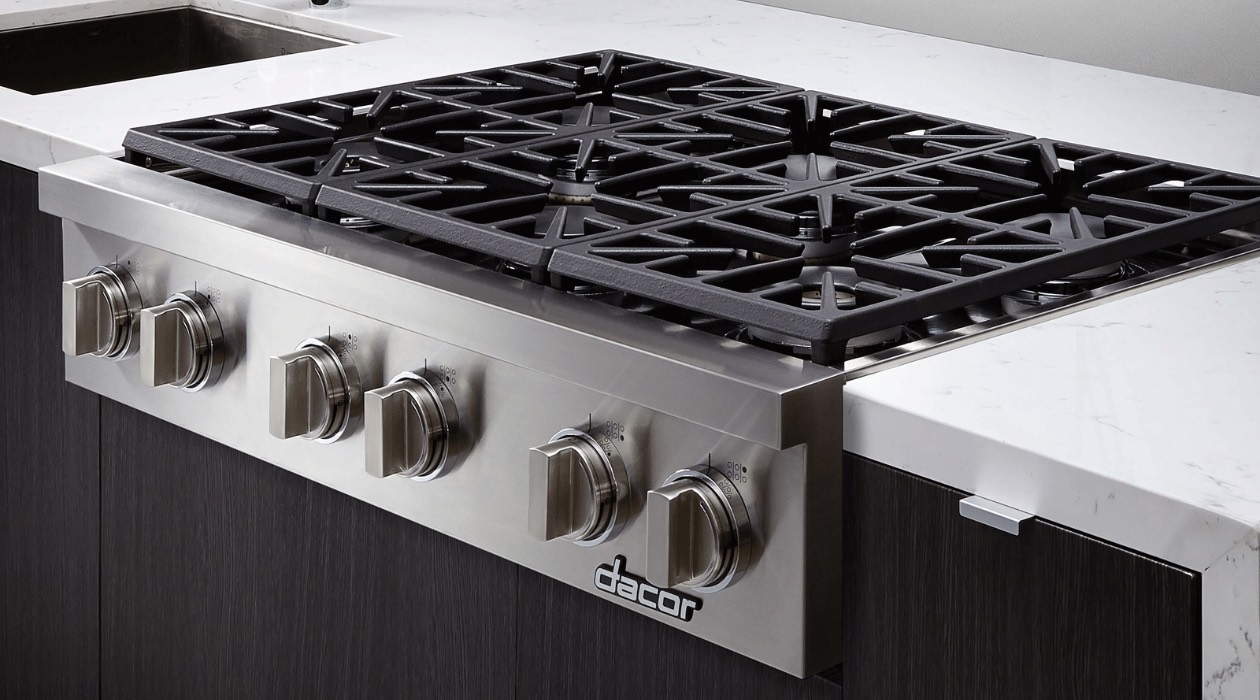
- Locate the gas valve: The gas valve is typically located near the gas chimney. It may be on the wall or floor, depending on the installation.
- Turn the gas valve handle: Using a wrench or your hand, turn the handle of the gas valve counterclockwise to open it. Make sure to turn it slowly and steadily.
- Listen for the gas flow: As you turn the gas valve, listen for the sound of the gas flowing through the valve. You may also feel a slight vibration in the valve.
- Check for gas smell: After opening the gas valve, take a moment to smell for any gas odor. If you detect the distinct smell of gas, immediately turn off the gas valve and contact a professional gas technician, as there may be a gas leak.
It’s important to exercise caution when handling the gas valve and to follow any specific instructions provided in your gas chimney’s user manual. If you’re unsure or uncomfortable with the process, it’s always best to contact a professional for assistance.
With the gas valve open, you’re ready to move on to the next step: igniting the pilot light.
Before lighting a gas chimney, ensure the flue is open and the pilot light is lit. Use a long lighter or match to ignite the gas, and keep the area well-ventilated. If you encounter any issues, consult a professional.
Read more: How To Turn On A Chimney
Step 4: Ignite the Pilot Light
Now that the gas valve is open, it’s time to ignite the pilot light of your gas chimney. The pilot light is a small flame that serves as the ignition source for the main burner. Here’s a step-by-step guide on how to do it:
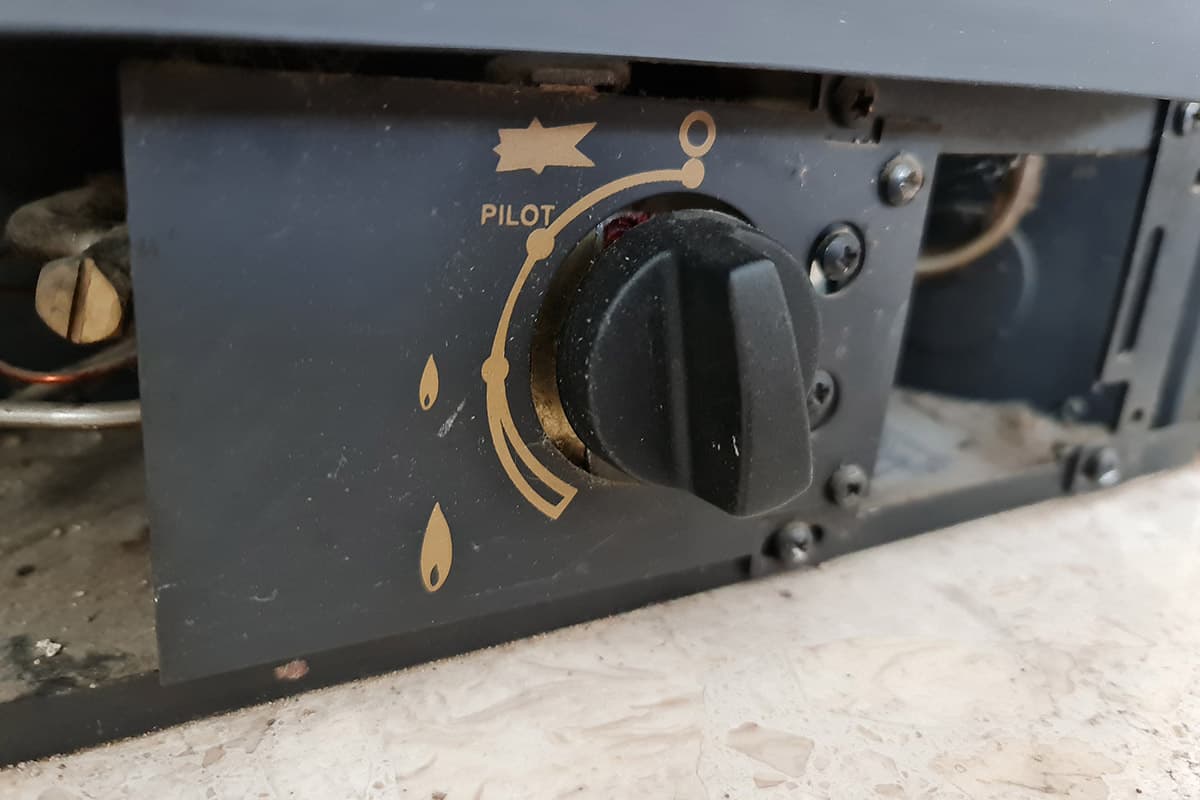
- Locate the pilot light: The pilot light is usually located near the gas burner. It may be behind a protective panel or glass door.
- Turn the control knob to “Pilot”: Locate the control knob on the gas chimney and turn it to the “Pilot” position. You may need to push and turn the knob simultaneously.
- Press and hold the pilot button: While holding down the control knob in the “Pilot” position, locate the pilot button near the burner. Press and hold the pilot button down.
- Ignite the pilot light: With the pilot button held down, use a long-stemmed lighter or fireplace matches to ignite the pilot light. Place the flame near the pilot burner until it ignites.
- Keep holding the pilot button: After the pilot light is lit, continue holding down the pilot button for about 30 seconds to allow the thermocouple to heat up. The thermocouple is a safety device that detects the presence of the pilot light.
- Release the pilot button: Once the thermocouple has heated up, release the pilot button. The pilot light should stay lit.
It’s important to follow the specific instructions provided in your gas chimney’s user manual regarding the ignition process. If you’re unsure or uncomfortable with the process, it’s always best to contact a professional for assistance.
Now that the pilot light is lit, it’s time to move on to the next step: verifying the flame and adjusting if necessary.
Step 5: Verify Flame and Adjust if Necessary
After successfully igniting the pilot light, it’s important to verify the flame and make any necessary adjustments to ensure proper operation of your gas chimney. Here’s what you need to do:
- Observe the pilot flame: Take a close look at the pilot flame. It should be strong and steady, with a blue color. If the flame is weak, flickering, or has an orange or yellow color, it may indicate an issue with combustion.
- Check for proper flame coverage: The pilot flame should be covering the thermocouple fully. If it’s not, it may be necessary to adjust the pilot orifice to achieve proper coverage. Refer to your gas chimney’s user manual for instructions on how to make adjustments.
- Ensure the main burner ignites: Once you’ve verified the pilot flame, turn the control knob from the “Pilot” position to the “On” position. This should ignite the main burner of your gas chimney.
- Watch for proper main burner flame: The main burner flame should have a steady blue flame and distribute heat evenly. If you notice any issues, such as a weak or irregular flame, it may be necessary to clean or adjust the burner ports.
- Check for any unusual sounds or smells: While the gas chimney is operating, listen for any unusual sounds or smells. A properly functioning gas chimney should operate quietly and without any noticeable odors. If you detect any unusual odors or sounds, turn off the gas chimney and consult a professional.
It’s essential to periodically inspect and maintain your gas chimney to ensure its safe and efficient operation. Regular professional inspections are highly recommended to identify and address any potential issues.
With the flame verified and adjusted if necessary, it’s time to move on to the final step of closing the chimney properly.
Step 6: Close the Chimney Properly
After your gas chimney is operating smoothly, it’s important to know how to properly close it when you’re done using it. Here are the steps to follow:
- Turn off the main burner: When you’re ready to stop using your gas chimney, turn the control knob from the “On” position to the “Off” position. This will shut off the main burner and stop the flow of gas.
- Wait for the chimney and burner to cool down: Give your gas chimney and burner sufficient time to cool down before proceeding with closing the chimney. This will help prevent accidental burns.
- Clean the chimney and surrounding area: Before closing the chimney, it’s a good practice to clean any debris or ashes from the chimney and the surrounding area. Use a brush or vacuum designed for chimneys to remove any buildup.
- Close the flue: The flue is an opening that allows smoke and gases to escape. Close the flue to prevent drafts and air from entering your home when the chimney is not in use.
- Secure any openings: If your gas chimney has any glass doors or panels, securely latch or close them to prevent drafts and preserve energy efficiency.
- Store equipment and supplies: After closing the chimney, store your fireplace gloves, long-stemmed lighter or fireplace matches, and any other equipment or supplies you used in a safe and designated location.
By following these steps, you can ensure the proper closure of your gas chimney, promoting safety and efficiency.
As a final note, it’s important to periodically inspect and maintain your gas chimney to ensure its continued safe operation. Regular professional chimney inspections are highly recommended to address any potential issues and keep your gas chimney functioning at its best.
With the chimney properly closed, you have successfully completed the process of turning on and off your gas chimney. Remember to always prioritize safety and consult a professional if you have any concerns or doubts.
Happy cozying up to the warmth of your gas chimney!
Conclusion
Turning on a gas chimney may seem like a complex task, but with the right knowledge and careful execution, it can be a straightforward process. By following the steps outlined in this guide, you can safely and confidently turn on your gas chimney and enjoy the warmth and comfort it provides.
Remember, it’s important to prioritize safety at all times when working with gas. If you have any concerns or doubts about the process, it’s always best to consult a professional gas technician who can guide you through the process and ensure your safety.
Additionally, regular maintenance and professional inspections of your gas chimney are crucial to its long-term efficiency and safety. This helps prevent potential issues and ensures that your gas chimney operates optimally.
We hope this comprehensive guide has provided you with the necessary information to successfully turn on your gas chimney. By following the steps outlined in each section, from checking for proper ventilation to closing the chimney properly, you can confidently and comfortably enjoy the benefits of your gas chimney.
Thank you for reading, and stay warm!
Frequently Asked Questions about How To Turn On A Gas Chimney
Was this page helpful?
At Storables.com, we guarantee accurate and reliable information. Our content, validated by Expert Board Contributors, is crafted following stringent Editorial Policies. We're committed to providing you with well-researched, expert-backed insights for all your informational needs.


0 thoughts on “How To Turn On A Gas Chimney”