Articles
How To Stucco A Chimney
Modified: October 19, 2024
Learn how to stucco a chimney with our informative articles. Get step-by-step instructions and expert tips for a successful stucco project.
(Many of the links in this article redirect to a specific reviewed product. Your purchase of these products through affiliate links helps to generate commission for Storables.com, at no extra cost. Learn more)
Introduction
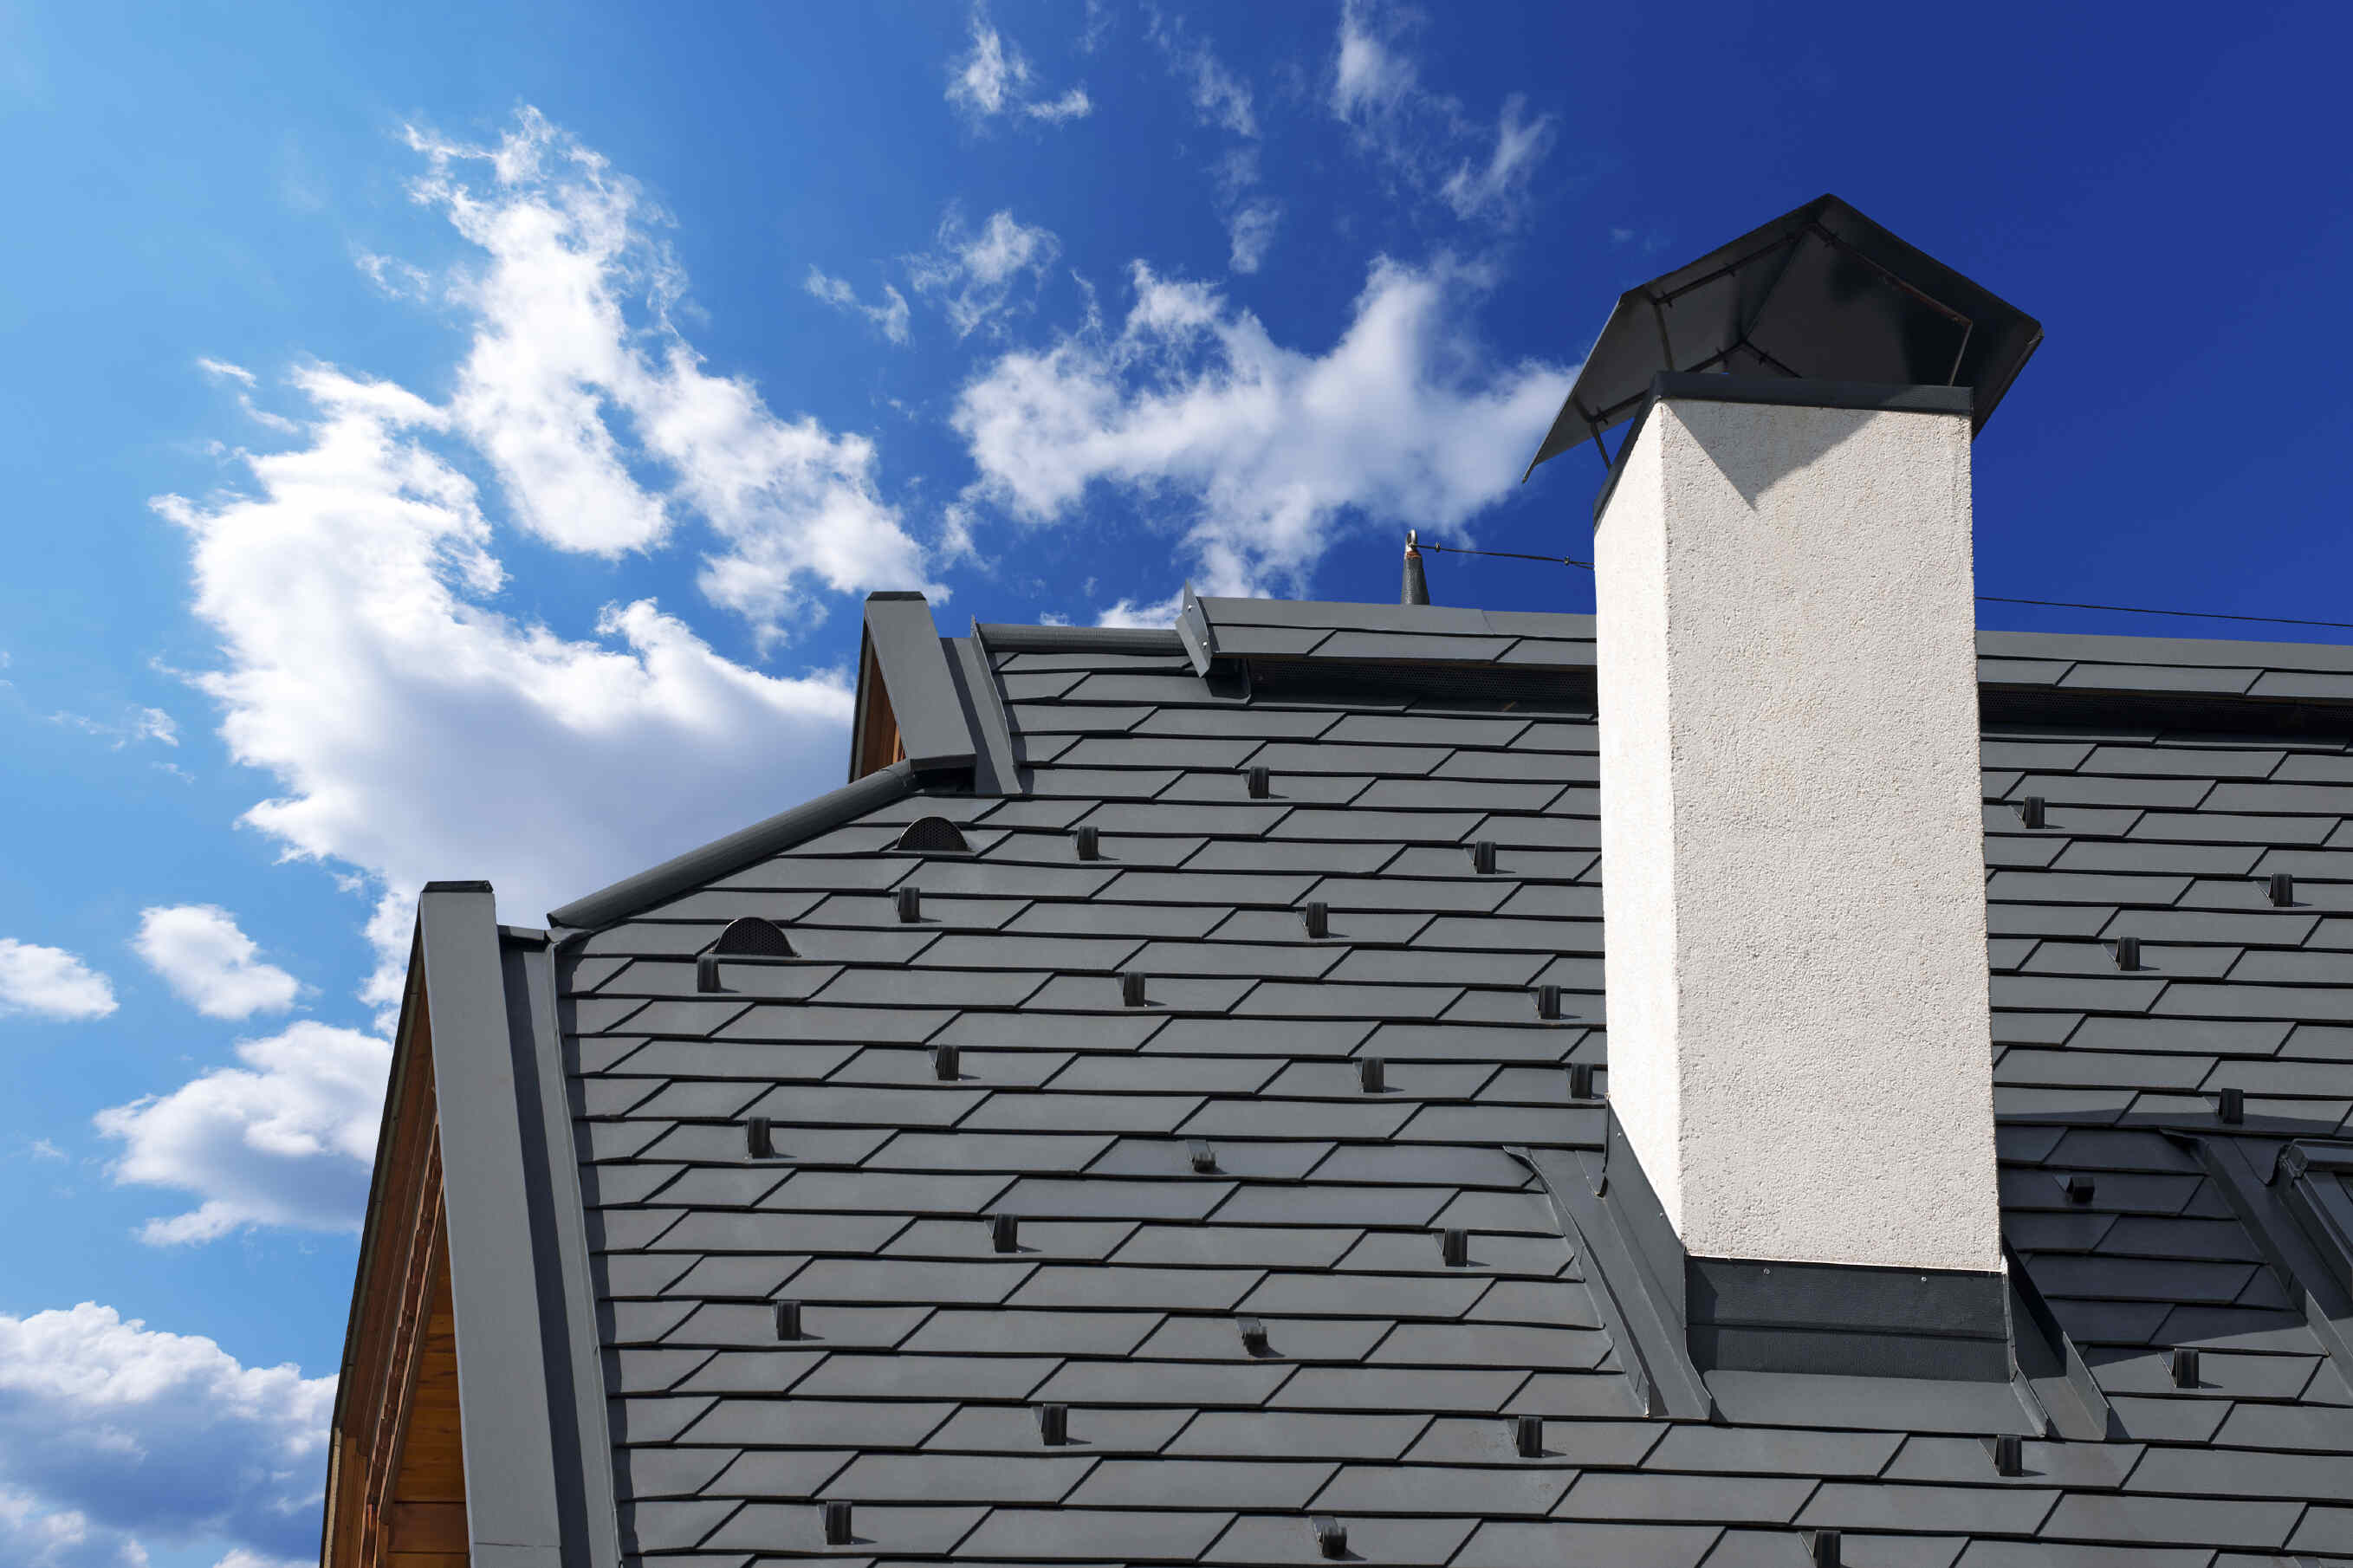
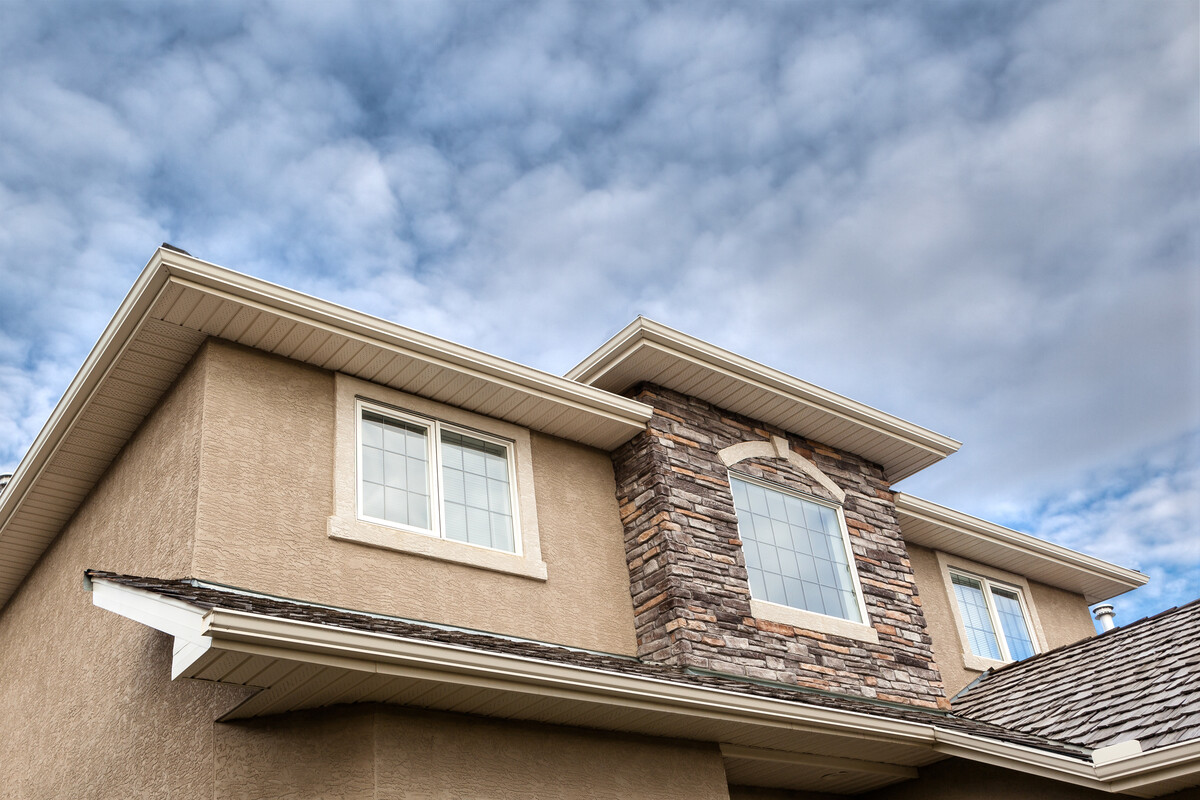
Stucco is a popular choice for exterior finishes due to its durability, versatility, and aesthetic appeal. If you have a chimney that needs a new finish or if you want to enhance the look of your existing chimney, stucco can be a great option. Stucco not only provides a protective layer to the chimney but also gives it a cohesive and polished appearance.
In this step-by-step guide, we will walk you through the process of stuccoing a chimney. Whether you are a DIY enthusiast looking to tackle a new project or a homeowner looking to save on professional installation costs, this article will equip you with the knowledge and tips to successfully stucco your chimney.
Before we begin, it is important to gather all the necessary materials for the job. This will ensure a smooth and efficient process. Let’s take a look at what you will need.
Key Takeaways:
- Transform your chimney into a stunning focal point by following our step-by-step guide to stucco application. From preparation to finishing touches, create a durable and visually appealing exterior finish for your home.
- Ensure a successful stucco application by carefully preparing the chimney surface, applying the different coats evenly, and allowing ample curing time. Enjoy the process of transforming your chimney into a beautiful and long-lasting focal point for your home.
Read more: How To Stucco A Foundation
Materials Needed
Before you start stuccoing your chimney, make sure you have the following materials on hand:
- Stucco mix: Choose a stucco mix suitable for your climate and desired finish. Consider factors such as type (traditional or acrylic), texture, and color.
- Cement: Cement is a key ingredient in the stucco mix and helps provide strength and stability.
- Sand: Use clean, fine sand as it contributes to the texture and workability of the stucco mix.
- Wire mesh: Wire mesh acts as reinforcement and prevents cracking. Opt for galvanized mesh for added durability.
- Scratch coat bonding agent: This helps the scratch coat adhere to the chimney surface.
- Painters tape: Use painters tape to protect adjacent surfaces from stucco during application.
- Waterproofing membrane: Apply a waterproofing membrane to ensure moisture resistance.
- Stucco trowels: Invest in different size trowels for applying the scratch coat, brown coat, and finish coat.
- Mixing tools: Use a bucket and a mixing drill attachment to mix the stucco ingredients thoroughly.
- Protective gear: Don’t forget to wear gloves, safety glasses, and a dust mask.
Make sure to inspect your chimney thoroughly before starting the stucco process. Look for any existing damage or cracks and address them before proceeding. It’s also a good idea to check local building codes to ensure compliance.
Now that you have all the necessary materials, let’s dive into the step-by-step process of stuccoing your chimney.
Step 1: Preparing the Chimney
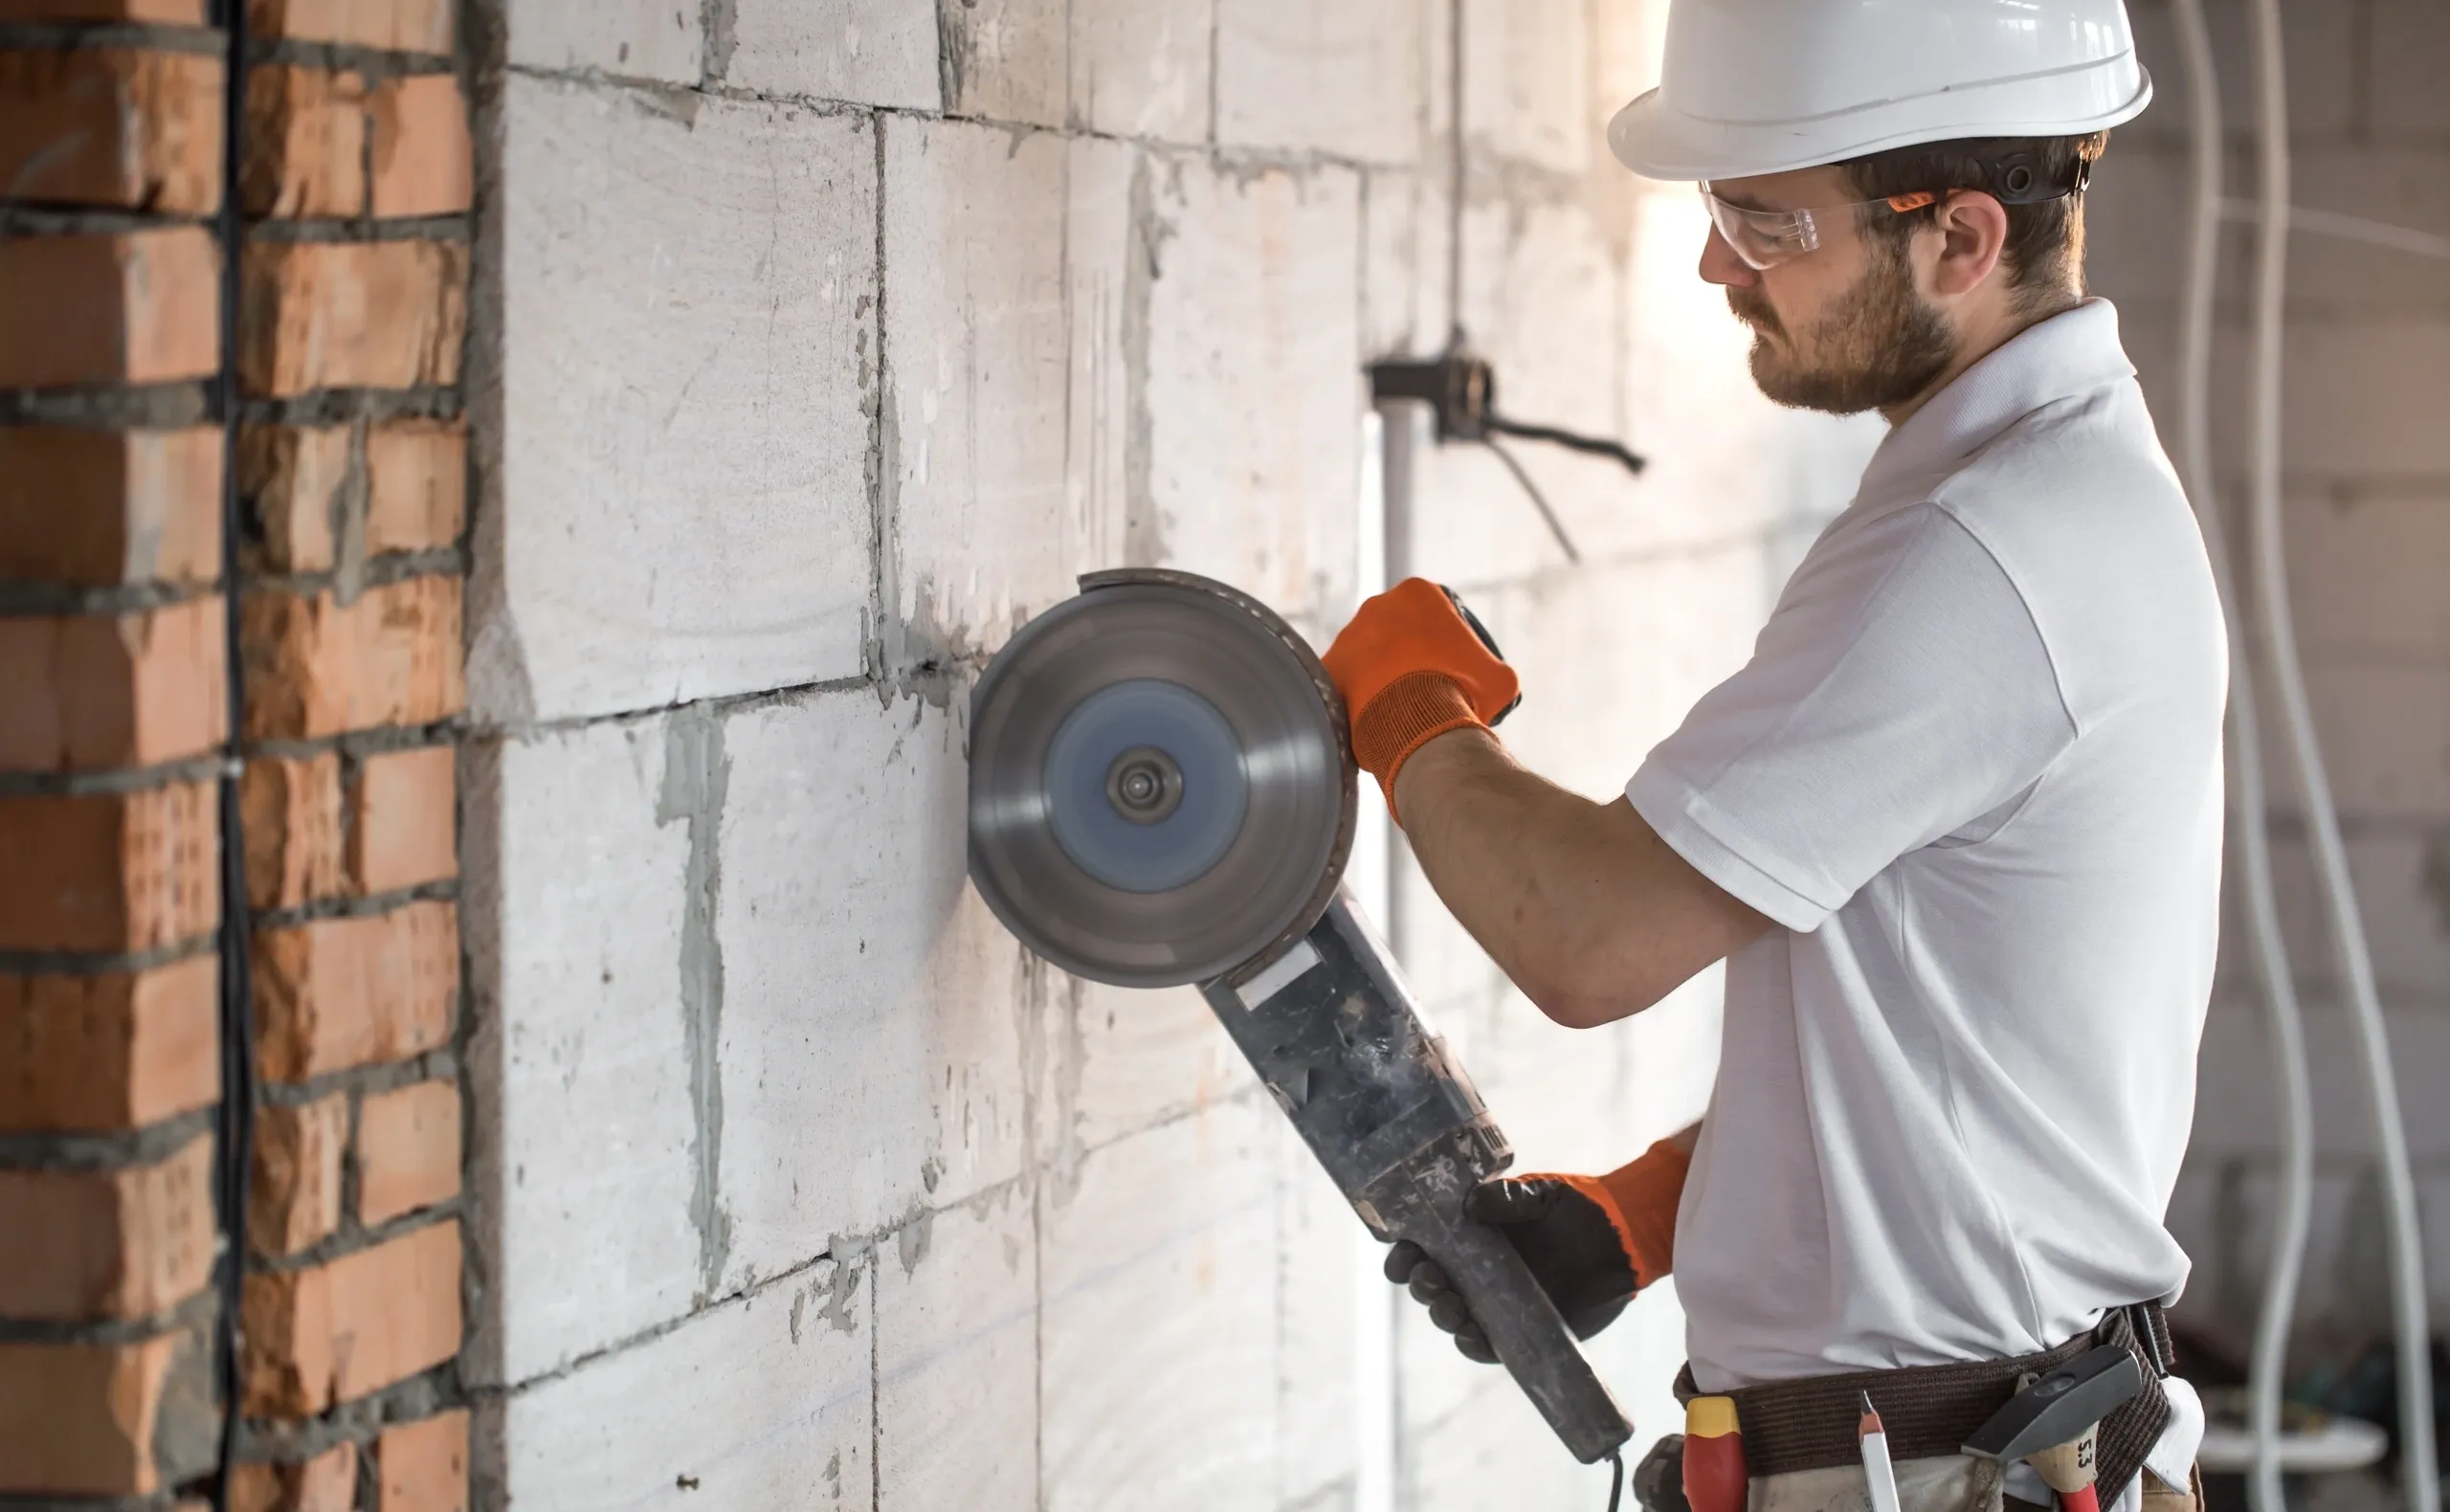
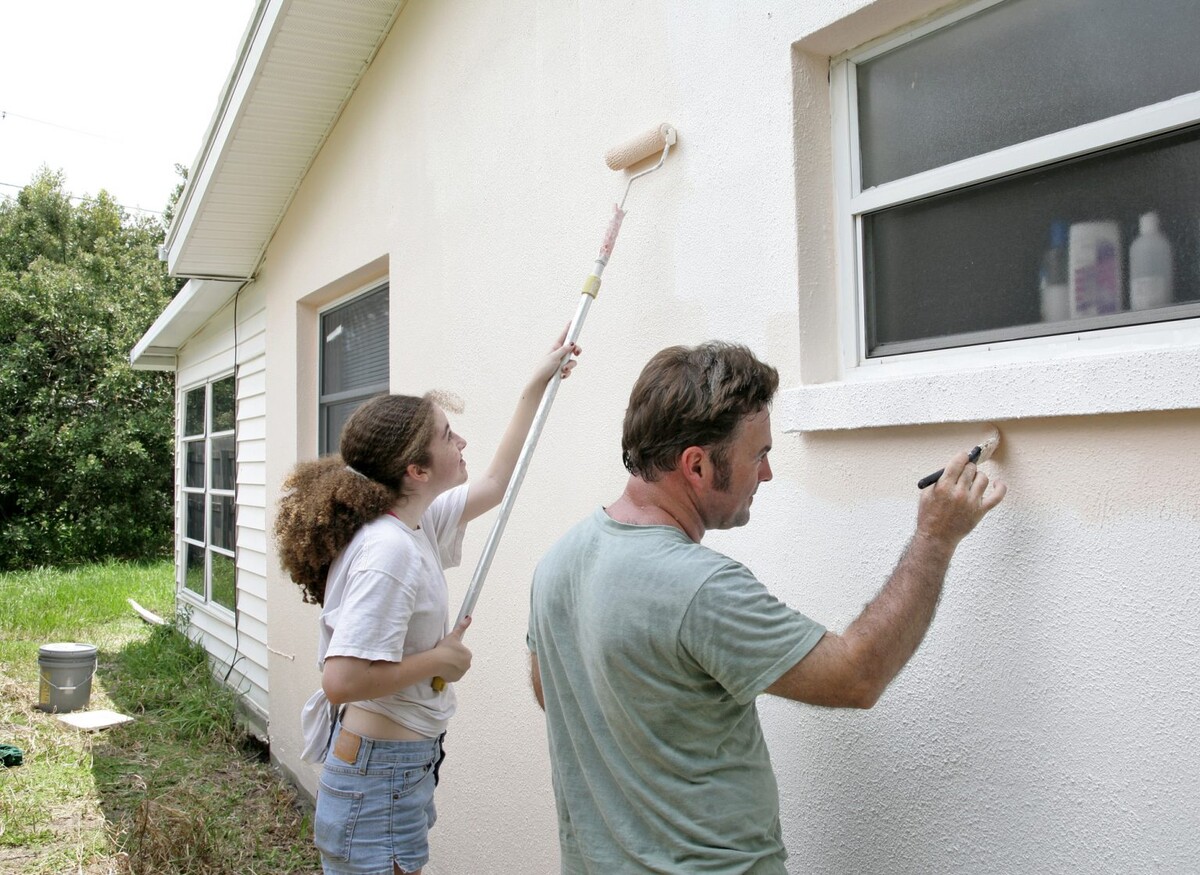
The first step in stuccoing your chimney is to prepare the surface. This involves cleaning the chimney, applying a bonding agent, and protecting surrounding areas.
- Clean the chimney: Start by cleaning the surface of the chimney to remove any dirt, debris, or loose material. Use a wire brush or a power washer to ensure a clean and smooth surface for the stucco to adhere to.
- Apply a bonding agent: Before applying the stucco, it is important to apply a bonding agent to the chimney surface. This helps the stucco adhere properly and prevents it from cracking or detaching. Follow the manufacturer’s instructions for the bonding agent and ensure even coverage on the entire chimney surface.
- Protect surrounding areas: Use painters tape to protect any adjacent surfaces, such as windows, doors, or siding, from accidental stucco splatter. This will make the cleanup process easier and prevent damage to surrounding areas.
Once you have completed these preparation steps, you are ready to move on to the next phase: applying the scratch coat.
Step 2: Applying the Scratch Coat
The scratch coat is the initial layer of stucco that provides a solid base for the subsequent coats. It helps create a rough texture that promotes adhesion between the stucco layers.
- Mix the stucco: Follow the instructions on the stucco mix package to prepare the scratch coat mixture. Typically, you will combine the stucco mix with water in a bucket and mix until you achieve a thick, but workable consistency.
- Moisten the chimney: Before applying the scratch coat, lightly mist the chimney surface with water. This helps create a better bond between the stucco and the chimney.
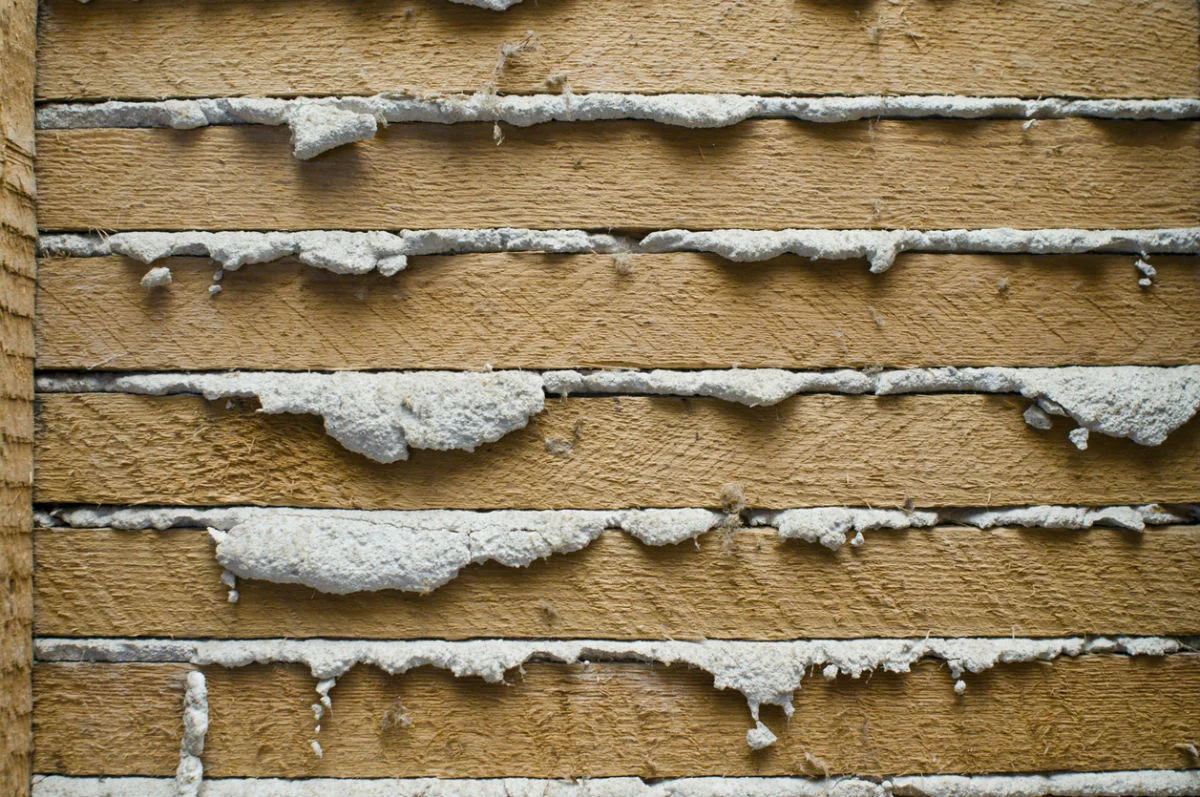
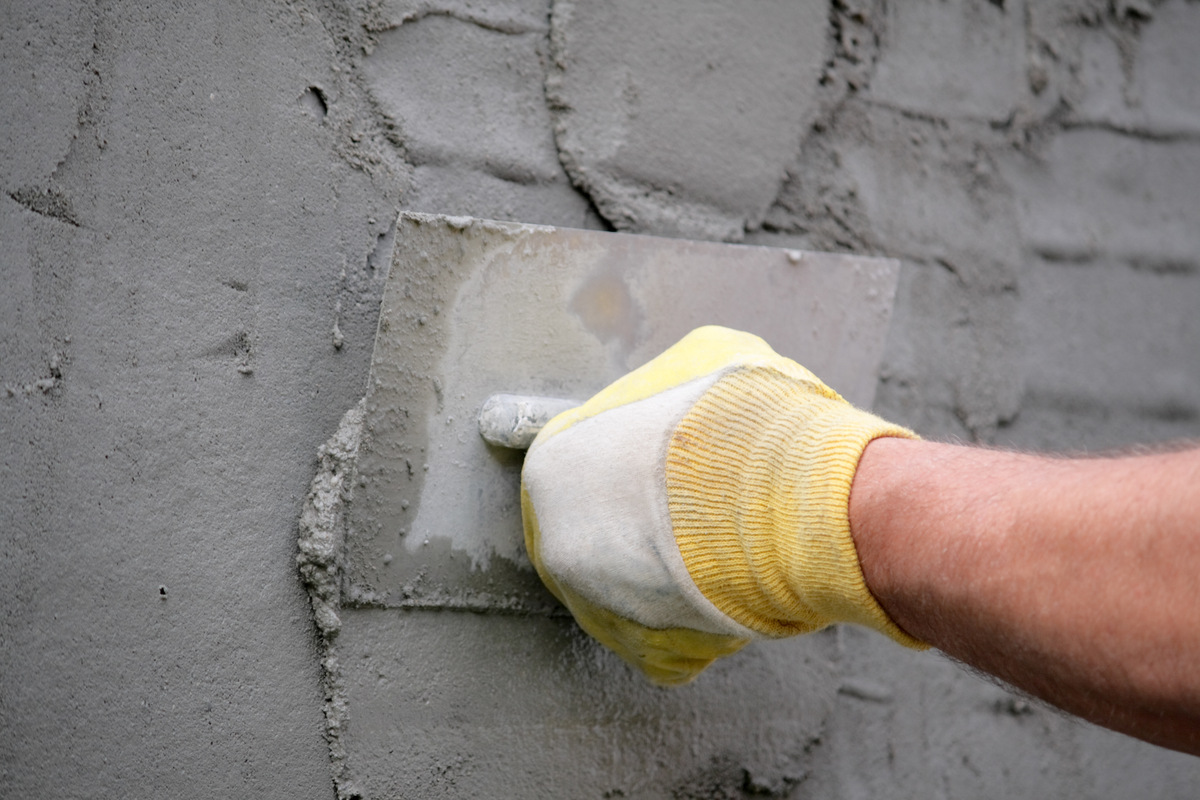
- Apply the scratch coat: Start by using a trowel to scoop a portion of the stucco mixture onto the hawk or a flat surface. Then, using a sweeping motion, apply the stucco to the chimney in a thin and even layer. Use the trowel to spread and smooth the stucco, making sure it adheres to the bonding agent and covers the entire chimney surface. For added strength, embed a layer of wire mesh into the scratch coat while it is still wet.
- Score the scratch coat: Once the scratch coat is applied, use a trowel or a scoring tool to create horizontal lines or scratches in the stucco. This provides a better grip for the next coat of stucco. Allow the scratch coat to cure for at least 48 hours before moving on to the next step.
With the scratch coat complete, you are now ready to apply the brown coat, which will provide a smoother and more refined surface.
Before applying stucco to a chimney, make sure to clean the surface thoroughly and repair any cracks or damage. Use a bonding agent to ensure the stucco adheres properly and apply multiple thin coats for a smooth finish.
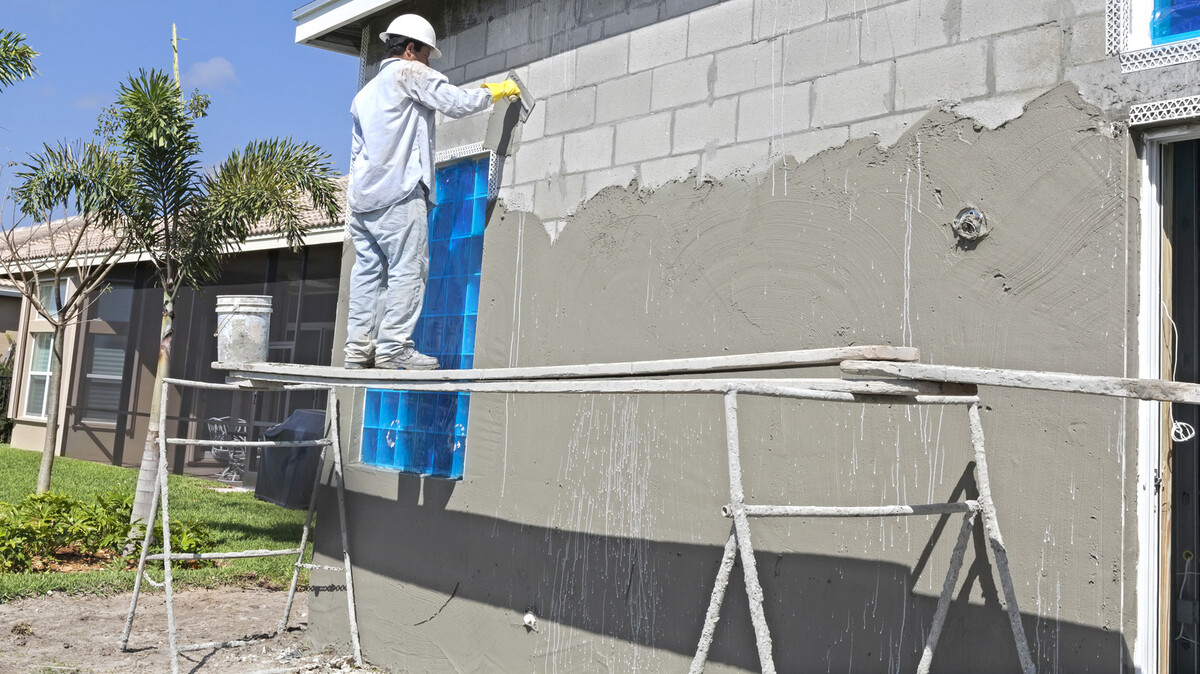
Step 3: Applying the Brown Coat
Once the scratch coat has cured, it’s time to apply the brown coat. This layer is responsible for adding thickness and strength to the stucco finish.
- Mix the brown coat: Prepare the brown coat mixture by following the instructions on the stucco mix packaging. Mix the stucco mix with water until you achieve a workable consistency, similar to that of mashed potatoes.
- Dampen the scratch coat: Before applying the brown coat, lightly mist the scratch coat with water. This helps create a better bond between the layers of stucco.
- Apply the brown coat: Take a trowel and scoop a portion of the brown coat mixture onto the hawk or a flat surface. Using a smooth and sweeping motion, apply the brown coat to the chimney in an even layer. Make sure to cover the entire surface with a consistent thickness of the brown coat. Use the trowel to shape and smooth the stucco as desired.
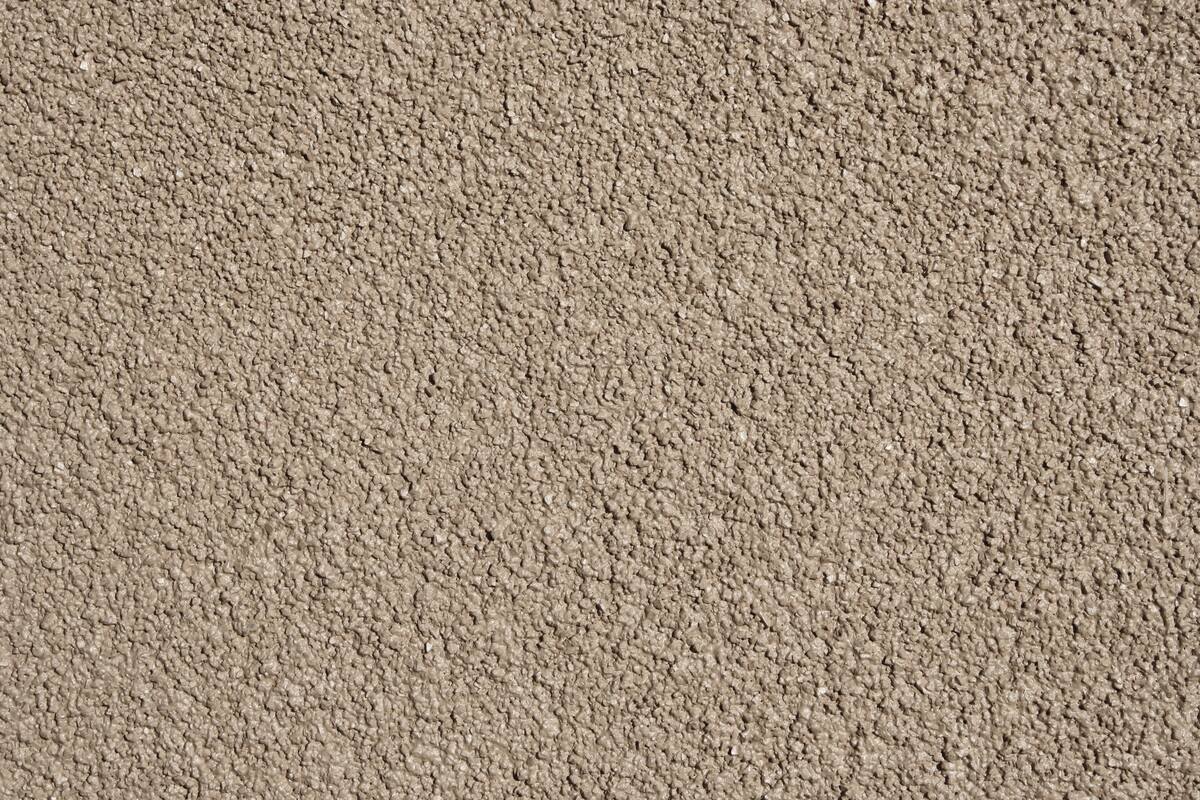
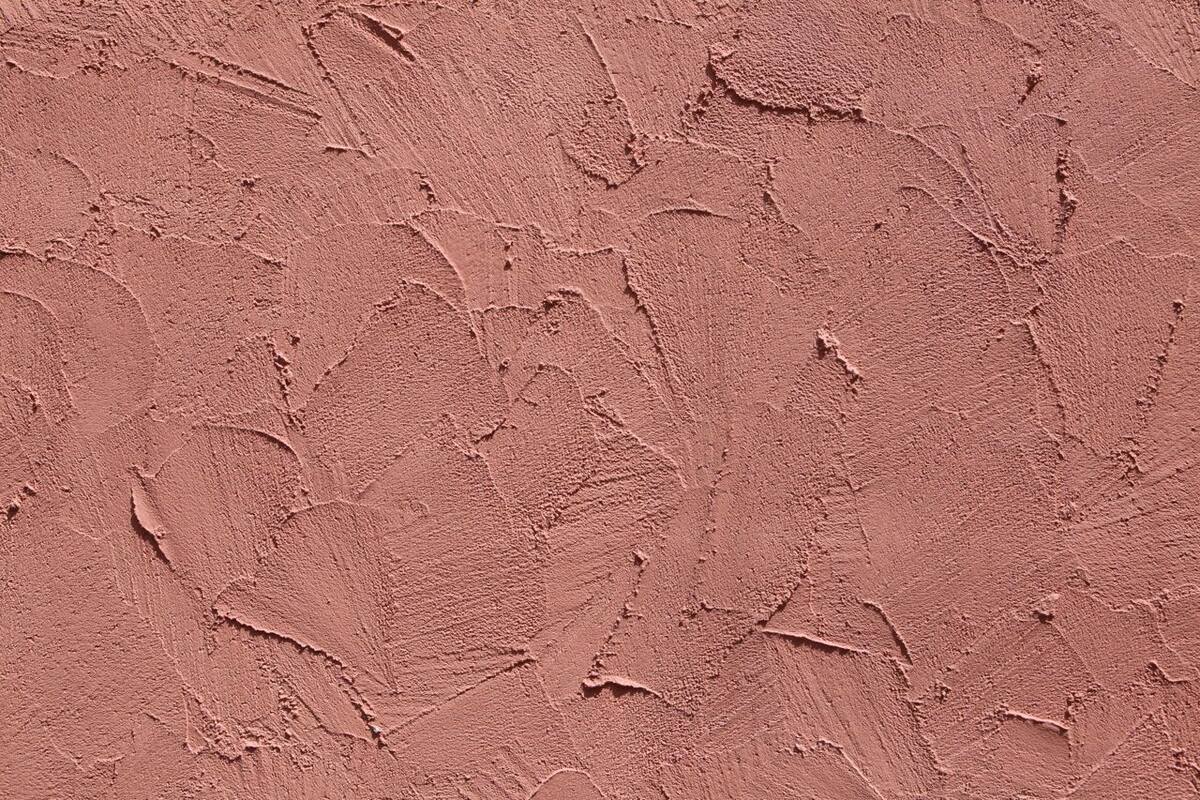
- Texture the brown coat: While the brown coat is still wet, you can add texture to the stucco by using a texture tool or a trowel. Go for your desired texture, whether it’s a smooth finish, a lightly roughened surface, or a custom design.
- Cure the brown coat: Allow the brown coat to cure for at least 48 hours. During this time, keep the stucco moist by lightly misting it with water periodically. This helps prevent cracking and ensures proper curing.
With the brown coat applied and cured, you are ready to move on to the final step: applying the finish coat.
Read more: How To Inspect Stucco
Step 4: Applying the Finish Coat
The final step in stuccoing your chimney is applying the finish coat. This coat adds the desired texture and visual appeal to your chimney’s stucco finish.
- Mix the finish coat: Follow the instructions on the stucco mix package to prepare the finish coat mixture. Mix the stucco mix with water until you achieve a workable consistency, similar to that of icing.
- Dampen the brown coat: Before applying the finish coat, lightly mist the cured brown coat with water. This helps create a better bond between the layers of stucco.
- Apply the finish coat: Using a trowel, scoop a portion of the finish coat mixture onto the hawk or a flat surface. Apply the finish coat to the chimney in a thin and even layer, covering the entire surface. Use the trowel to shape and texture the stucco as desired, ensuring an even and consistent finish.
- Smooth the finish coat: Once the finish coat is applied, you can use a trowel or a sponge float to smooth the stucco, giving it a polished and refined look. Work gently and avoid applying too much pressure to prevent damaging the finish coat.
- Cure the finish coat: Allow the finish coat to cure for a minimum of 48 hours. During this time, mist the stucco with water regularly to keep it moist and aid in the curing process. This helps prevent cracking and ensures a durable and long-lasting finish.
After the finish coat has cured, you can inspect your chimney and make any necessary touch-ups or refinements to achieve the desired appearance.
With the finish coat applied and cured, your stuccoed chimney is almost ready for its final touch.
Step 5: Curing and Finishing Touches
In the final step of stuccoing your chimney, you will focus on curing the stucco and adding the finishing touches to complete the project.
- Curing the stucco: Once the finish coat has cured for at least 48 hours, it’s essential to continue the curing process to ensure the stucco’s strength and longevity. Mist the stucco with water daily for the next seven days, allowing it to gradually dry. This slow curing process helps prevent cracks and promotes a solid bond.
- Inspect and make touch-ups: After the stucco has fully cured, carefully inspect the chimney for any imperfections or areas that need touch-ups. Look for cracks, uneven texture, or spots that require additional stucco. Use a trowel to make the necessary repairs and ensure a seamless and cohesive finish.
- Paint or seal the stucco: Depending on your preference and the type of stucco used, you may choose to paint or seal the stucco finish. This adds an extra layer of protection and enhances the aesthetics of your chimney. Select a high-quality exterior paint or stucco sealer suitable for your climate and desired look. Follow the manufacturer’s instructions for application.
- Clean up: Once the stucco is fully cured and any finishing touches are complete, remove any tape or protective coverings from adjacent surfaces. Clean up the area by disposing of any leftover materials and tools properly.
- Maintain your stuccoed chimney: To keep your stuccoed chimney looking its best and prolong its lifespan, regular maintenance is crucial. Check for any signs of damage, such as cracks or chips, and address them promptly. Clean the stucco regularly with a gentle cleanser and soft brush to remove dirt and debris. Avoid using abrasive materials or harsh chemicals that could damage the stucco surface.
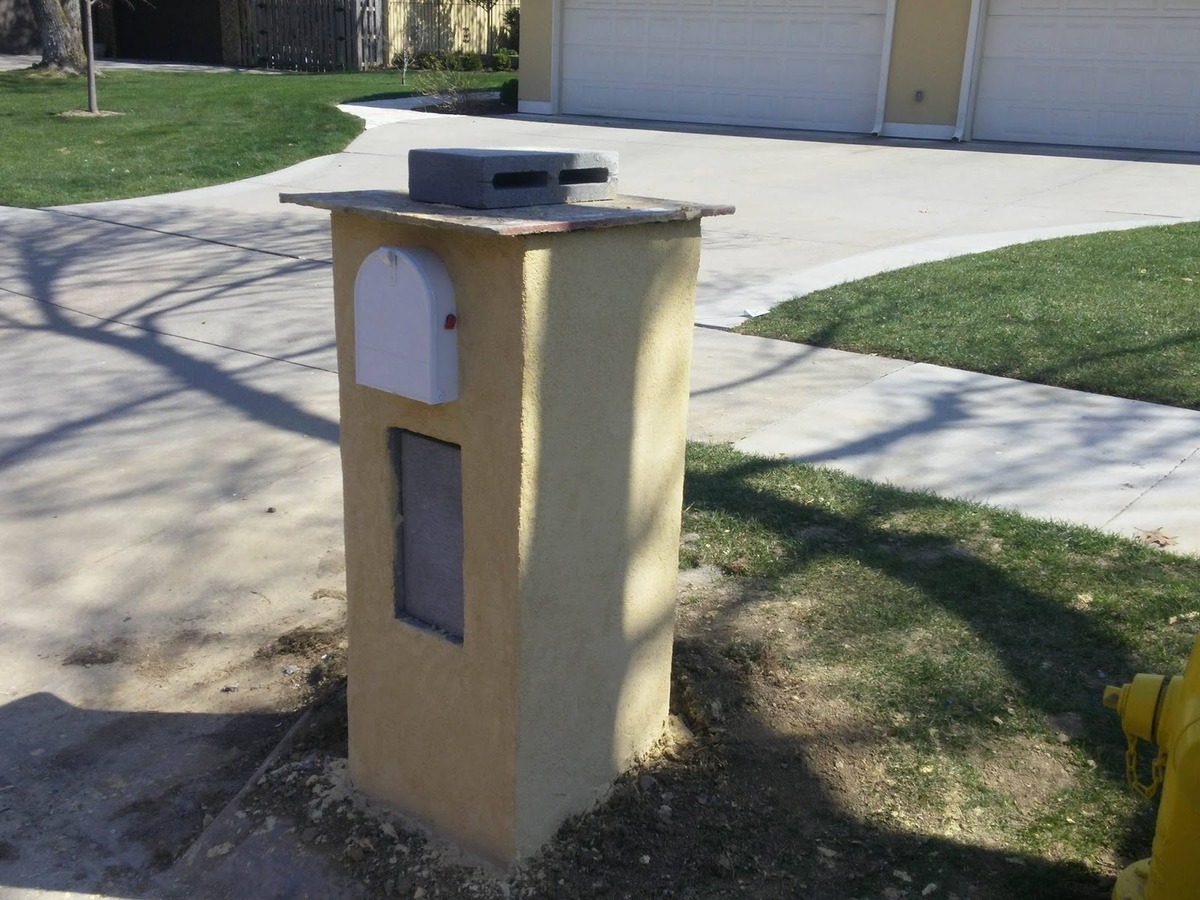
Congratulations! You have successfully stuccoed your chimney, transforming it into a beautiful and durable focal point of your home. Remember to follow safety precautions and take breaks as needed during the process. Stuccoing a chimney can be a rewarding DIY project with stunning results.
If you feel unsure about any step of the process or prefer professional assistance, it is always a good idea to consult a licensed contractor who specializes in stucco installation.
Enjoy your newly stuccoed chimney and the improved curb appeal it brings to your home!
Conclusion
Stuccoing a chimney can be a rewarding project that adds both visual appeal and protection to your home’s exterior. By following the step-by-step guide outlined in this article, you have learned how to prepare the chimney, apply the scratch coat, brown coat, and finish coat, and finally, how to cure and add the finishing touches to complete the project.
Remember, the key to a successful stucco application is careful preparation, using the right materials, and following proper techniques. Taking the time to clean and prime the chimney surface, apply the different coats evenly, and allow ample curing time will ensure a professional-looking and long-lasting stucco finish.
While it is possible to undertake this project as a DIY enthusiast, if you ever feel uncertain or overwhelmed, don’t hesitate to consult with a professional stucco contractor. They can provide expert guidance and ensure the best outcome for your stuccoed chimney.
Maintaining your stuccoed chimney is also crucial for its longevity. Regular inspections, addressing any cracks or damage promptly, and cleaning the stucco surface will help preserve its beauty and effectiveness over time.
Now that you are equipped with the knowledge and steps to stucco a chimney, why wait? Start planning your project, gather the necessary materials, and enjoy the process of transforming your chimney into a stunning focal point that enhances your home’s overall curb appeal.
Happy stuccoing!
Frequently Asked Questions about How To Stucco A Chimney
Was this page helpful?
At Storables.com, we guarantee accurate and reliable information. Our content, validated by Expert Board Contributors, is crafted following stringent Editorial Policies. We're committed to providing you with well-researched, expert-backed insights for all your informational needs.


0 thoughts on “How To Stucco A Chimney”