Home>Articles>How To Use Blue Yeti On Xbox One Without Adapter

Articles
How To Use Blue Yeti On Xbox One Without Adapter
Modified: December 7, 2023
Learn how to use the Blue Yeti microphone on your Xbox One without the need for an adapter. Read our informative articles for step-by-step instructions.
(Many of the links in this article redirect to a specific reviewed product. Your purchase of these products through affiliate links helps to generate commission for Storables.com, at no extra cost. Learn more)
Introduction
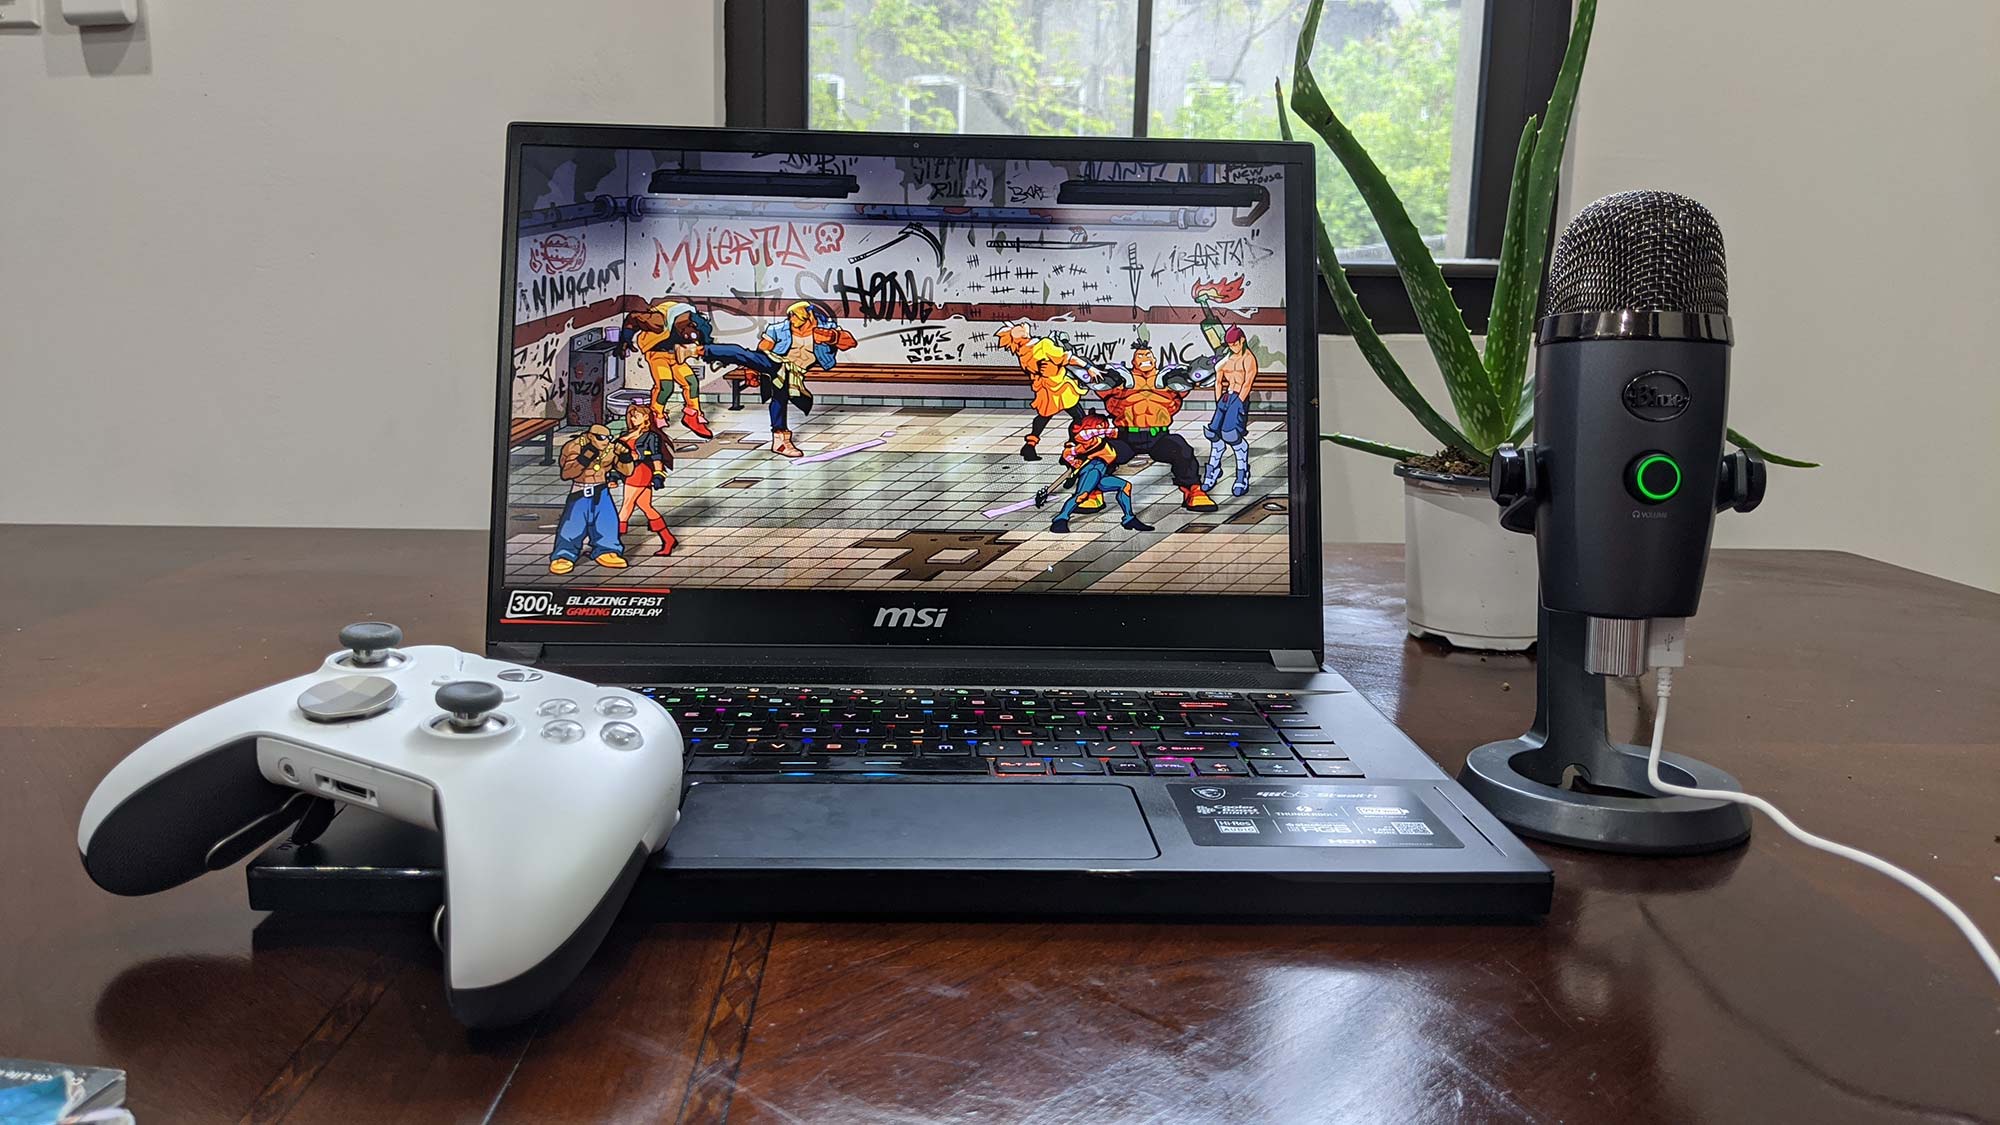
The Blue Yeti microphone is widely regarded as one of the best USB microphones on the market. Renowned for its exceptional audio quality and versatility, it is a popular choice among content creators, streamers, and musicians. While it is primarily designed for use with a computer, many enthusiasts also seek ways to use the Blue Yeti microphone with other devices, such as gaming consoles like the Xbox One.
In this article, we will explore how to use the Blue Yeti microphone on Xbox One without the need for an adapter. We will provide step-by-step instructions to help you connect the microphone and configure the audio settings on your Xbox One, allowing you to enjoy high-quality recording and communication while gaming.
Before we proceed to the setup process, it’s important to note that connecting the Blue Yeti microphone to the Xbox One without an adapter involves some additional steps. While an adapter can simplify the process, this guide is focused on utilizing the microphone without one.
So, if you’re ready to elevate your gaming experience and make use of your beloved Blue Yeti microphone on your Xbox One, let’s dive into the details.
Key Takeaways:
- Elevate your Xbox One gaming experience by using the Blue Yeti microphone without an adapter. Follow simple steps to connect, adjust settings, and enjoy professional-grade audio for voice communication and game recording.
- Don’t let the lack of an adapter stop you from using your Blue Yeti microphone on Xbox One. With a clever workaround, you can connect, adjust settings, and test the microphone for clear and crisp audio during gaming sessions.
Overview of the Blue Yeti microphone
The Blue Yeti microphone is a versatile and professional-grade USB microphone that offers exceptional audio quality and a variety of recording options. It is a popular choice among content creators, podcasters, musicians, and gamers due to its ease of use, durability, and superior sound reproduction.
One of the standout features of the Blue Yeti microphone is its four distinct pickup patterns: cardioid, bidirectional, omnidirectional, and stereo. This allows for flexibility in capturing audio depending on the specific recording situation. The cardioid pattern is ideal for solo recordings and streaming, as it captures sound primarily from the front while minimizing background noise. The bidirectional pattern is useful for interviews or duets, capturing sound from both the front and back of the microphone. The omnidirectional pattern captures sound from all directions, making it ideal for capturing group discussions or ambient sound. The stereo pattern is perfect for recording natural stereo sound, making it suitable for instruments or vocal performances where wide stereo separation is desired.
The Blue Yeti also features a built-in headphone amplifier, allowing for real-time monitoring of your recordings. This ensures that you can hear yourself and eliminate any potential latency issues. The microphone also offers easy-to-use controls on the front, including a volume control, pattern selector, and a mute button, providing convenient access to essential functions while recording.
With its solid construction and high-quality components, the Blue Yeti microphone delivers exceptional audio performance. It captures rich, clear sound with a frequency response range of 20Hz to 20kHz, ensuring accurate reproduction of vocals and instruments. Whether you are podcasting, streaming, recording vocals, or gaming, the Blue Yeti microphone is designed to deliver professional-level sound.
Compatibility of Blue Yeti with Xbox One
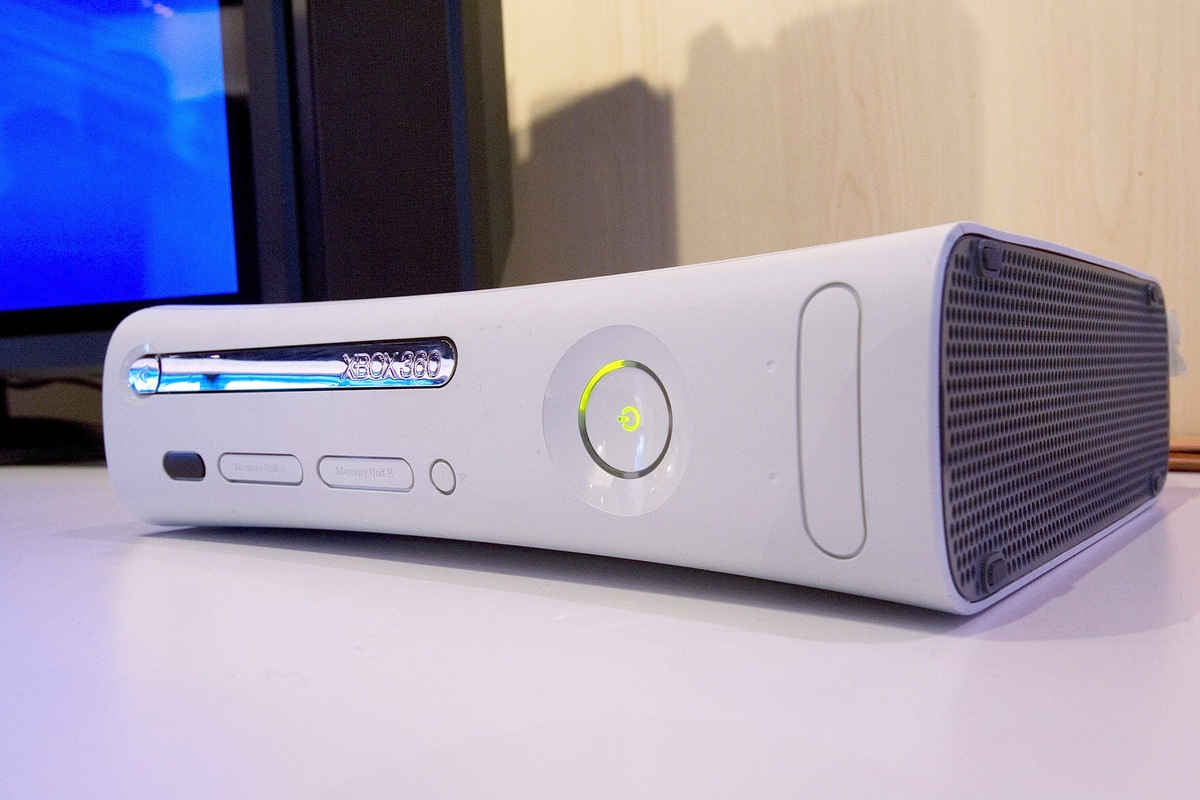
The Blue Yeti microphone is primarily designed for use with computers and is compatible with both Windows and Mac systems. However, many users are interested in using the Blue Yeti microphone with gaming consoles like the Xbox One. Unfortunately, the Blue Yeti microphone alone is not directly compatible with the Xbox One without the use of an adapter or additional equipment.
By default, the Xbox One console does not have a USB port that supports the input of external microphones. Instead, it relies on its built-in microphone or a headset with a compatible connector for voice communication during gaming sessions. This means that if you were to connect the Blue Yeti microphone directly to the Xbox One using a USB cable, it would not register as an input device.
This is where the need for an adapter or workaround arises. An adapter allows for the connection of USB-based microphones or audio devices to the Xbox One console. Unfortunately, the adapter is not included with the Blue Yeti microphone and must be purchased separately.
However, if you do not wish to invest in an adapter, there is still a way to use the Blue Yeti microphone with your Xbox One. The workaround involves connecting your microphone to a computer or another device that supports USB audio input, and then routing the audio output from the Xbox One to that device. This setup allows you to use the Blue Yeti microphone as an input device while playing games on the Xbox One.
While this method may require additional cables and devices, it provides a solution for those who already own a Blue Yeti microphone and do not wish to purchase an adapter solely for Xbox One compatibility.
Now that you understand the compatibility limitations and alternatives for using the Blue Yeti microphone with the Xbox One, let’s explore how to set it up without an adapter in the next section.
Why you might need an adapter
If you’re wondering why you might need an adapter to use the Blue Yeti microphone with your Xbox One, there are a few reasons to consider. The primary reason is that the Xbox One console does not have a USB port that supports direct input from external microphones. Instead, it relies on its built-in microphone or a headset with a compatible connector for voice communication during gaming.
An adapter allows for the connection of USB-based microphones or audio devices to the Xbox One console. It essentially bridges the gap between the USB output of the Blue Yeti microphone and the non-USB input of the Xbox One.
Here are a few scenarios where you might need an adapter:
- Improved audio quality: The Blue Yeti microphone is known for its exceptional audio quality. By using an adapter to connect it to your Xbox One, you can enjoy crystal clear voice recordings and communication during gaming sessions.
- Professional streaming and content creation: If you are a streamer or content creator, using a Blue Yeti microphone with an adapter allows you to elevate the quality of your streams or recordings. The microphone’s superior performance and versatility will enhance the overall production value of your content.
- Flexibility and convenience: Using an adapter gives you the flexibility to choose your preferred microphone setup. It allows you to utilize the Blue Yeti microphone, which you may already own, and eliminates the need for investing in a separate gaming headset or microphone.
It’s important to note that the adapter needed for the Blue Yeti microphone will depend on the specific model and connectivity options of your Xbox One console. Therefore, it is recommended to check for compatibility and choose an adapter that suits your requirements and gaming setup.
While purchasing an adapter may be an additional expense, it is a worthwhile investment for those who want to take full advantage of the Blue Yeti microphone’s capabilities while gaming on the Xbox One. However, if you prefer to use the microphone without an adapter, there is a workaround that we will discuss in the next section.
How to Use Blue Yeti on Xbox One Without an Adapter
If you want to use your Blue Yeti microphone with your Xbox One but do not have an adapter, don’t worry! There is a workaround that allows you to connect and use the microphone without the need for additional equipment. Follow these steps to get started:
Step 1: Check your Blue Yeti microphone settings
Before connecting your Blue Yeti microphone to your Xbox One, it’s important to ensure that the microphone is set up properly. First, make sure the microphone is switched on and connected to your computer or another device that supports USB audio input.
Access your computer’s sound settings and ensure that the Blue Yeti microphone is selected as the default audio input device. This will ensure that the microphone is recognized and ready to use.
Step 2: Connect the Blue Yeti microphone to your Xbox One
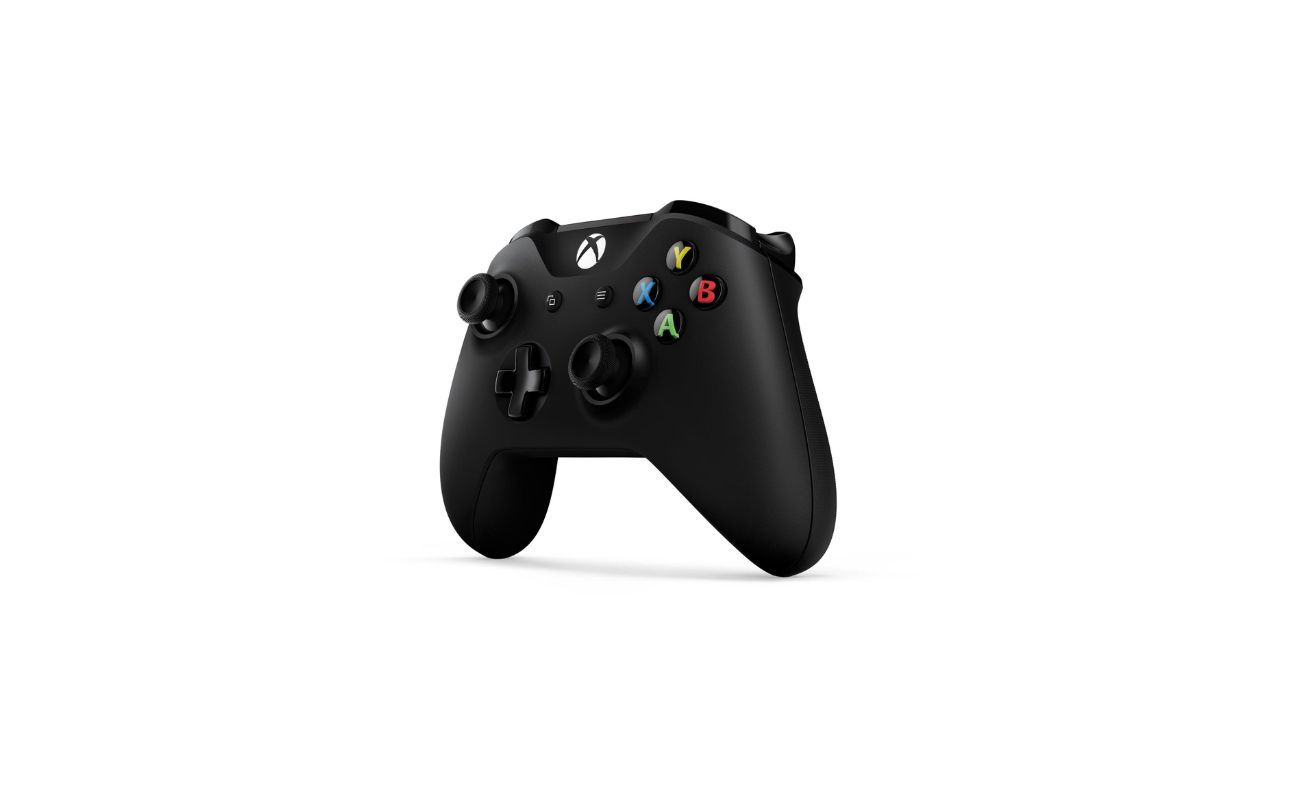
Once you have verified the microphone settings on your computer, it’s time to connect the Blue Yeti to your Xbox One. You will need a 3.5mm audio cable for this step.
Connect one end of the 3.5mm audio cable to the headphone jack on the Blue Yeti microphone. Then, connect the other end of the cable to the Xbox One controller’s audio jack. This will allow the audio from the Xbox One to be routed through the Blue Yeti microphone.
Step 3: Adjust audio settings on Xbox One
To ensure that the audio is captured properly by the Blue Yeti microphone, you’ll need to adjust the audio settings on your Xbox One.
On your Xbox One, go to “Settings” and navigate to the “Display & Sound” section. From there, select “Audio Output” and then choose “Headset & Speaker.”
Next, under the “Headset” section, make sure to select “Headset” as the audio output option. This will route the sound to the controller and through the connected Blue Yeti microphone.
Step 4: Test the Blue Yeti microphone on Xbox One
With everything set up, it’s time to test the Blue Yeti microphone on your Xbox One. Start a game or join a party chat to test the microphone’s functionality.
Speak into the Blue Yeti microphone and listen for your voice through the Xbox One’s audio output. You can adjust the microphone’s gain or volume on the Blue Yeti itself to ensure that the audio levels are suitable for your liking.
Additionally, you may want to adjust the microphone sensitivity settings on your Xbox One to optimize the audio capture. This can be found in the Xbox settings under “Devices & connection” and then “Mic monitoring.”
Once you have completed these steps, you should be able to use the Blue Yeti microphone for voice communication and game recording on your Xbox One, without the need for an adapter.
Please note that the audio quality may not be as pristine as it would be with an adapter, as you are using an analog connection rather than a digital one. However, this workaround allows you to make use of your Blue Yeti microphone without incurring additional expenses.
Enjoy clear and crisp audio while gaming with the Blue Yeti microphone on your Xbox One!
Step 1: Check your Blue Yeti microphone settings
Before connecting your Blue Yeti microphone to your Xbox One, it’s important to ensure that the microphone is set up properly on your computer or another device that supports USB audio input. This step will ensure that the microphone is recognized and ready to use when connected to your Xbox One.
Here’s what you need to do:
- Make sure that your Blue Yeti microphone is switched on. You should see the LED indicator light up to indicate that it is powered.
- Connect your Blue Yeti microphone to your computer using the USB cable that came with the microphone. Ensure that the USB cable is securely plugged into both the microphone and your computer’s USB port.
- On your computer, access the sound settings. The process may vary slightly depending on your operating system.
- If you’re using Windows, right-click on the speaker icon in the system tray and select “Sounds” or “Playback Devices.” Alternatively, you can navigate to the sound settings through the Control Panel.
- If you’re using Mac, go to “System Preferences” and select “Sound.” From there, click on the “Input” tab.
- In the sound settings, ensure that the Blue Yeti microphone is selected as the default audio input device. The microphone should appear in the list of available devices.
- Adjust the microphone settings to your preference. You can modify the microphone volume, gain, and other audio settings if necessary. This can usually be done by right-clicking on the Blue Yeti microphone in the sound settings and selecting “Properties” or a similar option.
- Test the microphone to ensure that it is capturing sound properly. Speak into the microphone and check if the sound levels are registering on your computer. You can use the sound meter in the sound settings or use a recording software to monitor the audio input.
By following these steps and verifying that your Blue Yeti microphone is properly set up on your computer, you will be ready to connect it to your Xbox One and use it without an adapter. It’s essential to ensure that the microphone settings are correct, as this will help achieve optimal audio quality and performance.
Now that you have checked and adjusted your Blue Yeti microphone settings, let’s move on to the next step of connecting the microphone to your Xbox One.
Step 2: Connect the Blue Yeti microphone to your Xbox One
Now that you have checked and adjusted your Blue Yeti microphone settings on your computer, it’s time to connect the microphone to your Xbox One. Connecting the Blue Yeti microphone to your Xbox One will allow you to use it for voice communication and game recording without the need for an adapter. Follow these steps to connect the microphone:
- First, ensure that your Xbox One console is powered off.
- Take the 3.5mm audio cable and connect one end to the headphone jack of your Blue Yeti microphone.
- Next, connect the other end of the cable to the audio jack on your Xbox One controller.
- Make sure the connection is secure on both the microphone and the controller.
Once the Blue Yeti microphone is connected to the Xbox One controller, it will utilize the audio input from the controller and route it through the microphone. This setup allows you to use the Blue Yeti microphone as the input device for voice communication and game recording on your Xbox One.
Keep in mind that this connection method utilizes an analog connection rather than a direct USB connection. As a result, the audio quality may not be as pristine as it would be with a digital connection using an adapter. However, this workaround enables you to harness the capabilities of your Blue Yeti microphone without incurring additional expenses.
Once you have successfully connected the Blue Yeti microphone to your Xbox One, you can proceed to the next step to adjust the audio settings on your Xbox One to ensure the microphone functions properly.
Note: The process for connecting the Blue Yeti microphone to your Xbox One may vary slightly depending on the specific model of the microphone and the Xbox One controller. Make sure to follow any additional instructions provided by the manufacturer if necessary.
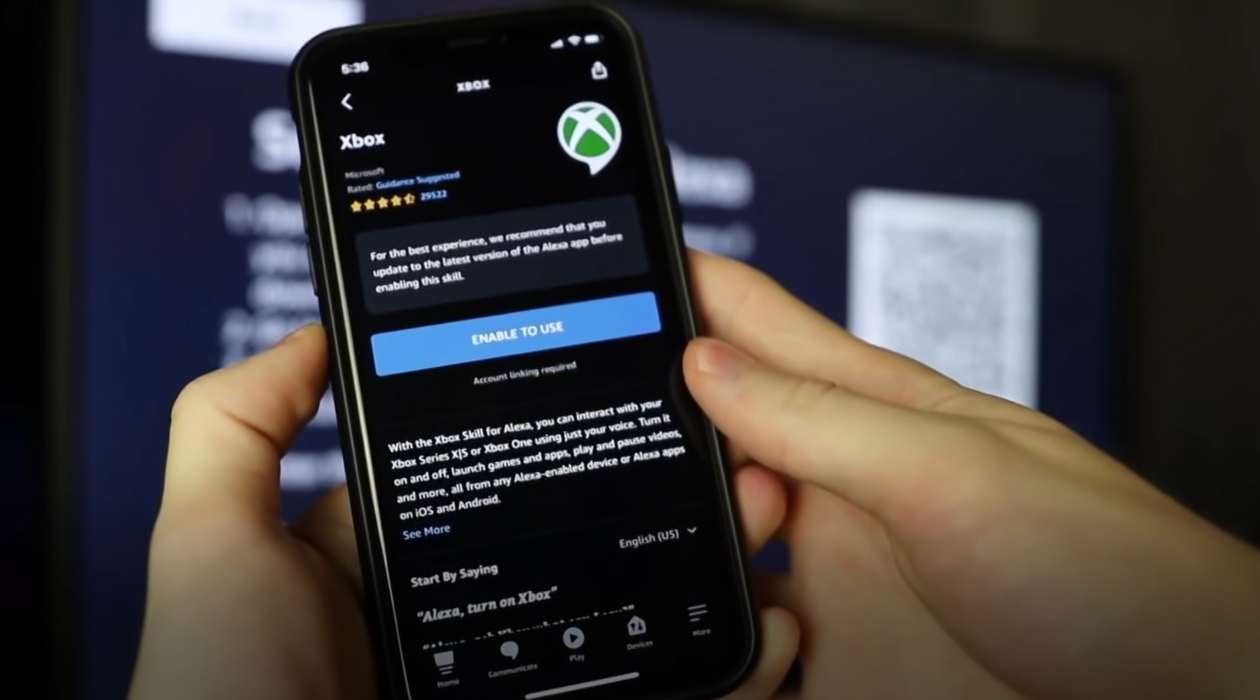
You can use the Blue Yeti on Xbox One without an adapter by connecting it to your computer and using the Xbox app for voice chat. Just plug the Blue Yeti into your computer, join an Xbox party through the app, and select the Blue Yeti as your microphone.
Step 3: Adjust audio settings on Xbox One
Now that you have successfully connected your Blue Yeti microphone to your Xbox One, it’s important to adjust the audio settings on your console to ensure that the microphone functions properly. This step will ensure that the audio from your Xbox One is routed through the Blue Yeti microphone and captured effectively. Follow these steps to adjust the audio settings on your Xbox One:
- Turn on your Xbox One console and sign in to your account.
- On the Xbox One home screen, navigate to the “Settings” option. You can find it represented by a gear icon.
- Within the Settings menu, select the “Display & Sound” option.
- In the Display & Sound menu, choose the “Audio Output” option.
- Under the “Headset Audio” section, select the “Headset & Speaker” option to enable audio output through the headset and your connected Blue Yeti microphone.
By selecting the “Headset & Speaker” option, the audio from your Xbox One will be routed through the connected Blue Yeti microphone, allowing both game audio and voice communication to be captured effectively.
It’s important to note that adjusting the audio settings on your Xbox One may vary slightly depending on the specific version of the console or dashboard interface. If you encounter any difficulties or the settings are not readily available, consult your Xbox One’s user manual or refer to the official Xbox support website for guidance.
Now that you have adjusted the audio settings on your Xbox One, you are ready to proceed to the next step: testing the Blue Yeti microphone on your Xbox One to ensure that it is functioning correctly.
Step 4: Test the Blue Yeti microphone on Xbox One
After connecting and adjusting the audio settings of your Blue Yeti microphone on your Xbox One, it’s time to test the microphone to ensure that it is functioning correctly. Testing the microphone will allow you to verify that the audio is being captured effectively and that you can use it for voice communication and game recording on your Xbox One. Follow these steps to test your Blue Yeti microphone:
- Turn on your Xbox One console and sign in to your account.
- Launch a game or join a party chat to initiate voice communication.
- Speak into the Blue Yeti microphone and listen for your voice through the audio output of your Xbox One.
- Adjust the microphone gain or volume on the Blue Yeti microphone itself to ensure that the audio levels are suitable for your liking. This will help you achieve the desired balance between your voice and the game audio.
As you speak into the Blue Yeti microphone, the audio levels should register on your Xbox One and you should be able to hear your voice clearly through the audio output. If you’re in a party chat, you can also ask your friends if they can hear you properly. This will help confirm that your Blue Yeti microphone is working correctly.
During the test, make sure to listen for any potential issues such as distortion, background noise, or low audio levels. If you encounter any problems, double-check your connections and ensure that the microphone settings on both your computer and Xbox One are properly configured. You may need to adjust the microphone sensitivity settings on your Xbox One to optimize the audio capture.
If the microphone still doesn’t work as expected, refer to the user manual of your Blue Yeti microphone or visit the manufacturer’s website for troubleshooting assistance. You can also consider reaching out to customer support for further guidance.
Congratulations! By successfully testing your Blue Yeti microphone on your Xbox One, you have confirmed that it is set up and functioning correctly. You can now enjoy clear and crisp voice communication and game recording while using your Blue Yeti microphone on your Xbox One.
Note: It’s important to periodically check for firmware updates or driver updates for your Blue Yeti microphone to ensure that you have the latest features and improvements. Visit the manufacturer’s website or sign up for any available updates or newsletters for your microphone model.
Conclusion
Using the Blue Yeti microphone on your Xbox One without an adapter is indeed possible, thanks to the workaround we have outlined in this article. By following the step-by-step instructions and adjusting the necessary settings, you can enjoy the high-quality audio capture and communication capabilities that the Blue Yeti microphone offers while gaming on your Xbox One.
While an adapter can simplify the process and provide a direct USB connection, the workaround allows you to make use of your Blue Yeti microphone without incurring additional expenses. By connecting the microphone to a computer or device that supports USB audio input and routing the audio output from your Xbox One through that device, you can harness the power of the Blue Yeti microphone and enjoy clear and professional-grade audio during your gaming sessions.
Remember, before connecting the Blue Yeti microphone to your Xbox One, it’s important to check and adjust the microphone settings on your computer. Ensuring that the microphone is recognized and set up correctly will facilitate a smooth connection process.
By following the steps outlined in this article, you can connect the Blue Yeti microphone to your Xbox One, adjust the audio settings, and test the microphone to confirm that it is functioning properly. From crystal clear voice communication in multiplayer games to high-quality game recordings for streaming or content creation, the Blue Yeti microphone will enhance your Xbox One gaming experience.
Should you encounter any difficulties or need further assistance, consult the user manual of your Blue Yeti microphone or refer to the manufacturer’s website for troubleshooting guidance. Additionally, always stay updated with firmware or driver updates for your microphone to ensure you have the latest features and improvements.
Now you’re ready to immerse yourself in the world of gaming with outstanding audio quality using your Blue Yeti microphone on your Xbox One. Enjoy your gaming sessions and communicate with clarity and precision as you embark on epic adventures and connect with your fellow gamers.
Frequently Asked Questions about How To Use Blue Yeti On Xbox One Without Adapter
Was this page helpful?
At Storables.com, we guarantee accurate and reliable information. Our content, validated by Expert Board Contributors, is crafted following stringent Editorial Policies. We're committed to providing you with well-researched, expert-backed insights for all your informational needs.


0 thoughts on “How To Use Blue Yeti On Xbox One Without Adapter”