
Articles
How To Store Agar Plates
Modified: December 7, 2023
Learn how to properly store agar plates in this informative article. Keep your agar plates fresh and ready for use.
(Many of the links in this article redirect to a specific reviewed product. Your purchase of these products through affiliate links helps to generate commission for Storables.com, at no extra cost. Learn more)
Introduction
Welcome to the world of microbiology, where agar plates are an essential tool for cultivating and studying microbes. Whether you’re a scientist, researcher, or hobbyist, knowing how to store agar plates properly is crucial for maintaining the integrity of your cultures and ensuring accurate results.
Agar plates provide a solid medium on which microorganisms can grow, making them ideal for isolating and studying different types of bacteria, fungi, and other microbes. However, improper storage can lead to contamination, decreased viability of the organisms, and compromised experimental outcomes.
In this article, we will explore the best practices for storing agar plates to ensure optimal results and long-term viability of your cultures. We will discuss selecting the right agar plates, preparing them for storage, proper labeling and documentation, and handling and using stored agar plates.
So, whether you are storing agar plates for daily laboratory use or long-term preservation, let’s dive in and learn how to keep your microbial cultures healthy and thriving!
Key Takeaways:
- Choose the right agar plates based on composition, additives, and supplier reliability to ensure successful storage and optimal microbial culture viability.
- Properly prepare, store, label, and handle agar plates to maintain sterility, minimize contamination, and achieve reliable experimental results.
Read more: How To Store Agar Plates With Mycelium
Choosing the right agar plates
When it comes to storing agar plates, selecting the right type of agar is crucial. Different types of agar provide specific nutritional requirements for different microorganisms, so choosing the appropriate agar will ensure the viability and growth of your cultures.
Here are a few factors to consider when choosing agar plates:
- Agar composition: Agar plates are typically formulated with specific nutrients to support the growth of different types of microorganisms. For example, nutrient agar is a general-purpose medium that supports the growth of a wide range of bacteria. Sabouraud agar is used for growing fungi, while MacConkey agar is selective for gram-negative bacteria. Consider the specific needs of your microorganisms and choose the agar composition accordingly.
- Antibiotics and additives: Some agar plates may contain antibiotics or additives to inhibit the growth of certain bacteria or promote the growth of specific organisms. If you are working with a particular strain that requires antibiotics or additives, make sure to choose agar plates that include them.
- Storage stability: Agar plates can have varying shelf lives depending on their composition and preparation. Consider the storage stability of the agar plates to ensure they have a reasonable expiration date and can be stored for an extended period without degrading.
- Supplier reliability: It is important to source agar plates from reputable suppliers who follow strict quality control measures. Look for suppliers that provide reliable and consistent agar plates to ensure the best results for your experiments.
Remember, the choice of agar plates will greatly influence the success of your experiments and the growth of your microorganisms. Take the time to evaluate your specific needs and select the appropriate agar plates that will support the growth and viability of your cultures.
Preparing agar plates
Before storing agar plates, it is essential to prepare them properly to ensure their sterility and effectiveness. Follow these steps to prepare agar plates for storage:
- Gather necessary materials: You will need agar powder, a suitable growth medium (such as nutrient broth), a sterilization apparatus (such as an autoclave or pressure cooker), petri dishes, and a sterile environment (like a laminar flow cabinet or a clean bench).
- Prepare agar mixture: Follow the instructions provided with the agar powder to prepare the agar mixture. This typically involves dissolving the agar powder in the growth medium and heating it to dissolve any remaining solid particles.
- Sterilize the agar: Once the agar mixture is prepared, it needs to be sterilized to eliminate any contaminants. Use an autoclave or pressure cooker to subject the agar mixture to high heat and pressure for a sufficient duration. This process ensures the sterility of the agar.
- Pour agar into petri dishes: After sterilization, the agar mixture needs to be poured into sterile petri dishes. To do this, carefully open the lid of each petri dish without touching the inside surface. Pour the agar mixture into the dish, using aseptic techniques to prevent contamination.
- Allow agar to solidify: Let the poured agar in the petri dishes sit undisturbed until it solidifies. This usually takes about 15-20 minutes. Once solid, replace the lid to protect the agar from contamination.
It’s important to note that the exact preparation process may vary depending on the specific agar plates you are using. Always refer to the manufacturer’s instructions for the agar powder and growth medium to ensure the proper preparation and sterilization procedures are followed.
Once the agar plates are prepared and solidified, they are ready for storage. Properly stored agar plates can maintain their sterility and viability for an extended period, allowing you to use them as needed for various experiments and observations.
Storing agar plates
Proper storage of agar plates is essential to maintaining their sterility and viability. Here are some guidelines to follow when storing agar plates:
- Airtight containers: Transfer the prepared and solidified agar plates into airtight containers to protect them from contaminants and moisture. Petri dish sleeves or individually wrapped plates can help maintain the sterility of each plate.
- Temperature control: Store agar plates in a cool and stable environment to prevent fluctuations in temperature. The recommended temperature range is typically between 2-8°C (36-46°F). Avoid storing them in areas prone to heat, direct sunlight, or extreme temperature variations.
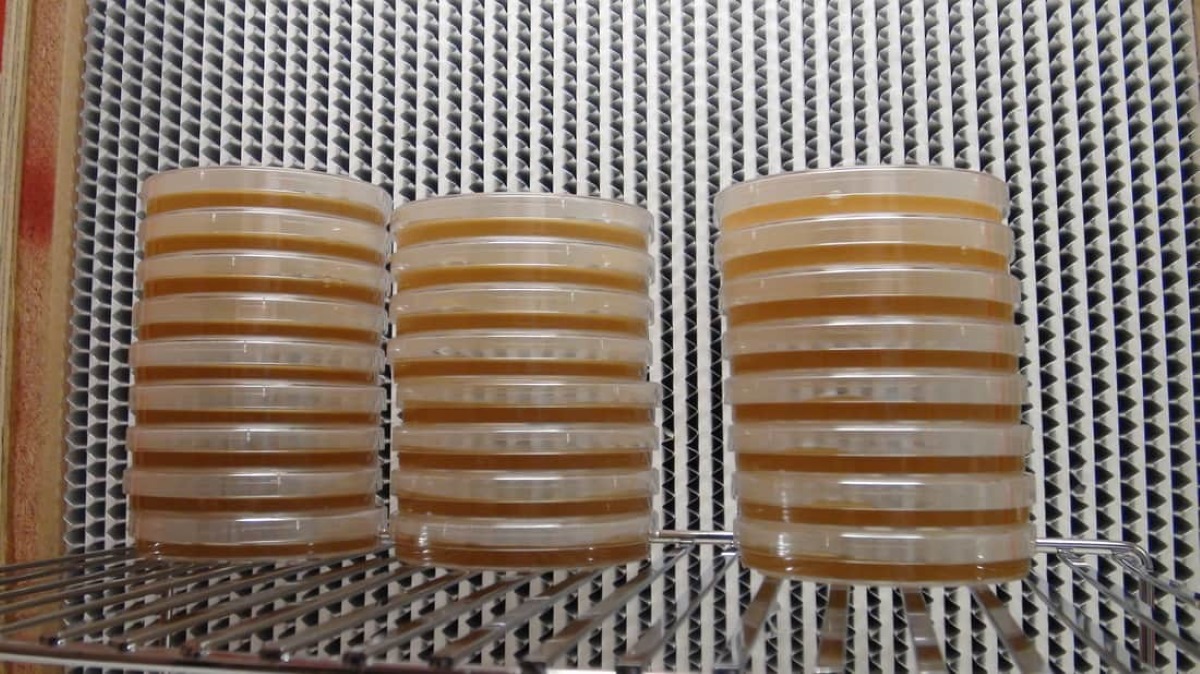
- Avoid stacking: Refrain from stacking agar plates on top of each other, as it can lead to condensation and increased chances of contamination. Instead, arrange them in a single layer to allow proper air circulation around each plate.
- Protect from light: Agar plates are sensitive to light, which can degrade their quality. Store them in opaque or dark-colored containers to shield them from direct light exposure.
- Regular inspection: Periodically check the stored agar plates for any signs of contamination, condensation, or deterioration. Discard any plates that show signs of microbial growth or physical damage.
- Organize and track: Maintain good record-keeping practices by labeling each container and keeping a clear inventory of the stored agar plates. This helps ensure easy identification and retrieval when needed for experiments or observations.
- Expiration dates: Be mindful of the expiration dates of the agar plates. Rotate your stock regularly, using the older plates first to ensure that you are working with the freshest and most reliable ones.
By following these storage guidelines, you can maximize the shelf life of your agar plates and minimize the risk of contamination. This will allow you to have a consistent supply of high-quality agar plates for your microbiological experiments and research endeavors.
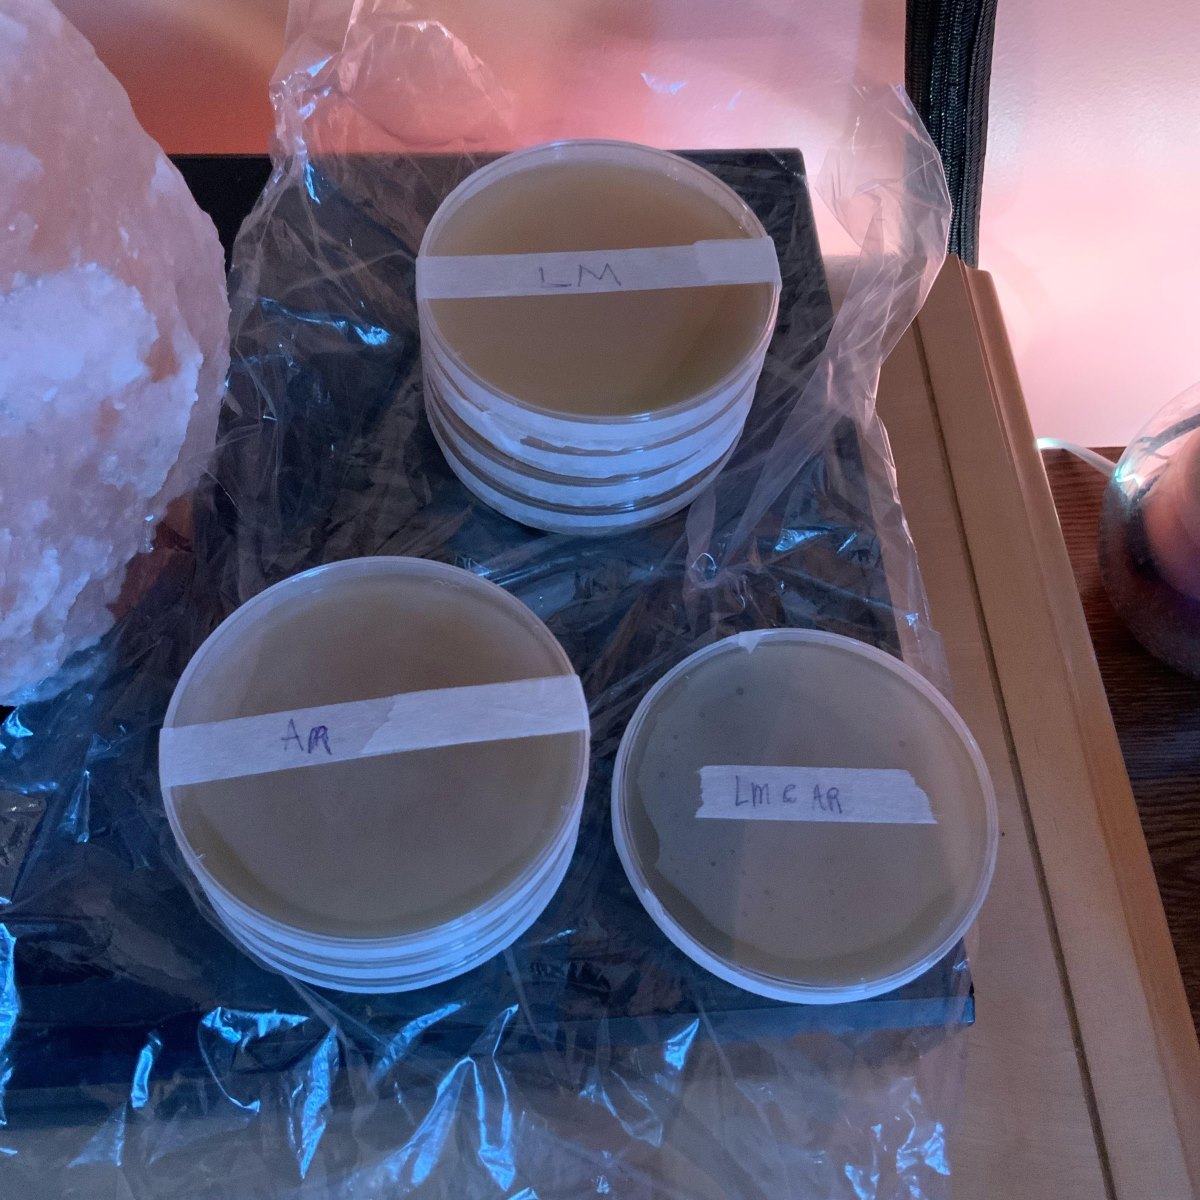
After pouring agar plates, allow them to cool and solidify in a sterile environment before storing them in a sealed plastic bag or airtight container to prevent contamination. Store them in the refrigerator at 4°C to prolong their shelf life.
Proper labeling and documentation
When storing agar plates, proper labeling and documentation are crucial for easy identification and organization. Here are some tips for effectively labeling and documenting your agar plates:
- Labeling: Clearly label each agar plate with relevant information, including the date of preparation, the type of agar used, any additives or antibiotics present, and a unique identifier or code. Use waterproof markers or labels to ensure the labels remain intact, even in storage conditions with high humidity.
- Documentation: Keep a detailed record of the agar plates, including the date of preparation, the source of the microbial culture (if applicable), and any specific details relevant to the stored plates. This information is invaluable for tracking the history and usage of each plate.
- Data tracking: If you have an inventory or database system, log the information of each agar plate, including its location, storage date, expiration date, and any experimental data associated with it. This helps streamline the tracking process and facilitates easy retrieval of specific plates when needed.
- Storage location mapping: If you have a large collection of agar plates, consider creating a storage location map. Assign specific shelves or sections for different types of agar plates or organize them based on expiration dates. This will help prevent confusion and ensure efficient retrieval of plates when needed.
- Regular reviews: Conduct periodic reviews of your stored agar plates to update the status, check for any changes in expiration dates, discard expired plates, and identify any necessary replacements.
- Backup cultures: In addition to proper labeling and documentation, it is advisable to keep backup cultures of important microbial strains. This provides an additional layer of protection in case of contamination or loss of viability in the stored agar plates.
By implementing these labeling and documentation practices, you can maintain an organized and reliable agar plate inventory. This ensures that you have accurate information about each plate and enables efficient tracking, retrieval, and utilization of your stored agar plates.
Read more: How To Store Inoculated Agar Plates
Handling and using stored agar plates
Proper handling and usage of stored agar plates are crucial to maintain their sterility and ensure accurate results in your experiments. Here are some important considerations when working with stored agar plates:
- Use aseptic techniques: Always perform manipulations and transfers of microbial cultures on agar plates using aseptic techniques. This involves working in a sterile environment, using sterilized tools (such as loop or needle), and minimizing the exposure of the agar surface to contaminants.
- Careful plate opening: When opening a stored agar plate, be careful not to touch the inside surface of the lid or the agar itself. Contaminating the agar surface can lead to inaccurate results and compromised cultures.
- Quick plate closure: After manipulating or inoculating the agar plate, promptly close the lid to minimize the time the agar surface is exposed to potential contaminants in the environment.
- Proper incubation conditions: When incubating agar plates, ensure that you provide the appropriate conditions for the growth of your target microorganisms. This includes maintaining proper temperature, humidity, and any additional requirements specific to the organisms you are working with.
- Record observations: Record any observations related to the growth, appearance, or characteristics of the microorganisms on the agar plates. This documentation is essential for tracking the progress of your experiments and making accurate interpretations of your results.
- Safe disposal: When you are done with a particular agar plate, dispose of it properly to prevent cross-contamination. Autoclaving or using a chemical disinfectant can ensure the complete sterilization of used agar plates before disposal.
- Regular maintenance: Periodically check the condition of stored agar plates to ensure they remain viable and free from contamination. This includes checking for any signs of deterioration, condensation, or physical damage.
By adhering to proper handling and usage practices, you can ensure the integrity and effectiveness of your stored agar plates. This will help you obtain reliable results from your experiments and maintain the quality of your microbial cultures.
Troubleshooting common storage issues
While proper storage practices can help prevent many issues, occasionally, you may encounter problems with your stored agar plates. Here are some common storage issues and troubleshooting steps:
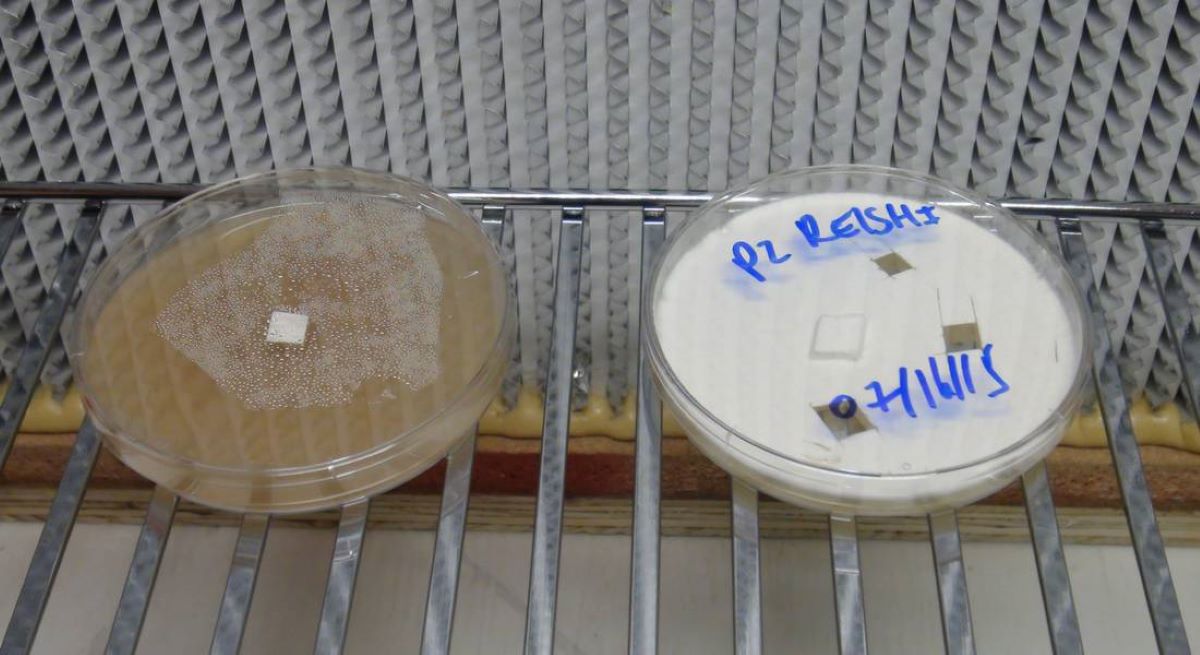
- Contamination: If you notice signs of microbial growth or contamination on your stored agar plates, it is vital to identify the source of contamination. Review your storage practices, check for any breaches in aseptic techniques, and ensure proper sterilization of equipment and containers. Consider discarding contaminated plates and reevaluating your storage conditions.
- Condensation: Condensation on agar plates can promote moisture-loving organisms’ growth and lead to contamination. This is often caused by temperature fluctuations or improper sealing of the containers. Check and adjust the temperature and humidity levels of your storage area, and ensure that your containers are properly sealed to prevent condensation.
- Deterioration of agar: Over time, agar plates can degrade, resulting in poor gel formation or the growth of non-uniform colonies. This can be due to extended storage beyond the recommended shelf life or exposure to unfavorable storage conditions. Regularly inspect your agar plates for any signs of deterioration, such as cracks, uneven gel surface, or discoloration, and discard any plates that do not meet the desired quality standards.
- Expiration dates: Expired agar plates may produce unreliable results or show decreased viability of microorganisms. Make sure to regularly check the expiration dates of your stored plates and use them before they expire. Rotate your stock accordingly to ensure that older plates are used first.
- Confusion or misplacement: In a busy laboratory or storage area, it’s possible to misplace or lose track of agar plates. Implement an organized system for labeling, documenting, and tracking your stored plates. Consider creating a storage location map or using a digital inventory system to minimize confusion and easily locate specific plates when needed.
By troubleshooting these common storage issues promptly, you can maintain the quality and integrity of your stored agar plates, ensuring accurate and reliable results in your microbiological experiments and research.
Conclusion
Proper storage of agar plates is essential for maintaining the sterility, viability, and effectiveness of your microbial cultures. By following the guidelines outlined in this article, you can ensure optimal storage conditions, minimize contamination risks, and obtain reliable results in your experiments.
Choosing the right agar plates based on composition, considering additives or antibiotics, and prioritizing supplier reliability are key factors in successful storage. Proper preparation, including sterilization, pouring agar into petri dishes, and allowing solidification, sets the foundation for well-preserved agar plates.
Storing agar plates in airtight containers, controlling temperature and light exposure, avoiding stacking, regular inspections, and maintaining proper labeling and documentation are essential practices to uphold during the storage process. Additionally, proper handling, aseptic techniques, and prompt closure of agar plates after use contribute to their long-term viability.
Troubleshooting common storage issues such as contamination, condensation, deterioration, and expired plates require careful examination and corrective actions. Regular monitoring and reviewing of stored agar plates can help identify and rectify any problems before they compromise experimental results.
In conclusion, understanding how to store agar plates properly is vital for any microbiologist, scientist, or researcher. By implementing the best practices outlined in this article, you can maintain the quality of your agar plates, ensuring success in your microbiological studies and maintaining a reliable supply of microbial cultures for future experiments.
Remember, each step of the storage process, from selecting the right agar plates to handling and troubleshooting, requires attention to detail and adherence to proper protocols. Prioritize aseptic techniques, maintain meticulous documentation, and regularly evaluate the condition of your stored agar plates to achieve the best results in your microbiology endeavors.
Frequently Asked Questions about How To Store Agar Plates
Was this page helpful?
At Storables.com, we guarantee accurate and reliable information. Our content, validated by Expert Board Contributors, is crafted following stringent Editorial Policies. We're committed to providing you with well-researched, expert-backed insights for all your informational needs.





0 thoughts on “How To Store Agar Plates”