
Articles
How To Store Agar Plates With Mycelium
Modified: January 5, 2024
Learn how to properly store agar plates with mycelium in this informative article. Find step-by-step instructions and expert tips to ensure the longevity of your cultures.
(Many of the links in this article redirect to a specific reviewed product. Your purchase of these products through affiliate links helps to generate commission for Storables.com, at no extra cost. Learn more)
Introduction
Welcome to the world of agar plates with mycelium! Whether you’re a curious beginner or an experienced mycology enthusiast, learning how to properly store agar plates with mycelium is essential to maintain the vitality and longevity of your cultures. Agar plates are a commonly used medium for growing and maintaining various fungi, including mushrooms and mold. By following the right procedures, you can ensure that your agar plates remain healthy and viable for future use.
In this article, we will guide you through the steps of preparing agar plates, inoculating them with mycelium, and different storage methods for optimal preservation. Additionally, we will explore long-term storage options and how to successfully revive stored agar plates when needed.
Before we dive into the details, let’s briefly understand the significance of agar plates in mycology. Agar, a gelatinous substance derived from seaweed, provides a solid surface for fungi to grow and spread. It contains essential nutrients that support the growth and development of mycelium, the thread-like network of fungal cells. Agar plates offer a controlled environment for studying and cultivating fungi, making them indispensable tools for mycologists, researchers, and hobbyists.
Now, let’s gather the materials needed for working with agar plates and mycelium.
Key Takeaways:
- Proper storage of agar plates with mycelium is crucial for maintaining healthy cultures. Choose the right storage method based on your mycelium’s needs and duration of storage to ensure long-term viability.
- Reviving stored agar plates requires careful handling and proper incubation. Create backup cultures and practice continuous culturing to maintain the vitality and genetic integrity of your mycelium strains.
Read more: How To Store Agar Plates
Materials Needed
Before you begin your agar plate storage journey, make sure you have the following materials:
- Agar Plates: These are sterile petri dishes filled with agar medium. You can purchase pre-poured agar plates or prepare them yourself using agar powder and nutrient-rich ingredients like malt extract or potato dextrose.
- Mycelium Culture: You will need a healthy and actively growing mycelium culture. This can be obtained from a reliable source or by isolating it from a mushroom or mold sample.
- Alcohol Lamp or Bunsen Burner: A flame source is essential for sterilizing your equipment and preventing contamination. An alcohol lamp or Bunsen burner can provide a consistent flame for sterilization purposes.
- Inoculation Loop or Needle: This tool is used to transfer a small amount of mycelium onto the agar surface. It is usually made of metal wire and comes in various shapes and sizes.
- Parafilm or Micropore Tape: These are used to seal the agar plates after inoculation to prevent contamination and moisture loss. Parafilm is a stretchable plastic film, while micropore tape is a breathable paper tape.
- Storage Containers: You will need containers that can adequately hold and protect your agar plates during storage. Options include plastic bags, sealed containers, or specialized storage systems like airtight containers with desiccants.
- Marker or Label: It is crucial to label your agar plates with vital information such as the date of inoculation, the strain or species of mycelium, and any other relevant details.
Having these materials on hand will ensure that you can successfully prepare and store agar plates with mycelium. Now, let’s move on to the preparation of agar plates.
Preparation of Agar Plates
Proper preparation of agar plates is crucial to provide a suitable environment for mycelium growth and to minimize the risk of contamination. Here’s a step-by-step guide on how to prepare agar plates:
- First, gather all the necessary ingredients and equipment, including agar powder, nutrient-rich ingredients, a scale, a microwave or stove, a thermometer, and petri dishes.
- Weigh out the appropriate amount of agar powder according to the manufacturer’s instructions and the desired agar concentration. Typically, a concentration of 1.5-2% agar is suitable for most mycelium cultures.
- In a clean container, mix the agar powder with the nutrient-rich ingredients, following the recommended ratios. Common nutrient sources include malt extract, potato dextrose, or agar-specific mixes.
- Add distilled water to the mixture, ensuring that the agar and nutrient ingredients dissolve completely. The amount of water needed will depend on the desired volume of agar solution.
- If using a microwave, heat the mixture in short intervals, stirring in between to ensure even heat distribution. If using a stove, heat the mixture in a double boiler or water bath, stirring continuously until everything is dissolved.
- Once the mixture is fully dissolved, use a clean cloth or glove to handle the petri dishes. Pour the agar solution into the dishes while they are still warm, filling them up to a depth of around 1/4 to 1/2 inch.
- Allow the agar to solidify completely at room temperature. This process may take a few hours or can be expedited by placing the plates in a refrigerator.
- Once the agar is solid and the plates are ready, they can be used for inoculation or stored for later use.
Remember to work in a clean and sterile environment during the entire plate preparation process to minimize the risk of contamination. Additionally, label each plate with relevant information, such as the date of preparation and the agar concentration used.
With your agar plates prepared, we can now move on to the next step: inoculating them with mycelium.
Inoculation of Agar Plates
Inoculating agar plates with mycelium involves introducing a small amount of the fungal culture onto the surface of the agar. This step is crucial as it allows the mycelium to colonize the plate and establish itself. Here’s a step-by-step guide on how to inoculate agar plates:
- Prepare your workspace by disinfecting it with a suitable disinfectant, such as ethanol or bleach. Cleanliness is essential to minimize the risk of contamination.
- Light the alcohol lamp or Bunsen burner and sterilize the inoculation loop or needle by holding it over the flame until it turns red-hot. Allow it to cool briefly before proceeding.
- Open the lid of the agar plate just enough to expose a small portion of the surface. Avoid fully removing the lid to prevent contamination from the surrounding environment.
- With the sterilized loop or needle, carefully transfer a small amount of the mycelium culture onto the agar surface. This can be done by gently scraping the mycelium from a previous culture or by making a small incision in the agar and placing a mycelium fragment into it.
- Working quickly but carefully, close the lid of the agar plate and seal it with parafilm or micropore tape to prevent contamination.
- Repeat the process for each agar plate, ensuring that each plate receives a separate mycelium inoculum.
- Label each plate with pertinent information, including the date of inoculation, the strain or species of mycelium, and any other relevant details.
Remember to work in a sterile environment and practice proper aseptic techniques to minimize contamination risks. It is essential to handle the mycelium cultures with care and avoid cross-contamination.
Once the agar plates have been successfully inoculated, it’s time to incubate them and allow the mycelium to grow. We will discuss this in the next section.
Incubation of Agar Plates
After inoculation, the agar plates need to be incubated under suitable conditions to allow the mycelium to grow and develop. The optimal temperature and light conditions will depend on the specific fungi you are working with. Here are some general guidelines for incubating agar plates:
- Choose a suitable location for incubation, such as a clean and temperature-controlled area. It should be away from direct sunlight and any sources of contamination.
- Place the agar plates in an upright position to allow proper airflow and prevent condensation from accumulating on the lids.
- Check the temperature requirements for your specific mycelium culture. Most fungi thrive at temperatures between 20-28°C (68-82°F), but there can be variations depending on the species.
- Consider the lighting requirements of your mycelium culture. While some fungi prefer darkness, others may benefit from exposure to diffused light or specific light wavelengths.
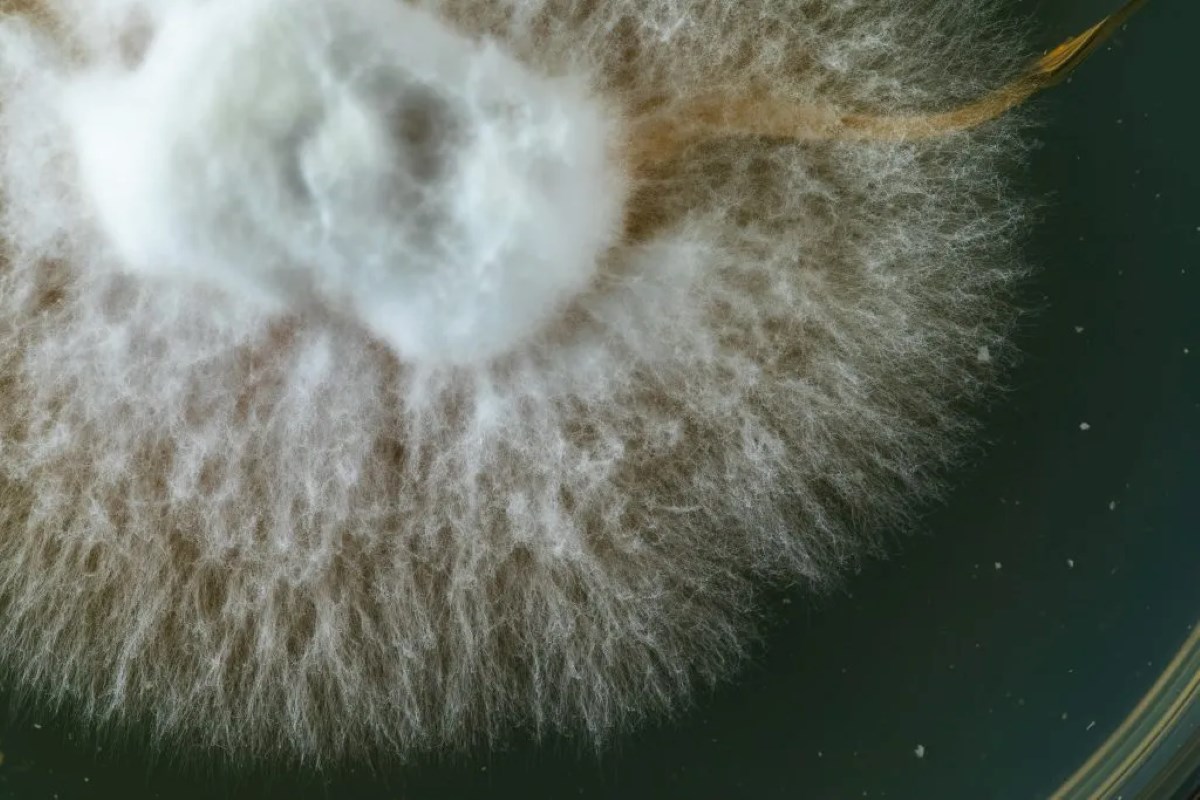
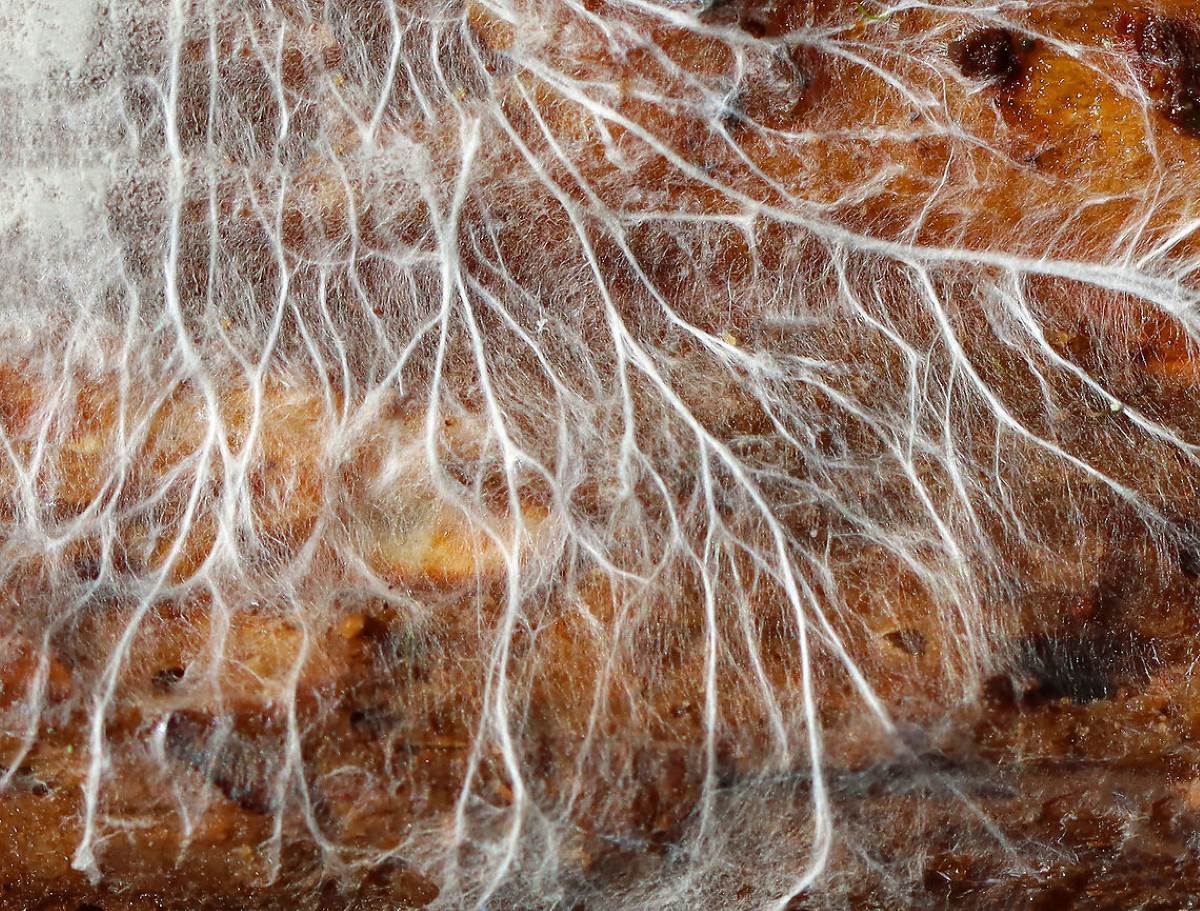
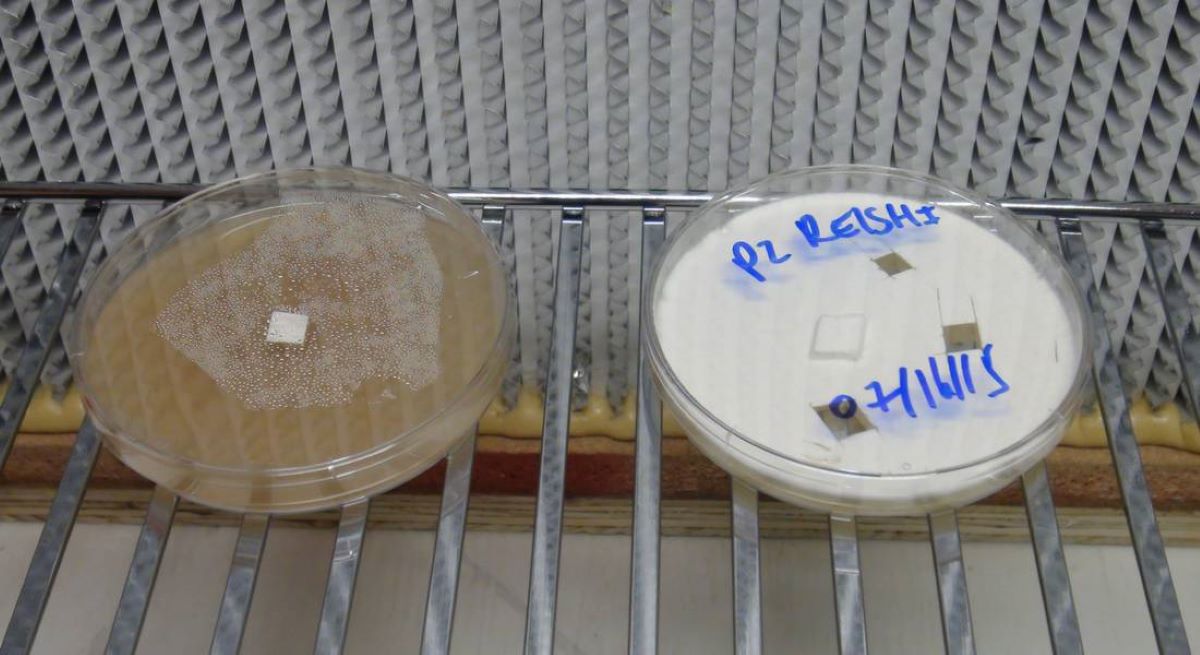
- Monitor the agar plates regularly for signs of mycelium growth. This can manifest as white, fluffy patches or fuzzy strands appearing on the agar surface. The rate of growth will depend on the specific fungus.
- Keep a record of the incubation period and any observations you make. This will help track the progress of the mycelium and determine when the plates are ready for storage or further use.
It’s important to note that not all fungi will grow successfully on agar plates, and some may require specialized conditions for optimal growth. Understanding the needs of your specific mycelium culture is crucial for successful incubation.
Once the mycelium has fully colonized the agar plates, it’s time to explore different storage methods to ensure its long-term preservation. This will be covered in the next section.
Store agar plates with mycelium in a cool, dark place to slow down growth. Keep them sealed to prevent contamination and use within a few weeks for best results.
Read more: How To Store Inoculated Agar Plates
Storage Methods for Agar Plates with Mycelium
Proper storage of agar plates with mycelium is essential to maintain the viability and longevity of the cultures. Here are some common storage methods for agar plates:
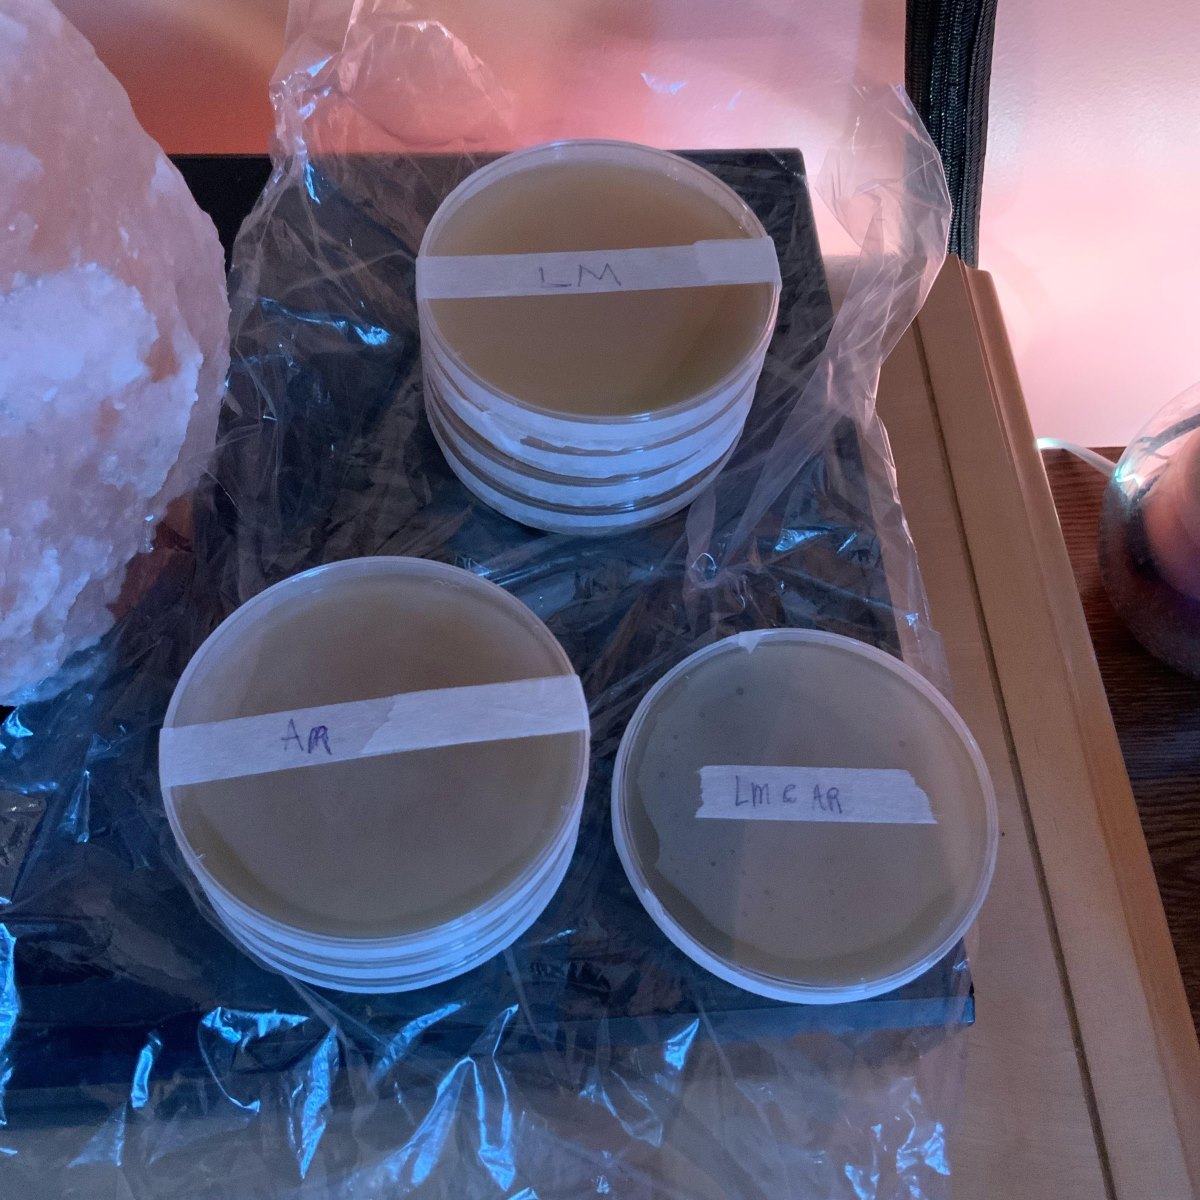
- Refrigeration: Storing agar plates in a refrigerator can help extend their shelf life. Place the plates in sealed plastic bags or airtight containers to prevent contamination and moisture loss. The recommended temperature for refrigeration is between 2-8°C (36-46°F).
- Freezing: Freezing agar plates is an effective long-term storage method. Wrap the plates tightly in multiple layers of plastic wrap or place them in sealed freezer bags. The ideal temperature for freezing is below 0°C (32°F). Thaw the plates slowly when needed by placing them in the refrigerator overnight.
- Desiccation: Drying out the agar plates can be an alternative storage method. Keep the plates in a low humidity environment, such as a desiccator or a container with a desiccant like silica gel. This method helps prevent the growth of bacteria and fungi. However, it may lead to a decrease in viability over time.
- Cryopreservation: For long-term preservation of delicate or valuable mycelium cultures, cryopreservation is a recommended method. This involves freezing the mycelium in a cryoprotectant solution, such as liquid nitrogen or glycerol, to maintain its vitality and genetic integrity.
- Backup Cultures: It is advisable to create backup cultures of your agar plates by transferring a small piece of mycelium onto fresh agar plates periodically. This ensures that you have a continuous supply of healthy cultures in case of contamination or loss of vitality in the stored plates.
When choosing a storage method, consider the specific requirements of your mycelium culture and how long you intend to store the agar plates. Proper labeling of the plates with relevant information like the date of storage and the strain or species of mycelium is crucial for easy identification and organization.
Next, let’s dive into long-term storage options for agar plates with mycelium to ensure their preservation for an extended period.
Long-Term Storage Options
Long-term storage of agar plates with mycelium is vital for preserving valuable cultures and ensuring their viability over an extended period. Here are some long-term storage options:
- Deep Freezing: For long-term storage, deep freezing at ultra-low temperatures is one of the most effective methods. This involves storing the agar plates in a specialized freezer capable of maintaining temperatures below -80°C (-112°F). This method significantly slows down metabolic activity and extends the shelf life of the mycelium cultures.
- Cryogenic Storage: Cryogenic storage using liquid nitrogen or other cryoprotectants is a popular choice for long-term preservation of mycelium cultures. This method involves immersing the agar plates in a cryoprotectant solution and storing them in cryogenic containers. The extremely low temperatures (-196°C or -321°F) ensure the long-term viability of the cultures.
- Glycerol Stocks: Another option for long-term storage is creating glycerol stocks. This method involves adding a glycerol solution (typically 15-20%) to the mycelium culture before freezing. The glycerol acts as a cryoprotectant, helping to prevent cell damage during freezing. The glycerol stocks can then be stored in a regular freezer at temperatures below -20°C (-4°F).
- Continuous Culturing: Some mycelium cultures, particularly those with fast-growing or highly productive strains, may require continuous culturing to maintain their viability. This involves regularly transferring a small piece of mycelium onto fresh agar plates to keep the culture actively growing and prevent genetic drift or loss of vitality.
When using long-term storage options, it is essential to ensure proper labeling of the stored plates with detailed information such as the date of storage, strain or species of mycelium, and any relevant notes or instructions. This will help maintain proper organization and facilitate easy retrieval in the future.
Next, let’s learn how to successfully revive stored agar plates when you’re ready to use the cultures again.
Reviving Stored Agar Plates
Reviving stored agar plates is an important step when you’re ready to use the stored mycelium cultures. Here’s a guide on how to successfully revive your stored agar plates:
- Prepare your workspace by disinfecting it and gathering all the necessary equipment, including sterilized inoculation tools, a flame source, and fresh agar plates or growth media.
- Retrieve the stored agar plates from their respective storage method, such as the freezer or cryogenic storage container. Be careful to maintain the integrity of the stored cultures.
- Thaw frozen agar plates gradually by placing them in the refrigerator. Avoid sudden temperature changes, as they can result in condensation and potential contamination.
- Once the plates are thawed or brought to room temperature, quickly open them and remove any condensation on the lids. Seal the plates again with micropore tape or parafilm to prevent contamination.
- Using a sterilized inoculation loop or needle, transfer a small piece of mycelium from the stored agar plate onto fresh agar plates or growth media.
- Ensure proper labeling of the revived plates with information such as the date of revival, the strain or species of mycelium, and any other relevant details.
- Incubate the newly revived plates under suitable conditions, including the appropriate temperature and lighting requirements for your specific mycelium culture.
- Monitor the plates for signs of mycelium growth, just as you would for newly inoculated plates. Allow the mycelium to fully colonize the revived plates before proceeding with further experiments or transfers.
It’s important to note that not all stored mycelium cultures may successfully revive. Factors such as the age of the stored cultures, the storage method used, and the specific characteristics of the mycelium strain can impact the viability and vitality of the revived cultures. Therefore, it is good practice to create backup cultures and periodically revitalize stored cultures to ensure continuous availability.
With these steps, you should be able to successfully revive your stored agar plates and continue working with your mycelium cultures. Now, let’s conclude our article.
Conclusion
Congratulations on learning how to store agar plates with mycelium! By following the procedures outlined in this article, you are equipped with the knowledge and techniques to preserve and revive your valuable mycelium cultures.
Remember, proper preparation of agar plates, aseptic inoculation techniques, and suitable storage methods are essential for maintaining the vitality and longevity of your mycelium cultures. Whether you choose refrigeration, freezing, desiccation, or cryogenic storage, each method offers its benefits and considerations. Determine the best approach based on the specific needs of your mycelium cultures and the duration of storage required.
Reviving stored agar plates requires careful attention to minimize contamination and ensure successful growth of the mycelium. Take the necessary precautions, handle the plates with care, and provide the optimal incubation conditions for proper colonization.
Additionally, remember to create backup cultures periodically and practice continuous culturing to maintain the viability and genetic integrity of your mycelium strains. Regularly monitor your stored agar plates and record any observations to track their condition and viability over time.
Storing agar plates with mycelium plays a crucial role in the field of mycology, enabling researchers, hobbyists, and scientists to work with diverse fungi for various applications. Whether you’re exploring the world of mushrooms, mold, or other fascinating fungi, maintaining reliable and healthy mycelium cultures is essential for successful experiments, research, and cultivation.
We hope this article has provided you with valuable insights and practical guidance on how to store agar plates with mycelium. With proper storage and revival techniques, you can maintain a robust collection of mycelium cultures and continue your journey in the captivating realm of mycology.
Frequently Asked Questions about How To Store Agar Plates With Mycelium
Was this page helpful?
At Storables.com, we guarantee accurate and reliable information. Our content, validated by Expert Board Contributors, is crafted following stringent Editorial Policies. We're committed to providing you with well-researched, expert-backed insights for all your informational needs.



0 thoughts on “How To Store Agar Plates With Mycelium”