
Articles
How To Store Agar Plates After Inoculation
Modified: December 7, 2023
Learn the best ways to store agar plates after inoculation in this informative article. Ensure the longevity and quality of your agar plates for successful experiments and research.
(Many of the links in this article redirect to a specific reviewed product. Your purchase of these products through affiliate links helps to generate commission for Storables.com, at no extra cost. Learn more)
Introduction
Welcome to this informative guide on how to store agar plates after inoculation. Agar plates are widely used in various scientific applications, including microbiology, molecular biology, and biochemistry. They provide a solid medium for the cultivation and isolation of bacteria, fungi, and other microorganisms. Proper storage of agar plates is crucial to maintaining the viability and sterility of the cultures, ensuring reliable and reproducible results in experiments and research.
In this article, we will take you through the step-by-step process of storing agar plates after inoculation. We will also provide some essential tips to help you maximize the shelf life of your agar plates and maintain the integrity of your microbiological cultures. Let’s get started!
Key Takeaways:
- Proper storage of agar plates is essential for maintaining viable and sterile microbial cultures, ensuring reliable results in scientific experiments and research.
- Following aseptic techniques, using appropriate materials, and implementing proper storage practices will optimize the shelf life and quality of agar plates.
Read more: How To Store Agar
Materials Needed
Before we delve into the storage process, let’s gather the materials you will need:
- Agar plates: These are sterile petri dishes containing agar, a gel-like substance derived from seaweed. Agar provides a stable surface for microorganisms to grow.
- Parafilm or plastic wrap: This will be used to seal the agar plates and prevent contamination.
- Storage containers: You’ll need airtight containers that are transparent and durable to house the agar plates.
- Labeling materials: It is essential to clearly label the storage containers with the date of inoculation and the type of microorganism present in each plate.
- Gloves: Wear disposable gloves to maintain a sterile environment and prevent cross-contamination.
- Tape and marker: This will be used to label the storage containers.
- Refrigerator or incubator: Depending on the requirements of the microorganisms, you will need either a refrigerator or an incubator for storage.
Once you have gathered these materials, you are ready to proceed with the storage process.
Step 1: Preparation of Agar Plates
The first step in storing agar plates after inoculation is to ensure that the plates are properly prepared. Here’s a brief overview of the preparation process:
- Clean the work area: Before you begin, clean the work area and disinfect it properly to minimize the risk of contamination.
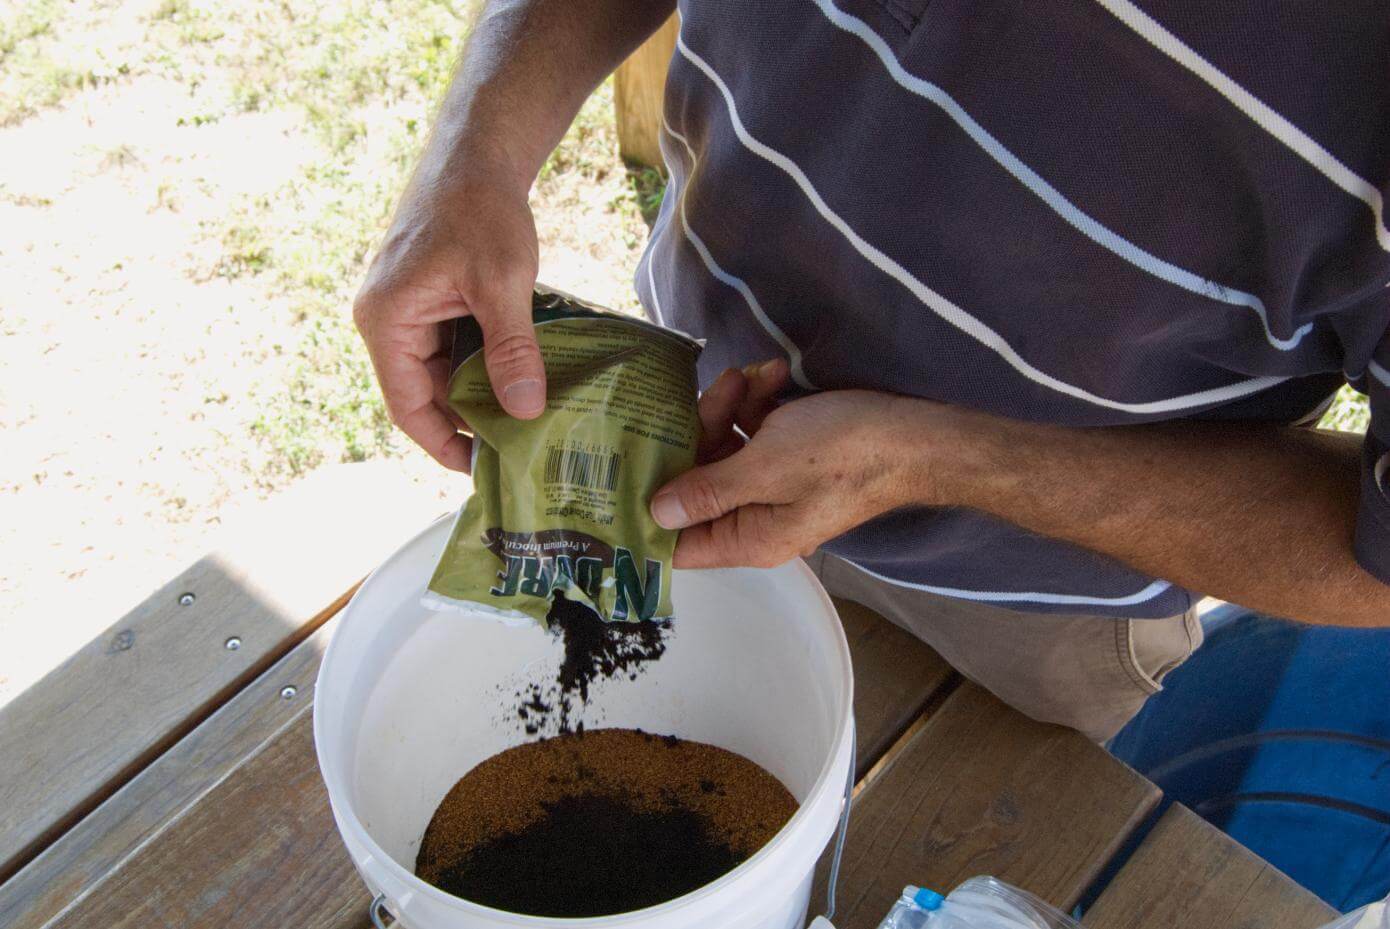
- Prepare the agar mixture: Follow the manufacturer’s instructions to prepare the agar mixture. Typically, this involves dissolving the agar powder in water and heating it until it boils, then allowing it to cool slightly.
- Inoculate the agar mixture: Add the desired microbial culture to the agar mixture under sterile conditions. Mix well to distribute the microorganisms evenly.
- Pour the agar mixture into petri dishes: Carefully pour the agar mixture into sterile petri dishes, making sure to cover the entire surface of each dish. Avoid introducing bubbles or excessive condensation.
- Allow the agar plates to solidify: Leave the agar plates undisturbed in a sterile environment until they solidify. This usually takes around 15-30 minutes.
Once the agar plates have solidified, they are ready for inoculation and subsequent storage. It is important to maintain a sterile work environment throughout this process to prevent contamination.
Step 2: Inoculation of Agar Plates
After the agar plates have solidified, the next step is to inoculate them with the desired microorganisms. Follow these steps to ensure proper inoculation:
- Gather the necessary materials: Put on disposable gloves and gather the required tools, such as a sterile inoculation loop or swab.
- Select the appropriate microbial culture: Choose the microorganism or culture you wish to transfer onto the agar plate. It may be a pure culture or a mixed culture.
- Sterilize the inoculation loop: If using an inoculation loop, sterilize it by heating it until it is red-hot, then allow it to cool before transferring the microorganisms.
- Transfer the microorganisms: Carefully transfer a small amount of the microorganism onto the surface of the agar plate. If using a swab, gently streak the surface of the agar plate with the swab.
- Repeat the process: If you have multiple agar plates to inoculate, repeat the process for each plate using a fresh loop or swab for each transfer.
Remember to handle the agar plates and the microbial cultures with care to prevent cross-contamination. It is also important to work in a clean and sterile environment, minimizing the introduction of any extraneous microorganisms.
Once the agar plates have been properly inoculated, they are ready for incubation and subsequent storage.
After inoculating agar plates, store them upside down in a refrigerator at 4°C to prevent condensation from dripping onto the agar surface and contaminating the culture.
Step 3: Incubation of Agar Plates
After the inoculation step, the agar plates need to be incubated to allow the microorganisms to grow and form colonies. Follow these steps to ensure proper incubation:
- Choose the appropriate temperature: Different microorganisms have different temperature requirements for growth. Determine the optimal temperature for the microorganisms you are working with.
- Place the agar plates in an incubator: Set the temperature of the incubator to the desired level and carefully place the agar plates inside. Make sure to arrange the plates in a way that allows for proper air circulation.
- Monitor the incubation period: The length of the incubation period will vary depending on the type of microorganism and the experiment or research being conducted. Refer to scientific literature or consult with a microbiologist to determine the appropriate incubation time.
- Avoid disturbing the plates: During the incubation period, try to minimize any unnecessary movement or disturbance of the agar plates to prevent smearing or spreading of the microorganisms.
It is essential to maintain a sterile environment throughout the incubation process in order to prevent contamination. Be sure to regularly check the plates for any signs of growth or contamination during the incubation period.
After the incubation period is complete, the agar plates are ready for storage to preserve the microbial cultures for future use.
Read more: How To Store Inoculated Spawn Bags
Step 4: Storage of Agar Plates
Proper storage of agar plates is crucial to maintain the viability and sterility of the microbial cultures. Follow these steps for the optimal storage of agar plates:
- Allow the agar plates to completely dry: Before storing the agar plates, make sure they are completely dry to prevent condensation and bacterial growth.
- Wrap the agar plates securely: Cover each agar plate with a layer of parafilm or plastic wrap to create a tight seal. This will help prevent contamination and maintain the sterility of the cultures.
- Label the storage containers: Use tape and a marker to label the storage containers with the necessary information, including the date of inoculation and the type of microorganism present on each plate. This will assist in easy identification in the future.
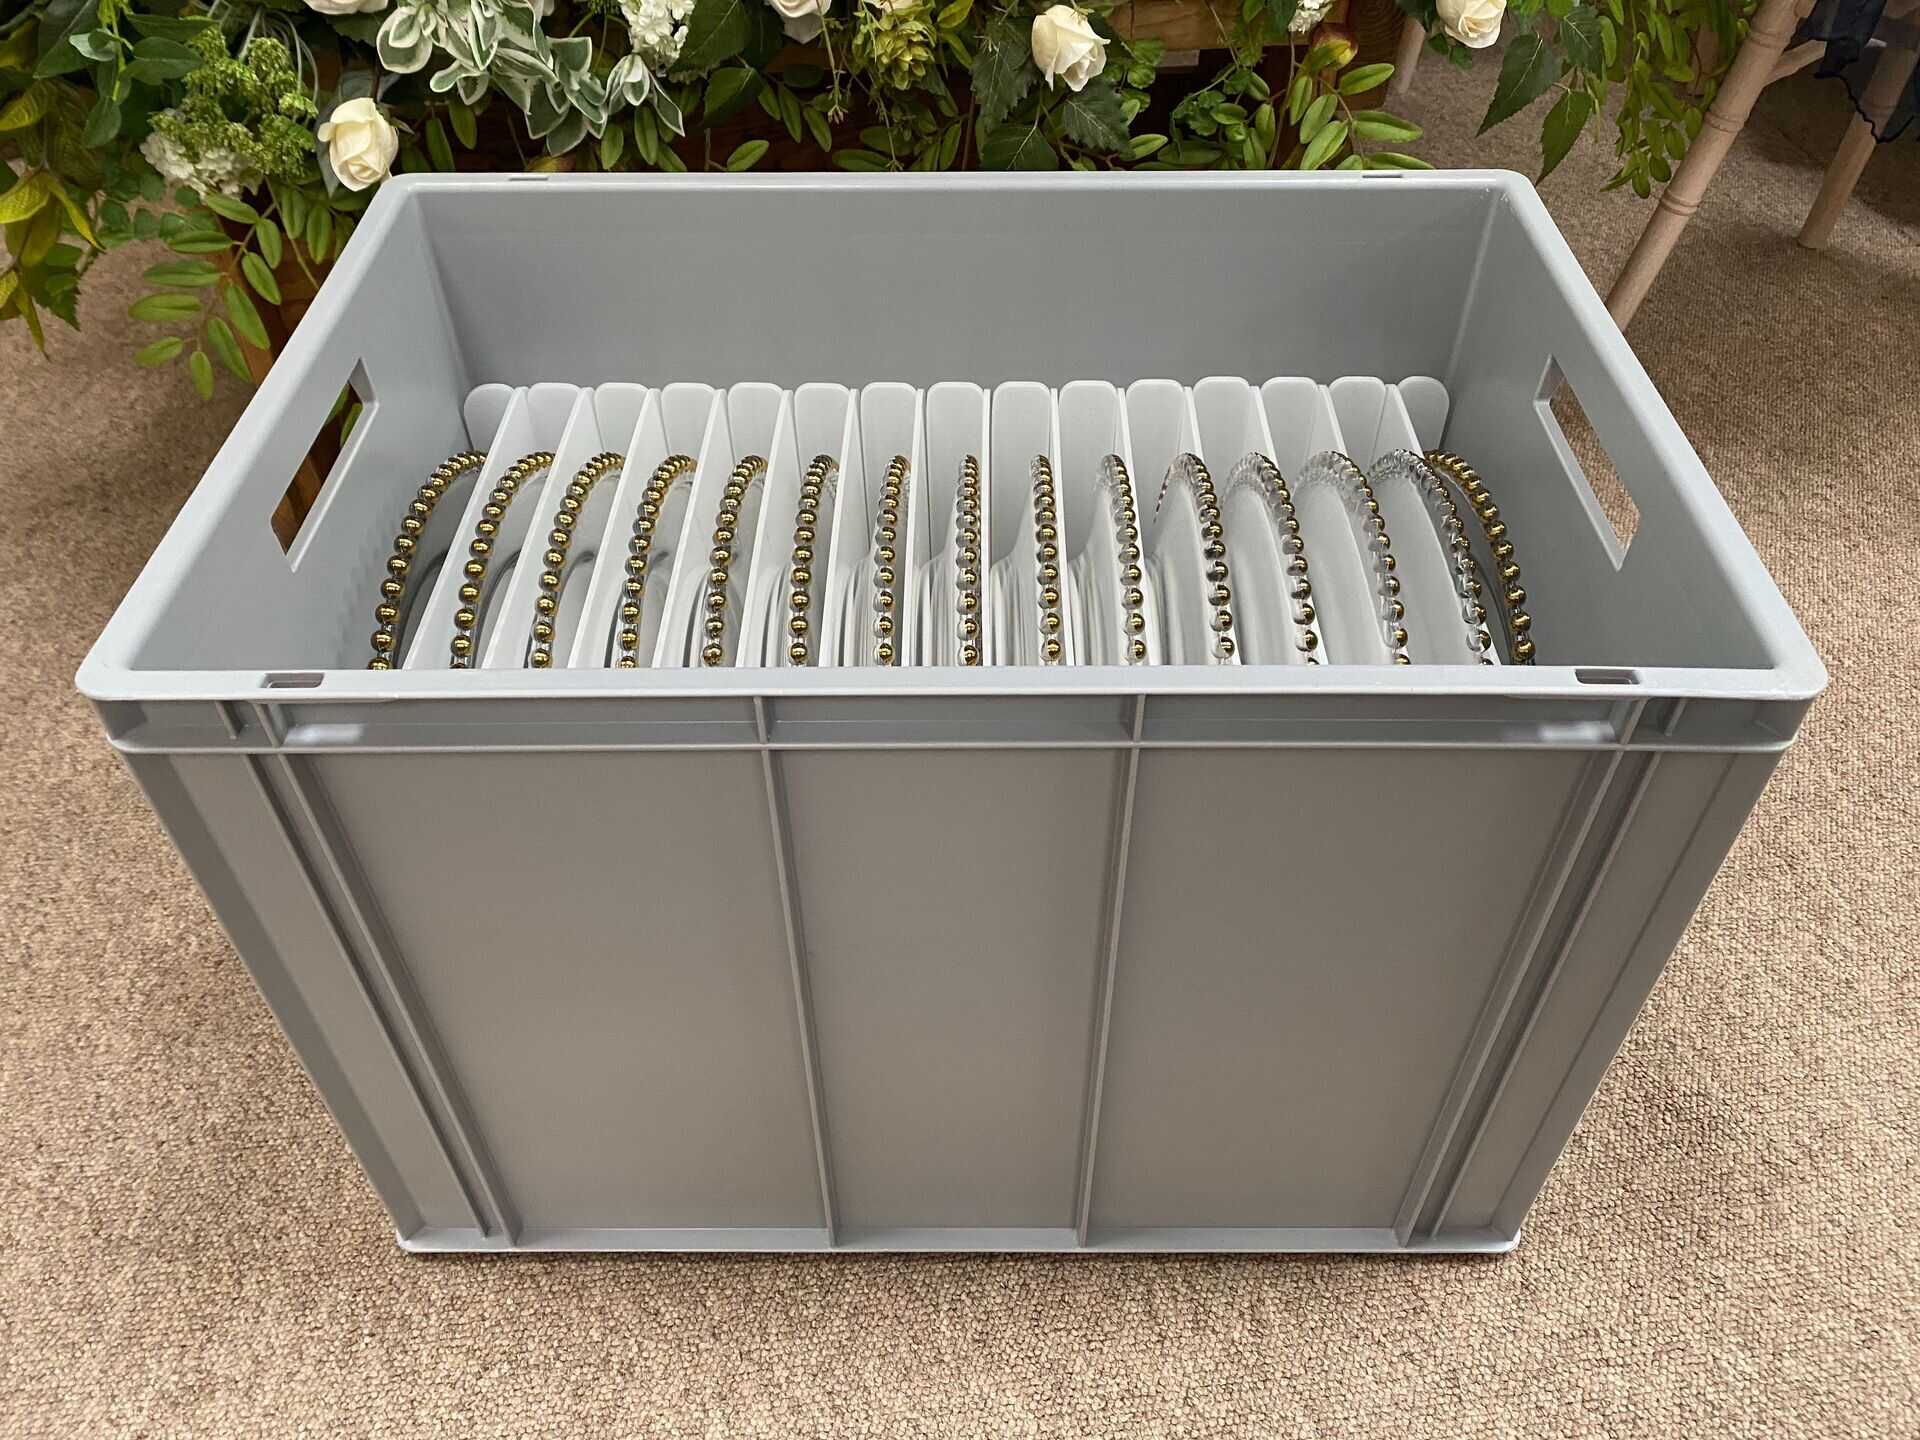
- Place the wrapped agar plates in a storage container: Transfer the wrapped agar plates into airtight, transparent containers to protect them from moisture, light, and physical damage. Choose a container that is of appropriate size to accommodate the plates without excessive stacking.
- Select the appropriate storage conditions: Depending on the requirements of the microorganisms, determine whether refrigeration or incubation is needed for storage. Some cultures may require colder temperatures, while others may need to be kept at room temperature or in an incubator.
- Store the plates in the designated area: Place the storage containers in the proper storage area, whether it’s a refrigerator or an incubator. Make sure to maintain a consistent and controlled environment to prolong the shelf life of the agar plates.
It is important to periodically check the stored agar plates for any signs of contamination or degradation. If any plates show signs of mold growth or deterioration, they should be discarded to avoid compromising the quality of the cultures.
Following these storage practices will help you maintain the integrity of your agar plates and ensure that your microbial cultures remain viable for future use.
Tips for Proper Storage
Here are some additional tips to help you optimize the storage of agar plates:
- Regularly check the expiration date: Make sure to use agar plates before their expiration date to ensure the best quality and viability of the cultures. Discard any expired plates.
- Use proper aseptic techniques: When handling and transferring agar plates, always follow proper aseptic techniques to minimize the risk of contamination.
- Avoid temperature fluctuations: Maintain a consistent temperature for storage to prevent fluctuations that can impact the growth and viability of the microorganisms.
- Record detailed information: Keep a detailed record of each agar plate, including the date of inoculation, type of microorganism, and any other relevant information that will help you track and identify the cultures in the future.
- Rotate the plates in the storage containers: If you have multiple agar plates stored, periodically rotate them to prevent any imbalances in temperature and moisture levels.
- Avoid excessive exposure to light: Protect the agar plates from excessive exposure to light, as it can promote the growth of certain microorganisms or cause degradation of the agar surface.
- Minimize frequent opening of containers: Try to limit the number of times you open the storage containers to reduce the risk of contamination and exposure to air.
- Have duplicate plates: It is always a good idea to create duplicate agar plates for each microbial culture to serve as backups in case of contamination or mishandling.
- Periodically QC the cultures: To ensure the quality and stability of the microbial cultures, periodically perform quality control tests to check for purity and viability.
By following these tips, you can prolong the shelf life of your agar plates, maintain the sterility of the cultures, and ensure reliable results in your experiments and research.
Conclusion
Proper storage of agar plates after inoculation is crucial for maintaining the viability and sterility of microbial cultures. By following the step-by-step process outlined in this guide, you can ensure that your agar plates remain in optimal condition for future use. From the preparation and inoculation of the plates to their incubation and storage, each step plays a vital role in preserving the integrity of the cultures.
Remember to create a sterile work environment, use appropriate materials, and follow aseptic techniques to prevent contamination during the preparation and inoculation stages. Once the plates are ready for storage, ensure that they are completely dry and securely wrapped to maintain their sterility. Properly labeled storage containers and controlled storage conditions are essential for easy identification and maintaining the desired temperature and moisture levels.
Additionally, incorporating the tips provided in this guide will further optimize the storage of your agar plates. Regularly checking the expiration dates, minimizing temperature fluctuations, and implementing proper record-keeping practices will help ensure the longevity and quality of your microbial cultures.
By following these guidelines, you can confidently store your agar plates, knowing that your cultures will remain viable and uncontaminated. This will enable you to conduct reliable experiments, perform research, and contribute to advancements in various scientific fields.
Remember, proper storage of agar plates is not only important for the success of your current experiments, but it also allows you to build a repository of microbial cultures for future studies and reference. Take the necessary precautions and invest the time in proper storage practices to protect your valuable microbiological resources.
Frequently Asked Questions about How To Store Agar Plates After Inoculation
Was this page helpful?
At Storables.com, we guarantee accurate and reliable information. Our content, validated by Expert Board Contributors, is crafted following stringent Editorial Policies. We're committed to providing you with well-researched, expert-backed insights for all your informational needs.


0 thoughts on “How To Store Agar Plates After Inoculation”