Articles
How To Store Inoculated Agar Plates
Modified: January 6, 2024
Learn how to properly store inoculated agar plates with these informative articles. Ensure the longevity and effectiveness of your cultures.
(Many of the links in this article redirect to a specific reviewed product. Your purchase of these products through affiliate links helps to generate commission for Storables.com, at no extra cost. Learn more)
Introduction
Welcome to this guide on how to properly store inoculated agar plates. Whether you are a budding microbiologist in a lab setting or an enthusiast experimenting at home, knowing how to store your inoculated agar plates is crucial to maintain the integrity of your cultures and ensure their long-term viability. In this article, we will walk you through the step-by-step process of storing inoculated agar plates, providing you with the necessary knowledge and tips to preserve your microbial samples.
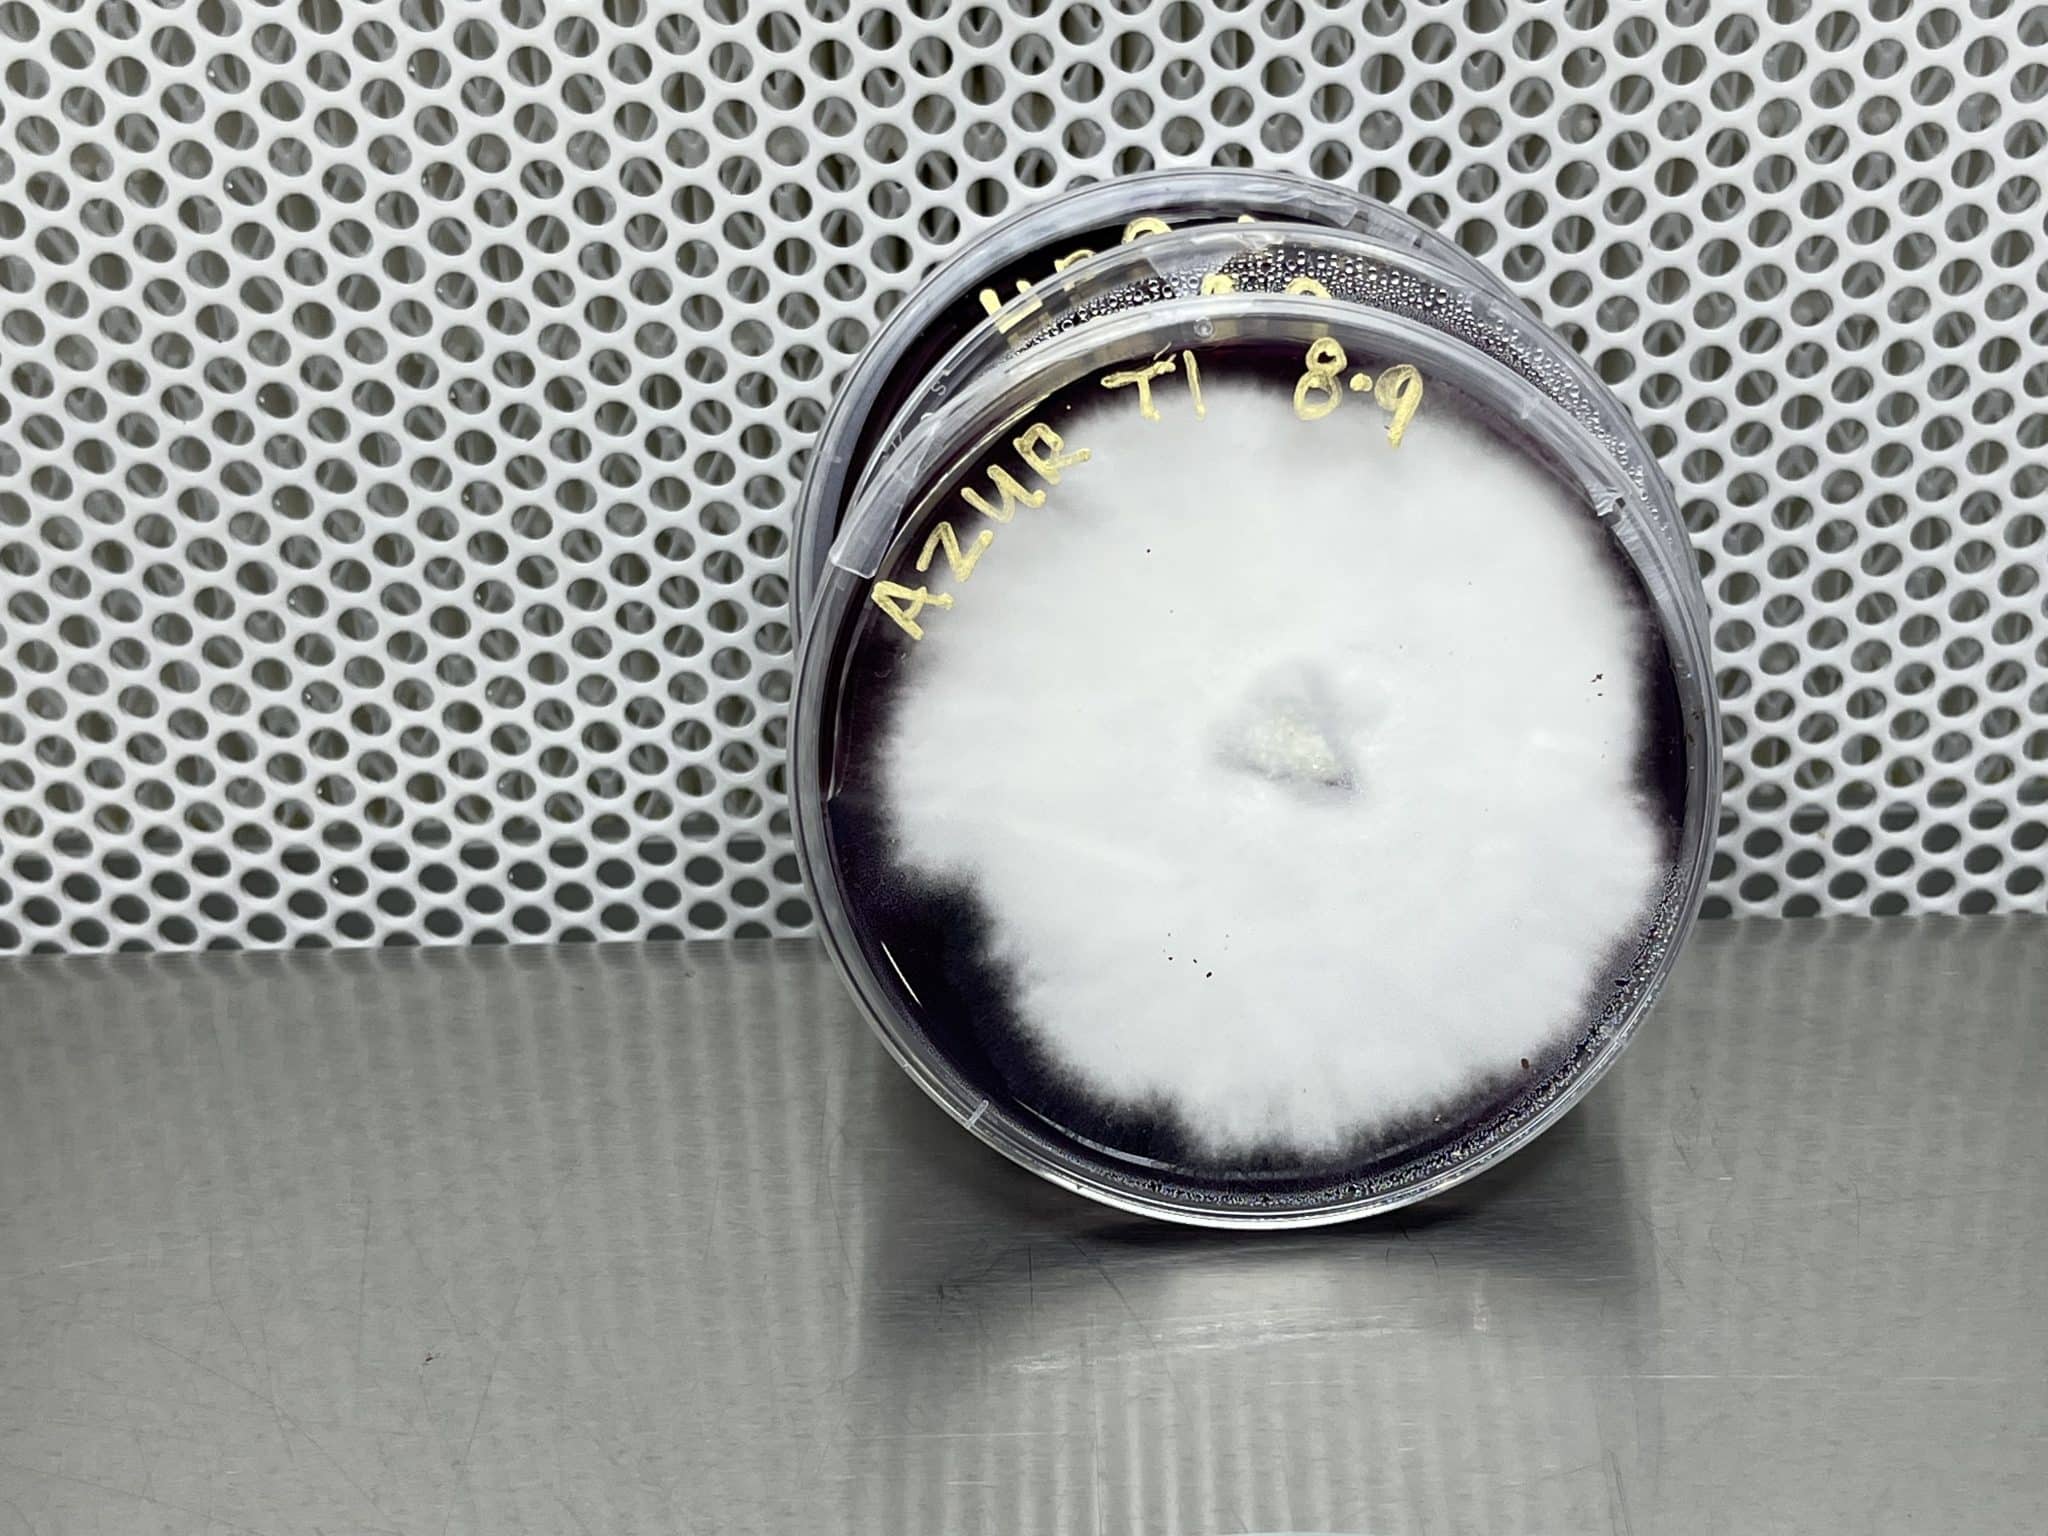
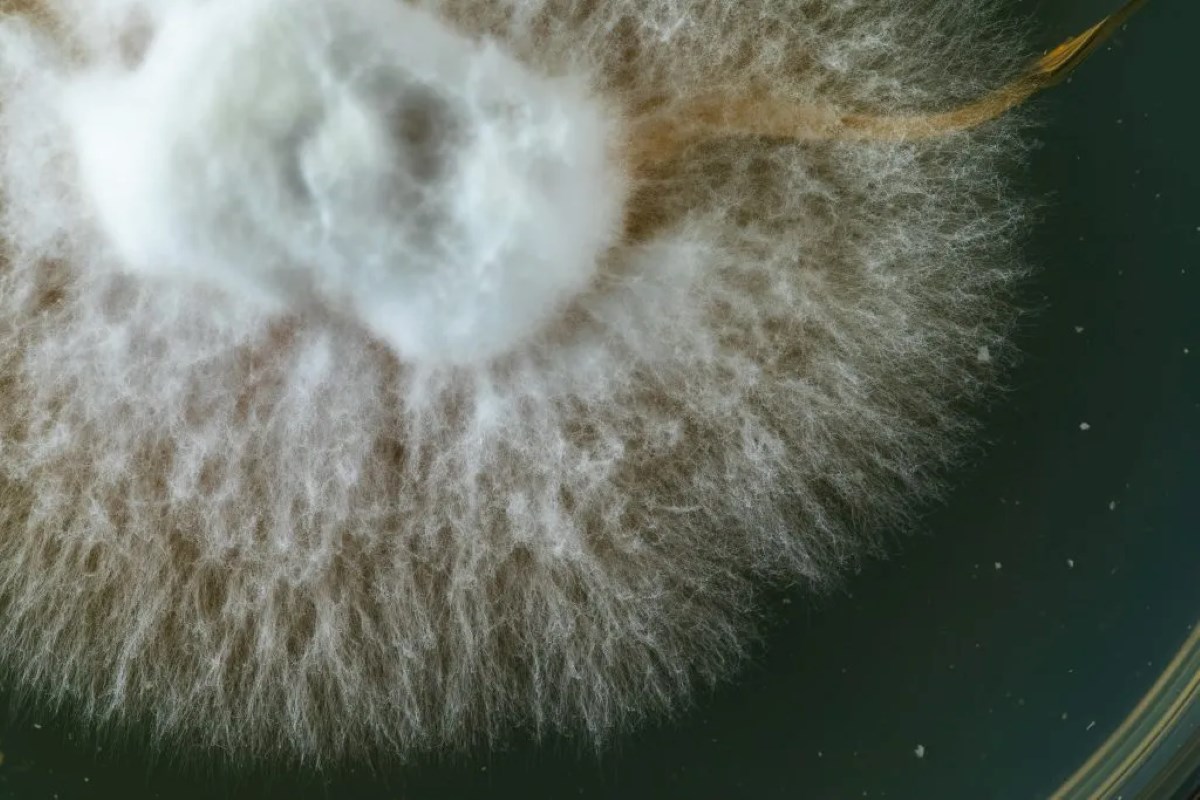
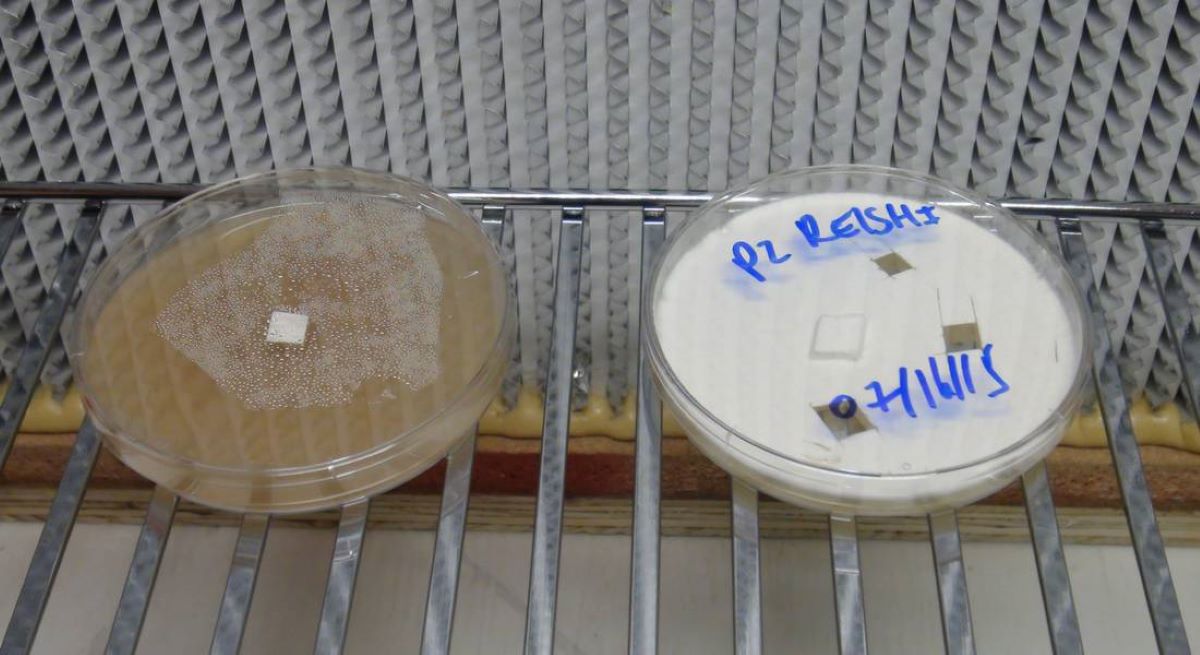
Agar plates serve as a cultivation medium for growing and isolating microorganisms. They contain a mixture of agar, nutrients, and water, which provide the ideal conditions for microbial growth. Inoculated agar plates are those that have been intentionally contaminated or “inoculated” with the desired microorganisms for study or experimentation.
Proper storage of inoculated agar plates is essential to maintain the vitality and viability of the microbial cultures. When stored incorrectly, the samples can degrade, lose their viability, or become contaminated with unwanted microorganisms. By following the steps outlined in this guide, you can ensure the longevity and quality of your microbial cultures.
So, let’s dive into the details and learn the best practices for storing inoculated agar plates.
Key Takeaways:
- Properly storing inoculated agar plates is crucial for maintaining culture viability, reproducibility, and convenience, while also preserving unique strains and minimizing costs.
- From solidifying agar plates to monitoring growth and troubleshooting common issues, following best practices ensures the longevity and quality of stored microbial cultures.
Read more: How To Store Agar Plates After Inoculation
Why Storing Inoculated Agar Plates is Important
Proper storage of inoculated agar plates is crucial for several reasons. Here are a few key reasons why storing your inoculated agar plates correctly is important:
- Prolonged Culture Viability: When you store your inoculated agar plates properly, you are maximizing the lifespan of your microbial cultures. This allows you to continue studying or experimenting with the same cultures over an extended period, reducing the need for frequent re-inoculation.
- Reproducibility: By storing your inoculated agar plates in a consistent and controlled manner, you can ensure the reproducibility of your experiments. This is especially important in scientific research, where accurate and reliable results are essential.
- Preservation of Unique Strains: If you have isolated a unique or rare strain of microorganism, proper storage ensures that you can preserve the purity and characteristics of that strain. This allows you to maintain a valuable microbial resource for future use or sharing with other researchers.
- Convenience: Properly stored inoculated agar plates are readily available whenever you need them. This saves you time and effort, particularly when you are working on multiple projects simultaneously or when unexpected experiments arise.
- Cost Efficiency: By storing your inoculated agar plates correctly, you can minimize wastage and reduce the need for re-culturing. This can result in significant cost savings, especially when working with expensive or hard-to-obtain microorganisms.
Overall, the proper storage of inoculated agar plates is essential for maintaining the viability, reproducibility, and convenience of your microbial cultures. Now, let’s move on to the materials you will need for storing your inoculated agar plates.
Materials Needed for Storing Inoculated Agar Plates
Before you can start storing your inoculated agar plates, make sure you have the following materials on hand:
- Inoculated Agar Plates: These are the agar plates that have been intentionally contaminated with the desired microorganisms for your experiments or study. Ensure that the plates are properly labeled to identify the specific cultures.
- Permanent Marker: You will need a permanent marker to label the agar plates. This will help you keep track of the different cultures and their storage dates.
- Clean and Sterile Storage Containers: It is essential to use clean and sterile storage containers to prevent contamination. Sealable plastic bags or airtight containers with lids are commonly used for storing agar plates.
- Moisture Absorbing Packets: To protect your agar plates from excess moisture, consider using moisture absorbing packets or desiccants. These will help maintain the appropriate moisture levels and prevent condensation on the agar surface.
- Refrigerator: A refrigerator is the ideal storage location for your inoculated agar plates. It provides a cool and stable environment, minimizing the growth of unwanted microorganisms and extending the viability of your cultures.
- Refrigerator Thermometer: To ensure that the temperature in the refrigerator remains within the optimal range (usually between 2-8 degrees Celsius), use a refrigerator thermometer to monitor and maintain the appropriate temperature.
- Logbook or Spreadsheet: Keeping a logbook or spreadsheet to record information such as the date of storage, culture name, and any observations will help you track the progress and usage of your stored inoculated agar plates.
Once you have gathered all the necessary materials, you are ready to start storing your inoculated agar plates. The next section will guide you through the step-by-step process.
Step 1: Allow Agar Plates to Solidify
The first step in properly storing inoculated agar plates is to allow them to solidify completely. After inoculating the agar plates with the desired microorganisms, it is crucial to give them enough time to solidify before moving them to the storage location.
Here are the key steps to follow:
- Inoculation: Prepare your agar plates by following the appropriate protocol for your specific experiment or study. Use a sterile inoculating loop or swab to transfer the desired microorganisms onto the agar surface. Make sure to spread the microorganisms evenly across the plate.
- Incubation: After inoculation, leave the agar plates undisturbed at room temperature. The time required for solidification may vary depending on the specific agar type and the growth characteristics of the microorganisms. Typically, it takes around 15-30 minutes for the agar to solidify properly.
- Visual Inspection: Once the agar plates have cooled and solidified, visually inspect them for any signs of condensation, discoloration, or contamination. If you notice any issues, such as excess moisture or uncharacteristic growth, it is best to discard those plates to prevent any further complications.
- Proper Handling: When handling the newly inoculated and solidified agar plates, ensure that you use sterile techniques to avoid introducing any contaminants. It is recommended to work in a laminar flow hood or a clean and sterile environment to minimize the risk of contamination.
By allowing the agar plates to solidify completely, you create a stable growth surface for your microorganisms. This step is vital in ensuring that your cultures remain intact during storage and that there is a lower risk of contamination or disruption to the microbial colonies.
Now that your agar plates have solidified, it’s time to move on to the next step: labeling the plates for easy identification and tracking.
Step 2: Label the Agar Plates
Labeling your agar plates is an essential step in the process of storing inoculated agar plates. Proper labeling helps you identify and track the different cultures stored and allows for easy retrieval when needed. Here’s how to effectively label your agar plates:
- Use a Permanent Marker: Ensure that you have a permanent marker specifically designed for writing on labware. These markers are resistant to smudging and fading, ensuring that your labels remain legible throughout the storage period.
- Include Relevant Information: On the bottom of each agar plate, write down essential information such as the date of inoculation, the name of the microorganism or culture, and any specific details or conditions relevant to the experiment. Including this information will help you keep track of the culture’s age and characteristics.
- Write Legibly: Take your time to write the labels clearly and legibly. Use a steady hand and appropriate pressure to ensure that the writing is easy to read. Illegible or smudged labels can lead to confusion or the misinterpretation of vital information.
- Apply Labels Consistently: Maintain a consistent labeling system throughout your storage process. For example, you can assign unique alphanumeric codes to each culture and keep a separate key or logbook to decipher the codes. This allows for easy identification and organization of different cultures.
- Consider Additional Labels: If you plan on performing specific tests or experiments using the stored cultures, consider adding additional labels indicating any specialized requirements or instructions. This helps you quickly identify the plates that require specific handling or conditions.
By labeling your agar plates accurately and consistently, you create a clear and organized system for storing and retrieving your cultures. This eliminates confusion and ensures that you can easily identify and track the different microbial samples.
Now that your agar plates are properly labeled, let’s move on to the next step: storing the plates in an appropriate environment.
Store inoculated agar plates upside down to prevent condensation from dripping onto the culture, which can lead to contamination. Keep them in a sealed plastic bag in the refrigerator.
Read more: How To Store Agar Plates
Step 3: Store the Agar Plates in the Refrigerator
Storing your inoculated agar plates in the right environment is crucial for maintaining the viability and stability of your microbial cultures. The ideal storage location for agar plates is a refrigerator, as it provides a controlled and cool environment. Follow these steps to store your agar plates properly:
- Clean Storage Area: Before placing the agar plates in the refrigerator, make sure the area is clean and free of any contaminants. Wipe down the shelves and ensure that there are no spills or residues that could potentially contaminate your cultures.
- Select an Appropriate Shelf: Choose a dedicated shelf or section inside the refrigerator specifically for storing your agar plates. This helps prevent accidental movement or disturbance of the plates by other items stored in the refrigerator.
- Avoid Cross-Contamination: Keep your agar plates and other food items separate to prevent potential cross-contamination. Placing the agar plates in sealable plastic bags or airtight containers can create an extra barrier of protection against any potential contact with food or other contaminants.
- Temperature Control: Ensure that the temperature inside the refrigerator remains within the optimal range of 2-8 degrees Celsius (36-46 degrees Fahrenheit). Use a refrigerator thermometer to monitor and adjust the temperature if needed. Fluctuations in temperature can affect the viability of your cultures.
- Placement: Arrange your agar plates in a neat and organized manner, ensuring that they are properly sealed or covered to protect them from drying out or becoming contaminated. Label facing outward for easy identification without the need to open the containers.
By storing your inoculated agar plates in a refrigerator, you provide them with a controlled, cool, and stable environment. This helps to slow down the growth of unwanted microorganisms and extends the shelf life of your cultures.
Now that your agar plates are securely stored in the refrigerator, let’s move on to the next step: monitoring and recording the growth of your cultures.
Step 4: Monitor and Record Growth
Monitoring and recording the growth of your stored inoculated agar plates is an important step in ensuring the health and viability of your microbial cultures. This step allows you to detect any signs of contamination or deterioration early on and take appropriate action. Follow these guidelines to effectively monitor and record the growth of your cultures:
- Frequency of Observation: Set a regular schedule to observe your agar plates. Depending on the nature of your experiment or study, daily, weekly, or monthly observations may be necessary. Consistency is key to identifying any changes in growth patterns.
- Observe Plate Conditions: Carefully examine the agar plates for signs of growth, such as colonies, color changes, or any abnormalities. Look for intended growth of the target microorganisms and assess their health and vitality. Additionally, keep an eye out for any signs of contamination, mold, or bacterial overgrowth.
- Record Observations: Maintain a logbook or spreadsheet to record your observations accurately. Document the date, plate identification, and any relevant observations or changes you observe, including growth characteristics and any peculiarities that may influence the culture’s viability.
- Take Action when Necessary: If you notice any signs of contamination or abnormal growth, take appropriate action promptly. Isolate and discard the affected plates to prevent further contamination. For valuable or rare cultures, you may consider subculturing to obtain a fresh and uncontaminated sample for further study.
- Follow Safety Procedures: When handling the agar plates during observation, always practice proper aseptic techniques to maintain the integrity of the cultures and prevent cross-contamination. Sterilize any instruments used, such as inoculating loops, before and after each use.
By monitoring and recording the growth of your inoculated agar plates, you can effectively track the progress of your cultures and take immediate action if any issues arise. This ensures the health and vitality of your microbial cultures throughout the storage period.
With this step completed, you have successfully learned the entire process of storing inoculated agar plates. Let’s proceed to the next section: troubleshooting tips for storing agar plates.
Troubleshooting Tips for Storing Inoculated Agar Plates
While storing inoculated agar plates, you may encounter certain issues or challenges. Here are some troubleshooting tips to help you overcome common problems and ensure the success of your storage process:
- Contamination: If you notice signs of contamination on your agar plates during storage, such as unexpected growth or unusual colors, it is crucial to address it immediately. Isolate the contaminated plates and discard them to prevent further spread of the contaminants. Review your sterile techniques and ensure proper cleaning and handling procedures to minimize the risk of contamination.
- Drying Out: Agar plates can dry out over time, leading to difficulty in reviving or using the stored cultures. To prevent drying, ensure that your storage containers or bags are properly sealed and airtight. Additionally, consider using moisture-absorbing packets or desiccants to maintain the appropriate moisture content within the containers.
- Condensation: Excess moisture and condensation can lead to the growth of unwanted microorganisms on your agar plates. To mitigate condensation, allow the plates to cool completely after inoculation before sealing them. Store them in a refrigerator at the optimal temperature range of 2-8 degrees Celsius (36-46 degrees Fahrenheit) to minimize condensation formation.
- Temperature Fluctuations: Make sure that the temperature in your refrigerator remains stable and within the recommended range of 2-8 degrees Celsius (36-46 degrees Fahrenheit). Fluctuations in temperature can impact the viability and growth of your cultures. Regularly monitor the refrigerator temperature using a thermometer and adjust if necessary.
- Loss of Viability: Over prolonged storage periods, the viability of some cultures may naturally decline. If you encounter cultures that have lost their viability, consider re-inoculating or obtaining fresh samples for future experiments or studies. It is also a good practice to periodically subculture your stored cultures to maintain their vitality.
By applying these troubleshooting tips, you can address common issues that may arise during the storage of inoculated agar plates. The careful management of contamination, moisture content, temperature, and viability will help you maintain healthy and usable microbial cultures.
Now that you are equipped with troubleshooting knowledge, let’s wrap up this guide.
Conclusion
Properly storing inoculated agar plates is essential for maintaining the viability, stability, and integrity of your microbial cultures. By following the steps outlined in this guide and implementing the troubleshooting tips, you can confidently store your agar plates and preserve your valuable cultures for future experiments or studies.
From allowing the agar plates to solidify to labeling them accurately, from storing in a refrigerator to monitoring and recording growth, each step plays a crucial role in ensuring the success of the storage process. The use of proper materials, adherence to sterile techniques, and maintaining optimal storage conditions are key factors in maintaining the vitality of your cultures.
Remember to regularly monitor your agar plates for signs of contamination or deterioration and take prompt action if any issues arise. By consistently observing and recording the growth of your cultures, you can maintain a clear record of their progress and quickly detect any changes or concerns.
Lastly, always practice good laboratory hygiene and aseptic techniques to minimize the risk of contamination during storage and handling. Properly sealed storage containers, controlled temperature, and a clean storage environment are crucial elements in safeguarding your cultures.
By implementing these best practices and troubleshooting tips, you can ensure the longevity and quality of your stored inoculated agar plates. Preserving the viability of your microbial cultures allows for ongoing research, reproducibility of experiments, and the preservation of valuable or rare strains.
Now, armed with this knowledge, you are ready to embark on successful storage of your inoculated agar plates. Happy culturing and may your experiments yield fruitful results!
Frequently Asked Questions about How To Store Inoculated Agar Plates
Was this page helpful?
At Storables.com, we guarantee accurate and reliable information. Our content, validated by Expert Board Contributors, is crafted following stringent Editorial Policies. We're committed to providing you with well-researched, expert-backed insights for all your informational needs.


0 thoughts on “How To Store Inoculated Agar Plates”