Articles
How To Store Bread Dough Overnight
Modified: December 7, 2023
Learn how to store bread dough overnight to achieve perfect results in the morning. Get expert tips and techniques in this informative article.
(Many of the links in this article redirect to a specific reviewed product. Your purchase of these products through affiliate links helps to generate commission for Storables.com, at no extra cost. Learn more)
Introduction
Storing bread dough overnight is a technique that can revolutionize your bread baking game. By allowing the dough to rest and ferment for an extended period, it develops complex flavors and a wonderfully airy texture. Whether you’re a novice baker or a seasoned pro, understanding how to store bread dough overnight can take your homemade bread to new heights.
Traditionally, bread dough is left to rise for a few hours before it’s shaped and baked. However, this method often limits the depth of flavor and texture that can be achieved. By storing the dough overnight, you give the yeast more time to work its magic, resulting in a more flavorful and easier-to-handle dough.
There are several benefits to storing bread dough overnight. First and foremost, it allows the flavors to develop and deepen. The extended fermentation process enhances the taste, making the bread more complex and satisfying. Additionally, storing the dough overnight can make it easier to shape and handle. The gluten in the dough relaxes and becomes more pliable, resulting in a more forgiving dough that’s less likely to tear or become misshapen during shaping.
Furthermore, overnight dough storage offers convenience. You can prepare the dough the night before and have it ready to bake in the morning, making it an ideal option for busy schedules or special occasions. This technique also allows you to schedule your bread baking around your day, ensuring that you have freshly baked bread when you need it.
In the next sections, we will explore the steps and tips for successful overnight dough storage. From choosing the right container to preparing the dough and bringing it to room temperature, you’ll learn everything you need to know to master this technique. So, let’s dive in and unlock the secret to delicious, flavorful bread with the help of overnight dough storage.
Key Takeaways:
- Overnight dough storage enhances bread flavor, texture, and convenience. Choose the right container, prepare the dough, and experiment with recipes for delicious, freshly baked bread every time.
- Experiment with fermentation times, adjust yeast amounts, and bring dough to room temperature for successful overnight storage. Transform stored dough into a variety of delectable recipes and enjoy the creative process.
Read more: How To Store Dough Overnight
Why Store Bread Dough Overnight
Storing bread dough overnight is not only a convenient way to have fresh bread in the morning, but it also enhances the flavor, texture, and overall quality of the bread. Here are a few reasons why storing bread dough overnight is a game-changer:
- Flavor Development: Allowing the dough to ferment overnight allows the yeast to break down complex carbohydrates and produce flavorful compounds. This extended fermentation process creates a deep and complex taste profile in the bread.
- Improved Texture: Over time, the gluten in the dough relaxes and becomes more elastic. This results in a bread with a lighter and airier texture. The extended fermentation also enables the dough to develop more structure, leading to a better crumb and crust.
- Easier to Shape: Overnight dough storage gives the gluten strands time to relax, making the dough much easier to handle and shape. This reduces the chances of the dough tearing or becoming misshapen during the shaping process.
- Convenience: By preparing the dough the night before, you can have fresh bread ready to bake in the morning. This allows you to incorporate bread-making into your busy schedule, ensuring you have freshly baked bread whenever you need it.
- Increased Digestibility: The longer fermentation time improves the digestibility of the bread. The yeast has more time to break down complex carbohydrates, making the bread easier to digest and reducing any potential digestive discomfort.
In addition to these benefits, storing bread dough overnight also gives you more control over the bread-making process. You can adjust the rise times and incorporate pre-ferments, such as a poolish or a sourdough starter, into your dough. This flexibility allows you to experiment and create a wide range of bread varieties, from classic sandwich loaves to artisanal sourdoughs.
Now that you understand the advantages of storing bread dough overnight, let’s explore the best practices for choosing the right container and preparing the dough for storage.
Choosing the Right Container
When it comes to storing bread dough overnight, choosing the right container is crucial to ensure the dough remains in optimal condition. Here are some factors to consider when selecting a container:
- Size: The container should provide enough space for the dough to rise and expand during the fermentation process. It should accommodate at least twice the volume of the initial dough. Avoid using containers that are too small, as they can hinder proper rise and lead to a dense loaf.
- Material: Ideal containers for storing bread dough overnight are made of food-grade plastic or glass. These materials are non-reactive and won’t affect the dough’s flavor. Avoid using metal containers, as they can react with the dough and impart a metallic taste.
- Tight-fitting Lid: A container with a tight-fitting lid is essential to prevent air circulation and maintain the dough’s moisture level. This helps prevent the dough from drying out and forming a crust prematurely.
- Transparency: Using a transparent container allows you to monitor the dough’s rise and development without removing the lid. This helps maintain a consistent environment and minimizes disturbances to the fermentation process.
- Easy to Clean: Make sure the container is easy to clean and sanitize. Proper hygiene is essential when it comes to food storage to prevent any contamination or spoilage.
It’s worth noting that a banneton or a proofing basket, primarily used for shaping and proofing dough, is not suitable for long-term storage. While these baskets are useful in the earlier stages of bread-making, they are not airtight and can dry out the dough if used for overnight storage.
By considering these factors, you can choose a container that provides the ideal environment for the dough to ferment and develop those delicious flavors and textures overnight. Now that you have selected the right container, let’s move on to preparing the dough for storage.
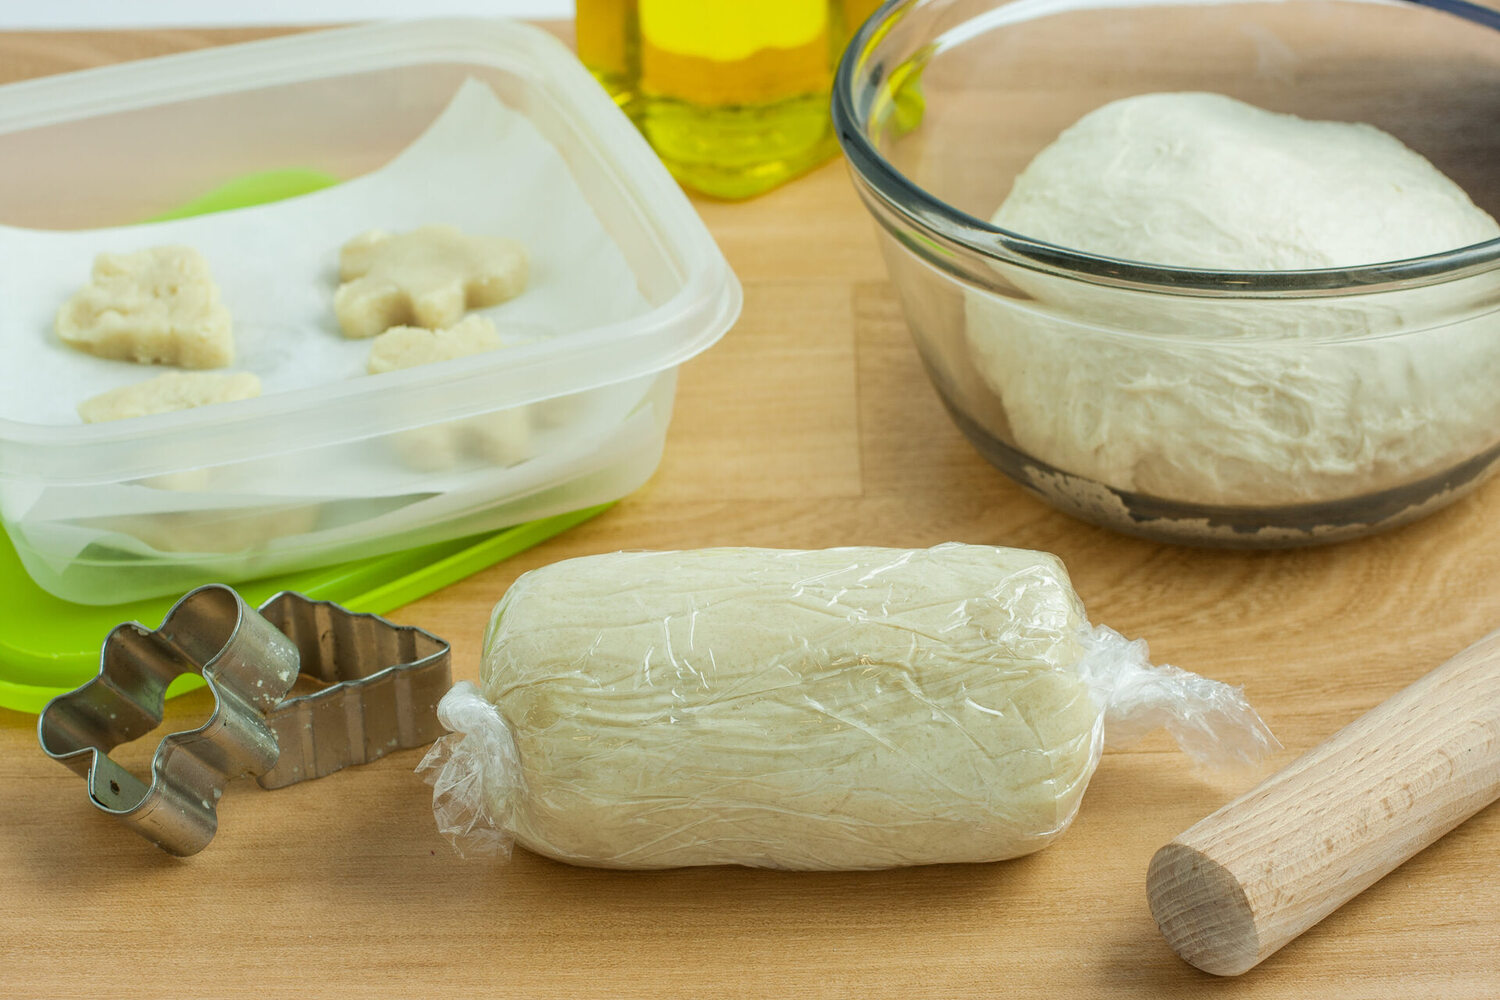
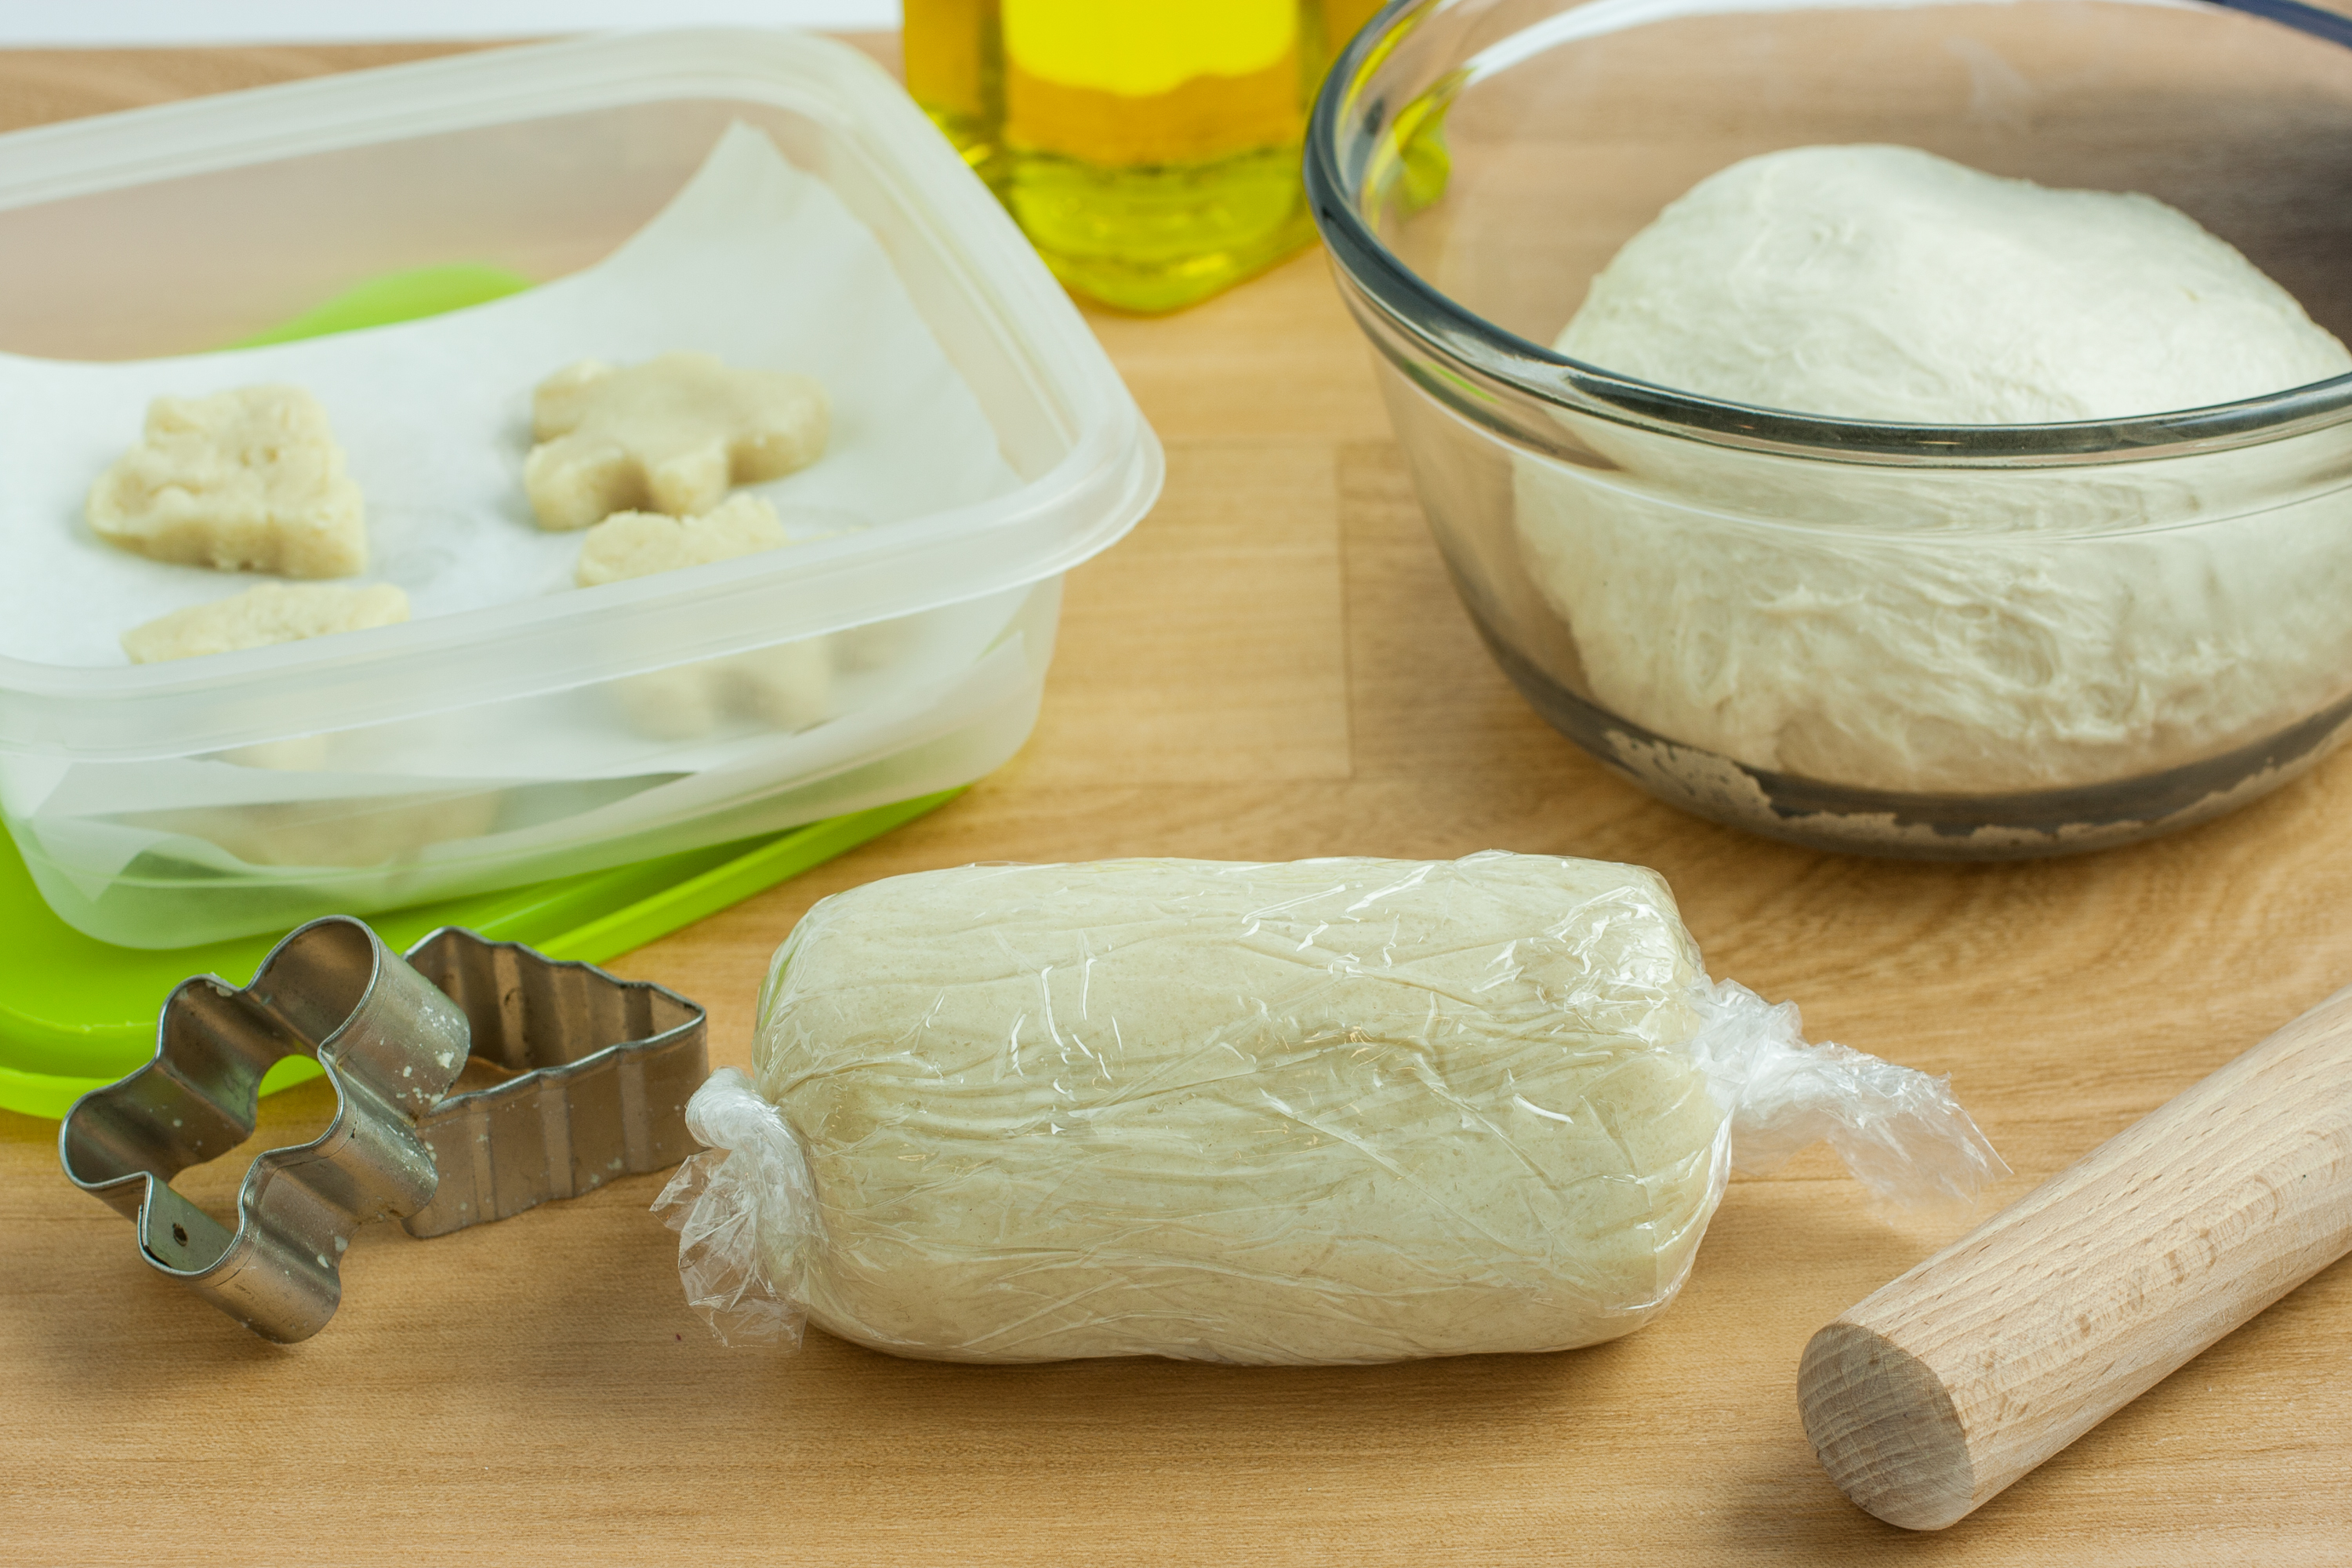
Preparing the Dough for Storage
Before you store bread dough overnight, it’s important to ensure that the dough is properly prepared. Follow these steps to set the dough up for success:
- Kneading: Begin by kneading the dough thoroughly. Kneading helps develop the gluten, which gives the bread its structure and texture. A well-kneaded dough will result in a lighter and more cohesive loaf.
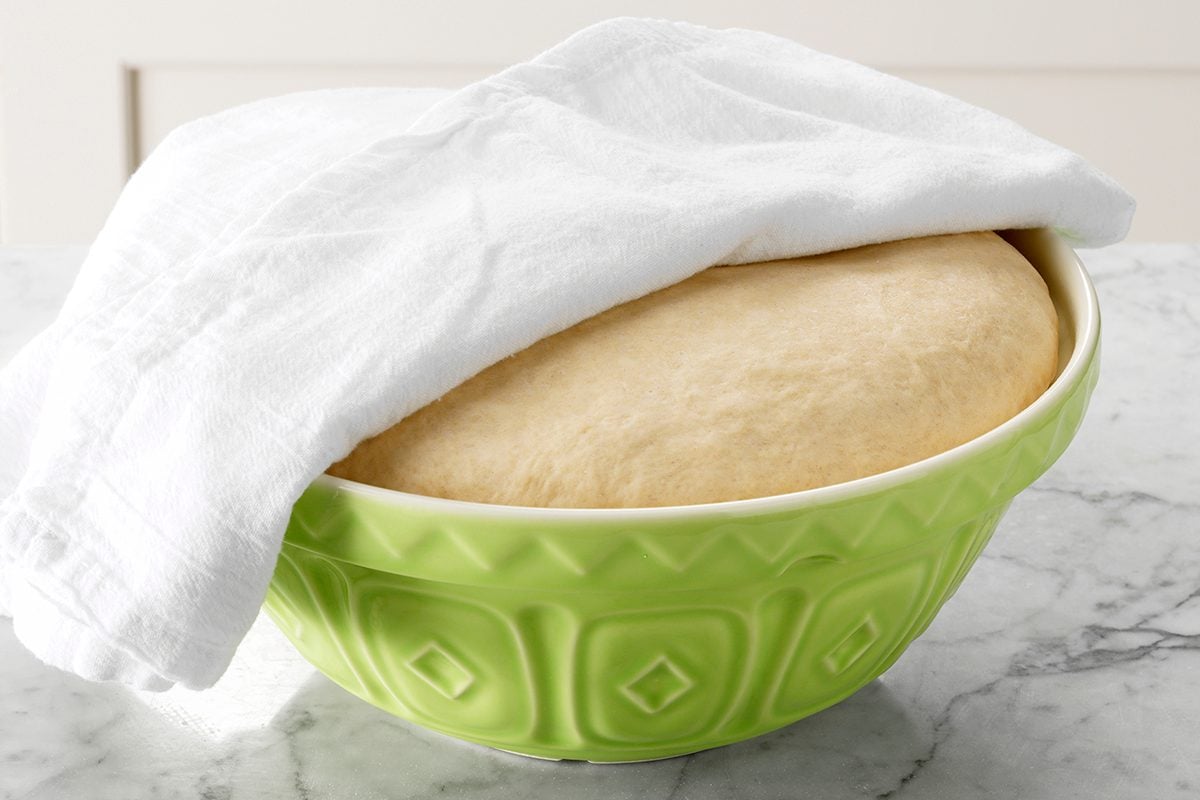
- First Rise: Allow the dough to go through its first rise, also known as bulk fermentation, before placing it in the storage container. This initial rise helps activate the yeast and begin the fermentation process. Follow the specific recipe instructions for the recommended rise time.
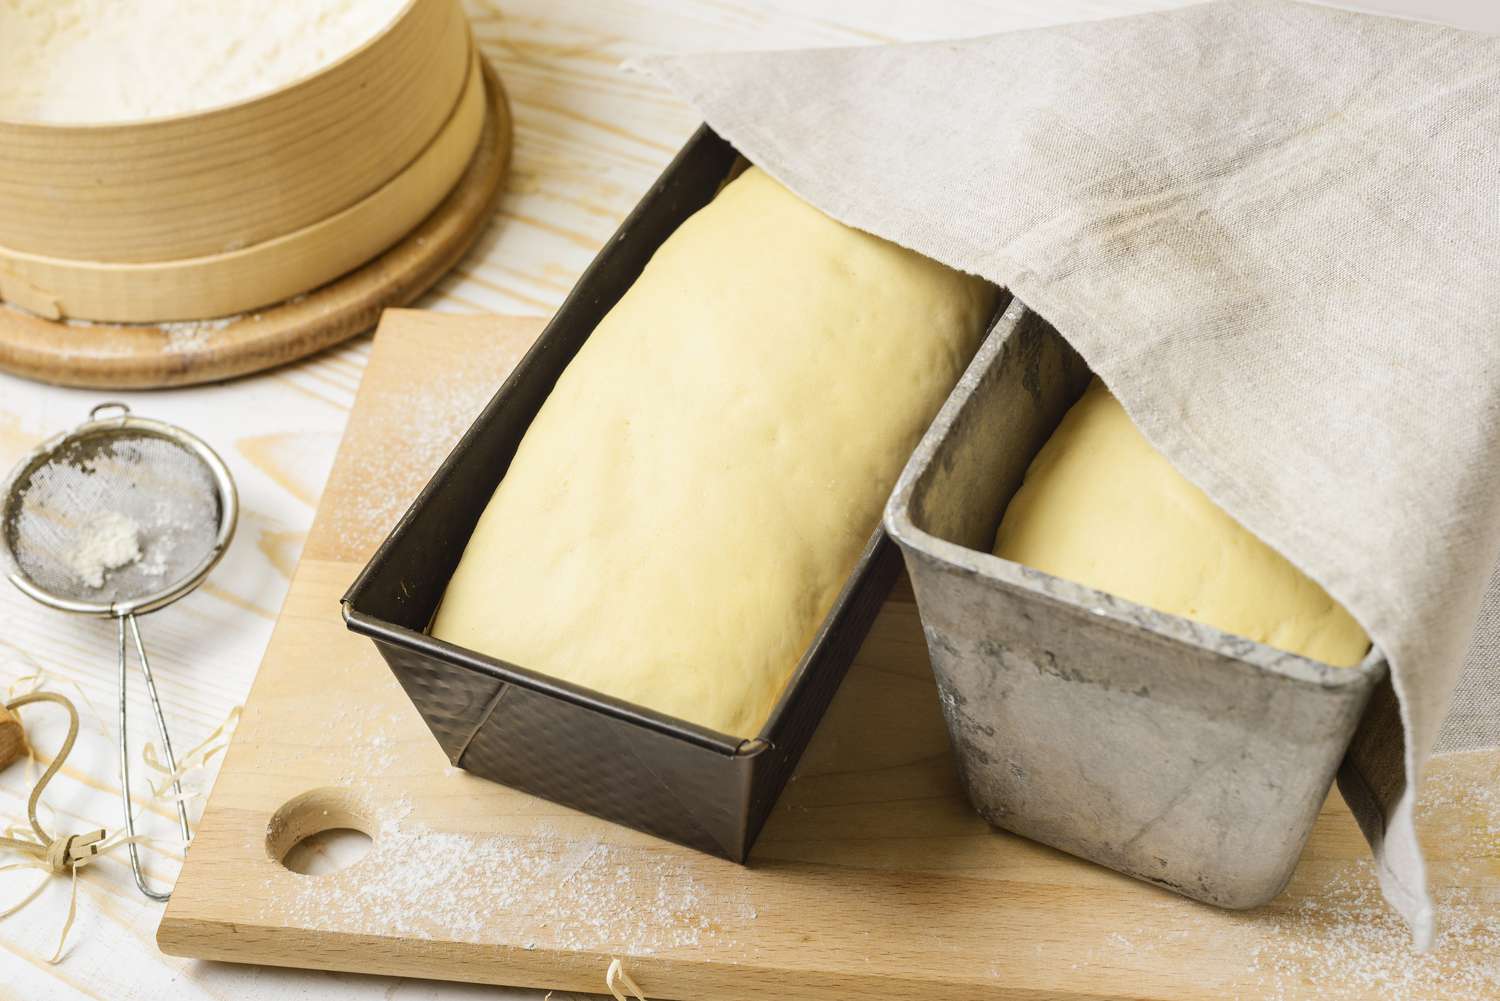
- Shaping: If the recipe calls for shaping the dough before overnight storage, do so before transferring it to the container. Gentle shaping helps create tension in the dough, resulting in a good rise and a desirable shape. Follow the shaping technique recommended in the recipe or use your preferred method.
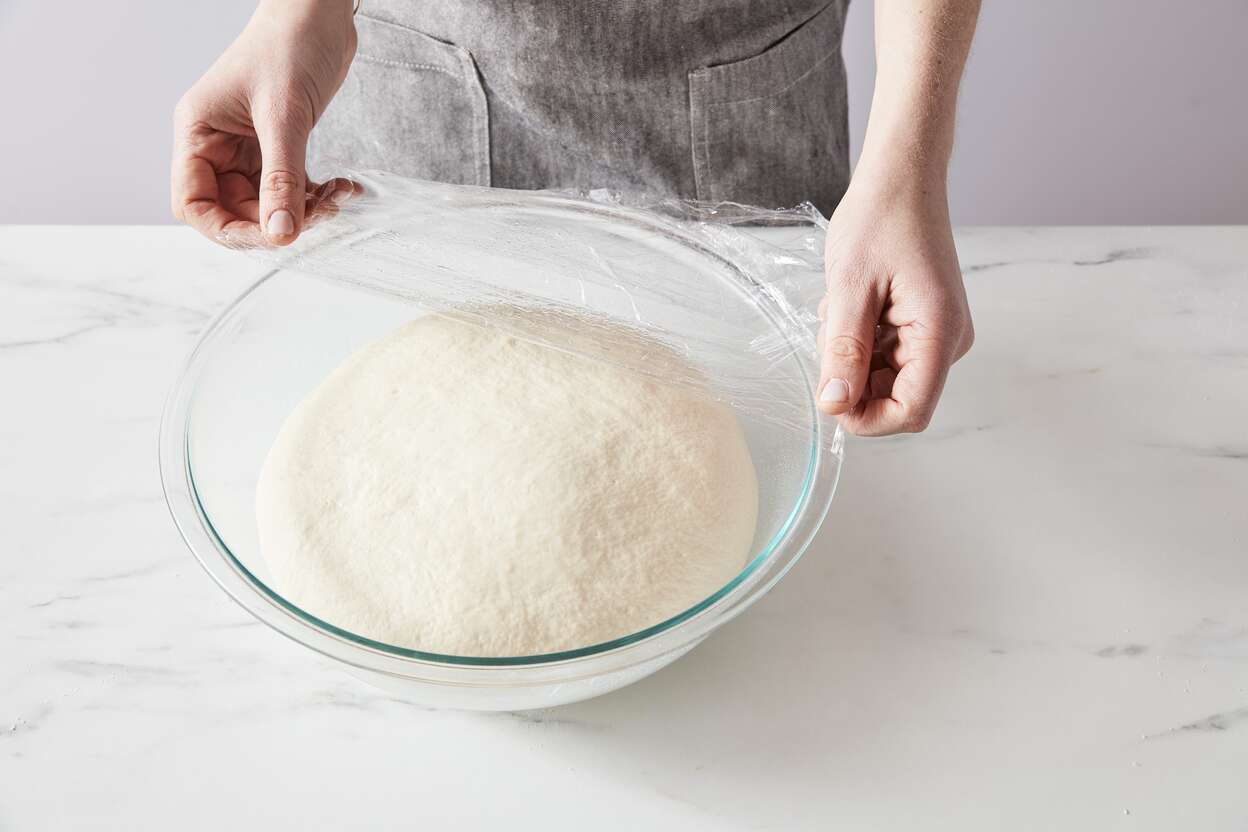
- Sealing: When placing the dough in the storage container, make sure to seal it tightly with a lid. This prevents air from coming in contact with the dough and helps maintain the dough’s moisture level. A tight seal also prevents any unwanted odors or flavors from being absorbed by the dough.
- Labeling: To ensure you know the specific details of the dough, such as the type of bread or the date of preparation, it’s helpful to label the container with this information. This will come in handy when it’s time to bake the bread.
It’s important to emphasize that not all bread dough recipes are suitable for overnight storage. Some high-fat or enriched doughs, such as brioche or croissant dough, may not react well to an extended fermentation period. Always refer to the recipe instructions or consult a reliable source to determine if a specific dough is appropriate for overnight storage.
Now that the dough is properly prepared and ready for storage, let’s explore the best practices for storing the dough overnight.
Storing the Dough Overnight
Now that you have prepared the bread dough for storage, it’s time to store it overnight. Follow these steps to ensure your dough remains in optimal condition:
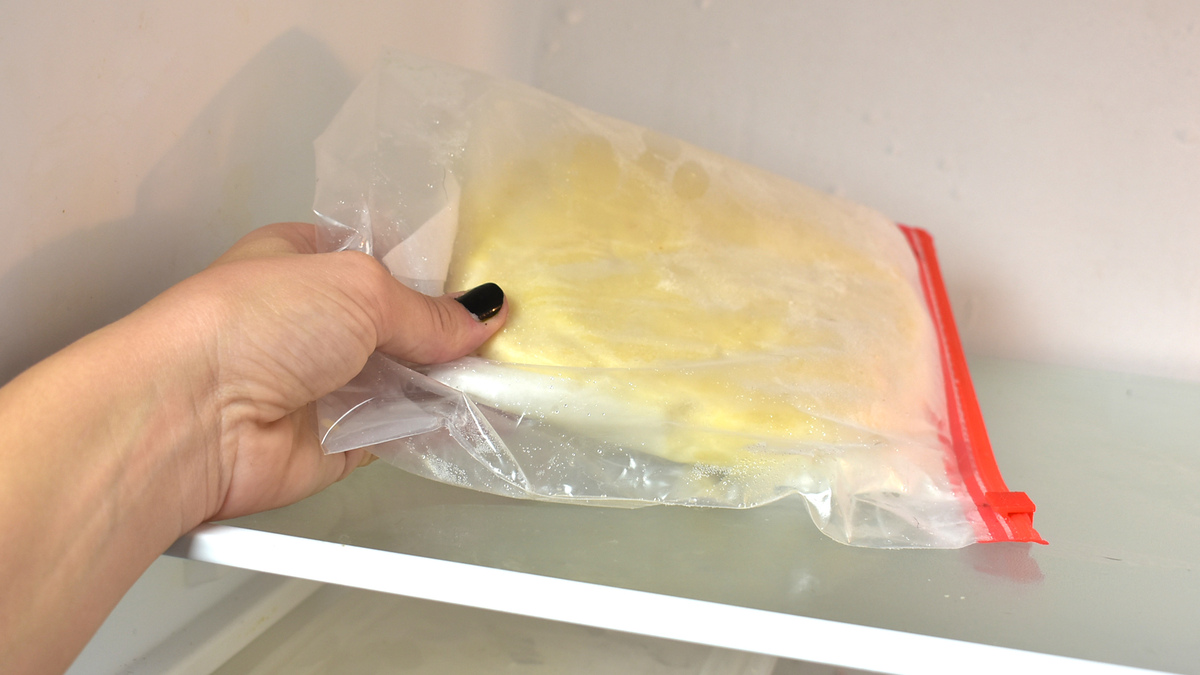
- Place in the Refrigerator: Transfer the prepared dough to the refrigerator. The cold temperature will slow down the fermentation process and allow the flavors to develop gradually. Place the dough in the middle or lower shelf of the refrigerator to ensure even cooling.
- Airtight Container: Ensure that the storage container is tightly sealed with a lid to prevent any air or moisture from entering. This will help maintain the dough’s moisture content and prevent it from drying out.
- Keep Away from Strong Odors: Avoid storing the dough near foods with strong smells as the dough can absorb these odors, affecting its flavor. Store it away from pungent foods like onions, garlic, or strong cheeses.
- Temperature Control: If your refrigerator has adjustable temperature settings, set it between 35 to 40°F (1 to 4°C). This temperature range helps slow down the fermentation process without freezing the dough.
- Allow Sufficient Time: Depending on the recipe and the desired result, the dough may need to be stored overnight for 8 to 12 hours. This timeframe allows for adequate fermentation and flavor development.
It’s essential to note that the dough will continue to rise, albeit at a slower rate, even in the refrigerator. Make sure the container has enough space to accommodate any potential expansion. If the dough expands too much and threatens to push off the lid, gently release some of the gas by briefly opening the lid and then reseal it tightly.
By following these storage guidelines, you can ensure that your bread dough remains in optimal condition and is ready for baking in the morning. In the next section, we will discuss some essential tips for successful overnight dough storage.
After shaping the bread dough, place it in a lightly oiled bowl, cover with plastic wrap, and refrigerate overnight. This will slow down the fermentation process and develop more flavor in the dough.
Read more: How To Store Pizza Dough Overnight
Tips for Successful Overnight Dough Storage
To make the most out of storing bread dough overnight, here are some helpful tips to ensure successful results:
- Choose the Right Recipe: Select a bread dough recipe that is specifically designed for overnight storage. Not all bread recipes are suitable for this technique, so it’s important to follow a reliable recipe that provides instructions for overnight dough storage.
- Adjust Yeast Amount: If your recipe doesn’t specify the amount of yeast for overnight storage, consider reducing the yeast slightly compared to traditional bread recipes. A smaller amount of yeast slows down the fermentation process and allows for a longer, more flavorful rise.
- Experiment with Flour Types: Different types of flour can have varying hydration levels and fermentation properties. Experiment with different flours, such as bread flour, all-purpose flour, or whole wheat flour, to find the combination that produces the best flavor and texture for your preference.
- Monitor Dough Expansion: Keep an eye on the stored dough to ensure it doesn’t overproof. If the dough appears to be expanding too rapidly, especially if it’s nearing the top of the container, consider placing it in a cooler part of the refrigerator or reducing the fermentation time.
- Use a Scale: For consistent results, weigh your ingredients using a kitchen scale rather than relying on volume measurements. This ensures accuracy and helps maintain the proper hydration level in the dough.
- Test Dough Temperature: Use a kitchen thermometer to check the temperature of the dough before and after overnight storage. Ideally, the dough should be around 78°F (25°C) before it goes into the refrigerator. After storage, allow the dough to come to room temperature before shaping and baking.
- Experiment with Fermentation Times: While overnight storage is the standard, you can adjust the fermentation time based on your schedule and desired flavor. Some bakers find success with longer or shorter storage times, so feel free to experiment and find what works best for you.
- Keep Records: Keep a journal or notes of your bread-baking experiments, including the details of the overnight dough storage. This allows you to track and replicate successful outcomes, making your future baking endeavors more consistent.
Remember that practice makes perfect, and it may take a few attempts to find the ideal process and timing for your specific recipes and preferences.
Now that you have stored the dough overnight, we’ll move on to the next important step: bringing the dough to room temperature before baking.
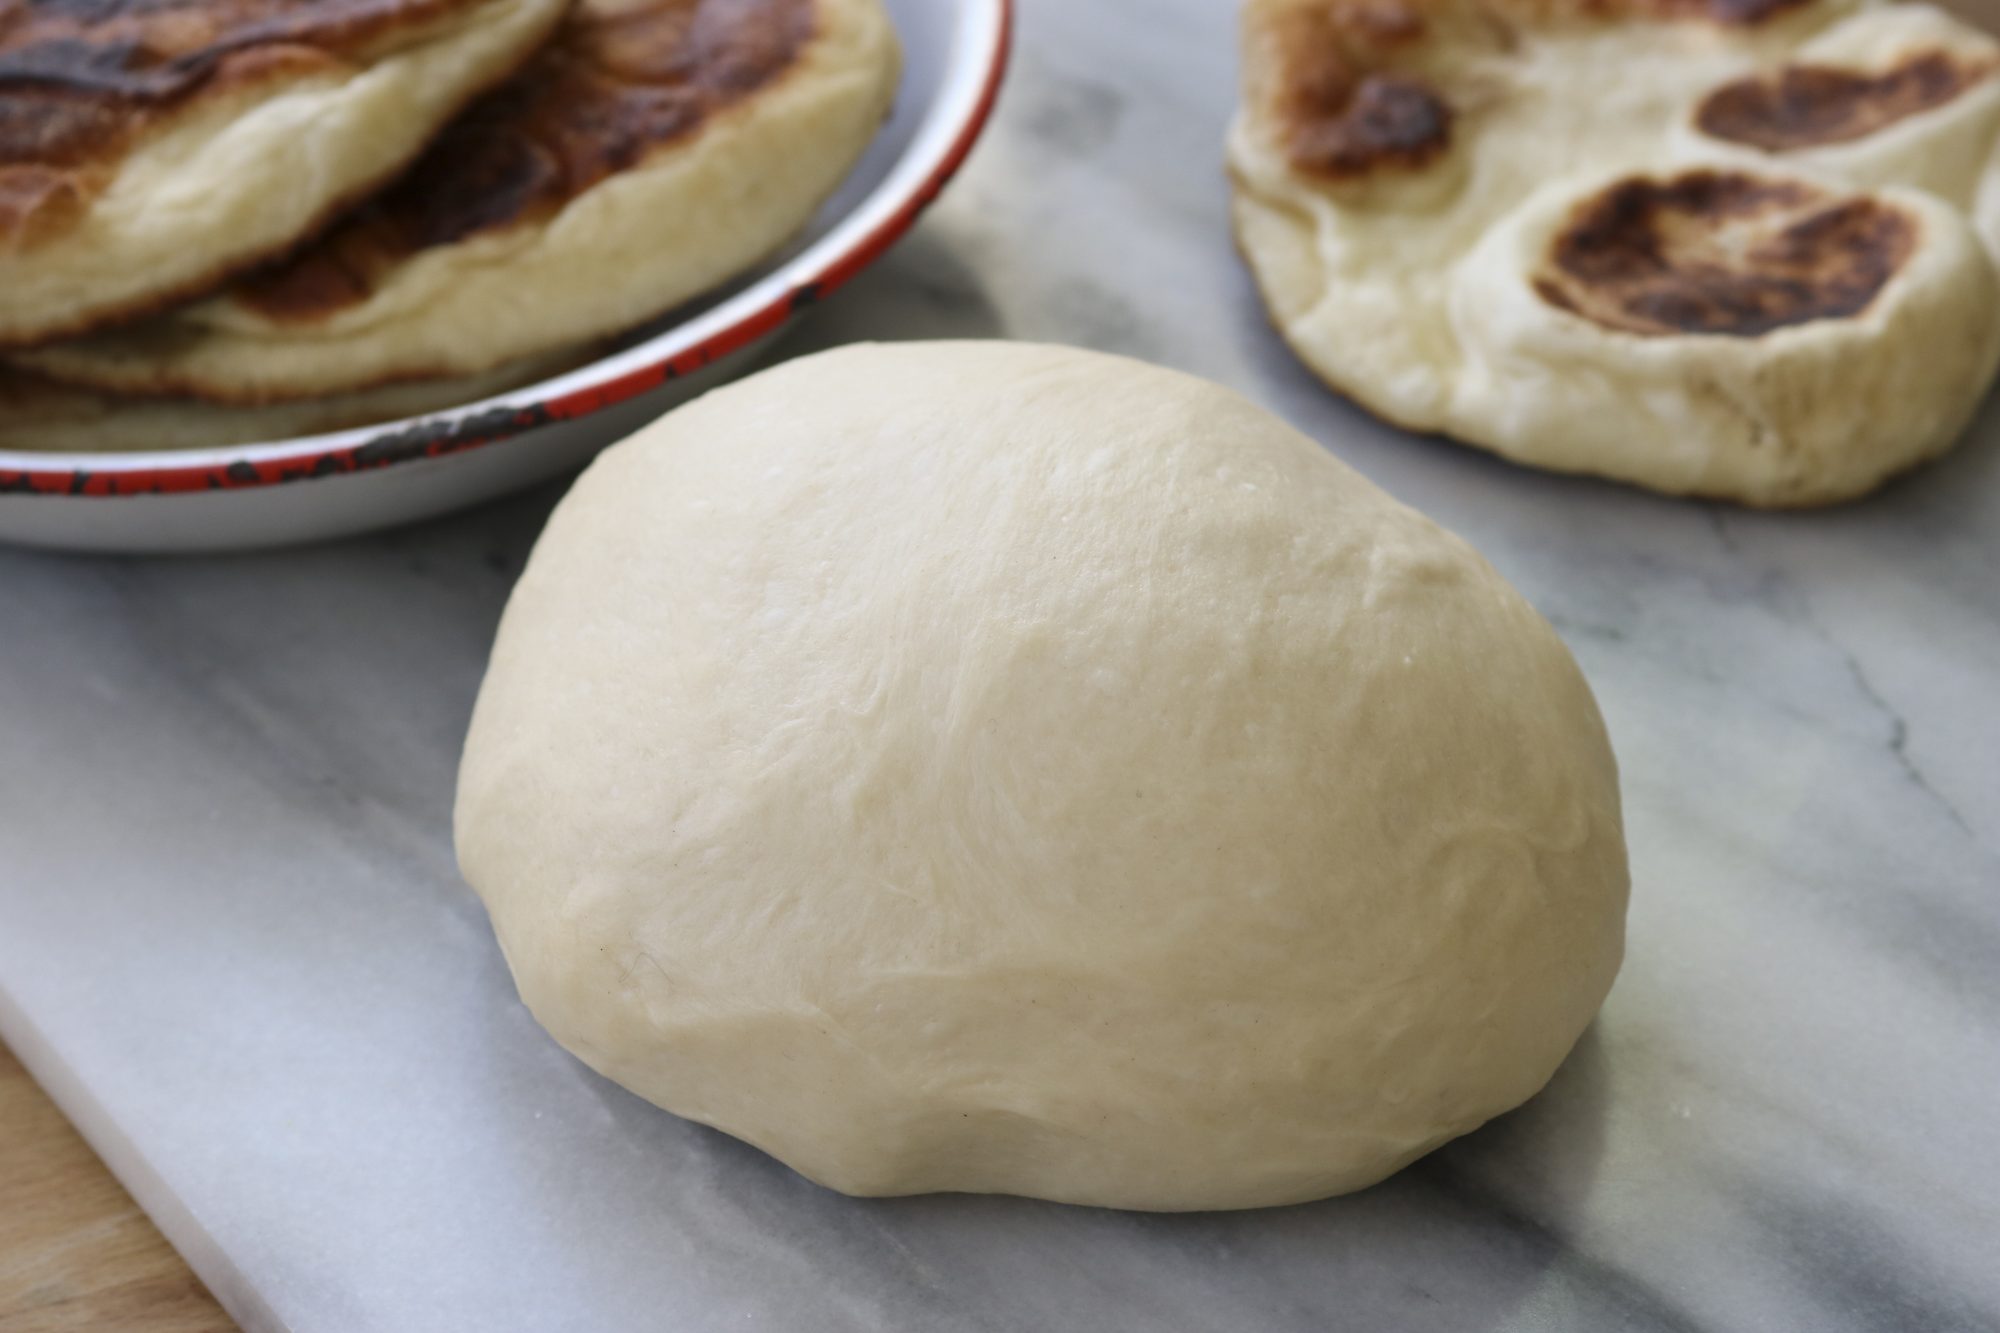
Bringing the Dough to Room Temperature
After storing bread dough overnight in the refrigerator, it’s essential to bring it to room temperature before baking. This step allows the dough to become more workable and ensures even fermentation during the final rise. To bring the dough to room temperature, follow these steps:
- Remove from the Refrigerator: Take the dough out of the refrigerator and remove the lid of the container. Let the dough sit at room temperature for at least 1 to 2 hours. The exact time may vary depending on the temperature of your kitchen and the size of the dough.
- Cover the Dough: While the dough is at room temperature, cover it with a clean kitchen towel or plastic wrap to prevent it from drying out. This helps retain the dough’s moisture and prevents a skin from forming on the surface.
- Observe Dough Behavior: As the dough comes to room temperature, you’ll notice it becoming more relaxed and easy to handle. It will become softer and slightly puffed up. This is a good indication that the dough is ready for shaping and baking.
- Perform the Finger Test: If you’re unsure whether the dough has reached the right temperature, you can perform a simple finger test. Gently press your finger into the dough. If the indentation remains and slowly springs back, the dough is ready. If it springs back quickly, it may need more time at room temperature.
It’s important not to rush this process by placing the dough in a warm environment or near a heat source. Gradual warming at room temperature allows the dough to ferment evenly and develop its desired flavors.
Once the dough has reached room temperature, you can proceed with shaping and baking according to your chosen recipe. The dough should be pliable and easy to work with, resulting in a beautifully risen and flavorful loaf of bread.
Now that you have brought the dough to room temperature, let’s explore how to use the stored dough in various recipes.
Using the Stored Dough in Recipes
Now that you have successfully stored and brought your bread dough to room temperature, it’s time to unleash your creative side and use it in a variety of delicious recipes. Here are some ideas for utilizing the stored dough:
- Classic Loaves: Shape the dough into traditional loaves, whether it’s a rustic country boule, a soft sandwich bread, or a crusty baguette. Follow the specific recipe instructions for shaping and proofing before baking.
- Rolls and Buns: Transform the dough into individual rolls or buns. Whether you prefer dinner rolls, hamburger buns, or cinnamon rolls, the possibilities are endless. Shape the dough accordingly and give it a final rise before baking.
- Pizza and Flatbreads: Use the dough to create a homemade pizza or flatbread. Roll it out into your desired shape, top it with your favorite ingredients, and bake it to perfection. The overnight dough will add depth of flavor to your pizza or flatbread crust.
- Sweet Treats: Explore the sweeter side of baking by using the dough to make sweet treats like sticky buns, cinnamon twists, or donuts. Shape the dough accordingly, add your favorite fillings or toppings, and indulge in delightful homemade treats.
- Savory Specialties: Experiment with savory bread creations like stuffed breads, savory pastries, or herb-filled rolls. The stored dough will add an extra layer of flavor to your savory delights.
When using the stored dough in recipes, be mindful of the specifics mentioned in the original recipe. Adjust the baking time and temperature if necessary, as the overnight fermentation may impact the dough’s behavior in the oven. It’s always a good idea to closely monitor the baking process and make any necessary modifications based on visual cues and your preferred level of doneness.
Remember, the stored dough can be a versatile base for a wide range of recipes. Get creative, experiment with different flavors and shapes, and enjoy the process of transforming your overnight dough into delectable baked goods.
Now that you have learned how to use the stored dough in various recipes, it’s time to wrap up our discussion.
Conclusion
Mastering the art of storing bread dough overnight can elevate your homemade bread to new heights. This technique allows for flavor development, improved texture, and convenient baking. By choosing the right container, preparing the dough properly, and storing it in the refrigerator, you can enjoy a range of benefits, including more complex flavors, easier dough handling, and the flexibility to fit baking into your schedule.
When selecting a container, consider the size, material, and lid type to create an optimal environment for the dough to rise and ferment. Properly preparing the dough, including kneading, shaping if necessary, and sealing it tightly in the container, sets the stage for successful overnight storage.
Throughout the process, it’s important to experiment, follow reliable recipes, and adjust fermentation times and yeast amounts to suit your preferences. Monitoring the dough’s behavior and bringing it to room temperature before baking ensures the best outcome and allows for creative recipe variations.
From classic loaves to rolls, from pizza to sweet treats, the stored dough can be transformed into an array of delicious recipes. Let your imagination run wild and experiment with different shapes, flavors, and fillings to create unique bread creations to enjoy and share.
By incorporating the techniques and tips discussed in this article, you can take your bread baking skills to the next level. With each successful batch, you’ll gain confidence and satisfaction, knowing that you have mastered the art of overnight dough storage and can enjoy fresh, flavorful bread whenever you crave it.
So, why wait? Start experimenting, create your perfect bread dough recipe, and experience the joys of overnight dough storage. Happy baking!
Frequently Asked Questions about How To Store Bread Dough Overnight
Was this page helpful?
At Storables.com, we guarantee accurate and reliable information. Our content, validated by Expert Board Contributors, is crafted following stringent Editorial Policies. We're committed to providing you with well-researched, expert-backed insights for all your informational needs.


0 thoughts on “How To Store Bread Dough Overnight”